
Troubleshooting Gummy or Undercooked Brioche

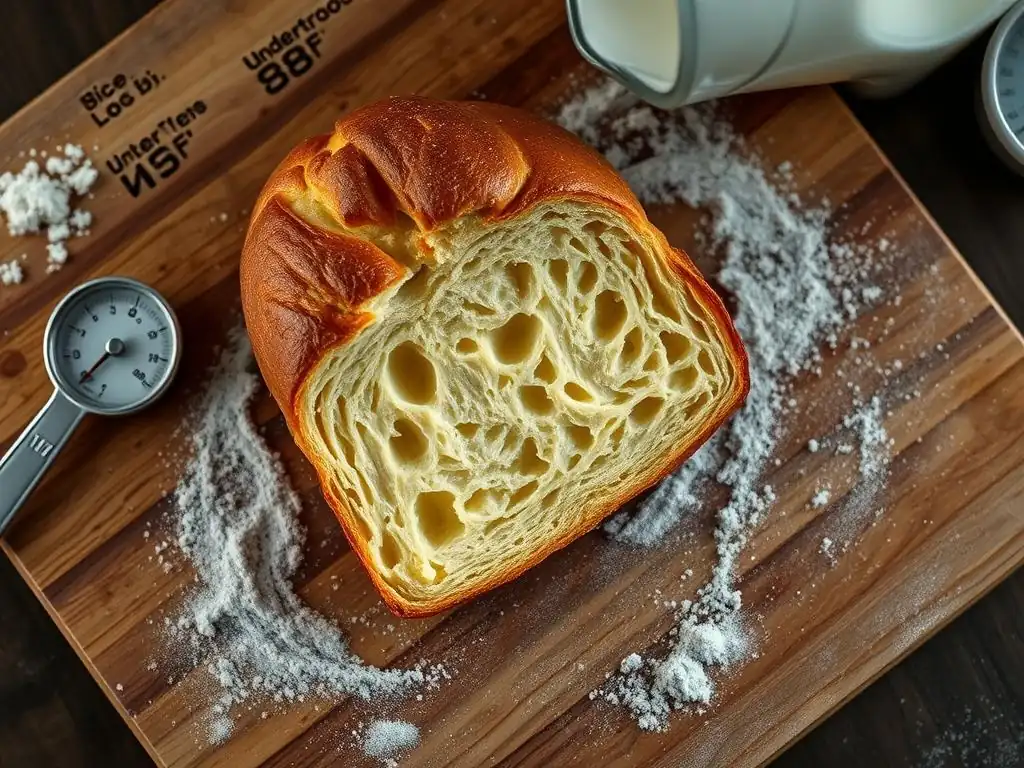
Welcome to BakeWithEase, your kitchen companion for conquering the world of baking! Ever dreamt of that perfect, golden-brown brioche, only to find it gummy or undercooked? Fear not! This article dives deep into brioche baking troubleshooting tips, unlocking the secrets to achieving a light and airy texture, every single time. Ready to transform your brioche from blunder to brilliance? Let's get baking!
- Troubleshooting Dense or Soggy Brioche: The BakeWithEase Guide
- Understanding Common Brioche Baking Problems
- Why is My Brioche Dense/Soggy? Common Causes
- Troubleshooting Dense/Soggy Brioche: Solutions and Prevention
- Advanced Brioche Baking Troubleshooting Techniques
- Brioche Baking Troubleshooting Tips: A Recap
- Perfect Brioche: Mastering the BakeWithEase Method
-
Frequently Asked Questions
- How can I prevent my brioche from being gummy in the center?
- What are some common reasons why brioche dough doesn't rise properly?
- My brioche looks burnt on the outside but is still raw inside. What should I do?
- What if my brioche dough is too sticky and difficult to handle?
- How can I ensure my brioche has a rich, buttery flavor and tender crumb?
- Final Reflection: The Sweet Science of Brioche Triumph
- Unlock Your Brioche Baking Genius!
Troubleshooting Dense or Soggy Brioche: The BakeWithEase Guide
Understanding Common Brioche Baking Problems
Brioche, with its rich, buttery texture and tender crumb, is a true delight. However, achieving that perfect result can sometimes be challenging. Two common issues that bakers face are a dense or soggy texture in their finished loaf. Understanding the signs and causes of these problems is the first step in applying effective Brioche baking troubleshooting tips.
Identifying the Signs of Dense Brioche
A dense brioche feels heavy for its size and lacks the airy, open structure characteristic of well-baked enriched doughs. When you slice it, the crumb appears tight, compressed, and uniform, rather than having irregular air pockets. It might feel slightly heavy or gummy in the mouth when eaten.
This density often indicates that the dough didn't rise sufficiently during proofing or baking, or that its internal structure wasn't strong enough to support the rise. It suggests a fundamental issue with yeast activity, gluten development, or the baking process itself. Learning to spot these signs early in your Brioche baking troubleshooting journey is crucial.
Recognizing a Soggy Brioche Texture
A soggy texture is distinct from density. While dense brioche is heavy and tight, soggy brioche often feels wet, sticky, or undercooked, particularly in the center or bottom. It might collapse slightly after baking or feel clammy to the touch.
Sogginess usually points to issues with baking time, oven temperature, or excessive moisture retention. It can mean the internal temperature didn't reach the point where the starch structure fully sets, leaving it gelatinous. Addressing sogginess requires careful attention to oven calibration and baking duration, key aspects of effective Brioche baking troubleshooting tips.
Why is My Brioche Dense/Soggy? Common Causes
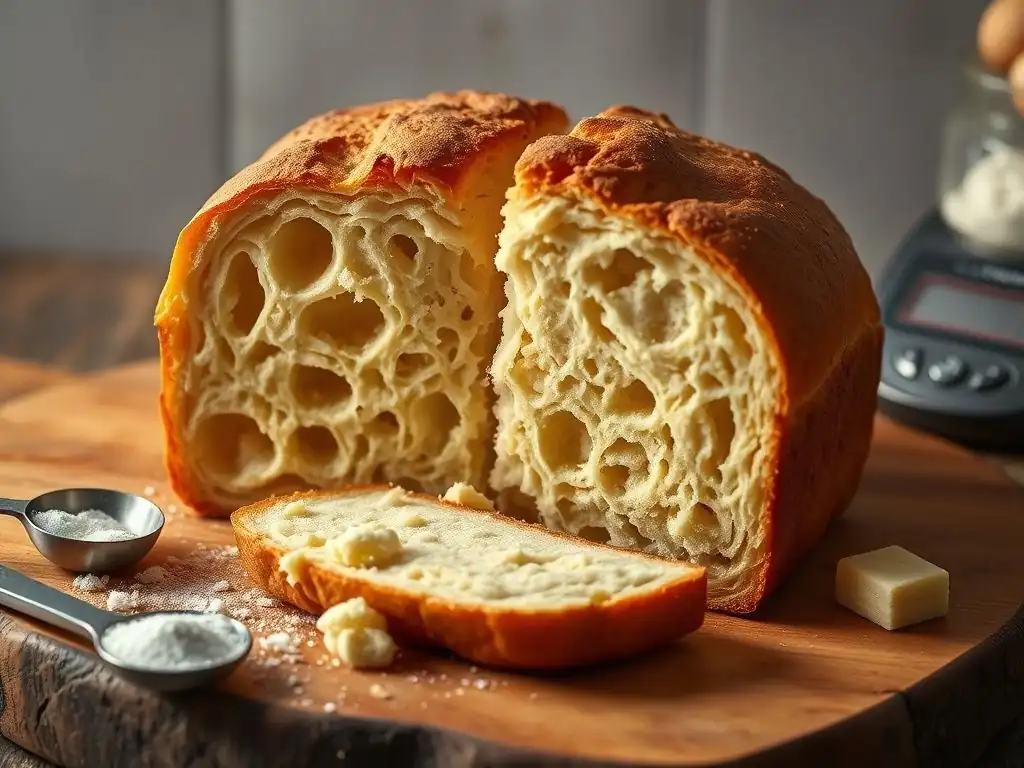
Several factors can contribute to a less-than-perfect brioche crumb. Pinpointing the specific cause is essential for successful Brioche baking troubleshooting.
Insufficient Oven Spring: A Primary Culprit
Oven spring is the rapid expansion of the dough during the initial phase of baking. It's driven by the production and expansion of gases within the dough due to the oven's heat. If your oven spring is poor, the dough doesn't reach its potential volume, resulting in a dense loaf.
Insufficient oven spring can be caused by a variety of factors, including an oven that isn't preheated adequately, dough that is under-proofed (meaning the yeast hasn't created enough gas) or over-proofed (meaning the structure is too weak to hold the gas), or insufficient steam in the oven. A cold oven, for instance, won't provide the immediate burst of heat needed for optimal expansion.
Inadequate Gluten Development and Its Impact on Brioche
Gluten is the protein network that provides structure and elasticity to bread dough. In enriched doughs like brioche, sufficient gluten development is critical to support the weight of the added butter and eggs and trap the gases produced by yeast. Without a strong gluten network, the dough cannot hold its shape or achieve a light, airy crumb.
Inadequate gluten development can result from not kneading the dough long enough or vigorously enough, especially when incorporating large amounts of fat. It can also happen if using a low-protein flour that doesn't contain enough gluten-forming proteins. The dough might feel slack or tear easily, indicating a weak structure that will inevitably lead to a dense brioche.
Too Much Fat Inhibiting Structure
Brioche is known for its high fat content, but there's a delicate balance. Excessive amounts of fat, particularly butter, can actually hinder gluten development and yeast activity. Fat coats the gluten strands, preventing them from forming a strong, interconnected network.
This over-enrichment makes the dough heavy and less able to rise, leading to a dense crumb. It's a common pitfall in brioche making.
Over-Enrichment of the Dough
Recipes for brioche can vary, but a typical classic brioche might have a butter-to-flour ratio of around 50-70% by weight. Some recipes push this higher, but exceeding a certain point (perhaps 80% or more butter relative to flour) can make it extremely difficult to achieve adequate structure, even with perfect technique. Using too many eggs relative to flour can also contribute to richness that weighs the dough down.
For example, if a recipe calls for 500g of flour and you add 450g of butter, that's 90% fat relative to flour. This high percentage significantly challenges the gluten structure's ability to lift the dough during proofing and baking, often resulting in a dense loaf. One of the key Brioche baking troubleshooting tips is to check your recipe's fat ratio.
Incorrect Fat Incorporation Technique Affecting Brioche
Beyond the quantity, how fat is added to the dough is vital. Butter is typically added gradually after the initial gluten development has occurred. Adding all the butter at once, especially cold butter, can prevent the gluten from developing properly from the start. The fat acts as a barrier, preventing the flour proteins from hydrating and forming the gluten network.
Butter should ideally be soft but not melted, added piece by piece, allowing each addition to be fully absorbed and worked into the dough before adding more. This slow incorporation allows the gluten network to continue developing around the fat, creating a stable emulsion. Rushing this step is a common error leading to structural weakness and a dense brioche.
Problems with Dough Strength and Handling
Even with good ingredients and initial mixing, improper handling and proofing can compromise the dough's strength, leading to a dense or collapsed structure.
Weak Dough Leading to Collapse
A dough can be weak for reasons other than just poor gluten development. It might be too wet (high hydration), handled too roughly, or simply lack the inherent strength required for a large, enriched loaf. If the dough feels overly slack, sticky, and doesn't hold tension well after kneading, it's likely weak.
This weakness manifests during proofing and baking. A weak dough may spread outwards instead of rising upwards, or it might collapse in the oven because the fragile gluten network can't support the weight of the rich dough and the expanding gases. Recognizing and addressing dough weakness is a critical part of Brioche baking troubleshooting tips.
Over-Proofing Times and Loss of Structure
Proofing allows yeast to produce gas, making the dough rise. However, over-proofing is detrimental. If dough proofs for too long, the yeast eventually exhausts its food source (sugars), and the enzymes in the dough start to break down the gluten structure.
An over-proofed dough will appear very puffy and may even show signs of deflation. When baked, it lacks the necessary structural integrity to withstand the heat and will likely collapse, resulting in a dense or gummy texture. For example, a brioche proofing at room temperature (around 22°C / 72°F) might be perfectly proofed in 2-3 hours, but left for 5 hours, it could be significantly over-proofed and destined for density.
Troubleshooting Dense/Soggy Brioche: Solutions and Prevention
Now that we understand the causes, let's look at practical Brioche baking troubleshooting tips to prevent and fix dense or soggy brioche.
Enhancing Oven Spring for Perfect Brioche
Maximizing oven spring is key to achieving a light, airy crumb. It's one of the most impactful Brioche baking troubleshooting tips you can implement.
Ensuring Sufficient Initial Oven Temperature
Always preheat your oven thoroughly. For brioche, a common baking temperature is around 180-190°C (350-375°F). Ensure the oven has been at the target temperature for at least 20-30 minutes before placing the dough inside. This ensures the oven cavity and any baking stones or trays are fully heated, providing the intense initial heat needed for a strong oven spring. Using an oven thermometer can help verify your oven's true temperature, as they are often inaccurate by as much as 15-20°C.
Placing the dough in a properly preheated oven causes the yeast activity to surge and the water in the dough to turn to steam rapidly, inflating the dough dramatically. If the oven is too cool, this effect is diminished, leading to less rise and a denser result.
Using Steam to Maximize Rise
Introducing steam into the oven during the first 10-15 minutes of baking can also significantly improve oven spring. Steam keeps the surface of the dough moist and flexible, allowing it to expand for a longer period before a crust forms. A crust that forms too early restricts the dough's potential for expansion.
You can create steam by placing a tray of hot water at the bottom of the oven when you start preheating, or by pouring hot water into a preheated cast iron pan just before loading the bread and quickly closing the oven door. Be cautious when doing this to avoid burns. This simple technique is a powerful Brioche baking troubleshooting tip for achieving a higher, lighter loaf.
Optimizing Gluten Development for Strong Brioche
A well-developed gluten network is the backbone of a successful brioche. Focusing on this area provides excellent Brioche baking troubleshooting tips.
Kneading Techniques for Gluten Strength
Kneading develops gluten. For brioche, which is a very rich dough, this often requires mechanical kneading (stand mixer) due to the stickiness and high fat content. Knead the dough for a sufficient amount of time – often 10-15 minutes in a stand mixer on medium speed after the butter has been fully incorporated. The dough should become smooth, elastic, and pass the "windowpane test" (you should be able to stretch a small piece thin enough to see light through it without tearing).
Resist the urge to add too much extra flour during kneading, as this can make the dough dry and dense. If the dough is sticky, continue kneading; it will become less sticky as the gluten develops. Proper kneading is fundamental in Brioche baking troubleshooting tips aimed at improving crumb structure.
Using High-Protein Flour for Brioche
The type of flour matters. Using a strong bread flour with a protein content of 12-14% provides more gluten-forming proteins compared to all-purpose flour (typically 10-11.5%). This higher protein content allows for the development of a more robust gluten network, which is better equipped to handle the weight and richness of brioche dough.
While all-purpose flour can be used for a less rich brioche, for classic, buttery versions, opting for bread flour is a smart choice to ensure sufficient structural integrity. This ingredient consideration is a key Brioche baking troubleshooting tip from the outset.
Managing Fat Content in Brioche Dough
Controlling and correctly incorporating fat is paramount for a tender, yet structured, brioche. These Brioche baking troubleshooting tips focus on handling the richness.
Accurately Measuring Butter and Eggs
Precision in baking is key, especially with rich doughs. Use a kitchen scale to weigh your ingredients, particularly flour, butter, and eggs, rather than relying on volume measurements. A cup of flour can vary in weight by 20% depending on how it's scooped. Inaccurate measurements, especially adding too much butter or egg, can easily lead to an overly rich dough that is difficult to manage and prone to density or sogginess.
For example, if a recipe calls for 200g of butter, using 250g because of inaccurate measurement significantly increases the fat percentage and the challenge to the gluten structure. Weighing ensures you adhere to the intended balance of ingredients.
Gradual Fat Incorporation for Dough Stability
As mentioned earlier, adding butter gradually is crucial. Once the initial dough (flour, yeast, liquid, eggs, sugar) has been mixed and kneaded slightly, begin adding the softened butter a few pieces at a time while the mixer is running. Wait until each addition is fully absorbed into the dough and the dough pulls away from the sides of the bowl before adding the next piece. This process can take 15-30 minutes, depending on the recipe and mixer.
This slow method allows the gluten network to develop even as the fat is incorporated, resulting in a strong, emulsified dough that is elastic and capable of rising properly. Rushing this step is one of the most common reasons for structural failure in brioche.
Optimizing Dough Strength and Proofing for Brioche
Ensuring the dough has sufficient strength and proofing it correctly are vital steps. Here are Brioche baking troubleshooting tips related to dough handling and timing.
Proper Shaping Techniques for Structure
How you shape your brioche can impact its final structure and rise. Shaping creates tension on the surface of the dough, providing a skin that helps support the rise and prevents it from spreading too much. Techniques like degassing the dough gently after the first rise, dividing it evenly, and then shaping it into tight balls, logs, or braiding it with tension are important.
For instance, when shaping a loaf, creating surface tension by pulling the dough taut underneath helps create a strong 'skin' on top. This tension encourages the dough to rise upwards rather than outwards during proofing and baking, contributing to better volume and a less dense crumb.
Adjusting Proofing Times Based on Dough Behavior
Proofing times are often estimates. The actual time required depends on factors like room temperature, dough temperature, yeast activity, and richness of the dough. Instead of sticking rigidly to a time given in a recipe (e.g., "proof for 2 hours"), learn to judge proofing by the dough's appearance and feel.
A dough is typically ready when it has significantly increased in volume (often doubled or nearly tripled, though enriched doughs may not triple) and feels light and airy. The "poke test" can help: gently poke the dough with a floured finger; if the indentation springs back slowly and only partially, it's likely ready. If it springs back immediately, it needs more time (under-proofed). If the indentation remains completely, it's likely over-proofed. Adjusting proofing based on these visual cues is a critical Brioche baking troubleshooting tip.
Advanced Brioche Baking Troubleshooting Techniques
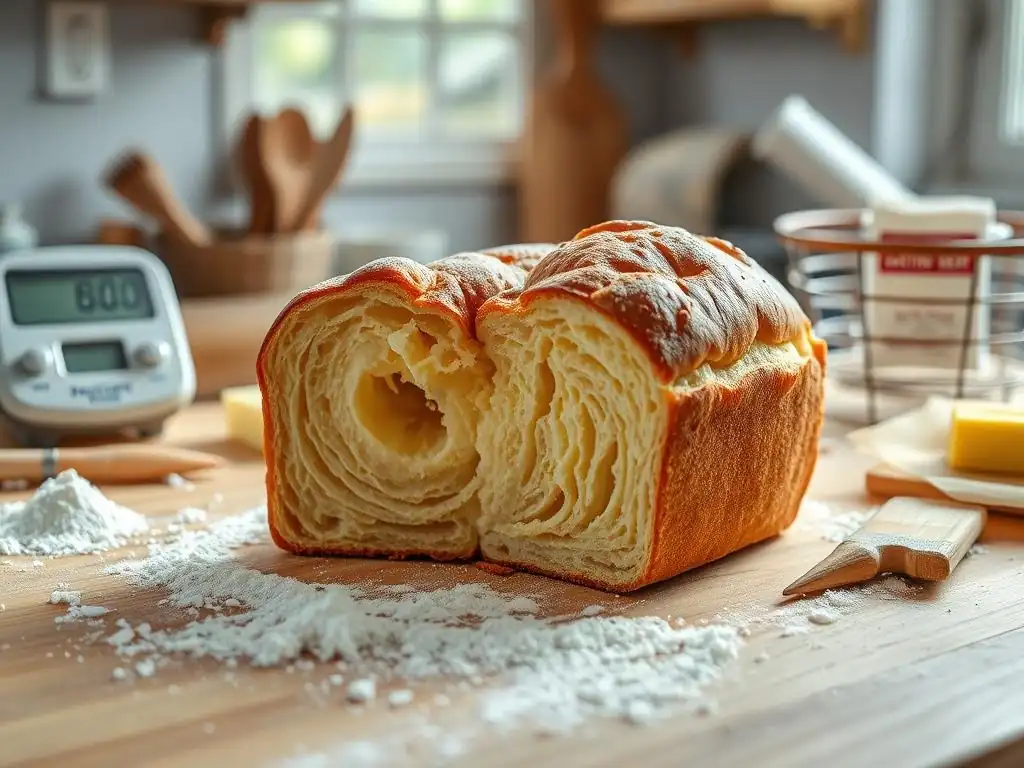
Beyond the basics, some specific factors can influence brioche texture.
The Importance of Cooling Rack Usage
Once your beautiful brioche comes out of the oven, the baking isn't quite finished. It needs to cool properly. Always transfer the baked brioche to a wire cooling rack immediately after removing it from the pan. This allows air to circulate around the entire loaf, preventing moisture from accumulating on the bottom, which can lead to a soggy base.
Leaving a rich bread like brioche in a hot pan or on a solid surface traps steam, causing condensation and a gummy bottom crust. Allowing the internal structure to set as it cools on a rack is essential for achieving the desired texture throughout the loaf.
Dealing with Sugar Content and Caramelization
Brioche often contains sugar, which contributes to flavor, crust color (through caramelization), and helps tenderize the crumb. However, excessive sugar can also inhibit yeast activity if the concentration is too high, potentially slowing down the rise. It can also contribute to a darker, harder crust if the baking temperature is too high, sometimes leading to the outside being done while the inside is still undercooked.
If you suspect sugar content is an issue, ensure you are measuring accurately. If adapting a recipe, be mindful that significantly increasing sugar without adjusting other elements (like yeast quantity or proofing time) can cause problems. Baking at a slightly lower temperature for longer can help ensure the interior cooks fully before the crust over-caramelizes.
Troubleshooting Issues with Tangzhong/Yudane Methods
Some brioche recipes incorporate a tangzhong or yudane (a cooked flour and liquid paste) to enhance the dough's ability to retain moisture, resulting in an exceptionally soft and moist crumb. While these methods are beneficial, improperly preparing the paste (e.g., not cooking it enough, using incorrect ratios) or incorporating too much can introduce excessive moisture into the dough, making it sticky and potentially leading to a gummy texture if not baked sufficiently.
Ensure the paste is cooked to the correct consistency (it should be thick and gelatinous, around 65°C / 149°F for tangzhong) and cooled properly before adding it to the main dough. If your tangzhong brioche is soggy, it might indicate insufficient baking time to handle the extra moisture it retains.
Brioche Baking Troubleshooting Tips: A Recap
Let's summarize the key takeaways for avoiding dense or soggy brioche. These Brioche baking troubleshooting tips cover the entire process.
Essential Steps to Avoid Dense or Soggy Brioche
- Ensure active yeast and proper proofing.
- Develop a strong gluten network through adequate kneading.
- Accurately measure ingredients, especially butter and eggs.
- Incorporate butter gradually and completely.
- Use high-protein flour for structure.
- Shape dough with sufficient tension.
- Judge proofing by dough behavior, not just time.
- Preheat oven thoroughly to the correct temperature.
- Consider using steam for oven spring.
- Bake until the internal temperature reaches approximately 90-93°C (195-200°F).
- Cool completely on a wire rack.
Key Considerations for Successful Brioche Baking
Brioche is an enriched dough that requires patience and attention to detail. Understanding the science behind how the ingredients interact – how fat affects gluten, how yeast produces gas, how heat transforms the dough – is key to successful Brioche baking troubleshooting. Pay close attention to the feel of the dough throughout the process. Is it elastic? Is it airy after proofing? Does it spring back correctly? These tactile clues are often more reliable than recipe timings alone.
Mastering brioche takes practice. Don't be discouraged by imperfect results. Each bake is an opportunity to learn and refine your technique. By applying these Brioche baking troubleshooting tips, you'll be well on your way to baking consistently delicious, light, and airy brioche.
Perfect Brioche: Mastering the BakeWithEase Method
Achieving perfect brioche is a rewarding baking goal. By understanding the common pitfalls and applying effective Brioche baking troubleshooting tips, you can significantly improve your results. Remember, baking is a journey of learning and experimentation.
[Link to a basic brioche recipe on BakeWithEase.com]
Frequently Asked Questions
How can I prevent my brioche from being gummy in the center?
A gummy center often indicates undercooking. Ensure you use a reliable oven thermometer and bake until the internal temperature reaches the recommended point (typically around 190-200°F).
What are some common reasons why brioche dough doesn't rise properly?
Poor rising can be due to inactive yeast, using cold ingredients that inhibit yeast activity, or not allowing enough time for proofing. Make sure your yeast is fresh, ingredients are at room temperature, and give the dough ample time to rise in a warm place.
My brioche looks burnt on the outside but is still raw inside. What should I do?
This suggests the oven temperature is too high. Lower the oven temperature by 25°F and cover the brioche loosely with foil during the latter half of baking to prevent further browning while the inside finishes cooking.
What if my brioche dough is too sticky and difficult to handle?
A sticky dough may indicate too much liquid or insufficient kneading. Try adding a tablespoon of flour at a time until the dough is more manageable, and ensure you're kneading for the recommended duration.
How can I ensure my brioche has a rich, buttery flavor and tender crumb?
Using high-quality butter and incorporating it gradually during the kneading process is crucial. Also, be careful not to over-knead, as this can lead to a tough brioche.
Final Reflection: The Sweet Science of Brioche Triumph
The seemingly simple act of baking brioche holds a surprising depth of complexity, and mastering its delicate nuances is a journey of both frustration and ultimate reward. A perfectly risen, golden-brown brioche is a testament to patience and precision, but even the most experienced bakers encounter gummy centers or undercooked interiors. This article has explored the common pitfalls and offered solutions, highlighting the importance of understanding the science behind this beloved bread.
The quest for the perfect brioche transcends mere culinary skill; it's a reflection of our desire to create something beautiful and delicious. The subtle interplay of ingredients, the precise timing of fermentation, and the careful attention to oven temperature all contribute to the final product. This process mirrors life's challenges, where careful planning and attention to detail often lead to the most satisfying outcomes. The best things in life are worth waiting for,
a sentiment perfectly encapsulating the patience required for successful brioche baking.
Now, armed with a deeper understanding of brioche baking, I invite you to embrace the challenge. Don't be discouraged by setbacks; view each imperfect loaf as a learning opportunity. Experiment with different techniques, adjust your methods based on your environment, and most importantly, savor the journey. The satisfaction of biting into a perfectly baked brioche, the result of your dedication and perseverance, is a reward unlike any other. Go forth and bake!
Unlock Your Brioche Baking Genius!
Thanks for taking the time to explore the secrets of perfect brioche! We hope you gained valuable insights into troubleshooting those gummy or undercooked loaves. Now it's time to put your newfound knowledge into practice.
- Bake your perfect brioche: Try the adjusted recipe and techniques discussed – we're confident you'll see a delicious difference! Remember to pay close attention to the proofing stages.
- Share your baking triumph: Post a picture of your perfectly risen brioche on social media and tag us! Let's celebrate your baking success together!
- Experiment with different flours: Explore how different flour types affect the final texture and rise – this is a great way to further your brioche baking skills!
Ready to create your masterpiece? What unique twist will you add to your next brioche bake?