
How to Tell When Your Enriched Bread is Perfectly Baked

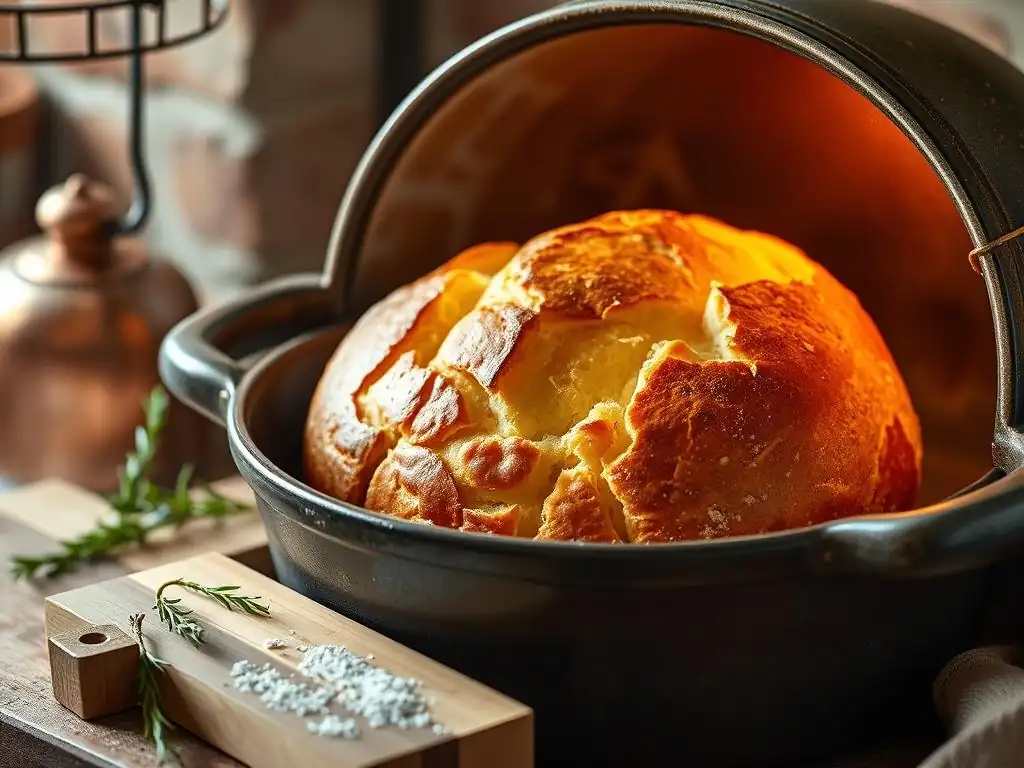
Welcome to BakeWithEase, your haven for unlocking the secrets of exceptional baking! Ever wondered if you're truly nailing that perfectly baked enriched bread timing? Discover the tell-tale signs and avoid common pitfalls with our expert guide. Dive in and elevate your baking game – because achieving bread perfection is easier than you think!
- Introduction to Baking Enriched Breads: Achieving Baking Perfection
- Key Indicators of a Perfectly Baked Enriched Bread
- Factors Affecting Baking Time for Enriched Breads
- Step-by-Step Guide to Checking Enriched Bread Doneness
- Troubleshooting Common Baking Problems with Enriched Breads
- Tips for Achieving Consistent Results in Enriched Bread Baking
- Mastering the Art of Perfectly Baked Enriched Bread: Conclusion
-
Frequently Asked Questions
- How can I tell if my enriched bread is baked through without cutting into it?
- What makes enriched bread different from regular bread and how does that affect baking time?
- What are the common signs of over-baked enriched bread?
- How does the size of the loaf affect the baking time of enriched bread?
- What role does the oven temperature play in achieving perfectly baked enriched bread?
- Final Reflection: The Golden Crust and the Heart of the Matter
- Unlock Your Inner Baker: Perfect Bread, Every Time!
Introduction to Baking Enriched Breads: Achieving Baking Perfection
Enriched breads, like buttery brioche or sweet challah, hold a special place in the world of baking. They are known for their tender crumb, rich flavor, and often beautiful golden crust. Unlike lean doughs made primarily with flour, water, salt, and yeast, enriched doughs incorporate ingredients such as eggs, milk, butter, and sugar, which contribute to their unique texture and taste. Mastering the art of baking these delicate loaves means understanding not just the mixing and proofing stages, but critically, how to tell when they are perfectly baked.
Achieving a perfectly baked enriched bread involves more than just following a recipe's suggested bake time. Ovens vary, ingredients behave differently, and even ambient temperature and humidity can play a role. Knowing the key indicators of doneness ensures your bread is cooked through, has a beautiful crust, and boasts that desirable tender crumb without being dry or gummy. This guide will walk you through the essential techniques and signs to look for, helping you confidently determine the ideal timing for your enriched bread to come out of the oven.
Understanding Enriched Doughs: A Baker's Foundation
Enriched doughs differ significantly from lean doughs due to the addition of fats (like butter or oil), dairy (milk), eggs, and sugars. These ingredients impact the dough's structure, handling, and, importantly, its baking characteristics. For instance, fats tenderize the crumb by interfering with gluten development, while sugars and eggs contribute to a richer flavor and a more golden crust during baking. The presence of these ingredients means enriched breads often bake differently and require specific cues to determine doneness compared to, say, a rustic baguette.
Working with enriched doughs often requires patience and careful handling because of their richness. They can sometimes be softer or stickier than lean doughs. Understanding these properties is crucial for every stage, including the final bake. The added sugar and fat can cause the crust to brown faster, potentially leading a baker to believe the bread is done when the interior is still underbaked. This is why relying solely on visual cues or bake time isn't sufficient for ensuring a perfectly baked enriched bread timing.
Why Timing is Crucial for Perfectly Baked Enriched Bread
The timing of when you remove your enriched bread from the oven is perhaps the single most critical factor in achieving baking perfection. Pulling it out too early results in an underbaked loaf with a dense, doughy, and potentially gummy interior – nobody wants a raw center in their beautiful brioche! The structure hasn't fully set, and the starches and proteins haven't properly cooked throughout the crumb.
Conversely, baking for too long can lead to a dry, tough loaf with an overly dark, hard crust. The tender crumb that is the hallmark of enriched bread gets lost, and the delicate flavors can be overshadowed by overcooked notes. Finding that sweet spot, the ideal perfectly baked enriched bread timing, ensures the interior is cooked through, light, and tender, while the crust is a beautiful golden brown, providing just the right balance of texture and flavor that makes enriched breads so delightful.
Key Indicators of a Perfectly Baked Enriched Bread
Knowing the signs of doneness is your best defense against under or over-baked bread. While recipes provide a starting point for baking time, relying on a combination of sensory and technical checks is essential for achieving that perfect result every time.
Internal Temperature: The Gold Standard for Enriched Bread Baking
When it comes to objective measures of doneness, internal temperature reigns supreme, especially for rich, dense doughs. As bread bakes, the interior needs to reach a specific temperature for the starches to gelatinize and the proteins to coagulate, setting the crumb structure. For enriched breads, which contain more moisture and fat, this temperature is a reliable indicator that the inside is fully cooked.
Relying solely on external cues can be misleading because the crust browns faster due to sugars and fats. A loaf might look stunningly golden on the outside but still be raw inside. Checking the internal temperature with a thermometer provides a definitive answer, cutting through the guesswork and ensuring your perfectly baked enriched bread timing is spot on.
Using a Thermometer for Accurate Bread Doneness
Using an instant-read thermometer is the most reliable way to check the internal temperature of your enriched bread. To get an accurate reading, insert the thermometer probe into the thickest part of the loaf, ideally from the bottom or side to avoid leaving a large hole on the top crust. Ensure the tip of the probe is in the center of the bread and not touching the bottom or side of the pan, which would give a false high reading.
Hold the thermometer in place for a few seconds until the reading stabilizes. A quick, accurate reading is crucial, which is why an instant-read thermometer is recommended over slower, dial-type thermometers. This simple tool takes the uncertainty out of determining if the interior has reached the necessary temperature for a perfectly baked enriched bread timing.
Target Internal Temperature for Different Enriched Breads (e.g., Brioche, Challah)
While there can be slight variations depending on the specific recipe and desired texture, a general guideline for the internal temperature of most perfectly baked enriched breads, such as brioche or challah, is typically between 190°F (88°C) and 200°F (93°C). Some bakers prefer the lower end of this range for a slightly moister crumb, while others aim for the higher end for a firmer set.
For richer, denser loaves like a heavy brioche laden with butter and eggs, aiming closer to the upper end of the range, around 195-200°F (90-93°C), often ensures the center is fully cooked without being dry. Lighter enriched doughs might be perfectly done at 190-195°F (88-90°C). Always cross-reference this temperature check with other indicators, but consider the internal temperature the most reliable measure for accurate perfectly baked enriched bread timing.
Visual Cues: Assessing Doneness by Sight
While internal temperature is the most reliable indicator, visual cues are the first things you'll notice and provide valuable clues about your bread's progress and potential doneness. A combination of visual checks can help narrow down the window before you use a thermometer.
Looking at the color and structure of the crust, how the bread springs back when touched, and even its overall shape can tell you a lot. These signs, when used in conjunction with other methods, contribute to your overall understanding of perfectly baked enriched bread timing.
The Golden Brown Crust: Achieving the Perfect Color
The crust color of enriched bread is a key visual indicator, but it requires careful interpretation. Due to the presence of sugar and eggs, the Maillard reaction and caramelization happen more readily, resulting in a beautiful golden or even deep brown crust. A perfectly baked enriched bread will have a rich, even color across its surface – not pale and pasty, which indicates underbaking, and not overly dark or black in spots, which suggests burning or overbaking.
Aim for a color that signifies delicious caramelization, typically a warm, inviting golden-brown hue. This doesn't mean the bread is necessarily done inside, but it shows the exterior has received sufficient heat. If the crust is browning too quickly before the inside is done, you may need to adjust your oven temperature or cover the bread loosely with foil.
Assessing the Spring Back: A Gentle Touch Test
Another helpful visual and tactile test is gently pressing the side of the loaf. A perfectly baked enriched bread will feel firm and will spring back quickly when lightly pressed. This indicates that the internal structure (the crumb) has set properly.
If you press the side and it feels soft and squishy, and your finger leaves an indentation, the bread is likely underbaked. The crumb structure hasn't fully formed or cooked through. This test is a good preliminary check before confirming doneness with a thermometer and contributes to evaluating your perfectly baked enriched bread timing.
Checking for a Hollow Sound: Tapping the Bottom of the Bread
A traditional test for bread doneness is tapping the bottom of the loaf. Carefully remove the bread from the pan (using oven mitts!) and tap the bottom crust with your knuckles. A perfectly baked loaf, including enriched bread, will often produce a hollow sound, similar to tapping on a drum.
This hollow sound suggests that the interior is cooked through and has developed an open, airy crumb structure. A dull thud, on the other hand, can indicate that the interior is still dense and possibly underbaked. While not foolproof for very dense enriched loaves, this test provides another valuable piece of information in assessing doneness.
The Smell Test: Aromatic Indicators of Baking Completion
Your sense of smell is a powerful tool in the kitchen, and it can offer subtle clues about the state of your baking. As enriched bread bakes, it releases wonderful aromas that change as it approaches doneness.
Learning to recognize these smells can help you anticipate when your bread is ready for further testing and contributes to refining your perfectly baked enriched bread timing.
Recognizing the Sweet, Toasty Aroma of Baked Enriched Bread
As enriched bread bakes, the kitchen fills with a delightful aroma of toasted flour, caramelized sugars, and rich butter or eggs. When the bread is nearing completion, this aroma becomes more pronounced, sweet, and deeply toasty. It's a smell that signifies the successful transformation of dough into bread.
This rich, inviting scent is a good sign that your bread is likely getting close to being done. If you smell this characteristic aroma strongly, it's probably a good time to start performing the visual and temperature checks to confirm.
Identifying Potential Problems from the Smell (e.g., Burning)
Conversely, your nose can also alert you to potential problems. If you start to smell a sharp, acrid odor, it could indicate that part of your bread (likely the crust or the bottom) is starting to burn. This smell is distinctly different from the pleasant toasty aroma of browning.
If you detect a burning smell, check your bread immediately. You may need to cover it with foil, lower the oven temperature, or even remove it if the crust is already too dark. Paying attention to smells helps prevent overbaking and ensures your efforts result in perfectly baked enriched bread timing.
Factors Affecting Baking Time for Enriched Breads
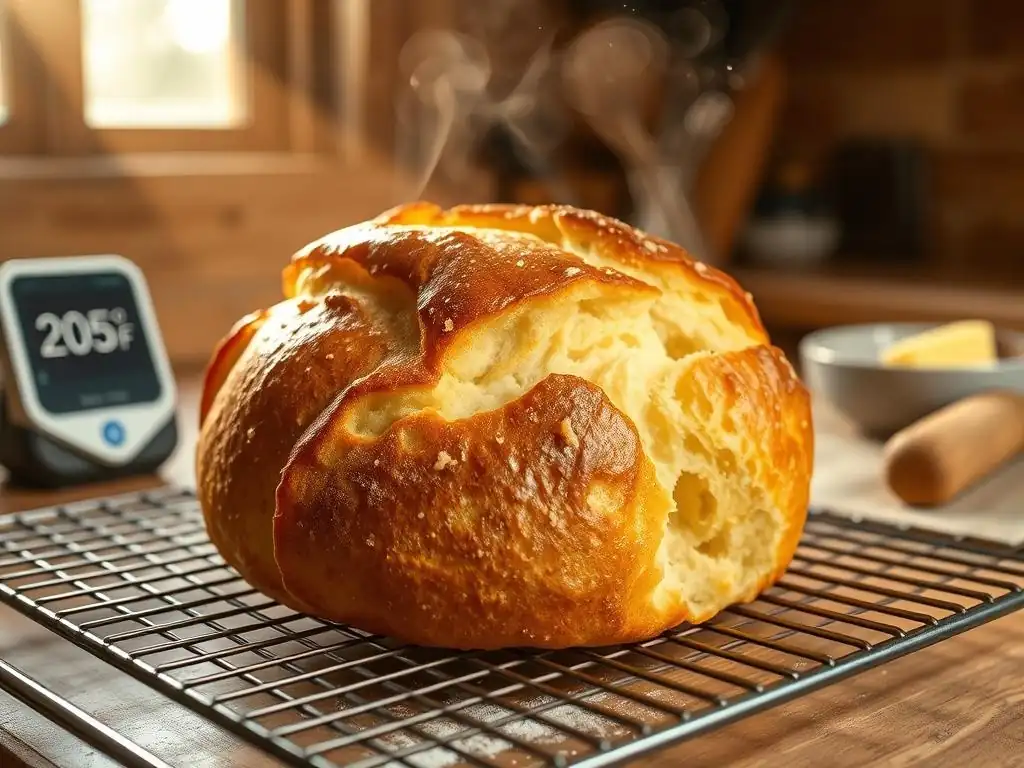
While the indicators above tell you when your bread is done, several factors influence how long it will take to reach that point. Understanding these variables helps you anticipate baking times and troubleshoot issues.
These elements interact with each other and the oven, collectively impacting the perfectly baked enriched bread timing.
Oven Temperature Accuracy: Ensuring Consistent Results
One of the biggest variables in baking is oven temperature accuracy. Many home ovens can fluctuate significantly from the temperature they are set to, sometimes by as much as 25-50°F (15-30°C). If your oven runs hot, your bread will bake faster and the crust might brown too quickly. If it runs cool, baking will take longer, and you might end up with a pale crust.
Using an inexpensive oven thermometer placed inside your oven can help you verify its actual temperature and make necessary adjustments. Knowing your oven's quirks is fundamental to achieving consistent and perfectly baked enriched bread timing.
Dough Hydration Levels: How Moisture Impacts Baking Time
Dough hydration refers to the ratio of water (or other liquids like milk) to flour. While enriched doughs typically have lower hydration than very wet lean doughs, variations still exist. A dough with slightly higher hydration might take a little longer to bake through as there is more moisture that needs to evaporate and heat up internally.
A very low hydration dough might bake faster, but it could also risk drying out if overbaked. Understanding your specific recipe's hydration helps you anticipate the baking time and makes you better equipped to judge the perfectly baked enriched bread timing.
Ingredients: The Role of Fat, Sugar, and Eggs in Baking
The very ingredients that make enriched doughs special – fat, sugar, and eggs – also influence baking time and browning. Sugar and eggs promote faster crust browning through caramelization and the Maillard reaction. This means the exterior can look done relatively quickly.
Fats, like butter, can affect heat transfer within the dough. While these ingredients add flavor and tenderness, their impact on browning speed underscores the importance of relying on internal temperature rather than just crust color to confirm perfectly baked enriched bread timing.
Pan Size and Shape: Adjusting Baking Time Accordingly
The size and shape of your baking pan, or whether you bake the bread freeform, significantly impacts baking time. A larger, denser loaf baked in a single pan will take considerably longer to bake through to the center than smaller rolls or loaves baked in multiple pans.
Dark-colored pans absorb and radiate heat more efficiently than light-colored pans, potentially leading to faster crust browning. If you adjust the pan size or shape from the original recipe, be prepared to adjust your baking time and rely heavily on internal temperature checks to ensure perfectly baked enriched bread timing.
Step-by-Step Guide to Checking Enriched Bread Doneness
Putting all the indicators together into a systematic approach makes checking for doneness straightforward and reliable. Follow these steps when you think your enriched bread is nearing the end of its suggested baking time.
- Check Visual Cues First
- Perform Touch and Sound Tests
- Measure Internal Temperature
- Cool Appropriately or Return to Oven
Step 1: Visual Inspection - Crust Color and Shape
Around 5-10 minutes before the recipe's minimum suggested bake time, open the oven door and take a look. Assess the crust color: Is it a rich, even golden brown? Does it look like it's starting to get too dark in spots? Also, look at the overall shape – has it risen well and does it look fully formed? If the crust is already very dark but the time isn't up, be ready to cover it or check the temperature early.
If the crust is still quite pale after the suggested time, it likely needs more time. This initial visual check gives you a preliminary idea of how baking is progressing and whether you are on track for perfectly baked enriched bread timing.
Step 2: The Touch Test - Spring Back and Firmness
Carefully pull the oven rack out slightly (using oven mitts!). Gently press the side of the loaf with a finger (again, use an oven mitt if needed, especially for hot pans). Does it feel firm? Does the indentation spring back quickly? If it feels soft and leaves a lasting dent, it's not ready yet.
While the bread is out, if possible and safe to do so (especially if it's in a loaf pan you can easily maneuver), quickly slip it out of the pan and tap the bottom. Does it sound hollow? A solid thud means it needs more time.
Step 3: Internal Temperature Check - Using a Thermometer Correctly
This is the most crucial step for confirming perfectly baked enriched bread timing. Once the bread looks and feels mostly done, insert an instant-read thermometer into the thickest part of the loaf, ensuring the tip is centered and not touching the pan. Wait a few seconds for the reading to stabilize.
For most enriched breads, you are looking for a temperature between 190°F and 200°F (88-93°C). If the temperature is within this range, your bread is likely done. If it's significantly lower (e.g., 180°F or below), return the bread to the oven for a few more minutes and check again.
Step 4: The Sound Test - Tapping for Hollow Sound
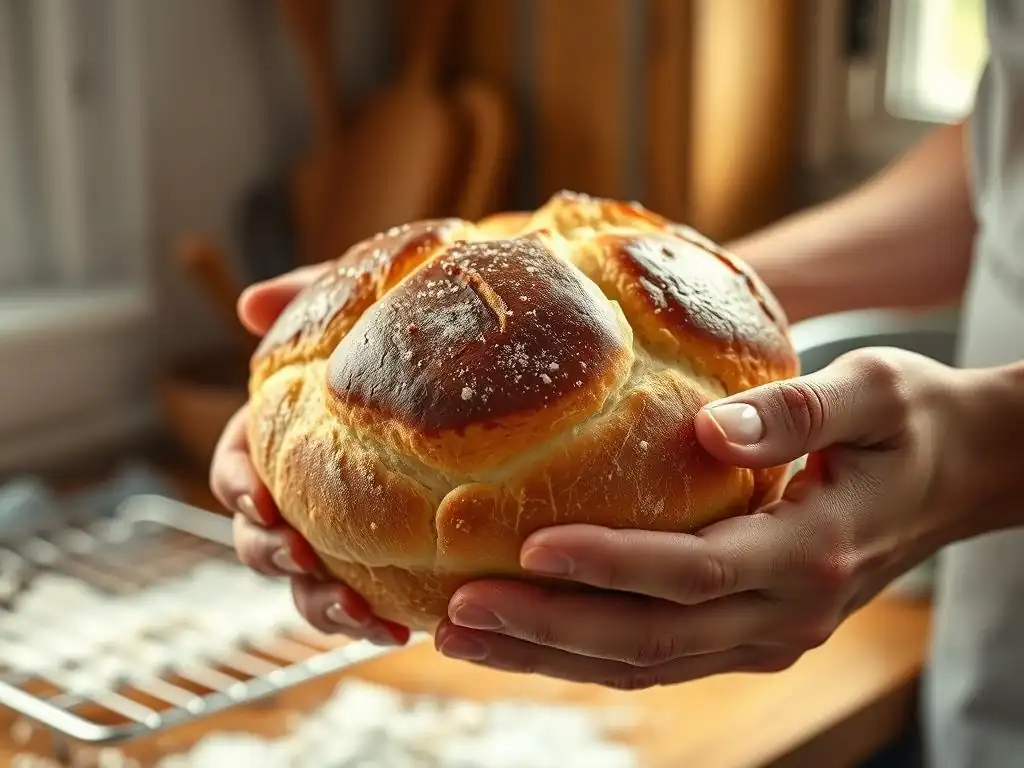
As mentioned in Step 2, the sound test is best performed while the bread is out of the pan for the temperature check. Hold the loaf carefully and tap the bottom crust with your knuckles. Listen for that characteristic hollow sound.
A clear, hollow sound confirms that the interior structure is set and airy, supporting the temperature reading that the bread is cooked through. If the sound is dull, even if the temperature is close, it might benefit from another minute or two, keeping a close eye on it.
Step 5: Cooling and Further Baking (If Needed)
If your bread has reached the target internal temperature and passes the visual/sound tests, remove it from the oven and immediately transfer it to a wire rack to cool completely. Cooling on a rack allows air circulation, preventing the bottom crust from becoming soggy and allowing the internal structure to finish setting. Cutting into hot enriched bread before it has cooled can result in a gummy texture.
If the bread was close but not quite at the target temperature (e.g., 185°F / 85°C) or the sound was slightly dull, return it to the oven for 2-5 minute increments, checking the temperature each time. Be careful not to overbake if the crust is already well-colored; you may need to loosely tent it with foil.
Troubleshooting Common Baking Problems with Enriched Breads
Even with careful attention, sometimes things don't go perfectly. Knowing how to identify and fix common issues is part of mastering perfectly baked enriched bread timing.
These problems often stem from misjudging the doneness or inconsistencies in baking conditions.
Doughy Center: Extending Baking Time
A doughy or gummy center is the most common sign of underbaked enriched bread. This happens when the internal temperature didn't reach the required level to set the starch and protein structure throughout the loaf. You might see this immediately upon slicing, or even just by the bread feeling too heavy for its size.
If you discover your bread has a doughy center after taking it out, you can sometimes fix it. Return the loaf to a preheated oven (perhaps slightly lower, around 325-350°F or 160-175°C) and bake it for another 10-20 minutes or until the internal temperature reaches 190-200°F (88-93°C). Cover it loosely with foil if the crust is already dark to prevent burning. For future loaves, always rely on an internal thermometer for perfectly baked enriched bread timing.
Over-Browning: Reducing Oven Temperature or Covering the Bread
If your enriched bread's crust is getting too dark or even burning before the inside is fully baked, your oven might be too hot, or the loaf is positioned too close to a heating element. The sugar and fat in enriched doughs cause the crust to brown quickly.
To prevent this, check your oven temperature with an independent thermometer. If it's accurate, try reducing the oven temperature slightly (e.g., by 25°F or 15°C) for the duration of the bake. Alternatively, if you notice the crust is browning too fast, loosely tent the bread with aluminum foil for the remainder of the baking time. This deflects direct heat and allows the interior to catch up, helping achieve perfectly baked enriched bread timing.
Uneven Baking: Rotating the Bread During Baking
Sometimes, one side or end of your enriched bread bakes faster or browns more than the other. This is typically due to hot spots in your oven. Ovens rarely heat perfectly evenly.
To combat uneven baking, rotate your bread halfway through the baking time. For example, if you're baking a loaf in a pan, turn the pan 180 degrees. If baking multiple smaller items like rolls on a sheet pan, you might rotate the pan and potentially switch its position on the oven racks (e.g., move from top to bottom rack if baking two sheets). This simple step ensures more even heat distribution and contributes to consistent perfectly baked enriched bread timing across the entire batch.
Tips for Achieving Consistent Results in Enriched Bread Baking
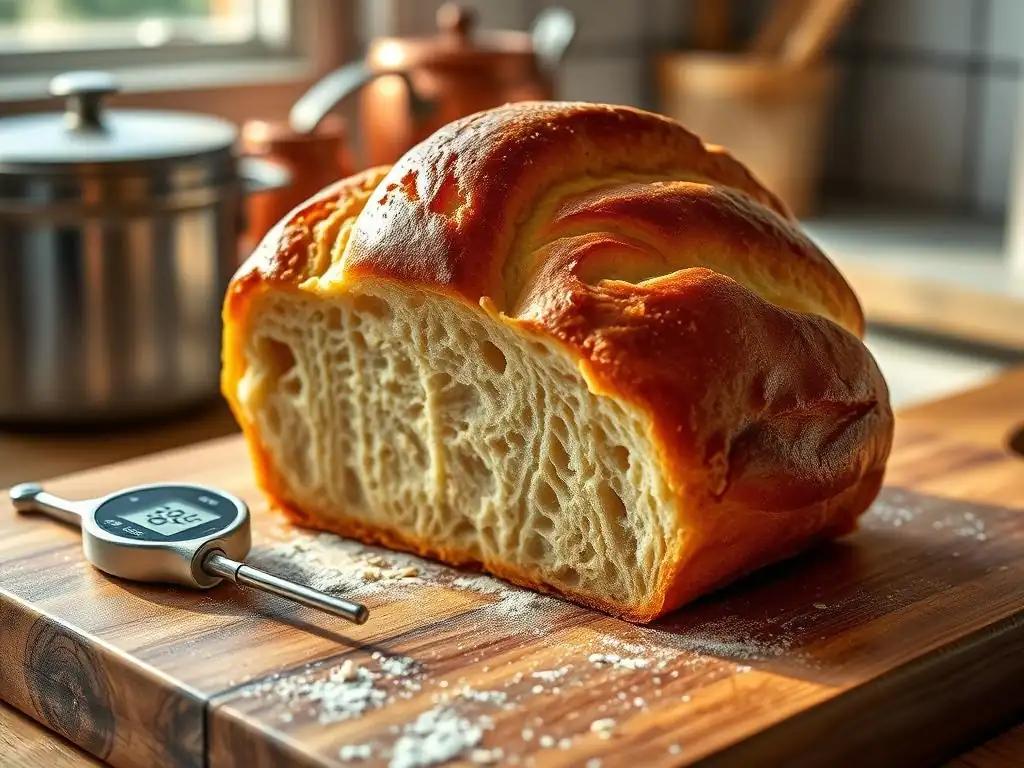
Consistency is key to mastering any baking skill. By incorporating a few simple practices, you can improve your ability to reliably produce perfectly baked enriched bread every time.
These tips help remove guesswork and build confidence in your baking process.
Using an Oven Thermometer for Accurate Temperature Readings
As mentioned earlier, oven temperature accuracy is paramount. Invest in a simple, inexpensive oven thermometer and keep it in your oven. Before you preheat for baking, check what the thermometer says once the oven indicates it has reached temperature. You might find your oven is consistently off by a certain amount.
Knowing the true temperature allows you to adjust your oven setting accordingly. If your oven reads 350°F but the thermometer says 325°F, you know to set it to 375°F next time to achieve an actual 350°F bake. This single tool significantly impacts your perfectly baked enriched bread timing.
Investing in a Reliable Instant-Read Thermometer
While visual cues and sound tests are helpful, an instant-read thermometer is your most reliable tool for confirming doneness. A good quality thermometer will give you a fast, accurate reading, minimizing the time the oven door is open.
This investment pays off by preventing underbaked loaves and giving you confidence in your perfectly baked enriched bread timing. Look for one that is easy to read and has a thin probe that minimizes damage to the bread.
Keeping Detailed Baking Notes for Future Reference
Become a baking scientist in your own kitchen! Keep a notebook or digital file where you record details about each bake. Note the recipe used, the actual oven temperature (if you use an oven thermometer), the total baking time, the internal temperature when you pulled the bread, and observations about the crust color, crumb texture, and taste.
Did the bread come out perfectly? Note the specifics. Was it slightly under or overbaked? Note what you think happened and what you'll change next time. Referencing these notes will help you understand what works best in your oven with your specific recipes and refine your perfectly baked enriched bread timing over time.
Mastering the Art of Perfectly Baked Enriched Bread: Conclusion
Baking enriched bread is a rewarding experience, offering delicious results that are far superior to store-bought versions. While the richness of these doughs presents unique challenges, particularly regarding judging doneness, applying the techniques discussed can lead you to consistent success. Remember that bake times in recipes are guides; your oven, ingredients, and loaf size all play a role in the actual perfectly baked enriched bread timing.
By combining visual cues, the touch and sound tests, and most importantly, using an internal thermometer to hit that crucial 190-200°F (88-93°C) range, you gain the confidence to pull your beautiful loaves at precisely the right moment.
Practice Makes Perfect: Refining Your Baking Skills
Like any skill, mastering the art of baking enriched bread and knowing when it's perfectly done takes practice. Don't be discouraged if your first few loaves aren't absolutely perfect. Each bake is a learning opportunity. Pay attention to the signs, use your tools, and take notes.
With each loaf you bake, you'll become more attuned to the subtle indicators of doneness specific to your oven and recipes. This hands-on experience is invaluable for developing your intuition and consistently achieving perfectly baked enriched bread timing.
Enjoy Your Delicious, Perfectly Baked Enriched Bread!
Ultimately, the goal is to produce delicious bread that you and your loved ones can enjoy. When you successfully achieve a perfectly baked enriched bread, with its tender crumb, rich flavor, and beautiful crust, take a moment to appreciate your accomplishment.
Slice into that warm loaf, savor the aroma, and taste the difference that proper baking technique makes. You've navigated the nuances of enriched doughs and nailed the perfectly baked enriched bread timing. Congratulations – now go enjoy the fruits of your labor!
Frequently Asked Questions
How can I tell if my enriched bread is baked through without cutting into it?
The best way is to use a thermometer! An internal temperature of 190-200°F is a reliable indicator for most enriched breads. Also, check for a golden-brown crust.
What makes enriched bread different from regular bread and how does that affect baking time?
Enriched bread contains fats, sugars, and/or eggs, which create a softer crumb and richer flavor. These ingredients can extend the baking time compared to lean doughs, requiring careful monitoring.
What are the common signs of over-baked enriched bread?
Over-baked enriched bread is often dry and crumbly. The crust can also become too dark and hard, and the bread may shrink significantly after cooling.
How does the size of the loaf affect the baking time of enriched bread?
Larger loaves require longer baking times to ensure the center is cooked through. Smaller loaves will bake faster, so adjust your timing accordingly.
What role does the oven temperature play in achieving perfectly baked enriched bread?
Maintaining the correct oven temperature is crucial. If the oven is too hot, the crust may brown too quickly while the inside remains underbaked. Use an oven thermometer to ensure accuracy.
Final Reflection: The Golden Crust and the Heart of the Matter
The perfect loaf of enriched bread, a testament to patience and precision, remains a culinary pursuit relevant today, transcending mere sustenance to become a symbol of comfort and craftsmanship. The seemingly simple act of baking bread, particularly enriched varieties, reveals a deeper connection to tradition and the satisfaction of creating something beautiful and delicious from humble ingredients. Mastering the timing, as discussed throughout this article, is key to unlocking that perfect result.
The journey to perfectly baked enriched bread is a microcosm of life itself – requiring careful attention to detail, a willingness to learn from mistakes, and an appreciation for the process. The subtle shifts in color, the delicate aroma, the satisfying sound of a perfectly formed crust – these are the sensory rewards that make the effort worthwhile. As the renowned baker, Jim Lahey, once said, Bread baking is a journey of discovery, a constant learning process, and the reward is a loaf that reflects your own unique touch.
This sentiment resonates deeply, highlighting the personal connection we forge with our creations.
Now, I invite you to consider your own baking journey. Don't be afraid to experiment, to adjust the timing based on your oven and your ingredients. Embrace the imperfections, for they are often the stepping stones to mastery. The next time you pull a loaf from the oven, take a moment to appreciate the artistry involved, the transformation of simple flour into something truly special. The perfectly baked enriched bread isn't just a culinary achievement; it's a testament to your dedication and a delicious reward for your efforts.
Unlock Your Inner Baker: Perfect Bread, Every Time!
Thanks for taking the time to learn the secrets to perfectly baked enriched bread! We hope you gained valuable insights that will elevate your baking game. Now, it's time to put your new knowledge into practice.
- Bake a loaf today! Try out the tips you just learned and experience the joy of perfectly golden-brown, fluffy bread. Don't be afraid to experiment!
- Share your baking triumphs (or challenges!) with us in the comments below. We'd love to see your creations and hear your baking stories.
- Challenge a friend to a baking showdown! See who can create the most delicious loaf using these techniques.
Ready to experience the satisfaction of perfectly baked bread? What's your favorite enriched bread recipe to bake?