
Simple Steps to Braid a Stunning Challah Loaf

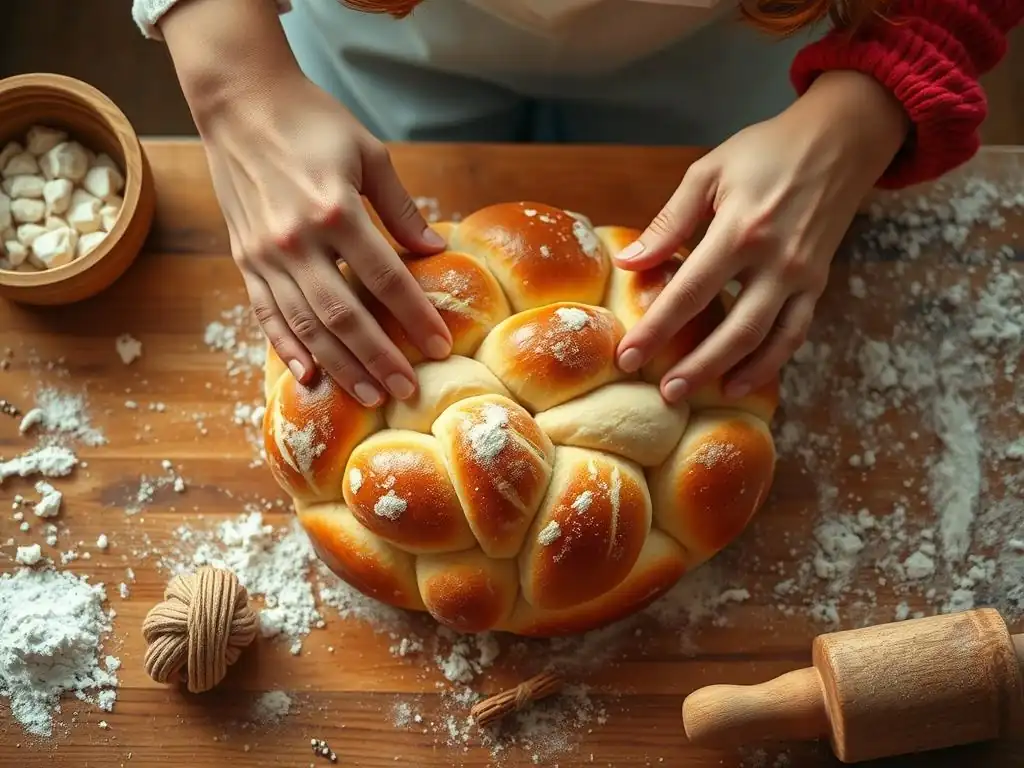
Welcome to BakeWithEase, your kitchen companion for unlocking the joy of baking! Ever wondered how to create that perfect, golden-brown challah? We’re about to demystify the process. Dive into our Easy Challah Braiding Tutorial and discover simple, step-by-step techniques that will transform your dough into a stunning, show-stopping loaf. Ready to impress your family and friends? Let's get started!
- Introduction to Braiding Challah: A Beginner's Guide for BakeWithEase
- Preparing Your Challah Dough for Braiding: Tips and Tricks
- Easy Challah Braiding Tutorial: Step-by-Step Instructions
- Baking Your Braided Challah: Achieving Golden Perfection
- Troubleshooting Common Challah Braiding Issues
- Serving and Storing Your Beautifully Braided Challah
- Beyond the Basics: Exploring Challah Variations and Flavors
- Conclusion: Mastering the Art of Challah Braiding with BakeWithEase
-
Frequently Asked Questions
- What makes this challah braiding tutorial considered "easy"?
- What kind of dough works best for this challah braiding tutorial?
- How many strands are typically used in an "easy" challah braid?
- What if my dough is too sticky or too dry during braiding?
- Where can I find more baking tips and recipes similar to this challah tutorial?
- Final Reflection: The Humble Braid, A Symbol of Connection
- Unleash Your Inner Baker: Braid Your Own Challah!
Introduction to Braiding Challah: A Beginner's Guide for BakeWithEase
Welcome to the wonderful world of challah baking! Few baked goods offer the same blend of rich flavor, soft texture, and stunning visual appeal as a beautifully braided challah loaf. While the intricate braids might look intimidating at first glance, mastering the technique is surprisingly achievable, even for beginners. This guide is designed to walk you through each step, making the process of creating your own gorgeous challah simple and enjoyable. Think of this as your friendly, easy challah braiding tutorial, breaking down complexity into manageable parts.
Our goal at BakeWithEase is to empower you with the knowledge and confidence to tackle new baking challenges. Braiding challah is a fantastic way to practice dough handling and shaping skills, which are fundamental in many areas of baking, especially with enriched doughs like brioche.
By following these simple steps, you'll not only learn how to braid a stunning loaf but also gain a deeper understanding of how dough behaves, setting you up for success in future baking adventures. Let's get started on your journey to creating a bread that's as delightful to look at as it is to eat.
Why Learn to Braid Challah? The Beauty and Tradition
Learning to braid challah connects you to a rich culinary tradition with deep roots, particularly in Jewish culture where it's often baked for Shabbat and holidays. Beyond its cultural significance, the act of braiding itself is incredibly satisfying. Transforming a simple mass of dough into a symmetrical, woven masterpiece feels truly magical and is a testament to the baker's skill and patience. The visual appeal of a braided challah loaf fresh from the oven is undeniable – it's a centerpiece that speaks of warmth, comfort, and homemade goodness.
Furthermore, the braiding technique isn't just for show; it contributes to the challah's unique texture. The multiple strands, when baked, create a pull-apart quality that's wonderfully soft and airy. Mastering the braid means you can consistently achieve this desirable texture. It's a skill that elevates your baking, making your challah loaves stand out, whether you're baking for your family, a special occasion, or just for the sheer joy of it. An easy challah braiding tutorial like this one opens the door to achieving that beautiful result yourself.
Understanding Challah Dough: Essential for Successful Braiding
Challah dough is fundamentally different from lean bread doughs (like baguettes) because it is enriched with eggs, oil (or butter), and sugar. These ingredients contribute significantly to its characteristic richness, softness, and slightly sweet flavor. For instance, a typical challah recipe might use 2-4 whole eggs and perhaps 1/4 to 1/2 cup of oil or melted butter per standard loaf, along with a few tablespoons of sugar. This high fat and sugar content inhibits gluten development compared to lean doughs, resulting in a tender crumb rather than a chewy one.
The composition of challah dough also affects its handling properties, which is crucial for successful braiding. It tends to be softer and more pliable than lean doughs, but ideally should not be excessively sticky after the initial kneading. The presence of fat makes it less likely to stick to your hands or the work surface, provided it's properly developed and not too wet. Understanding this balance – soft and pliable, but not overly sticky – is key to shaping the strands and executing an easy challah braiding tutorial without frustration.
Preparing Your Challah Dough for Braiding: Tips and Tricks
Before you even think about forming those beautiful braids, your challah dough needs to be properly prepared. This stage is just as important as the braiding itself, as it dictates how easy the dough is to handle and how well it holds its shape during proofing and baking. Taking a little extra time here will make the braiding process much smoother and lead to a more visually appealing final product.
The transition from a shaggy mass to a smooth, elastic dough ready for braiding involves proper kneading and resting. Ensure your dough has passed the "windowpane test," where a small piece can be gently stretched thin enough to see light through it without tearing. This indicates sufficient gluten development. After kneading, a bulk fermentation period (often 1-2 hours at room temperature, or longer in the refrigerator) allows the dough to relax and develop flavor, making it more amenable to shaping.
Achieving the Perfect Challah Dough Consistency for Easy Braiding
The ideal consistency for challah dough intended for braiding is smooth, elastic, and only slightly tacky to the touch. If the dough is too wet and sticky, it will be difficult to roll into even strands without excessive flour, which can result in a dry crust. Conversely, if the dough is too dry, it will be stiff, prone to tearing when rolled, and challenging to shape into uniform braids. A well-hydrated dough (often around 60-65% hydration relative to flour weight, plus the moisture from eggs) that has been properly kneaded will feel supple and resilient.
To check consistency, gently poke the dough; it should spring back slowly. If it springs back immediately, it might need a little more rest. If it doesn't spring back at all and feels heavy, it might be under-kneaded or too wet.
Adjusting consistency can sometimes be done during the final minutes of kneading by adding a tiny bit more flour if too sticky, or a few drops of water if too stiff. Aim for a dough that holds its shape when gently pressed but is still soft and pliable – this is the sweet spot for an easy challah braiding tutorial.
Proofing Your Challah Dough: The Key to a Light and Airy Braid
Proofing, or allowing the dough to rise, is critical for developing the challah's light and airy texture. The first rise (bulk fermentation) happens after kneading and before shaping. This allows the yeast to produce carbon dioxide, expanding the dough and developing flavor. A typical first rise is until the dough has roughly doubled in size, which can take anywhere from 1 to 2 hours at a warm room temperature (around 24-26°C or 75-80°F). Over-proofing at this stage can lead to a slack dough that's hard to braid, while under-proofing results in a dense final loaf.
The second rise, after the challah has been braided, is equally important. This final proof allows the shaped loaf to puff up, setting the structure of the braid before baking. This usually takes about 45-75 minutes, depending on the ambient temperature. The challah should look visibly puffier but should not have doubled in size again – it should still feel slightly delicate.
A good test is to gently poke the dough; if the indentation springs back slowly, it's ready. If it springs back immediately, it needs more time. If it doesn't spring back at all, it's likely over-proofed. Proper proofing ensures your braided challah bakes up beautifully and maintains its intricate shape.
Easy Challah Braiding Tutorial: Step-by-Step Instructions
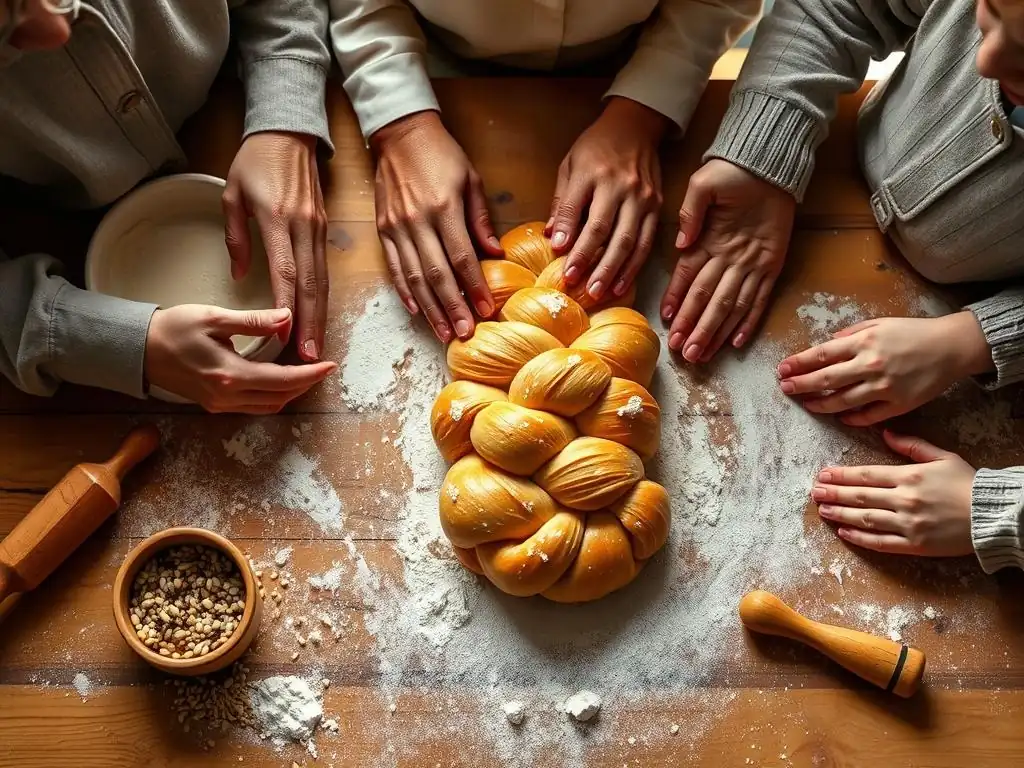
Now for the fun part! Transforming your prepared dough into a stunning braided challah loaf is a rewarding process. While there are several ways to braid challah, we'll focus on the most common and accessible methods. Remember, practice makes perfect, and even slightly imperfect braids taste delicious! This easy challah braiding tutorial will guide you through the basics.
Before you begin braiding, gently punch down your proofed dough and turn it out onto a lightly floured surface. Divide the dough according to how many strands you plan to use for your braid (most commonly 3, 4, or 6). For a standard loaf, a total dough weight of around 800-1000 grams works well, divided equally among the strands. For example, an 800g dough divided into 6 strands would mean each strand starts as a piece of dough weighing approximately 133 grams.
Step 1: Dividing and Shaping the Challah Dough Strands
Accurate division of the dough is the first step to achieving a symmetrical braid. Use a kitchen scale to divide the dough into equal portions based on the number of strands you've chosen. Equality in weight is key to having strands of similar thickness and length. For example, if making a 6-strand braid from 900g of dough, each piece should weigh 150g.
Once divided, shape each piece into a smooth, round ball. Let these balls rest for about 5-10 minutes, covered, to allow the gluten to relax. This relaxation period makes rolling the strands much easier. Now, take each ball and roll it into a long, even rope or strand.
Start by flattening the ball slightly, then using the palms of your hands, gently roll it back and forth, working from the center outwards, applying even pressure. Aim for strands of uniform thickness from end to end – thicker ends or middles will result in an uneven braid. The target length will depend on the braid type and desired loaf size, but for a standard loaf, strands are often rolled to about 14-18 inches long.
Step 2: Mastering the 3-Strand Challah Braid: A Simple Technique
The 3-strand braid is the simplest method and a perfect starting point for any easy challah braiding tutorial. It's essentially the same technique used for braiding hair. Arrange the three dough strands parallel to each other. Pinch the tops of the three strands firmly together to secure them at one end.
Now, begin braiding from the pinched end. Take the rightmost strand and cross it over the middle strand. The strand that was in the middle is now on the right. Next, take the leftmost strand and cross it over the new middle strand.
Continue alternating, crossing the rightmost strand over the middle, then the leftmost strand over the middle, working your way down the length of the ropes. Keep the tension relatively even as you braid, trying not to pull too tightly, which can make the loaf dense, or too loosely, which can cause gaps. Once you reach the end, pinch the three ends firmly together and tuck them neatly under the loaf.
Step 3: Advanced Challah Braiding: The 6-Strand Braid Explained
The 6-strand braid looks intricate but follows a logical pattern. Arrange the six strands parallel. Pinch the tops of all six strands firmly together. Mentally number the strands 1 through 6 from left to right. The pattern is always based on the outermost strands moving towards the center.
The sequence for a 6-strand braid is: Take the rightmost strand (number 6) and move it over two strands, then under one strand, and over the last two strands. It ends up in the middle-left position. Now, the strands have shifted. Re-number them mentally 1-6 from left to right.
Take the new rightmost strand (which was originally 5, then moved to 6, and is now the new rightmost) and repeat the pattern: over two, under one, over two. Continue this pattern, always taking the rightmost strand and moving it over two, under one, over two, until you reach the end. Pinch the ends together and tuck them under. This method creates a beautiful, wide, and symmetrical braid.
Tips for Evenly Spaced Strands in Your 6-Strand Challah
Achieving evenly spaced strands in a 6-strand challah braid requires consistent rolling and careful execution of the pattern. First, ensure all six strands are rolled to the same length and uniform thickness. If one strand is significantly thicker or shorter, it will disrupt the symmetry. Aim for ropes that are consistently around 1 inch in diameter along their entire length for a standard loaf.
As you braid, maintain consistent tension. Avoid pulling the strands too tight, as this can cause the braid to narrow and distort. Instead, guide the strands into place with gentle pressure. After each movement (over two, under one, over two), pause briefly to gently spread the strands slightly, creating space for the next strand to move through. This helps prevent crowding and ensures the characteristic open weave of the 6-strand braid. Checking your work periodically and making minor adjustments can also help keep the braid even as you progress down the loaf.
Step 4: Creating a Round Challah: A Festive Variation
A round challah, often baked for holidays like Rosh Hashanah, symbolizes continuity. The braiding technique differs slightly. For a round challah, you can use various numbers of strands (often 4, 5, or 6). After rolling your strands, arrange them like spokes of a wheel, pinching firmly in the center where they meet.
For a 4-strand round challah, imagine the strands are North, South, East, and West. Take the North strand and cross it over the South strand. Then take the East strand and cross it over the West strand. Now you have two pairs of crossed strands.
Pick up one pair and cross it over the other pair. Gently coil the resulting braid into a spiral, tucking the end underneath. For a 6-strand round challah, arrange the strands like spokes, pinch the center, and then braid outward from the center using the over-two, under-one pattern, spiraling the braid as you go, or braid a long 6-strand rope and coil it. The key is to keep the shape circular and the height relatively low for even baking.
Step 5: Tucking and Shaping: Securing Your Challah Braid
Once your challah braid is complete, the final step before the second proofing is to secure the ends and give the loaf its final shape. This prevents the braid from unraveling during proofing and baking and creates a neat, finished appearance. For a straight loaf (like a 3- or 6-strand braid), pinch the ends of the strands firmly together at both the top and bottom of the braid.
Then, gently tuck these pinched ends underneath the loaf. This creates tension on the braid, helping it maintain its structure as it rises and bakes. If you've braided a round challah, ensure the outer end of the coiled braid is tucked securely underneath the loaf. Gently cup your hands around the loaf and nudge it into a pleasing, compact shape on your baking sheet. This final shaping step is quick but essential for a well-formed challah.
Baking Your Braided Challah: Achieving Golden Perfection
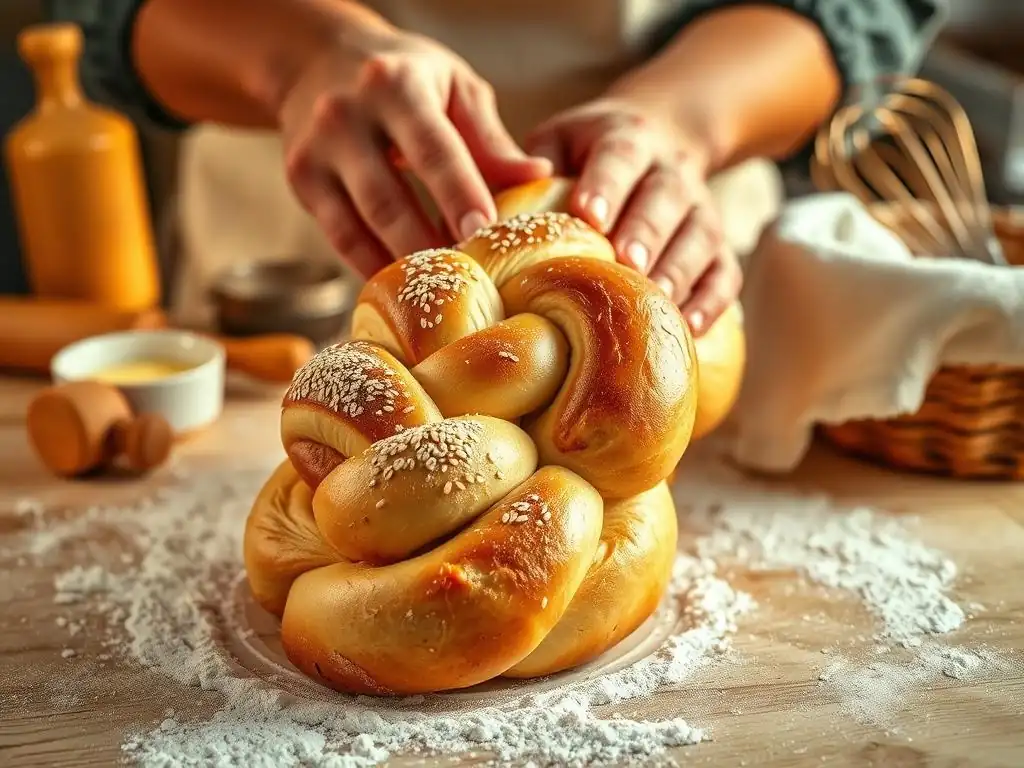
You've mastered the art of the challah braid; now it's time to bring it to life in the oven! The baking process transforms the soft dough into a golden, fragrant loaf with a beautiful crust and a tender interior. Proper preparation before baking and attentive monitoring during the process are key to achieving that perfect result.
Before placing your braided challah in the oven, it needs a final touch that significantly impacts its appearance: the egg wash. This simple step is crucial for developing that signature glossy, golden-brown crust that makes challah so visually appealing.
Egg Wash Application: Enhancing Shine and Color
Applying an egg wash is a simple yet transformative step for your braided challah. A standard egg wash is made by whisking together one large egg with a tablespoon or two of water or milk. This creates a thin liquid that, when brushed over the dough's surface, helps achieve a rich color and a beautiful shine during baking. For an even deeper golden hue and more shine, you can use an egg yolk mixed with a splash of water or milk. Some bakers prefer a whole egg with no added liquid for maximum color.
Using a pastry brush, gently and evenly coat the entire surface of your braided loaf with the egg wash. Be careful not to let pools of wash collect in the crevices of the braid, as this can create uneven color spots. Apply it right before placing the challah in the oven. For added texture and flavor, you can sprinkle sesame seeds or poppy seeds over the egg wash. The egg wash helps the seeds adhere beautifully to the crust.
Baking Time and Temperature: Preventing Burning and Ensuring Doneness
Baking challah at the correct temperature and for the right amount of time is vital for ensuring it's cooked through without burning the crust. A common starting point is to preheat your oven to around 190-200°C (375-400°F). The exact temperature may vary slightly depending on your oven and the size of your loaf. A standard 1-kilogram loaf typically bakes for approximately 30-40 minutes.
You can tell your challah is done when the crust is a deep golden brown and the internal temperature reaches around 88-93°C (190-200°F) when measured with an instant-read thermometer inserted into the thickest part of the loaf. If the crust is browning too quickly before the interior is cooked, you can loosely tent the challah with aluminum foil for the remainder of the baking time. Baking until the correct internal temperature is reached ensures the crumb is fully set and not doughy inside.
Cooling Your Challah: Maintaining Texture and Preventing Soggy Bottoms
Once your beautifully braided challah emerges from the oven, the waiting isn't quite over. Proper cooling is essential for its final texture. Immediately transfer the hot challah from the baking sheet to a wire cooling rack. Leaving it on a solid surface like the baking sheet can trap steam, leading to a soggy bottom crust.
Allow the challah to cool completely on the wire rack before slicing into it. This can take at least 1-2 hours for a standard-sized loaf. As the challah cools, the internal structure sets further, and moisture distributes evenly throughout the crumb. Slicing into a hot loaf can result in a gummy texture and a less defined crumb structure. Patience during the cooling process is rewarded with the best possible texture and flavor.
Troubleshooting Common Challah Braiding Issues
Even with an easy challah braiding tutorial, sometimes things don't go exactly as planned. Don't get discouraged! Many common issues have simple solutions. Understanding why a problem occurs is the first step to fixing it in the future and improving your challah braiding skills.
Identifying the root cause of issues like sticky dough or braids that lose shape is key to becoming a confident challah baker. Most problems relate back to dough consistency, proofing, or handling technique during the braid itself. Let's look at some frequent challenges and how to overcome them.
Dough Too Sticky: Solutions for Easier Handling
If your challah dough is excessively sticky after kneading, making it difficult to roll into ropes for braiding, there are a few potential culprits and solutions. One common reason is slightly too much hydration (water/liquid) in the recipe relative to the flour, or perhaps inconsistent measuring. Another could be insufficient kneading time; proper gluten development makes dough less sticky.
If the dough is sticky after the first rise, you can try lightly flouring your hands and the work surface before dividing and shaping. Use flour sparingly, though, as adding too much can dry out the dough. If the dough is very sticky and slack, gently knead in a tablespoon or two of flour into the whole mass until it becomes more manageable.
For future batches, slightly reduce the liquid amount or ensure you are kneading for the recommended time until the dough is smooth and elastic. Chilling the dough briefly (30-60 minutes in the refrigerator) can also make it firmer and easier to handle for braiding.
Uneven Braids: Techniques for Achieving Symmetry
Uneven braids are often a result of strands that are not uniform in thickness or length, or inconsistent tension during the braiding process. If your strands are thicker at one end or in the middle, the resulting braid will naturally be lopsided. Aim to roll each strand to the same diameter from end to end. Practice rolling on a lightly floured surface, using even pressure across your palms.
During braiding, try to apply consistent tension to each strand as you move it into place. Avoid pulling one strand significantly tighter than others. For multi-strand braids (4 or more), pausing after each step to gently arrange the strands and ensure they are not twisted or tangled can help maintain symmetry. If you notice a section is uneven, you can sometimes gently un-braid a few inches and re-braid more carefully, provided the dough hasn't proofed too much already.
Braids Unraveling During Baking: Preventing Loss of Shape
If your beautifully braided challah loses its definition or completely unravels in the oven, it's usually a sign of over-proofing. When dough is over-proofed, the gluten structure becomes weakened, and it loses its ability to hold its shape when subjected to the heat of the oven. The rapid expansion (oven spring) can cause weak points in the braid to separate.
To prevent this, pay close attention to the second proofing stage. The challah should look visibly puffy but not slack or spread out. The poke test (indentation springs back slowly) is a good indicator. Ensure you pinch and tuck the ends of the braid firmly underneath the loaf before the final proof. Baking on a preheated baking stone or steel can also provide a strong initial burst of heat from below, helping to set the base of the loaf and maintain its shape during oven spring.
Serving and Storing Your Beautifully Braided Challah
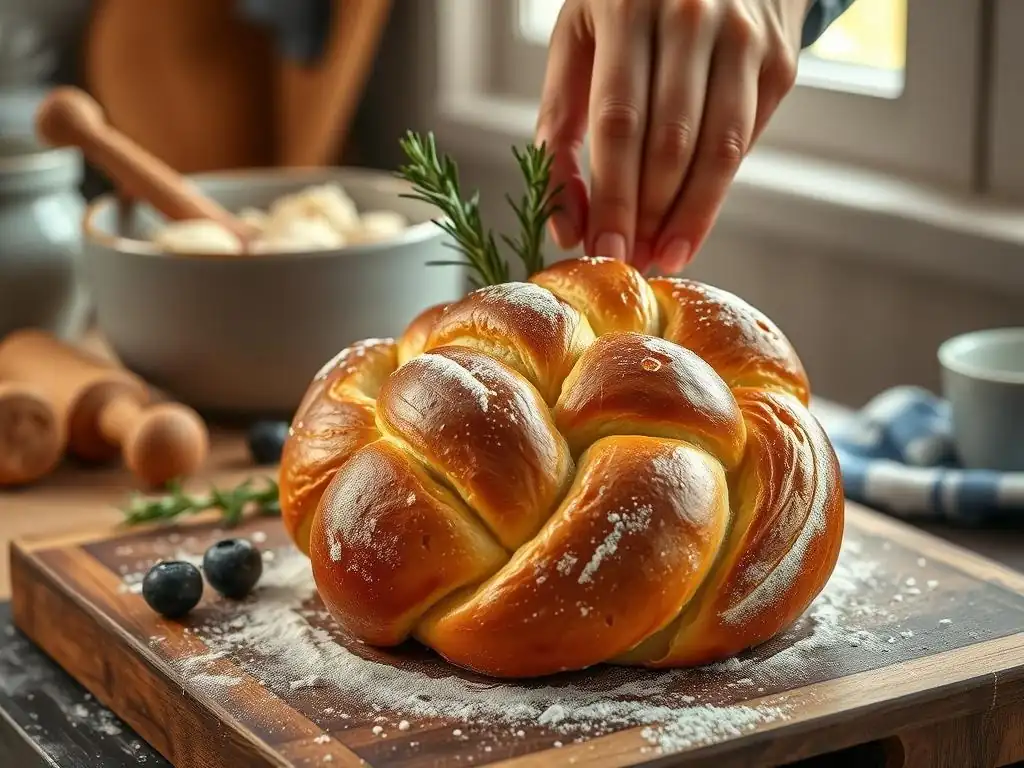
Congratulations! You've successfully braided and baked a stunning challah loaf using this easy challah braiding tutorial. Now comes the best part: enjoying the fruits of your labor. Challah is incredibly versatile and delicious on its own, but it also pairs wonderfully with various accompaniments.
Whether you plan to serve it immediately or save some for later, knowing the best ways to enjoy and store your challah will ensure you get the most out of your homemade bread. The soft, rich crumb is perfect for slicing and sharing.
Serving Suggestions: Pairing Challah with Delicious Accompaniments
Challah is a versatile bread that shines in many contexts. Sliced thickly and served simply with butter is a classic and delightful way to enjoy its rich flavor and soft texture. It's also fantastic for making the most incredible French toast you've ever had, thanks to its slightly sweet and eggy nature that absorbs the custard beautifully.
Beyond butter and French toast, challah pairs well with jams, honey, or a sprinkle of sea salt. It makes excellent sandwiches, providing a soft counterpoint to savory fillings. Consider serving slices alongside soups or stews for dipping. The possibilities are nearly endless for showcasing your beautifully braided challah loaf.
Storing Challah for Freshness: Keeping Your Loaf Soft and Moist
Challah is best enjoyed fresh on the day it's baked, as its soft texture is at its peak. However, if you have leftovers, proper storage is key to maintaining its freshness and moisture. Once completely cooled, store the challah at room temperature in an airtight container or a bread bag. Avoid refrigerating challah, as this can actually cause it to stale faster.
For longer storage, challah freezes exceptionally well. Slice the cooled loaf, then wrap the slices tightly in plastic wrap or aluminum foil and place them in a freezer-safe bag or container. Frozen challah can be kept for up to 2-3 months. To enjoy, simply thaw slices at room temperature or pop them directly into a toaster. A whole loaf can be thawed at room temperature, then refreshed in a warm oven (around 150°C or 300°F) for 10-15 minutes to bring back some of its fresh-baked warmth and softness.
Beyond the Basics: Exploring Challah Variations and Flavors
Once you've mastered the basic challah braiding techniques described in this easy challah braiding tutorial, you can start experimenting with variations to add extra flavor and texture. Challah dough is a wonderful base that can be adapted to incorporate a range of sweet or savory additions, making each loaf unique.
Exploring different mix-ins not only changes the flavor profile but can also slightly affect the dough's handling during braiding. Understanding how these additions interact with the dough will help you successfully incorporate them into your future challah creations.
Sweet Challah Braiding: Adding Raisins and Other Dried Fruits
One of the most popular sweet variations of challah involves adding raisins. Typically, about 1/2 cup to 1 cup of raisins can be gently kneaded into the dough towards the end of the main kneading process. Ensure the raisins are evenly distributed without overworking the dough. Other dried fruits like cranberries, currants, or chopped apricots can also be used, adding different notes of sweetness and chewiness.
To prevent dried fruits from making the dough sticky or burning during baking, you can plump them first by soaking them in hot water or juice for about 10-15 minutes, then draining them thoroughly and patting them dry before adding them to the dough. Adding sweet elements like cinnamon sugar swirls between the strands before braiding is another delightful variation. This requires rolling the strands flat, sprinkling with the filling, and then rolling them back into ropes before braiding.
Savory Challah Braiding: Incorporating Herbs and Spices
Challah doesn't have to be sweet! Savory variations are equally delicious. Fresh or dried herbs like rosemary, thyme, or dill can be kneaded into the dough. A tablespoon or two of finely chopped fresh herbs or a teaspoon of dried herbs per loaf adds a wonderful aromatic quality. Spices such as garlic powder, onion powder, or a pinch of black pepper can also enhance the savory profile.
Another savory option is to incorporate roasted garlic cloves or caramelized onions into the dough. These additions bring moisture and intense flavor, so add them gently during the last minute of kneading. Cheeses, like shredded cheddar or Parmesan, can also be mixed into the dough or sprinkled between the strands before braiding for a cheesy challah loaf. Be mindful that adding solid ingredients can make the dough slightly harder to roll into smooth, even strands for braiding, so take extra care during shaping.
Experimenting with Different Flour Types for Unique Challah Textures
While most traditional challah recipes use bread flour for its strong gluten development, which helps support the rich dough, experimenting with other flour types can yield interesting textures and flavors. Using a portion of whole wheat flour (perhaps 20-30% of the total flour weight) will result in a denser, heartier loaf with more fiber and a nuttier flavor. This dough might feel slightly less elastic during braiding.
Alternatively, using a mix of bread flour and a softer flour like all-purpose flour (e.g., a 50/50 blend) can produce a slightly more tender crumb. Some bakers even experiment with spelt flour for a unique taste profile. When substituting flours, be aware that different flours absorb liquid differently, so you might need to slightly adjust the amount of water or milk in the recipe to achieve the correct dough consistency for easy challah braiding. Start with small substitutions until you are comfortable with how the dough behaves.
Conclusion: Mastering the Art of Challah Braiding with BakeWithEase
Learning to braid a stunning challah loaf is a rewarding baking skill that adds a touch of artistry to your kitchen. By following the simple steps outlined in this easy challah braiding tutorial, you've seen that creating these beautiful woven breads is well within reach for bakers of all levels. From understanding the unique properties of challah dough to mastering the techniques for dividing, shaping, and braiding strands, you now have the foundation to bake impressive loaves consistently.
Remember that baking is a journey, and each loaf is an opportunity to learn and improve. Don't strive for immediate perfection; focus on the process and the joy of creating something delicious from scratch. Whether you choose a simple 3-strand braid or tackle a more complex 6-strand pattern, the act of braiding challah is a satisfying experience in itself.
Enjoying the Process and Sharing Your Braided Challah Creations
Beyond the technical steps, the true pleasure of baking challah lies in the process and the sharing. The aroma filling your home as it bakes is incredibly comforting, and the act of pulling apart a warm, soft slice is pure bliss. Share your beautiful challah loaves with friends and family; homemade bread is a gift that is always appreciated.
We encourage you to experiment with different braiding patterns, explore the flavor variations discussed, and make this easy challah braiding tutorial your starting point for countless delicious loaves. Visit BakeWithEase.com for more recipes, tips, and inspiration to continue your baking adventures. Happy braiding!
Frequently Asked Questions
What makes this challah braiding tutorial considered "easy"?
The tutorial emphasizes simple steps and visual aids, breaking down the braiding process into manageable chunks for bakers of all skill levels. It avoids complex techniques, focusing on a beginner-friendly approach.
What kind of dough works best for this challah braiding tutorial?
This tutorial is designed for a standard challah dough, often containing ingredients like flour, yeast, eggs, oil, and sugar. Ensure your dough is pliable and easy to work with for optimal braiding results.
How many strands are typically used in an "easy" challah braid?
While more complex braids exist, this tutorial likely focuses on a simpler braid, such as a three or six-strand braid. This keeps the process manageable and visually appealing without being overly complicated.
What if my dough is too sticky or too dry during braiding?
Adjusting the dough's consistency is key. If too sticky, lightly dust your work surface with flour. If too dry, lightly moisten your hands with water. The goal is to achieve a pliable, easy-to-handle dough for braiding.
Where can I find more baking tips and recipes similar to this challah tutorial?
BakeWithEase.com offers a wide range of baking resources, including step-by-step guides, easy-to-find ingredients, and techniques for various baked goods, catering to all skill levels.
Final Reflection: The Humble Braid, A Symbol of Connection
The art of braiding a challah loaf transcends mere culinary skill; it's a tangible representation of connection, tradition, and the simple joys of creation. In a world increasingly dominated by instant gratification and pre-packaged goods, taking the time to carefully braid a challah offers a powerful counterpoint—a mindful act that connects us to our heritage and fosters a sense of accomplishment. This simple act, as demonstrated in this easy challah braiding tutorial, is surprisingly profound.
The beauty of the challah braid lies not just in its visual appeal, but in the generations of bakers who have passed down this technique. It's a symbol of continuity, a link to our ancestors, and a testament to the enduring power of shared traditions. Bread is the staff of life,
a saying that resonates deeply when considering the ritual and care involved in creating a challah. The process itself becomes a meditation, a quiet moment of focus amidst the chaos of daily life.
Now, I invite you to try your hand at braiding your own challah. Don't be intimidated by the seemingly intricate process; remember the simple steps outlined in this tutorial. Embrace the imperfections, for they are part of the beauty.
Let the act of braiding become a moment of self-care, a time to connect with your inner creativity, and a way to share a piece of yourself with others. The aroma of freshly baked challah, the satisfaction of a job well done, and the joy of sharing it with loved ones—these are the true rewards of this humble, yet deeply meaningful, craft.
Unleash Your Inner Baker: Braid Your Own Challah!
Thanks for taking the time to learn about the art of challah braiding! We hope you now feel confident and inspired to create your own beautiful and delicious loaf. Ready to get baking?
- Dive right in and braid your first challah! Use the techniques you learned today to create your masterpiece. Don't worry about perfection – the joy is in the process!
- Share your challah creation on social media using #BakeWithEaseChallah and tag us – we'd love to see your baking journey!
- Explore our other easy bread recipes for more baking inspiration. You might be surprised at what you can create!
What delicious additions will you incorporate into your next challah braid? Let's hear your ideas in the comments below!