
Can You HandKnead Brioche? Tips for Success

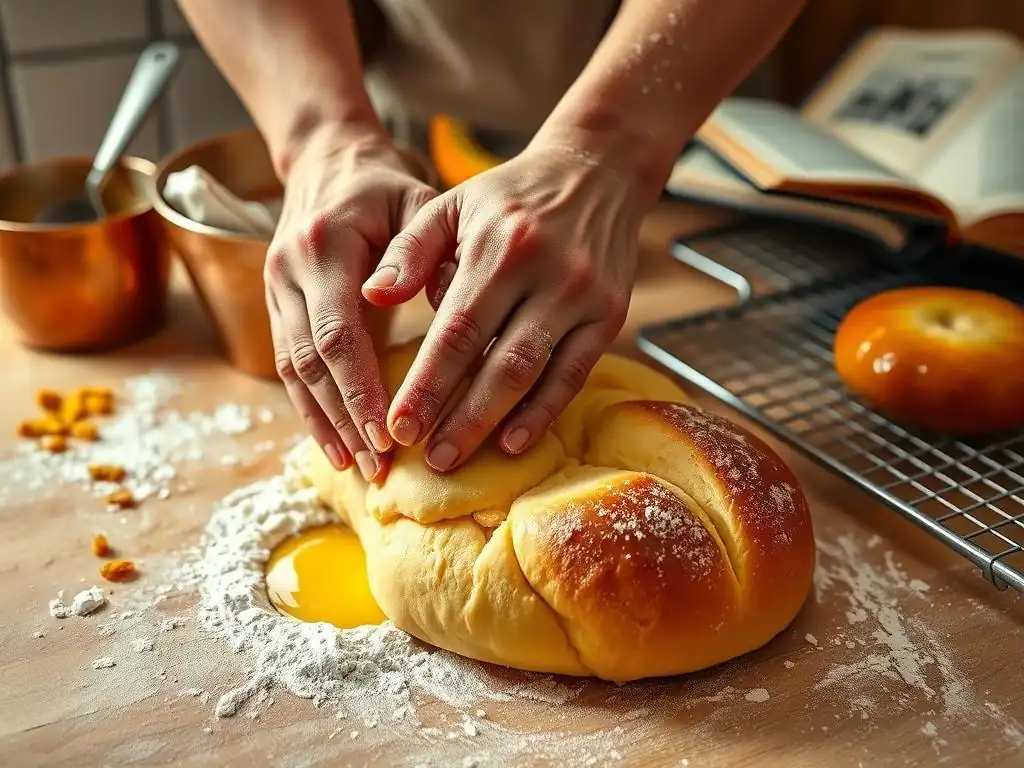
Welcome to BakeWithEase, your companion in the delightful world of baking! Ever wondered if you could achieve that perfect, airy texture of brioche without fancy equipment? In this article, we unravel the secrets to handkneading brioche dough successfully. Discover the techniques and tips that will empower you to create this exquisite pastry, even without a stand mixer. Eager to unlock the secrets? Let's get started!
- Introduction: Mastering Brioche by Hand with BakeWithEase
- Understanding Brioche Dough: Key Elements for Hand Kneading
- The Hand Kneading Process: A Step-by-Step Guide to Brioche Perfection
- Troubleshooting Hand-Kneaded Brioche: Common Issues and Solutions
- Tips for Successfully Handkneading Brioche Dough
- Storing and Baking Your Hand-Kneaded Brioche
- Hand-Kneaded Brioche vs. Machine-Kneaded Brioche: A Comparison
- Conclusion: Achieving Brioche Baking Success with Hand Kneading
- Frequently Asked Questions
- Final Reflection: The Humble Art of Hand-Kneading Brioche
- Unleash Your Inner Baker: Knead Brioche Like a Pro!
Introduction: Mastering Brioche by Hand with BakeWithEase
Welcome to BakeWithEase, where we believe that mastering baking is within everyone's reach, one delicious recipe at a time. Brioche, with its rich, tender crumb and golden crust, is often seen as a challenging bake, particularly when it comes to kneading. Many recipes assume you'll use a stand mixer, but what if you prefer the tactile experience of working dough by hand?
Or perhaps you simply don't own a mixer? The good news is, yes, you absolutely can handknead brioche dough successfully! It requires patience and a slightly different technique than kneading leaner doughs, but the result is incredibly rewarding – a truly luxurious bread crafted entirely by your own hands.
This guide will walk you through the nuances of working with this enriched dough without the aid of machinery. We'll cover everything from understanding the unique properties of brioche to mastering the specific hand kneading technique required. By the end, you'll feel confident tackling this classic French bread, proving that a stand mixer isn't a prerequisite for achieving brioche baking success right in your own kitchen. Get ready to experience the satisfaction of transforming simple ingredients into a rich, buttery loaf through the power of your hands.
Understanding Brioche Dough: Key Elements for Hand Kneading
What Makes Brioche Different? Exploring the Richness and Texture
Brioche stands apart from standard bread doughs primarily due to its high fat and egg content. While a typical lean bread dough might contain just flour, water, yeast, and salt, brioche incorporates significant amounts of butter and eggs, sometimes even milk or cream. This abundance of enrichments inhibits gluten development initially, making the dough very soft, sticky, and challenging to handle compared to, say, a rustic baguette dough. The fat coats the gluten strands, slowing their formation and making the dough feel heavy and greasy.
The unique composition is precisely what gives brioche its signature characteristics: an incredibly tender, soft, and almost cake-like crumb, a beautiful golden color from the egg yolks, and a rich, buttery flavor. Developing sufficient gluten strength is crucial to support this heavy structure and prevent the dough from collapsing during proofing and baking. Hand kneading brioche dough successfully means working through this initial stickiness and resistance to build a strong, elastic network capable of trapping the gases produced by the yeast, resulting in that desired light and airy texture despite the richness.
The Importance of Ingredients for Hand-Kneaded Brioche
The quality and temperature of your ingredients play an even more critical role when you handknead brioche dough. Because you are relying solely on manual effort to develop gluten and incorporate fat, starting with ingredients that are prepared correctly can make a significant difference in the ease of handling and the final outcome. Using cold ingredients, especially butter, can make the dough stiff and difficult to work, while ingredients that are too warm might make it excessively sticky.
Paying attention to the specifics of your flour, butter, and eggs will set you up for success. For instance, the protein content of your flour affects gluten development, the temperature of your butter dictates how easily it incorporates, and the size and temperature of your eggs influence the dough's hydration and richness. Getting these elements right from the start minimizes frustration and maximizes your ability to build a smooth, elastic dough through hand kneading, leading to a beautifully textured brioche.
High-Quality Flour: Choosing the Right Type for Brioche Dough
Choosing the right flour is fundamental when you plan to handknead brioche dough. A high-protein bread flour is generally recommended. Bread flour typically has a protein content between 12% and 14%, significantly higher than all-purpose flour (around 10-12%). This higher protein level is essential for developing a strong gluten network capable of supporting the heavy load of butter and eggs in brioche. Without sufficient gluten strength, the dough would be too weak to rise properly, resulting in a dense, heavy loaf.
While all-purpose flour can be used in a pinch, you may find it more challenging to develop adequate gluten by hand, potentially leading to a slightly less airy crumb. Look for unbleached bread flour, as the bleaching process can sometimes weaken the protein. Using a scale for measuring flour rather than volume (cups) is also highly recommended, as it ensures accuracy. A difference of just 20-30 grams of flour can significantly impact the dough's hydration and handling properties when hand kneading brioche, making precise measurement key.
Butter: The Secret Ingredient for Brioche's Signature Flavor
Butter is arguably the most defining ingredient in brioche, contributing both richness and tenderness. For hand-kneaded brioche, the state of your butter is crucial for successful incorporation. It needs to be very soft, almost pommade consistency, but not melted or greasy. Cold, hard butter will tear the dough and be nearly impossible to distribute evenly by hand, leading to a lumpy, uneven texture. Melted butter will make the dough excessively greasy and inhibit gluten development.
Using high-quality unsalted butter is recommended, as it allows you to control the salt content of the dough. European-style butters, often with a higher fat content (around 82% compared to 80% in many American butters), can contribute to an even richer flavor and softer crumb. Ensure your butter is at room temperature for at least an hour, or gently warm it until it yields easily to pressure without being oily. Incorporating this soft butter gradually is a key step in successfully handkneading brioche dough.
Eggs: Adding Structure and Moisture to Your Brioche
Eggs play multiple roles in brioche dough: they add richness, contribute to the golden color, provide moisture, and their proteins contribute to the dough's structure. Most brioche recipes call for large eggs, which typically weigh around 50-55 grams each without the shell. Using the correct size specified in the recipe is important for maintaining the proper hydration balance, especially when hand kneading, as deviations can make the dough too wet or too dry.
Like butter, using room-temperature eggs is beneficial. Cold eggs can stiffen the dough and make it harder to work, particularly when adding them after the initial mix. Bringing eggs to room temperature allows them to integrate more smoothly into the dough, contributing to a consistent texture. The lecithin in egg yolks also acts as an emulsifier, helping to create a smoother, more stable dough structure as you handknead, contributing to that characteristic tender crumb.
The Hand Kneading Process: A Step-by-Step Guide to Brioche Perfection
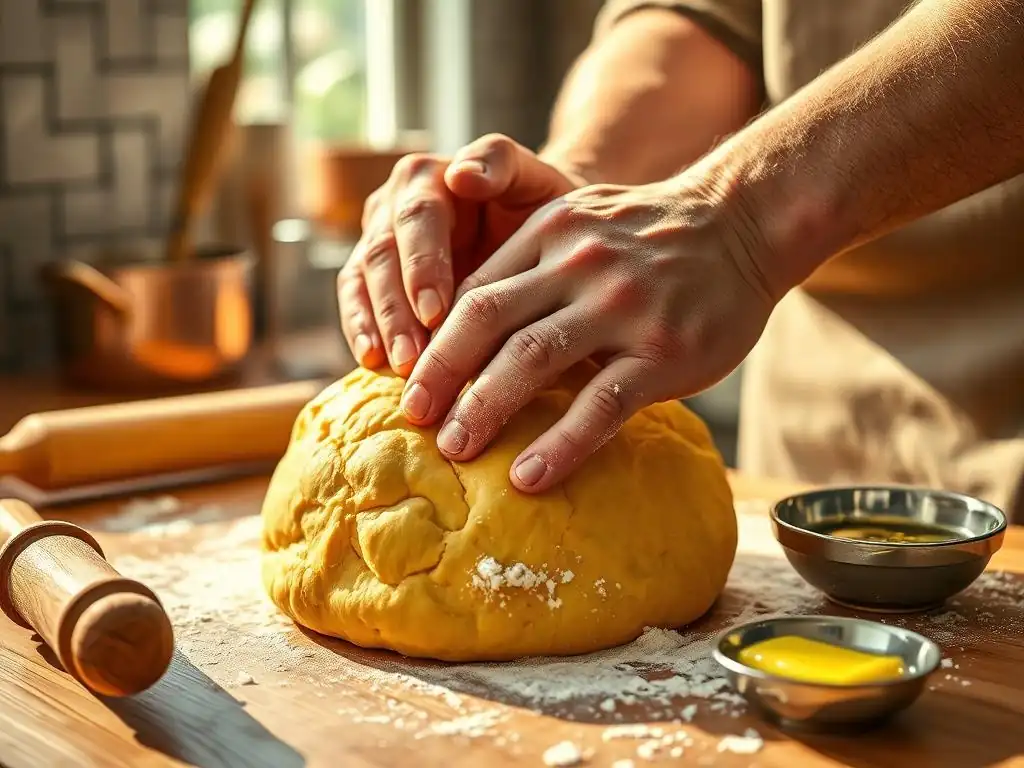
Step 1: Preparing Your Ingredients for Hand Kneading
Successful handkneading brioche dough begins long before your hands touch the mixture. Preparation is key, particularly with enriched doughs. Start by ensuring all your ingredients are measured accurately. Use a digital scale for flour, sugar, salt, and yeast for the most reliable results. Liquids like milk or water can be measured by volume or weight. Having everything pre-measured and ready to go prevents frantic searching mid-process, which is especially helpful when dealing with a sticky dough.
Beyond measuring, pay close attention to ingredient temperatures. As discussed, room-temperature eggs and very soft (but not melted) butter are non-negotiable for ease of hand kneading. If your kitchen is cool, you might need to gently warm liquids slightly (around 75-80°F or 24-27°C) to help activate the yeast, but avoid making them hot, which could kill it. Having your workspace clean and ready, perhaps with a bench scraper nearby, will also streamline the process.
Measuring and Combining Dry Ingredients Accurately
Precise measurement of dry ingredients is the foundation of any good bake, and it's especially critical when you handknead brioche dough. Flour, sugar, salt, and yeast should be measured using a scale whenever possible. For example, a recipe might call for 500 grams of bread flour, 50 grams of sugar, 10 grams of salt, and 7 grams of instant dry yeast. Using a scale ensures you have the exact ratios needed for the dough's structure and flavor profile.
Once measured, these dry ingredients are typically combined in a large mixing bowl. Whisking them together briefly helps to distribute the salt and yeast evenly throughout the flour. This step is simple but important, as it ensures that the yeast is ready to interact with the liquid and that the salt (which can inhibit yeast activity in high concentrations) is dispersed, preventing uneven rising later on. This initial mix sets the stage for the wet ingredients to be incorporated smoothly.
Preparing the Butter for Incorporation
The butter for brioche needs to be incorporated after the initial dough has come together and some gluten has started to develop. For hand kneading, this butter must be incredibly soft – think the consistency of mayonnaise or soft serve ice cream. If it's too cold, it won't blend in smoothly; if it's melted, it will make the dough greasy and difficult to work with. The ideal temperature is typically between 65°F and 70°F (18°C and 21°C).
One effective way to prepare the butter is to cut it into small cubes (about 1/2 inch or 1 cm) and let it sit at room temperature for an hour or two. You should be able to easily smear it with your finger. Alternatively, you can gently warm it in a microwave for just a few seconds at a time, checking the consistency frequently. Avoid the temptation to speed this up by melting it completely; the goal is softness, not liquefaction. Having the butter ready in this state is vital for successfully handkneading brioche dough without a sticky mess.
Step 2: The Initial Mix: Bringing the Dough Together
The initial mixing stage for brioche is about bringing the dry and wet ingredients together to form a shaggy mass. This can be done directly in your mixing bowl. Start by combining your pre-measured dry ingredients. In a separate bowl or jug, whisk together the wet ingredients, which typically include eggs, and potentially milk or water, and sometimes melted or very soft butter depending on the recipe's method.
Pour the wet ingredients into the center of the dry ingredients. Using a wooden spoon, spatula, or your hands, begin to mix everything together from the center outwards. The mixture will initially be very sticky and uneven. Continue mixing until there are no dry pockets of flour left and everything appears roughly combined. This stage is not about developing gluten yet, but simply hydrating the flour and bringing all the components into a single mass.
Combining Flour, Yeast, and Liquid Ingredients
In the initial mixing bowl, you will have your flour, sugar, salt, and yeast. Separately, you'll have your liquid components – usually eggs, and sometimes milk or a little water. Some recipes might have you bloom active dry yeast in a warm liquid first, while others use instant yeast mixed directly with the dry ingredients. Follow your specific recipe's instructions.
Pour the liquid mixture into the bowl with the dry ingredients. Begin to stir with a sturdy spoon or spatula. The dough will be quite wet and sticky at this point due to the high hydration and the presence of eggs and potential milk. The goal is to hydrate all the flour and bring the mixture together into a cohesive mass, even if it's lumpy and clings to the sides of the bowl. Continue stirring until no dry flour remains visible.
Achieving a Shaggy Dough Texture
After combining the wet and dry ingredients, you will arrive at what bakers call a "shaggy dough." This is a rough, uneven mass where the ingredients are just barely holding together. It will look lumpy, sticky, and not at all smooth or elastic – and that's exactly right! At this stage, the gluten network has not yet begun to form properly.
The shaggy texture indicates that all the flour has been hydrated. You might still see small clumps, but there shouldn't be any dry patches. This is the point where you transition from mixing to kneading, either by hand or machine. For handkneading brioche dough, you'll typically turn this shaggy mass out onto a clean, lightly floured surface (or keep it in the bowl, depending on your preferred technique) to begin the intensive kneading process needed to develop the gluten structure.
Step 3: The Kneading Stage: Developing Gluten Strength
This is where the real work of handkneading brioche dough begins. Unlike leaner doughs that might take 8-10 minutes to knead by hand, enriched doughs like brioche require a more extended and vigorous effort to build sufficient gluten strength to support the heavy fat and egg content. You need to transform that shaggy, sticky mass into a smooth, elastic dough that can be stretched thin without tearing (the "windowpane test").
The high proportion of butter and eggs initially interferes with gluten development, making the dough very soft and often quite sticky. Patience is key here. You'll need to employ specific hand kneading techniques designed for wet or enriched doughs, focusing on stretching and folding rather than just pushing and pulling. This stage can take anywhere from 15 to 25 minutes of continuous kneading, sometimes even longer, depending on your technique and the dough's hydration.
Mastering the Hand Kneading Technique for Brioche
Hand kneading brioche dough successfully requires a technique that manages its stickiness while developing gluten. A common and effective method is the 'stretch and fold' or 'slap and fold' technique. Instead of traditional push-and-fold kneading on a floured surface (which can incorporate too much flour and make the dough tough), you work the dough on a clean, unfloured or very lightly oiled surface.
To perform the slap and fold: pick up the dough, slap it down onto the counter, stretch it out slightly, and fold it back onto itself. Repeat this motion rhythmically. The dough will be incredibly sticky at first, clinging to your hands and the counter. Resist the urge to add excessive flour. As you continue slapping and folding, the gluten will develop, and the dough will gradually become less sticky, more elastic, and easier to handle. Use a bench scraper to gather the dough if it spreads too much.
How Long to Knead Brioche Dough by Hand
Determining exactly how long to handknead brioche dough is more about feel and observation than a strict timer. However, as a general guideline, expect to knead for at least 15-20 minutes of continuous, active work after the initial ingredients are combined. For very rich doughs, it might take closer to 25-30 minutes.
You'll know the dough is sufficiently kneaded when it passes the windowpane test. Take a small piece of dough (about the size of a golf ball) and gently stretch it between your fingers. If you can stretch it thin enough to see light through it without it tearing, the gluten is well-developed. The dough should also feel smooth, elastic, and much less sticky than when you started, pulling away cleanly from the counter (or your hands, using the slap and fold method). It will have a smooth, satiny appearance.
Step 4: Incorporating the Butter: The Key to Brioche's Richness
Incorporating the significant amount of butter is often the most challenging part of handkneading brioche dough. This step happens after the initial gluten structure has been developed. Adding the fat too early inhibits gluten formation, while adding it at this stage allows the developed gluten network to encase the butter, resulting in that incredibly tender crumb.
The dough will become very soft, slippery, and potentially messy again as you add the butter. It might look like it's separating or breaking down – don't panic! This is normal. Continue kneading patiently. The gluten network you built in the previous step will gradually absorb the butter, transforming the dough from greasy and broken to smooth, shiny, and incredibly pliable. This phase can take another 10-15 minutes of dedicated kneading.
Adding Butter Gradually for Smooth Incorporation
The key to successfully incorporating butter when you handknead brioche dough is to add it gradually. Don't dump all the soft butter into the dough at once. Instead, add it in small pieces, perhaps a tablespoon or two at a time. After each addition, knead the dough until that portion of butter is fully absorbed before adding the next piece.
This gradual process allows the dough to slowly emulsify the fat. As you knead, use your hands to work the butter into the dough, stretching and folding the dough over the butter pieces. The dough will feel very greasy and may tear initially. Continue kneading patiently; eventually, the dough will begin to absorb the butter and become cohesive again. This process requires persistence, but it's essential for achieving a smooth, homogenous dough texture and even distribution of fat.
Dealing with Sticky Brioche Dough During Butter Incorporation
Brioche dough is inherently sticky, and it becomes even more so during the butter incorporation phase. This is where a bench scraper becomes your best friend. As you knead in the butter, the dough will likely spread out and stick to your work surface and hands. Use the bench scraper to scrape the dough from the counter and gather it back into a mass.
Resist the urge to add more flour. While it might make the dough easier to handle initially, adding too much flour will alter the recipe's hydration balance and can lead to a tough or dry brioche. Instead, rely on the bench scraper, and perhaps lightly oiling your hands or the scraper if needed. The dough will eventually absorb the butter and become less sticky as you continue to knead and develop the gluten, allowing you to successfully handknead brioche dough through this challenging phase.
Step 5: The First Rise: Allowing the Dough to Develop Flavor
Once the dough is smooth, elastic, and the butter is fully incorporated, it's time for the first rise, also known as bulk fermentation. This is a crucial period where the yeast produces carbon dioxide, causing the dough to expand, and enzymes break down starches and proteins, developing complex flavors. For brioche, this rise is often done in two stages: an initial rise at room temperature followed by a long, slow fermentation in the refrigerator.
The refrigerator rise is particularly important for brioche. The cold temperature slows yeast activity significantly but allows the enzymatic activity to continue, building deeper flavor. It also chills the high-fat dough, making it much firmer and easier to handle and shape after the rise. A typical refrigeration period is 8-12 hours, or even up to 24 hours for maximum flavor development.
Creating the Ideal Environment for Proofing
Creating the right environment for the first rise (bulk fermentation) is vital for successfully handkneaded brioche dough. The dough needs a warm, draft-free place to rise. A temperature between 75°F and 80°F (24°C and 27°C) is generally ideal for the initial room temperature rise, if your recipe calls for one before refrigeration.
Place the dough in a clean bowl that has been lightly oiled or sprayed with non-stick cooking spray. Turn the dough over to coat it lightly in oil. Cover the bowl tightly with plastic wrap or a damp kitchen towel to prevent the surface of the dough from drying out and forming a skin. If your kitchen is cool, you can create a warmer environment by placing the covered bowl in a turned-off oven with the light on, or near a warm appliance. Ensure the environment is consistent throughout the rise.
Recognizing When the Dough Has Doubled in Size
Knowing when your brioche dough has doubled in size during the first rise requires observation. The exact time will vary depending on the yeast activity, the dough temperature, and the ambient temperature of your proofing environment. At room temperature (75-80°F), this might take 1.5 to 2.5 hours for the initial rise before refrigeration. If the entire rise is done at room temperature, it could take 3-4 hours.
To check if the dough has doubled, observe its volume compared to when you first placed it in the bowl. It should appear significantly larger. A common test is the poke test: gently press two fingers about half an inch into the dough. If the indentations remain and do not spring back, the dough is ready. If they spring back quickly, it needs more time. This visual and tactile check helps ensure your hand-kneaded brioche dough is properly fermented before the next step.
Troubleshooting Hand-Kneaded Brioche: Common Issues and Solutions
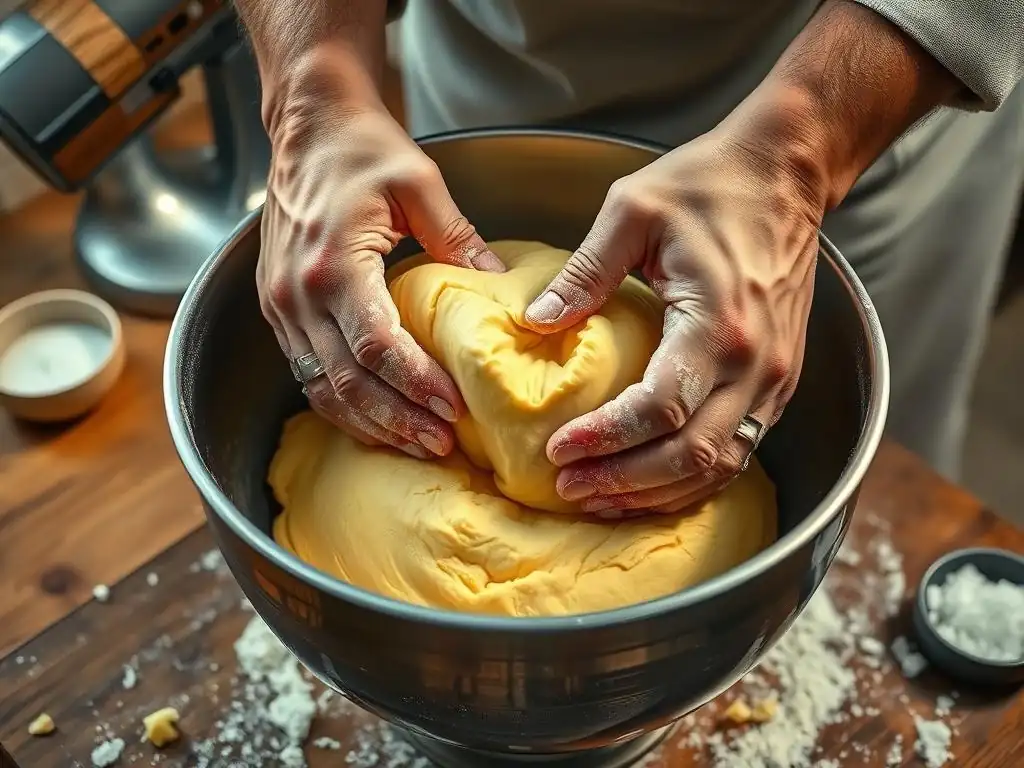
Dough That's Too Sticky: Adjusting Hydration Levels
Brioche dough is naturally sticky due to its high hydration and fat content, especially when hand kneading. However, if it's excessively sticky and impossible to work with even with a bench scraper, the hydration might be too high. This can happen if you measure flour by volume instead of weight, or if your eggs were larger than the recipe intended.
If you are struggling with overly sticky dough after the initial mix (before adding butter), you can carefully add a very small amount of flour, perhaps a tablespoon at a time, while continuing to knead. Only add just enough flour to make the dough manageable. If the dough becomes too sticky after you start incorporating butter, resist adding more flour. Instead, continue kneading patiently using the slap and fold method and a bench scraper. The dough will absorb the butter and become less sticky as the gluten develops.
Dough That's Too Dry: Adding Liquid Gradually
Conversely, if your brioche dough feels stiff, crumbly, or doesn't come together easily during the initial mix, it might be too dry. This could be due to inaccurately measured flour (too much) or liquids (too little), or perhaps very dry flour. A dry dough is difficult to knead and won't develop a proper gluten structure, resulting in a dense, tough brioche.
If the dough feels too dry during the initial mixing stage, you can add a very small amount of liquid (milk or water, depending on the recipe), perhaps a teaspoon at a time. Knead after each addition to see if the dough absorbs it and becomes more pliable. Be cautious not to add too much liquid at once. The goal is to achieve a dough that is soft and manageable, not wet and sticky. It's easier to add more liquid than to take it away.
Uneven Butter Incorporation: Tips for a Smooth Dough
Uneven butter incorporation is a common issue when handkneading brioche dough, often resulting in streaks of butter or pockets of fat in the final baked loaf. This usually happens if the butter isn't soft enough, is added too quickly, or isn't kneaded in sufficiently.
To ensure smooth incorporation, make absolutely certain your butter is very soft before you start. Add it in very small pieces, kneading until each piece is fully absorbed before adding the next. Use your hands to smear and work the butter into the dough. If you notice streaks or lumps, continue kneading. The dough will look messy and broken initially, but with persistent kneading, the gluten network will eventually absorb the butter, resulting in a smooth, cohesive, and satiny dough surface. Patience is key here.
Brioche Dough Not Rising: Checking Yeast Activity and Proofing Environment
If your hand-kneaded brioche dough isn't rising as expected during the first rise, several factors could be at play. The most common culprits are inactive yeast, an incorrect proofing temperature, or insufficient kneading.
First, check your yeast. Ensure it's not expired and that you used the correct type (active dry vs. instant) according to the recipe. If using active dry, did you activate it in warm liquid? If using instant, was the liquid too hot or too cold when added? Next, check your proofing environment. Is it warm enough (75-80°F for room temperature rise)?
Is it draft-free? If your kitchen is cool, find a warmer spot or create one (like a turned-off oven with the light on). Finally, consider your kneading. Was the gluten sufficiently developed? If the dough was kneaded for too short a time or improperly, the weak gluten structure might not be able to hold the gas produced by the yeast, hindering the rise.
Tips for Successfully Handkneading Brioche Dough
Maintaining the Right Dough Temperature for Optimal Results
Maintaining the correct dough temperature is paramount when you handknead brioche dough successfully. Friction from kneading generates heat, and the high fat content can make the dough warm up quickly. Ideally, you want to keep the dough temperature below 80°F (27°C) during kneading and mixing. If the dough gets too warm, the butter can melt and separate, making the dough greasy and difficult to handle, and negatively impacting the final texture.
Working in a cooler kitchen environment helps. You can also chill your mixing bowl or even your hands briefly before starting. If the dough becomes excessively warm and sticky during kneading, you can pop it into the refrigerator for 10-15 minutes to cool down before resuming. This break can make a significant difference in manageability, allowing you to continue developing gluten without the butter melting out.
Using a Dough Scraper for Easier Handling
When handkneading brioche dough, especially during the initial sticky phase and the butter incorporation stage, a sturdy metal or plastic bench scraper (also called a dough scraper) is an indispensable tool. Brioche dough, being so soft and enriched, tends to spread and stick to the work surface and your hands.
Use the bench scraper to scrape the dough from the counter, gather it back into a mass, and even help with the folding motion during techniques like slap and fold. It allows you to work the dough effectively without adding excessive amounts of flour, which would change the dough's hydration and potentially make the brioche tough. A bench scraper keeps your workspace cleaner and makes the often-messy process of handkneading brioche dough much more manageable.
Resting the Dough: Why It's Crucial for Brioche
Resting the dough is important at several stages when handkneading brioche dough. Short rest periods (5-10 minutes) during the kneading process can help relax the gluten, making the dough easier to work if it becomes too tight or resistant. This is particularly useful after the initial mix and before or during butter incorporation.
The most critical rest period, however, is the long, cold fermentation in the refrigerator after the first rise. As mentioned earlier, this extended chill time allows flavors to deepen and the high-fat dough to firm up. A chilled dough is much easier to handle, shape, and work with compared to a warm, soft brioche dough. This rest is non-negotiable for achieving the best possible texture and flavor in your hand-kneaded brioche.
Storing and Baking Your Hand-Kneaded Brioche
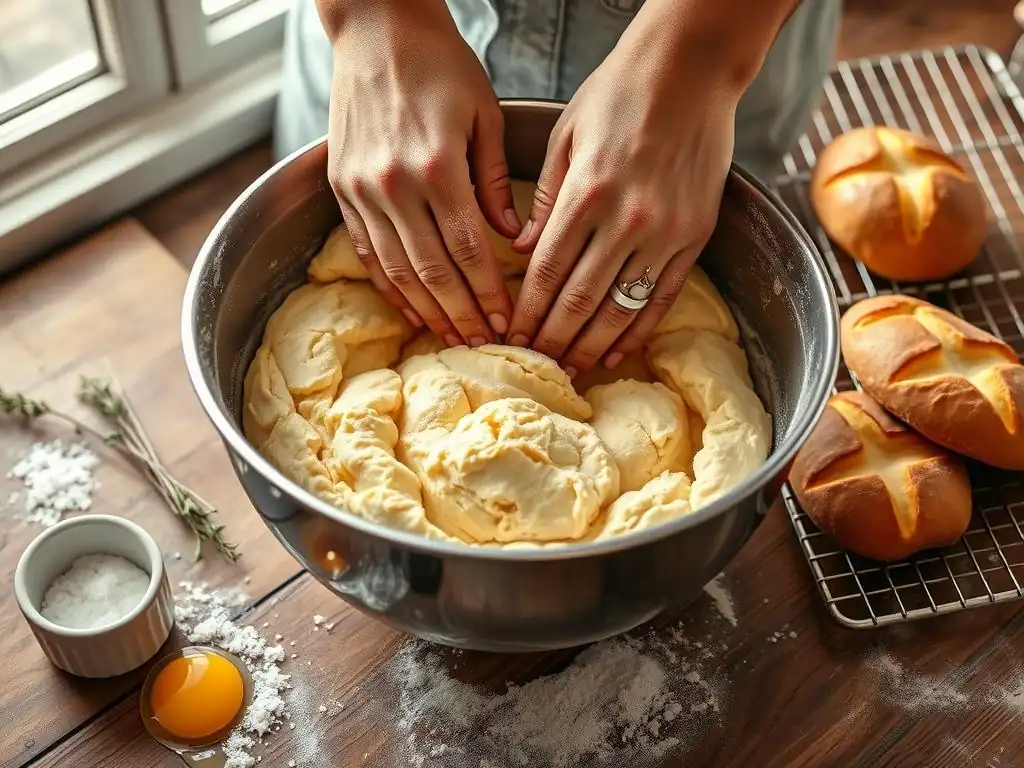
Shaping Your Brioche Dough for Baking
After the long, cold fermentation, your hand-kneaded brioche dough should be firm and easy to handle. Gently punch down the dough to deflate it, then turn it out onto a lightly floured surface. Avoid adding too much flour at this stage, as it can create dry spots in the crust.
Divide the dough according to your desired shape (e.g., for a loaf, rolls, or a braided brioche). Work quickly but gently to shape the dough. Avoid stretching or pulling the dough too tightly, which can create tension and result in an uneven crumb.
For a standard loaf, shape the dough into a smooth log and place it seam-side down in a greased loaf pan. For rolls, form smooth balls and arrange them in a pan. Allow the shaped brioche to proof (second rise) until it is visibly puffy and has increased significantly in size, which might take 1-2 hours at room temperature.
Baking Temperatures and Times for Perfect Brioche
Baking temperatures and times for hand-kneaded brioche will vary depending on the size and shape of your loaf or rolls. A common temperature range for baking brioche is between 350°F and 375°F (175°C and 190°C). Lower temperatures are often used for larger loaves to ensure they cook through without the crust burning, while rolls might bake at a slightly higher temperature for a shorter time.
A standard 1-pound brioche loaf typically bakes for 30-40 minutes at 350-375°F. Rolls might bake for 15-25 minutes. The best way to tell if your brioche is done is by its internal temperature. It should reach 190°F to 200°F (88°C to 93°C) when measured with an instant-read thermometer inserted into the thickest part of the bread. The crust should be a deep golden brown, and the loaf should sound hollow when tapped on the bottom.
Cooling and Storing Your Baked Brioche
Once your beautifully hand-kneaded brioche is baked, it's crucial to let it cool properly. Remove the bread from the pan almost immediately after taking it out of the oven and place it on a wire rack. Cooling on a rack allows air to circulate around the loaf, preventing the bottom crust from becoming soggy from trapped steam.
Allow the brioche to cool completely before slicing, which can take 1-2 hours for a loaf. Slicing warm brioche can compress the tender crumb. Once cooled, brioche is best enjoyed fresh. It can be stored at room temperature, wrapped tightly in plastic wrap or placed in a bread bag, for 2-3 days. For longer storage, slice the cooled brioche and freeze the slices in an airtight container or freezer bag for up to 2-3 months. Thaw slices at room temperature or toast directly from frozen.
Hand-Kneaded Brioche vs. Machine-Kneaded Brioche: A Comparison
Exploring the Benefits of Hand Kneading Brioche
While a stand mixer certainly speeds up the process, there are distinct benefits to handkneading brioche dough successfully. Firstly, it offers a deeply satisfying tactile experience. You develop a real feel for the dough, understanding its texture, elasticity, and how it changes as gluten develops and butter incorporates. This hands-on connection can be incredibly rewarding and educational for a baker.
Secondly, hand kneading gives you precise control over the process. You can immediately feel if the dough is too sticky or dry and make micro-adjustments (though adding flour or liquid should be done sparingly). You can also gauge the dough's temperature more easily. While it takes more physical effort and time (easily 30-45 minutes of active kneading time compared to 10-15 minutes in a mixer), the process itself is a valuable skill, proving you can achieve wonderful results even without specialized equipment. Many bakers feel that hand-kneaded dough has a unique texture or "soul."
When to Use a Stand Mixer for Brioche Dough
Despite the benefits of hand kneading, there are times when using a stand mixer is simply more practical or necessary. Brioche dough is notoriously sticky and heavy, particularly during the butter incorporation phase. For bakers with physical limitations, arthritis, or simply less upper body strength, hand kneading such a rich dough for 30-45 minutes can be genuinely challenging or painful.
A stand mixer, equipped with a dough hook, handles the strenuous work efficiently. It can incorporate the butter smoothly and develop the strong gluten network required for brioche in a fraction of the time (typically 10-15 minutes total). If you are making a very large batch of brioche dough, a mixer becomes almost essential due to the sheer volume and weight of the dough. So, while you can handknead brioche dough successfully, a mixer is a fantastic tool for convenience, speed, and accessibility.
Conclusion: Achieving Brioche Baking Success with Hand Kneading
You've seen that handkneading brioche dough successfully is not only possible but also a deeply rewarding way to connect with your baking. It requires patience, understanding of the dough's unique characteristics, and a willingness to get your hands a little sticky. We've walked through the essential steps, from preparing your key enriched ingredients like high-quality flour, soft butter, and room-temperature eggs, to mastering the hand kneading technique, incorporating butter gradually, and allowing for crucial rest and proofing periods.
By paying attention to the details – ingredient temperature, using tools like a bench scraper, knowing when to rest the dough, and how to troubleshoot common issues like stickiness or dryness – you can achieve a brioche with a tender crumb and rich flavor comparable to one made in a machine. The process of handkneading brioche dough successfully builds not just gluten strength, but also your confidence as a baker.
So, roll up your sleeves, embrace the challenge, and enjoy the incredible satisfaction of pulling a golden, buttery brioche loaf from your oven, kneaded entirely by you. Happy baking from all of us at BakeWithEase!
Frequently Asked Questions
Can brioche dough really be hand-kneaded?
Yes, absolutely! While a stand mixer can be convenient, hand-kneading brioche dough is entirely possible. It just requires patience and the right technique.
What makes hand-kneading brioche dough so challenging?
The high butter content! It makes the dough very sticky and requires significant effort to develop the gluten structure. The butter melts during the kneading process, making it tricky.
How long should I expect to hand-knead brioche dough?
Expect a longer kneading time compared to other breads. Typically, it takes around 15-20 minutes to achieve a smooth and elastic dough. Keep kneading until it passes the windowpane test.
What's the best technique for hand-kneading brioche dough?
Use the slap and fold method. This involves repeatedly slapping the dough onto the counter and folding it over on itself. This helps to develop the gluten quickly and incorporate air.
What if my brioche dough is still too sticky after kneading?
Don't add more flour! Instead, chill the dough for 30 minutes to firm up the butter. Then, continue kneading for a few more minutes. Patience is key!
Final Reflection: The Humble Art of Hand-Kneading Brioche
The satisfying weight of brioche dough in your hands, the subtle give and resistance as you knead—this seemingly simple act connects us to a centuries-old tradition of baking. It's more than just a recipe; it's a process that demands patience, precision, and a deep appreciation for the craft. In a world increasingly dominated by automated processes, the skill of hand-kneading brioche remains a powerful testament to the enduring value of human touch and connection to our food.
The journey of mastering hand-kneaded brioche is a deeply personal one. It's about understanding the subtle nuances of the dough, learning to read its texture, and feeling the shift from sticky mass to a smooth, elastic ball. This process mirrors life itself—requiring dedication, perseverance, and a willingness to embrace imperfection. As the renowned baker, Paul Hollywood, once said: Baking is about precision, but it's also about feeling. You have to trust your instincts.
This sentiment perfectly encapsulates the essence of successfully hand-kneading brioche.
Now, consider your own journey. Perhaps you’ve just completed your first brioche loaf, or maybe you’re a seasoned baker looking to refine your technique. Regardless of your experience level, I encourage you to embrace the challenge of hand-kneading. Don't be afraid to get your hands dirty, to experiment, and to learn from your mistakes. The reward—a golden-brown, perfectly textured brioche, born from your own hands—is a testament to your dedication and a delicious reward for your efforts. The next time you bake, remember the power of the human touch.
Unleash Your Inner Baker: Knead Brioche Like a Pro!
Thanks for taking the time to explore the art of hand-kneading brioche! We hope you now feel confident tackling this rewarding process. Ready to put your newfound skills to the test?
- Bake your own magnificent brioche: This is your chance to experience the unparalleled flavor and texture of homemade brioche. Don't be afraid to experiment with different flavors and fillings!
- Share your baking journey: Tag us on social media (@BakeWithEase) and show us your stunning creations. We love seeing your baking success stories!
- Discover more baking techniques: Explore other articles on BakeWithEase.com for more tips and tricks to elevate your baking game.
What delicious brioche creation will you bake first? Let us know in the comments!