
Which Stand Mixer Attachment For What? A Simple Guide for Every Recipe

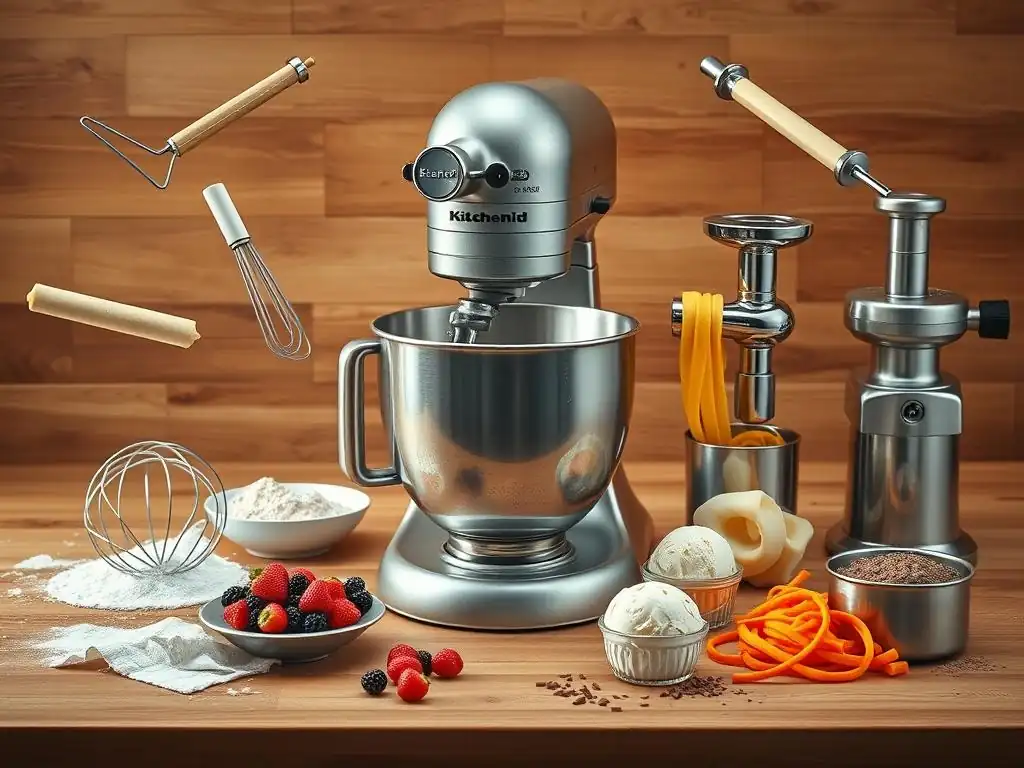
Welcome to BakeWithEase, where baking becomes a joy, not a chore! Ever wondered if you're truly maximizing your stand mixer's potential? Dive in and unlock the secrets of stand mixer attachments recipes. Discover which attachment is the perfect partner for your next baking adventure, from fluffy meringues to perfectly kneaded dough. Ready to revolutionize your baking? Let's get started!
- Mastering Your Stand Mixer: A Guide to Attachments for Every Recipe
- Understanding Stand Mixer Attachments for Baking Success
- The Dough Hook: Mastering Bread and Pizza Doughs
- The Flat Beater: Your All-Purpose Baking Tool
- The Wire Whisk: Achieving Light and Airy Results
- Specialized Stand Mixer Attachments for Advanced Baking
- Choosing the Right Attachment: A Quick Reference Guide
- Stand Mixer Attachment Care and Maintenance
- Elevate Your Baking with the Right Stand Mixer Attachment
-
Frequently Asked Questions
- What types of recipes benefit most from using a stand mixer with attachments?
- Can I use a stand mixer attachment for recipes that call for hand-mixing?
- Are there specific stand mixer attachments best suited for "Stand Mixer Attachments Recipes" involving dough?
- How do I choose the right speed setting for different "Stand Mixer Attachments Recipes"?
- Where can I find more "Stand Mixer Attachments Recipes" and tips?
- Final Reflection: Mastering Your Stand Mixer: From Attachment to Culinary Artistry
- Unleash Your Baking Potential: Master Your Stand Mixer!
Mastering Your Stand Mixer: A Guide to Attachments for Every Recipe
Understanding Stand Mixer Attachments for Baking Success
The Essential Stand Mixer Attachment Guide for Bakers
Your stand mixer is a powerful tool in the kitchen, but its true potential is unlocked by understanding and utilizing its various attachments. These specialized tools transform your mixer from a simple motor into a versatile workhorse capable of handling everything from delicate meringues to tough bread doughs. Knowing which attachment to use for specific tasks is fundamental to achieving optimal results in your baking, saving you time and effort while ensuring consistent quality.
Mastering the basic stand mixer attachments recipes requires familiarity with the three primary tools included with most mixers: the dough hook, the flat beater, and the wire whisk. Each is designed for a distinct purpose and type of mixture. For instance, attempting to knead bread dough with a whisk would not only be ineffective but could damage the attachment and the mixer itself.
Conversely, trying to whip cream with a dough hook is simply impossible. This guide will walk you through the proper use of each, helping you unlock the full range of possibilities for your favorite stand mixer attachments recipes.
The Dough Hook: Mastering Bread and Pizza Doughs
Using the Dough Hook for Perfect Kneading
The dough hook is specifically designed to replicate the action of hand kneading, developing gluten in yeast-based doughs like bread, pizza, and brioche. Its shape, often a 'C' or spiral, pulls, stretches, and folds the dough against the sides of the mixing bowl. This process is crucial for building the gluten network, which provides structure and elasticity, allowing the dough to rise properly and hold its shape during baking.
To use the dough hook effectively, start with the mixer on a low speed (typically speed 2 on most mixers). This prevents flour from flying out and allows the ingredients to come together into a shaggy mass. Once the dough starts to form, you can maintain this low speed. Kneading time varies depending on the recipe and mixer, but a general guideline is 6-10 minutes for typical bread doughs, compared to 10-15 minutes or more by hand. The dough is usually ready when it clears the sides of the bowl and feels smooth and elastic.
Best Dough Hook Recipes: Bread, Pizza, and Brioche
The dough hook is indispensable for any recipe requiring significant kneading to develop gluten. Classic white bread is a perfect example; the hook transforms a sticky mixture into a smooth, pliable dough ready for proofing. For a standard loaf, the mixer might run for about 8 minutes after the dough comes together.
Pizza dough is another excellent candidate for the dough hook. Kneading pizza dough for 5-7 minutes can yield a wonderfully chewy crust. Brioche, a rich, enriched dough containing butter and eggs, also benefits from the dough hook. Due to the high fat content, brioche dough can take longer to knead, sometimes 10-15 minutes, to fully develop the gluten and incorporate the butter smoothly, resulting in that signature tender texture. These are just a few examples of the many delicious stand mixer attachments recipes suited for the dough hook.
Troubleshooting Dough Hook Issues: Tips for Sticky Dough
One common issue when using the dough hook is excessively sticky dough that clings to the hook and the sides of the bowl. This often indicates too much hydration (water) in the recipe relative to the flour. While some sticky doughs (like ciabatta) are intentional, for most recipes, the dough should eventually pull away from the sides of the bowl.
If your dough is too sticky after several minutes of kneading, try adding flour one tablespoon at a time, allowing it to incorporate fully before adding more. Avoid the temptation to add too much flour at once, as this can result in a dry, dense bread. Alternatively, if the dough seems too dry and isn't coming together, add liquid (water, milk) one teaspoon at a time. Proper hydration is key to achieving the right consistency for successful stand mixer attachments recipes involving dough.
The Flat Beater: Your All-Purpose Baking Tool
Exploring the Versatility of the Flat Beater
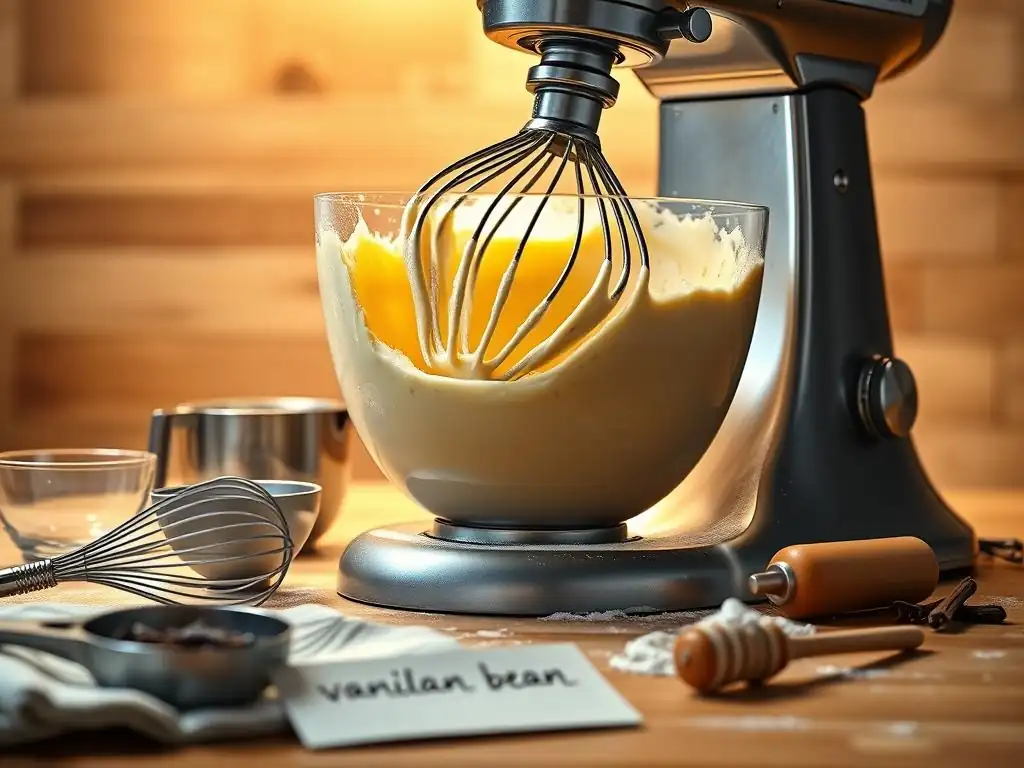
Often the first attachment you'll reach for, the flat beater (sometimes called the paddle attachment) is the workhorse of your stand mixer. Its design allows it to effectively mix, beat, and cream ingredients without incorporating excessive air, which is ideal for batters, cookie doughs, and frostings. It's the go-to for combining dry and wet ingredients evenly and scraping down the sides of the bowl as it mixes.
The flat beater excels at tasks where you need to combine ingredients thoroughly or cream butter and sugar. Unlike the whisk, it doesn't create large air pockets, making it perfect for dense or chewy baked goods. Many mixers also offer a flex edge beater, a variation of the flat beater with a silicone edge that scrapes the bowl as it mixes, reducing the need to stop and scrape manually. This feature is particularly useful for sticky batters and frostings, streamlining many stand mixer attachments recipes.
The flat beater is essential for the creaming method, a fundamental technique in many cake and cookie recipes. For example, when making classic chocolate chip cookies, you first cream softened butter and sugar with the flat beater on medium speed (typically speed 4-6) for 2-3 minutes until light and fluffy. This process incorporates small air bubbles, contributing to the texture. Eggs and vanilla are then mixed in, followed by the dry ingredients on a low speed (speed 2) until just combined.
Buttercreams and other frostings also rely heavily on the flat beater. To make a simple vanilla buttercream, you might beat softened butter until creamy, then gradually add powdered sugar and liquid, mixing on low speed initially to avoid a cloud of sugar, then increasing to medium speed (speed 4) for a couple of minutes to achieve a smooth, spreadable consistency. These are classic examples of stand mixer attachments recipes perfectly suited for the flat beater.
When to Use the Flat Beater: Creaming, Mixing, and More
Use the flat beater for tasks that involve combining ingredients, creaming fats with sugar, mixing batters, and making certain doughs that don't require significant gluten development, like scone or biscuit dough. It's also ideal for shredding cooked meats like chicken or pork; simply place the cooked meat in the bowl and turn the mixer on low speed for a minute or two.
Avoid using the flat beater for whipping tasks that require significant air incorporation, such as beating egg whites or heavy cream to stiff peaks – that's the whisk's job. Also, do not use the flat beater for kneading yeast doughs, as it will overwork the gluten and likely result in a tough, dense bread. Sticking to its intended uses ensures the longevity of the attachment and successful outcomes for your stand mixer attachments recipes.
The Wire Whisk: Achieving Light and Airy Results
Unleashing the Power of the Wire Whisk Attachment
The wire whisk, or balloon whisk, is designed to incorporate maximum air into mixtures. Its numerous wires are shaped to efficiently whip ingredients as the mixer spins, increasing their volume and creating light, airy textures. This attachment is indispensable for tasks like whipping egg whites into meringue, whipping heavy cream into whipped cream, and making light batters like génoise or angel food cake.
Using the wire whisk typically involves starting on a lower speed to break up the ingredients (like egg whites) and then gradually increasing to higher speeds (speed 8-10) to incorporate air rapidly. The structure created by the incorporated air provides lift and lightness in baked goods and allows liquids like cream to hold stiff peaks. Mastering the whisk is key to achieving delicate textures in many dessert stand mixer attachments recipes.
Wire Whisk Recipes: Meringues, Whipped Cream, and Angel Food Cake
Meringue is a prime example of a recipe that absolutely requires the wire whisk. To make stiff peak meringue, egg whites are typically whisked on high speed for 5-7 minutes, gradually adding sugar, until they are glossy and hold firm peaks. This process can increase the volume of egg whites by up to 6-8 times.
Whipped cream is another classic. Cold heavy cream, often with a little sugar and vanilla, is whisked on high speed for 2-4 minutes until soft or stiff peaks form. Angel food cake batter, which relies entirely on whipped egg whites for leavening, also uses the whisk to create a light, airy base before gently folding in other ingredients. These applications highlight the whisk's ability to transform liquids into voluminous, stable foams, essential for many delightful stand mixer attachments recipes.
Achieving Perfect Volume with the Wire Whisk: Techniques and Tips
For best results with the wire whisk, ensure your bowl and whisk are perfectly clean and free of any grease or oil, especially when whipping egg whites, as even a tiny amount of fat can prevent them from whipping properly. Using cold cream for whipped cream also helps it whip faster and hold peaks better.
Gradually increasing the speed allows the ingredients to stabilize before rapid aeration. For egg whites, start on medium-low (speed 4) for a minute until frothy, then increase to medium-high (speed 6-8) until soft peaks, and finally high (speed 10) for stiff peaks. Be careful not to over-whisk egg whites, as they can become dry and break. For whipped cream, stop just as stiff peaks form to avoid turning it into butter. Patience and observation are key when using the whisk for these specific stand mixer attachments recipes.
Specialized Stand Mixer Attachments for Advanced Baking
Beyond the Basics: Exploring Specialty Attachments
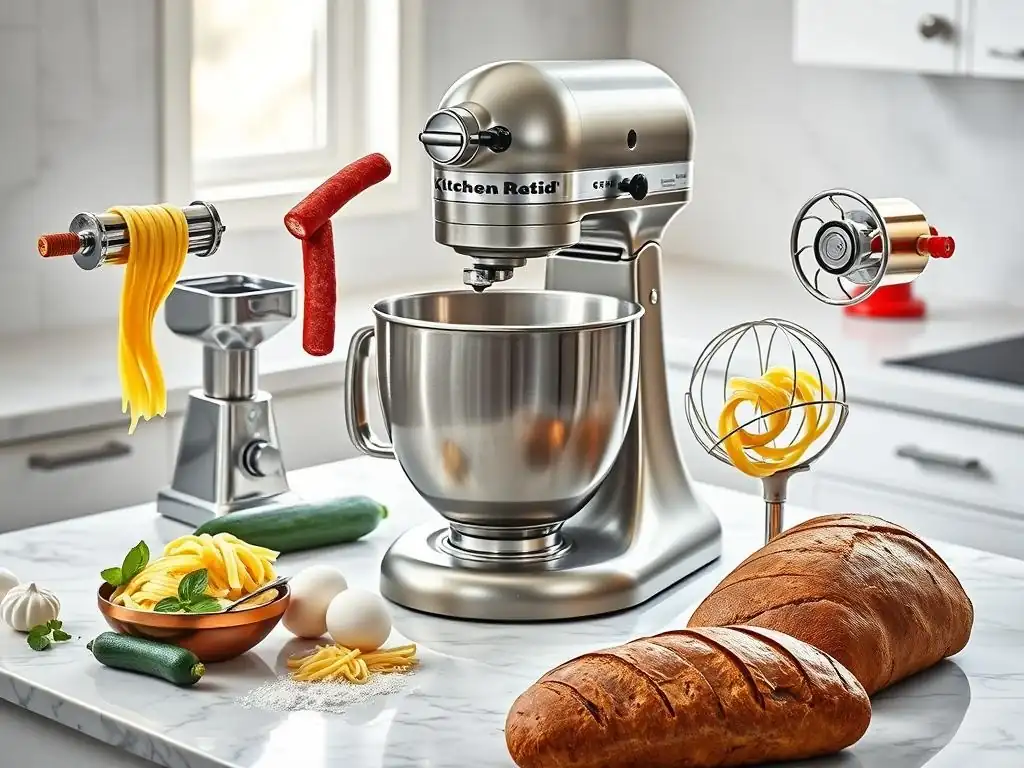
While the dough hook, flat beater, and wire whisk cover the majority of baking tasks, stand mixers offer a world of specialized attachments that can expand your culinary repertoire. These attachments transform your mixer into a multi-functional appliance capable of tasks far beyond traditional mixing. From making fresh pasta to grinding your own meat or even making ice cream, these tools offer convenience and control, allowing you to tackle more complex stand mixer attachments recipes with ease.
These specialty attachments usually connect to a power hub on the front of the mixer, utilizing the motor's power for various functions. They often require separate purchase but can be a worthwhile investment for avid home cooks and bakers looking to venture into new areas. Exploring these options opens up possibilities for homemade ingredients and dishes that are fresher and more customizable than store-bought alternatives.
Pasta Roller & Cutter: Fresh Pasta at Home
Making fresh pasta by hand can be labor-intensive, but the pasta roller and cutter attachments make it significantly easier. The roller attachment feeds dough through adjustable rollers to achieve your desired thickness, from thick sheets for lasagna to paper-thin sheets for ravioli. You typically start with the widest setting and gradually decrease the thickness, passing the dough through each setting multiple times.
Once the dough is rolled to the correct thickness, you swap the roller for one of the cutter attachments – usually a fettuccine cutter and a spaghetti cutter are included. You feed the rolled sheets through the cutter to produce uniform strands of pasta. A single batch of pasta dough, perhaps made with 300 grams of flour and 3 large eggs, can be transformed into fresh pasta ready to cook in just 15-20 minutes of rolling and cutting time using these attachments, opening up a new category of stand mixer attachments recipes.
Food Grinder Attachment: Homemade Sausage and Ground Meat
The food grinder attachment allows you to grind your own meats, giving you complete control over the quality, fat content, and freshness of your ground meat. This is essential for making homemade sausages, meatballs, or simply fresh ground beef for burgers. The attachment typically comes with different grinding plates for fine, medium, or coarse grinds.
To use the grinder, ensure your meat is very cold (partially frozen is ideal) and cut into cubes that fit easily into the feed tube. The cold temperature helps the meat grind cleanly without smearing. You then feed the meat through the tube using the provided stomper, and the grinder pushes it through the chosen plate. For sausage making, you can often add a stuffing horn attachment to the grinder to feed the ground meat directly into casings, perfect for custom stand mixer attachments recipes like Italian sausage or bratwurst.
Ice Cream Maker Attachment: Homemade Ice Cream and Sorbets
Satisfy your sweet tooth with homemade frozen treats using the ice cream maker attachment. This accessory usually consists of a special freeze bowl that connects to the mixer base and a dasher (paddle) that attaches to the mixer head. The freeze bowl must be frozen solid beforehand, typically requiring 15-24 hours in a freezer set to 0°F (-18°C) or lower.
Once the bowl is frozen, attach it to the mixer, insert the dasher, and pour in your chilled ice cream or sorbet base. Turn the mixer to a low speed (usually speed 1) and let it churn. The dasher scrapes the frozen mixture from the sides of the bowl as it freezes. In about 20-30 minutes, you'll have soft-serve consistency ice cream. For a firmer texture, transfer the mixture to a container and freeze for a few more hours. This attachment makes creating custom ice cream stand mixer attachments recipes incredibly convenient.
Choosing the Right Attachment: A Quick Reference Guide
Stand Mixer Attachment Selection Chart
| Task | Recommended Attachment | Notes |
|---|---|---|
| Kneading Yeast Dough | Dough Hook | For bread, pizza, brioche. Use speed 2. |
| Creaming Butter & Sugar | Flat Beater | For cookies, cakes. Use medium speeds (4-6). |
| Mixing Cake Batter | Flat Beater | For combining ingredients. Use low to medium speeds (2-4). |
| Mixing Cookie Dough | Flat Beater | For combining ingredients. Use low speed (2). |
| Making Frosting | Flat Beater | For buttercream, cream cheese frosting. Use low then medium speeds. |
| Whipping Egg Whites | Wire Whisk | For meringues, soufflés. Use high speeds (8-10). |
| Whipping Heavy Cream | Wire Whisk | For whipped cream. Use high speeds (8-10). |
| Making Light Batters | Wire Whisk | For angel food cake, génoise. Use high speeds. |
| Shredding Cooked Meat | Flat Beater | Use low speed (2). |
| Rolling Pasta Dough | Pasta Roller | Requires separate attachment. Gradual thickness reduction. |
| Cutting Pasta | Pasta Cutter | Requires separate attachment. Use after rolling. |
| Grinding Meat | Food Grinder | Requires separate attachment. Meat must be very cold. |
| Making Ice Cream/Sorbet | Ice Cream Maker | Requires separate attachment & pre-frozen bowl. Use speed 1. |
Matching Attachments to Baking Tasks
Selecting the correct attachment is the first step to successful stand mixer attachments recipes. Think about the desired outcome: do you need to develop gluten (bread)? Incorporate air for lightness (meringue)? Or simply combine ingredients evenly (cookie dough)? The attachment's design directly relates to its function. The hook pulls and stretches, the beater mixes and creams, and the whisk aerates.
Always start with the recommended attachment for your specific task. If a recipe calls for kneading, use the dough hook. If it calls for creaming butter and sugar, use the flat beater. If it calls for whipping egg whites, use the wire whisk. Using the wrong attachment can lead to poor results, overworking or underworking the mixture, and potentially damaging your mixer. Referencing a chart like the one above can be a handy way to quickly confirm you're using the right tool for the job for all your stand mixer attachments recipes.
Stand Mixer Attachment Care and Maintenance
Cleaning Your Stand Mixer Attachments
Proper cleaning is essential for maintaining your stand mixer attachments and ensuring hygiene. After each use, attachments should be cleaned promptly before food residue hardens. For most standard metal attachments (like polished aluminum flat beaters or dough hooks), hand washing in warm, soapy water is recommended. Avoid the dishwasher for these, as the harsh detergents and heat can cause oxidation, resulting in a dull, gray, or chalky residue that can rub off onto food.
Coated attachments (often white nylon-coated flat beaters and dough hooks) and stainless steel whisks are typically dishwasher safe, but always check your manufacturer's instructions. For the wire whisk, pay special attention to cleaning between the wires. A small brush can be helpful. Ensure all attachments are thoroughly dried before storing to prevent rust or corrosion, especially for metal parts. Clean attachments are key to successful and hygienic stand mixer attachments recipes.
Storing Your Stand Mixer Attachments Properly
Storing attachments correctly protects them from damage and keeps them organized. Many mixers come with storage solutions, such as a compartment within the mixer base or a separate attachment holder. If not, find a designated drawer or container where attachments won't be jostled or scratched. Avoid leaving them loose in a crowded drawer.
Consider hanging attachments on hooks or storing them in a caddy designed for kitchen tools. This prevents them from getting bent or chipped, particularly the wire whisk, which can be easily deformed if crushed. Proper storage ensures your attachments are in good condition and readily accessible the next time you want to tackle one of your favorite stand mixer attachments recipes.
Ensuring Optimal Performance: Maintenance Tips
Beyond cleaning and storage, a few maintenance tips can help ensure your attachments and mixer perform optimally. Periodically inspect attachments for any signs of wear, damage, or bending. A bent flat beater or dough hook can hit the bowl, causing damage. If an attachment seems bent, consult your mixer's manual for instructions on how to adjust it (some models allow for minor adjustments) or if it needs replacing.
For the mixer itself, ensure the bowl is properly locked in place before attaching an attachment and starting the motor. Avoid overloading the bowl beyond the manufacturer's recommended capacity, as this can strain the motor and attachments, especially with heavy doughs. Following these simple maintenance steps will help prolong the life of your mixer and attachments, allowing you to enjoy countless stand mixer attachments recipes for years to come.
Elevate Your Baking with the Right Stand Mixer Attachment
Mastering Baking Techniques with Stand Mixer Attachments
Understanding and correctly using each stand mixer attachment is more than just following instructions; it's about mastering fundamental baking techniques. The stand mixer, with its varied tools, allows for precise control over processes like kneading, creaming, and whipping that are difficult to replicate consistently by hand. For example, achieving the perfect windowpane test for bread dough is much easier when the dough has been evenly and consistently kneaded by a dough hook for the optimal time.
Similarly, achieving a light and airy cake often hinges on properly creaming butter and sugar with the flat beater to incorporate just the right amount of air, or gently folding ingredients into perfectly whipped egg whites made with the wire whisk. By selecting the appropriate attachment and using it correctly according to your mixer's speed guidelines and the recipe's requirements, you gain greater control over the texture and structure of your baked goods, leading to more consistent and impressive results across a wide range of stand mixer attachments recipes.
Stand Mixer Attachment Recipe Recommendations
Armed with knowledge of your stand mixer attachments, you're ready to explore a vast world of recipes. For the dough hook, try a classic rustic sourdough or homemade cinnamon rolls. The consistent kneading provided by the hook is invaluable for developing the gluten needed for that chewy texture.
For the flat beater, tackle rich butter cookies or a classic vanilla layer cake with fluffy buttercream frosting. The beater handles mixing batters and creating smooth frostings effortlessly. And for the wire whisk, challenge yourself with delicate chocolate soufflés or a towering angel food cake topped with fresh whipped cream. The whisk's ability to incorporate air is critical here. Experimenting with different stand mixer attachments recipes is the best way to truly appreciate the power and versatility these tools bring to your kitchen.
Frequently Asked Questions
What types of recipes benefit most from using a stand mixer with attachments?
Stand mixers with attachments are incredibly versatile. They're excellent for recipes requiring heavy mixing or kneading, like bread dough, and also for achieving consistent results in delicate pastries and cakes. Basically, anything that needs a lot of mixing or a smooth texture!
Can I use a stand mixer attachment for recipes that call for hand-mixing?
In many cases, yes! Just be mindful of over-mixing, which can negatively impact certain recipes, especially those with gluten. Start on a low speed and monitor the batter closely.
Are there specific stand mixer attachments best suited for "Stand Mixer Attachments Recipes" involving dough?
Absolutely! The dough hook is essential for kneading bread dough, while the paddle attachment works well for cookie doughs. Consider investing in both for a wider range of recipes.
How do I choose the right speed setting for different "Stand Mixer Attachments Recipes"?
Start with the recipe instructions, but as a general rule: low speed for kneading, medium speed for creaming butter and sugar, and high speed for whipping cream or egg whites. Adjust as needed to achieve the desired consistency.
Where can I find more "Stand Mixer Attachments Recipes" and tips?
Websites like BakeWithEase.com are great resources! Look for recipes that specifically mention using stand mixer attachments and offer detailed instructions for optimal results.
Final Reflection: Mastering Your Stand Mixer: From Attachment to Culinary Artistry
The humble stand mixer, once a kitchen luxury, has become a cornerstone of modern cooking, its versatility amplified by a dizzying array of attachments. Understanding which attachment best suits each recipe unlocks a world of culinary possibilities, transforming simple baking into an art form and elevating everyday meals to new heights. This isn't just about convenience; it's about unlocking the full potential of your kitchen and your creativity.
The impact of the stand mixer, and the specialized tools that accompany it, extends far beyond simply speeding up the cooking process. It represents a shift in how we approach food preparation, encouraging experimentation and precision. It empowers home cooks to tackle ambitious projects, from delicate macarons to hearty pasta dough, with confidence and ease. The best things in life are homemade,
and with the right attachments, that sentiment becomes more accessible than ever before.
Now, consider your own kitchen. What recipes have you always wanted to try, but felt intimidated by? Which culinary adventures have you put off due to perceived complexity? This guide is not just a list of attachments; it's an invitation. It's a call to explore the potential within your own stand mixer, to experiment with new techniques, and to discover the joy of creating delicious, homemade food, one attachment at a time. Embrace the possibilities, and let your culinary creativity flourish.
Unleash Your Baking Potential: Master Your Stand Mixer!
Thanks for diving into the world of stand mixer attachments with us! We hope you now feel confident in choosing the right tool for every baking adventure. Ready to take your baking to the next level?
- Prioritize your next bake: Think about the recipe you've been eyeing – that gorgeous cake, the perfect pie crust, or those incredible pasta noodles – and select the right attachment to make it happen!
- Share your baking triumphs (and challenges!): We'd love to see what you create! Post a picture on social media and tag us – let's inspire each other.
- Explore new recipes: Now that you're a stand mixer attachment expert, discover new recipes that will challenge and excite you!
So, what incredible creation will you tackle first?