
Pipe Intricate Floral Designs Using Advanced Royal Icing

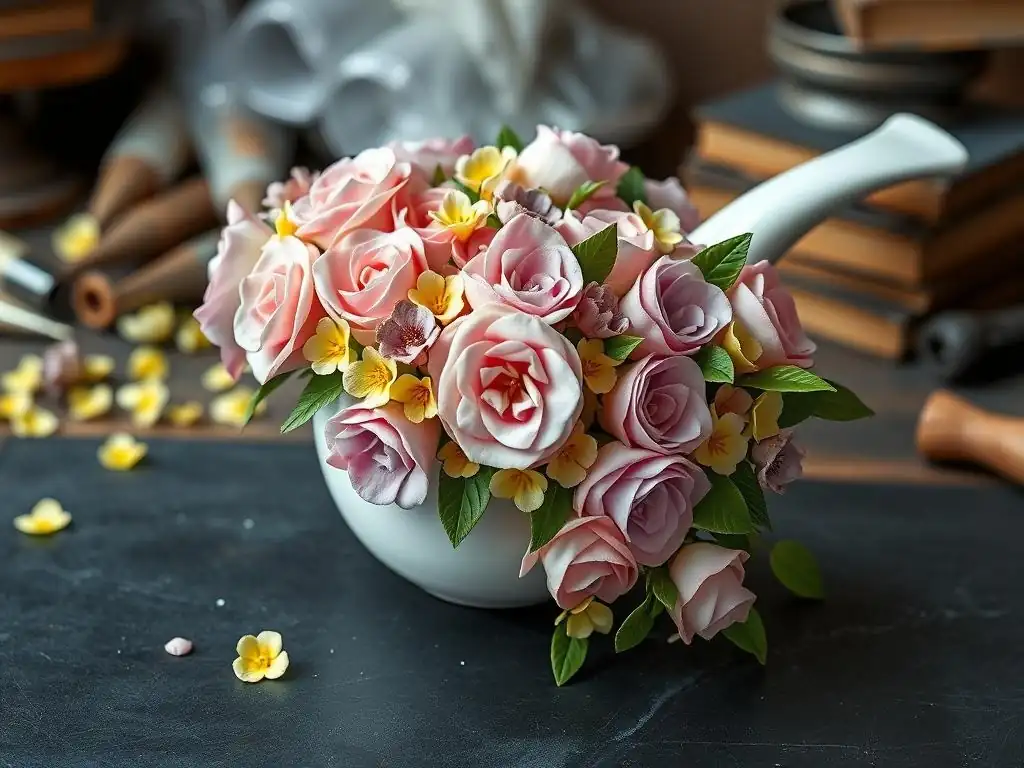
Welcome to BakeWithEase, where we unlock the secrets to stunning baked creations! Ever dreamt of adorning your pastries with delicate floral masterpieces? Prepare to be amazed as we delve into the captivating world of royal icing floral piping designs. Discover techniques and tips to elevate your baking from simple to spectacular, and leave your friends wondering where you learned such artistry. Intrigued? Let's get started!
- Mastering Intricate Floral Designs with Royal Icing: A Comprehensive Guide
- Understanding Royal Icing for Exquisite Floral Cookie Decorating
- Achieving Optimal Royal Icing Consistency for Floral Piping
- Essential Tools and Equipment for Royal Icing Floral Designs
- Royal Icing Floral Piping Techniques: Step-by-Step Tutorials
- Advanced Royal Icing Techniques for Realistic Floral Cookies
- Troubleshooting Common Royal Icing Problems
- Floral Cookie Design Inspiration
- Storing and Handling Decorated Floral Cookies
- Conclusion: Elevate Your Cookie Decorating with Royal Icing Florals
-
Frequently Asked Questions
- What exactly is Royal Icing, and why is it used for floral piping?
- What level of baking experience is recommended before attempting Royal Icing floral piping designs?
- What are the essential tools and ingredients needed for creating Royal Icing floral piping designs?
- How do I achieve the right consistency for my Royal Icing when piping floral designs?
- Where can I find more detailed instructions and examples of Royal Icing floral piping designs on BakeWithEase?
- Final Reflection: Blooming with Royal Icing: A Legacy of Skill and Creativity
- Unleash Your Inner Floral Artist: Master Royal Icing Piping
Mastering Intricate Floral Designs with Royal Icing: A Comprehensive Guide
Royal icing is a classic decorators' medium, famed for its ability to dry hard and create crisp, detailed designs on cookies and cakes. Primarily composed of powdered sugar, liquid (like water or lemon juice), and a stabilizer (such as meringue powder or egg whites), it offers unparalleled control for fine line work and structural elements. Its quick-drying nature is both a blessing and a challenge, allowing for layering of designs but also requiring swift execution.
Achieving proficiency in royal icing floral piping designs hinges on understanding its fundamental properties. The ratio of liquid to powdered sugar dictates the icing's consistency, which is crucial for different techniques. A thicker icing holds its shape well for detailed piping, while a thinner consistency is necessary for smoothly filling areas, known as flooding. Mastering the subtle differences in consistency is the first step towards creating stunning, intricate royal icing floral piping designs that truly impress.
Achieving Optimal Royal Icing Consistency for Floral Piping
The success of your royal icing floral piping designs relies heavily on using the correct consistency for each element. Unlike simply outlining and flooding, intricate florals require a range of textures to build dimension and detail. Getting this right transforms flat designs into vibrant, lifelike creations.
Stiff Consistency for Structural Elements
A stiff consistency royal icing is akin to toothpaste or peanut butter. When lifted with a spoon or spatula, it holds a distinct peak that doesn't droop. This consistency is indispensable for piping structural elements like sharp edges, outlines that act as dams for flooding, and constructing dimensional pieces like rose centers or flower buds that need to maintain their form immediately after piping.
To achieve this, add just enough liquid to your powdered sugar and stabilizer mixture until it's firm but still pipeable. If you pull a spatula through it, the line should remain sharp and not merge back into the icing. This firmness prevents delicate structures from collapsing and ensures crisp lines, essential for the foundational work in detailed royal icing floral piping designs.
Medium Consistency for Petals and Leaves
Medium consistency is the workhorse for piping most petals, leaves, and other elements that require a balance between holding shape and smoothing out slightly. It's thicker than flooding consistency but thinner than stiff. When lifted with a spoon, it should ribbon back into the bowl, and a line drawn through it will slowly disappear, typically within 10-15 seconds.
This versatility makes it ideal for piping realistic royal icing floral piping designs. It's fluid enough to create natural-looking curves and textures for petals and leaves, yet firm enough that the piped shapes don't spread excessively. Adjusting the water content drop by drop is key; a difference of even half a teaspoon in a standard batch can significantly alter the consistency.
Fluid Consistency for Flooding and Fine Details
Fluid or flooding consistency is used to fill in outlined areas smoothly, creating a seamless background or base for your floral designs. It's much thinner than medium consistency; a line drawn through it will disappear within 5-10 seconds, depending on how quickly you need it to set. It should flow easily from the piping bag without requiring much pressure.
While primarily used for flooding large areas, a slightly thicker version of flooding consistency (often called 15-second icing) can also be used for very fine details that need to settle flat, like delicate tendrils or small accent dots within your royal icing floral piping designs. Precision in thinning is vital; too much water will make the icing weak and prone to craters, while too little will result in an uneven, bumpy surface.
Essential Tools and Equipment for Royal Icing Floral Designs
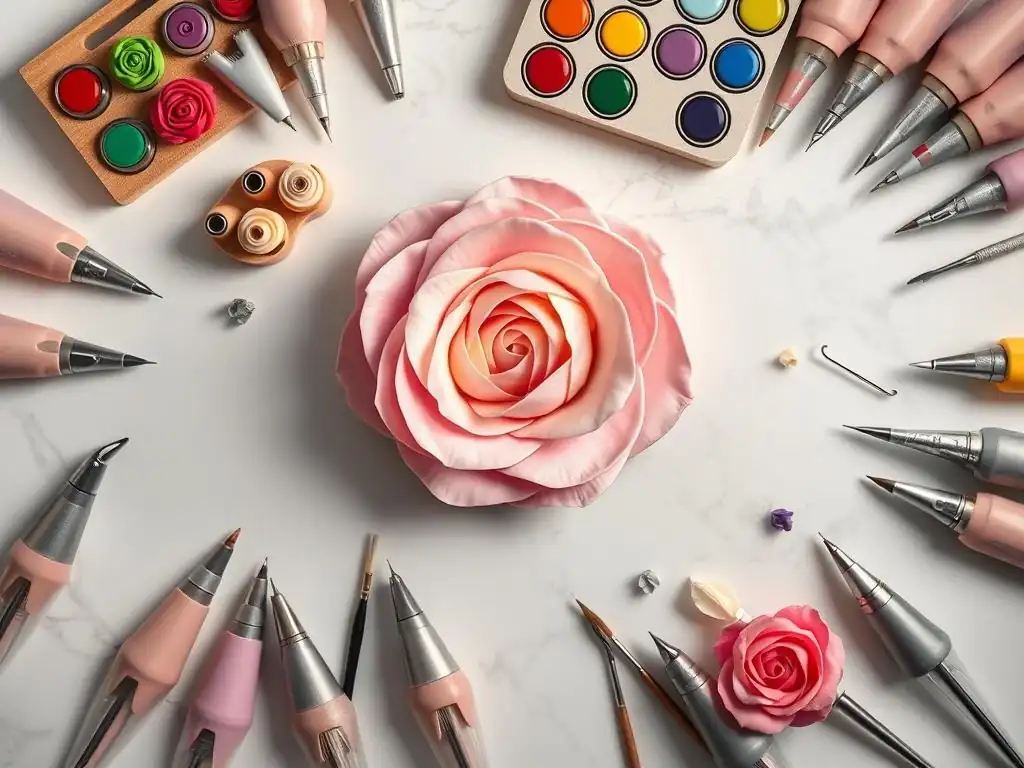
Having the right tools is just as important as mastering consistency when creating intricate royal icing floral piping designs. Each piece of equipment serves a specific purpose, making the process smoother and the results more professional. Investing in quality tools will significantly enhance your decorating capabilities.
Piping Tips for Various Floral Elements
A collection of piping tips is indispensable. For petals, petal tips like Wilton #101, #102, #103, and #104 are essential, with the narrower end creating the petal's edge and the wider end forming the base. Leaf tips, such as Wilton #352 or #67, have a V-shaped opening to produce realistic leaf shapes with a central vein. Round tips, ranging from very fine ( #1 or #2) for details and outlines to larger ones ( #5 or #6) for centers or buds, are also crucial.
Investing in a variety pack that includes these common tip types is a great starting point. Specific tips are designed to mimic the natural flow and shape of flower parts, allowing you to pipe delicate rose petals, pointed leaves, and tiny flower centers with accuracy. The sheer variety available caters to countless floral styles, from simple daisies to complex roses, making your royal icing floral piping designs possibilities endless.
Piping Bags, Couplers, and Practice Boards
Piping bags are your delivery system for the icing. Reusable silicone or plastic bags are durable and eco-friendly, while disposable bags offer convenience. Couplers are invaluable as they allow you to switch piping tips on a single bag of icing without changing the bag itself, saving time and reducing waste, especially when using the same color for different elements (like outlining and flooding).
Practice boards, often laminated sheets or specialized pads, are crucial for honing your skills before decorating actual cookies. They allow you to practice pressure control, angle, and movement for different petals, leaves, and swirls without wasting icing or cookies. Regularly practicing on a board helps build muscle memory, leading to more confident and controlled execution of your royal icing floral piping designs.
Palette Knives, Tweezers, and Turntables
Beyond piping, several other tools are vital. Small offset palette knives are useful for spreading icing, fixing mistakes, and transferring delicate pieces. Precision tweezers are essential for placing small non-pariels, edible beads, or other tiny embellishments onto wet icing without smudging your work.
A cookie turntable, while not strictly necessary, can greatly improve the ease and precision of piping around the edges of a cookie or rotating the cookie as you build a multi-directional floral design. Rotating the cookie rather than twisting your wrist allows for smoother, more consistent piping strokes, resulting in cleaner and more symmetrical royal icing floral piping designs.
Royal Icing Floral Piping Techniques: Step-by-Step Tutorials
Mastering individual flower elements is key to creating complex and beautiful royal icing floral piping designs. Each flower requires specific techniques, combining the right consistency with precise tip control and movement. Let's break down a few foundational techniques.
Piping Roses: A Detailed Guide
Roses are perhaps the most classic royal icing flower and a staple in many royal icing floral piping designs. They are built layer by layer, starting with the center and adding petals around it. The size and shape of the rose depend on the tip size and the angle and pressure applied during piping.
Creating Rose Buds
Start with a stiff or medium-stiff consistency icing and a round tip (like #5) or a petal tip ( #101 or #102). If using a round tip, pipe a small cone shape as the base. If using a petal tip, pipe a line and wrap it around itself to form a tight cylinder. This cone or cylinder forms the central bud of the rose. Ensure the base is slightly wider to provide a stable anchor for the first row of petals.
Next, switch to a petal tip ( #101 or #102) with the wider end at the base and the narrower end pointing upwards. Pipe 2-3 small, curved petals closely around the bud, overlapping slightly. These initial petals should hug the bud tightly to create the appearance of a closed center, giving the rose its characteristic structure before the outer petals unfurl.
Piping Rose Petals
Once the bud is set (it helps if it's slightly dry), continue with a petal tip ( #103 or #104 for larger roses) using medium consistency icing. Hold the tip with the wide end touching the base of the bud/previous petals and the narrow end angled slightly outwards. Pipe a curved petal, moving the tip up and then back down in an arching motion, allowing the icing to fan out from the narrow end.
Pipe subsequent petals, slightly overlapping the previous one, working your way around the center. Vary the size and angle of the petals as you move outwards to create a natural, layered look. Increase pressure slightly for larger petals and decrease for smaller ones. Practice is key to getting the fluid motion needed for realistic, delicate petals that define beautiful royal icing floral piping designs.
Piping Leaves: Adding Foliage to Your Designs
Leaves provide essential balance and realism to royal icing floral piping designs, adding pops of green and filling in gaps between flowers. They are relatively simple to pipe but mastering the technique creates dynamic, lifelike foliage.
Mastering Leaf Piping Techniques
Use a medium consistency green royal icing and a leaf tip ( #67 or #352). Hold the tip with the V-shaped opening pointing upwards. Position the tip where you want the base of the leaf to be, touch it to the surface, apply firm pressure to create the wider base, then slowly pull the tip away while gradually decreasing pressure.
As you pull away, gently wiggle the tip back and forth slightly to create the serrated edges characteristic of many leaves. The speed of pulling and the amount of wiggling affect the leaf's length and texture. Practice varying the angle and pressure to create leaves of different sizes and shapes, adding variety to your royal icing floral piping designs.
Shading Leaves for Depth and Realism
Adding subtle shading can make your royal icing leaves look incredibly realistic. This can be done by having two shades of green in the same piping bag (one lighter, one darker) or by dusting dry edible petal dust onto the dried leaves.
For the two-tone effect, fill one side of the piping bag with a darker green icing and the other side with a lighter green. As you pipe, the colors will blend slightly, creating a natural gradient from base to tip or along the edges. For dusting, use a small, soft brush to apply green or brown petal dust lightly along the center vein or edges of the dried leaf, adding depth and dimension to your royal icing floral piping designs.
Piping Other Flowers: Hydrangeas, Sweet Peas, and Lilacs
Expanding your repertoire beyond roses and leaves allows for more diverse and intricate royal icing floral piping designs. Hydrangeas, sweet peas, and lilacs offer unique textures and shapes.
Piping Voluminous Hydrangeas
Hydrangeas are composed of many small florets piped closely together using a small open star tip ( #16 or #18) or a small round tip ( #3). Use a medium consistency icing. Pipe small dots or star shapes in clusters, building up layers to create a full, rounded bloom. Varying the color saturation within the cluster adds realism.
Start with a central point and pipe florets around it, then add more layers outwards, ensuring they are close enough to touch and build volume. You can use different shades of blue, pink, purple, or white within the same cluster for a variegated look, typical of real hydrangeas, enhancing the visual appeal of your royal icing floral piping designs.
Creating Delicate Sweet Peas
Sweet peas have a distinctive ruffled shape. Use a petal tip ( #101 or #102) with medium consistency icing. Pipe a small dot as a base. Hold the tip with the wide end touching the base and the narrow end pointing upwards. Pipe a curved, ruffled petal upwards, then pipe another similar petal next to it, slightly overlapping.
Add a smaller, tighter petal in the center to complete the look. The key is the gentle back-and-forth or up-and-down motion with the narrow end of the tip to create the delicate ruffles. These small, airy flowers add a touch of whimsical charm to royal icing floral piping designs.
Piping Elegant Lilacs
Lilacs are clusters of tiny four-petal florets. Use a very small open star tip ( #13 or #16) or a small round tip ( #1 or #2) and medium consistency icing. Pipe individual tiny star shapes or dots grouped tightly together in a conical or pyramidal shape, mimicking a lilac cluster.
Start at the bottom of the cluster and build upwards, piping florets close together. Use varying shades of purple or white within the cluster for a more natural look. The small size of the individual florets creates a beautiful texture and volume, making lilac clusters a lovely addition to intricate royal icing floral piping designs.
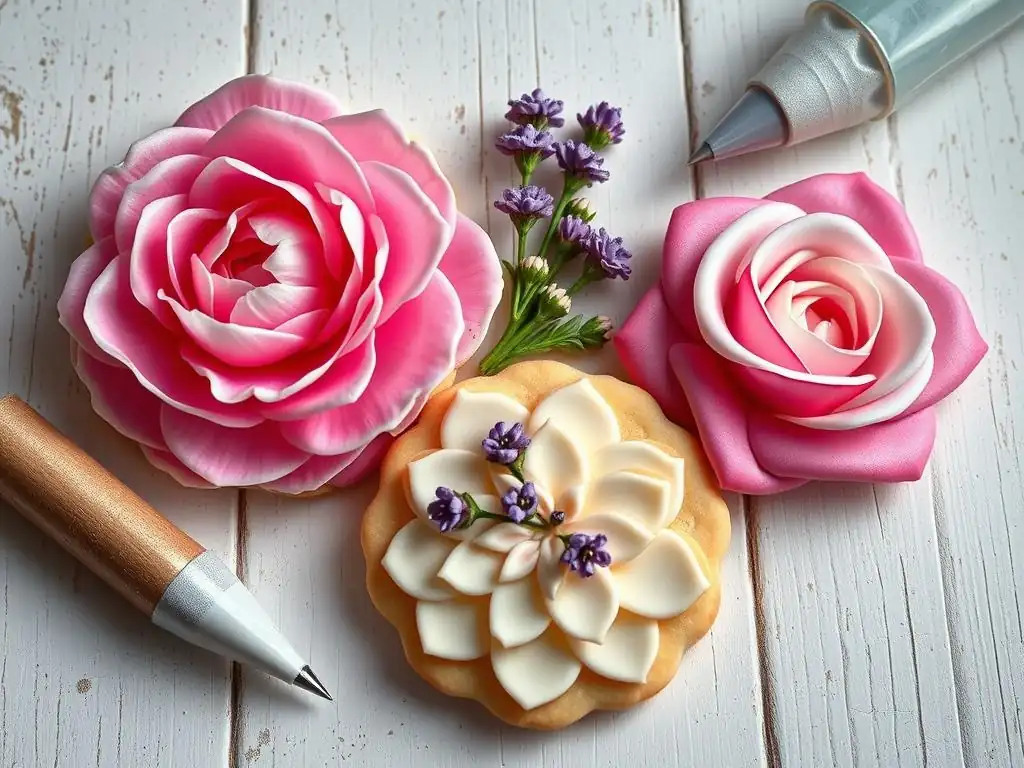
Once you've mastered basic piping, several advanced techniques can elevate your royal icing floral piping designs from pretty to truly stunning and realistic. These methods involve manipulating color, dimension, and texture.
Color Mixing and Shading with Gel Food Coloring
Achieving realistic floral colors requires more than just using basic food coloring. Gel food colorings are highly concentrated and produce vibrant hues without adding excess liquid to your icing. Learn to mix custom shades, including subtle variations of greens and floral tones, by starting with a small amount of color and gradually adding more.
For shading, techniques like brush embroidery (piping a line and using a damp brush to pull the color inwards) or wet-on-wet (piping wet icing onto a wet base layer) create soft transitions. Airbrushing with edible colors after the icing is dry can also add gradients and depth, giving your royal icing floral piping designs a more painterly effect and lifelike appearance.
Creating Dimensional Effects: Layering and Overpiping
Building dimension is crucial for realistic royal icing floral piping designs. Layering involves piping one element, letting it dry partially or completely, and then piping another element on top. This is how complex flowers like roses are constructed petal by petal.
Overpiping involves piping directly on top of a dried icing layer to add height, texture, or detail. For instance, you might pipe a base leaf shape, let it dry, and then overpipe a finer line down the center to create a prominent vein. This technique adds significant visual interest and depth to your royal icing floral piping designs.
Adding Texture with Edible Dusts and Sprinkles
Edible dusts, such as petal dusts, luster dusts, and sparkle dusts, can transform the appearance of dried royal icing. Petal dusts are matte and perfect for adding realistic shading and subtle color variations to petals and leaves. Luster and sparkle dusts add shimmer and glamour.
Apply dusts with a dry, soft brush to dried icing elements. You can also mix luster dusts with a small amount of clear alcohol (like vodka) or lemon extract to create edible paint for adding metallic accents or fine painted details. Small edible sprinkles, such as non-pariels or edible pearls, can be used for flower centers or to add texture to foliage, further enhancing your royal icing floral piping designs.
Troubleshooting Common Royal Icing Problems
Working with royal icing can sometimes present challenges. Knowing how to identify and fix common problems is essential for successfully executing intricate royal icing floral piping designs without frustration.
Preventing Cracking and Craters
Cracking often occurs in large flooded areas, especially if the icing is too thin or dries too quickly on the surface before the underlying layer. Craters are small holes that appear in flooded areas, often due to air bubbles that weren't popped or icing that's too thin.
To prevent these issues, ensure your flooding consistency isn't overly thin. After flooding an area, gently jiggle the cookie or use a scribe tool to pop any visible air bubbles. Allowing cookies to dry slowly in a still environment (like an oven with just the light on) can help prevent surface cracking by allowing the underlying icing to dry more evenly. Aim for a drying time of 6-12 hours depending on humidity.
Preventing Clogging and Tip Blockage
Royal icing can dry quickly, especially in the tip of a piping bag, leading to frustrating clogs. This is more common with stiff or medium consistencies and fine tips used for detailed royal icing floral piping designs.
To prevent blockage, cover the tip of your piping bag with a damp cloth or plastic wrap when not actively piping. If a tip clogs, try squeezing firmly to dislodge the blockage, or if persistent, use a pin or toothpick to carefully clear the opening. Ensure your powdered sugar is sifted to remove any lumps that could cause blockages.
Achieving Clean Lines and Sharp Details
Wobbly lines or fuzzy details can detract from the beauty of royal icing floral piping designs. This is often due to inconsistent pressure, incorrect icing consistency, or holding the piping bag at the wrong angle.
Use the correct consistency for outlining (usually stiff or medium). Hold the piping bag at a consistent angle (often 45 degrees for lines) and apply steady, even pressure. Pipe slightly above the surface, letting the icing fall into place rather than dragging the tip on the cookie. Practice on a practice board to develop a steady hand and understand the relationship between pressure, speed, and line thickness.
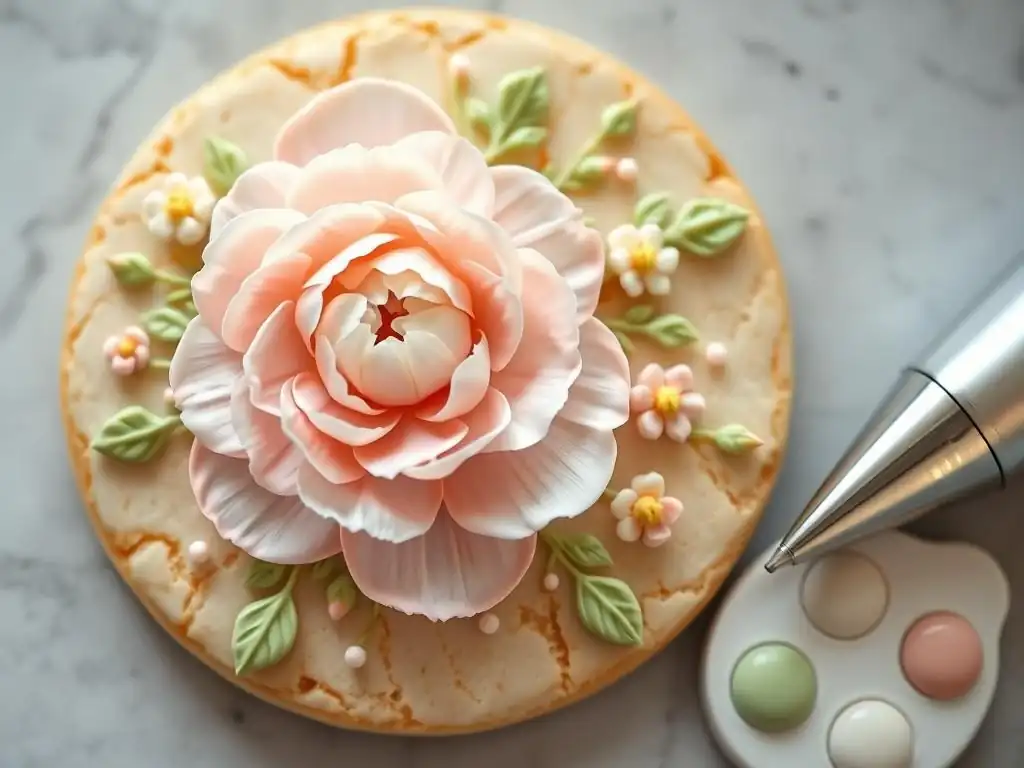
Sometimes, the hardest part is deciding what to create! Looking at different design styles can spark creativity for your next royal icing floral piping designs project.
A sophisticated approach using only different shades of a single color (e.g., various blues or pinks) to pipe a wreath of flowers and leaves around the edge of a cookie.
Focuses on classic flower types like roses, peonies, and hydrangeas, often using muted or pastel color palettes and incorporating elements like leaves, berries, and small filler flowers arranged as if in a bouquet.
Combines crisp, geometric shapes (like hexagons or squares) with delicate floral elements piped within or around the geometric structure, often featuring bold color combinations and clean lines for a contemporary look.
Proper handling and storage are crucial to preserve the beauty and integrity of your finished royal icing floral piping designs. Once the intricate work is done, you want it to last.
Properly Drying Royal Icing
Allowing royal icing to dry completely is perhaps the most critical step. Depending on humidity, temperature, and icing consistency, this can take anywhere from 6 to 24 hours. Stiff icing dries faster than flooding consistency.
For best results, let cookies air dry on a flat surface in a cool, dry room. Avoid stacking them until the icing is rock hard. Some bakers use a dehydrator on a very low setting (around 100-110°F or 38-43°C) for an hour or two to speed up the initial drying of the surface, helping to prevent craters and allowing for quicker layering, but full drying still takes time.
Packaging for Gifting and Transport
Once fully dry, cookies decorated with royal icing floral piping designs are relatively durable, but they still need careful handling. Package individual cookies in cellophane bags, heat-sealing them to protect from moisture and air.
When packing multiple cookies in a box, place a piece of parchment paper or tissue paper between layers to prevent rubbing and damage to the delicate floral work. Use cushioning material in the box to prevent shifting during transport. Avoid exposing decorated cookies to high humidity or direct sunlight for extended periods, as this can cause colors to fade or the icing to become sticky.
Mastering royal icing floral piping designs is a rewarding journey that allows for incredible creativity and artistry on a small canvas. By understanding consistency, utilizing the right tools, practicing fundamental techniques, and exploring advanced methods like shading and layering, you can transform simple cookies into edible masterpieces. Patience and practice are your best friends as you hone your skills. Embrace the process, learn from your mistakes, and enjoy the beautiful results of your intricate royal icing floral piping designs.
Frequently Asked Questions
What exactly is Royal Icing, and why is it used for floral piping?
Royal Icing is a hard-drying icing made primarily from powdered sugar and egg whites (or meringue powder). It's ideal for floral piping because it holds its shape well and creates intricate, defined details after drying.
What level of baking experience is recommended before attempting Royal Icing floral piping designs?
While BakeWithEase caters to all levels, successful floral piping with Royal Icing generally requires some basic piping experience. Practicing simple shapes before moving to complex floral designs is recommended.
What are the essential tools and ingredients needed for creating Royal Icing floral piping designs?
You'll need powdered sugar, meringue powder (or egg whites), gel food coloring, piping bags, various piping tips (especially petal tips), and parchment paper squares. A turntable can also be helpful.
How do I achieve the right consistency for my Royal Icing when piping floral designs?
The ideal consistency is crucial. You'll want a stiff consistency for holding the shape of petals and a slightly thinner consistency for flooding areas. Achieve this by adding water gradually, testing as you go.
Where can I find more detailed instructions and examples of Royal Icing floral piping designs on BakeWithEase?
Explore the "pastries" and "cakes" sections on BakeWithEase.com for step-by-step guides and visual examples of various floral piping techniques using Royal Icing.
Final Reflection: Blooming with Royal Icing: A Legacy of Skill and Creativity
The art of royal icing floral piping, once a closely guarded secret passed down through generations of bakers, is now flourishing in the digital age, offering a vibrant and accessible pathway to exquisite cake decoration. This accessibility, however, doesn't diminish the skill and dedication required to master this intricate craft. The precision, patience, and artistic vision demanded remain constant, ensuring that each piped bloom is a testament to the baker's commitment.
The enduring appeal of hand-piped floral designs lies in their unique ability to transform a simple cake into a breathtaking masterpiece. They speak to a deeper human desire for beauty and artistry, a connection to traditions of craftsmanship that transcends fleeting trends. The beauty of a flower is its ability to bring joy to the heart.
This sentiment, while simple, perfectly encapsulates the power of floral design in baking, elevating it beyond mere decoration to an expression of heartfelt artistry. The countless variations and styles, from delicate roses to bold peonies, allow for endless creative exploration, ensuring that each cake becomes a unique and personal statement.
Now, it's your turn to explore the boundless possibilities of royal icing floral piping. Don't be intimidated by the initial complexity; embrace the journey of learning and experimentation. Each perfectly piped petal, each carefully crafted bloom, will be a step closer to mastering this beautiful art form and sharing your unique creative voice with the world. Pick up your piping bag, let your imagination bloom, and create something truly spectacular.
Here's a CTA tailored for the article "Pipe Intricate Floral Designs Using Advanced Royal Icing" on BakeWithEase.com:
Unleash Your Inner Floral Artist: Master Royal Icing Piping
Thank you for joining us on this journey into the beautiful world of royal icing piping! We hope you gained valuable techniques to elevate your baking artistry. Ready to put your new skills to the test?
- Embrace your creativity: Start practicing your favorite floral designs today! Experiment with different piping tips and techniques to find what works best for you. Don't be afraid to try something new!
- Share your masterpieces: Show us your stunning creations! Tag us on social media with #BakeWithEaseFlowers and let's inspire each other.
- Challenge yourself with a themed cake: Design a cake featuring your newly mastered floral piping skills – perhaps a spring bouquet or a vibrant autumn arrangement.
What floral design will you create first to showcase your newfound piping prowess? Let us know in the comments below!