
Bake With Ease: Foolproof Scones in Under 30 Minutes

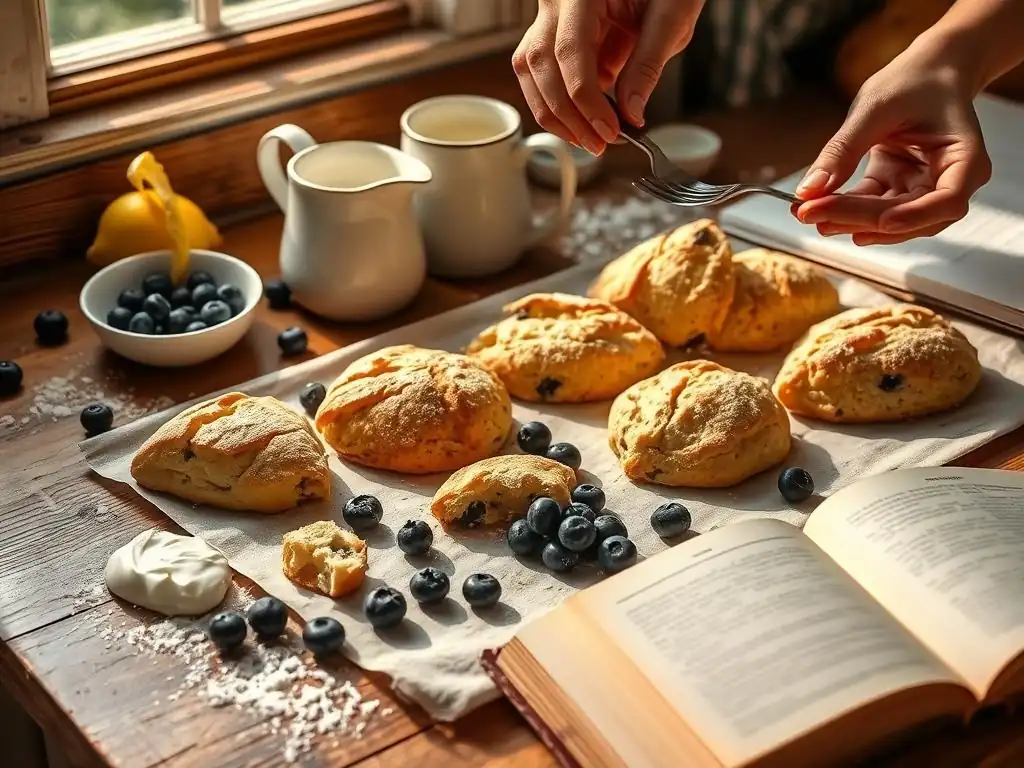
Welcome to BakeWithEase, your kitchen companion for unlocking the joy of baking! Ever dreamt of creating perfectly light and fluffy scones, bursting with flavor, in just minutes? Our foolproof scone recipe delivers exactly that: a delicious, achievable baking experience that will have you savoring warm, homemade goodness in under 30 minutes. Intrigued? Dive in and discover the secrets to this delightful treat, a celebration of regional baking at its easiest!
- Classic Buttermilk Scones: A Simple and Delicious Recipe
- Introduction to Buttermilk Scones: A Timeless Treat
- Buttermilk Scone Recipe: The Ingredient List for Baking Success
-
Step-by-Step Guide: Mastering the Buttermilk Scone Recipe
- Preparing Your Baking Station for Buttermilk Scone Baking
- Combining the Dry Ingredients for Your Buttermilk Scones
- Incorporating the Butter for Flaky Buttermilk Scones
- Adding the Buttermilk and Forming the Scone Dough
- Shaping and Cutting Your Buttermilk Scones for Baking
- Baking Your Scones to Golden Perfection
- Tips for Perfect Buttermilk Scones Every Time: Achieving the Ideal Texture
- Serving and Enjoying Your Homemade Buttermilk Scones
- Troubleshooting Common Scone Baking Problems: Solutions for Perfect Results
- Variations on the Buttermilk Scone Recipe: Creative Flavor Combinations
- Conclusion: Mastering the Art of Buttermilk Scones
- Frequently Asked Questions
- Final Reflection: The Joy of Effortless Baking
- Unlock Your Inner Baker: Master the Art of the Perfect Scone!
Classic Buttermilk Scones: A Simple and Delicious Recipe
Introduction to Buttermilk Scones: A Timeless Treat
Why This Buttermilk Scone Recipe is Perfect for Any Occasion
This classic buttermilk scone recipe is designed for speed and simplicity, making it the ideal choice when you need a delicious baked treat fast. Whether you're hosting last-minute guests, craving a comforting snack, or just want the joy of fresh baking without the fuss, this approach delivers warm, fluffy scones in under 30 minutes from start to finish. It's a truly foolproof scone recipe, perfect for busy weeknights or spontaneous weekend baking sessions.
The beauty of this quick method lies in minimal handling and simple ingredients, which are key to achieving a light texture. Unlike more complex pastries, scones come together rapidly, requiring just a few basic steps. This specific foolproof scone recipe focuses on efficiency, ensuring you can enjoy that wonderful aroma of baking and the taste of warm, homemade scones without spending hours in the kitchen.
Enjoy Warm Scones Fresh from the Oven: A Simple Baking Pleasure
There's something uniquely satisfying about pulling a tray of golden-brown scones from the oven. The warmth, the delicate crumb, and the comforting aroma instantly elevate any moment. This foolproof scone recipe makes that simple pleasure incredibly accessible, allowing you to experience it whenever the craving strikes, often in under 30 minutes.
Imagine a lazy Sunday morning or an afternoon tea break transformed by a batch of these warm delights. Served simply with butter, jam, or clotted cream, they offer a taste of simple elegance. The speed of this foolproof scone recipe means you don't need to plan hours ahead; you can decide you want scones and be enjoying them less than half an hour later.
Buttermilk Scone Recipe: The Ingredient List for Baking Success
Key Ingredients for Classic Buttermilk Scones
To create these quick and delicious buttermilk scones, you'll need a few pantry staples. The core ingredients typically include all-purpose flour (around 2 cups, or about 240 grams), granulated sugar (just a few tablespoons, perhaps 2-3), baking powder (a generous amount, like 1 tablespoon, to ensure good rise), and a pinch of salt (about 1/2 teaspoon). These dry ingredients form the base and provide structure and leavening.
Crucially, you'll need cold, unsalted butter (around 1/2 cup, or 1 stick, about 113 grams), cut into small cubes. Cold butter is essential for creating those desirable flaky layers. The final star ingredient is buttermilk (about 3/4 cup, or 180 ml), which reacts with the baking powder to produce tenderness and a slight tang. Having these ingredients ready is the first step to your foolproof scone recipe success.
Ingredient Substitutions & Variations for Your Buttermilk Scones
While the classic ingredients yield wonderful results, you can easily make substitutions if needed. If you don't have buttermilk on hand, a simple workaround is to combine regular milk (about 3/4 cup) with one tablespoon of lemon juice or white vinegar. Let it sit for 5-10 minutes until it curdles slightly; this creates a reasonable substitute for buttermilk's acidity, crucial for reacting with the baking powder.
For dietary needs, you can explore variations like using a gluten-free flour blend designed for baking, though results may vary slightly. Dairy-free butter alternatives and plant-based milks (like almond or soy milk mixed with an acid) can also be used, keeping in mind they might slightly alter the texture and flavor. Experimenting with a foolproof scone recipe allows you to tailor it to your preferences or what you have available.
Step-by-Step Guide: Mastering the Buttermilk Scone Recipe
Preparing Your Baking Station for Buttermilk Scone Baking
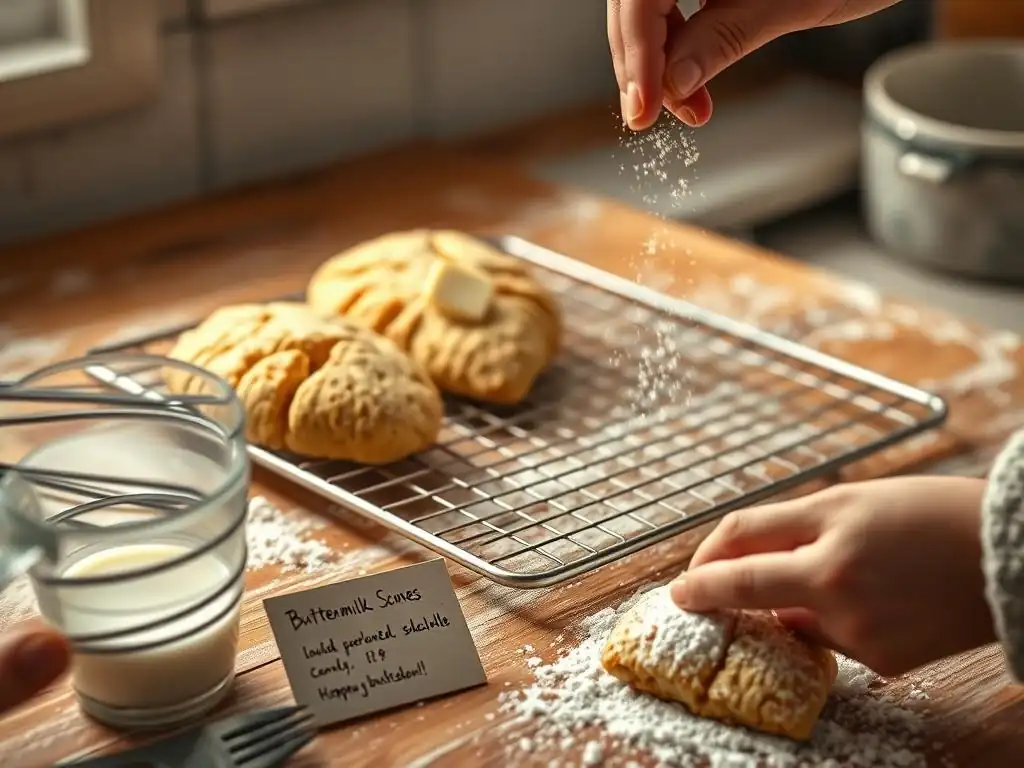
Efficiency is key when aiming for a foolproof scone recipe in under 30 minutes. Start by preheating your oven to a hot temperature, typically 400°F (200°C). This ensures the scones bake quickly and rise beautifully. While the oven heats, line a baking sheet with parchment paper. This prevents sticking and makes cleanup a breeze, saving precious time.
Gather all your ingredients and measure them out before you begin mixing. Having everything ready prevents fumbling and allows you to move smoothly through the steps. Ensure your cold butter is cut into small, uniform cubes; you can even pop it back into the fridge for a few minutes while you measure the dry ingredients if your kitchen is warm. A well-organized station is the foundation for a successful, quick foolproof scone recipe.
Combining the Dry Ingredients for Your Buttermilk Scones
In a large mixing bowl, whisk together the dry ingredients: the all-purpose flour, sugar, baking powder, and salt. Whisking helps to evenly distribute the leavening agent (baking powder) throughout the flour, which is critical for an even rise. It also aerates the flour slightly.
Ensure there are no clumps, especially of baking powder. A quick whisk for about 30 seconds should be sufficient. This simple step is vital for the overall texture and rise of your scones, contributing to the 'foolproof' nature of this quick recipe.
Incorporating the Butter for Flaky Buttermilk Scones
Now, add the cold, cubed butter to the dry ingredients. The goal here is to cut the butter into the flour mixture until it resembles coarse crumbs, or like small peas. You can do this using a pastry blender, two forks, or even your fingertips. If using your fingers, work quickly to avoid melting the butter with the warmth of your hands.
The small pieces of cold butter melting during baking create steam, which pushes the dough layers apart, resulting in that desirable flaky texture. This step is crucial for achieving light and airy scones, a hallmark of a great foolproof scone recipe. Avoid overmixing; some larger pieces of butter are perfectly fine and contribute to flakiness.
Adding the Buttermilk and Forming the Scone Dough
Make a well in the center of the dry ingredients and pour in the cold buttermilk (or your milk substitute). Use a fork or a spatula to gently mix the wet ingredients into the dry ones. Mix just until the ingredients are combined and a shaggy dough forms. Do not overmix! Overmixing develops the gluten in the flour, leading to tough scones.
The dough should be slightly sticky but should hold together. If it seems too dry, add a tiny splash more buttermilk (a teaspoon at a time). If it's too wet, add a tablespoon of flour. This minimal mixing is a key secret to a tender crumb in your foolproof scone recipe.
Shaping and Cutting Your Buttermilk Scones for Baking
Turn the shaggy dough out onto a lightly floured surface. Pat the dough gently into a disk or rectangle about 3/4 to 1 inch thick. Handling the dough as little as possible is paramount here. The less you work the dough, the more tender your scones will be.
Use a sharp knife or a biscuit cutter dipped in flour to cut out your scones. A 2-inch or 2.5-inch cutter works well, yielding about 8-10 scones depending on the thickness and cutter size. For traditional wedge shapes, simply cut the disk into 6 or 8 triangles. Place the cut scones onto your prepared baking sheet, spacing them about an inch apart.
Baking Your Scones to Golden Perfection
Place the baking sheet with the cut scones into the preheated oven (400°F or 200°C). Bake for 12 to 15 minutes, or until the scones are well-risen and golden brown on top and around the edges. The exact time will depend on your oven and the size of your scones.
Keep an eye on them after the 10-minute mark. They should have a lovely, uniform color. This final step brings your foolproof scone recipe to completion, delivering warm, ready-to-eat scones in under 30 minutes total time.
Tips for Perfect Buttermilk Scones Every Time: Achieving the Ideal Texture
Achieving a Light and Fluffy Texture: Buttermilk Baking Secrets
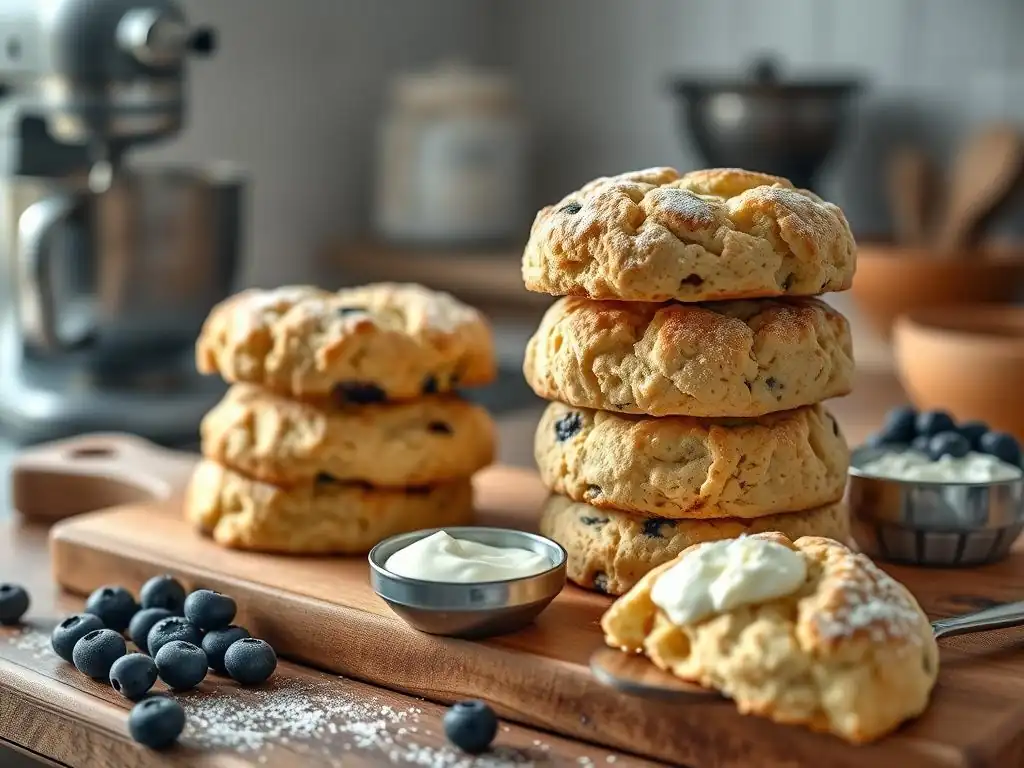
The secret to a light and fluffy texture in buttermilk scones lies primarily in the interaction of ingredients and minimal handling. Cold butter, cut into small pieces, is crucial because as it melts in the hot oven, it creates steam pockets, pushing the dough upwards and creating flaky layers. Using cold buttermilk also helps keep the butter solid longer before baking.
Furthermore, using baking powder as the main leavening agent, combined with the acidity of the buttermilk, produces a significant rise quickly. The key is to mix the dough just until it comes together. Overworking the dough develops gluten, which results in a tough, dense scone rather than a tender, fluffy one. Aim for a slightly shaggy dough that is handled as little as possible before shaping and cutting.
Preventing Dry Scones: Maintaining Moisture
Dry scones are often the result of too much flour, too little liquid, or overbaking. To prevent this, measure your flour accurately, preferably by weight (240g is a good target for ~2 cups), or by spooning it lightly into the measuring cup and leveling off, rather than scooping directly from the bag, which can compact the flour.
Ensure you add the full amount of buttermilk specified in the recipe, or enough to create a dough that is just slightly sticky. Don't be tempted to add too much extra flour during the kneading and shaping process; use just enough to prevent sticking. Finally, bake the scones only until they are golden brown and cooked through, typically 12-15 minutes. Overbaking will dry them out quickly.
Ensuring Even Baking: Temperature and Placement Best Practices
For even baking, make sure your oven is fully preheated to the correct temperature (400°F or 200°C). Using an oven thermometer can verify the actual temperature. Place the baking sheet on the middle rack of the oven, where the heat circulates most evenly. Avoid crowding the baking sheet; leave about an inch of space between the scones so hot air can circulate around each one.
If your oven has hot spots, you might consider rotating the baking sheet halfway through the baking time (around the 6-7 minute mark). This helps ensure all scones brown at a similar rate, resulting in a consistently baked batch from your foolproof scone recipe.
Serving and Enjoying Your Homemade Buttermilk Scones
Delicious Serving Suggestions for Freshly Baked Buttermilk Scones
The best way to enjoy buttermilk scones is warm, straight from the oven. The classic pairing is, of course, clotted cream and jam. Strawberry jam is traditional, but raspberry, apricot, or any favorite preserve works wonderfully. Simply split a warm scone in half horizontally and generously spread with butter, then jam, then a dollop of clotted cream.
Beyond the classic, warm scones are also delightful with just butter and honey, or a simple dusting of powdered sugar. For a more decadent treat, serve them with whipped cream and fresh berries. The slightly tangy flavor of the buttermilk in the scone provides a lovely contrast to sweet toppings.
Storing Your Scones to Maintain Freshness
Scones are definitely best enjoyed the day they are baked, ideally within a few hours of coming out of the oven. Their texture is most tender and their flavor most vibrant when fresh.
If you have leftovers, allow them to cool completely on a wire rack before storing. Place them in an airtight container or a resealable plastic bag at room temperature. They will keep for 1-2 days, though they may lose some of their initial tenderness. To refresh them, you can gently warm them in a low oven (around 300°F or 150°C) for 5-10 minutes.
Troubleshooting Common Scone Baking Problems: Solutions for Perfect Results
Dry Scones: Identifying and Correcting the Issue
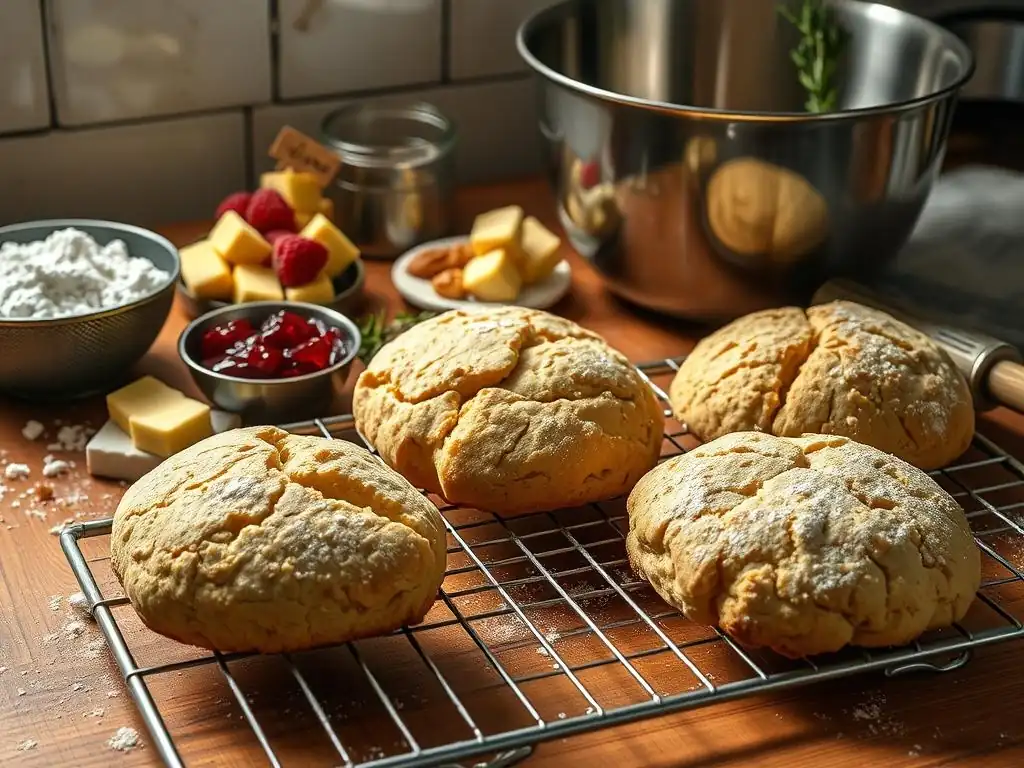
If your scones turn out dry, it's likely due to one or more factors: too much flour, not enough liquid, or overmixing. As mentioned earlier, accurate flour measurement is key – spooning and leveling is better than scooping. Ensure you've added the correct amount of buttermilk; the dough should be slightly sticky.
Another culprit is overmixing. Kneading or stirring the dough too much develops gluten, resulting in a tough, dry texture. Mix just until the ingredients are combined. Lastly, check your baking time; even an extra few minutes in the oven can dry out scones quickly. Aim for golden brown, not dark brown.
Flat Scones: Achieving Optimal Rise
Flat scones often result from inactive leavening agents or dough that is too warm. Ensure your baking powder is fresh; it loses potency over time. Check the expiry date on the can. Using cold butter and cold buttermilk is also crucial, as the coldness helps the butter create steam and the dough hold its shape until the baking powder activates in the hot oven.
Overworking the dough can also lead to flat scones by developing gluten and making the dough tough, inhibiting rise. Make sure your oven is properly preheated to a high temperature (400°F or 200°C). A hot oven causes the baking powder to react rapidly, giving the scones a quick lift before the structure sets.
Unevenly Baked Scones: Ensuring Consistent Baking
Uneven baking usually points to inconsistencies in oven temperature or placement. Many home ovens have hot spots. Using an oven thermometer can confirm if your oven is heating accurately and evenly. If you suspect hot spots, rotating the baking sheet halfway through the baking time can help.
Also, ensure the scones are spaced evenly on the baking sheet, allowing hot air to circulate freely around each one. Avoid placing the tray too close to the top or bottom heating elements; the middle rack is typically best for even heat distribution. Cutting scones to a uniform thickness also contributes to consistent baking times.
Variations on the Buttermilk Scone Recipe: Creative Flavor Combinations
Adding Fruit to Your Scones: Cranberry Orange Scones
Adding fruit is a popular and delicious way to vary your foolproof scone recipe. Cranberry orange scones are a classic pairing. Simply add about 1/2 cup of dried cranberries and the zest of one orange to the dry ingredients before adding the butter. The tartness of the cranberries complements the citrus zest beautifully.
Other fruit additions could include fresh or frozen blueberries (use about 1/2 to 3/4 cup, adding them gently at the very end of mixing), chopped dried apricots, or even finely diced apple. If using fresh fruit, be careful not to overmix, as it can make the dough too wet.
Savory Scone Options: Cheddar and Chive Scones
Scones aren't just for sweet toppings! Transforming your foolproof scone recipe into a savory treat is simple. Omit the sugar from the dry ingredients. Add about 1/2 cup of grated sharp cheddar cheese and 2-3 tablespoons of chopped fresh chives (or other herbs like rosemary or thyme) to the dry ingredients along with the butter.
These savory scones are fantastic served with soup, stew, or alongside a cheese board. You can brush the tops with an egg wash and sprinkle with a little extra cheese or coarse salt before baking for added flavor and appearance.
Experimenting with Flavors: Lavender Honey Scones
For a more unique flavor profile, consider experimenting with ingredients like lavender and honey. Add 1-2 teaspoons of culinary lavender buds to the dry ingredients. Instead of adding all buttermilk, substitute a tablespoon or two with honey, whisking it into the cold buttermilk before adding it to the dry mix.
Be mindful with strong flavors like lavender; start with a smaller amount and adjust to your preference. Other experimental additions could include spices like cinnamon, cardamom, or nutmeg, or extracts like almond or vanilla. The basic foolproof scone recipe provides a versatile base for countless creative variations.
Conclusion: Mastering the Art of Buttermilk Scones
Enjoy the Satisfaction of Baking Delicious Buttermilk Scones
Mastering this foolproof scone recipe is incredibly rewarding. In under 30 minutes, you can transform simple ingredients into warm, tender, and utterly delicious baked goods. The process is straightforward, forgiving, and yields impressive results every time, proving that you don't need hours in the kitchen to enjoy homemade treats.
Whether you stick to the classic version or experiment with variations, the satisfaction of pulling a tray of perfectly baked scones from your own oven is immense. This recipe empowers you to bake with ease, bringing a touch of simple joy to your day or to share with others.
Baking is often about sharing the joy. Once you've made your batch of foolproof scones, share them with family and friends. They make a wonderful addition to breakfast, brunch, or afternoon tea.
Consider sharing photos of your creations! Seeing how others interpret the recipe or add their own twist is part of the fun. This quick and easy foolproof scone recipe is designed to be shared, inspiring others to discover how simple and satisfying baking can be, even on a tight schedule.
Frequently Asked Questions
What makes this scone recipe "foolproof"?
This recipe is considered "foolproof" because it utilizes simple, clear instructions and easy-to-find ingredients, minimizing common baking errors. It also focuses on techniques that are forgiving for beginners.
How long does it really take to make these scones?
The recipe is designed to be completed in under 30 minutes, including preparation and baking time. However, individual results may vary slightly based on oven performance and preparation speed.
What are the key ingredients for a good scone?
The key ingredients are flour, butter, sugar, baking powder, and liquid (usually milk or cream). The quality of these ingredients significantly impacts the texture and flavor of the final scone.
Can I substitute ingredients in this scone recipe?
While substitutions are possible, they may affect the outcome. For best results, stick to the recommended ingredients. If substituting, research how the change will affect the scone's texture and flavor.
What is the best way to serve these scones?
These scones are delicious served warm with clotted cream and jam. They also pair well with tea or coffee and can be enjoyed plain or with a variety of toppings.
Final Reflection: The Joy of Effortless Baking
The pursuit of perfect scones, once a daunting culinary challenge, is now surprisingly accessible. This article has demonstrated that achieving flaky, golden-brown perfection in under 30 minutes is entirely within reach, even for the most novice baker. The simplicity of the recipe, combined with clear instructions and helpful tips, empowers anyone to experience the satisfaction of homemade baking.
The enduring appeal of scones lies not just in their delicious taste, but in the comforting ritual they represent. Baking, particularly quick breads like scones, offers a tangible connection to tradition and a sense of accomplishment that transcends the simple act of creating food. It's a small act of self-care, a moment of mindful creation in a busy world. Baking is at once child's play and adult joy. And love, of course.
– Alma Flor Ada. This quote perfectly encapsulates the magic of baking, and the ease with which you can now experience it.
Now, I invite you to roll up your sleeves, gather your ingredients, and embark on your own scone-baking adventure. Don't be intimidated by the seemingly complex texture; embrace the simplicity of the process. The reward – the warm, buttery aroma filling your kitchen, the satisfying crumble in each bite – is well worth the effort. Share your creations, share your experiences, and most importantly, share the joy of effortless baking with those you love.
Unlock Your Inner Baker: Master the Art of the Perfect Scone!
Thanks for taking the time to explore the world of effortless scones! We hope you gained some valuable tips and tricks to elevate your baking game. Ready to put your newfound skills to the test?
- Bake a batch of scones today! Use your favorite recipe (or ours!) and let the delicious aroma fill your kitchen. Don't forget to experiment with different flavors and additions.
- Share your scone creations on social media! Tag us @BakeWithEase (we're on all the major platforms) – we love seeing your baking adventures!
- Challenge a friend to a scone-baking duel! It’s a fun way to share your new expertise and maybe even discover a new baking buddy.
What innovative flavor combination will you try for your next scone masterpiece?