
Seeing is Believing: What Proper Emulsification Looks Like in Your Mix

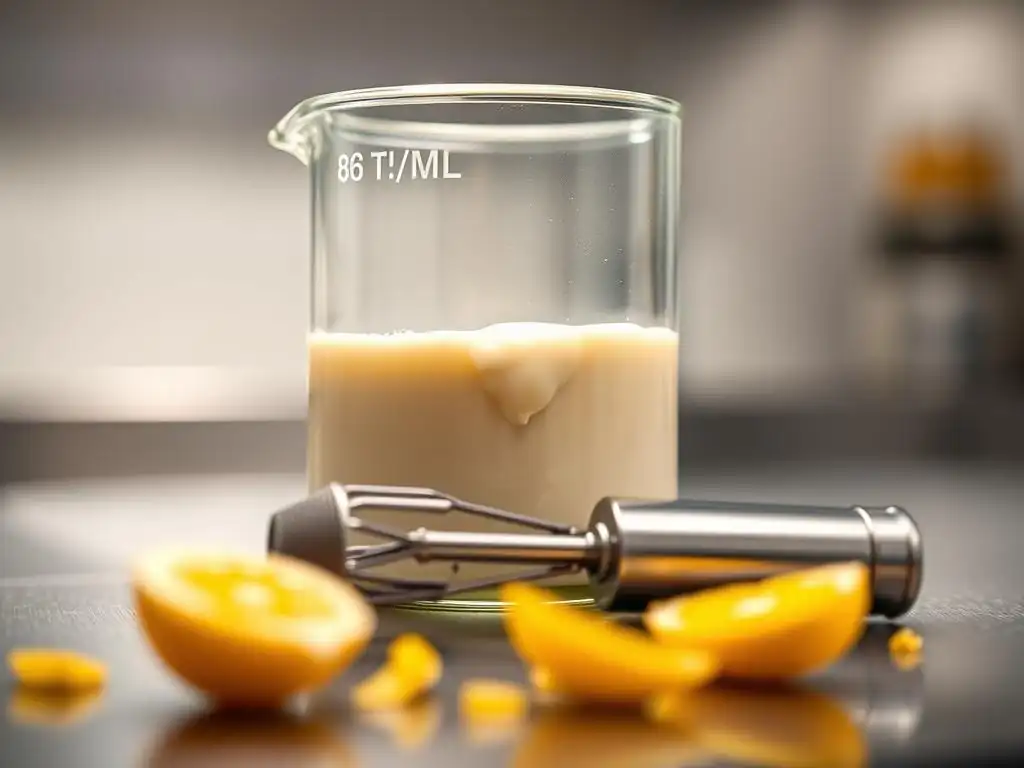
Welcome to BakeWithEase, your trusted guide to baking brilliance! Ever wondered why some batters are gloriously smooth while others stubbornly separate? This week, we're diving into the heart of baking science with a Baking Science Deep Dive focusing on proper emulsion mixing techniques. Unlock the secrets to achieving perfect textures and consistent results by understanding the science behind this crucial step. Are you ready to transform your baking game?
- Achieving Baking Perfection: Mastering Emulsification
- Understanding Emulsification in Baking
- Visual Indicators of a Well-Emulsified Batter
- Emulsification Techniques: A Step-by-Step Guide
- Troubleshooting Common Emulsification Issues
- Emulsification Techniques for Specific Baked Goods
- Visual Examples: Before and After Emulsification
- Advanced Emulsification Strategies
- Mastering Emulsification for Baking Success
- Frequently Asked Questions
- Final Reflection: The Art and Science of a Perfect Emulsion
- Unlock Your Baking Potential: Master the Art of Emulsification!
Achieving Baking Perfection: Mastering Emulsification
Understanding Emulsification in Baking
The Science Behind Emulsions in Baked Goods
Emulsification is a fundamental concept in baking, representing the process of combining two immiscible liquids, typically oil and water, into a stable mixture. Think of a vinaigrette: oil and vinegar separate unless shaken vigorously, but the separation quickly returns. In baking, we aim for a lasting union. This stability is achieved through emulsifiers – molecules with both hydrophilic (water-attracting) and lipophilic (oil-attracting) parts. These emulsifiers surround droplets of one liquid within the other, preventing them from coalescing and separating. Common natural emulsifiers in baking ingredients include lecithin found abundantly in egg yolks and phospholipids present in butter.
When ingredients are properly emulsified, the fat and water phases are uniformly dispersed throughout the batter or dough. This microscopic distribution is crucial because it impacts how heat is transferred during baking, how gluten develops, and how starches gelatinize. A well-emulsified mixture ensures consistent results, preventing issues like tunneling in cakes or tough textures in breads.
For instance, in a typical cake batter, the fat phase (butter or oil) is dispersed within the water phase (milk, eggs, liquids), with egg yolks acting as key emulsifiers to keep everything together. Without proper emulsification, the fat would separate, leading to a greasy, dense layer at the bottom of the baked good.
How Emulsification Impacts Texture, Flavor, and Shelf Life
Proper emulsification significantly influences the final characteristics of baked goods, starting with texture. A stable emulsion creates a fine, even crumb structure in cakes and muffins by distributing fat evenly to shorten gluten strands and tenderize the crumb. In contrast, a poorly emulsified batter can result in a coarse, uneven texture, sometimes with large air pockets or a tough, chewy bite. Consider a pound cake recipe; the creaming of butter and sugar followed by the gradual addition of eggs is a prime example of proper emulsion mixing techniques that build structure and ensure a tender crumb.
Beyond texture, emulsification plays a role in flavor distribution and shelf life. Fat soluble flavor compounds are carried within the fat phase, and water soluble flavors in the water phase. A well-emulsified mixture ensures these flavors are evenly dispersed throughout the product, providing a consistent taste experience in every bite.
Furthermore, the even distribution of fat can help retain moisture, which is critical for extending the shelf life of baked goods. Fat acts as a barrier to moisture loss, and when it's finely dispersed through proper emulsion mixing techniques, it helps keep the product moist and fresh for longer periods, reducing staling.
Visual Indicators of a Well-Emulsified Batter
Signs of Perfect Emulsion: Smoothness and Consistency
Visually assessing your batter is one of the most practical ways to gauge the success of your emulsification. A properly emulsified batter or mixture will exhibit a smooth, homogeneous appearance. There should be no visible separation of liquids or fats.
Think of a perfectly made mayonnaise or a smooth, thick custard; they have a uniform texture and sheen. In a cake batter, this might look like a glossy, thick liquid that pours in a ribbon, rather than a watery or oily mixture. The consistency will be uniform throughout, without lumps that aren't supposed to be there (like unincorporated dry ingredients).
For example, when creaming butter and sugar and then adding eggs, a well-emulsified mixture will be light, fluffy, and uniform in color, without any greasy spots or watery liquid pooling at the bottom. It will have a consistent, airy texture. This visual cue indicates that the fat, sugar, and liquid from the eggs have been successfully integrated into a stable network. Recognizing this smooth, consistent texture is a key part of mastering proper emulsion mixing techniques in baking.
Identifying Imperfections: Separated or Curdled Appearance
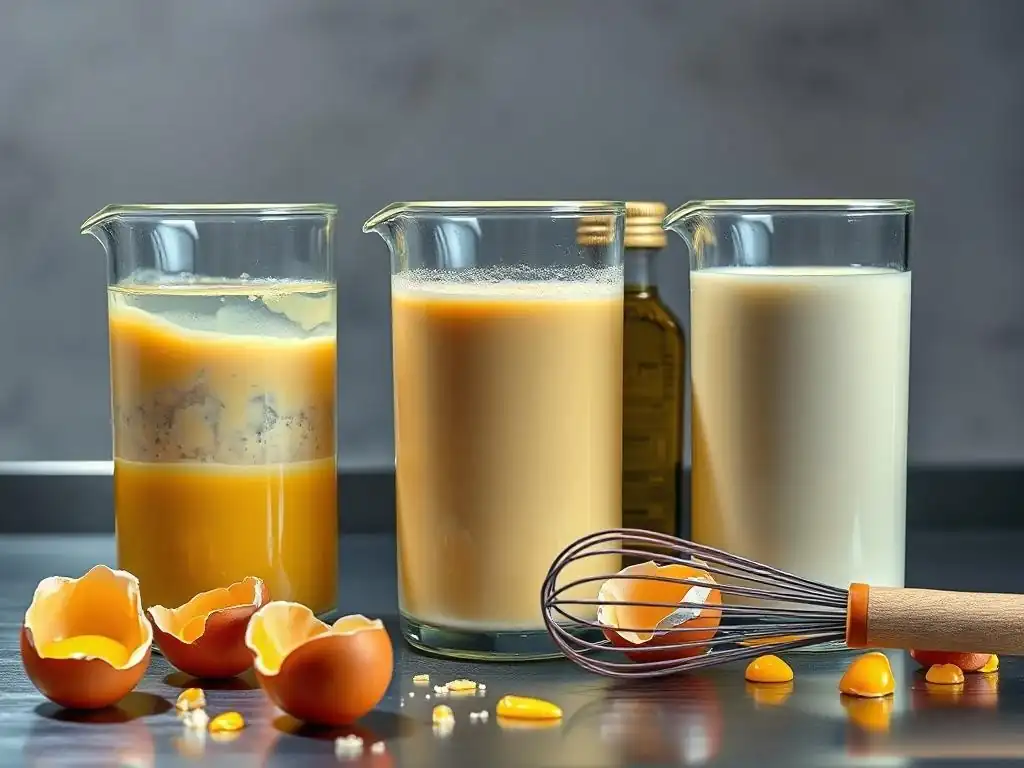
Conversely, a poorly emulsified mixture will often show clear signs of separation. You might see pools of liquid (often watery or oily) separating from the thicker, more solid components. This is commonly referred to as a "broken" or "curdled" emulsion. In a cake batter, this might look like lumpy cottage cheese, where the solid parts (often protein and starch) are separated from the liquid fat and water. The mixture might look greasy or watery instead of smooth and cohesive.
This separation indicates that the emulsifiers were unable to keep the fat and water phases dispersed. This can happen for various reasons, such as adding ingredients too quickly, temperature discrepancies, or overmixing/undermixing. Seeing a curdled appearance is a clear signal that your proper emulsion mixing techniques need adjustment before proceeding, as baking a separated batter will almost always result in a poor-quality product with undesirable texture.
Emulsification Techniques: A Step-by-Step Guide
Combining Ingredients at the Correct Temperature
Temperature plays a critical role in achieving stable emulsions, especially when working with fats like butter. Butter is a solid fat composed of fat, water, and milk solids. For successful creaming (a form of emulsification), butter is typically used at room temperature, around 65-70°F (18-21°C). If the butter is too cold, it won't cream properly with sugar, hindering the formation of air pockets and affecting emulsion stability later. If it's too warm or melted, the fat separates from the water and milk solids, making it difficult to emulsify with other liquids like eggs.
Similarly, eggs are usually added to creamed butter and sugar at room temperature. Cold eggs can chill the mixture too quickly, causing the fat to seize or the emulsion to break. Gradually incorporating room-temperature eggs allows them to integrate smoothly into the fat-sugar mixture, with the lecithin in the yolks helping to bridge the fat and water phases. Ensuring all emulsifiable ingredients are at the correct, often room, temperature is a foundational aspect of proper emulsion mixing techniques.
Mixing Speed and Duration for Stable Emulsions
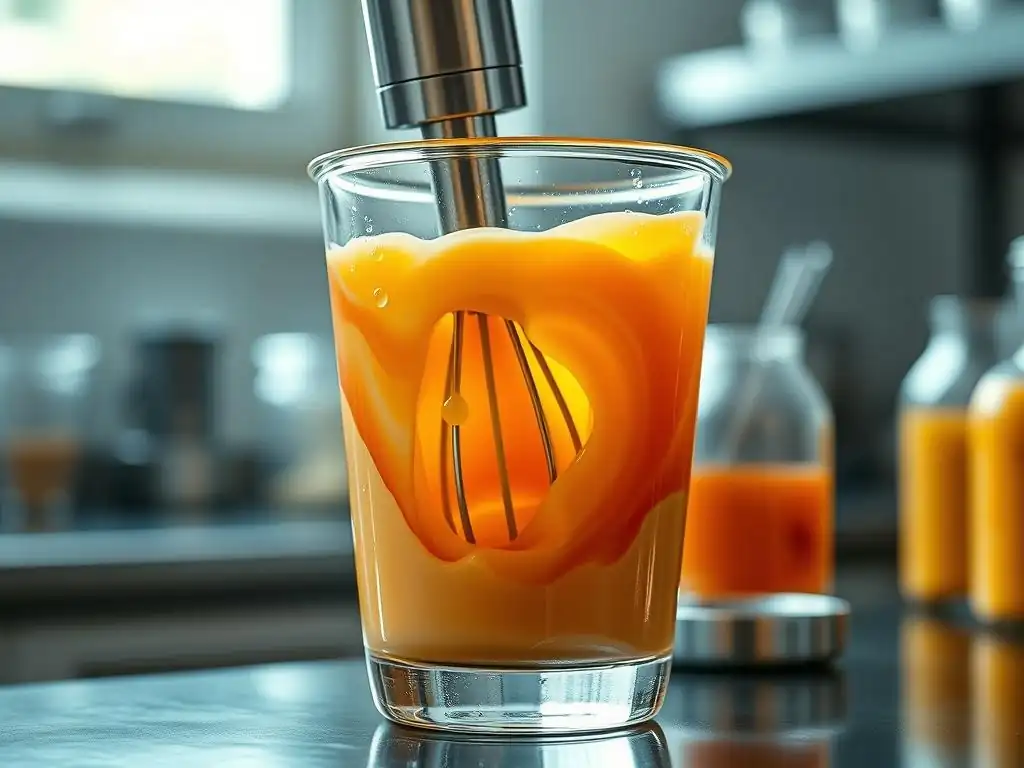
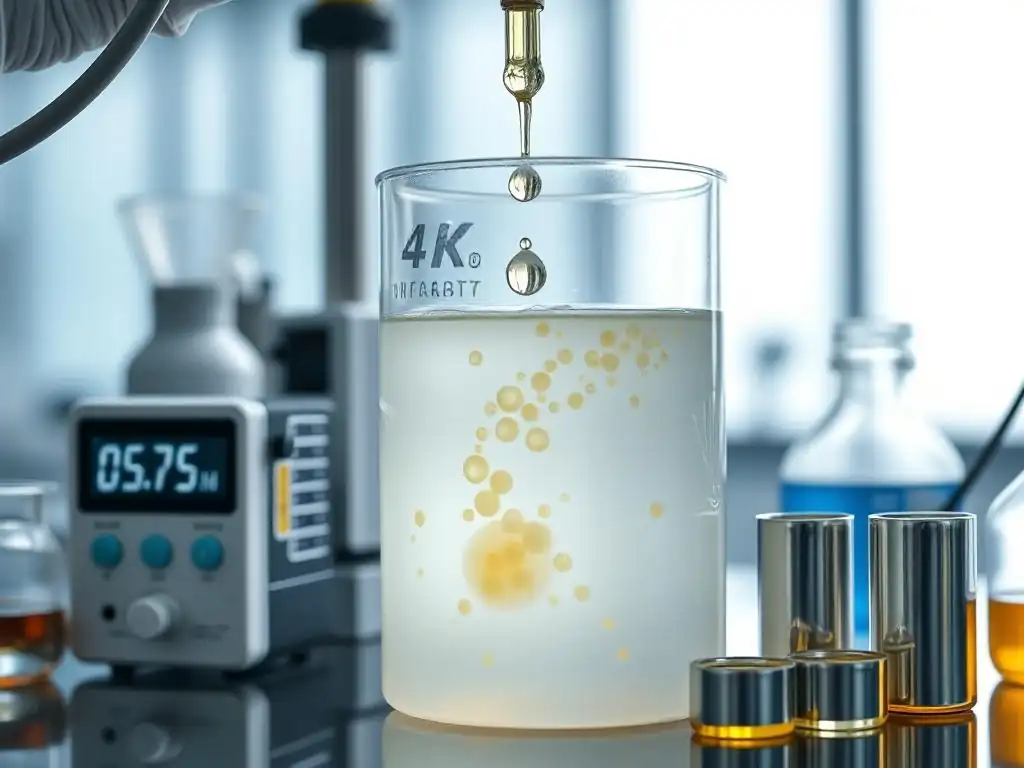
The speed and duration of mixing are just as important as temperature. When creating an emulsion, such as adding oil to egg yolks for mayonnaise or a rich cake batter, adding the liquid slowly while continuously mixing is crucial. Starting with a moderate speed to combine initially, then increasing slightly as the emulsion begins to form helps create small, stable droplets of the dispersed phase. Adding too much liquid at once overwhelms the emulsifiers' capacity to surround the droplets, leading to separation.
For creaming butter and sugar, sufficient mixing time is needed to incorporate air and dissolve sugar crystals, but also to prepare the fat for emulsification with eggs. Overmixing after the emulsion has formed, however, can sometimes cause it to break, particularly in delicate mixtures like custards or ganaches. Finding the right balance – typically mixing until just combined and smooth – is key for proper emulsion mixing techniques across various recipes. Pay attention to the visual cues discussed earlier to guide your mixing process.
Recognizing When Emulsification is Complete
Knowing when your mixture is properly emulsified is primarily a visual and textural assessment. As you mix, you'll notice the appearance change from separate ingredients to a cohesive, uniform blend. For instance, when adding eggs to creamed butter and sugar, the mixture will transform from slightly curdled-looking to smooth, pale, and significantly increased in volume. It will lose its greasy or watery appearance and take on a light, airy consistency.
In other emulsions, like mixing oil into wet ingredients for muffins or quick breads, the batter will become thick, smooth, and uniform in color. There should be no streaks of oil or pockets of liquid. The mixture should hold together and have a consistent viscosity. Trusting your senses and learning to identify these visual and textural cues is vital for applying proper emulsion mixing techniques effectively in all your baking endeavors.
Troubleshooting Common Emulsification Issues
Addressing Broken Emulsions: Causes and Solutions
A broken or curdled emulsion is a common frustration, often caused by temperature extremes (ingredients too cold or too warm), adding liquids too quickly, or sometimes overmixing after the emulsion has formed. For example, adding cold milk or yogurt directly into a warm butter-based batter can shock the fat, causing it to seize and separate from the liquids. Similarly, trying to beat cold eggs into creamed butter often results in a curdled mess.
The key to addressing a broken emulsion is often to gently re-emulsify it. Sometimes, simply warming the mixture very slightly over a very low heat or a warm water bath while whisking continuously can help the fat re-integrate with the liquids. Another common trick is to add a tablespoon or two of the dry ingredient (like flour or a little extra emulsifier like egg yolk) to the broken mixture and whisk vigorously. This can sometimes help absorb some excess liquid and provide more structure for the emulsion to reform.
Recovering a Separated Batter: Rescue Methods
If your batter has separated, don't panic! There are often ways to salvage it. As mentioned, gentle warming can sometimes work. Alternatively, try adding a small amount of the liquid component that wasn't fully incorporated yet, very slowly, while whisking vigorously. For example, if adding milk caused separation, try adding just a teaspoon of the remaining milk very gradually.
Another effective method, particularly for cake batters, is to add a tablespoon or two of the dry ingredients (like flour) to the separated mixture and whisk until it comes back together. The flour helps absorb excess liquid and can stabilize the mixture. Once it looks smooth again, you can continue adding the remaining dry and wet ingredients as instructed in the recipe. This flour trick is a handy rescue method when your proper emulsion mixing techniques briefly failed you.
Preventing Emulsion Breakage: Proactive Tips
Prevention is always better than cure when it comes to emulsions. The most important proactive tip is to ensure all ingredients that need to be emulsified are at the correct temperature, usually room temperature, before you start mixing. Gradually adding liquids (like eggs, milk, or oil) to the fat or base mixture is also crucial. Pouring in a steady, thin stream or adding in small increments allows the emulsifiers time to do their job effectively.
Additionally, avoid overmixing delicate emulsions once they are formed. Mix only until the mixture is smooth and cohesive. For some recipes, like those involving chocolate or dairy, rapid temperature changes can cause splitting, so temper ingredients carefully if necessary. By following these proactive steps and paying attention to ingredient temperatures and addition rates, you significantly increase your chances of achieving a stable emulsion using proper emulsion mixing techniques.
Emulsification Techniques for Specific Baked Goods
Creaming Method: Emulsifying Butter and Sugar
The creaming method, commonly used for butter-based cakes and cookies, is a prime example of building an emulsion. It starts by beating softened butter with sugar. While this primarily incorporates air and dissolves sugar, it also begins to disperse the water and milk solids within the butter. The real emulsification happens when eggs are added. The lecithin in the egg yolks acts as the bridge between the fat (from butter) and the water (from egg whites and other liquids).
The key here is to add the eggs one at a time, or in small portions, beating well after each addition. This allows the emulsifiers in the egg yolk sufficient time and surface area to interact with both the fat and water phases, creating a stable, airy emulsion. A properly creamed mixture with eggs incorporated will be light, fluffy, and significantly increased in volume – a visual testament to successful proper emulsion mixing techniques in action.
Combining Eggs and Oil: Achieving a Stable Mixture
Many quick breads, muffins, and oil-based cakes rely on the emulsification of eggs and liquid oil. Unlike butter, oil is 100% fat and liquid at room temperature. When mixing oil with eggs and other liquid ingredients like milk or buttermilk, the emulsifiers in the egg yolks are essential for creating a stable blend. This prevents the oil from separating and creating a greasy texture in the final product.
A common approach is to whisk the eggs with sugar and then gradually whisk in the oil in a steady stream while continuously mixing. This mechanical action, combined with the emulsifying power of the egg yolks, disperses the oil into tiny droplets throughout the liquid phase. The result is a smooth, cohesive mixture that provides moisture and tenderness to the baked good. Mastering the slow addition of oil while mixing is a fundamental aspect of proper emulsion mixing techniques for oil-based recipes.
Chocolate Ganache: Maintaining a Smooth Emulsion
Chocolate ganache is a classic example of a delicate emulsion between melted chocolate (which contains fat) and a dairy liquid like cream (which contains water and fat). When hot cream is poured over chopped chocolate and allowed to sit briefly before whisking, the fat from the melted chocolate is dispersed into the liquid cream. The emulsifiers naturally present in cocoa solids and milk fats help stabilize this mixture.
Overheating the ganache or whisking too aggressively can sometimes cause the emulsion to break, resulting in a greasy, separated mixture. Gentle, consistent stirring or whisking from the center outwards helps the emulsion form smoothly. If a ganache does split, it can often be rescued by adding a tablespoon of warm milk or cream and stirring gently, or by using an immersion blender briefly. Understanding the principles of gentle heat and mixing is vital for maintaining this specific type of proper emulsion mixing techniques.
Visual Examples: Before and After Emulsification
Poorly Emulsified Batter: Signs of Separation
Imagine a cake batter that was mixed incorrectly. Looking into the bowl, you would likely see distinct phases. There might be pools of thin, watery liquid around the edges or at the bottom. You might see streaks of grease or unincorporated fat marbled through the mixture. The texture would likely be lumpy or curdled, resembling something like cottage cheese rather than a smooth batter.
Scooping the batter would highlight the issue further; it wouldn't hold together cohesively but might drip in separate, non-uniform blobs. There would be a visible lack of homogeneity – areas that appear more liquid and oily next to areas that seem thicker and more solid. This separated appearance is the clearest visual indicator that your proper emulsion mixing techniques were not successful, and the batter's structure is compromised.
Perfectly Emulsified Batter: Smooth and Homogeneous
Now, picture the same cake batter, but mixed with proper emulsion mixing techniques. The visual difference is striking. The entire mixture in the bowl is uniform in color and texture. It appears smooth, glossy, and cohesive, like a thick, luxurious sauce or a well-whipped frosting. There are no visible streaks of fat or pools of liquid.
When you scoop this batter, it holds together beautifully and falls back into the bowl in a thick, continuous ribbon. The consistency is even throughout, indicating that the fat, water, and other ingredients are finely dispersed and stably integrated. This smooth, homogeneous appearance is the ideal result, signifying a strong emulsion that will contribute to a tender crumb and consistent texture in the final baked product.
Advanced Emulsification Strategies
Using Natural Emulsifiers for Enhanced Stability
While eggs are the most common natural emulsifier in baking, others can be utilized to enhance stability or achieve specific results. Lecithin, derived from sources like soy or sunflower, can be purchased and added to recipes requiring extra emulsification power, such as certain breads or low-fat baked goods. Honey and molasses, due to their complex sugar structures and some protein content, also have mild emulsifying properties and can contribute to moisture retention and stable batters.
Mustard is a surprisingly effective emulsifier, often used in vinaigrettes, but its use in baking is limited due to flavor. However, understanding that different ingredients possess varying degrees of emulsifying ability allows bakers to choose ingredients strategically. For instance, using buttermilk or yogurt (which contain proteins and fats) instead of plain milk can sometimes contribute to a more stable emulsion in certain recipes. Exploring these natural helpers can elevate your proper emulsion mixing techniques.
Exploring Different Mixing Equipment
The type of mixing equipment used significantly impacts the success of emulsification. Hand whisking can be effective for small batches or simple emulsions like ganache, but achieving a stable, voluminous emulsion like creamed butter and sugar is far easier with a stand mixer or hand mixer. The mechanical action of beaters or whisks helps break down fat particles and disperse liquids effectively.
For liquid-in-liquid emulsions, like incorporating oil into wet ingredients, a whisk is suitable, but an immersion blender can create incredibly stable and fine emulsions very quickly, often used for sauces or gravies, though less common directly in cake batters post-creaming. Understanding how different equipment provides varying levels of shear and agitation helps you choose the right tool for the job to apply proper emulsion mixing techniques efficiently.
The Role of Ingredient Order in Emulsification
The order in which ingredients are combined is paramount for successful emulsification. In the creaming method, adding eggs after creaming butter and sugar is essential because the fat-sugar matrix provides a structure for the egg's emulsifiers to work within. Adding liquids like milk or water too early can break the initial fat-sugar structure before the emulsifiers have a chance to stabilize it.
Similarly, when making oil-based batters, it's typical to combine all wet ingredients (eggs, oil, milk, etc.) separately before adding them to the dry ingredients. This pre-emulsification of the wet components ensures the oil is dispersed before it interacts with the flour and other dry ingredients, preventing gluten development issues caused by oil coating flour particles. Following the specified ingredient order in a recipe is not arbitrary; it's designed to facilitate proper emulsion mixing techniques and build the structure of the final product correctly.
Mastering Emulsification for Baking Success
Frequently Asked Questions
How important is proper emulsification in baking?
Proper emulsification is crucial because it creates a stable mixture of ingredients like fats and liquids. This results in a better texture, improved rise, and overall superior final product in baked goods.
What are some common signs of a poorly emulsified batter?
Signs of poor emulsification include a batter that appears separated, curdled, or greasy. You might also notice oil pooling on the surface or a lack of uniformity in the mixture.
What are some "Proper emulsion mixing techniques" can I use to avoid issues?
To ensure a good emulsion, gradually add liquids to fats while mixing. Make sure the ingredients are at the correct temperature (usually room temperature) and avoid over-mixing the batter.
What ingredients are most prone to emulsification issues?
Ingredients like butter and eggs are frequently involved in emulsification. Ensure your butter is softened, and add eggs one at a time, mixing well after each addition.
How can I fix a broken emulsion in my batter?
Sometimes, adding a small amount of a binding agent, such as flour or cornstarch, can help bring a broken emulsion back together. Also, gently warming the batter slightly can sometimes aid in re-emulsification.
Final Reflection: The Art and Science of a Perfect Emulsion
The pursuit of the perfect emulsion isn't just about achieving a smooth texture; it's about unlocking the full potential of your culinary creations and understanding the fundamental principles of chemistry in action. A flawlessly emulsified sauce, dressing, or even cosmetic product is a testament to precision and understanding, a delicious (or effective) result of mastering the delicate balance between oil and water. This knowledge, once acquired, elevates the entire cooking or crafting process, transforming it from a simple task into a creative endeavor.
The impact of proper emulsification techniques extends far beyond the kitchen or laboratory. It's a fundamental concept that underpins countless products we use daily, from our skincare routines to the food we consume. Understanding the science behind it allows us to appreciate the artistry involved in creating stable and visually appealing mixtures. As the culinary philosopher, Harold McGee, once wrote: The most important thing about cooking is to understand the processes involved, not just the recipes.
This quote perfectly encapsulates the essence of this article – it's not just about what to do, but why it works.
Now, consider your own culinary or crafting endeavors. Think about the times you've struggled with a separated dressing or a grainy lotion. Take this knowledge and apply it to your next project. Experiment with different emulsifiers, explore the impact of temperature and mixing techniques, and observe the fascinating transformation as oil and water unite. The journey to mastering emulsification is a rewarding one, filled with delicious discoveries and a deeper understanding of the world around us. Embrace the challenge, and you'll find yourself creating truly exceptional results.
Unlock Your Baking Potential: Master the Art of Emulsification!
Thanks for diving into the world of perfect emulsification! We hope you now feel confident in identifying and achieving that creamy, smooth texture in your baking. Ready to put your new knowledge to the test?
- Whip up your dream recipe: Try making a batch of your favorite creamy sauce or cake batter, focusing on the emulsification techniques you just learned. See the difference!
- Share your baking triumph: Post a picture of your perfectly emulsified creation on social media and tag us – we’d love to see it!
- Challenge yourself: Try a new recipe that requires emulsification – a custard, aioli, or even a decadent mousse.
What incredible baking creation will you emulsify next?