
Master Layer Cake Assembly: Your First Step to Stunning Cakes

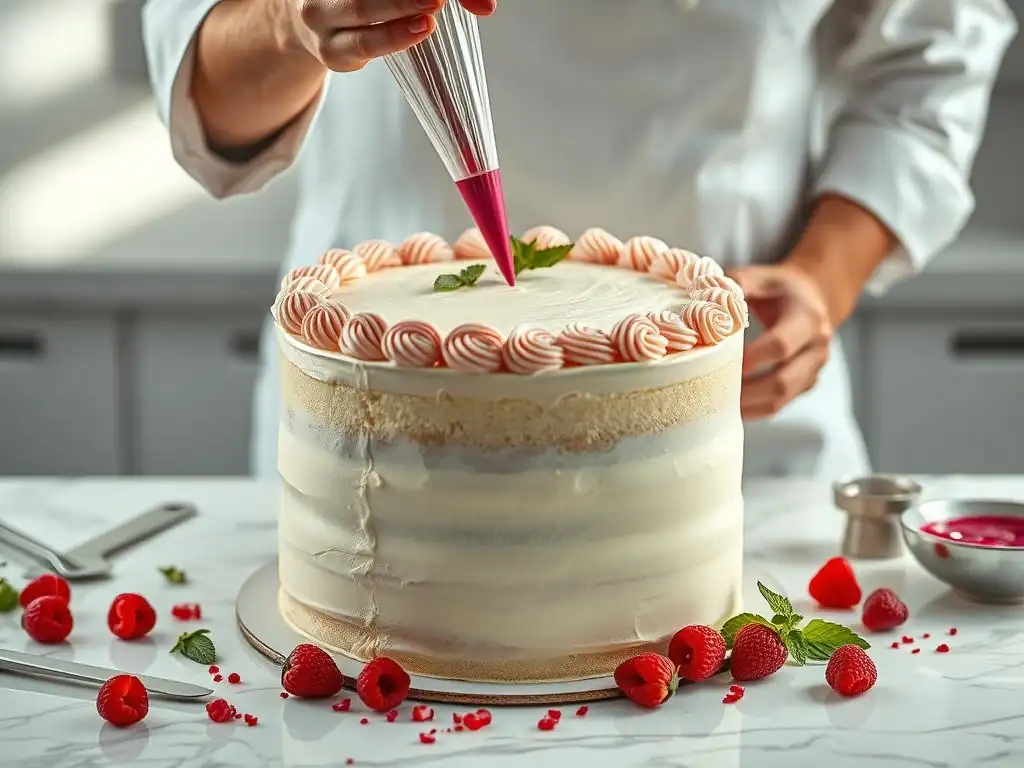
Welcome to BakeWithEase.com, your haven for all things baking! Ever wondered how to achieve that flawlessly smooth finish on your layer cakes? Master Layer Cake Assembly: Your First Step to Stunning Cakes is here to demystify the process. Before you even think about decorating, learn the crucial techniques for a perfectly stable and delicious foundation. Intrigued? Discover our easy layer cake frosting tips and more inside, paving your way to baking masterpieces that are as beautiful as they are tasty.
- BakeWithEase Presents: Mastering Layer Cake Construction
- Preparing for Easy Layer Cake Frosting Tips and Assembly
- Easy Layer Cake Frosting Tips: A Step-by-Step Guide
- The Final Frosting Layer: Achieving a Smooth Finish
- Layer Cake Decoration Ideas: Adding Your Personal Touch
- Troubleshooting Common Layer Cake Assembly Problems
- Storing Your Assembled Layer Cake: Keeping it Fresh
- Conclusion: Confidently Assemble Stunning Layer Cakes
-
Frequently Asked Questions
- How do I ensure my layer cake frosting is smooth and even?
- What are some easy layer cake frosting tips for beginners?
- How can I prevent my layer cake frosting from sliding off?
- What are some quick and easy ways to decorate a layer cake with frosting?
- How important is it to chill my layer cake during the frosting process?
- Final Reflection: Mastering the Art of Layer Cake Assembly
- Unlock Your Inner Cake Artist: Level Up Your Baking Game!
BakeWithEase Presents: Mastering Layer Cake Construction
Why Layer Cake Assembly Matters for Baking Success
Assembling a layer cake isn't just stacking baked goods; it's the critical phase where your delicious layers transform into a stable, beautiful structure. A poorly assembled cake can lean, bulge, or even collapse, no matter how perfect your crumb or how flavorful your frosting.
Mastering fundamental assembly techniques ensures your cake stands tall and provides a smooth, even surface, setting you up for success when you apply your final frosting layer. Think of it as building a sturdy foundation before you start decorating – it makes every subsequent step, including applying easy layer cake frosting tips, significantly simpler and more effective.
The way you assemble your cake directly impacts its final presentation and structural integrity. Uneven layers lead to tilting, while neglecting a crumb coat can result in a messy final frosting layer filled with crumbs. Taking the time to properly prepare your layers, stack them securely, and apply the initial coats of frosting correctly saves time and frustration in the long run. It elevates a simple cake into a professional-looking centerpiece, proving that attention to detail during assembly is just as important as following the recipe for the cake itself.
Preparing for Easy Layer Cake Frosting Tips and Assembly
Essential Tools for Layer Cake Success: A Checklist
Having the right tools makes a world of difference in layer cake assembly and frosting. An offset spatula, with its angled blade, is indispensable for spreading frosting smoothly across flat surfaces and around the sides. A long serrated knife or a dedicated cake leveler is crucial for trimming cake domes and achieving perfectly flat layers, which are essential for stable stacking. Without level layers, your cake is prone to tilting from the start.
Here is a checklist of essential tools that contribute to easy layer cake frosting tips and smooth assembly:
- [x] Cake Leveler or Long Serrated Knife
- [x] Offset Spatulas (small and large)
- [x] Bench Scraper or Side Smoother
- [x] Turntable (optional, but highly recommended)
- [x] Cake Boards or Cardboard Rounds
- [x] Piping Bags and Tips (for filling or decorative borders)
Investing in a few quality tools not only simplifies the process but also helps you achieve a more professional finish. For example, a turntable allows you to rotate the cake smoothly while applying and smoothing frosting, making it much easier to get an even coat all around. A bench scraper is invaluable for achieving straight, smooth sides on your frosted cake.
Leveling Your Cake Layers: Achieving a Professional Finish
Leveling your cake layers is a fundamental step for creating a stable, even cake structure. Most cake layers bake with a slight dome in the center due to heat distribution in the oven. Stacking domed layers will inevitably lead to a wobbly or slanted cake. Using a serrated knife or a cake leveler allows you to carefully slice off the dome, creating a flat surface. Aim to remove just enough to make the top perfectly level.
To level with a serrated knife, place the cake layer on a flat surface and hold the knife parallel to the surface. Use a gentle sawing motion, keeping your hand steady to maintain a consistent height as you cut through the dome. A cake leveler offers more precision; simply adjust the wire to the desired height, place it over the cake, and glide it through. This step is non-negotiable for achieving clean lines and a professional appearance, making the application of easy layer cake frosting tips much more effective on a flat surface.
Making Your Frosting: The Key to a Delicious and Beautiful Cake
The consistency of your frosting is paramount for successful layer cake assembly and frosting. Frosting that is too stiff can tear the cake layers or be difficult to spread smoothly, while frosting that is too soft can cause layers to slide, bulge, or fail to hold its shape.
Achieving the right consistency – typically smooth, spreadable, but firm enough to hold its shape – is the first step towards easy layer cake frosting tips and application. If your frosting is too soft, try chilling it for 10-15 minutes; if too stiff, add a tiny bit of milk or cream, one teaspoon at a time, and mix thoroughly.
Ensure you make enough frosting to generously fill and cover your entire cake. Running out of frosting mid-way is a common issue that interrupts the flow and can compromise the final look. As a general guideline, a standard 8-inch two-layer cake typically requires about 4-6 cups of frosting. Having ample frosting allows you to work without stress, apply thick enough layers for smooth coverage, and confidently use your easy layer cake frosting tips without worrying about stretching your supply too thin.
Easy Layer Cake Frosting Tips: A Step-by-Step Guide
Crumb Coat: The Foundation for a Flawless Finish
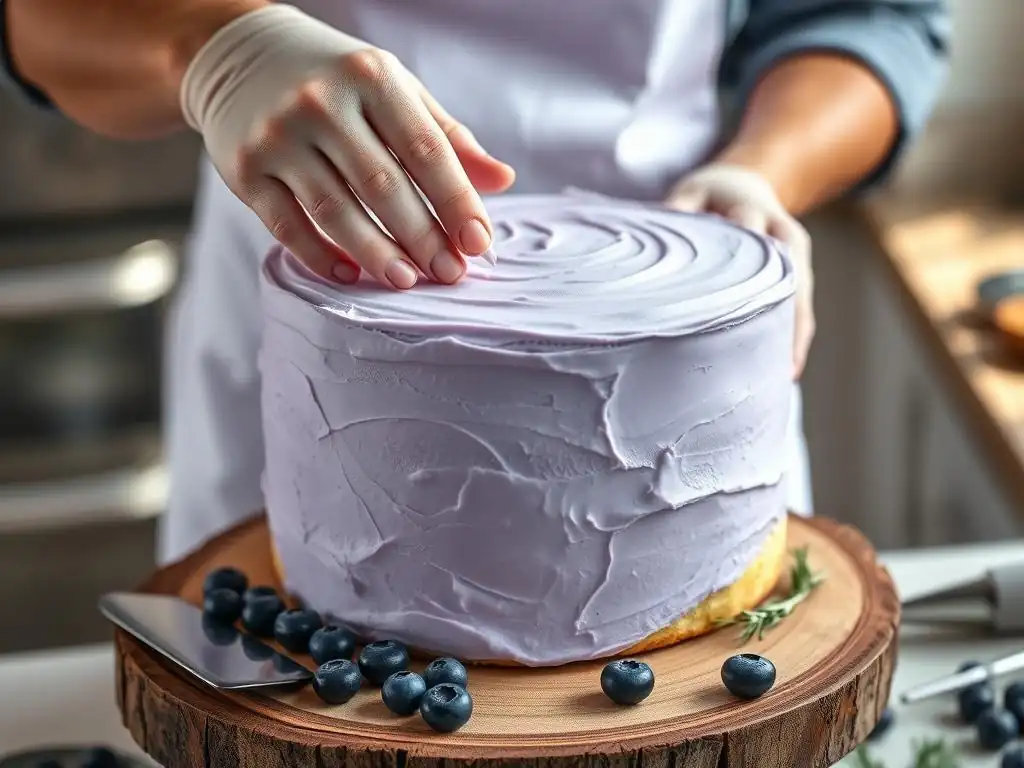
The crumb coat is a thin layer of frosting applied to the entire cake before the final frosting layer. Its primary purpose is to trap any loose crumbs from the cake layers, preventing them from appearing in your final, smooth frosting layer. Think of it as sealing the cake's surface. While it might seem like an extra step, applying a crumb coat is one of the most effective easy layer cake frosting tips for achieving a clean, professional finish. It creates a stable, smooth canvas for your final decorative layer.
Without a crumb coat, every swipe of your spatula for the final layer risks dragging crumbs across the surface, resulting in a messy, unprofessional look. The crumb coat doesn't need to be perfectly smooth or thick; its job is simply to gather and secure the crumbs. Once applied and chilled, it provides a firm base that makes applying the final, thicker layer of frosting significantly easier and guarantees a crumb-free result, making this an essential part of any easy layer cake frosting tips guide.
Applying the Crumb Coat: Sealing in Crumbs
To apply the crumb coat, use an offset spatula. Start by placing a small amount of frosting on top of the cake and spreading it thinly across the surface. Then, take more frosting and apply a thin layer around the sides of the cake. The goal is to use just enough frosting to cover the cake's surface lightly, picking up and sealing any loose crumbs as you go. Don't worry about making it perfectly smooth at this stage; a rustic look is fine.
Scrape off any excess frosting that looks too thick, as the crumb coat should be quite thin. The key is to cover every bit of the cake's exterior to ensure all crumbs are trapped. This initial layer acts like a primer, preparing the surface for the main event. Mastering this simple technique is one of the most effective easy layer cake frosting tips you can learn, drastically improving the final look of your cake.
Chilling the Crumb Coat: Ensuring Stability
After applying the crumb coat, it's crucial to chill the cake. Place the crumb-coated cake in the refrigerator for at least 15-30 minutes, or in the freezer for 10-15 minutes, until the frosting is firm to the touch. This chilling period allows the thin layer of frosting to set completely, effectively locking in all the crumbs and stabilizing the cake's structure.
Chilling the crumb coat creates a solid surface that your final frosting layer can glide over smoothly without disturbing any crumbs. This step is non-negotiable for a clean finish and is one of the most valuable easy layer cake frosting tips you'll ever receive. A firm crumb coat makes applying the subsequent frosting layer significantly easier and reduces the risk of inadvertently scraping the cake surface and creating imperfections.
The Final Frosting Layer: Achieving a Smooth Finish
Applying the Final Frosting Layer: Techniques for a Smooth Finish
With the crumb coat chilled and firm, you are ready to apply the final, generous layer of frosting. Start by placing a substantial amount of frosting on top of the cake. Using an offset spatula, spread the frosting evenly across the top, building up a layer about ¼ to ½ inch thick. Don't be shy with the frosting; having plenty makes smoothing much easier.
Next, apply frosting to the sides of the cake. You can apply it directly from the bowl with your spatula or even pipe it around the sides for a more even distribution before smoothing. Use your offset spatula to spread the frosting around the sides, aiming for an even thickness. The goal is to completely cover the crumb coat with a smooth, consistent layer of frosting, which becomes much simpler thanks to the stable base provided by the chilled crumb coat. This is where your easy layer cake frosting tips really pay off.
Smoothing Techniques: From Palette Knives to Turntables
Achieving a smooth finish on your final frosting layer requires practice and the right tools. An offset spatula is great for initial spreading, but a bench scraper or side smoother is ideal for getting straight, smooth sides. Hold the scraper against the side of the cake, keeping it perpendicular to the cake board, and rotate the turntable (if using) while holding the scraper steady. This allows the scraper to shave off excess frosting and create a flat surface.
For the top surface, use a large offset spatula. Place the spatula flat on the top of the cake near the edge and gently pull it towards the center, removing excess frosting. Repeat this motion, overlapping slightly, until the entire top is smooth. Some bakers dip their spatula or scraper in warm water and dry it before smoothing for an extra-sleek finish. These techniques, combined with a firm crumb coat, are key easy layer cake frosting tips for a professional look.
Achieving Sharp Edges: A Pro Frosting Tip
Sharp edges elevate a frosted cake from homemade to professional. To achieve them, apply slightly more frosting than needed around the top edge of the cake. After smoothing the sides, you'll notice a small lip of frosting extending over the top edge. Using a clean offset spatula (or a bench scraper), hold it flat against the top surface of the cake, with the edge of the spatula aligned with the outer edge of the cake.
Gently pull the spatula from the outer edge towards the center of the cake, drawing the excess frosting lip inwards. Clean the spatula after each swipe and repeat this process around the entire circumference of the cake. This technique trims the frosting lip, resulting in a crisp, defined edge. It's a finishing touch that truly highlights the effectiveness of your easy layer cake frosting tips and careful assembly.
Layer Cake Decoration Ideas: Adding Your Personal Touch
Simple Decoration Ideas for Stunning Cakes
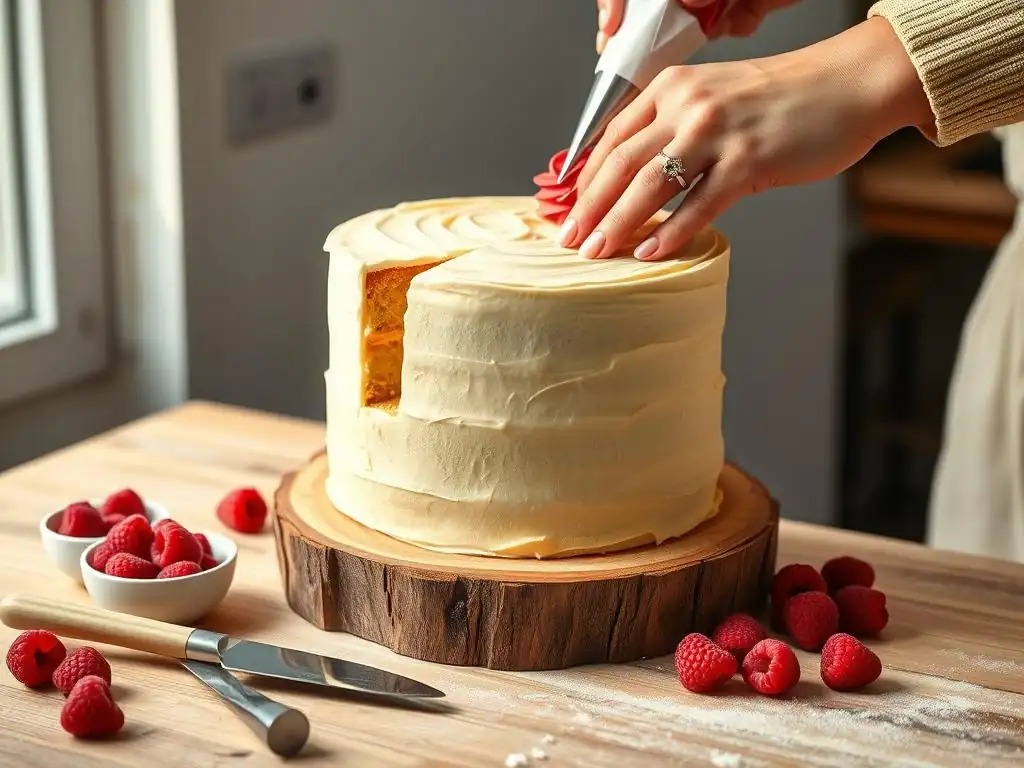
Once your layer cake is beautifully assembled and frosted, adding simple decorations can transform it into a stunning centerpiece. You don't need advanced piping skills to make your cake look impressive. Consider pressing sprinkles, chocolate shavings, or chopped nuts into the sides of the cake. A simple border piped around the top and bottom edges using a star tip adds elegance with minimal effort.
Fresh fruit, like berries or sliced citrus, arranged artfully on top provides color and freshness. A simple chocolate ganache or caramel sauce can be drizzled over the top edge for a rustic drip effect. Even placing a few fresh flowers (ensure they are food-safe or properly wrapped) or edible flowers on top can create a beautiful, effortless look. These easy decorative touches complement your successful assembly and easy layer cake frosting tips.
Advanced Layer Cake Decorating Techniques: Taking It to the Next Level
For bakers looking to expand their skills beyond simple decorations, the world of advanced layer cake decorating offers exciting possibilities. Techniques like piping intricate buttercream flowers (roses, peonies), creating complex textures on the frosting (ruffles, waves, basketweave), or applying smooth fondant for a pristine finish require more practice but yield truly spectacular results.
Exploring methods like achieving a flawless mirror glaze, creating ombre frosting effects by blending colors, or sculpting frosting into specific shapes allows for incredible creativity. While these go beyond basic easy layer cake frosting tips, mastering assembly and fundamental frosting techniques provides a solid foundation upon which to build these more complex skills. Practice, patience, and experimentation are key to mastering advanced cake artistry.
Troubleshooting Common Layer Cake Assembly Problems
Preventing Cake Sliding and Tilting
One of the most frustrating layer cake problems is sliding or tilting layers. This often occurs due to uneven layers, too much or inconsistent filling between layers, or a lack of stability during stacking. To prevent this, always ensure your cake layers are perfectly level before stacking. Use a thin, even layer of frosting or filling between layers – excess filling can act like lubricant.
For taller cakes (three layers or more), consider using cake dowels or straws inserted vertically through the layers to provide internal support. A dab of frosting under the first cake layer helps secure it to the cake board. Chilling the cake briefly after stacking each layer can also help firm up the filling and frosting, adding stability before you even begin applying easy layer cake frosting tips.
Fixing Uneven Frosting
Uneven frosting can result from various issues, including crumbs mixing in, rushing the smoothing process, or not applying enough frosting initially. The best fix often lies in prevention, primarily through a thorough crumb coat followed by adequate chilling. If you notice unevenness during the final frost, apply more frosting to the low spots and re-smooth using a bench scraper or offset spatula.
If crumbs are the issue, you may need to scrape off the affected frosting, apply a thin layer of fresh frosting to that area (acting as a mini-crumb coat), chill briefly, and then apply the final layer over it. Patience is key; take your time during the smoothing process, using clean tools and rotating the cake slowly on a turntable if possible. Consistent practice with easy layer cake frosting tips will improve your smoothing skills over time.
Dealing with Soft or Sticky Frosting
Frosting that is too soft or sticky makes smooth application nearly impossible. This is often caused by the kitchen being too warm, the frosting recipe having too much liquid or fat, or the frosting being over-mixed. If your frosting is too soft, the quickest fix is to chill it. Place the bowl of frosting in the refrigerator for 10-20 minutes, stirring occasionally, until it reaches a spreadable yet firm consistency.
If the issue persists or is due to the recipe, you might need to adjust it slightly – perhaps adding a tablespoon or two more powdered sugar for stiffness (for buttercream) or reducing the liquid. When working with soft frosting in a warm environment, work quickly and chill the cake frequently during the assembly and frosting process. A quick 10-minute chill can firm things up enough to continue applying your easy layer cake frosting tips effectively.
Storing Your Assembled Layer Cake: Keeping it Fresh
Proper Storage Techniques for Different Frosting Types
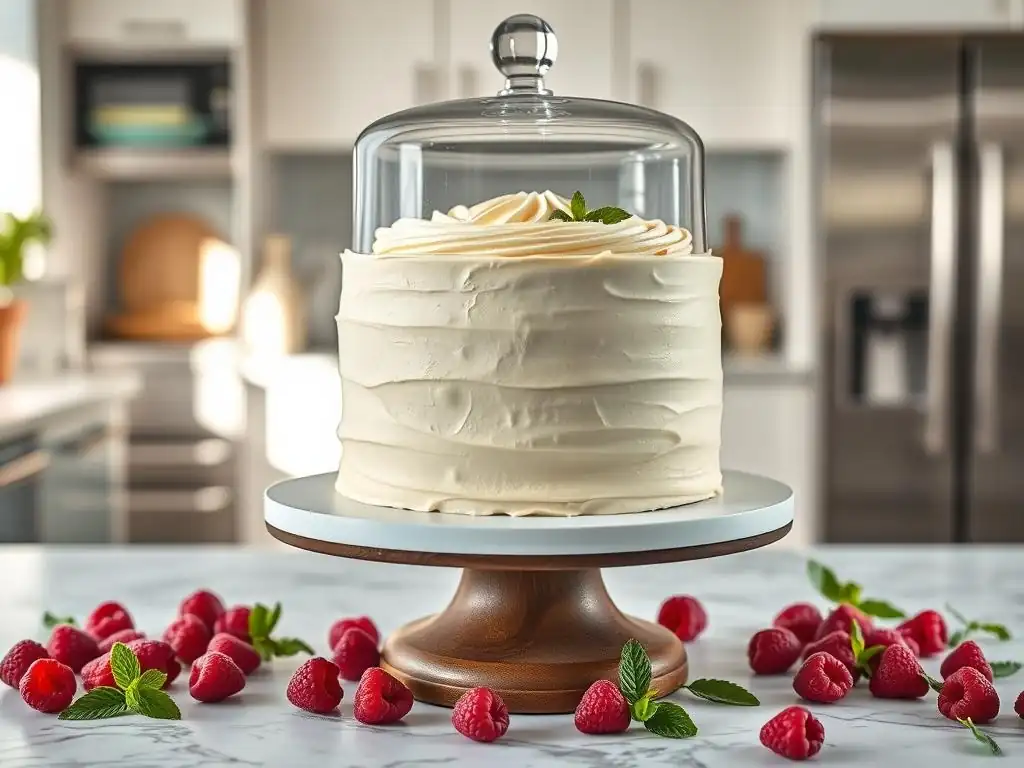
Storing your assembled layer cake correctly is essential for maintaining freshness and appearance. The best storage method depends heavily on the type of frosting used. Cakes frosted with stable buttercreams (like American buttercream made primarily of butter and powdered sugar) can often be stored at cool room temperature for 1-2 days, covered loosely with plastic wrap or under a cake dome to prevent drying.
However, cakes with frostings containing perishable ingredients like cream cheese, fresh cream, or custard fillings must be stored in the refrigerator. Place the cake in an airtight cake carrier or cover it tightly with plastic wrap to prevent it from absorbing odors from the fridge and to keep the frosting from drying out. Cakes with delicate decorations might require a tall cake box or careful wrapping to protect them.
How Long Does Layer Cake Last?
The lifespan of an assembled layer cake varies depending on its ingredients and how it's stored. Generally, a cake with a stable buttercream frosting can last about 2-3 days at cool room temperature (below 70°F/21°C) and up to 5-7 days in the refrigerator. Cakes with cream cheese frosting or fresh fruit fillings should be refrigerated immediately and are best consumed within 3-4 days.
For longer storage, most frosted layer cakes can be frozen. For best results, chill the cake until the frosting is firm, then wrap it tightly in several layers of plastic wrap, followed by a layer of aluminum foil. Frozen cake can last for 2-3 months. Thaw it in the refrigerator overnight before serving. Proper storage ensures that the effort you put into assembly and applying easy layer cake frosting tips results in a delicious cake for days to come.
Conclusion: Confidently Assemble Stunning Layer Cakes
BakeWithEase: Your Partner in Cake Decorating Success
Mastering layer cake assembly and frosting is a rewarding skill that transforms your baking. By focusing on preparing your layers, using the right tools, understanding the importance of the crumb coat, and practicing smooth application techniques, you can confidently create stunning cakes that look as good as they taste. The easy layer cake frosting tips discussed here provide a solid foundation for anyone, from beginner to experienced baker, looking to improve their cake decorating game.
Remember that practice makes perfect. Don't be discouraged if your first layer cake isn't flawless. Each attempt offers valuable learning. At BakeWithEase, we are committed to providing you with the knowledge, tips, and inspiration you need to succeed in all your baking endeavors. From simple recipes to detailed guides on techniques like achieving perfect easy layer cake frosting tips, we are your go-to resource for making baking accessible, enjoyable, and successful.
Frequently Asked Questions
How do I ensure my layer cake frosting is smooth and even?
Achieving a smooth finish starts with a crumb coat. This initial thin layer seals in crumbs. Chill the cake before applying the final, thicker layer of frosting for best results.
What are some easy layer cake frosting tips for beginners?
Use a turntable to easily rotate the cake while frosting. A bench scraper or offset spatula helps create smooth sides. Don't over-frost – less is often more!
How can I prevent my layer cake frosting from sliding off?
Make sure your cake layers are completely cool before frosting. Using a stable frosting recipe, like buttercream, is crucial. You can also add dowels to support taller cakes.
What are some quick and easy ways to decorate a layer cake with frosting?
Simple swirls with an offset spatula can create a beautiful textured look. Try using sprinkles or fresh fruit for an easy and impressive decoration. Consider a drip cake for visual appeal.
How important is it to chill my layer cake during the frosting process?
Chilling the cake, especially after the crumb coat, is highly recommended. It allows the frosting to firm up and makes it easier to apply subsequent layers smoothly, preventing the layers from shifting.
Final Reflection: Mastering the Art of Layer Cake Assembly
The seemingly simple act of frosting a layer cake is, in reality, a gateway to culinary artistry. A perfectly frosted cake isn't just about taste; it's about presentation, precision, and the joy of creating something beautiful. This article has explored the fundamental techniques that transform a stack of baked layers into a show-stopping dessert, proving that achieving professional results is entirely within reach, even for beginners.
The impact of mastering cake decorating extends far beyond the kitchen. It's about the confidence gained in tackling a seemingly complex task, the satisfaction of creating something delicious and visually appealing, and the joy of sharing that creation with others. As the old adage goes, The best things in life are homemade,
and this sentiment rings especially true when it comes to the art of baking. The process itself, from carefully layering the cake to the final swirl of frosting, becomes a meditative practice, a moment of mindful creation in a busy world.
Now, it's your turn. Don't be intimidated by the seemingly daunting task of frosting a layer cake. Remember the techniques we've explored – the importance of a crumb coat, the art of smooth frosting, and the power of simple decorations. Embrace the process, experiment with different flavors and designs, and most importantly, have fun! The next stunning layer cake you create is waiting to be born, and the satisfaction you'll feel will be the sweetest reward of all.
Unlock Your Inner Cake Artist: Level Up Your Baking Game!
Thanks for joining us on this delicious journey into layer cake mastery! You've just unlocked the secrets to assembling stunning, professional-looking cakes. Ready to put your new skills to the test?
- Bake your masterpiece: Try out one of the recipes we mentioned, or experiment with your own favorite flavors – the assembly techniques are key!
- Share your creations: Show off your beautiful cakes on social media using #BakeWithEase and inspire others!
- Join our community: Head over to the BakeWithEase forum to ask questions, share tips, and connect with fellow baking enthusiasts. We’d love to see your cake journey!
What flavor combination will you tackle first? Let us know in the comments below!