
Rustic Bread Baking: Is a Dutch Oven Truly Superior to a Baking Stone?

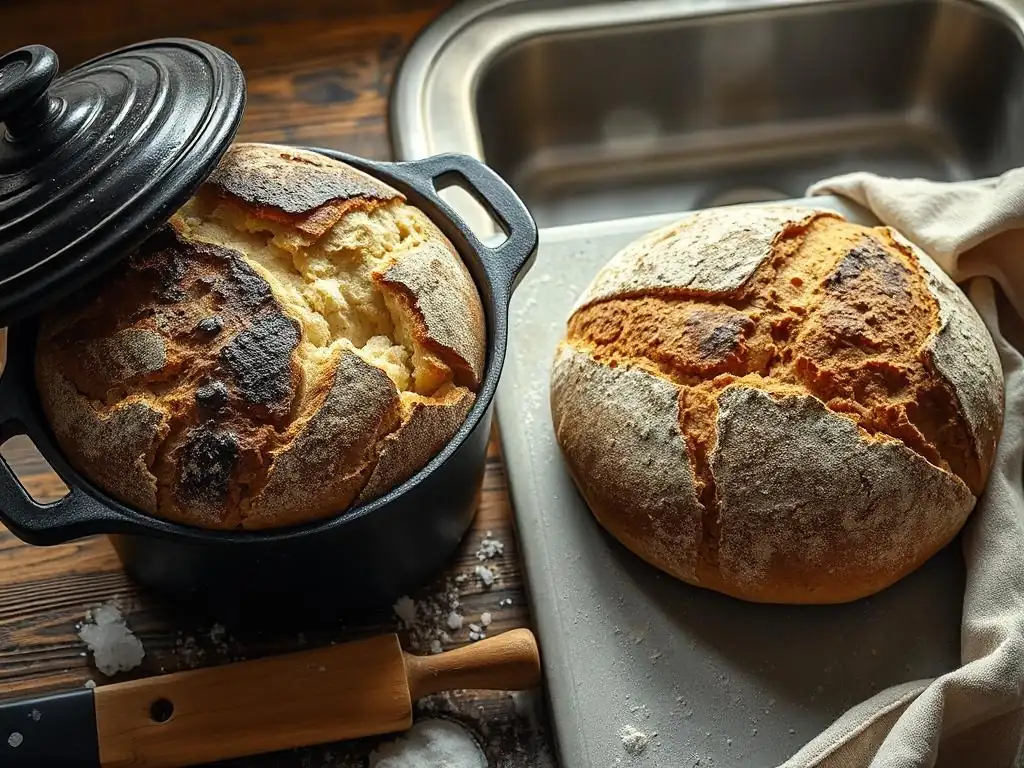
Welcome to BakeWithEase, your haven for all things baking! Ever wondered if that rustic, perfectly-crusted sourdough you crave is truly achievable at home? Today, we're diving deep into a crucial question for every aspiring bread baker: Is a Dutch oven superior to a baking stone? Explore our comprehensive guide to uncover the secrets behind achieving bakery-worthy results, starting with our famed Dutch oven sourdough bread recipe. Prepare to unlock the magic of truly simple and delicious homemade bread!
- Sourdough Bread: Dutch Oven vs. Baking Stone - Which is Best?
- Understanding Baking Environment: Key to Sourdough Success
- Dutch Oven Sourdough Bread: A Detailed Guide
- Baking Stone: An Alternative Approach to Sourdough
- Dutch Oven vs. Baking Stone: A Detailed Comparison for Sourdough
- Achieving the Perfect Crust: Dutch Oven vs. Stone-Baked Sourdough
- Troubleshooting Common Issues: Dutch Oven and Baking Stone Baking
- Expert Tips for Baking Sourdough with a Dutch Oven or Baking Stone
- Dutch Oven Sourdough Bread: Step-by-Step Instructions
- Baking Stone Sourdough Bread: Step-by-Step Instructions
- Conclusion: Choosing the Right Tool for Your Sourdough Baking Journey
-
Frequently Asked Questions
- What makes a Dutch oven ideal for baking sourdough bread according to BakeWithEase?
- Does BakeWithEase offer a Dutch oven sourdough bread recipe specifically?
- How does a Dutch oven contribute to a better bread crust compared to a baking stone, according to BakeWithEase's expertise?
- Is using a Dutch oven for sourdough baking suitable for beginners, according to BakeWithEase?
- What types of bread, besides sourdough, can be baked in a Dutch oven following BakeWithEase's baking principles?
- Final Reflection: The Humble Loaf and the Quest for Perfection
- Unlock Your Inner Baker: Elevate Your Bread Game!
Sourdough Bread: Dutch Oven vs. Baking Stone - Which is Best?
A Guide to Perfect Sourdough at Home
Baking sourdough bread at home is a rewarding endeavor, transforming simple ingredients into a loaf with complex flavors and a satisfying crust. Many home bakers strive to replicate the results achieved in professional bakeries, where high temperatures and controlled environments are standard. The key to achieving that coveted open crumb and crispy crust often lies in managing heat and, perhaps most importantly, steam during the initial phase of baking.
As you embark on or continue your sourdough journey, you'll quickly discover that the vessel or surface you bake on significantly impacts the final loaf. The two most popular tools for home sourdough bakers are the Dutch oven and the baking stone. Each offers distinct advantages and presents unique challenges, leading many to wonder which is truly superior for creating that perfect loaf of Dutch oven sourdough bread or its stone-baked counterpart.
Understanding Baking Environment: Key to Sourdough Success
The Importance of Steam in Sourdough Baking
Steam plays a critical role in the first 15 to 20 minutes of baking sourdough bread. When the dough is introduced to a hot oven, the moisture within it rapidly turns to steam. If this steam is trapped around the loaf, it keeps the surface soft and pliable. This allows the dough to expand maximally during the initial burst of activity from the yeast and bacteria, known as "oven spring." Without sufficient steam, the crust forms too quickly, restricting expansion and resulting in a denser loaf and potentially blown-out sides.
Beyond facilitating oven spring, steam promotes better crust development. A moist environment on the surface of the dough allows for the complex sugars to caramelize more effectively and the Maillard reaction to occur evenly. This leads to a beautifully golden-brown crust with desirable blisters and a crisp texture, rather than a dull, thick, or hard crust that might crack unevenly.
Replicating a Professional Bakery's Oven
Professional bakeries often use deck ovens that can reach extremely high temperatures (sometimes exceeding 500°F or 260°C) and have built-in steam injection systems. These systems saturate the oven chamber with steam at the beginning of the bake, creating the ideal environment for dough expansion and crust formation before the steam is vented to allow the crust to crisp up.
Standard home ovens, while capable of high temperatures, typically lack a dedicated steam injection feature. Any steam generated from the dough or an external source quickly dissipates within the larger oven cavity. Home bakers must find ways to create and trap sufficient steam around their loaf to mimic the conditions of a professional oven, and this is where tools like the Dutch oven and baking stone (often combined with external steam methods) come into play.
Dutch Oven Sourdough Bread: A Detailed Guide
Why the Dutch Oven is Popular for Sourdough
The rise in popularity of baking sourdough at home has closely paralleled the embrace of the Dutch oven as a primary baking vessel. Its simplicity and effectiveness in creating a bakery-like environment within a standard home oven have made it a go-to tool for many, especially those new to the nuances of sourdough. The internet abounds with successful examples of Dutch oven sourdough bread recipes, showcasing impressive oven spring and crust development.
Essentially, a Dutch oven acts as a miniature, self-contained oven within your larger oven. When preheated to a high temperature and sealed with a lid, it efficiently traps the steam released by the dough as it bakes. This creates the crucial high-humidity environment needed for optimal oven spring and crust development during those critical first 15-20 minutes of baking.
Benefits of Baking Sourdough in a Dutch Oven
Here are some key advantages of using a Dutch oven for your sourdough:
Even Heat Distribution for Optimal Crust
Cast iron Dutch ovens, the most common type used for bread, are excellent thermal masses. Once preheated, often to temperatures around 450-500°F (230-260°C), they radiate heat evenly from all sides – bottom, top, and walls. This consistent, all-around heat ensures that the loaf bakes uniformly, promoting an even rise and a consistently golden-brown crust across the entire surface of the bread.
This radiant heat helps to avoid common issues like a pale top crust or unevenly baked sides. The thermal mass of the pot helps maintain a stable temperature around the loaf, contributing significantly to a reliable and beautiful finish on your Dutch oven sourdough bread.
Trapping Steam for a Crispy Crust and Open Crumb
The sealed nature of the Dutch oven is its superpower for sourdough. As the dough heats up inside the covered pot, the moisture it contains turns to steam. The lid prevents this steam from escaping into the larger oven cavity, effectively bathing the loaf in a high-humidity environment. This keeps the dough surface moist and flexible, allowing it to expand freely during oven spring, which in turn contributes to a more open and desirable crumb structure inside the loaf.
After the initial covered bake (typically 20-25 minutes), removing the lid allows the trapped steam to escape. The now-expanded loaf is then exposed to the dry, high heat of the oven, allowing the crust to crisp up and develop its final color and texture. This two-stage baking process, facilitated by the Dutch oven's ability to trap and then release steam, is highly effective for achieving that sought-after crispy crust.
Simple Solution for Home Bakers
Using a Dutch oven significantly simplifies the process of creating a steamy environment in a home oven. There's no need for separate trays of water, ice cubes, or complex setups involving lava rocks. You simply preheat the lidded pot, carefully transfer the dough inside, replace the lid, and bake.
This straightforward approach makes the Dutch oven an incredibly accessible tool for home bakers, especially those just starting out with sourdough. It removes much of the guesswork and potential mess associated with external steam methods, offering a reliable path to baking delicious sourdough bread with minimal fuss.
Baking Stone: An Alternative Approach to Sourdough
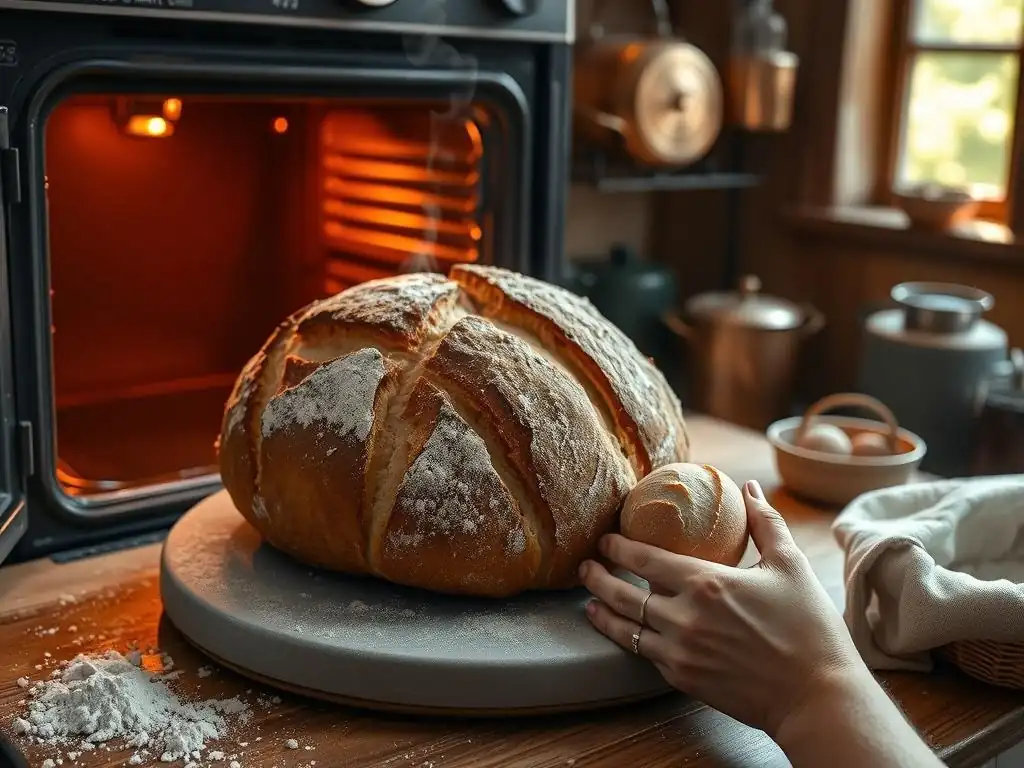
What is a Baking Stone and How Does it Work?
A baking stone (or baking steel) is a flat slab made from materials like ceramic, cordierite, or steel, designed to be heated to a high temperature in an oven. They range in price, with ceramic options often starting around $30-$50 and steels upwards of $80-$150. Placed on an oven rack, usually in the middle or lower-middle position, the stone absorbs and retains a significant amount of heat when preheated for a substantial period, often 60 minutes or more, at temperatures reaching 500°F (260°C) or even higher.
When dough is placed directly onto the hot surface of the stone, there is immediate and intense heat transfer to the base of the loaf. This rapid heat surge from below is particularly effective for creating a very strong and crispy bottom crust. Unlike the radiant heat from the Dutch oven's walls and lid, the primary heat source acting on the dough on a stone is the conductive heat from the hot surface it's resting on.
Advantages of Using a Baking Stone for Sourdough
Using a baking stone also offers several compelling benefits for sourdough bakers:
Direct Heat Transfer for a Crusty Bottom
The most notable advantage of a baking stone or steel is the intense, direct heat applied to the base of the dough. When dough touches the superheated stone, the bottom crust begins to set and crisp up almost instantly. This conductive heat transfer is often more powerful for the bottom crust than the radiant heat experienced in a Dutch oven.
This results in a base that can be exceptionally crispy and well-browned, a characteristic many bakers appreciate. For certain types of bread or personal preference, this intense bottom heat delivered by a stone can be preferable to the more uniform bake of a Dutch oven.
Larger Surface Area for Multiple Loaves
Unlike most Dutch ovens, which are typically sized to bake one standard-sized loaf at a time (e.g., a 5-7 quart pot fitting a loaf from 500g of flour), a rectangular baking stone usually offers a larger surface area. A common stone size might be 14x16 inches, providing enough space to bake two medium-sized boules or batards simultaneously, or even several smaller rolls.
For home bakers who frequently bake multiple loaves, using a baking stone can be significantly more time and energy efficient than baking one loaf after another in a Dutch oven. This capability makes the baking stone a practical choice for larger households or those who bake for others.
Versatility for Different Bread Types
While excellent for sourdough, baking stones are highly versatile tools in the home kitchen. They are the traditional surface for baking pizzas, providing that essential direct heat for a crispy crust. They are also ideal for baking various other bread types, such as baguettes, ciabatta, focaccia, or other freeform loaves that benefit from direct bottom heat and can be baked without a lid.
This multi-purpose functionality means that an investment in a baking stone or steel can serve a wider range of baking needs beyond just Dutch oven sourdough bread, adding value for bakers who enjoy exploring different styles.
Dutch Oven vs. Baking Stone: A Detailed Comparison for Sourdough
Heat Retention: Which Method Holds the Heat Better?
Both Dutch ovens (especially cast iron) and baking stones/steels are designed to store and radiate heat effectively. Cast iron Dutch ovens are renowned for their ability to maintain a stable, high temperature once preheated, providing consistent heat throughout the baking process. They take time to heat up but hold onto that heat for a long period.
Baking steels generally heat up faster than ceramic stones or cast iron and also retain heat exceptionally well, providing a powerful and consistent heat source from below. Ceramic stones heat slower than steels and might lose heat slightly faster than both steel and cast iron, but they still possess significant thermal mass crucial for a good bake. In terms of raw heat retention over time, steel and cast iron are often considered top performers, though all three materials used for stones/ovens outperform a standard oven rack or baking sheet.
Steam Creation: Achieving that Perfect Crust
This is arguably the most significant difference between the two methods for sourdough. The Dutch oven provides an integrated, foolproof method for trapping the dough's own steam, creating an ideal high-humidity environment with minimal effort from the baker. The sealed pot is inherently designed for this purpose.
Using a baking stone, however, requires the baker to actively create and maintain a steamy environment within the main oven cavity. This often involves placing trays of water, ice cubes, or lava rocks on a lower rack during the initial bake. While effective, these methods can be less consistent than the sealed Dutch oven and require more effort and careful timing to add and remove the steam source. Achieving sufficient steam with a stone can be a challenge for some bakers.
Ease of Use: Beginner-Friendly Options
For many beginners tackling their first sourdough loaf, the Dutch oven is often recommended as the easier method. The process of simply preheating the pot and lowering the dough inside (often on parchment paper for safety) is straightforward. The steam management is automatic.
Transferring dough onto a screaming hot baking stone, especially a wet sourdough dough, can be tricky and requires practice, often utilizing a pizza peel or parchment paper. Furthermore, managing an external steam setup adds another layer of complexity compared to the self-steaming nature of the Dutch oven. While neither method is inherently difficult, the Dutch oven simplifies a key challenge of sourdough baking.
Bread Shape and Size: Limitations and Possibilities
The shape and size of the loaf you want to bake can influence your choice. A Dutch oven typically dictates the shape of the loaf to fit inside; most commonly, this means round (boule) or oval (batard) loaves that fit within the pot's dimensions (e.g., a 9-inch round loaf in a 5-quart pot). You are generally limited to baking one loaf at a time in a single Dutch oven.
A baking stone, conversely, offers much more flexibility in terms of shape and size. You can bake longer loaves like baguettes, multiple smaller rolls, or larger freeform loaves, limited only by the size of your stone and oven rack. If your goal is to bake multiple loaves or specific non-boule shapes, a baking stone provides greater possibilities.
Cost Comparison: Initial Investment and Long-Term Value
The initial cost can vary for both tools. A basic ceramic baking stone might be the most affordable entry point, possibly costing $30-$50. Higher-quality cordierite stones range from $50-$80. Baking steels are generally more expensive, often starting around $80 and going up to $150 or more. A good quality cast iron Dutch oven suitable for bread baking can range from $50 for a basic model to $150+ for enameled or premium brands.
In terms of long-term value, both are highly durable if properly cared for. A cast iron Dutch oven is a multi-functional kitchen workhorse, useful for stews, braises, frying, etc., offering value beyond just baking. A baking stone/steel is primarily a baking surface but is excellent for pizzas and other flatbreads. The "better" value depends on how you plan to use the equipment beyond just baking a Dutch oven sourdough bread recipe.
Achieving the Perfect Crust: Dutch Oven vs. Stone-Baked Sourdough
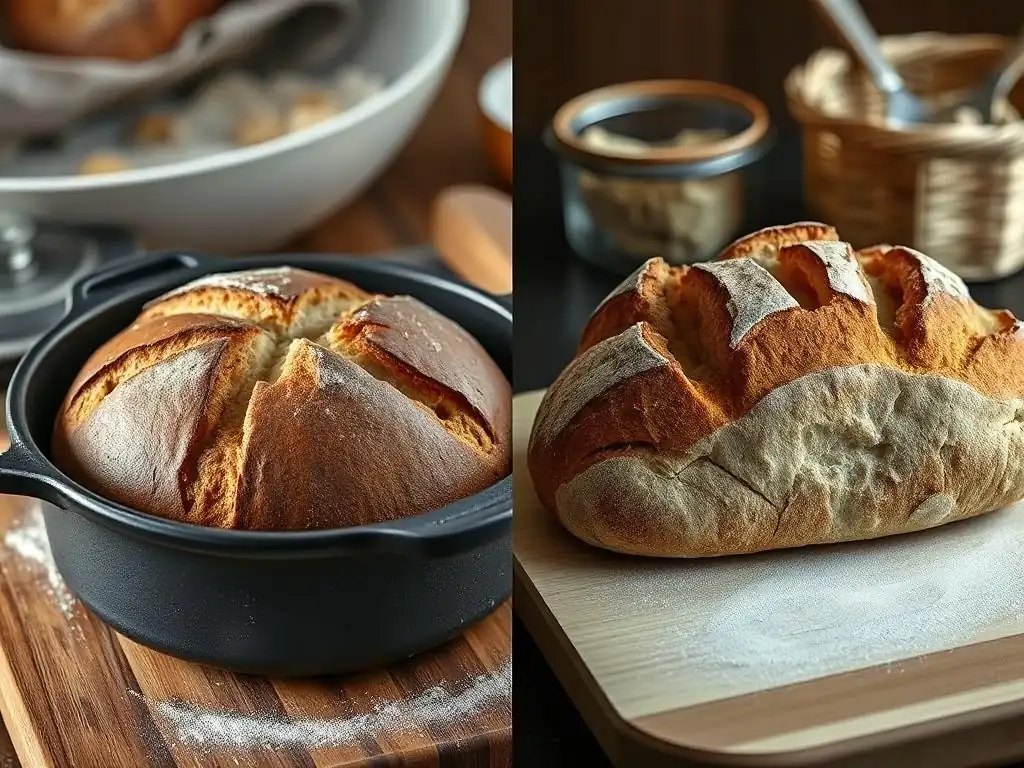
Visual Differences: Examining the Crust and Crumb
A sourdough loaf baked in a Dutch oven often exhibits a beautifully uniform, deep golden-brown crust with excellent oven spring, resulting in a tall, well-rounded loaf. The effective steam trapping typically contributes to a thin, crispy crust and a very open, airy crumb structure throughout the loaf.
Sourdough baked on a stone, assuming adequate steam is provided externally, can also achieve good oven spring and an open crumb. However, the bottom crust often receives more intense heat, which can result in it being darker and potentially thicker or crispier than the top crust. Visual blisters on the crust are achievable with both methods, but perhaps slightly more reliably with the consistent steam of a Dutch oven.
Taste and Texture: How the Baking Method Affects Flavor
The primary flavor profile of sourdough bread comes from the fermentation process itself – the natural acids and compounds produced by the starter. The baking method doesn't fundamentally change the flavor of the crumb. However, it significantly impacts the texture of the crust and crumb, which in turn affects the overall eating experience.
The reliably crispy, often thinner crust produced by effective steam in a Dutch oven, combined with a potentially more open crumb, provides a specific textural contrast. A stone-baked loaf might offer a different textural contrast, particularly if the bottom crust is significantly crispier or harder due to the direct heat. The "better" texture and the subtle influence this has on perceived taste is a matter of personal preference.
Troubleshooting Common Issues: Dutch Oven and Baking Stone Baking
Dutch Oven Problems: Scorched Bottom, Uneven Baking
A common issue when baking sourdough in a Dutch oven is a scorched or overly dark bottom crust. This usually happens if the oven temperature is too high, the Dutch oven is placed too low on the oven rack, or the pot itself is extremely thin-walled cast iron. To mitigate this, try reducing the oven temperature slightly (e.g., from 500°F to 475°F / 260°C to 245°C), placing the Dutch oven on a higher rack, or placing a baking sheet on the rack directly below the Dutch oven to shield the bottom from direct radiant heat from the lower element.
Uneven baking in a Dutch oven is less common due to the enclosed environment and even heat distribution of cast iron. However, if you notice one side browning more than the other, it could indicate a hot spot in your oven. Rotating the Dutch oven halfway through the uncovered baking phase can help ensure even browning.
Baking Stone Problems: Cracking, Sticking
Baking stones, particularly ceramic ones, are susceptible to cracking. This is almost always caused by thermal shock – exposing a hot stone to cold temperatures (like placing cold dough or ice cubes directly on it) or rapid temperature changes (like placing a cold stone in a hot oven or a hot stone in a cold oven). To prevent cracking, always place the stone in a cold oven and allow it to preheat gradually with the oven. Let the stone cool completely inside the oven after baking before attempting to remove it.
Dough sticking to a baking stone can occur if the stone isn't sufficiently preheated, the dough is too wet, or insufficient flour/semolina was used on the peel or stone surface during transfer. Ensure your stone is preheated for at least 60 minutes at a high temperature. Using parchment paper to transfer the dough onto the stone is a simple and effective way to prevent sticking altogether, especially for high-hydration sourdough.
Expert Tips for Baking Sourdough with a Dutch Oven or Baking Stone
Dutch Oven Preheating Techniques for Sourdough
For successful Dutch oven sourdough bread, proper preheating of the empty pot is paramount. Place your cold Dutch oven (with the lid on) in your cold oven and set the temperature to your target baking temp, often between 450°F and 500°F (230-260°C). Allow the oven and the Dutch oven to preheat for a minimum of 45-60 minutes after the oven indicates it has reached temperature. This ensures the heavy pot is fully saturated with heat, providing maximum thermal energy for oven spring.
When it's time to bake, carefully remove the very hot lid, gently transfer your shaped dough into the pot (using parchment paper as a sling is highly recommended for safety and ease), quickly score the loaf if desired, and immediately replace the hot lid. Work quickly and carefully to minimize heat loss.
Baking Stone Preheating Techniques for Sourdough
Similar to the Dutch oven, thorough preheating is crucial for a baking stone. Place your stone on an oven rack (usually middle or lower-middle) in a cold oven and preheat to your target high temperature (often 500°F / 260°C or higher) for at least 60 minutes after the oven reaches temperature. For baking steels, 30-45 minutes might suffice as they heat faster.
If you are using an external steam method (like a tray of water), place the tray in the oven during the preheating phase as well, so the oven environment is steamy and hot when the dough goes in. This ensures the stone has absorbed maximum heat for that initial burst and the oven is ready to provide the necessary steam.
Using a Combination of Methods
Some experienced bakers combine the benefits of both tools. One popular technique involves starting the sourdough bake in a covered Dutch oven for the initial steam phase (e.g., 20 minutes at 450°F / 230°C). After this period, the lid is removed, and the loaf is carefully transferred out of the Dutch oven and placed directly onto a preheated baking stone (which has been heating in the oven alongside the Dutch oven) for the remainder of the bake (e.g., another 20-30 minutes at a slightly reduced temperature like 425°F / 220°C).
This method leverages the excellent steam trapping of the Dutch oven for maximum oven spring and then uses the direct heat of the baking stone to achieve an extra-crispy bottom crust. It requires careful handling of hot items but can yield fantastic results, combining the best characteristics of both baking environments.
Dutch Oven Sourdough Bread: Step-by-Step Instructions
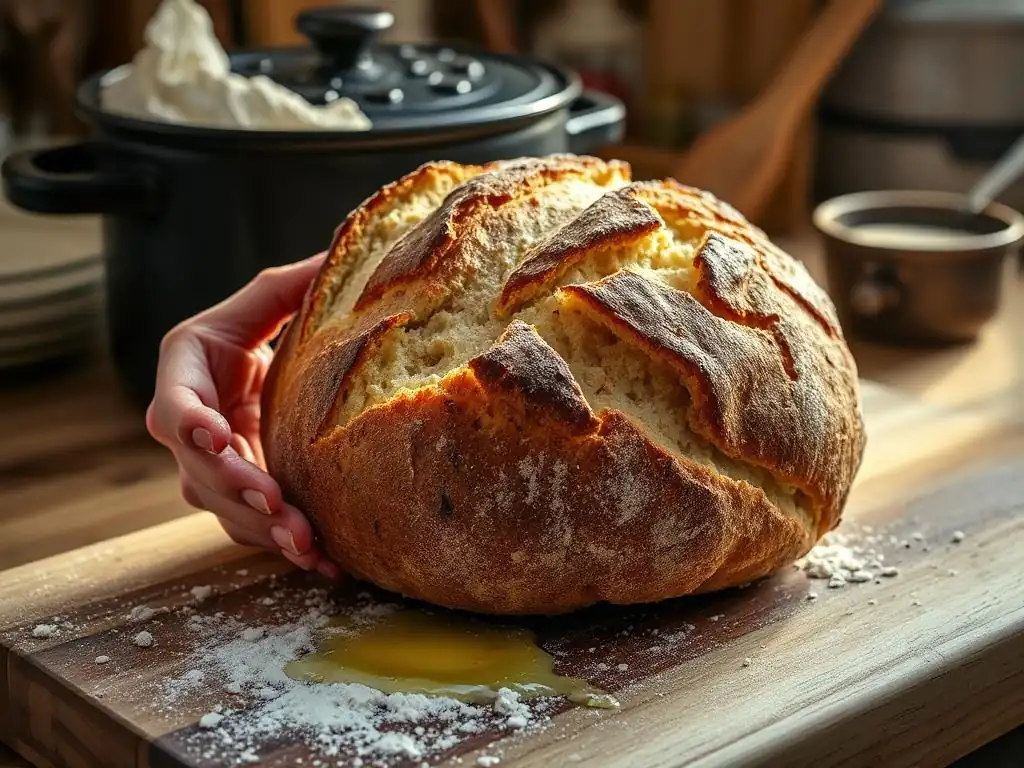
Ingredients for a Perfect Sourdough Loaf
A basic Dutch oven sourdough bread recipe typically requires just four ingredients:
- Active sourdough starter (e.g., 100 grams)
- Bread flour (e.g., 500 grams)
- Water (e.g., 350-400 grams, or 70-80% hydration)
- Fine sea salt (e.g., 10 grams)
These approximate quantities yield one standard loaf. The exact water amount can be adjusted based on flour type and desired dough hydration.
The Sourdough Starter: Cultivating Your Own
Your sourdough starter is the heart of your bread. It's a living culture of wild yeast and bacteria. To bake a successful loaf, your starter needs to be active and bubbly, typically 4-12 hours after its last feeding with flour and water, depending on temperature. Maintaining a regular feeding schedule (daily if kept at room temperature, weekly if refrigerated) is key to ensuring it's vigorous enough to leaven your Dutch oven sourdough bread effectively.
Mixing and Kneading the Dough
Combine the active starter, water, and flour in a bowl and mix until just combined (this is often called autolyse, a resting period of 30-60 minutes can follow). Add the salt and mix thoroughly. Develop gluten through a series of folds over the next 2-3 hours. Techniques like stretch and folds or coil folds performed every 30-45 minutes build strength and structure in the dough without intensive kneading.
Bulk Fermentation: Developing Flavor
Bulk fermentation is the first rise of the dough and is crucial for flavor development. This typically takes place at room temperature (e.g., 4-12 hours depending on temperature) or in the refrigerator (e.g., 12-24+ hours). During this time, the dough should increase significantly in volume (often 50-100%) and become airy and bubbly. Monitor the dough's progress rather than strictly adhering to time, as fermentation speed varies greatly with temperature.
Shaping the Dough for the Dutch Oven
Once bulk fermentation is complete, gently turn the dough out onto a lightly floured surface. Gently preshape the dough into a round or oval and let it rest for 20-30 minutes. Then, perform the final shaping, creating tension on the surface to form a taught ball (boule) or oval (batard) that will hold its shape and fit inside your Dutch oven. Place the shaped dough seam-side up in a floured proofing basket (banneton) or bowl lined with a floured cloth.
Baking Instructions: Time and Temperature
Preheat your oven with the empty Dutch oven inside to 450-500°F (230-260°C) for 45-60 minutes. Carefully invert the proofed dough onto a piece of parchment paper (or directly into the hot pot if experienced). Score the top quickly with a sharp blade. Carefully lower the dough (using the parchment paper as a sling if needed) into the hot Dutch oven. Place the lid on the Dutch oven and bake for 20-25 minutes. Remove the lid and continue baking for another 20-30 minutes, or until the crust is deep golden brown and the internal temperature reaches 200-210°F (93-99°C).
Baking Stone Sourdough Bread: Step-by-Step Instructions
Preparing the Baking Stone
Place your baking stone on an oven rack (middle or lower-middle position is common) in a cold oven. Preheat the oven to a high temperature, typically 500°F (260°C) or slightly higher, for at least 60 minutes after the oven reaches the set temperature. This ensures the stone has absorbed maximum heat, which is vital for a good bottom crust and initial oven spring.
If you plan to use an external steam method, place the necessary equipment (e.g., a metal tray for water or lava rocks) on a rack below the baking stone during this preheating phase so it's ready to contribute steam when the dough goes in.
Shaping the Dough for the Baking Stone
After bulk fermentation, gently preshape your dough into the desired form (boule, batard, etc.) and let it rest for 20-30 minutes. Then, perform the final shaping, building tension on the surface. Place the shaped dough on a piece of parchment paper or a well-floured pizza peel. If using a peel without parchment, generously dust the peel with flour or semolina to prevent sticking during the transfer to the hot stone.
Baking Instructions: Time and Temperature
Ensure your oven and baking stone are fully preheated to 500°F (260°C+) and your steam setup (if any) is ready. Carefully transfer the dough (on parchment paper or slid from a peel) onto the hot baking stone. Quickly score the loaf. Immediately introduce your steam source (e.g., pour hot water into the preheated tray below the stone). Close the oven door to trap the steam. Bake at this high temperature with steam for 15-20 minutes.
After the initial steam phase, carefully remove the steam source (and reduce the oven temperature to around 450°F / 230°C if desired, though some bakers keep it high). Continue baking for another 20-30 minutes, or until the crust is well-browned and the internal temperature is 200-210°F (93-99°C).
Creating Steam in a Conventional Oven with a Baking Stone
Achieving sufficient steam when using a baking stone requires a separate method. A common technique is to place a metal tray (such as a broiler pan or cast iron skillet) on the lowest oven rack during preheating. Just before loading the dough onto the stone, carefully pour about 1 cup of hot water or a handful of ice cubes into this hot tray. This will generate a burst of steam. Close the oven door quickly to trap it.
Other methods include placing lava rocks in the tray and pouring water over them, or using a dedicated steam generator pot. Always use caution when working with hot water and steam to avoid burns. The steam source is typically removed after the first 15-20 minutes of baking when the crust has set.
Conclusion: Choosing the Right Tool for Your Sourdough Baking Journey
Is a Dutch Oven Superior? It Depends on Your Needs
The question of whether a Dutch oven is truly superior to a baking stone for sourdough baking doesn't have a single, universal answer. The Dutch oven excels in its simplicity and effectiveness at trapping steam, making it an incredibly reliable tool for achieving excellent oven spring and a consistently crispy crust on a single loaf. For many beginners or those who primarily bake standard-sized round loaves, the Dutch oven is often the easier and more foolproof path to delicious Dutch oven sourdough bread.
However, the baking stone offers advantages in versatility, allowing bakers to bake multiple loaves or loaves of various shapes and sizes simultaneously. While it requires extra steps for steam management, it can produce a uniquely crisp bottom crust that some bakers prefer. Neither tool is inherently "better"; they simply offer different approaches and capabilities.
The Best Baking Method for Achieving Your Ideal Sourdough
Ultimately, the best baking method for your sourdough journey depends on your personal goals, experience level, and the specific characteristics you desire in your loaf. If ease of steam management and consistent results for a single loaf are your priority, the Dutch oven is likely an excellent choice. If you value versatility in shape and quantity, or specifically desire an intensely crisp bottom crust and are comfortable managing external steam, a baking stone might be preferable.
Many bakers find success and joy with both methods. Don't be afraid to experiment if you have access to both tools, perhaps even trying the combination method. Regardless of whether you choose a Dutch oven or a baking stone, understanding the principles of heat and steam is key, and with practice, you can bake beautiful, delicious sourdough bread that you're proud of.
Frequently Asked Questions
What makes a Dutch oven ideal for baking sourdough bread according to BakeWithEase?
A Dutch oven's sealed environment traps steam, creating a superior crust and oven spring, mimicking professional bread ovens. This is more difficult to achieve with a baking stone.
Does BakeWithEase offer a Dutch oven sourdough bread recipe specifically?
While BakeWithEase.com focuses on mastering baking generally, the site provides the techniques and tips needed to adapt existing recipes for Dutch oven use, or to create a Dutch oven sourdough bread recipe of your own.
How does a Dutch oven contribute to a better bread crust compared to a baking stone, according to BakeWithEase's expertise?
The enclosed space of a Dutch oven allows steam to concentrate, resulting in a crispier, chewier crust that a baking stone, which allows steam to escape, cannot replicate as efficiently.
Is using a Dutch oven for sourdough baking suitable for beginners, according to BakeWithEase?
Yes! While sourdough can seem daunting, using a Dutch oven simplifies the process. BakeWithEase offers simple recipes and step-by-step guides to help even beginners succeed with Dutch oven sourdough.
What types of bread, besides sourdough, can be baked in a Dutch oven following BakeWithEase's baking principles?
BakeWithEase suggests Dutch ovens are versatile for baking various breads, including artisan loaves, no-knead breads, and even some cakes, thanks to their even heat distribution and moisture retention.
Final Reflection: The Humble Loaf and the Quest for Perfection
The pursuit of the perfect sourdough loaf transcends mere culinary ambition; it's a journey into the heart of tradition, technique, and the transformative power of simple ingredients. This article explored the age-old debate surrounding Dutch ovens versus baking stones in sourdough bread baking, examining their respective strengths and weaknesses to help home bakers make informed choices. The results, while highlighting the advantages of each method, ultimately revealed that the "best" tool is deeply personal and dependent on individual preferences and baking goals.
The enduring appeal of sourdough, and the passionate discussions surrounding its preparation, speaks volumes about our connection to food and craft. The process itself, from nurturing the starter to the satisfying thud of the loaf hitting the baking surface, is a meditative act that connects us to generations past. As Michael Pollan eloquently stated, We are what we eat, and what we eat shapes who we are.
This sentiment resonates deeply with the sourdough baking experience, where the care and attention invested in the process are reflected in the final product – a testament to patience, precision, and the simple magic of flour, water, and time.
Now, consider your own baking journey. What tools do you gravitate towards? What aspects of the process resonate most deeply with you? Don't be afraid to experiment, to embrace imperfections, and to find your own path to that perfect, crusty, tangy loaf. The true reward lies not just in the delicious bread itself, but in the journey of discovery and the connection it fosters with the ancient art of baking. So, gather your ingredients, choose your weapon (Dutch oven or baking stone! ), and embark on your own sourdough adventure. The perfect loaf awaits.
Unlock Your Inner Baker: Elevate Your Bread Game!
Thanks for taking the time to explore the world of rustic bread baking with us! We hope you gained valuable insights into the Dutch oven versus baking stone debate. Now it's time to put your newfound knowledge into practice.
- Bake your best loaf yet! Whether you choose a Dutch oven or baking stone, try out a new recipe inspired by what you’ve learned today. Experiment with different flours and techniques—the possibilities are endless!
- Share your baking journey! Post a picture of your masterpiece on social media and tag us – we’d love to see your creations!
- Join our baking community! Leave a comment below sharing your preferred baking method and any tips you've discovered. Let's learn from each other!
So, which baking method will you choose for your next rustic bread adventure?