
Unlock Your Stand Mixer's Full Potential: Advanced Tips for Home Bakers

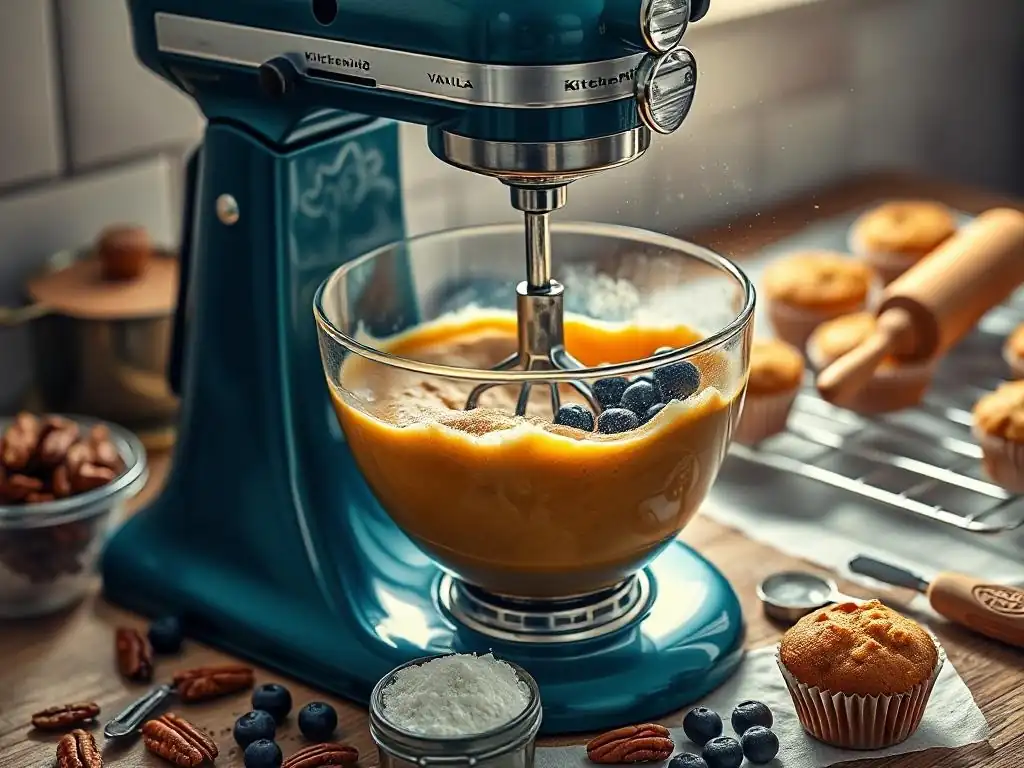
Welcome to BakeWithEase, where turning flour and sugar into edible masterpieces becomes delightfully simple! Are you ready to take your baking game to the next level? This week, we're diving deep into the world of stand mixers, uncovering stand mixer baking techniques tips that will transform the way you create. Prepare to unlock your mixer's full potential and discover secrets that even seasoned bakers might not know. Curious about how to achieve the perfect meringue or the fluffiest cake batter? Let's get started!
- Unlock Your Stand Mixer's Full Potential: Advanced Baking Techniques for Home Bakers
- Expanding Your Stand Mixer Capabilities: Beyond Basic Mixing
- Advanced Stand Mixer Baking Techniques: Elevate Your Pastries and Breads
- Troubleshooting Common Stand Mixer Baking Problems
- Stand Mixer Maintenance and Care for Longevity
- Creative Stand Mixer Applications: Beyond Traditional Baking
- Stand Mixer Baking Technique Tips: Advanced Recipes to Try
- Maximizing Your Stand Mixer: Become a Baking Expert
-
Frequently Asked Questions
- What are some advanced techniques I can use with my stand mixer to improve my baking?
- How can I avoid overmixing my batter when using a stand mixer?
- What are some common mistakes people make when using a stand mixer for baking?
- Can a stand mixer be used for more than just baking cakes and cookies?
- Where can I find reliable recipes and tips specifically tailored for using a stand mixer?
- Final Reflection: Mastering the Art of Stand Mixer Baking
- Unleash Your Inner Baking Maestro!
Unlock Your Stand Mixer's Full Potential: Advanced Baking Techniques for Home Bakers
BakeWithEase.com's Guide to Mastering Your Stand Mixer
Your stand mixer is more than just a kitchen appliance; it's a powerful tool capable of transforming your baking from good to exceptional. While many home bakers use it for basic tasks like mixing cookie dough or whipping cream, unlocking its full potential requires understanding its capabilities and applying advanced stand mixer baking techniques tips. This guide from BakeWithEase.com will take you beyond the fundamentals, helping you master complex recipes and achieve professional-level results right in your own kitchen.
Mastering advanced stand mixer baking techniques tips involves a deeper dive into how the machine interacts with ingredients, the nuances of different attachments, and optimizing speed and time for specific outcomes. We'll explore everything from handling high-hydration doughs and crafting delicate meringues to troubleshooting common issues and discovering creative uses you might not have considered. Get ready to elevate your baking game significantly with the help of your trusty stand mixer.
Expanding Your Stand Mixer Capabilities: Beyond Basic Mixing
Understanding Your Stand Mixer's Attachments for Advanced Baking
The standard attachments that come with most stand mixers – the wire whip, flat beater, and dough hook – are designed for specific tasks, and knowing their optimal uses is key to advanced baking techniques. The wire whip is your go-to for aerating ingredients, perfect for whipping egg whites into stiff peaks (often taking 5-8 minutes on high speed) or heavy cream into fluffy perfection (typically 3-5 minutes on high speed). Using this attachment correctly is crucial for light and airy textures in recipes like soufflés and mousses.
The flat beater (sometimes called the paddle attachment) is the workhorse for creaming butter and sugar, mixing batters, and making frostings. Achieving a light and fluffy creaming requires beating softened butter and sugar for a significant time, often 5-7 minutes on medium speed (speed 4-6), until the mixture is pale yellow and airy. This technique incorporates air, contributing to the rise and texture of cakes and cookies.
The dough hook is specifically designed for kneading yeast doughs, mimicking hand-kneading motion. For many bread doughs, kneading on low to medium-low speed (speed 2-4) for 8-12 minutes can develop gluten structure efficiently without overworking the dough.
Optimizing Stand Mixer Speed for Different Baking Applications
The speed dial on your stand mixer isn't just for show; each setting is optimized for different stages and types of mixing, directly impacting the outcome of your baked goods. Low speeds (speed 1-2) are ideal for starting tasks, like gently combining dry and wet ingredients or initially incorporating flour into a batter, minimizing gluten development early on and preventing flour from flying out of the bowl. This speed is also crucial for the initial stage of kneading dense doughs.
Medium speeds (speed 3-6) are where much of the heavy lifting happens. Speed 4 is often recommended for creaming butter and sugar, while speeds 4-6 are great for mixing cake batters after the initial flour addition or beating firmer cookie doughs. High speeds (speed 7-10) are reserved for maximum aeration, such as whipping egg whites or cream to stiff peaks. Using too high a speed too early can overmix batters, resulting in tough textures, or cause ingredients to splash out. Conversely, not enough speed can fail to incorporate sufficient air or develop gluten properly.
Advanced Stand Mixer Baking Techniques: Elevate Your Pastries and Breads
Mastering Sourdough Bread with Your Stand Mixer: Pro Tips
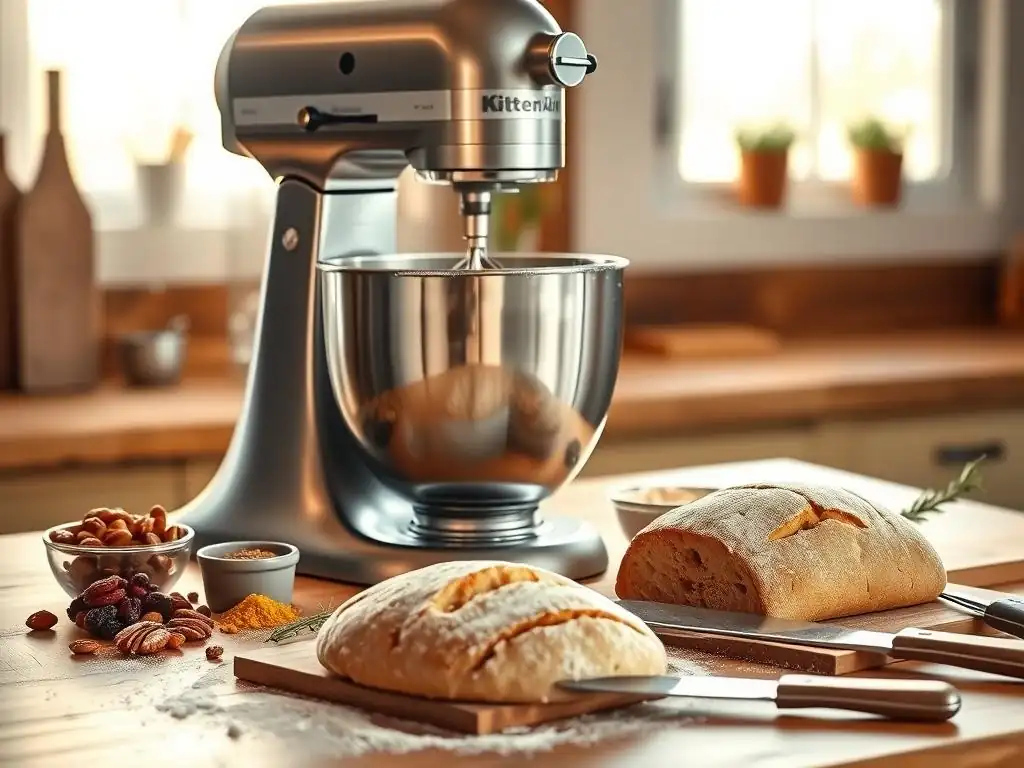
Using a stand mixer for sourdough bread can significantly reduce the physical effort of kneading, especially with high-hydration doughs (those with 70% hydration or more). Begin by mixing the ingredients on the lowest speed (speed 1-2) with the dough hook until just combined, typically for 1-2 minutes. This 'autolyse' phase (resting the dough after initial mixing, before adding salt) can also be done in the mixer bowl before the main kneading.
After the autolyse (if used) and adding salt, increase the speed slightly (speed 2-4) and knead for 8 to 15 minutes. High-hydration doughs will seem sticky initially but will become smoother and more elastic over time as the gluten develops. The dough should eventually pull away from the sides of the bowl, though it might still cling to the bottom.
You can perform a windowpane test periodically: take a small piece of dough and gently stretch it; if it stretches thin enough to see light through without tearing, gluten is well-developed. These stand mixer baking techniques tips save time and ensure consistent gluten development.
Creating Perfect Meringue with a Stand Mixer: Secrets Revealed
Achieving perfect, stable meringue requires patience, proper technique, and the consistent power of a stand mixer with a wire whip attachment. Start with clean, dry bowl and whip attachment. Any trace of fat can prevent the egg whites from whipping properly. Begin whipping egg whites on a low speed (speed 2-3) until they become foamy, typically after 1-2 minutes. This gentle start breaks up the proteins evenly.
Once foamy, gradually increase the speed to medium-high (speed 6-8). Begin adding sugar slowly, a tablespoon at a time, allowing each addition to dissolve before adding the next. This slow addition is crucial for creating a stable meringue. Continue whipping on high speed (speed 8-10) until stiff, glossy peaks form, which can take anywhere from 5 to 10 minutes depending on the mixer and quantity. The meringue should look smooth and shiny, and when you lift the whisk, the peaks should stand straight up.
Stand Mixer Dough Handling: Achieving Optimal Texture and Consistency
Proper dough handling in a stand mixer involves more than just selecting the dough hook and hitting start. The temperature of your ingredients, particularly water or milk, plays a significant role in yeast activity and gluten development. Using lukewarm liquid (around 95-105°F or 35-40°C) is often recommended for activating yeast efficiently during the mixing process.
Furthermore, observing the dough as it kneads is vital. A properly kneaded dough should transition from a shaggy mass to a smooth, elastic ball that cleans the sides of the bowl, though it may stick slightly to the bottom. If the dough is too wet and sticky after the recommended kneading time, add flour a tablespoon at a time until it reaches the desired consistency.
If it seems too dry and stiff, add liquid a teaspoon at a time. Over-kneading can lead to tough bread, while under-kneading results in a weak structure. Learning to read your dough's texture is a key advanced stand mixer baking technique tip.
Troubleshooting Common Stand Mixer Baking Problems
Stand Mixer Overheating: Causes and Solutions
Stand mixers, especially less powerful models or those used for extended periods on heavy tasks, can sometimes overheat. This is often indicated by a warm motor housing or, in some models, an automatic shut-off. Overheating usually occurs when the mixer is pushed too hard, such as kneading very stiff doughs for too long, or running at high speeds continuously.
To prevent overheating, avoid overloading your mixer beyond its recommended capacity, especially when kneading dense doughs. For heavy tasks, consider breaking them into shorter mixing intervals with brief rests in between. If your mixer feels hot, turn it off immediately and let it cool down completely before resuming. Ensure the vents on the mixer housing are not blocked, allowing for proper airflow.
Preventing Dough From Climbing the Hook: Effective Strategies
Dough climbing up the dough hook is a common frustration when using a stand mixer for bread. This happens when the dough is either too wet, the speed is too high, or the quantity of dough is too small for the mixer's bowl size and hook design. When the dough climbs, it doesn't knead effectively against the sides of the bowl.
Several strategies can help. First, ensure your dough's hydration is appropriate for machine kneading; very high hydration doughs (over 80%) might be better suited to stretch-and-fold techniques, even if started in the mixer. Second, always use a low speed (speed 2-4) for kneading yeast doughs; higher speeds encourage climbing. Third, if the dough is constantly climbing, it might be too sticky; try adding a tablespoon or two of flour. Sometimes, simply stopping the mixer, scraping the dough down, and restarting on low speed can reset the process.
Achieving a Smooth Batter: Tips for Avoiding Lumps with Your Stand Mixer
Lumps in batters, particularly those containing flour or cocoa powder, can ruin the texture of cakes, muffins, and other baked goods. While a stand mixer is excellent at mixing, lumps can still form if ingredients aren't added correctly or mixed sufficiently. Incorporating dry ingredients too quickly or all at once is a primary culprit.
To avoid lumps, always sift dry ingredients like flour, cocoa powder, and baking powder before adding them to the wet ingredients. This breaks up clumps. When adding dry ingredients to a wet mixture in the stand mixer, do so gradually on a low speed (speed 1-2).
Often, it's best to add dry and wet ingredients alternately (e.g., one-third dry, half wet, one-third dry, half wet, one-third dry), starting and ending with the dry ingredients. Mix on low speed until just combined, then stop and scrape down the sides and bottom of the bowl with a spatula to ensure everything is incorporated. Avoid overmixing once the flour is added, as this can develop too much gluten and make the batter tough.
Stand Mixer Maintenance and Care for Longevity
Proper Cleaning Techniques for Your Stand Mixer
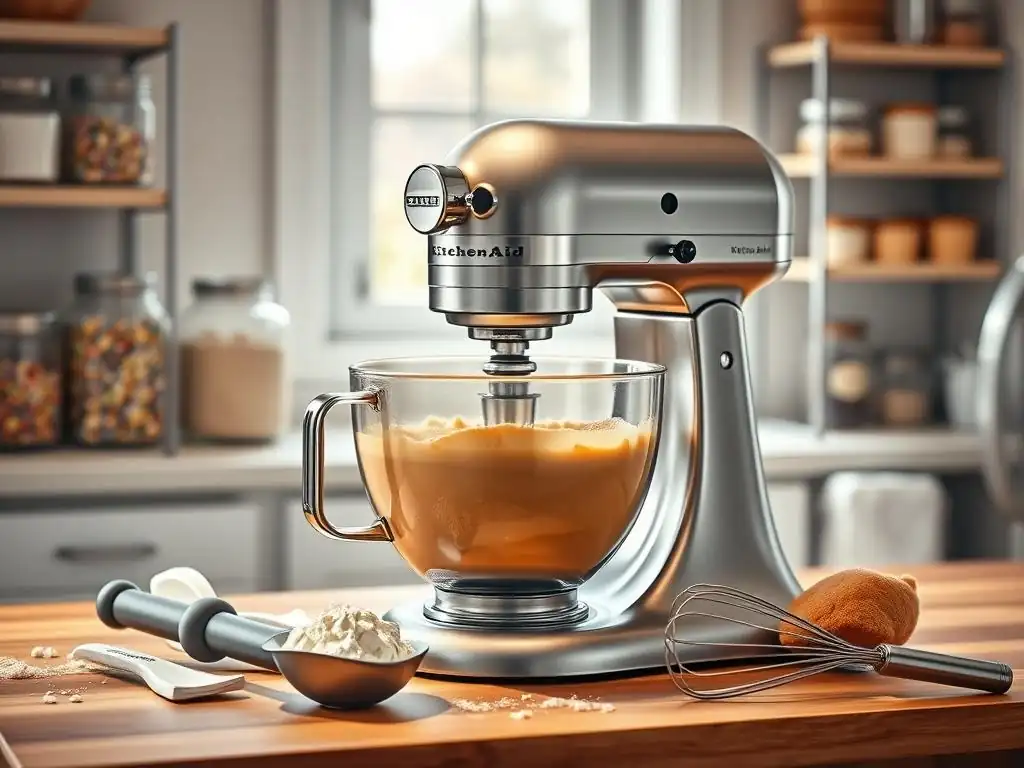
Keeping your stand mixer clean is essential for hygiene and prolonging its lifespan. After each use, unplug the mixer and immediately remove the bowl and attachment. Wash the bowl and attachments thoroughly in warm, soapy water, unless they are specifically marked as dishwasher safe (check your model's manual). For stubborn residue, like dried dough or batter, a plastic scraper or brush can be helpful.
The mixer head and base should be wiped down with a damp cloth. Avoid using abrasive cleaners or excessive water, as moisture can damage the motor and electrical components. Pay special attention to the attachment hub and the area around the planetary action mechanism, as food particles can accumulate there. Ensure all parts are completely dry before reassembling or storing. Regular cleaning prevents buildup and keeps your stand mixer performing optimally for advanced stand mixer baking techniques tips.
Storing Your Stand Mixer Attachments: Best Practices
Proper storage of stand mixer attachments prevents damage, keeps them organized, and ensures they are ready for your next baking project. The three standard attachments (wire whip, flat beater, dough hook) are often made of different materials – some are coated, others are stainless steel, and some may be aluminum. Check your manual for specific care instructions, as some finishes (like coated aluminum) can be damaged by harsh detergents or dishwashers.
Store attachments in a dry place where they won't be bent or scratched. Many mixers come with a dedicated storage box or tray. Alternatively, you can hang them from hooks or store them in a drawer lined with a soft cloth. Storing the wire whip carefully is particularly important, as the thin wires can easily bend, affecting its ability to aerate properly. Keeping attachments clean and stored correctly is a simple yet crucial aspect of stand mixer baking techniques tips.
Extending Your Stand Mixer's Lifespan: Preventative Maintenance
Beyond regular cleaning, a few preventative maintenance steps can significantly extend your stand mixer's lifespan. Never force the mixer if it seems strained; this is often a sign of overloading or a problem that needs attention. Adhering to the manufacturer's guidelines for batch size and mixing duration for heavy doughs is crucial.
Listen to your mixer while it's running. Unusual noises, grinding, or excessive vibration could indicate an issue with the motor or gears. Most stand mixers are designed to be low-maintenance, but some older or professional models might require periodic lubrication of gears (check your manual). If you notice persistent problems or strange noises, consult the manufacturer's service department rather than attempting complex repairs yourself. Treating your mixer with care ensures it remains a reliable tool for all your advanced stand mixer baking techniques tips.
Creative Stand Mixer Applications: Beyond Traditional Baking
Making Homemade Pasta with Your Stand Mixer Attachment
Did you know your stand mixer can be a gateway to fresh, homemade pasta? With a pasta roller and cutter attachment set, the stand mixer's motor powers the rollers, eliminating manual cranking. You typically make a simple pasta dough (often just flour, eggs, and a pinch of salt) in the mixer bowl using the dough hook or flat beater until a stiff dough forms, kneading for about 5-7 minutes on low speed.
Once the dough rests, it's passed through the roller attachment, starting on the widest setting and gradually decreasing the thickness setting with multiple passes until the desired sheet thickness is achieved. Then, the sheet is fed through a cutter attachment (like fettuccine or spaghetti). This process, powered by your stand mixer, makes fresh pasta significantly easier and faster than doing it all by hand, adding a fantastic skill to your repertoire of stand mixer baking techniques tips.
Crafting Ice Cream with Your Stand Mixer: A Delicious Dessert Project
An ice cream maker attachment is another popular accessory that turns your stand mixer into a dessert powerhouse. This attachment typically consists of a freeze bowl and a churning paddle that fits into the mixer's base. The freeze bowl must be pre-frozen for at least 15-24 hours until completely solid.
Once the bowl is frozen and the ice cream base (custard-style or Philadelphia-style) is prepared and chilled, the freeze bowl is placed in the mixer base, the paddle attachment is inserted, and the mixer is turned on to a low speed (speed 1-2). The chilled base is then poured into the spinning freeze bowl. The mixer continuously churns the base against the frozen sides, freezing and aerating it into soft-serve consistency in about 20-30 minutes. This is a fun and rewarding way to use your stand mixer for something other than traditional baking.
Shredding and Mixing Meats with Your Stand Mixer: A Time-Saving Hack
Beyond sweet treats and doughs, your stand mixer can be a surprisingly efficient tool for savory tasks like shredding cooked meats. This is particularly useful for pulled pork, shredded chicken for tacos or salads, or even breaking up ground meat. Simply place hot, cooked meat (chicken breasts, pork shoulder pieces, etc.) into the stand mixer bowl.
Using the flat beater attachment, turn the mixer on to a low speed (speed 2-4). The paddle will quickly break apart and shred the meat fibers against the sides of the bowl. This process takes only a minute or two for a pound or two of meat, far faster than using forks by hand. The flat beater can also be used on low speed to gently mix ingredients like meatloaf or meatballs after the initial combining, ensuring everything is evenly distributed without overworking the mixture. These are practical stand mixer baking techniques tips that extend its utility.
Stand Mixer Baking Technique Tips: Advanced Recipes to Try
French Macarons: Perfecting Delicate Macarons with Your Stand Mixer
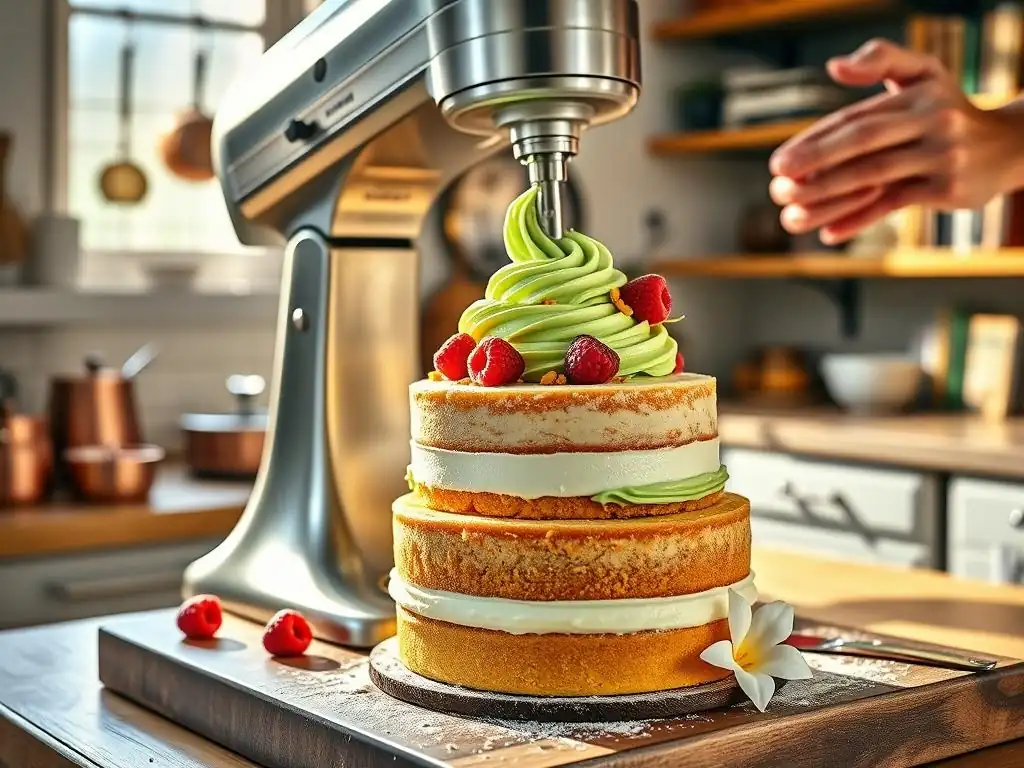
French macarons are notoriously finicky, but your stand mixer is indispensable for achieving the correct meringue consistency, which is critical for success. The recipe relies on a stable Italian or French meringue. For French meringue, the wire whip is used on high speed (speed 8-10) to whip egg whites and sugar to stiff, glossy peaks, as described earlier. The quality of this meringue directly impacts the macaron's structure and 'feet'.
For Italian meringue, a hot sugar syrup is slowly poured into whipping egg whites. The stand mixer is essential here as it allows you to continuously whip the egg whites (on medium-high speed, speed 6-8) while safely drizzling in the hot syrup. The mixer then continues whipping on high speed until the meringue is cool, thick, and glossy. Properly incorporating the dry ingredients (almond flour and powdered sugar) into this stable meringue using the paddle or by hand is the next delicate step, but the mixer's role in the meringue is paramount for mastering these delicate cookies.
Brioche Bread: Mastering Rich Brioche Using Your Stand Mixer
Brioche is a rich, often sweet, yeast bread characterized by its high butter and egg content, which makes the dough very soft and sticky initially. Attempting to knead this type of dough by hand is challenging, but a stand mixer with a dough hook makes it manageable. The process typically involves developing the gluten structure first, then gradually incorporating softened butter.
After mixing the initial ingredients and kneading for several minutes on low speed (speed 2-4) until some gluten develops, softened butter is added bit by bit while the mixer continues to run. This process, called beurrage (adding butter), takes time – often 15-25 minutes total kneading time – as the dough absorbs the fat and transforms into a smooth, elastic, and shiny mass that pulls away from the sides of the bowl.
The stand mixer's power and consistency are vital for emulsifying the butter into the dough, resulting in brioche's signature tender crumb. These are key stand mixer baking techniques tips for enriched doughs.
Red Velvet Cake: Creating a Classic Cake with Advanced Stand Mixer Techniques
While Red Velvet Cake might seem straightforward, achieving its signature fine, moist crumb and vibrant color benefits from careful stand mixer technique. The 'creaming method' is typically used, where softened butter and sugar are beaten together until light and fluffy using the flat beater attachment on medium speed (speed 4-6). As mentioned earlier, this process incorporates air, which is crucial for the cake's texture.
Adding eggs one at a time and beating well after each addition ensures they are fully emulsified into the butter mixture. The dry ingredients (including flour, cocoa powder, baking soda) and wet ingredients (buttermilk, vinegar, food coloring) are then often added alternately on a low speed (speed 1-2), starting and ending with the dry. Mixing just until combined after adding the flour is key to preventing a tough cake. The stand mixer allows for efficient creaming and careful final mixing, contributing significantly to the cake's desired texture and consistency.
Maximizing Your Stand Mixer: Become a Baking Expert
Advanced Baking Techniques with Stand Mixers: A Summary
We've explored a range of advanced stand mixer baking techniques tips, from understanding how each attachment functions optimally for specific tasks like whipping meringue or kneading high-hydration sourdough, to the critical importance of using the correct speed for different stages of mixing batters and doughs. We also covered essential troubleshooting for common issues like overheating and dough climbing, ensuring your baking process is smoother.
Furthermore, we delved into maintaining your stand mixer through proper cleaning and storage of attachments, plus preventative care to ensure its longevity. Finally, we looked at exciting applications beyond traditional baking, such as making fresh pasta or ice cream, and highlighted how the stand mixer is key to mastering advanced recipes like macarons, brioche, and achieving the perfect texture in classic cakes. Applying these techniques will truly unlock your mixer's full potential.
Resources for Further Stand Mixer Baking Education
To continue expanding your knowledge of stand mixer baking techniques tips, there are many valuable resources available. Your stand mixer's user manual is an often-underutilized resource, providing specific speed recommendations and capacities for your model, as well as care instructions. Many manufacturers also offer companion cookbooks or online recipe databases specifically designed for use with their mixers.
Beyond manufacturer resources, numerous reputable baking websites and cookbooks offer detailed guidance on using stand mixers for various recipes. Look for resources that provide specific speed and time recommendations for different doughs and batters, and which explain the why behind certain techniques. Online baking classes or tutorials can also offer visual demonstrations of advanced stand mixer usage. Experimentation and practice, combined with reliable information, are your best tools for becoming a stand mixer baking expert.
Frequently Asked Questions
What are some advanced techniques I can use with my stand mixer to improve my baking?
You can explore techniques like incorporating ingredients with the paddle attachment for even mixing, using the dough hook for efficient kneading of bread dough, and employing the whisk attachment for achieving perfectly whipped cream or meringue.
How can I avoid overmixing my batter when using a stand mixer?
Overmixing develops gluten, leading to tough baked goods. Use the stand mixer sparingly, only until ingredients are just combined. Consider finishing the mixing by hand to prevent over-processing.
What are some common mistakes people make when using a stand mixer for baking?
Common mistakes include using the wrong attachment for the task, not scraping down the sides of the bowl, and running the mixer at too high a speed, which can lead to splatter and uneven mixing.
Absolutely! Stand mixers are versatile tools that can be used for making bread dough, pasta, ice cream, and even shredding cooked chicken. They are truly multi-functional kitchen appliances.
Where can I find reliable recipes and tips specifically tailored for using a stand mixer?
Websites like BakeWithEase.com offer a wealth of step-by-step guides and recipes specifically designed for stand mixer use, catering to bakers of all skill levels.
Final Reflection: Mastering the Art of Stand Mixer Baking
The humble stand mixer, once a luxury appliance, has become a cornerstone of modern home baking. Its versatility allows for everything from delicate meringues to robust sourdough, transforming the baking experience from a laborious task to a creative adventure. But unlocking its full potential requires more than just knowing how to turn it on; it demands understanding its nuances and mastering advanced techniques.
This exploration of stand mixer baking techniques has highlighted not just the practical skills involved, but also the deeper connection between tool and artistry. The rhythmic whir of the machine, the precise control it offers, and the consistent results it delivers all contribute to a more satisfying and rewarding baking journey. As Julia Child once wisely said, Find something you're passionate about and keep tremendously interested in it.
For many home bakers, that passion is ignited and nurtured by the capabilities of their stand mixer. It's more than just an appliance; it's a partner in creativity.
Now, consider your own baking journey. What new techniques will you explore? What ambitious recipes will you tackle, empowered by your newfound knowledge? Don't be afraid to experiment, to push your boundaries, and to discover the unique magic your stand mixer can help you create. The world of baking is vast and exciting, and your stand mixer is your key to unlocking its endless possibilities. Embrace the process, enjoy the journey, and most importantly, taste the delicious results.
Unleash Your Inner Baking Maestro!
Thanks for taking the time to explore these advanced stand mixer techniques! We hope you've gained valuable insights to elevate your baking game. Now it's time to put your new knowledge into practice.
- Master a New Recipe: Choose a challenging recipe you've always wanted to try and let your stand mixer do the heavy lifting. This is your chance to shine!
- Share Your Baking Triumphs: Show off your delicious creations on social media – tag us @BakeWithEase so we can celebrate with you!
- Explore Our Recipe Library: Dive deeper into the world of baking by browsing our collection of recipes designed to be perfected with a stand mixer. Find your next masterpiece.
Ready to transform your baking experience? What challenging recipe will you tackle first?