
Troubleshooting Common Layer Cake Assembly Issues

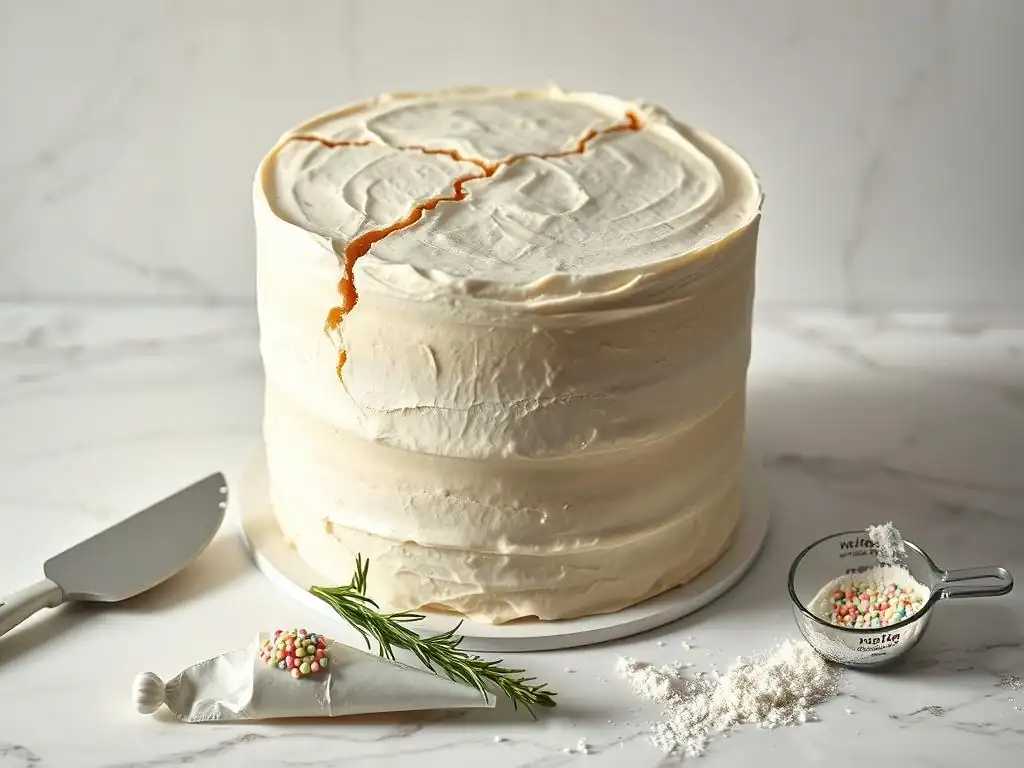
Welcome to BakeWithEase, where baking becomes a joy, not a chore! Ever stared down a wobbly stack of cake layers, wondering where you went wrong? You're not alone! This week, we're diving deep into layer cake assembly problems, unraveling the mysteries behind uneven layers, sliding frosting, and that dreaded cake lean. Discover the secrets to achieving picture-perfect layer cakes, starting right now.
- Troubleshooting Common Cake Assembly Issues: A Baker's Guide
- Introduction: Mastering Cake Assembly for Professional Results
- Common Cake Assembly Problems and Solutions
- Advanced Cake Assembly Techniques
- Conclusion: Confidence in Cake Assembly
-
Frequently Asked Questions
- What are the most common layer cake assembly problems beginners face?
- How can I prevent my cake layers from sliding during assembly?
- What's the best way to get even frosting on my layer cake?
- My frosting is too soft. Will it hold my layers together?
- How do I deal with crumbs getting into my frosting when assembling a layer cake?
- Final Reflection: Mastering the Art of Layer Cake Assembly
- Level Up Your Layering Game!
Troubleshooting Common Cake Assembly Issues: A Baker's Guide
Introduction: Mastering Cake Assembly for Professional Results
Assembling a layer cake can feel like the final frontier in your baking journey. You've successfully mixed, baked, and cooled your beautiful cakes, and now comes the crucial step of stacking them into a delicious masterpiece. However, this stage isn't without its challenges. Many home bakers encounter common layer cake assembly problems that can lead to frustration, from uneven layers to sliding tiers or bulging frosting.
Understanding these potential cake assembly issues and knowing how to prevent or fix them is key to achieving a stunning and stable cake every time. This guide will walk you through the most frequent layer cake challenges, offering practical solutions and tips that will empower you to tackle assembly with confidence. By addressing these cake layer problems head-on, you'll be well on your way to creating cakes that look as good as they taste, impressing friends and family alike.
Baker's Tips for Flawless Cakes
Achieving a truly flawless cake assembly starts long before you even grab your frosting spatula. It begins with meticulous preparation of your cake layers themselves. Ensuring your cakes are baked evenly, cooled completely, and are stable before stacking is the fundamental bedrock upon which successful assembly is built. Rushing these initial steps is a common cause of later layer cake assembly problems.
Furthermore, having the right tools at your disposal makes a significant difference. Simple items like an offset spatula, a cake turntable, and a serrated knife can dramatically simplify the assembly process and help you troubleshoot cake assembly issues as they arise. Think of these tools as extensions of your hands, designed to make applying frosting, stacking layers, and smoothing surfaces much more manageable. Investing in quality basic equipment is a worthwhile step for any aspiring cake decorator.
Common Cake Assembly Problems and Solutions
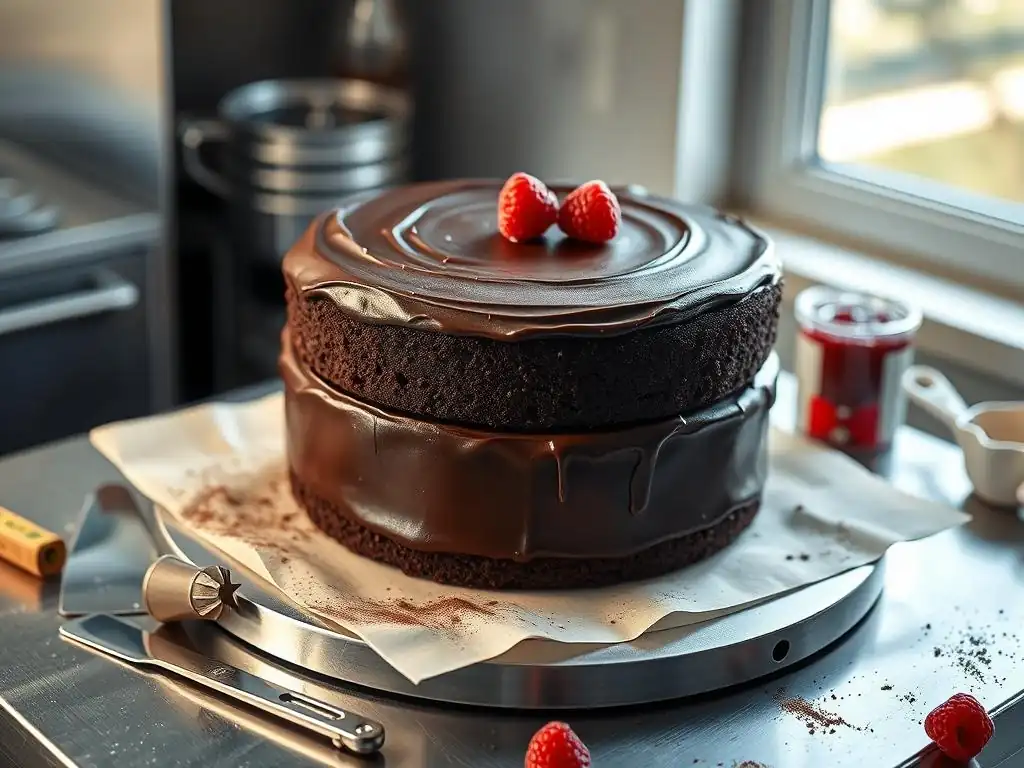
Problem 1: Uneven Cake Layers
Sometimes, despite your best efforts, cake layers bake up with a slight dome or are simply not perfectly flat across the top. This is a very common occurrence in baking and doesn't mean your cake is ruined. However, attempting to stack uneven layers will inevitably lead to a wobbly or tilted finished cake, creating significant layer cake assembly problems down the line.
Uneven layers can cause instability in the stack, making it difficult to apply frosting smoothly and evenly. The weight of subsequent layers and frosting can also cause the cake to sag or lean where the layers don't meet flush. Addressing this cake layer problem early in the assembly process is essential for a stable and professional-looking result.
Identifying Uneven Layers: Visual Cues
Before you even think about frosting, take a close look at your cooled cake layers. Place them on a flat surface and observe the profile. Do they have a noticeable dome in the center? Are the edges slightly higher than the middle? Are some areas thicker than others? These visual cues indicate unevenness.
You can also gently run your hand across the top surface. Feel for humps or dips. Stacking layers with these imperfections will create gaps between the layers or force you to use excessive amounts of filling to try and compensate, often leading to other layer cake assembly problems like frosting bulging.
Solution: Leveling Cake Layers for Even Assembly
Leveling your cake layers is a simple yet crucial step to prevent many layer cake assembly problems. It involves carefully removing the domed top or any high spots to create a flat, even surface. This ensures that when you stack the layers, they sit flush against each other, providing a stable foundation for the entire cake.
Properly leveled layers not only improve stability but also contribute to a much cleaner look once the cake is assembled and frosted. You'll have even layers of cake and filling throughout, creating beautiful slices. This technique is fundamental for anyone looking to master assembling layer cakes.
Using a Serrated Knife for Leveling
One of the most accessible tools for leveling is a long serrated knife, like a bread knife. Place the cake layer on a flat surface. Hold the knife parallel to the surface, just above the highest point of the dome. Using a gentle back-and-forth sawing motion, slowly cut across the top of the cake, keeping the knife as level as possible.
Start cutting from the edge and work your way towards the center, rotating the cake as needed. Aim for a smooth, even cut. You can use your other hand to gently guide the top of the cake as you cut. Practice makes perfect with this technique; don't worry if your first few attempts aren't perfectly flat. The goal is to remove the majority of the dome to alleviate major cake assembly issues.
Alternative Leveling Tools and Techniques
For more precision, you can use a cake leveling tool or a cake wire. These tools have adjustable wires that allow you to set the desired height and slice through the cake layer horizontally with ease, often resulting in a very flat surface. Simply place the cake on a flat surface, set the wire height, and pull the tool through the cake.
Another technique involves baking cakes using cake strips, which are soaked fabric strips wrapped around the outside of the cake pan. These insulate the edges, causing the cake to bake more evenly from edge to center, often resulting in flatter tops with less doming. While this prevents some layer cake assembly problems from the start, leveling might still be necessary for perfect flatness.
Problem 2: Cake Layers Sliding
Imagine carefully stacking your layers, only to watch them slowly shift and slide off-center, especially when you start adding filling or frosting. This is a frustrating and common layer cake assembly problem that can threaten the structural integrity of your creation. Sliding layers are often a result of instability, slick surfaces, or heavy fillings.
A cake that slides is not only difficult to frost neatly but also challenging to transport and serve. The weight of the cake above can exacerbate the slippage, potentially leading to a complete collapse. Preventing this cake assembly issue is vital for a successful outcome.
Why Do Cake Layers Slide? Understanding the Causes
Cake layers can slide for several reasons. If the layers are not completely cool, residual heat can soften the frosting or filling, acting like a lubricant. A surface that is too slick, such as a bare cake board or a layer of simple syrup without any frosting to grip, can also cause slippage.
Excessive or very soft filling, especially if it's pushed right to the edge of the cake, provides little resistance to movement. Furthermore, if the cake layers themselves are uneven or crumbly, they offer less stable contact points, making them prone to sliding under pressure. Addressing these underlying causes is the first step in solving this layer cake problem.
Solution: Preventing Cake Layer Slippage During Assembly
Preventing cake layers from sliding requires creating a stable base and ensuring good adhesion between layers. This involves techniques that firm up the cake, provide grip, and contain fillings effectively. Implementing these strategies will significantly reduce the likelihood of encountering this particular layer cake assembly problem.
A combination of these techniques is often the most effective approach, especially for taller or heavier cakes. Taking these preventative measures during the assembly process is much easier than trying to fix a sliding cake later on.
Chilling Cake Layers for Stability
Ensuring your cake layers are thoroughly chilled before assembly is one of the most effective ways to prevent sliding. Cold cake layers are firmer and less prone to crumbling or shifting. Place your completely cooled cake layers in the refrigerator for at least 30 minutes, or even the freezer for 10-15 minutes, before you begin stacking.
This chilling process solidifies the cake structure slightly, making it easier to handle and providing a more stable surface for frosting and stacking. Chilled layers also produce fewer crumbs when handled, leading to a cleaner crumb coat. This simple step is crucial for avoiding many cake assembly issues.
Using a Dam of Frosting to Contain Filling
When using softer fillings like fruit compotes, curds, or mousses, creating a "dam" of frosting around the outer edge of the cake layer is essential. Pipe a ring of firm buttercream or ganache around the perimeter of the bottom layer, about 1/2 inch from the edge. This creates a barrier.
Fill the center area inside the dam with your chosen filling. When you place the next layer on top, the dam prevents the filling from oozing out and creating a slick surface that could cause sliding. This technique is particularly important for taller cakes or cakes with multiple filling layers to maintain stability and prevent layer cake problems.
Doweling for Extra Support in Tiered Cakes
For tiered cakes, where one cake is stacked directly on top of another, dowels are indispensable for support and preventing sliding. Dowels are rods (usually plastic or wooden) inserted into the bottom tier to bear the weight of the tier above. They distribute the weight evenly across the bottom cake and down to the cake board, preventing the upper tier from crushing or sliding off the lower one.
Measure the height of your bottom tier and cut the dowels slightly shorter. Insert them vertically into the cake, arranging them to support the area where the upper tier will sit. For instance, for a 10-inch cake supporting an 8-inch cake, you might use 4-5 dowels arranged in a circle slightly smaller than 8 inches. This provides crucial structural support to avoid major layer cake assembly problems in multi-tiered designs.
Problem 3: Frosting Bulging Between Layers
You've stacked your layers beautifully, but as you apply the final coat of frosting, you notice the filling or frosting in between the layers is pushing out around the sides, creating an unsightly bulge. This is a common layer cake assembly problem that affects the cake's appearance and can make achieving a smooth exterior challenging.
Bulging frosting indicates that there is too much pressure on the filling or too much filling itself, causing it to squeeze out from between the layers. It can also happen if the layers aren't level or if the crumb coat isn't sufficient to contain small amounts of overflow.
Understanding Frosting Bulging: Filling Overflow
Frosting bulging primarily occurs when the amount of filling placed between layers is excessive for the space available, or when pressure is applied to the stacked cake, forcing the filling outwards. If the filling is particularly soft or runny, it is more prone to bulging.
Another contributing factor can be uneven layers; if there are dips in the cake surface, more filling tends to pool in those areas, leading to overflow when the next layer is added. The weight of the upper layers and the act of frosting the outside of the cake both apply pressure that can exacerbate this layer cake assembly problem.
Solution: Achieving Even Frosting Distribution
Preventing frosting bulging is about controlling the amount and consistency of your filling and creating a stable structure before applying the final outer layer of frosting. By managing these elements, you can ensure your filling stays neatly between the layers where it belongs.
Employing techniques like using a dam (as mentioned for sliding) and applying a crumb coat are highly effective strategies for mitigating this common cake assembly issue. These steps create barriers and provide a stable foundation, minimizing the chances of the filling escaping.
Using the Right Amount of Filling
Be mindful of how much filling you spread between your cake layers. While generous filling sounds delicious, too much will inevitably lead to bulging. Aim for a consistent layer, typically between 1/4 to 1/2 inch thick, depending on the type of filling and cake size.
Use an offset spatula or piping bag to distribute the filling evenly across the layer, staying slightly away from the edge (unless you've created a dam). Practice will help you gauge the right amount for different cake sizes and filling types. Using a consistent amount between all layers is also key to a balanced taste and structure.
Creating a Thin Crumb Coat
After stacking your layers with filling, apply a very thin layer of frosting all over the outside of the cake. This is called a crumb coat. Its purpose is to trap any loose crumbs and, importantly, to seal the gaps between the layers, helping to contain the filling.
Apply the crumb coat thinly but thoroughly, ensuring there are no bare spots. Chill the cake for at least 15-30 minutes until the crumb coat is firm. This firm shell provides a barrier that helps prevent the filling from bulging out when you apply the final, thicker layer of frosting. It's a critical step in avoiding many layer cake assembly problems.
Applying Even Pressure During Assembly
When placing subsequent layers onto the filled layer, apply gentle and even pressure. Don't press down hard, as this will force the filling outwards. Simply place the layer centered on top and press down just enough to ensure good contact with the filling and the layer below.
Using a level tool (like a small spirit level) as you stack can help ensure each layer is sitting straight before you apply the next. Correcting a tilted layer before applying significant pressure or frosting is much easier than trying to fix it later, and it helps prevent the uneven pressure that can cause bulging.
Problem 4: Tilted or Leaning Cake
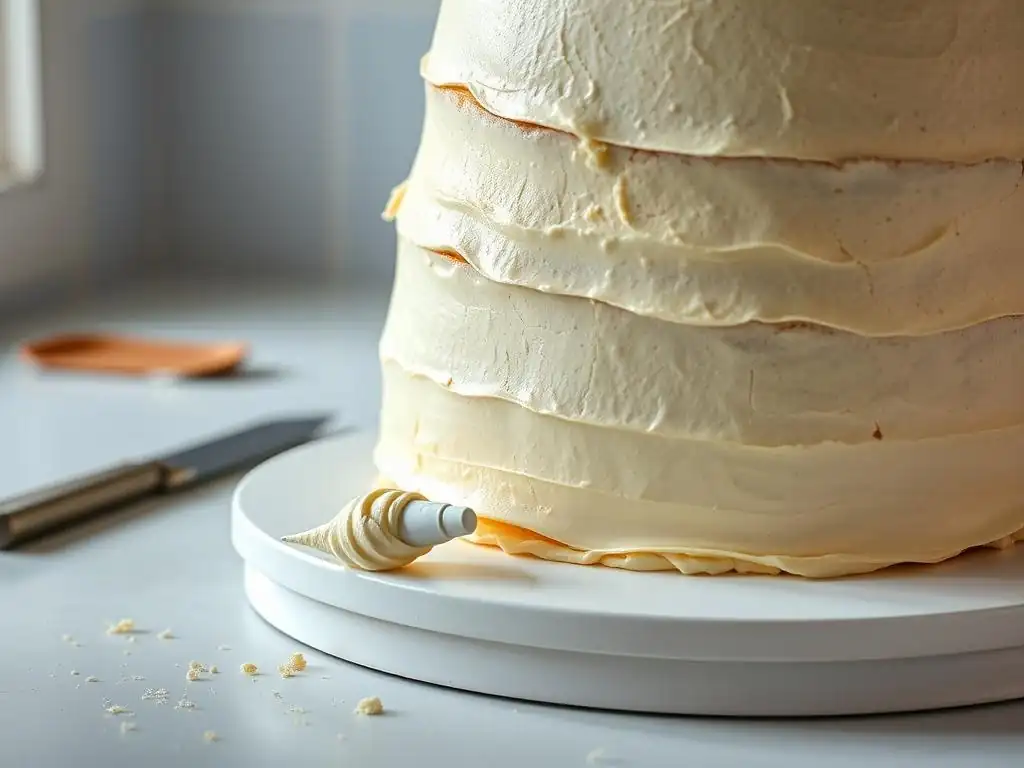
One of the most disheartening layer cake assembly problems is stepping back to admire your work only to find your cake is leaning like the Tower of Pisa. A tilted cake is unstable, visually unappealing, and difficult to frost smoothly. It often stems from uneven layers, improper stacking, or a lack of support.
A leaning cake can also be a sign of underlying layer cake assembly issues like sliding layers or inadequate internal support, especially in taller cakes. Addressing the tilt early is crucial before the problem becomes too severe to correct without disassembling the cake.
Diagnosing a Tilted Cake
A tilt can become apparent at various stages of the assembly process. Sometimes it's noticeable as soon as you stack the layers. Other times, it might develop gradually as you apply frosting or if the cake settles. Visually inspect the cake from several angles. Is one side noticeably higher or lower than the other?
You can also use a small spirit level placed gently on the top of the cake to check if it's truly level. Identify where the tilt is occurring – is it between the bottom two layers, or is the entire stack leaning on the cake board? Pinpointing the source helps determine the best corrective action.
Solution: Ensuring a Straight and Stable Cake
Ensuring your cake remains straight and stable throughout assembly requires attention to detail at each step. It involves starting with a level base, checking alignment as you go, and using tools that aid in maintaining verticality.
These techniques help prevent the subtle shifts and imbalances that can compound into a significant lean. Incorporating these practices into your routine will drastically reduce the occurrence of this frustrating layer cake assembly problem.
Using a Cake Turntable for Even Frosting
A cake turntable (or lazy Susan) is invaluable for ensuring a straight cake and even frosting application. As you frost, the turntable allows you to easily rotate the cake, allowing you to work from a static position. This helps you apply frosting at a consistent thickness and height all around the cake.
Working on a turntable also makes it easier to visually check the cake's straightness from all angles as you work. If you notice a slight lean developing, you can often gently push the layers back into alignment before the frosting sets, mitigating the layer cake problem.
Checking for Levelness Throughout the Process
Don't wait until the end to check if your cake is straight. After stacking each layer and adding filling, take a moment to look at the cake from eye level. If you have a small spirit level, place it on top of the current layer to verify it's flat and horizontally aligned.
Correcting a slight tilt between two layers is much easier than fixing a major lean involving the entire cake. A quick check after each stacking step takes minimal time but can save you from significant cake assembly issues later.
Adjusting Layers as Needed
If you notice a slight tilt after stacking a layer but before the frosting has set, you can often gently nudge or reposition the layer. Use a spatula or your hands to carefully shift the layer back into alignment with the one below. Do this slowly and gently to avoid damaging the cake or squeezing out excessive filling.
If the tilt is more significant or the frosting has started to set, you might need to carefully lift the upper layer, scrape off some filling from the lower side, add a bit more to the higher side, and then reposition the layer. This requires care but can salvage a cake with a developing layer cake assembly problem.
Problem 5: Difficulty Moving Assembled Cake
You've successfully assembled and frosted your beautiful layer cake, overcoming potential layer cake assembly problems. Now comes the final hurdle: moving it from your workspace to a display stand, a cake box for transport, or the refrigerator. A heavy, delicate cake can be surprisingly challenging to move without damaging the frosting or, worse, causing structural failure.
Attempting to lift or slide the cake incorrectly can result in smudged frosting, dents, or even the cake collapsing if it's not properly supported. This final step requires careful planning and the right technique to avoid undoing all your hard work.
The Challenge of Transporting a Cake
Moving an assembled layer cake, especially one that is tall or heavily decorated, presents unique challenges. The weight of the cake and frosting needs to be supported evenly from underneath. The delicate outer frosting layer is susceptible to bumps, scrapes, and temperature changes during transport.
Without proper support and protection, the cake is vulnerable to damage. A common cake assembly issue arises when the cake is lifted from the sides or without a firm base, leading to breakage or deformation.
Solution: Safe Transportation Techniques
Safe transportation of an assembled cake relies on using the right tools and techniques to provide stable support and protection. Planning the move before you start assembling can also help, ensuring the cake is built on a suitable base.
These methods are designed to minimize handling of the cake itself and protect it from external forces, ensuring your masterpiece arrives at its destination looking just as intended.
Chilling the Assembled Cake Thoroughly
Before attempting to move an assembled and frosted cake, chill it in the refrigerator until the frosting is firm to the touch. This usually takes at least 30 minutes to an hour, depending on the size of the cake and the type of frosting.
A firm, chilled frosting acts as a protective shell, making the cake much sturdier and less prone to dents or smudges during handling. This step is crucial for maintaining the cake's perfect finish and preventing damage during transport.
Using a Cake Box for Protection
A sturdy cake box is essential for protecting your cake during transport. Ensure the box is large enough to accommodate the height and width of your cake without touching the sides or lid. If possible, assemble the cake directly on the bottom insert or base of the cake box, or on a cake board that fits snugly into the box.
To move the cake into the box, carefully slide the cake board it's on onto the box base. Alternatively, if the cake is on a turntable, slide the board from the turntable onto the box base. Always support the cake board evenly from underneath with both hands when lifting.
Using a Cake Carrier
For maximum protection and ease of transport, especially for longer distances, a dedicated cake carrier is ideal. These carriers typically have a base with a locking lid and handle. They provide a secure enclosure that protects the cake from bumps, temperature fluctuations, and external contaminants.
Place the cake (on its board) onto the base of the carrier, secure the lid, and use the handle for transport. Some carriers also have features like internal supports or dividers for multi-tiered cakes. Using a carrier minimizes direct contact with the cake and provides a stable way to carry it, preventing many potential layer cake assembly problems related to transport.
Advanced Cake Assembly Techniques
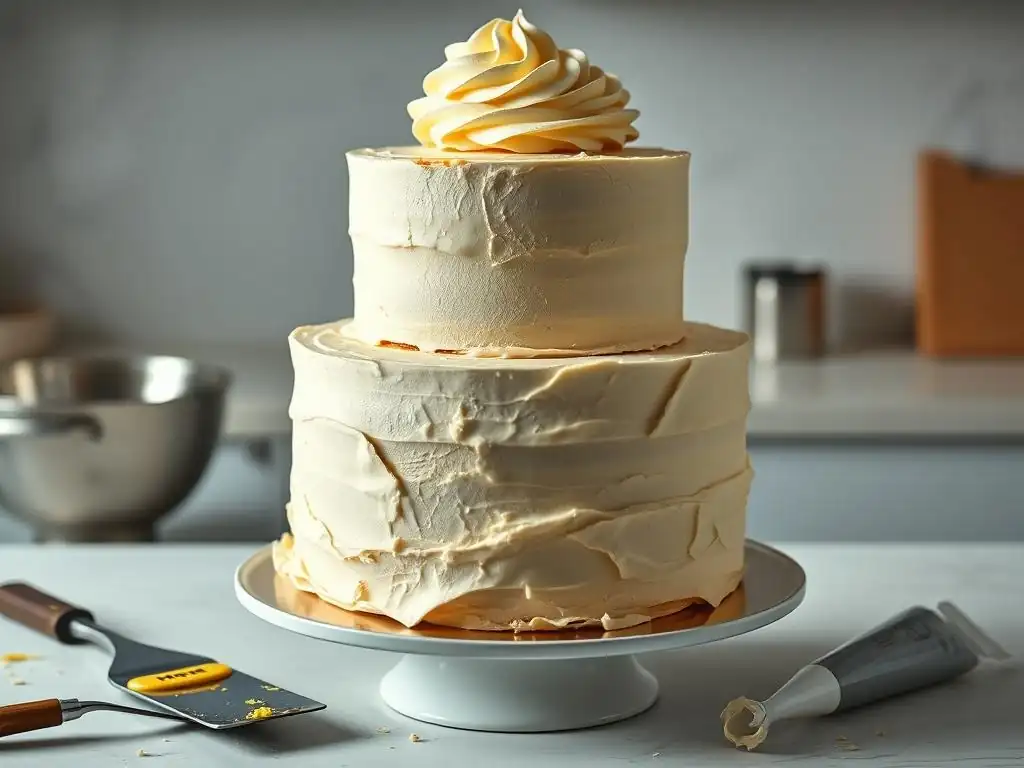
Once you've mastered troubleshooting common layer cake assembly problems, you might want to explore techniques that elevate your cake decorating skills. These methods focus on achieving polished finishes and adding decorative elements that make your cakes truly stand out.
Moving beyond basic stacking and frosting involves refining your techniques for applying and smoothing frosting and incorporating decorative elements seamlessly. These steps are key to achieving a professional bakery-quality look.
Achieving a Perfectly Smooth Frosting Finish
A perfectly smooth frosting finish is the hallmark of a professional-looking cake. It requires patience, the right tools, and a bit of practice. After applying the crumb coat and chilling the cake, apply a generous second layer of frosting.
Use an offset spatula to spread the frosting evenly around the sides and top, then use a bench scraper or cake smoother held at a 45-degree angle against the side of the cake while rotating the turntable. For the top, use a spatula to pull excess frosting from the edge towards the center. Chill the cake again for a few minutes, then use a warm, dry spatula or smoother to go over the surface for a final polish.
Creating Clean and Crisp Edges
Crisp, sharp edges on the top of your cake provide a clean, finished look. This is achieved in conjunction with smoothing the sides. After smoothing the sides, you'll have a slight lip of frosting around the top edge where the frosting from the sides met the top layer.
Using a clean offset spatula, starting from the outside edge, gently pull the frosting lip inwards towards the center of the cake. Clean the spatula after each swipe. Work your way around the entire top edge, creating a sharp angle where the top meets the sides. Chilling the cake slightly before this step can make it easier to achieve crisp edges.
Adding Decorations After Assembly
Once your cake is assembled, frosted, and chilled, it's ready for decoration. It's generally best to apply most decorations, such as piping, sprinkles, or fondant elements, after the main frosting is firm. This prevents smudging the base layer.
Plan your decorations beforehand. Use piping bags and various tips for borders or intricate designs. Place heavier decorations like fresh fruit or figurines just before serving or transport to prevent them from sinking into the frosting or shifting. Ensure any non-edible decorations are easily identifiable and removable.
Conclusion: Confidence in Cake Assembly
Mastering layer cake assembly problems is a significant step in becoming a more confident and skilled baker. While challenges like uneven layers, sliding tiers, bulging frosting, and leaning cakes are common, they are also entirely fixable or preventable with the right knowledge and techniques. Don't be discouraged by initial setbacks; every cake is a learning opportunity.
By understanding the causes of these cake assembly issues and practicing the solutions outlined in this guide, you'll build the skills needed to create stable, beautiful layer cakes consistently. Remember the importance of preparation, using appropriate tools, and being patient throughout the process. Your journey to flawless cake assembly is well underway!
Recap of Key Troubleshooting Tips
- Level layers: Always start with flat layers to ensure stability.
- Chill cakes: Refrigerate layers and assembled cakes for firmness.
- Use a dam: Contain soft fillings with a ring of firm frosting.
- Crumb coat: Apply a thin layer of frosting to seal crumbs and contain filling before the final coat.
- Check for levelness: Monitor alignment after stacking each layer.
- Use a turntable: Aids in even frosting and visual checks.
- Proper support: Use a cake board and consider dowels for tiered cakes.
- Chill before moving: Ensure frosting is firm before transport.
- Use a box or carrier: Protect the cake during transport.
Resources for Further Learning
To continue honing your cake assembly and decorating skills, explore online tutorials and classes focusing on specific techniques like advanced frosting methods or structural support for tiered cakes. Many baking blogs and YouTube channels offer step-by-step visual guides that can be incredibly helpful. Consider practicing basic techniques on dummy cakes if you want to perfect your skills without the pressure of a real cake. Look for detailed guides on topics like "how to frost a smooth cake" or "structuring tiered cakes."
Frequently Asked Questions
What are the most common layer cake assembly problems beginners face?
Beginners often struggle with uneven layers, crumbly frosting, and cakes sliding due to insufficient chilling. These can be minimized with practice.
How can I prevent my cake layers from sliding during assembly?
Ensure your cake layers are completely cooled and consider using a thin layer of frosting as "glue" on the cake board. Chilling the cake in between frosting layers is also helpful.
What's the best way to get even frosting on my layer cake?
Using a rotating cake stand and an offset spatula are key. Apply a crumb coat first to trap crumbs, then chill before adding the final layer of frosting.
My frosting is too soft. Will it hold my layers together?
Soft frosting won't provide enough structure. Chill your frosting or add powdered sugar to stiffen it. Make sure the frosting is spread evenly to support the next layer.
How do I deal with crumbs getting into my frosting when assembling a layer cake?
Always apply a crumb coat – a thin layer of frosting that traps the crumbs. Chill the cake after the crumb coat before applying the final, thicker layer of frosting to avoid contamination.
Final Reflection: Mastering the Art of Layer Cake Assembly
The seemingly simple act of stacking cake layers is, in reality, a crucial step fraught with potential pitfalls. A perfectly assembled layer cake is a testament to patience, precision, and a deep understanding of its delicate structure. This article has explored the most common challenges, from uneven layers to crumbling frosting, offering solutions to help bakers achieve their dream cake. The quest for the perfect layer cake is a journey, not a destination, and understanding these common problems is the first step towards mastery.
The impact of a flawlessly assembled layer cake extends far beyond the simple act of baking. It's a symbol of celebration, a centerpiece of joyous occasions, and a testament to the baker's skill and dedication. It's a tangible representation of effort and artistry, a delicious reward for time and patience invested. As the saying goes, The best things in life are worth waiting for,
and a perfectly assembled layer cake is a delicious embodiment of that truth. The frustration of a collapsed cake is a powerful teacher, pushing us to refine our techniques and appreciate the intricacies of this seemingly simple process.
Now, consider your own baking journey. Have you experienced the frustration of a lopsided layer or a cracked frosting? Remember the feeling of accomplishment when you finally conquered a challenging assembly? Take this knowledge and apply it to your next baking adventure. Don't be afraid to experiment, to learn from your mistakes, and to strive for perfection. The journey towards mastering layer cake assembly is a rewarding one, filled with delicious discoveries and the sweet satisfaction of creating something beautiful and delicious. Embrace the challenge, and may your next cake be your masterpiece.
Level Up Your Layering Game!
Thanks for taking the time to conquer those tricky layer cake assembly challenges! You've now got the knowledge to create flawlessly stacked cakes. Ready to put your new skills to the test?
- Bake your masterpiece: Try out the techniques you just learned and create your dream layer cake. Don't be afraid to experiment with flavors and frostings!
- Share your success: Post a picture of your perfectly layered cake on social media and tag us @BakeWithEase – we'd love to see your creations!
- Join the conversation: What's your biggest layer cake hurdle, and how did you overcome it? Let's share tips and tricks in the comments below!