
From Shaggy to Smooth: The Gluten Transformation Journey

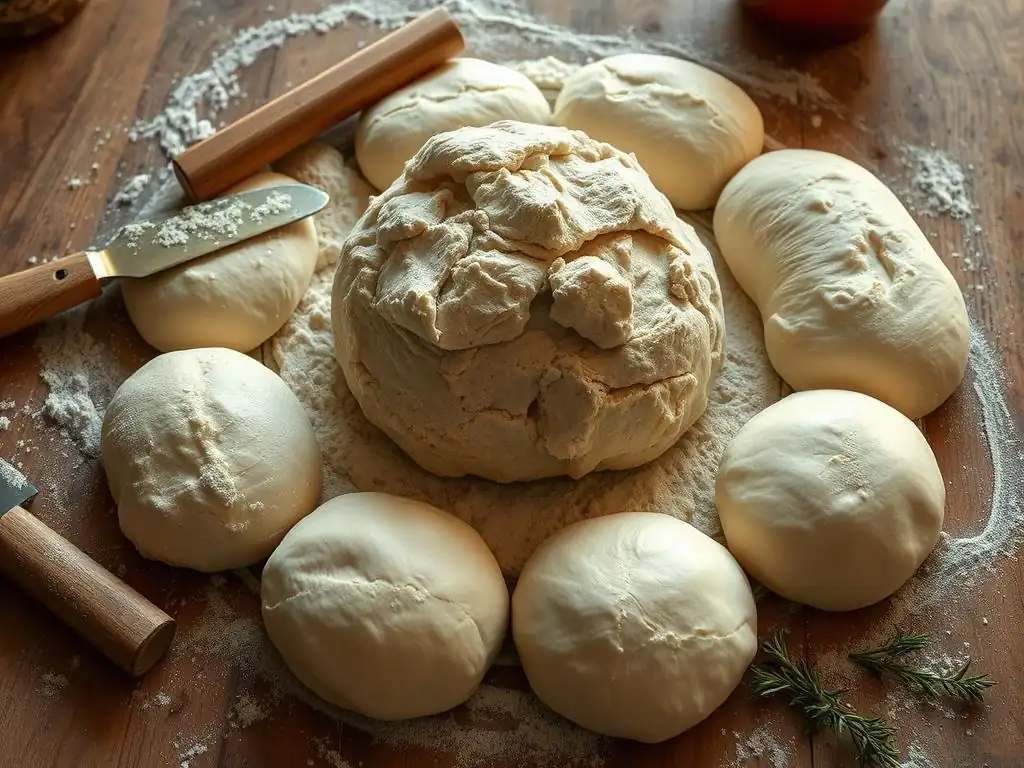
Welcome to BakeWithEase, your trusted guide to baking brilliance! Ever wondered what truly transforms a sticky dough into a perfectly structured masterpiece? This week, we're diving deep into the fascinating world of gluten development baking techniques. Unlock the secrets behind achieving that ideal texture and learn how to control gluten for consistently superior results. Intrigued? Let's begin your journey from shaggy beginnings to smooth success!
- Understanding Gluten Development in Baking
- The Stages of Gluten Development in Dough
- Gluten Development Baking Techniques: A Practical Guide
- Factors Affecting Gluten Development
- Troubleshooting Gluten Issues in Baking
- Gluten Development for Different Baked Goods
- Advanced Gluten Techniques for Baking Perfection
- Mastering Gluten: From Beginner to Baker Extraordinaire
-
Frequently Asked Questions
- What exactly is gluten development in baking, and why is it important?
- What are some common Gluten development baking techniques I can use?
- How do I know if I've achieved proper gluten development in my dough?
- What happens if I over-develop the gluten in my dough?
- What ingredients or factors can inhibit Gluten development baking techniques?
- Final Reflection: The Ever-Evolving World of Gluten in Baking
- Unleash Your Inner Gluten-Free Baker!
Understanding Gluten Development in Baking
What is Gluten and Why is it Important for Baking?
Gluten is a complex protein structure that forms when two specific proteins, gliadin and glutenin, found in wheat flour, come into contact with water and are manipulated, typically through mixing or kneading. This network is crucial in baking because it provides the dough or batter with elasticity and extensibility.
Think of it like a tiny, invisible scaffolding within your dough; it traps the gases produced by leavening agents like yeast or baking powder, allowing the baked good to rise and hold its shape during baking. Without sufficient gluten development, bread would be dense and crumbly, and cakes might lack structure.
The quality and strength of the gluten network directly impact the texture and volume of your final baked product. In bread making, achieving strong gluten development is key to a chewy crumb and a well-risen loaf. For pastries, controlled gluten development is needed for flakiness, while in cakes, minimal gluten development contributes to a tender, soft texture. Understanding how to manipulate this protein network through different gluten development baking techniques is fundamental to mastering baking.
The Key Proteins: Gliadin and Glutenin
The magic of gluten development begins with two main storage proteins present in wheat: gliadin and glutenin. Gliadin proteins are smaller and more globular, contributing to the dough's extensibility – its ability to stretch without breaking. Glutenin proteins, on the other hand, are larger and form long, chain-like structures, providing elasticity – the dough's ability to spring back to its original shape after being stretched. When flour meets water, these proteins absorb the liquid and start to bond.
Mechanical energy from mixing or kneading encourages these proteins to link together through disulfide bonds, forming the intricate, three-dimensional gluten network. The ratio of gliadin to glutenin varies slightly between different types of wheat and flours, influencing the final dough characteristics. For instance, bread flour typically has a higher protein content with a good balance of gliadin and glutenin, making it ideal for developing strong gluten for bread.
The Role of Water in Gluten Formation
Water is the indispensable catalyst for gluten formation. When dry flour is mixed with water, the gliadin and glutenin proteins begin to hydrate. This hydration is essential because it allows the proteins to become mobile and interact with each other. Without sufficient water, the proteins remain separate and cannot form the interconnected network necessary for gluten development. The amount of water used, often referred to as hydration level, significantly impacts the dough's consistency and the ease with which gluten can be developed.
A higher hydration dough, perhaps 75% water relative to flour weight, will feel stickier initially but allows for easier gluten development with less mechanical effort, as the proteins can move and bond more freely. A lower hydration dough, around 60% water, will be stiffer and require more vigorous kneading to achieve adequate gluten development because the proteins are less mobile. The temperature of the water also plays a role; warmer water (around 100-110°F or 38-43°C) can speed up hydration and yeast activity, indirectly influencing the environment where gluten develops.
The Stages of Gluten Development in Dough
Initial Mixing: The Shaggy Dough Stage
The very first stage of mixing flour and water results in what bakers often call a "shaggy dough." At this point, the ingredients are just starting to come together, and the mixture looks lumpy and uneven. The gluten proteins (gliadin and glutenin) have begun to absorb water and are starting to interact, but the network is minimal and disorganized. There's very little elasticity or extensibility; if you try to stretch a piece of this dough, it will likely tear easily.
This stage is characterized by distinct dry and wet spots, and the mass clings to the sides of the bowl. While some initial hydration and protein bonding are occurring, significant gluten development has not yet taken place. This is merely the starting point of the journey from individual ingredients to a cohesive, workable dough, paving the way for subsequent steps that will build the essential gluten structure.
Kneading: Building Strength and Elasticity in Gluten
Kneading is perhaps the most traditional and effective method for actively developing gluten. Whether done by hand or machine, the process involves repeatedly stretching, folding, and compressing the dough. This mechanical action physically aligns the gliadin and glutenin proteins and encourages them to form more numerous and stronger disulfide bonds, building a robust gluten network. As you knead, you'll notice the dough gradually transform from a sticky, shaggy mass into a smooth, elastic, and cohesive ball.
Proper kneading transforms the dough's structure dramatically. An under-kneaded dough will feel weak and break easily when stretched, lacking the strength to trap gas effectively. An optimally kneaded dough, however, will be smooth, pliable, and elastic, stretching into a thin membrane without tearing – a sign of well-developed gluten. This development is crucial for baked goods like bread, where a strong gluten network is necessary for oven spring and a desirable crumb structure.
Rest and Relaxation: Allowing Gluten to Develop Further
After kneading, allowing the dough to rest is a critical step in gluten development. During this resting period, often called bulk fermentation or proofing, the gluten network relaxes. The elastic tension built up during kneading lessens, making the dough easier to shape. More importantly, though, the hydrated proteins continue to bond and organize themselves more efficiently, further strengthening the gluten network even without mechanical action.
This passive gluten development is significant, especially in longer fermentation processes like those used for sourdough or artisan breads. Enzymes in the flour, like proteases, also play a role during rest, subtly altering the protein structure to improve extensibility. A well-rested dough with properly developed gluten will be smooth, puffy, and exhibit good elasticity and extensibility, ready for shaping and baking into a loaf with excellent volume and texture.
Gluten Development Baking Techniques: A Practical Guide
The Windowpane Test: Assessing Gluten Development
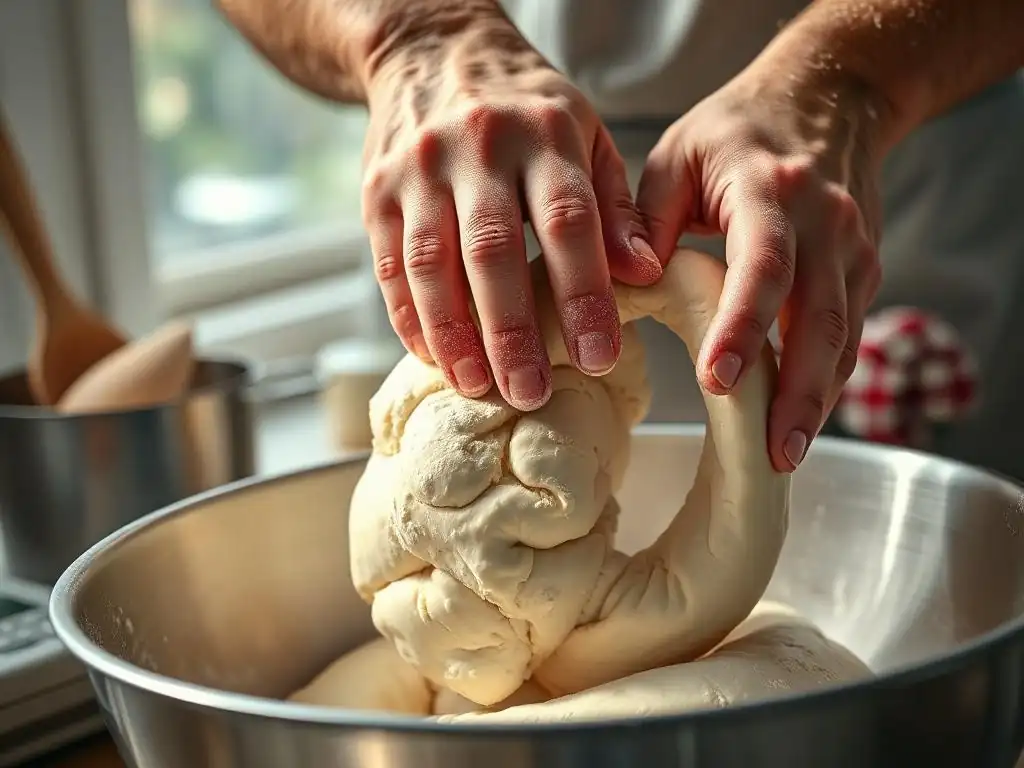
The windowpane test is a classic method bakers use to determine if gluten has been sufficiently developed in a dough. To perform this test, gently take a small piece of dough, roughly the size of a golf ball, and carefully stretch it between your fingers. The goal is to stretch it as thin as possible without tearing. If the dough can be stretched into a thin, translucent membrane that you can almost see through – like a windowpane – before it breaks, then the gluten is well-developed and ready.
If the dough tears quickly and doesn't stretch thinly, the gluten is likely underdeveloped and requires more kneading or resting time. This test provides a visual and tactile assessment of the dough's strength and elasticity, giving you confidence in your gluten development techniques. It's a valuable skill to learn as it helps prevent issues like dense bread or poor oven spring caused by insufficient gluten structure.
Different Kneading Methods for Optimal Gluten Structure
Achieving optimal gluten development often comes down to the kneading method employed. Different techniques apply mechanical energy in various ways, influencing how the protein network forms. The choice of method can depend on the dough's hydration level, the type of baked good being made, and the tools available. Regardless of the method, the principle is the same: to stretch, fold, and compress the dough to build strength and elasticity.
Understanding how different kneading approaches impact the dough allows bakers to tailor their gluten development baking techniques for specific results. From the rhythmic motion of hand kneading to the consistent power of a stand mixer, each method has its nuances and benefits for creating a strong, cohesive gluten network capable of supporting the desired structure of the final product, whether a rustic loaf or a tender roll.
Hand Kneading Techniques for Gluten Development
Hand kneading is a time-honored method for developing gluten, offering a tactile connection to the dough. Common techniques include the push-and-fold method, where you push the dough away with the heel of your hand, fold it back over itself, rotate, and repeat. Another is the French fold (or slap and fold) technique, particularly useful for high-hydration doughs, which involves lifting the dough, slapping it onto the counter, stretching it out, folding it back over, and repeating rapidly.
Hand kneading typically requires more time and effort compared to machine kneading, often taking 8-12 minutes to achieve sufficient gluten development for a standard bread dough. The warmth from your hands can also slightly raise the dough temperature, influencing fermentation. While physically demanding, hand kneading allows you to feel the dough's transformation directly, learning to recognize the signs of proper gluten development by its feel and appearance.
Machine Kneading and Gluten Formation
Using a stand mixer with a dough hook is a popular and efficient way to develop gluten, especially for larger batches or stiffer doughs. The consistent mechanical action of the dough hook rapidly stretches and folds the dough, promoting the formation of the gluten network. Machine kneading is significantly faster than hand kneading, often achieving sufficient gluten development in just 6-8 minutes on medium speed for many bread recipes.
Care must be taken when machine kneading, however, as it is possible to over-knead the dough quickly, especially with smaller quantities or powerful mixers. Monitoring the dough's texture and performing the windowpane test periodically is crucial to avoid over-development. Machine kneading provides a consistent and powerful method for building a strong gluten structure, making it a staple gluten development baking technique for many home and professional bakers.
Autolyse: A Technique for Enhanced Gluten Development
Autolyse is a simple yet powerful technique that significantly aids gluten development with minimal effort. It involves mixing just the flour and water from a recipe and letting the mixture rest for a period, typically 20 minutes to an hour, before adding the salt and leavening agent and beginning the main kneading. During this rest, the flour hydrates fully, and enzymatic activity (specifically protease action) begins to break down some of the protein bonds, making the dough more extensible.
This initial rest allows the gluten proteins to start bonding passively without any mechanical work. When kneading begins after the autolyse period, the dough is already more pliable and less sticky, and gluten development proceeds much faster and more efficiently. Autolyse results in a dough that is easier to handle, requires less kneading time, and often produces bread with a better crumb structure and oven spring, making it a favored gluten development technique among artisan bakers.
Factors Affecting Gluten Development
The Impact of Flour Type on Gluten Structure
The type of flour used is perhaps the most significant factor influencing gluten development. Different flours have varying protein contents and different ratios of gliadin to glutenin. High-protein flours, such as bread flour (typically 12-14% protein), contain more gluten-forming proteins and are ideal for baked goods requiring a strong, elastic gluten network, like crusty bread or bagels.
Lower-protein flours, like cake flour (around 7-9% protein), have less potential for gluten development, resulting in tender, soft textures suitable for cakes, biscuits, and pastries where excessive chewiness is undesirable. All-purpose flour (usually 10-12% protein) is a versatile middle ground, capable of moderate gluten development suitable for a wide range of recipes. The inherent protein structure of the flour sets the stage for how effectively gluten can be developed through subsequent techniques.
Water Temperature and Hydration Levels
Water plays a dual role in gluten development: hydration and temperature influence. Sufficient water is essential for the gluten proteins to hydrate and become active, as discussed earlier. The hydration level (the ratio of water to flour by weight) directly impacts the dough's consistency and the ease of gluten formation. Higher hydration doughs develop gluten more easily with less kneading but can be trickier to handle.
The temperature of the water, while primarily used to control dough temperature for yeast activity, also affects the rate of hydration and, indirectly, gluten development. Warmer water speeds up hydration, potentially allowing gluten to start forming more quickly. However, excessively hot water can denature proteins, hindering gluten formation. Maintaining an optimal dough temperature, often around 75-80°F (24-27°C), promotes both active yeast fermentation and efficient gluten development.
The Effects of Fat and Sugar on Gluten Development
Fat and sugar are often present in enriched doughs and batters, and they significantly affect gluten development, typically by inhibiting it. Fat coats the flour particles, preventing water from fully hydrating the gluten-forming proteins and physically interfering with the protein bonds as they try to form. This is why adding butter or oil early in the mixing process for pastries or biscuits helps create a tender, crumbly texture with minimal gluten development.
Sugar competes with flour for water, reducing the amount available for protein hydration. High sugar concentrations can also strengthen the dough structure prematurely by absorbing liquid, making it harder for the gluten network to expand. While some sugar is necessary for yeast activity and flavor, excessive amounts or adding sugar too early can impede gluten development, resulting in a less cohesive dough.
Salt's Role in Controlling Gluten Development
Salt, despite its small quantity in most recipes, plays a crucial role in controlling gluten development. Salt strengthens the gluten network by tightening the protein structure. It helps create a more organized and resilient network, improving the dough's elasticity and making it easier to handle. Doughs made without salt often feel slack, sticky, and difficult to work with, lacking the necessary tension provided by salt.
Furthermore, salt helps regulate fermentation by slowing down yeast activity. This slower fermentation allows more time for enzymes to act and for the gluten network to develop and mature gradually, contributing to better flavor and structure. However, adding salt directly to yeast can harm it, so it's usually added after the initial mixing of flour and water, or at the same time as the flour but separate from the yeast.
Troubleshooting Gluten Issues in Baking
Over-Developed Gluten: Signs and Solutions
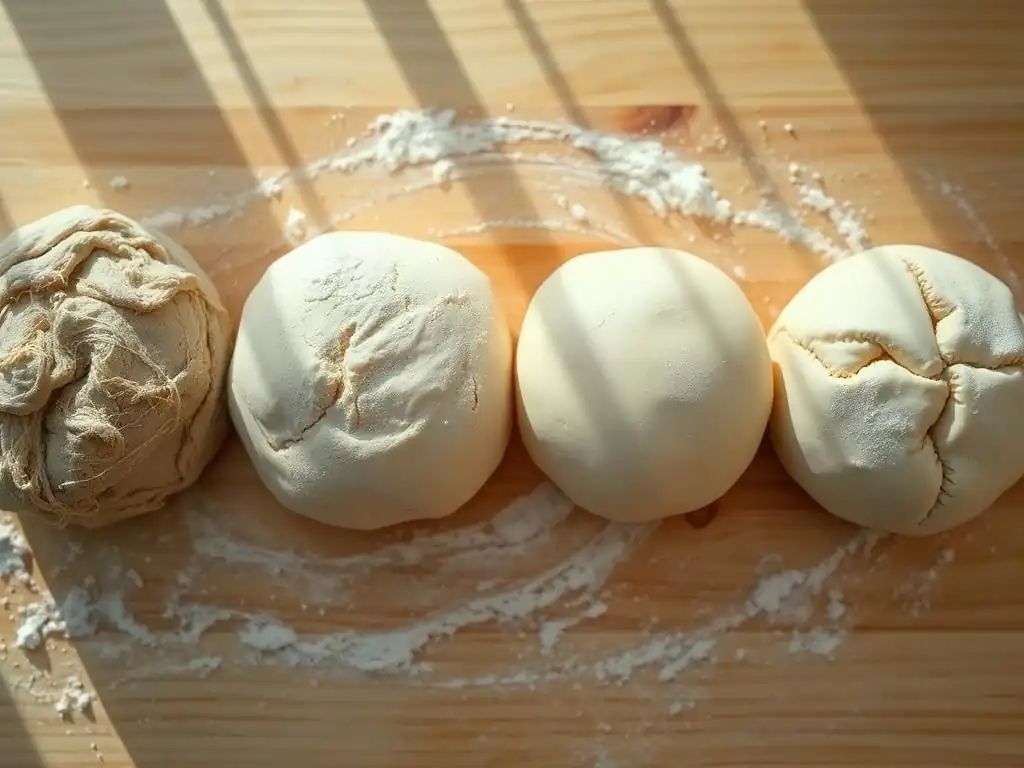
Over-developed gluten, also known as over-kneaded dough, results from excessive mechanical work. The gluten network becomes too tight and begins to break down, similar to overstretched elastic. Signs include dough that is extremely stiff, difficult to stretch without tearing immediately, lacks extensibility, and may even become liquidy or greasy if severely overworked. Baked goods made from over-developed dough can be tough, dense, and have poor volume.
Unfortunately, once gluten is significantly over-developed, it's challenging to fully reverse the damage. For slightly over-kneaded dough, allowing it a longer rest period (30-60 minutes or more) can help the gluten relax somewhat. Incorporating a small amount of fat or even a tiny bit of acid (like vinegar or lemon juice) can sometimes help tenderize the dough slightly by interfering with the tight protein bonds. Prevention is key: monitor your dough during kneading, especially with a machine, and stop when the windowpane test indicates optimal development.
Under-Developed Gluten: Identification and Remedies
Under-developed gluten is common, especially for novice bakers or when recipes call for minimal mixing. Signs include a dough that is shaggy, sticky, easily tears when stretched, lacks elasticity, and doesn't hold its shape well. Baked goods from under-developed dough will be dense, crumbly, have poor volume, and lack the desired chewiness (in bread) or structure.
The good news is that under-developed gluten is usually easy to fix. Simply continue kneading the dough, either by hand or machine, until it becomes smooth, elastic, and passes the windowpane test. For doughs that have already proofed, you can gently deflate and knead them again briefly to build more structure before reshaping and allowing a shorter second proof. Techniques like autolyse or a longer bulk fermentation can also help develop gluten more passively if you prefer less hands-on kneading.
Dealing with Sticky Dough: Tips and Tricks
Sticky dough is a common challenge, often related to hydration levels or under-developed gluten. A high-hydration dough (70% water or more) is naturally sticky but can still be workable with proper gluten development and technique. If a dough is sticky and also tears easily, it's likely under-developed; continued kneading will help build the gluten network, making it less sticky and more manageable.
Here are some tips for handling sticky dough:
- Use wet hands or a dough scraper instead of floured hands. Flour can be incorporated into the dough, changing its hydration.
- Work on a lightly oiled surface rather than a floured one.
- Employ techniques suitable for sticky doughs, like the French fold (slap and fold) method, which uses gravity and momentum.
- Ensure sufficient kneading or resting time for gluten development; often, stickiness decreases as gluten develops.
- If the dough is excessively sticky and seems too wet, you can gradually add a small amount (a tablespoon at a time) of flour while kneading until it reaches a manageable consistency, though this should be a last resort as it alters the recipe's hydration ratio.
Gluten Development for Different Baked Goods
Gluten in Bread Baking: Achieving the Perfect Loaf
In bread baking, robust gluten development is paramount for achieving a light, airy crumb and good volume. The strong gluten network traps the carbon dioxide produced by yeast fermentation, allowing the dough to rise significantly during proofing and baking (oven spring). A well-developed gluten structure provides the necessary strength to hold this expanded form, preventing the loaf from collapsing.
Techniques like extensive kneading (either by hand or machine), long fermentation periods, and methods like autolyse or stretch and folds are employed specifically to build a strong, elastic, and extensible gluten network. For instance, a lean dough for a baguette requires significant gluten strength to support its open crumb structure, while an enriched challah dough still needs good gluten development but benefits from the tenderizing effects of fat and sugar. Mastering gluten development is the cornerstone of successful bread baking.
Gluten in Pastry Baking: Creating Flaky Crusts
For pastries like pie crusts, biscuits, or scones, the goal is often minimal gluten development to achieve a tender, flaky texture. Unlike bread, where gluten forms a continuous network, in pastries, we want the fat (like butter or shortening) to coat the flour particles and create layers, preventing the gluten from fully connecting. When baked, the water in the fat turns to steam, separating these layers to create flakiness.
Techniques for minimizing gluten development include using cold ingredients (cold butter, ice water), cutting the fat into the flour rather than creaming it, handling the dough as little as possible, and avoiding overmixing. Using lower-protein flour also helps limit gluten formation. The key is just enough mixing to bring the dough together without activating the gluten-forming proteins excessively.
Gluten in Cake Baking: Balancing Structure and Tenderness
In cake baking, the aim is a delicate balance: enough gluten development for structure, but not so much that the cake becomes tough. The structure in cakes comes primarily from the coagulation of egg proteins and the starch in the flour, with gluten providing a supporting framework. Excessive gluten development would result in a dense, rubbery texture.
To achieve a tender cake crumb, methods are used to limit gluten development. These include using lower-protein flours (like cake flour), creaming butter and sugar first (fat inhibits gluten), using liquids like milk which contain fat and protein that interfere with gluten, and mixing the batter only until the ingredients are just combined. Overmixing cake batter after the flour is added is a common mistake that leads to tough cakes because it overdevelops the gluten.
Advanced Gluten Techniques for Baking Perfection
Tangzhong Method for Softer Bread
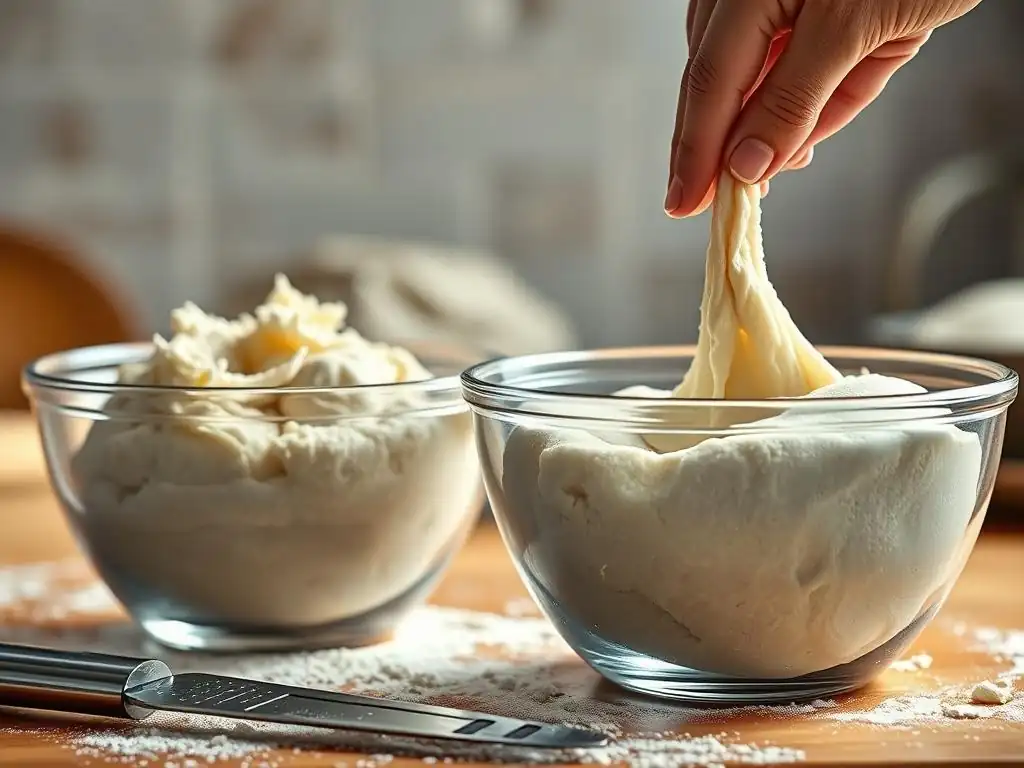
The Tangzhong method, originating from Asian baking, is a technique used to create exceptionally soft and fluffy bread with improved keeping quality. It involves cooking a small portion of the flour with liquid (milk or water) to form a thick paste or roux before adding it to the main dough ingredients. This cooked paste, the Tangzhong, gelatinizes the starch in the flour.
When the gelatinized starch is added to the dough, it can hold significantly more liquid than uncooked flour. This increased hydration, even at seemingly lower overall hydration percentages, leads to a more tender crumb and helps delay staling. While it doesn't directly develop gluten, the extra moisture provided by the Tangzhong allows the gluten network to hydrate more fully and evenly, resulting in a softer, more pliable structure that holds its shape well.
Cold Fermentation for Enhanced Flavor and Gluten Strength
Cold fermentation involves refrigerating the dough for an extended period, typically from 12 hours up to several days, after the initial mixing and kneading. The cold temperature significantly slows down yeast activity, resulting in a much slower rise. However, it allows enzymes (like proteases) more time to act on the proteins and starches in the dough, breaking them down into simpler compounds.
This slow enzymatic action not only develops complex flavors but also subtly alters the gluten structure. The longer contact time with water and enzymes helps hydrate the gluten more thoroughly and makes the network more extensible without losing strength. Cold fermentation is a popular gluten development baking technique for artisan breads and pizza doughs, yielding doughs that are easier to handle, have superior flavor, and bake up with a better crust and crumb structure.
Lamination for Viennoiserie: Creating Layers of Flaky Perfection
Lamination is an advanced technique used for making pastries like croissants, pain au chocolat, and puff pastry (collectively known as Viennoiserie). It involves creating alternating layers of dough and a solid block of cold butter through a process of repeated folding and rolling (turns). The goal is to create hundreds or even thousands of ultra-thin layers.
While the dough used for lamination does have some gluten development to provide structure and elasticity so it can be rolled thinly without tearing, excessive gluten is avoided to maintain tenderness. During baking, the butter melts and creates steam, which forces the delicate layers of dough apart, resulting in the signature flaky texture. Successful lamination relies on a balance of sufficient, but not excessive, gluten development and maintaining cold temperatures throughout the process to keep the butter solid.
Mastering Gluten: From Beginner to Baker Extraordinaire
Practice Makes Perfect: Experimenting with Gluten Techniques
Mastering gluten development is a journey that requires practice and experimentation. Don't be discouraged if your first few loaves are dense or your pastries aren't as flaky as you hoped. Each type of flour, different hydration levels, and varying kitchen temperatures will affect how gluten develops. The best way to learn is by doing, observing, and feeling the dough at different stages.
Try making the same recipe using slightly different kneading times, or compare a dough kneaded by hand versus one kneaded by machine. Experiment with an autolyse step in your favorite bread recipe. Pay attention to how the dough feels and looks when it's under-developed, optimally developed, and over-developed. Keep a baking journal to note down observations and results. Through hands-on experience, you'll develop an intuitive understanding of gluten and become more confident in applying various gluten development baking techniques.
Resources for Further Learning on Gluten Development
The world of baking science, particularly concerning gluten development, is vast and fascinating. There are many excellent resources available to deepen your understanding beyond the basics. Cookbooks specifically focused on bread baking often contain detailed explanations of gluten's role and various techniques. Online baking communities and forums are great places to ask questions and learn from experienced bakers who share their insights on gluten development and troubleshooting common issues.
Numerous reputable baking websites and educational platforms offer articles, videos, and even online courses dedicated to the science of baking, including in-depth explorations of gluten structure and function. Libraries also house a wealth of baking literature. Continuously seeking out new information and perspectives will enhance your skills and help you achieve consistent, excellent results in all your baking endeavors.
Frequently Asked Questions
What exactly is gluten development in baking, and why is it important?
Gluten development is the process of forming a strong, elastic network from the proteins glutenin and gliadin found in wheat flour. This network provides structure, texture, and elasticity to baked goods.
What are some common Gluten development baking techniques I can use?
Common techniques include kneading the dough, allowing the dough to rest (autolyse), and using ingredients like strong bread flour that are higher in protein.
How do I know if I've achieved proper gluten development in my dough?
You can perform the windowpane test, where you stretch a small piece of dough thinly enough to see light through it without tearing. The dough should be smooth and elastic.
What happens if I over-develop the gluten in my dough?
Over-developed gluten can result in a tough and dense baked product. The dough may also become difficult to handle and resist shaping.
What ingredients or factors can inhibit Gluten development baking techniques?
Ingredients like fats and sugars can inhibit gluten development. Also, using weak flour with low protein content or over-mixing can have negative effects.
Final Reflection: The Ever-Evolving World of Gluten in Baking
The quest for the perfect loaf, the ideal texture, the ultimate rise—it all hinges on understanding gluten. This journey through gluten development in baking reveals not just techniques, but a deep connection between science, artistry, and the simple pleasure of a perfectly crafted bread. The impact of mastering gluten manipulation extends far beyond the kitchen, influencing food production on a larger scale and impacting the lives of millions who enjoy baked goods daily.
The evolution of gluten understanding in baking has been a fascinating journey to witness, from the early days of trial and error to the precise scientific methods we employ today. This exploration has highlighted the importance of respecting the fundamental properties of flour, and how a deep understanding of gluten's behavior can unlock a world of possibilities. The baker who understands gluten, understands the soul of bread.
While I don't know the origin of this quote, it perfectly encapsulates the profound relationship between baker and ingredient. The ongoing research and innovation in this field continue to shape the culinary landscape, constantly pushing the boundaries of what's possible.
Now, it's your turn. Consider the techniques discussed—the impact of hydration, the role of kneading, the influence of resting times. Experiment! Don't be afraid to try new things, to tweak recipes, to push your own boundaries in the kitchen. Each loaf you bake, each experiment you undertake, is a step forward in your own gluten transformation journey. Embrace the process, learn from your mistakes, and savor the rewards of a perfectly risen, beautifully textured loaf—a testament to your growing mastery of this fundamental element of baking.
Unleash Your Inner Gluten-Free Baker!
Thanks for joining us on this delicious journey into the world of gluten-free baking! We hope you gained valuable insights and newfound confidence in tackling this exciting culinary adventure. Now it's time to put your knowledge into practice!
- Try out one of the recipes we highlighted in the article. Start small, pick a favorite, and see how easy it can be!
- Share your gluten-free baking triumphs (and challenges!) on social media using #BakeWithEaseGlutenFree. Let's inspire each other!
- Explore our extensive recipe archive for even more gluten-free goodness! You might discover your new signature dish.
Ready to transform your baking? What's the first gluten-free recipe you'll tackle?