
Hydration Levels Explained for Artisan Baguette Dough

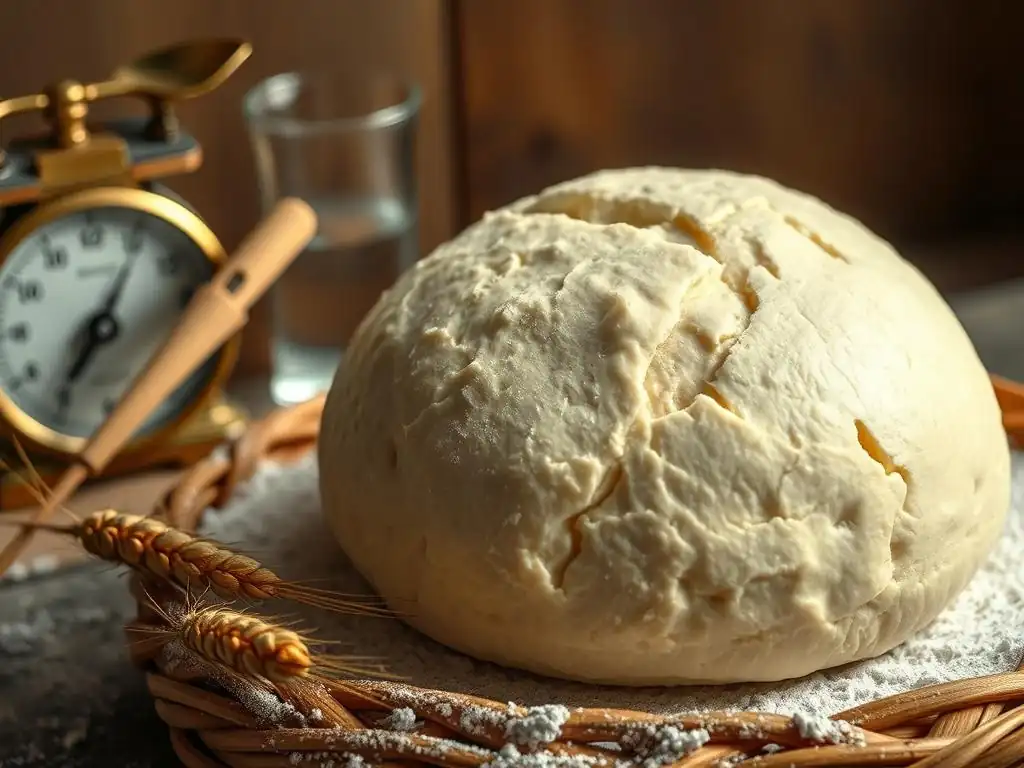
Welcome to BakeWithEase, your trusted guide to unlocking the secrets of exceptional baking! Ever wondered how artisan bakers achieve that perfect crust and airy crumb in their baguettes? This article dives deep into the crucial role of hydration levels in artisan baguette dough, revealing the precise techniques and ratios that separate good bread from truly unforgettable bread. Intrigued? Discover the science behind the bake and elevate your baguette game!
- Sourdough Bread Hydration Levels Explained for Perfect Crust & Crumb
- Understanding Sourdough Dough Hydration: A Baker's Guide
- Exploring Different Hydration Levels for Sourdough Bread
- Factors Affecting Optimal Hydration in Sourdough Dough
- Determining the Ideal Hydration Level for Your Sourdough
- Troubleshooting Hydration Issues in Sourdough Dough
- Advanced Techniques: Manipulating Hydration for Unique Sourdough Results
- Sourdough Hydration: A Summary for Home Bakers
-
Frequently Asked Questions
- What is hydration level in artisan baguette dough and why is it important?
- What is considered a "high hydration" level for artisan baguettes?
- How does hydration level affect the kneading process when making artisan baguettes?
- What are some common problems that arise from incorrect hydration levels in artisan baguette dough?
- How can I adjust the hydration level in my artisan baguette recipe if needed?
- Final Reflection: The Unsung Hero of the Perfect Baguette – Hydration
- Unlock Your Best Baguette Yet!
Sourdough Bread Hydration Levels Explained for Perfect Crust & Crumb
Understanding Sourdough Dough Hydration: A Baker's Guide
What is Hydration in Sourdough Bread Baking?
In the world of sourdough baking, hydration refers to the ratio of water to flour by weight in your dough. It's a simple percentage calculation: (Weight of Water / Weight of Flour) * 100%. For example, if a recipe calls for 500 grams of flour and 350 grams of water, the hydration level is (350 / 500) * 100%, which equals 70%.
This percentage is a critical factor that profoundly impacts the final texture, handling, and appearance of your sourdough loaf. It's not just about how wet the dough feels; it's a fundamental part of the dough's chemistry and structure.
Understanding this ratio is key to controlling your bake. Different flours absorb water differently, and the hydration level you choose will dictate how the gluten develops, how the yeast and bacteria in your sourdough starter ferment, and ultimately, the character of your bread's crust and crumb. Whether you're aiming for a rustic country loaf, a light and airy ciabatta, or even applying these principles to something like artisan baguette hydration levels, mastering this concept is foundational. It's the first step in truly understanding how your ingredients interact.
Why is Hydration Crucial for Sourdough?
Impact on Crust Development
Hydration plays a significant role in how your sourdough crust develops during baking. Higher hydration doughs tend to produce a thinner, crisper crust. This is because more water evaporates during the bake, creating steam within and around the loaf (especially if baked in a Dutch oven or with added steam). This steam keeps the crust pliable longer, allowing for maximum oven spring before the crust sets. Once the water has evaporated and the crust sets, the rapid expansion leads to a delicate, shatteringly crisp exterior.
Conversely, lower hydration doughs typically result in a thicker, chewier crust. With less internal moisture to evaporate and create steam, the crust sets earlier in the baking process. This limits oven spring slightly and results in a more robust, often browner crust. The difference is palpable – think of the difference between a rustic, crackling boule and a denser, chewier sandwich loaf. The hydration level is a primary driver of this textural contrast in the crust.
Influence on Crumb Structure
The hydration level is arguably the most significant factor influencing the internal structure, or crumb, of your sourdough bread. Higher hydration doughs generally yield a more open, airy crumb with irregular holes, often desired in artisan loaves. The increased water allows for greater gluten development and extensibility, enabling the dough to trap more gas produced by the fermentation. This results in those beautiful, large alveoli (holes) characteristic of many high-quality sourdoughs.
Lower hydration doughs, on the other hand, tend to produce a tighter, more even crumb structure. While still delicious, the texture is denser because the dough is stiffer and less extensible, limiting the size and irregularity of the gas pockets. This kind of crumb is often preferred for sandwiches as it holds fillings better. Understanding this relationship between water content and crumb structure allows bakers to intentionally manipulate hydration to achieve their desired result, whether a light, open crumb for dipping or a sturdy, closed crumb for toast.
Effects on Dough Handling
Working with sourdough dough is a tactile experience, and hydration level drastically affects how the dough feels and behaves. Low hydration doughs (60-70%) are typically easier to handle. They are less sticky, hold their shape well, and are relatively simple to knead or fold. This makes them beginner-friendly and forgiving. Shaping is straightforward, and the dough is less prone to sticking to your hands or the work surface.
As hydration increases (70-80% and above), the dough becomes progressively wetter, stickier, and more challenging to handle. High hydration doughs (80-90%) can feel more like a thick batter than traditional dough. They require different techniques, such as stretch and folds in the bowl rather than kneading on a bench, and often necessitate wet hands or scrapers for manipulation. While more challenging, mastering high hydration dough handling is key to achieving certain desired crumb characteristics, particularly the very open, airy structure.
Exploring Different Hydration Levels for Sourdough Bread
Low Hydration Sourdough (60-70%): Characteristics & Techniques
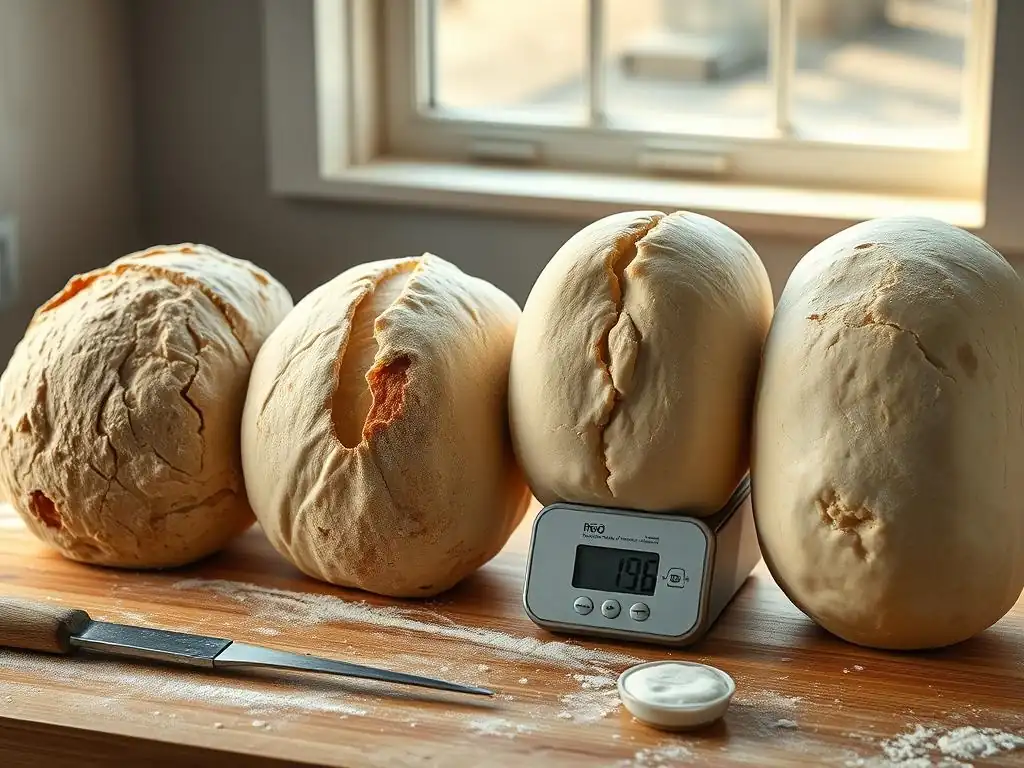
Sourdough dough with hydration levels between 60% and 70% is often considered the entry point for many new sourdough bakers. This range results in a dough that is relatively firm, easy to manage, and holds its shape well throughout the bulk fermentation and proofing stages. The texture is pliable and responds well to traditional kneading methods, although stretch and folds are still beneficial for gluten development. This ease of handling minimizes frustration and builds confidence for those learning the nuances of sourdough fermentation and shaping.
Breads baked from low hydration doughs typically have a denser, more uniform crumb structure and a thicker, chewier crust. While they may not achieve the dramatic open crumb of high hydration loaves, they offer a satisfying texture perfect for sandwiches, toast, or serving with soup. The fermentation is often slightly slower due to less available water, which can be an advantage for scheduling. Shaping is straightforward, and the dough maintains its tension well, making scoring easier and more predictable. This range is excellent for classic sandwich loaves or sourdough rolls.
Benefits of Lower Hydration
- Ease of Handling: The dough is less sticky and more manageable, making kneading, shaping, and transferring simpler, especially for beginners.
- Predictable Shaping: Holds shape well, making it easier to create tension and achieve desired loaf form.
- Denser, Even Crumb: Ideal for sandwiches and toast, providing a sturdy structure.
- Thicker, Chewier Crust: Offers a satisfying bite and good structural integrity.
- Forgiving: Less prone to collapsing during proofing or handling.
Challenges of Lower Hydration
- Less Open Crumb: Difficult to achieve the large, irregular holes characteristic of high hydration artisan loaves.
- Can Be Dry: If not mixed and developed properly, the crumb can feel slightly dry.
- Less Dramatic Oven Spring: The crust sets earlier, potentially limiting the final expansion compared to wetter doughs.
- Requires Sufficient Gluten Development: While easier to handle, proper kneading or folding is still necessary to avoid a brick-like result.
Tips for Working with Low Hydration Dough
Ensure you fully develop the gluten through adequate kneading or a series of stretch and folds. Even though the dough is easier to handle, proper structure is still essential for a good crumb and rise. Pay attention to your flour's absorption capabilities; some flours, even at lower hydration, might feel a bit different.
During bulk fermentation and proofing, monitor the dough's activity rather than strictly adhering to time, as environmental factors can still influence speed. For shaping, focus on creating good surface tension, which is relatively easy with this dough consistency. Don't be afraid to work the dough a bit more vigorously during shaping to build that tension. Baking with steam is still beneficial, even for lower hydration doughs, to improve crust appearance and allow for better initial oven spring before the crust sets.
Medium Hydration Sourdough (70-80%): The Balanced Approach
Medium hydration sourdough dough, typically ranging from 70% to 80% water relative to flour, strikes a popular balance for many home bakers. This range offers a good blend of manageability and the potential for a desirable open crumb. The dough is stickier than low hydration dough but significantly easier to handle than very wet doughs. It requires more reliance on stretch and folds in the bowl rather than aggressive kneading on a surface, though some bench work is certainly possible depending on the exact percentage.
Breads baked at medium hydration often exhibit a pleasing open crumb structure that isn't excessively airy, making them versatile for various uses. The crust tends to be nicely crisp, benefiting from the increased steam production during baking compared to lower hydration doughs. This range is often considered the sweet spot for achieving a classic artisan loaf profile – a beautiful balance of crust, crumb, and ease of handling. Many standard sourdough recipes for boules and batards fall within this hydration window.
Advantages of Medium Hydration
- Balanced Handling: Manageable for most home bakers, offering a good compromise between ease and potential crumb openness.
- Good Crumb Potential: Capable of producing a reasonably open, pleasing crumb structure.
- Crisp Crust: Provides a satisfyingly crisp crust due to sufficient internal moisture.
- Versatile: Suitable for a wide range of loaf shapes and uses.
- Good Oven Spring: Allows for decent expansion during baking.
Considerations for Medium Hydration
- Requires More Skill: Handling is trickier than low hydration dough; requires practice with techniques like stretch and folds and gentle shaping.
- Can Be Slightly Sticky: May require using a bench scraper or wet hands during handling.
- Gluten Development is Key: Proper development is crucial to support the structure and trap gas for crumb development.
- Environmental Factors: More sensitive to temperature and humidity than lower hydration doughs.
Achieving the Ideal Balance
To succeed with medium hydration sourdough, focus on developing good gluten structure through consistent stretch and folds during the bulk fermentation. This builds the network needed to support the dough's structure and trap gas. Pay close attention to the dough's feel – it should become more elastic and less shaggy with each set of folds.
Shaping requires a balance of tension and gentleness to avoid degassing the loaf. Use a lightly floured surface or wet hands as needed. Proofing times can be faster than low hydration doughs due to more available water for microbial activity, so monitor your dough carefully. Baking in a Dutch oven or with steam is highly recommended to maximize oven spring and achieve that signature crisp crust. This range is where many bakers find their rhythm for consistent, beautiful sourdough loaves.
High Hydration Sourdough (80-90%): Mastering the Wet Dough
High hydration sourdough dough, typically ranging from 80% to 90% or even higher, is the realm of truly open, airy crumb structures and challenging dough handling. At these levels, the dough feels very wet, slack, and can be quite sticky. It often behaves more like a thick batter than traditional dough, requiring techniques like stretch and folds performed primarily within the mixing bowl using wet hands or a dough scraper. Bench kneading is generally impractical or impossible.
Breads baked from high hydration dough are prized for their incredibly light, open crumb with large, irregular holes, often seen in artisan ciabatta or very rustic loaves. The crust is typically very thin and exceptionally crisp, almost glass-like, due to the significant amount of water evaporating during baking, which generates substantial steam inside the oven or Dutch oven.
Mastering high hydration is a significant step in a baker's journey, yielding loaves with a distinct texture and aesthetic. It's a level where techniques like those used for artisan baguette hydration levels, which are often on the higher side, become highly relevant.
Benefits of High Hydration for Superior Crumb
- Extremely Open Crumb: Achieves the most open, airy crumb with large, irregular alveoli, highly sought after in artisan baking.
- Very Thin, Crisp Crust: Produces a delicate, shatteringly crisp crust due to maximum steam generation.
- Enhanced Flavor Development: The extended fermentation often used with high hydration can contribute to more complex flavors.
- Light Texture: Results in a very light and airy bread.
Challenges of High Hydration Dough Handling
- Very Sticky: The dough is difficult to handle and sticks readily to hands and surfaces.
- Requires Advanced Techniques: Demands mastery of stretch and folds, coil folds, and shaping techniques that build tension without degassing.
- Less Structural Integrity: The slack dough requires careful handling during transfer and scoring to prevent collapse.
- Proofing Sensitivity: Can be prone to overproofing or losing shape if not handled correctly.
- Shaping Difficulty: Creating and maintaining surface tension is challenging.
Essential Techniques for High Hydration Success
Success with high hydration sourdough hinges on developing exceptional gluten strength through gentle, consistent folding techniques like stretch and folds and coil folds performed throughout the bulk fermentation. These methods build structure without tearing the delicate gluten network. Using wet hands or a dough scraper is essential for handling.
Proofing often benefits from refrigeration (cold proofing) to firm up the dough and make it easier to handle and score. Shaping focuses on building just enough surface tension to hold its form, often done quickly and gently. Baking in a preheated Dutch oven or on a baking stone with ample steam is critical to support the dough and achieve maximum oven spring and a thin, crisp crust. Don't be discouraged by the difficulty; practice is key to mastering these wet doughs.
Factors Affecting Optimal Hydration in Sourdough Dough
Flour Type and Water Absorption
The type of flour you use is a primary determinant of how much water your dough can effectively absorb and, therefore, influences your optimal hydration level. Flours with higher protein content, such as strong bread flour (typically 12-14% protein), can absorb significantly more water than those with lower protein, like all-purpose flour (around 10-12%) or pastry flour.
The protein forms the gluten network, and more protein means a stronger network capable of holding more water. Whole wheat and rye flours, despite often having high protein, also contain bran and germ, which absorb water differently and can actually hinder gluten development, sometimes requiring higher hydration to feel manageable, yet resulting in a different dough consistency than high hydration white flour doughs.
Understanding your flour is crucial. If a recipe calls for 75% hydration using strong bread flour, substituting with a lower protein all-purpose flour at the same hydration will likely result in a much wetter, potentially unmanageable dough because the all-purpose flour simply cannot absorb as much water. Conversely, using a very strong flour with a recipe designed for lower protein flour might result in a stiff, dry dough. Experimenting with different flours and slightly adjusting hydration based on the flour's protein content and your experience is necessary to find the sweet spot.
Ambient Temperature and Humidity
Environmental conditions, specifically ambient temperature and humidity, also play a role in how your sourdough dough behaves at a given hydration level. Warmer temperatures accelerate fermentation activity. While hydration itself doesn't change, the rate at which the dough ferments and develops changes, which can affect how the dough feels and handles over time. In a warm environment, a moderately hydrated dough might feel slacker sooner than in a cooler environment, potentially requiring adjustments in folding frequency or bulk fermentation time.
High humidity can make dough feel stickier than it would at the same hydration in a dry environment, as less moisture evaporates from the surface of the dough. Conversely, very low humidity can cause the dough surface to dry out quickly, forming a skin unless covered properly. While you might not drastically alter your target hydration based solely on daily weather, being aware of how temperature and humidity affect fermentation speed and dough surface stickiness will help you manage your dough more effectively and make minor adjustments to your process or handling techniques.
Mixing Methods and Dough Development
The method you use to mix and develop your sourdough dough also interacts with the hydration level. Techniques like the autolyse (mixing flour and water before adding salt and starter) allow the flour to fully hydrate and the gluten to begin developing passively, which can make dough feel more manageable, especially at higher hydration levels. Gentle methods like stretch and folds or coil folds, performed over time during bulk fermentation, build gluten strength gradually, which is particularly effective for wetter doughs.
Vigorous kneading, either by hand or machine, develops gluten rapidly but can be challenging or impossible with very high hydration doughs. The chosen mixing method influences how quickly and effectively the water is absorbed and integrated into the gluten network.
A dough mixed using an autolyse and gentle folds might feel less sticky and more developed at a certain hydration than the same dough mixed rapidly without these techniques. Understanding how your mixing method influences dough development helps you anticipate how a specific hydration level will behave and allows you to choose the best technique for your desired outcome and hydration target.
Determining the Ideal Hydration Level for Your Sourdough
Assessing Your Baking Experience
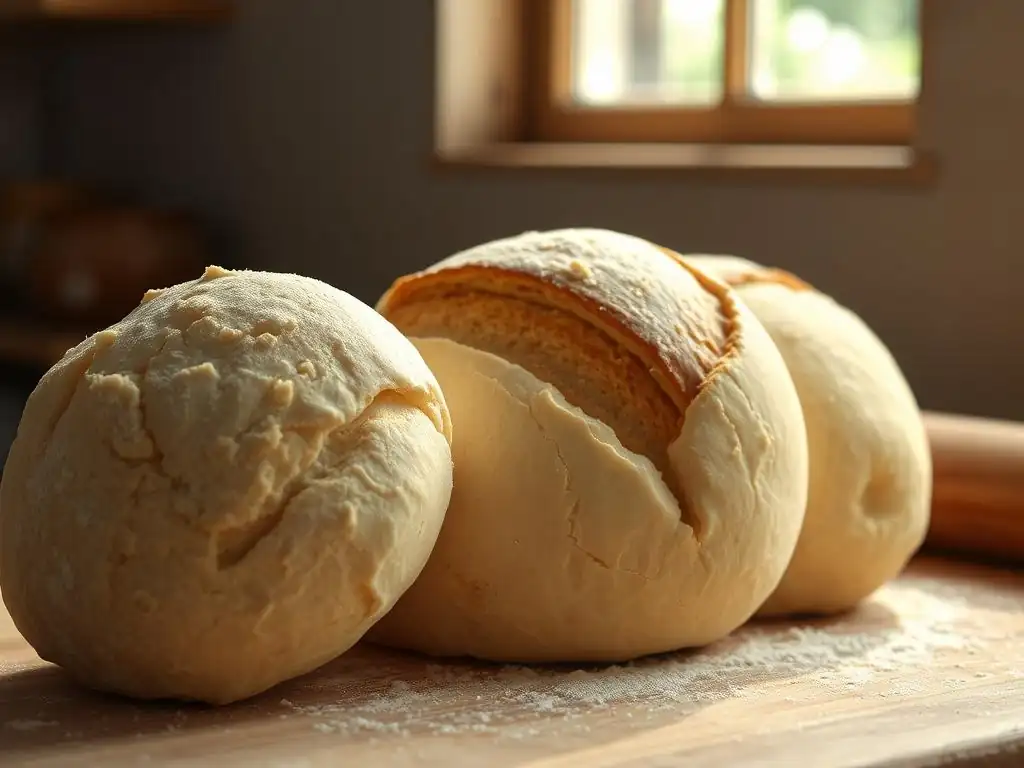
Your experience level as a baker is perhaps the most practical factor in determining where to start with sourdough hydration. If you are new to sourdough or baking in general, beginning with a lower hydration dough (60-70%) is highly recommended. These doughs are much more forgiving and easier to handle, reducing the frustration that can come with sticky, slack doughs. Mastering the basics of fermentation, shaping, and baking with a less challenging dough builds confidence and provides a solid foundation before tackling wetter doughs.
As you gain experience and become comfortable with the feel and behavior of sourdough, you can gradually increase your hydration level. Moving to the medium range (70-80%) allows you to explore slightly more open crumbs and practice more advanced handling techniques like stretch and folds in the bowl. High hydration (80-90%+) is best approached once you have a strong understanding of dough development, fermentation signs, and gentle shaping, as these doughs are the most sensitive and require precise handling. Don't feel pressured to start with high hydration; many beautiful loaves are made at more moderate levels.
Considering Your Desired Crumb Structure
The kind of crumb you want in your finished loaf is a major indicator of the hydration level you should aim for. If your goal is a denser, more uniform crumb that's perfect for sandwiches or toast, a lower to medium-low hydration (60-75%) is likely appropriate. This hydration range naturally lends itself to a tighter structure capable of holding fillings without falling apart.
If you are aiming for an open, airy crumb with large, irregular holes, characteristic of artisan loaves, you will need to work with medium-high to high hydration doughs (75-90%+). More water allows for greater gluten extensibility and better gas trapping, leading to those desired voids. Consider browsing images of sourdough crumbs and identifying the structure you find appealing, then research recipes that typically achieve that look and note their hydration levels. For example, achieving a very open crumb similar to some artisan baguette hydration levels requires working with wetter doughs.
Adjusting Hydration Based on Flour and Environment
Once you have a target hydration range based on your experience and desired outcome, you'll need to be prepared to make minor adjustments based on your specific flour and baking environment. If your flour is less absorbent than average (e.g., a softer wheat flour), you might need to slightly reduce the water percentage from a recipe's stated hydration to achieve the intended dough consistency. Conversely, a very strong, high-protein flour might handle a slightly higher hydration than indicated.
Similarly, if you are baking in a very humid environment, your dough might feel wetter than expected, and you might choose to slightly decrease the water or use less flour on your hands and work surface. In a very dry environment, you might need a touch more water or be extra diligent about keeping the dough covered to prevent drying. Think of a recipe's hydration percentage as a starting point, and be ready to make small tweaks based on how the dough feels with your ingredients and in your kitchen.
Troubleshooting Hydration Issues in Sourdough Dough
Dough Too Sticky: Causes and Solutions
If your sourdough dough feels excessively sticky and difficult to handle, several factors could be at play. The most common cause is simply a hydration level that is too high for your flour type or your current skill level. Different flours absorb water differently; a hydration that works for one flour might be too wet for another. Insufficient gluten development is another major culprit; if the gluten network hasn't been properly built through mixing and folding, it can't effectively hold the water, resulting in a shaggy, sticky mess.
To address overly sticky dough, first, assess if the hydration is appropriate for your flour and experience. If it is, focus on developing gluten. Ensure you are performing enough sets of stretch and folds or coil folds during bulk fermentation until the dough shows signs of strength and elasticity.
If the dough is still too wet to handle even after development, you can try adding a small amount of flour (a tablespoon or two at a time) during early folds until it becomes more manageable, though this slightly changes the intended hydration. Using wet hands or a bench scraper instead of flour on the surface during handling can also help manage stickiness without altering hydration.
Conversely, if your sourdough dough feels stiff, tough, and doesn't come together easily, it's likely too dry. This means your hydration level is too low for your flour or potentially that your flour is particularly absorbent. Insufficient mixing can also contribute, as the water may not have been fully incorporated and absorbed by the flour. Dry dough is difficult to develop, shape, and often results in a dense, tight crumb and a thick crust.
To fix dough that is too dry, the most direct solution is to gradually add more water. This is easiest during the initial mixing phase or early in the bulk fermentation. Add water a tablespoon at a time, kneading or folding it in until fully incorporated, and continue until the dough reaches your desired consistency.
If the dough is already well into bulk fermentation or proofing, adding water becomes more challenging, though you can try incorporating a small amount by dimpling it into the dough surface and folding carefully. Prevention is key: understand your flour's absorption and err on the side of slightly wetter dough initially, as it's easier to handle wet dough than to properly hydrate dry dough later.
Achieving Consistent Results with Different Hydration Levels
Achieving consistent results with varying sourdough hydration levels requires attention to detail and practice. The first step is accurate measurement; always weigh your flour and water using a digital scale for precise hydration percentages. Even small variations in water can significantly impact how the dough feels, especially at higher hydration levels.
Understanding how your specific flour behaves is also crucial. Different brands and types of flour (even within the same category, like 'bread flour') can have different absorption rates. Keep notes on your bakes: the flour used, the hydration, the temperature, and how the dough felt and performed. This helps you learn what works best with your ingredients.
Finally, practice handling doughs at different hydration levels. The tactile experience is key. The more you work with wet and dry doughs, the better you'll become at recognizing the correct feel and making minor adjustments as needed, ensuring more consistent outcomes regardless of the hydration target.
Advanced Techniques: Manipulating Hydration for Unique Sourdough Results
Using Pre-Ferments to Increase Perceived Hydration
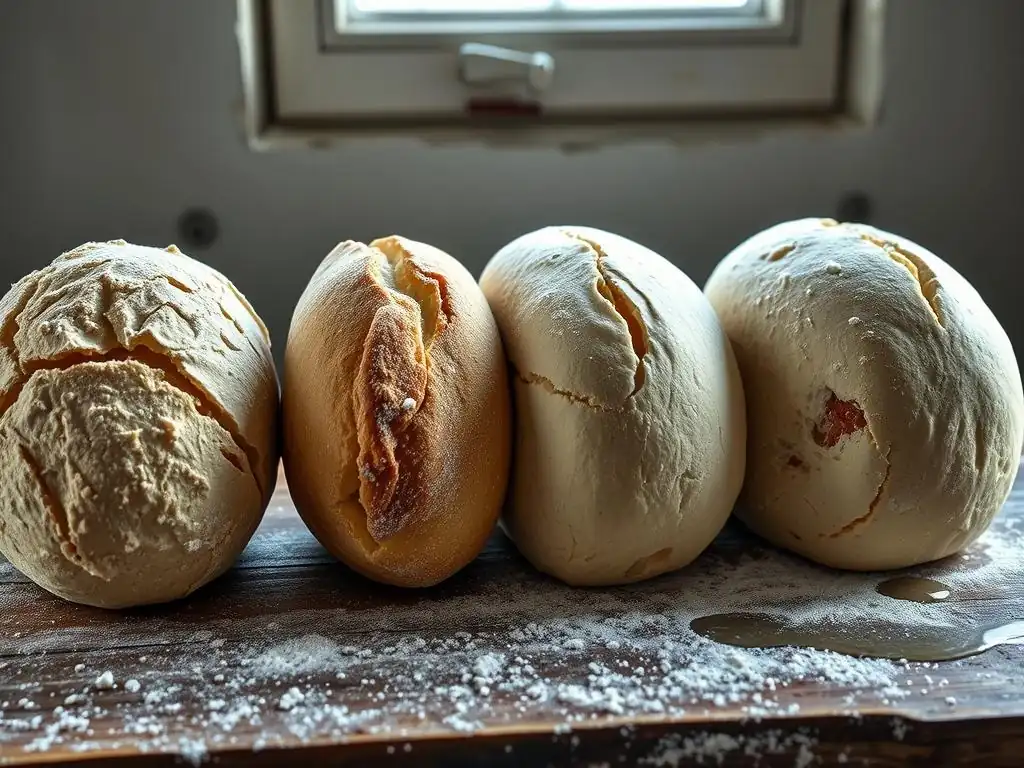
While pre-ferments like a poolish or a stiff levain don't technically increase the overall hydration of your final dough (as their water and flour contribute to the total), they can alter the perceived hydration and handling characteristics. A liquid pre-ferment like a poolish (typically 100% hydration) or using a high-hydration sourdough starter (liquid levain) introduces a significant portion of the recipe's water and fermented flour in a highly hydrated state. This can make the final dough feel smoother and more extensible, even if the overall hydration percentage isn't exceptionally high.
Incorporating a pre-ferment means a portion of the flour is fully hydrated and partially fermented before the final mix. This pre-hydration can lead to faster gluten development and a dough that is easier to handle than a straight dough mixed all at once with the same total hydration. It can also contribute to a more open crumb structure and enhanced flavor. Experimenting with different types and hydration levels of pre-ferments is a way to subtly manipulate dough handling and final bread characteristics without drastically changing the overall water-to-flour ratio.
Incorporating Soakers for Enhanced Moisture
Soakers involve hydrating a portion of the flour or other ingredients (like grains, seeds, or even stale bread pieces) separately before adding them to the final dough mix. This technique is particularly useful when using ingredients that absorb a lot of water slowly, such as whole grains, seeds, or flakes. By pre-soaking these components, you ensure they are fully hydrated, preventing them from absorbing water from the main dough during fermentation, which could otherwise lead to a drier final product.
Adding a soaker effectively locks moisture into those specific ingredients. While the calculation of the final dough's hydration still includes the water and flour/ingredients in the soaker, the soaker itself contributes a different texture and moisture distribution to the dough. This can result in a moister crumb and prevent a dry mouthfeel often associated with breads heavily laden with whole grains or seeds. It's a technique frequently used in multi-grain sourdoughs or rye breads to improve hydration and texture.
Autolyse: Maximizing Water Absorption
The autolyse technique, popularized by Professor Raymond Calvel, involves mixing just the flour and water for a recipe and letting it rest for a period (from 20 minutes to several hours) before adding the sourdough starter and salt. This simple step allows the flour to fully and evenly hydrate without the presence of salt (which tightens gluten) or starter (which begins fermentation).
During the autolyse rest, enzymes in the flour (protease) begin to break down proteins, which helps relax the dough and makes the gluten network easier to develop later. This pre-hydration and enzyme activity make the dough significantly more extensible and easier to handle, especially at higher hydration levels.
It allows the flour to absorb water more completely than in a rapid mix. While it doesn't change the total hydration percentage, performing an autolyse can make a high hydration dough feel less sticky and more workable, effectively maximizing the benefits of the water present and contributing to a smoother dough and potentially a more open crumb.
Sourdough Hydration: A Summary for Home Bakers
Key Takeaways for Perfecting Your Sourdough
Understanding and controlling hydration is fundamental to successful sourdough baking. It's not just a number but a crucial factor influencing everything from how your dough feels in your hands to the final texture of your crust and crumb. Lower hydration doughs (60-70%) are easier to handle, offering a predictable experience ideal for beginners and yielding a denser crumb and chewier crust.
Medium hydration (70-80%) strikes a balance, providing a good compromise between ease of handling and the potential for a more open crumb and crisp crust. High hydration (80-90%+) is challenging but unlocks the potential for the most open, airy crumbs and thin, crisp crusts, requiring advanced handling techniques.
Always measure ingredients by weight for accuracy. Be mindful that your flour type significantly impacts water absorption, and environmental conditions like temperature and humidity can affect dough behavior. Start with a hydration level appropriate for your experience and desired outcome, and be prepared to make small adjustments based on how the dough feels with your specific ingredients and in your kitchen. Troubleshooting sticky or dry dough involves assessing hydration, gluten development, and mixing methods. Mastering hydration is a journey that involves practice, observation, and learning to read your dough.
Resources for Further Learning about Sourdough Baking
To deepen your understanding of sourdough hydration and other techniques, explore reputable online baking communities and forums where experienced bakers share knowledge and troubleshoot issues. Many excellent baking blogs and websites offer detailed guides and recipes specifically focused on sourdough, often discussing hydration levels in depth.
Consider investing in well-regarded sourdough cookbooks, which provide structured approaches and explanations of the science behind the bake. Watching videos from skilled bakers can also be incredibly helpful for visualizing dough handling techniques, especially for medium and high hydration doughs. Don't hesitate to experiment with small batches, varying hydration slightly to observe the impact firsthand. Practice is your best teacher in mastering the art of sourdough hydration and achieving consistently delicious loaves.
Frequently Asked Questions
What is hydration level in artisan baguette dough and why is it important?
Hydration level refers to the ratio of water to flour in the dough. It’s important because it significantly affects the texture and crumb of the final baguette.
What is considered a "high hydration" level for artisan baguettes?
Generally, a high hydration level for artisan baguettes is considered to be around 70% or higher. This results in a more open and airy crumb.
How does hydration level affect the kneading process when making artisan baguettes?
Higher hydration doughs can be stickier and more difficult to handle. Techniques like stretch and folds become essential instead of traditional kneading.
What are some common problems that arise from incorrect hydration levels in artisan baguette dough?
Too little hydration can lead to a dense, tough baguette. Too much can result in a flat, difficult-to-shape dough.
How can I adjust the hydration level in my artisan baguette recipe if needed?
Make small adjustments (5-10 grams of water or flour) at a time. Observe the dough's consistency during mixing and first proof to determine if further adjustments are needed.
Final Reflection: The Unsung Hero of the Perfect Baguette – Hydration
Understanding hydration levels in artisan baguette dough isn't just about achieving the right consistency; it's the cornerstone of unlocking the bread's full potential. A seemingly small adjustment in the water percentage can dramatically impact the final product, transforming a dense, chewy loaf into a masterpiece of airy crumb and crisp crust. This knowledge is more relevant than ever, as the artisan bread movement continues to gain popularity, demanding a deeper understanding of the baking process.
The journey of mastering hydration has been a fascinating one, revealing the intricate dance between water, flour, and time. It's a testament to the enduring power of tradition, yet simultaneously a field ripe for innovation and experimentation. As I've delved deeper into this topic, I've come to appreciate the almost alchemic transformation that occurs when the right amount of water meets the right flour. Bread making is a science, but it's also an art. It's about understanding the ingredients and trusting your instincts.
– This quote, though not directly about hydration, perfectly encapsulates the feeling of mastering this crucial aspect of baguette baking.
Now, it's your turn. Consider the impact of hydration on your own baking. Don't be afraid to experiment, to tweak the percentages, and to observe the results. Each loaf you bake is a lesson learned, a step closer to understanding the magic of hydration and creating your own perfect artisan baguette. Embrace the process, enjoy the journey, and savor the delicious reward of your efforts.
Unlock Your Best Baguette Yet!
Thanks for diving deep into the world of hydration and its impact on your artisan baguette dough! You've gained valuable insights into achieving that perfect crumb and crust. Now it's time to put your knowledge into practice.
- Experiment with your hydration levels: Try adjusting your dough's hydration by 1-2% for your next batch, observing the changes in texture and rise. This is the key to mastering your technique.
- Share your results: Post a photo of your improved baguette on social media and tag us @BakeWithEase – let's celebrate baking successes together!
- Explore our other resources: Discover more advanced techniques and recipes in our comprehensive baking guide (available on our website).
Ready to bake the most amazing baguette you've ever tasted? What small adjustment will you make to your hydration levels next time?