
Easy GlutenFree PumpernickelStyle Bread

Welcome to BakeWithEase, your haven for all things baking!
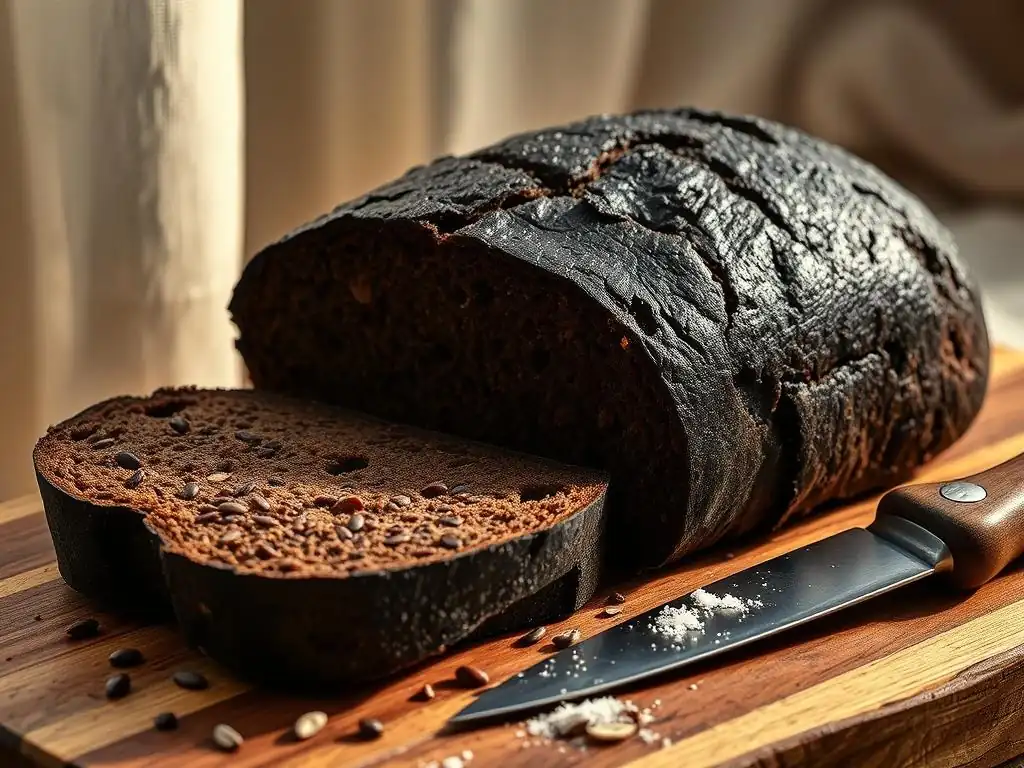
Are you ready to unlock the secrets to deliciously dark and flavorful bread, even if you're avoiding gluten? Dive into our Gluten-Free Pumpernickel Bread Recipe and discover how to create a loaf that's both satisfyingly chewy and packed with rustic charm. Intrigued? Let's get baking!
- Easy Gluten-Free Pumpernickel-Style Bread: A BakeWithEase Recipe
- Introduction: Discovering Delicious Gluten-Free Pumpernickel
- Understanding Gluten-Free Pumpernickel Bread
-
Gluten-Free Pumpernickel Bread Recipe: Step-by-Step
- Ingredients List: Gluten-Free Pumpernickel
- Equipment Needed for Baking Gluten-Free Pumpernickel
- Step 1: Preparing the Gluten-Free Pumpernickel Dough
- Step 2: The First Rise: Gluten-Free Dough Proofing
- Step 3: Shaping the Gluten-Free Pumpernickel Loaf
- Step 4: The Second Rise: Final Proofing
- Step 5: Baking the Gluten-Free Pumpernickel Bread
- Step 6: Cooling and Slicing Your Gluten-Free Pumpernickel
- Tips for Perfect Gluten-Free Pumpernickel Every Time
- Serving and Storing Your Gluten-Free Pumpernickel
- Conclusion: Mastering Gluten-Free Pumpernickel with BakeWithEase
-
Frequently Asked Questions
- What makes this pumpernickel bread pumpernickel-style if it's gluten-free?
- What kind of gluten-free flours are recommended for this recipe?
- Is it difficult to find the ingredients needed for this GlutenFree pumpernickel bread recipe?
- Can I substitute any ingredients in this GlutenFree pumpernickel bread recipe?
- How does this GlutenFree pumpernickel bread compare to traditional pumpernickel in terms of taste and texture?
- Final Reflection: The Enduring Appeal of Gluten-Free Baking
- Unleash Your Inner Baker: Craft Your Own Gluten-Free Delight!
Easy Gluten-Free Pumpernickel-Style Bread: A BakeWithEase Recipe
Introduction: Discovering Delicious Gluten-Free Pumpernickel
Why Bake Gluten-Free Pumpernickel at Home?
Baking gluten-free pumpernickel bread at home offers a truly rewarding experience that goes beyond simply avoiding gluten. For those with celiac disease or gluten sensitivities, finding a commercially available gluten-free pumpernickel that replicates the authentic texture and deep, complex flavor can be challenging. Many store-bought options, while convenient, often lack the characteristic chewiness and rich, slightly sweet, malty notes that define traditional pumpernickel.
Furthermore, the cost of specialty gluten-free breads is often significantly higher than their wheat counterparts, sometimes costing upwards of $6-$8 for a single loaf. Baking it yourself provides a cost-effective solution while allowing complete control over ingredients, ensuring freshness and quality.
Crafting your own gluten-free pumpernickel-style bread means you can tailor it precisely to your taste preferences. Want it darker? Add a touch more cocoa powder or molasses. Prefer more caraway seeds?
Go right ahead! This level of customization is impossible with pre-packaged bread. The process itself, from mixing the unique blend of gluten-free flours to watching the loaf bake to a deep, satisfying color, is a fulfilling culinary project. It connects you to the age-old tradition of bread baking, adapted for modern dietary needs, and results in a loaf that is not only safe for gluten-sensitive individuals but also incredibly flavorful and hearty, perfect for pairing with cheeses, smoked fish, or simply butter.
BakeWithEase's Guide to Gluten-Free Bread Baking
At BakeWithEase, our philosophy centers on making baking accessible and enjoyable for everyone, regardless of skill level or dietary restrictions. Our approach to gluten-free bread baking demystifies the process, breaking down complex techniques into simple, manageable steps. We understand that working with gluten-free flours can sometimes feel different than traditional wheat flours – they often require specific hydration levels, binding agents like xanthan gum or psyllium husk, and different proofing times.
Our guides are designed to help you navigate these nuances successfully, ensuring consistent, delicious results. We emphasize understanding the why behind each step, empowering you to become a more intuitive and confident baker.
Our resources cover a wide spectrum of gluten-free baking, from light and airy sandwich loaves to rustic, dense breads like this gluten-free pumpernickel bread recipe. We provide clear explanations on how various gluten-free flours behave, how to properly substitute ingredients, and essential tips for achieving good structure and texture without gluten.
For instance, understanding that gluten-free dough often benefits from a slightly stickier consistency than wheat dough is crucial, and we guide you on how to recognize and achieve this. By following our detailed instructions and incorporating our practical tips, you'll build the skills needed to bake a variety of gluten-free breads with ease and confidence, making delicious, homemade bread a regular part of your routine.
Understanding Gluten-Free Pumpernickel Bread
What Makes Pumpernickel Unique?
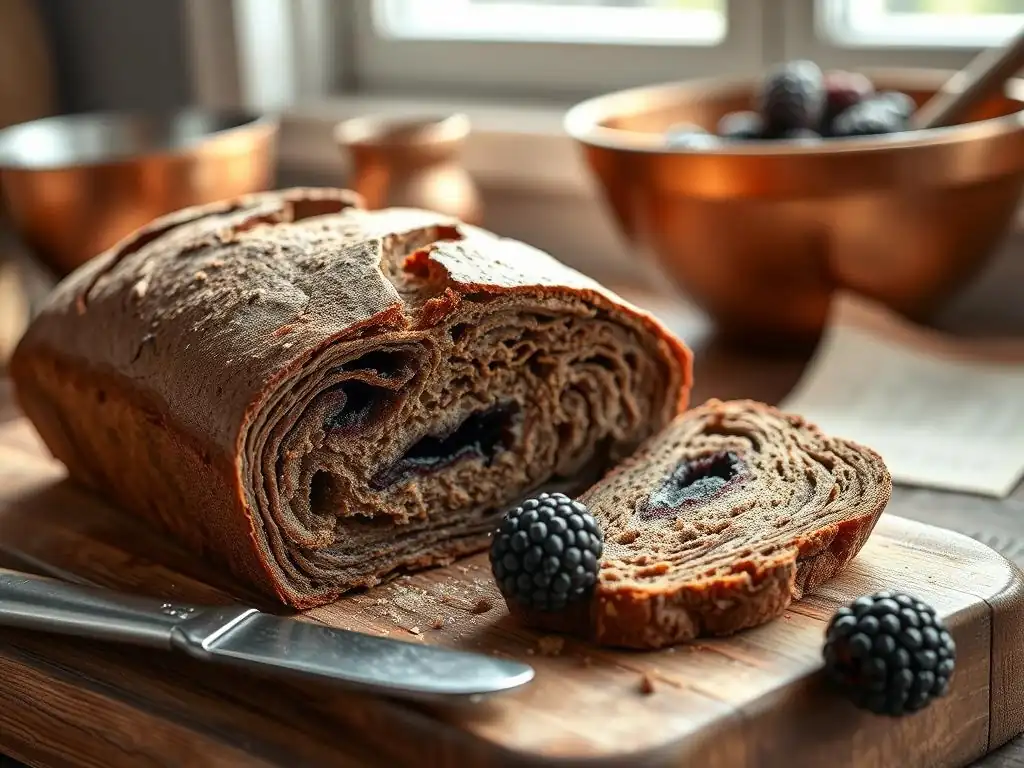
Traditional pumpernickel bread, originating from Germany, stands apart from other rye breads due to its distinct characteristics. It's typically made using coarse rye meal or cracked rye, often combined with whole rye berries. What truly defines it is the long, slow baking process at relatively low temperatures, sometimes for 16 to 24 hours.
This extended baking time, often in a sealed environment, allows complex chemical reactions (like the Maillard reaction and caramelization) to occur, developing the bread's signature dark color, slightly sweet flavor, and moist, dense texture. Molasses, sugar beets, or other sweeteners are often added to enhance the sweetness and contribute to the dark hue.
Beyond the baking method, the flavor profile of pumpernickel is unique. It's deeply earthy and robust, with a characteristic tanginess often attributed to the use of a sourdough starter or a touch of vinegar. Caraway seeds are a common addition, lending a warm, aromatic note that is quintessential to the pumpernickel taste.
The texture is dense and moist, unlike lighter, airy breads. It's a bread meant to be sliced thinly and savored. Recreating this complexity in a gluten-free pumpernickel bread recipe requires careful selection of ingredients to mimic the color, flavor, and texture achieved by traditional rye and the long baking process.
Challenges in Gluten-Free Pumpernickel Baking
Replicating the qualities of traditional pumpernickel in a gluten-free format presents several challenges. The primary hurdle is replacing rye, which provides not only the base grain but also specific starches and proteins that contribute to pumpernickel's structure and texture. Gluten-free flours, such as rice flour, tapioca starch, or sorghum flour, behave very differently. They lack gluten's elastic network, which is crucial for trapping gases produced by yeast and giving bread its structure. This often leads to loaves that can be dense, crumbly, or gummy if not formulated correctly.
Achieving the characteristic dark color and deep flavor without rye is another significant challenge. Traditional pumpernickel gets its color and unique malty sweetness from the rye itself and the prolonged low-temperature baking. Gluten-free alternatives must rely on ingredients like dark molasses, cocoa powder, or even carob powder to simulate the color, and a careful blend of sweeteners and flavorings (like caraway) to approximate the taste.
Balancing these elements while ensuring the loaf bakes through evenly without becoming dry or heavy requires precise measurements and specific techniques tailored to gluten-free doughs. Binding agents are critical; ingredients like psyllium husk powder or xanthan gum are essential for providing structure and preventing the loaf from crumbling, acting as a substitute for gluten's binding properties.
Key Ingredients for Authentic Gluten-Free Pumpernickel Flavor
Crafting a successful gluten-free pumpernickel bread recipe relies on selecting key ingredients that work together to mimic the flavor, color, and texture of the traditional loaf. A carefully balanced gluten-free flour blend is foundational. While rye is out, a mix of flours like brown rice flour, sorghum flour, buckwheat flour, and tapioca starch can provide a base that offers some of the earthiness and structure needed. Buckwheat, despite its name, is gluten-free and contributes a darker hue and slightly malty flavor that works well in a pumpernickel style.
To achieve the signature dark color and subtle sweetness, dark molasses is indispensable. Unlike lighter syrups, dark molasses has a robust, slightly bitter flavor and deep color that helps replicate the long-baked rye notes. Cocoa powder, specifically unsweetened natural cocoa, is often used to deepen the color further without significantly altering the flavor profile.
Caraway seeds are non-negotiable for that classic aromatic pumpernickel taste; they provide a warm, slightly anise-like note. Other flavor enhancers might include a touch of instant coffee or carob powder for color and depth, apple cider vinegar for a hint of tanginess, and a sweetener like brown sugar or maple syrup to complement the molasses. Psyllium husk powder or xanthan gum is crucial as a binding agent to give the gluten-free dough structure and prevent crumbling, providing a texture closer to traditional bread.
Gluten-Free Pumpernickel Bread Recipe: Step-by-Step
Ingredients List: Gluten-Free Pumpernickel
Gluten-Free Flour Blend for Pumpernickel
- 1 cup (approximately 140g) Brown Rice Flour
- 3/4 cup (approximately 90g) Sorghum Flour
- 1/2 cup (approximately 60g) Buckwheat Flour (ensure it's certified gluten-free)
- 1/4 cup (approximately 30g) Tapioca Starch or Potato Starch
- 1/4 cup (approximately 20g) Psyllium Husk Powder (not whole husks)
Dark Molasses: A Pumpernickel Essential
- 1/4 cup Dark Molasses
Caraway Seeds and Other Flavor Enhancers
- 2 tablespoons Caraway Seeds
- 1 tablespoon Unsweetened Cocoa Powder
- 1 teaspoon Instant Coffee Granules (optional, for color depth)
- 1 tablespoon Apple Cider Vinegar
- 2 teaspoons Fine Sea Salt
- 1 teaspoon Baking Soda (helps with lift in dense gluten-free dough)
- 1 packet (2 1/4 teaspoons) Active Dry Yeast or Instant Yeast (if using)
- 1 tablespoon Granulated Sugar (if activating yeast)
- 1 3/4 cups Warm Water (approximately 105-115°F or 40-46°C, adjust slightly)
- 2 tablespoons Melted Coconut Oil or other neutral oil
Equipment Needed for Baking Gluten-Free Pumpernickel
- Large Mixing Bowl
- Measuring Cups and Spoons
- Whisk
- Spatula or Wooden Spoon
- Loaf Pan (standard 9x5 inch)
- Parchment Paper
- Wire Cooling Rack
- Instant-Read Thermometer (optional, but recommended)
Step 1: Preparing the Gluten-Free Pumpernickel Dough
Activating the Yeast (If Using)
If using active dry yeast, combine the warm water (ensure it's within the 105-115°F or 40-46°C range to properly bloom the yeast), granulated sugar, and yeast in a small bowl. Stir gently and let it sit for 5-10 minutes. You should see a foamy layer develop on the surface, indicating the yeast is active.
If no foam appears, your water might have been too hot or too cold, or the yeast is old, and you'll need to start with fresh yeast. If using instant yeast, you can often skip this step and add it directly to the dry ingredients, but proofing first is a good way to verify its viability.
Mixing Dry Ingredients
In your large mixing bowl, whisk together the brown rice flour, sorghum flour, buckwheat flour, tapioca starch, psyllium husk powder, caraway seeds, cocoa powder, instant coffee (if using), sea salt, and baking soda. Whisking thoroughly helps to distribute the psyllium husk and baking soda evenly throughout the gluten-free pumpernickel mixture, which is crucial for proper structure and lift in this dense dough. Ensure there are no clumps of cocoa or coffee.
Adding Wet Ingredients and Achieving the Right Consistency
Once the dry ingredients are well combined and the yeast is proofed (if necessary), create a well in the center of the dry mixture. Pour in the activated yeast mixture (or warm water if using instant yeast directly), dark molasses, apple cider vinegar, and melted coconut oil. Using a sturdy spatula or wooden spoon, begin mixing from the center outwards, incorporating the dry ingredients into the wet. Mix vigorously for about 3-4 minutes.
Gluten-free dough doesn't develop gluten, so you're not looking for elasticity, but rather ensuring the psyllium husk is fully hydrated and the ingredients are completely combined. The dough for this gluten-free pumpernickel bread should be quite wet and sticky, much wetter than traditional wheat dough. It won't be kneadable in the traditional sense; it will resemble a thick batter or soft cookie dough.
Step 2: The First Rise: Gluten-Free Dough Proofing
Creating the Ideal Proofing Environment
Gluten-free doughs, especially those designed to be dense like this gluten-free pumpernickel style, often don't double in size like wheat doughs. However, they still benefit from a warm, draft-free environment to allow the yeast to work and the flavors to develop. A good temperature range for proofing is typically between 75-85°F (24-30°C).
You can create this environment by placing the bowl (covered loosely with plastic wrap or a damp tea towel) in a slightly warm oven that's been turned off, near a sunny window, or on top of your refrigerator. The dough should rise noticeably, perhaps by about 30-50%, over the course of 60 to 90 minutes. Be patient, as proofing times can vary depending on the temperature of your room.
Step 3: Shaping the Gluten-Free Pumpernickel Loaf
Tips for Handling Gluten-Free Dough
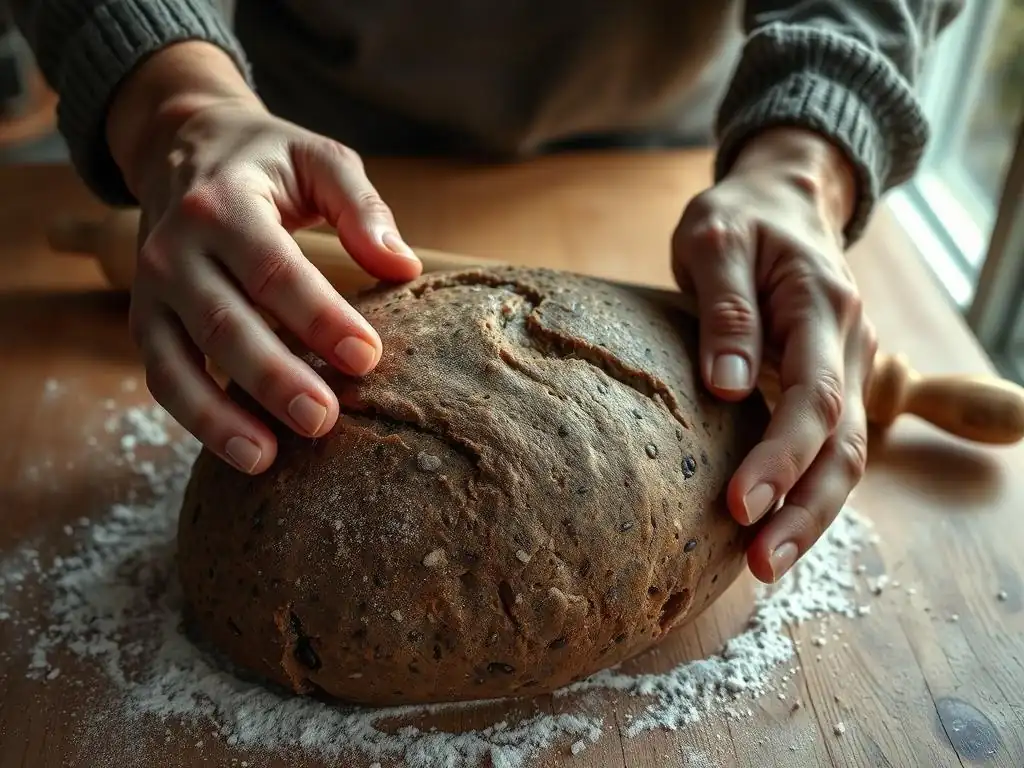
Handling wet, sticky gluten-free dough can be tricky. Unlike wheat dough, flouring your hands or surfaces excessively will likely make the dough crumbly. Instead, slightly wetting your hands with water or lightly oiling them with a neutral oil (like the coconut oil used in the recipe) works much better. Have your prepared loaf pan ready, lined with parchment paper, before you start shaping. This minimizes the time you need to handle the dough. Work relatively quickly but gently to avoid deflating the air bubbles that have formed during the first rise.
Shaping Techniques for a Pumpernickel Loaf
Since this gluten-free pumpernickel dough is more like a thick batter, shaping is less about traditional kneading and folding and more about forming it into a loaf shape that fits your pan. Scrape the dough from the bowl directly into your prepared loaf pan. Use your wet or oiled hands or a wet spatula to gently press and spread the dough evenly into the corners of the pan.
Smooth the top surface as much as possible. You can also gently wet the top surface to prevent it from drying out during the second rise and baking. The goal is to create a relatively uniform mass that will bake into a loaf shape.
Step 4: The Second Rise: Final Proofing
After shaping the gluten-free pumpernickel dough and placing it in the loaf pan, it needs a second, shorter rise. Cover the loaf pan loosely with plastic wrap or a damp tea towel and return it to your warm proofing environment. This second rise typically takes less time than the first, usually about 30-45 minutes.
The dough should rise slightly again, appearing a bit puffier and filling out the pan more. While it won't dramatically increase in volume, this step is important for developing a lighter (for gluten-free) texture and improving the final crumb. Towards the end of the second rise, preheat your oven to the required temperature for baking.
Step 5: Baking the Gluten-Free Pumpernickel Bread
Oven Temperature and Baking Time
Preheat your oven to 350°F (175°C). This lower temperature is more akin to the traditional slow bake of pumpernickel and helps the dense gluten-free loaf bake through without burning the crust. Place the loaf pan in the preheated oven. The baking time for a gluten-free pumpernickel-style loaf of this size is typically longer than standard bread, often ranging from 60 to 75 minutes. The exact time will depend on your oven and the density of the dough. Bake until the crust is deep brown and the loaf sounds hollow when tapped on the bottom.
Achieving a Dark Crust
To help achieve that characteristic dark pumpernickel crust and prevent it from drying out, you can optionally brush the top of the loaf with a glaze about halfway through the baking time (around the 30-40 minute mark). A simple glaze can be made by whisking together 1 tablespoon of dark molasses with 1 tablespoon of warm water. Brush this mixture lightly over the top crust. This adds shine, helps develop color, and keeps the crust from becoming too hard. Be careful when opening the oven to apply the glaze, and work quickly to avoid losing too much heat.
Internal Temperature Check
The most reliable way to ensure your gluten-free pumpernickel bread is fully baked is to check its internal temperature using an instant-read thermometer. Carefully remove the loaf from the oven. Insert the thermometer into the center of the loaf from the bottom or side, avoiding any inclusions like seeds. The bread is done when the internal temperature reaches between 200-210°F (93-99°C). Baking to this temperature ensures that the starches are fully gelatinized and the loaf is cooked through, preventing a gummy interior, which is a common issue with dense gluten-free breads.
Step 6: Cooling and Slicing Your Gluten-Free Pumpernickel
This step is absolutely crucial for gluten-free pumpernickel bread and cannot be rushed. Once the loaf is baked and reaches the correct internal temperature, remove it from the oven and immediately transfer it from the loaf pan to a wire cooling rack. Allowing the bread to cool completely on a rack ensures air circulates around it, preventing condensation and a soggy bottom crust.
More importantly, dense gluten-free breads continue to cook and set as they cool. Slicing the bread before it is fully cool (this can take at least 2-3 hours, or even longer for a very dense loaf) will likely result in a gummy, unpleasant texture. Patience here is key to achieving the best possible crumb and flavor in your gluten-free pumpernickel.
Tips for Perfect Gluten-Free Pumpernickel Every Time
Achieving the Perfect Pumpernickel Texture
The desired texture for a gluten-free pumpernickel is dense, moist, and slightly chewy, mimicking the traditional loaf. The correct ratio of gluten-free flours is vital; a blend that includes some heartier flours like buckwheat or sorghum helps build structure. However, the real workhorse for texture in this gluten-free pumpernickel bread recipe is psyllium husk powder.
When hydrated, psyllium forms a gel-like substance that binds the ingredients together and provides structure, elasticity (what little there is in GF dough), and moisture retention, preventing the bread from becoming dry and crumbly. Using the powder form generally yields more consistent results than whole husks. Ensure your water temperature is correct during mixing to allow the psyllium to hydrate properly.
Another factor influencing texture is baking time and temperature. Baking at a moderate temperature (around 350°F or 175°C) for an extended period allows the inside of the loaf to cook thoroughly without the outside burning. This slow process is similar to traditional pumpernickel methods and helps create a moist, dense crumb.
Undercooking is a common pitfall in gluten-free baking, often leading to a gummy interior. Always bake until the internal temperature reaches the target 200-210°F (93-99°C) and allow the bread to cool completely – preferably for several hours – before slicing. This resting period allows the internal structure to set fully.
Troubleshooting Common Gluten-Free Baking Issues
Even with a great recipe, gluten-free baking can present challenges. One common issue with dense breads like gluten-free pumpernickel is a gummy interior. This is usually caused by underbaking or slicing the bread before it has fully cooled. Ensure you're using an oven thermometer to verify your oven temperature is accurate and always check the internal temperature of the loaf reaches 200-210°F.
Allow ample cooling time on a wire rack – resist the urge to slice too soon! If your loaf is too dense and heavy, it might be due to insufficient leavening (check your yeast activity and ensure baking soda/powder are fresh) or the dough being too dry. Gluten-free dough for this style of bread should be quite wet.
Conversely, if your gluten-free pumpernickel bread is too crumbly, it's often a sign of insufficient binding or too little moisture. Double-check that you used the correct amount of psyllium husk powder and measured your liquid accurately. Psyllium husk is critical for binding. Make sure your flour blend isn't overly absorbent; sometimes small adjustments to liquid are needed based on the specific flours used. Ensure you aren't adding extra flour during mixing or shaping, as this can dry out the dough. Proper handling during shaping, using wet hands instead of flour, also helps maintain moisture and prevent crumbling.
Adding Variations: Gluten-Free Pumpernickel Recipe Ideas
Once you've mastered the basic gluten-free pumpernickel bread recipe, you can explore delicious variations to customize your loaf. These additions should typically be folded into the dough during the final mixing stage, just before transferring to the loaf pan.
Gluten-Free Pumpernickel with Raisins
Adding raisins brings a lovely burst of sweetness that pairs wonderfully with the deep flavors of pumpernickel. For a standard loaf, incorporating about 1/2 cup of dark or golden raisins is a good starting point. Soak the raisins in hot water for 10-15 minutes before adding them to the dough; this plumps them up and prevents them from drying out during baking, ensuring they remain soft and juicy in the finished gluten-free pumpernickel bread. Drain them thoroughly before folding them into the dough.
Gluten-Free Pumpernickel with Sunflower Seeds
For added texture and a nutty flavor, sunflower seeds are a fantastic addition. You can add about 1/4 to 1/2 cup of raw or lightly toasted sunflower seeds to the dough. Toasting them gently in a dry pan for a few minutes before adding can enhance their flavor. You can also reserve a few seeds to sprinkle on top of the loaf before the second rise for visual appeal and a bit of crunch on the crust. Other seeds like pumpkin seeds or sesame seeds could also be used for different flavor profiles in your gluten-free pumpernickel.
Serving and Storing Your Gluten-Free Pumpernickel
Delicious Ways to Enjoy Gluten-Free Pumpernickel
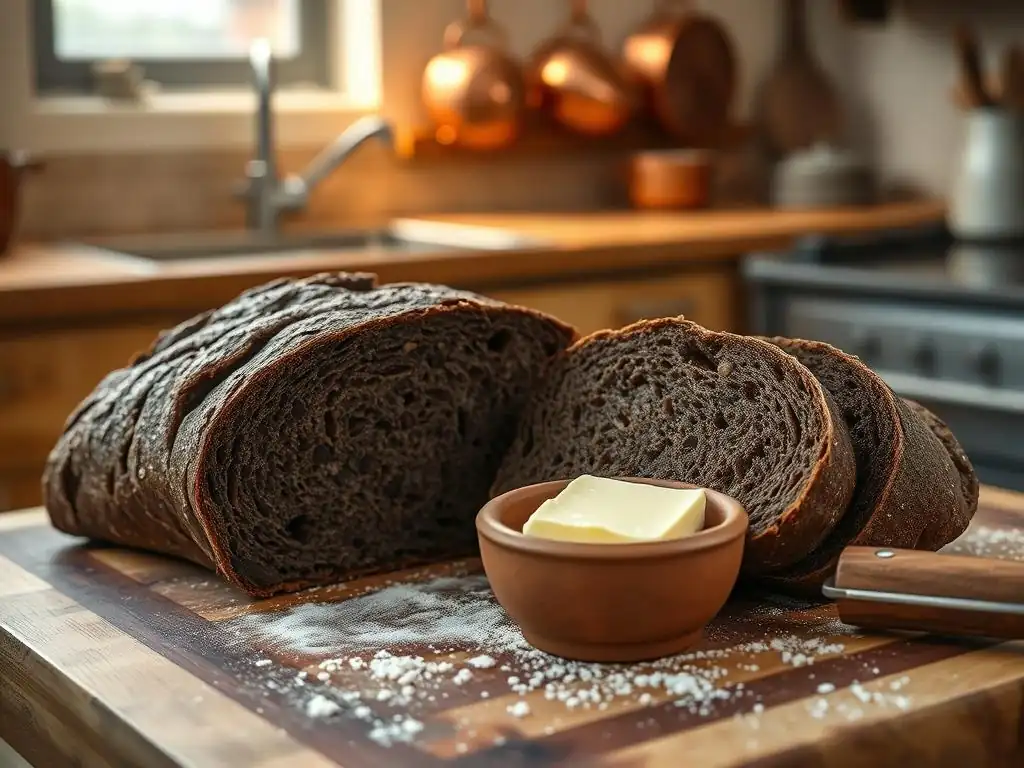
Gluten-free pumpernickel-style bread, with its dense texture and robust flavor, is best enjoyed sliced thinly. It serves as an excellent base for a variety of toppings. Classic pairings include cream cheese and smoked salmon, which contrast beautifully with the bread's earthiness. It's also wonderful topped with sharp cheddar cheese, sliced cucumbers, or various cold cuts.
Consider it for open-faced sandwiches. Its hearty nature makes it a perfect accompaniment to soups and stews, particularly rich, savory ones like goulash or lentil soup. The slight sweetness from the molasses also makes it surprisingly good with fruit preserves or apple butter for a unique breakfast or snack.
The deep flavor of gluten-free pumpernickel also stands up well to strong flavors like pickled herring or strong cheeses such as Gruyère or aged Gouda. Try toasting thin slices lightly to enhance their texture and aroma before adding toppings. A simple slice with good quality butter is also incredibly satisfying. Experiment with different spreads and toppings to discover your favorite way to enjoy this versatile gluten-free pumpernickel bread.
Proper Storage for Freshness
Due to its moisture content and lack of gluten structure, gluten-free pumpernickel bread can dry out or become hard if not stored correctly. Once completely cooled (this is essential! ), the best way to store it is in an airtight container or a resealable plastic bag at room temperature. Stored this way, it should remain fresh and moist for 2-3 days. Avoid refrigerating gluten-free bread, as this can actually speed up the staling process and make it tough.
For longer storage, freezing is an excellent option. Slice the cooled loaf before freezing. Stack the slices with small pieces of parchment paper in between to prevent them from sticking together, then wrap the stack tightly in plastic wrap and place it in a freezer-safe bag or container.
Frozen gluten-free pumpernickel bread can last for up to 3-4 months. When you want a slice, you can simply take out the desired amount and let it thaw at room temperature or toast it directly from frozen. Proper storage ensures you can enjoy your homemade gluten-free pumpernickel bread for days or weeks to come.
Conclusion: Mastering Gluten-Free Pumpernickel with BakeWithEase
Frequently Asked Questions
What makes this pumpernickel bread pumpernickel-style if it's gluten-free?
This recipe aims to recreate the dark, rich flavor of traditional pumpernickel using gluten-free flours and ingredients like molasses and coffee to mimic the characteristic taste and color. It's not authentic due to the absence of rye.
What kind of gluten-free flours are recommended for this recipe?
The recipe likely suggests a blend of gluten-free flours such as brown rice flour, tapioca starch, and sorghum flour. The exact proportions are crucial for achieving the right texture and mimicking the chewy crumb of pumpernickel.
Is it difficult to find the ingredients needed for this GlutenFree pumpernickel bread recipe?
While some gluten-free flours might require a visit to a specialty store or online retailer, most ingredients like molasses, coffee, cocoa powder, and common spices are readily available in most supermarkets.
Can I substitute any ingredients in this GlutenFree pumpernickel bread recipe?
Substituting ingredients in gluten-free baking can be tricky. While some minor adjustments might be possible, it's generally recommended to follow the recipe closely to ensure the desired texture and flavor. Changing key ingredients like flours could significantly affect the outcome.
How does this GlutenFree pumpernickel bread compare to traditional pumpernickel in terms of taste and texture?
While this recipe strives to replicate the essence of pumpernickel, there will be differences. The absence of rye flour will affect both the flavor profile and the texture. It aims for a similar dark color and rich flavor, but the crumb might be slightly different.
Final Reflection: The Enduring Appeal of Gluten-Free Baking
The quest for delicious, satisfying gluten-free bread is far from over, and this recipe for a pumpernickel-style loaf represents a significant step forward in that journey. The demand for accessible and flavorful gluten-free options continues to grow, highlighting the need for recipes that not only meet dietary restrictions but also delight the palate. This recipe, with its focus on achieving a rich, complex flavor and satisfying texture, speaks directly to that evolving need.
This recipe's journey, from initial experimentation to the final perfected loaf, reflects the broader evolution of gluten-free baking itself. It's a testament to the creativity and dedication of home bakers who are constantly pushing boundaries and refining techniques. The process of developing this recipe underscored for me the importance of patience and attention to detail in achieving a truly satisfying result. The best things in life are worth waiting for,
and this certainly applies to the art of gluten-free baking.
Now, it's your turn. Don't be intimidated by the seemingly complex world of gluten-free baking. Try this recipe, experiment with variations, and discover the joy of creating a delicious and healthy loaf of bread in your own kitchen. Embrace the challenge, celebrate the successes, and most importantly, savor the delicious results. The journey of culinary exploration is a rewarding one, and this recipe is just the beginning.
Unleash Your Inner Baker: Craft Your Own Gluten-Free Delight!
Thanks for joining us on this gluten-free baking adventure! We hope you've discovered the joy of creating delicious and healthy bread without compromising on flavor. Now it's time to put your newfound skills to the test!
- Bake your own pumpernickel-style bread today! Use the recipe as a base, experimenting with different seeds or spices to personalize your loaf.
- Share your baking journey with us and the BakeWithEase community! Post a picture of your creation on social media using #BakeWithEaseGlutenFree.
- Explore other gluten-free recipes on our site – you might just find your new favorite bread!
Ready to transform your kitchen into a gluten-free bakery? What unique twist will you add to your pumpernickel creation?