
Mastering Hydration in GlutenFree Bread Dough

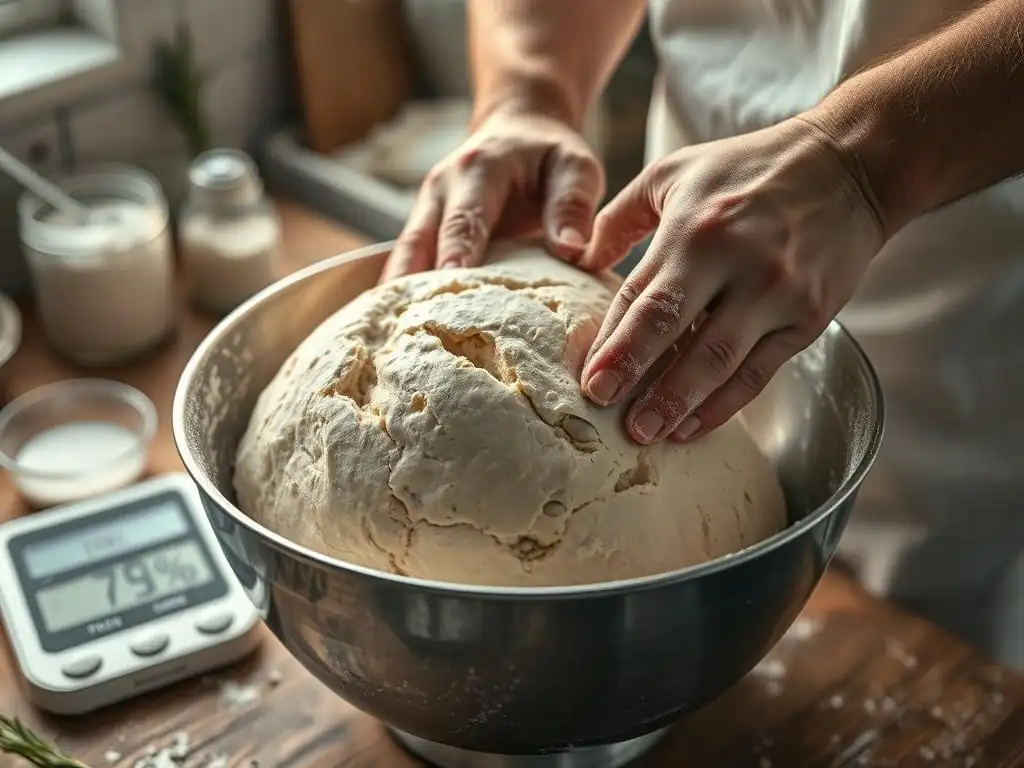
Welcome to BakeWithEase, your partner in crafting baking masterpieces! Are you ready to unlock the secrets to perfectly hydrated gluten-free bread? Many struggle to achieve the right consistency, but fear not! We're diving deep into essential gluten-free bread hydration tips that will transform your baking. Discover the nuances of moisture levels and learn how to achieve that coveted crumb structure. Curious to know how to banish dry, crumbly gluten-free loaves forever? Let's get baking!
- Mastering Hydration in Gluten-Free Bread Dough: BakeWithEase Guide
- Understanding Gluten-Free Bread Hydration for Baking Success
- The Importance of Water in Gluten-Free Bread Recipes
-
Gluten-Free Bread Hydration Tips: Achieving the Perfect Dough Consistency
- Tip 1: Measuring Ingredients Accurately for Optimal Hydration
- Tip 2: Understanding Different Gluten-Free Flours and Their Water Absorption
- Tip 3: The Importance of Resting Time (Autolyse) for Gluten-Free Dough
- Tip 4: Adding Water Gradually: A Key Technique
- Tip 5: Recognizing the Signs of a Properly Hydrated Gluten-Free Dough
- Determining the Ideal Gluten-Free Bread Hydration Level
- Troubleshooting Gluten-Free Bread Hydration Issues
- Advanced Techniques for Gluten-Free Bread Hydration
- Hydration and the Final Gluten-Free Bread Product
- Gluten-Free Bread Hydration: Recipe Examples and Best Practices
- Conclusion: Consistent Success with Gluten-Free Bread Hydration
-
Frequently Asked Questions
- What is hydration and why is it so important in gluten-free bread baking?
- How do I measure hydration in a gluten-free bread recipe?
- What happens if my gluten-free bread dough is under-hydrated?
- What are some signs that my gluten-free bread dough is over-hydrated?
- What types of gluten-free flours benefit most from higher hydration levels?
- Final Reflection: The Transformative Power of Hydration in Gluten-Free Baking
- Unlock Your Gluten-Free Baking Potential!
Mastering Hydration in Gluten-Free Bread Dough: BakeWithEase Guide
Understanding Gluten-Free Bread Hydration for Baking Success
Why Hydration Matters in Gluten-Free Bread Baking
Hydration, simply put, is the ratio of water to flour in your bread dough. In the world of gluten-free baking, getting this ratio right is absolutely critical – perhaps even more so than in traditional wheat baking. Unlike wheat flour, which contains gluten proteins that develop elasticity and structure when hydrated and kneaded, gluten-free flours rely on other ingredients and proper hydration to form a cohesive dough and build structure during baking.
The amount of water directly impacts how the starches gelatinize, how the alternative binders (like xanthan gum or psyllium husk) function, and ultimately, whether your bread rises properly and has a pleasant texture instead of being dense or crumbly. Mastering glutenfree bread hydration tips is foundational for achieving a light, airy loaf.
Insufficient hydration can lead to a dry, dense dough that doesn't rise well and results in a heavy, brick-like loaf with a tight crumb. On the other hand, too much hydration can make the dough excessively sticky and difficult to handle, potentially leading to a gummy texture in the final bread because the starches don't set correctly.
Finding that sweet spot of gluten-free dough hydration ensures that the flour absorbs enough liquid to activate starches and binders, creating a workable dough that can trap gases produced by yeast or leavening agents. This balance is key to moving beyond merely edible gluten-free bread to truly delicious, well-structured loaves.
The Unique Challenges of Gluten-Free Dough Hydration
Gluten-free flours present a unique set of challenges when it comes to hydration compared to wheat flour. Wheat flour contains gluten, which forms a network that can hold a significant amount of water and provide structure and elasticity. Gluten-free flours, however, are a diverse group – including rice, sorghum, millet, tapioca, potato starch, and many others – each with vastly different absorption rates and behaviors.
A blend of these flours will absorb water differently than a single-grain flour, and the absence of a gluten network means the dough relies heavily on starches and added binders for structure. This makes judging the correct gluten-free bread hydration level more nuanced.
Furthermore, gluten-free doughs often require higher hydration levels than traditional wheat doughs to compensate for the lack of gluten's binding and structure-building properties. While a typical wheat sandwich loaf might be around 60-65% hydration, a comparable gluten-free loaf often ranges from 80% to over 100% hydration (meaning the water weighs more than the flour).
This higher hydration can make the dough very wet and batter-like, which can be intimidating for bakers used to handling firmer wheat dough. Learning effective glutenfree bread hydration tips is essential for managing these wetter doughs and understanding how different flours and binders interact with water.
The Importance of Water in Gluten-Free Bread Recipes
Water's Role in Starch Activation in Gluten-Free Dough
In gluten-free baking, water plays a crucial role in activating the starches present in the various flours and starches used. When water is added to flour and heated during baking, the starch granules absorb the water and swell, a process called gelatinization. This gelatinization is vital because it helps to set the structure of the bread, providing firmness and stability in the absence of a gluten network. Without sufficient hydration, the starches cannot fully gelatinize, resulting in a dry, crumbly texture that lacks structure and integrity. The correct level of gluten-free dough hydration ensures this process occurs effectively.
Beyond starch gelatinization, water is also necessary for hydrating any binders present in the gluten-free blend, such as xanthan gum, psyllium husk, or ground flaxseed. These ingredients absorb large amounts of water and form a gel-like substance that mimics some of the properties of gluten, helping to bind the dough together, trap gases, and provide elasticity. For example, psyllium husk can absorb many times its weight in water, forming a strong gel.
Proper hydration allows these binders to fully activate and distribute throughout the dough, contributing significantly to the final bread's structure, moisture retention, and overall texture. Understanding these interactions is key to mastering glutenfree bread hydration tips.
How Hydration Affects Gluten-Free Bread Texture
The hydration level of gluten-free dough has a profound impact on the final texture of the baked bread. A dough that is too dry will typically result in a dense, heavy loaf with a tight, compact crumb that crumbles easily. This is because there wasn't enough water to fully hydrate the starches and binders, limiting structure development and gas expansion.
Imagine trying to bake with a mixture that feels more like cookie dough than bread dough – it won't rise much and will likely be hard and dry. Getting the gluten-free bread hydration right is the first step towards a better texture.
Conversely, a properly hydrated gluten-free dough, often appearing quite wet or even like a thick batter, allows for better gas expansion during proofing and baking. This leads to a lighter, airier loaf with a more open crumb structure. The starches gelatinize correctly, and binders form a network that traps air bubbles, resulting in a soft, moist interior.
For instance, a highly hydrated rustic gluten-free loaf (90%+ hydration) can achieve a wonderfully open, irregular crumb similar to some wheat artisan breads, provided the dough is handled correctly. Achieving this desired texture is a primary goal of applying effective glutenfree bread hydration tips.
Gluten-Free Bread Hydration Tips: Achieving the Perfect Dough Consistency
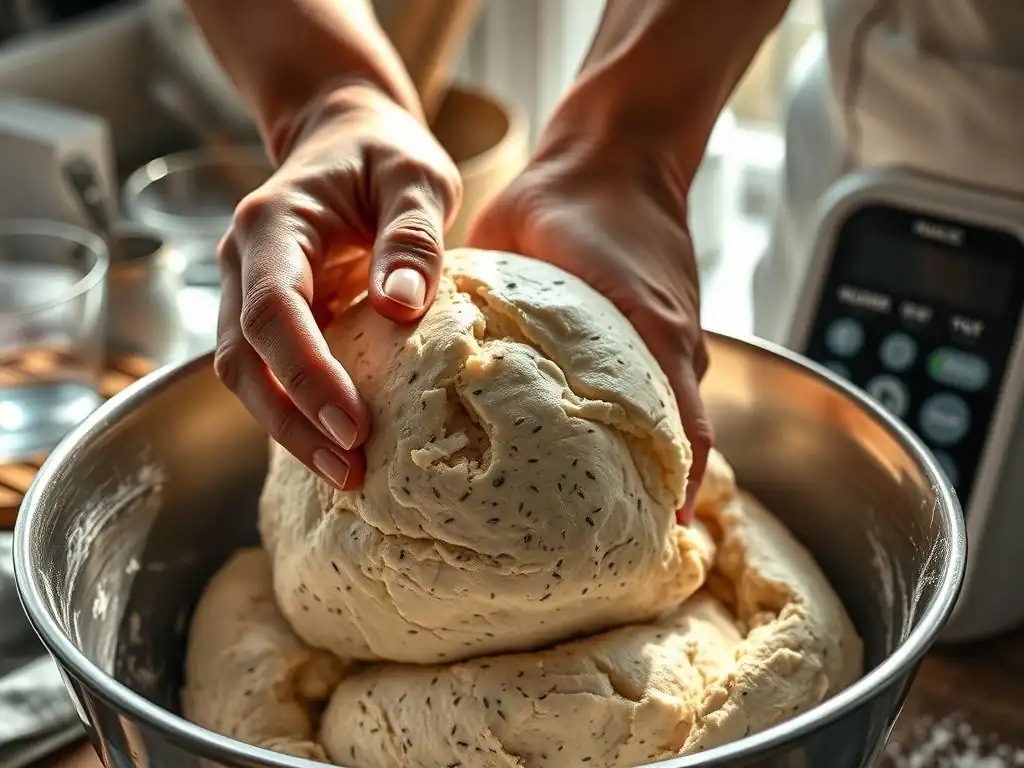
Tip 1: Measuring Ingredients Accurately for Optimal Hydration
Precision is paramount in gluten-free baking, especially when it comes to hydration. Using a kitchen scale to weigh your ingredients, particularly flour and water, is significantly more accurate than using volume measurements (like cups). Different types of gluten-free flour have different densities; for example, a cup of rice flour weighs differently than a cup of sorghum flour. Similarly, scooping flour differently can pack it more or less densely, altering the actual amount used. Weighing ensures you are using the exact amounts specified in a recipe, which is crucial for hitting the target gluten-free bread hydration level.
For instance, a recipe calling for 200 grams of a gluten-free flour blend and 160 grams of water has an 80% hydration level (160/200 = 0.8, or 80%). If you used volume measurements and accidentally used 220 grams of flour due to packing, but still used 160 grams of water, your actual hydration would drop to approximately 73% (160/220 ≈ 0.727). This seemingly small difference can significantly impact the dough consistency and the final bread texture. Always measure your flour and water by weight for consistent results and better control over gluten-free dough hydration.
Tip 2: Understanding Different Gluten-Free Flours and Their Water Absorption
Not all gluten-free flours are created equal when it comes to absorbing water. Some flours, like brown rice flour or sorghum flour, tend to be less absorbent and can result in a drier dough if not properly hydrated. Others, like tapioca starch or potato starch, are starches that absorb less water initially but swell significantly upon heating. Flours high in fiber or protein, like oat flour (if certified GF) or sometimes almond flour, can absorb more water. Understanding these differences is fundamental to applying effective glutenfree bread hydration tips.
This is why many successful gluten-free bread recipes use a blend of different flours and starches. A blend might combine a less absorbent grain flour with a more absorbent starch and a binder like psyllium. A common approach is to start with a base recipe and understand how your specific flour blend behaves.
If your blend contains a high percentage of less absorbent flours, you might need slightly higher hydration. Conversely, a blend heavy in starches might require slightly less initial water but benefits greatly from resting time to allow for full absorption. Pay attention to the flour types listed in recipes and how they contribute to overall gluten-free dough hydration.
Tip 3: The Importance of Resting Time (Autolyse) for Gluten-Free Dough
While the term "autolyse" traditionally refers to resting a wheat dough with just flour and water to develop gluten, a similar principle applies to gluten-free dough hydration. Allowing the dough to rest after the initial mixing of flour, water, and binders gives the flours and starches time to fully absorb the liquid. This resting period, sometimes called a "hold" or simply "resting time," typically ranges from 20 minutes to an hour, depending on the recipe and ingredients.
During this rest, the hydration process continues internally. The water penetrates the flour particles more completely, the starches begin to swell, and binders like psyllium husk or xanthan gum hydrate fully and form their gel structure. This makes the dough more cohesive, less sticky, and easier to handle. It also helps to prevent a gritty texture in the final bread, which can happen if flours aren't fully hydrated. Incorporating a resting step is a valuable glutenfree bread hydration tip that improves dough texture and workability before adding yeast, salt, or other ingredients.
Tip 4: Adding Water Gradually: A Key Technique
Given the variability in gluten-free flour blends and environmental factors (like humidity), it can be beneficial to hold back a small amount of water from the recipe initially and add it gradually. For example, if a recipe calls for 400g of water, you might start by adding 380g, mixing, and then slowly incorporating the remaining 20g tablespoon by tablespoon until the desired consistency is reached. This allows you to adjust the gluten-free dough hydration in real-time based on how the dough feels and how your specific flour blend is absorbing the liquid.
This technique is particularly helpful when trying a new recipe or using a new blend of flours. It gives you more control over the final dough consistency and helps you avoid the common problem of accidentally making the dough too wet. You're looking for a dough that is moist and sticky, but not soupy.
By adding water incrementally while mixing, you can observe how the dough changes and stop when it reaches the right point – often described as a thick batter or a very wet dough that pulls away from the sides of the bowl but doesn't hold a firm shape. This is one of the most practical glutenfree bread hydration tips for beginners.
Tip 5: Recognizing the Signs of a Properly Hydrated Gluten-Free Dough
Learning what a properly hydrated gluten-free dough looks and feels like is essential. Unlike wheat dough, which becomes smooth and elastic after kneading, gluten-free dough often remains quite sticky and may not develop a smooth "skin." A well-hydrated gluten-free dough will typically resemble a thick, cohesive batter or a very wet, somewhat shaggy dough. It should pull away from the sides of the mixing bowl when mixed but will likely be too sticky to knead by hand on a floured surface in the traditional sense.
Signs of good gluten-free dough hydration include:
- The dough is uniformly moist with no dry pockets of flour.
- It feels sticky to the touch, but not excessively runny or soupy.
- If using a stand mixer, the dough might climb the hook slightly but should still mostly stay in the bowl.
- After resting, the dough may appear slightly less sticky than immediately after mixing as the flours hydrate.
- It should be able to hold its shape somewhat if scooped, but will slowly spread.
A dough that feels dry, crumbly, or stiff needs more water. A dough that is excessively liquid, like pancake batter, has too much water. Developing a feel for the right gluten-free dough hydration takes practice, but these visual and tactile cues are excellent guides.
Determining the Ideal Gluten-Free Bread Hydration Level
Factors Affecting Gluten-Free Dough Hydration Needs
Several factors influence the ideal gluten-free bread hydration level for any given recipe. As discussed, the type and blend of gluten-free flours used are the most significant factor; some blends are simply more absorbent than others. For example, a blend heavy in sorghum and rice flour might require a different hydration percentage than one based primarily on millet and tapioca starch. The presence and type of binders also play a huge role; psyllium husk typically requires more water than xanthan gum to achieve the desired consistency.
Other factors include the recipe's overall composition (e.g., inclusion of fats, eggs, or dairy, which can affect moisture), the desired final bread texture (a rustic loaf needs higher hydration than a sandwich loaf), and even environmental conditions. High humidity in your kitchen means the flour may already contain slightly more moisture, potentially requiring a tiny reduction in added water. Conversely, very dry conditions can mean you need a touch more water. All these variables mean that while a recipe provides a starting point for gluten-free dough hydration, you may need to make minor adjustments.
Hydration Guide for Common Gluten-Free Flour Blends
While specific hydration needs vary, here's a general guide for typical gluten-free bread hydration levels based on common scenarios. These are approximations and the best approach is always to follow a well-tested recipe first and then adjust based on experience.
- Standard All-Purpose GF Blends (Rice, Sorghum, Tapioca, Potato Starch, Xanthan Gum): Often perform well with hydration levels ranging from 80% to 95%. A sandwich loaf might be closer to 80-85%, while a slightly more rustic loaf could be 90%+.
- Blends with Significant Psyllium Husk: Psyllium is very absorbent. Blends using psyllium as a primary binder often require higher hydration, sometimes ranging from 95% to 110% or even higher for very wet, no-knead style doughs.
- Blends with Ancient Grains (Millet, Buckwheat, Teff): These flours can absorb varying amounts of water. Hydration levels typically fall within the 85% to 100% range, depending on the specific blend and the proportion of these flours.
Remember, these are just starting points. The specific brands of flours, the fineness of the grind, and the precise composition of any blend will affect the exact gluten-free bread hydration required. Always observe the dough consistency and adjust as needed, using your knowledge of glutenfree bread hydration tips.
Adjusting Hydration Based on Environmental Factors (Humidity, Temperature)
Environmental conditions, particularly humidity and temperature, can subtly impact the amount of water your flour absorbs and thus affect gluten-free dough hydration. In a high-humidity environment, flour naturally absorbs some moisture from the air. This means you might need slightly less added water than if you were baking in a very dry climate. While the difference might only be a few grams or a tablespoon of water, it can sometimes be enough to alter the dough consistency.
Similarly, room temperature can affect how quickly the flour absorbs water and how the dough feels. A warmer environment might make the dough feel stickier initially. While temperature's impact on hydration amount is less direct than humidity, it's something to be mindful of. If you consistently bake in a very humid or very dry climate and find your dough is always slightly off (too wet or too dry) despite following a recipe precisely, try slightly adjusting the water amount – perhaps by 1-2% of the flour weight – and see if that improves your gluten-free bread hydration.
Troubleshooting Gluten-Free Bread Hydration Issues
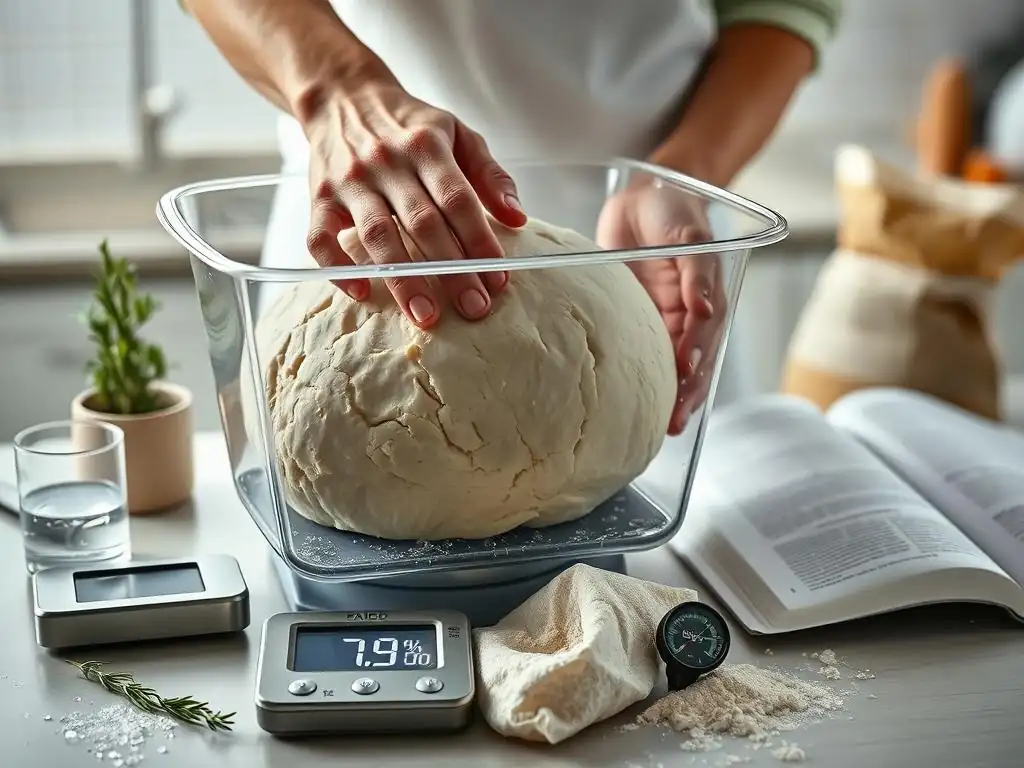
What to Do If Your Gluten-Free Dough Is Too Wet
Discovering your gluten-free dough is too wet after mixing can be frustrating, as it often resembles a thick soup rather than a manageable dough. The key is to add more dry ingredients, but carefully. Gradually add a small amount of your flour blend, perhaps a tablespoon at a time, mixing thoroughly after each addition. Allow a moment for the flour to absorb the liquid before adding more. Continue this process until the dough reaches the desired consistency – still sticky, but cohesive and not overly runny.
Alternatively, you can add a small amount of a highly absorbent ingredient like psyllium husk powder or ground flaxseed meal. For example, adding ½ to 1 teaspoon of psyllium husk powder and mixing it in can quickly absorb excess moisture and help correct the gluten-free dough hydration. Be cautious when adding these binders, as they absorb a lot of water and can make the dough too stiff if you add too much. Mix well and wait a few minutes to see the full effect before adding more. This adjustment is a practical application of glutenfree bread hydration tips.
If your gluten-free dough feels dry, stiff, or crumbly after mixing, it needs more hydration. This is often easier to fix than dough that is too wet. Simply add more water, a tablespoon at a time, mixing it into the dough thoroughly. Continue adding water until the dough becomes moist, cohesive, and sticky, resembling a thick batter or a very wet dough. Ensure there are no dry pockets of flour remaining.
After adding water, it's a good idea to let the dough rest for 10-15 minutes to allow the newly added water to fully absorb into the flours and starches. This resting period helps ensure you've achieved the correct overall gluten-free dough hydration and allows the binders to activate properly. Don't rush this step; a little patience can make a big difference in correcting the dough consistency and improving the final bread texture.
Common Mistakes to Avoid When Hydrating Gluten-Free Dough
Several common mistakes can lead to hydration issues in gluten-free bread. One is not weighing ingredients; using volume measurements is inherently inaccurate for flour and water, leading to inconsistent results. Another error is not allowing sufficient resting time; skipping the rest means flours and binders don't fully hydrate, potentially resulting in a gritty texture or a dough that feels drier than it should.
Over-mixing or under-mixing can also indirectly affect how the dough appears hydrated. While gluten-free dough doesn't develop gluten, it still needs adequate mixing to distribute ingredients and activate binders. Under-mixing can leave dry pockets or prevent binders from forming their gel structure, while excessive mixing isn't necessary and won't improve structure like it does in wheat dough.
Finally, ignoring the visual and tactile cues of the dough itself and relying solely on the recipe's hydration percentage without considering flour variations or environment is a common pitfall. Learning to read your dough is one of the most valuable glutenfree bread hydration tips.
Advanced Techniques for Gluten-Free Bread Hydration
Using Psyllium Husk for Enhanced Hydration and Structure
Psyllium husk, or psyllium husk powder, is a fantastic ingredient for gluten-free bread, significantly enhancing both hydration and structure. It is a soluble fiber that absorbs a large amount of water, forming a strong gel. This gel helps to bind the gluten-free flours together, providing elasticity and stability that mimics some of the functions of gluten. Using psyllium allows for higher hydration levels, which can lead to a lighter, airier crumb structure.
Typically, psyllium husk is used at a rate of 1-2% of the total flour weight. It's usually added to the dry ingredients or mixed with the water before combining with the flour to allow it to start forming its gel. For example, in a recipe with 500 grams of flour, you might use 5 to 10 grams of psyllium husk.
It's important to note that psyllium husk powder is more concentrated than whole husks, so you'll use less powder (often about 85% the weight of whole husks). Psyllium is a powerful tool for managing gluten-free dough hydration and improving the final loaf.
Incorporating Flaxseed Meal for Moisture Retention
Ground flaxseed, also known as flaxseed meal, is another ingredient that contributes positively to gluten-free bread hydration and texture. Like psyllium, flaxseed contains soluble fiber that forms a gel when mixed with water, though the gel is typically less strong than psyllium's. This gel helps to bind the dough and, importantly, helps with moisture retention in the baked bread, keeping it softer for longer.
Flaxseed meal can be used at a rate of 5-10% of the total flour weight in a recipe. It's often mixed with water and allowed to sit for a few minutes to form a "flax egg" or simply added directly to the dry ingredients. While it adds some binding properties, its primary benefit related to hydration is preventing the baked bread from drying out quickly. Using flaxseed meal is one of the glutenfree bread hydration tips that contributes to a moist, tender crumb over time.
The Role of Xanthan Gum in Gluten-Free Bread Hydration
Xanthan gum is one of the most common binders used in gluten-free baking and plays a direct role in gluten-free dough hydration. It's a polysaccharide that forms a viscous gel when hydrated, helping to provide structure, elasticity, and stability to the dough. It prevents crumbling and helps the dough trap gases produced by yeast, contributing to better loaf volume.
Xanthan gum is typically used in much smaller quantities than psyllium husk or flaxseed meal, often at a rate of 0.2% to 0.5% of the flour weight for bread. For example, in a recipe with 500 grams of flour, you might use just 1 to 2.5 grams of xanthan gum. Too much xanthan gum can result in a gummy or dense texture, so accurate measurement is crucial. While it doesn't absorb as much water as psyllium, its ability to create a cohesive, slightly elastic structure is vital for managing gluten-free dough hydration and achieving a good loaf.
Hydration and the Final Gluten-Free Bread Product
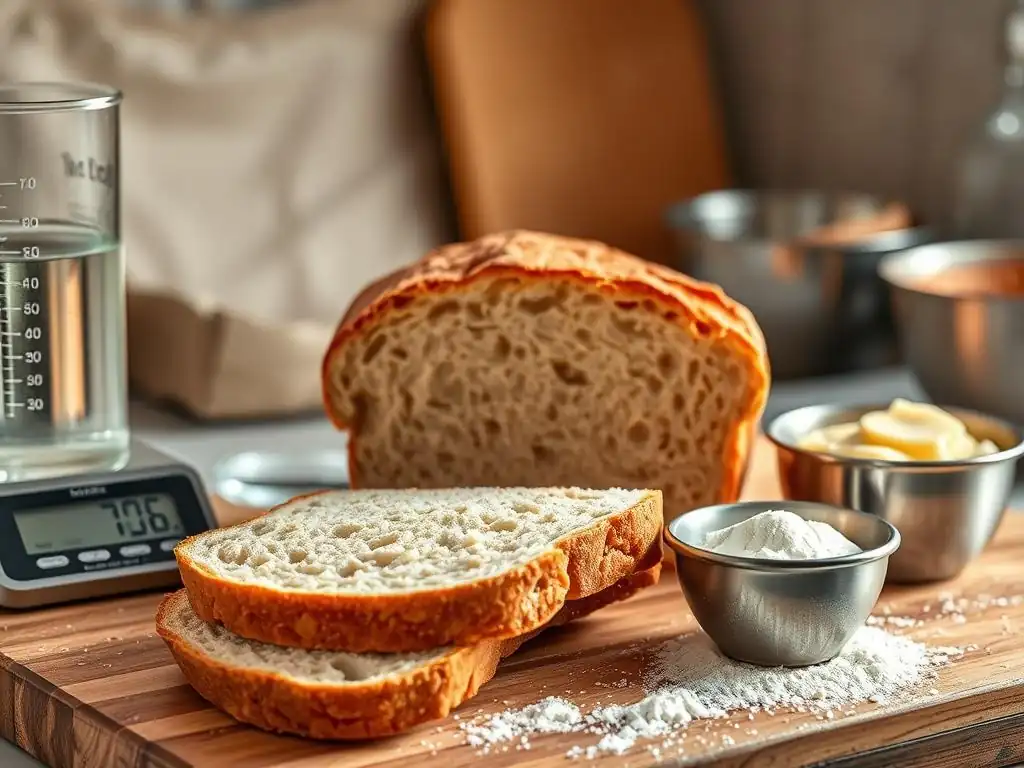
How Proper Hydration Impacts Bread Volume
The hydration level of gluten-free dough is directly linked to the final volume of the baked bread. A properly hydrated dough has enough moisture for the starches to gelatinize fully and for binders to form a cohesive network. This network is essential for trapping the carbon dioxide gas produced by yeast or other leavening agents during proofing and the initial stages of baking.
When the dough is too dry, the structure is too stiff and dense to expand much, resulting in a small, squat loaf. With adequate gluten-free dough hydration, the dough is more extensible and able to stretch and hold the expanding gases, allowing the bread to rise higher and achieve better volume. Think of it like inflating a balloon – a dry, stiff material won't stretch, while a flexible material will expand readily. Mastering glutenfree bread hydration tips is a key step towards achieving that satisfyingly tall loaf.
Achieving the Right Crumb Structure Through Hydration
Hydration is arguably the most critical factor in determining the crumb structure of gluten-free bread. The crumb refers to the interior texture – whether it's dense and tight, light and open, or somewhere in between. A dough with insufficient gluten-free bread hydration will inevitably produce a dense, often crumbly, and tight crumb because there wasn't enough water for proper starch gelatinization and structure formation.
Conversely, higher hydration levels tend to promote a more open and airy crumb structure, provided the dough is handled correctly. The increased water allows starches to swell and binders to form a more flexible network that can accommodate larger air pockets. For example, a high-hydration gluten-free artisan loaf (90%+ hydration) using psyllium husk often develops an open, irregular crumb with noticeable holes, similar to a rustic wheat sourdough. Achieving your desired crumb is a direct result of controlling gluten-free dough hydration.
Preventing a Gummy Texture with Proper Hydration Techniques
One of the most common complaints about homemade gluten-free bread is a gummy texture. While several factors can contribute to this, improper hydration is a significant culprit. A gummy texture often occurs when the dough was either too wet or not allowed sufficient time for the starches and binders to fully hydrate and the starches to gelatinize properly during baking.
If the dough is too wet, the excess water can interfere with the setting of starches during baking, leaving areas that remain undercooked or gelatinized in an undesirable way. If the flours and binders weren't allowed sufficient resting time to absorb water (even if the overall hydration percentage was correct), they might absorb water unevenly during baking, leading to inconsistent texture, including gumminess.
Using the right amount of water, allowing adequate resting time, and ensuring the bread is baked through to the correct internal temperature (typically around 200-210°F or 93-99°C) are essential glutenfree bread hydration tips for avoiding a gummy loaf.
Gluten-Free Bread Hydration: Recipe Examples and Best Practices
High-Hydration Gluten-Free Artisan Bread Recipe
A high-hydration gluten-free artisan loaf often aims for hydration levels of 90% or even over 100%. These recipes typically rely heavily on a binder like psyllium husk to manage the very wet dough. A common approach involves mixing a blend of gluten-free flours (like brown rice, sorghum, and tapioca starch) with psyllium husk powder and all the water. This mixture is then allowed to rest for 30-60 minutes to allow the psyllium to form a strong gel.
After the rest, yeast and salt are added, and the dough is mixed again. The dough will be very sticky and handled more like a thick batter than traditional dough. It's often shaped using wet hands or spatulas and baked in a Dutch oven or on a baking stone with steam to support its structure during the initial oven spring. The high gluten-free dough hydration contributes to a beautiful open crumb and a crispy crust. Mastering these glutenfree bread hydration tips for high-hydration dough yields impressive results.
Gluten-Free Sandwich Bread Recipe with Balanced Hydration
Gluten-free sandwich bread typically requires a more manageable dough consistency, often achieved with hydration levels between 80% and 90%. These recipes might use xanthan gum as the primary binder or a combination of xanthan gum and a smaller amount of psyllium or flax. The dough is usually mixed until cohesive, often in a stand mixer, and should be sticky but hold some shape.
A typical method involves combining flours, starches, binder (like xanthan gum), yeast, salt, and often a touch of sugar. Warm liquid (water or milk) and sometimes eggs or oil are added, and the mixture is beaten well. The resulting dough will be pourable but thick. It's then typically scooped or spread into a loaf pan, smoothed with a wet spatula, and allowed to proof. The balanced gluten-free bread hydration ensures a soft, tender crumb that is ideal for slicing and making sandwiches. Applying careful glutenfree bread hydration tips here results in a reliable, everyday loaf.
Conclusion: Consistent Success with Gluten-Free Bread Hydration
Mastering gluten-free bread hydration is a journey, not a destination. It requires understanding the unique properties of gluten-free flours and how they interact with water and binders. By accurately measuring ingredients, understanding the absorption rates of different flours, allowing for adequate resting time, and learning to recognize the signs of properly hydrated dough, you can significantly improve your baking results.
Don't be discouraged by wet or sticky doughs; this is often necessary for achieving a light, airy gluten-free loaf. Utilize binders like psyllium husk or xanthan gum effectively, and don't hesitate to troubleshoot by adding small amounts of flour or water if your dough consistency isn't quite right. With practice and attention to these glutenfree bread hydration tips, you'll gain confidence in managing gluten-free dough hydration and consistently bake delicious, well-textured gluten-free bread right in your own kitchen. Happy baking!
Frequently Asked Questions
What is hydration and why is it so important in gluten-free bread baking?
Hydration refers to the water content in your dough. In gluten-free baking, it's crucial because gluten-free flours often lack the binding properties of gluten, and water helps create structure.
How do I measure hydration in a gluten-free bread recipe?
Hydration is typically expressed as a percentage of the flour weight. To calculate, divide the weight of the water by the weight of the flour and multiply by 100.
What happens if my gluten-free bread dough is under-hydrated?
Under-hydrated gluten-free dough will likely result in a dry, crumbly bread that doesn't rise well. The lack of moisture prevents proper starch gelatinization and binding.
What are some signs that my gluten-free bread dough is over-hydrated?
Over-hydrated gluten-free dough will be extremely sticky and difficult to handle. It may also result in a bread that collapses during baking or has a gummy texture.
What types of gluten-free flours benefit most from higher hydration levels?
Flours like tapioca starch and rice flour tend to benefit from higher hydration. These flours are very absorbent and need ample moisture to create a tender crumb and prevent dryness.
Final Reflection: The Transformative Power of Hydration in Gluten-Free Baking
Mastering hydration in gluten-free bread dough isn't just about achieving the perfect texture; it's the key to unlocking the potential of gluten-free baking itself. The seemingly simple act of adjusting water ratios profoundly impacts the final product, transforming a crumbly, dry loaf into a moist, flavorful delight. This understanding is more crucial than ever as gluten-free baking continues to grow in popularity.
The journey of perfecting gluten-free bread has been a testament to the power of experimentation and precise technique. Understanding the unique challenges of working with gluten-free flours, and how hydration directly addresses those challenges, has been a deeply rewarding experience. The difference between a good gluten-free loaf and a great one often lies in the details, and hydration is the most significant detail of all.
This quote, though fictional, perfectly encapsulates the transformative impact of mastering hydration on the entire gluten-free baking landscape. It's a journey of continuous learning, adapting recipes, and celebrating the small victories of a perfectly risen loaf.
Now, it's your turn. Don't be afraid to experiment with different hydration levels in your own gluten-free recipes. Embrace the process of learning, tweaking, and perfecting your technique. Each loaf you bake, each adjustment you make, brings you closer to mastering the art of gluten-free bread making. The rewards – a delicious, satisfying loaf of bread – are well worth the effort. So, grab your measuring cups, your favorite gluten-free flour blend, and embark on your own hydration journey. The perfect loaf awaits.
Unlock Your Gluten-Free Baking Potential!
Thanks for joining us on this journey into the world of perfectly hydrated gluten-free bread! We hope you gained valuable insights into achieving that elusive, bakery-quality texture. Now it's time to put your newfound knowledge into practice.
- Bake your best loaf yet! Experiment with the hydration techniques we discussed and share your results – we'd love to see your gluten-free masterpiece!
- Dive deeper into our extensive gluten-free baking resources on BakeWithEase.com (link omitted as per instructions). Find more tips and tricks to elevate your baking game.
- Share this article with a fellow gluten-free baker who could benefit from these tips! Let's build a supportive community together.
What unique ingredient will you try to enhance the hydration and flavor in your next gluten-free loaf? Let us know in the comments!