
Bake Dense, Delicious Scandinavian Rye Bread with Our Easy Guide

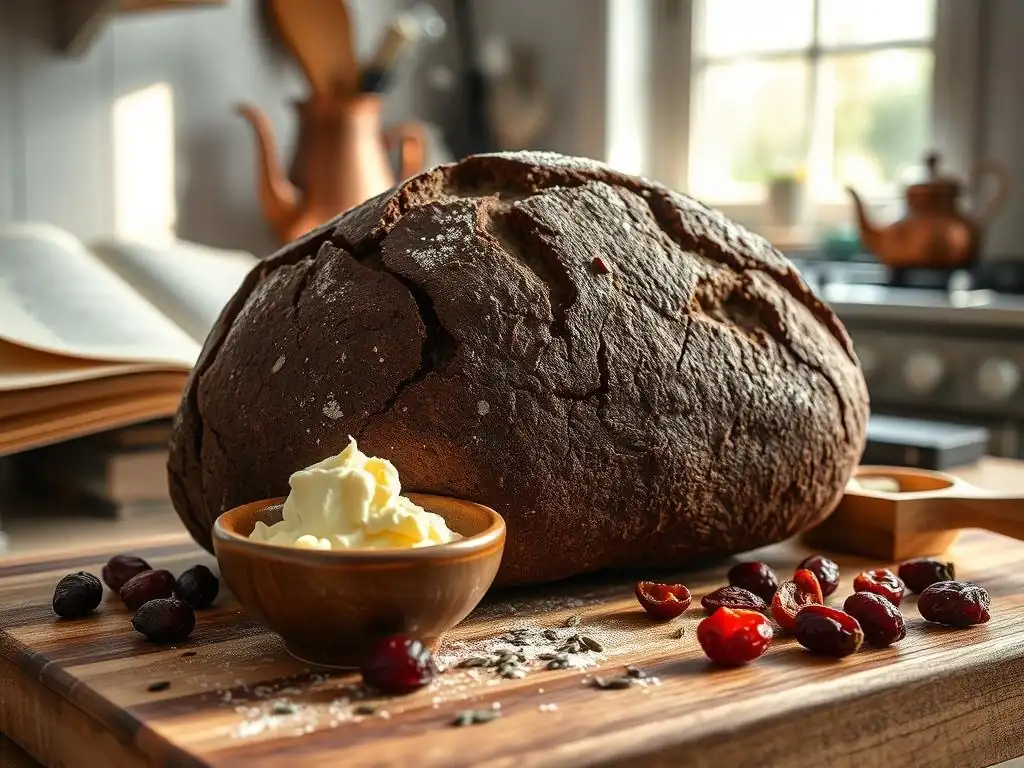
Welcome to BakeWithEase, your kitchen companion for unlocking baking brilliance! Ever dreamt of crafting that dense, deeply flavorful bread that embodies Scandinavian tradition? Discover how to bake your own Easy Scandinavian rye bread with our straightforward guide. We'll demystify the process, making this rich and satisfying loaf accessible to even novice bakers. Ready to embark on a rye-filled adventure? Let's get started...
- Introduction to Authentic Scandinavian Rye Bread Baking
- Understanding the Key Ingredients for Rugbrød
-
Our Step-by-Step Guide to Baking Authentic Rugbrød
- Step 1: Preparing Your Sourdough Starter (If Applicable)
- Step 2: Mixing the Dough: Achieving the Desired Wet Consistency
- Step 3: Bulk Fermentation: Developing Complex Flavors
- Step 4: Shaping the Loaf: Creating a Traditional Rectangular Shape
- Step 5: Proofing: The Final Rise Before Baking
- Step 6: Baking: Achieving a Dark, Caramelized Crust
- Step 7: Cooling and Resting: Patience is Key to Flavor Development
- Troubleshooting Common Rugbrød Baking Issues
- Serving and Storing Your Homemade Rugbrød
- Variations and Adaptations for Your Rugbrød Recipe
- Conclusion: Enjoy the Taste of Denmark with Your Homemade Rugbrød
- Frequently Asked Questions
- Final Reflection: The Enduring Appeal of Simple, Delicious Bread
- Unleash Your Inner Baker: Craft the Perfect Rye!
Discover the Robust Flavors of Rugbrød
Scandinavian rye bread, often known as Rugbrød in Denmark, is far more than just a loaf; it's a cornerstone of Nordic cuisine and a testament to simple, wholesome ingredients. Unlike many lighter breads, Rugbrød is characterized by its dense, moist crumb, deep brown color, and complex, slightly tangy flavor profile. This distinctive taste comes primarily from the high proportion of rye flour and often, a long fermentation process, frequently involving a sourdough starter.
The texture is hearty, packed with whole grains and seeds, making it incredibly satisfying. It's a bread designed to be thinly sliced and enjoyed with a variety of toppings, forming the base of the famous open-faced sandwiches known as Smørrebrød.
The traditional baking process for this easy Scandinavian rye bread involves baking at moderate temperatures for extended periods, sometimes up to 1.5 to 2 hours, which helps develop the rich, dark crust and ensures the interior is fully cooked without drying out. The high moisture content and dense structure mean it keeps exceptionally well, often improving in flavor over a day or two as the flavors meld.
Exploring Rugbrød is an invitation to experience a bread deeply rooted in regional history and agricultural practices, where making the most of hardy grains like rye was essential. Its unique characteristics set it apart from wheat-based loaves, offering a truly unique baking experience.
Why Bake Your Own Rugbrød? [Cost Savings, Health Benefits, and Customization]
Baking your own Rugbrød offers significant advantages over buying commercially produced loaves. Financially, while quality rye flour and seeds require an initial investment, the cost per loaf you produce at home is often substantially lower than purchasing a comparable artisan loaf from a bakery or specialty store. A typical store-bought Rugbrød loaf can cost anywhere from $6 to $10 or more, depending on ingredients and origin.
At home, the raw ingredients for a similar loaf might cost roughly $3-$5, leading to potential savings of 50% or more over time, especially if you bake frequently. This is particularly true if you maintain your own sourdough starter, avoiding the cost of commercial yeast.
Beyond the economic benefits, baking easy Scandinavian rye bread at home provides complete control over the ingredients, unlocking significant health advantages and customization possibilities. Traditional Rugbrød is packed with fiber from whole rye flour and seeds, often containing 8-10 grams of fiber per 100 grams, which is significantly higher than most white or whole wheat breads. This high fiber content contributes to a lower glycemic index, making it a good choice for stable energy levels. When you bake yourself, you can choose organic ingredients, adjust salt levels, and add specific seeds (like flax, chia, or sunflower seeds) or grains based on your dietary needs or preferences. Want extra pumpkin seeds?
Add them! Prefer a mix of rye and spelt? You can do that too. This level of customization is impossible with store-bought options, allowing you to tailor the bread perfectly to your taste and health goals.
Understanding the Key Ingredients for Rugbrød
The Importance of Rye Flour in Danish Baking
Rye flour is the heart and soul of authentic Rugbrød. Unlike wheat flour, rye contains less gluten-forming protein, which is why rye breads are typically much denser and do not achieve the same airy structure as wheat loaves. The proteins in rye form a different kind of network, and the flour contains pentosans, complex carbohydrates that absorb large amounts of water and contribute to the moist, sometimes slightly gummy texture characteristic of rye bread. This unique composition requires different handling techniques than wheat doughs – less kneading and often higher hydration.
The flavor of rye flour is distinct – earthy, slightly tangy, and robust. This flavor pairs exceptionally well with the seeds and malts often found in Rugbrød. Different types of rye flour, from light to dark and whole grain, will impart varying colors, textures, and flavors to the final loaf. Using a high proportion of whole rye flour is crucial for achieving the traditional density, nutritional benefits (like high fiber), and deep flavor profile associated with genuine easy Scandinavian rye bread. It's the primary ingredient that defines this bread's identity.
Stone-Ground vs. Light Rye Flour: A Detailed Comparison
When choosing rye flour for your Rugbrød, you'll encounter different options, primarily stone-ground whole rye and lighter rye flours. Stone-ground whole rye flour is milled from the entire rye berry, including the bran, germ, and endosperm. This results in a darker flour with a coarser texture and the most robust flavor. It's rich in fiber, vitamins, and minerals. Breads made with a high percentage of stone-ground rye will be dense, very moist, and have a pronounced, earthy, tangy taste.
Light rye flour, on the other hand, is produced from the endosperm of the rye berry after most of the bran and germ have been removed. It's lighter in color and finer in texture than whole rye. While it still has a distinct rye flavor, it is milder than that of whole rye.
Using a portion of light rye flour in your Rugbrød can result in a slightly less dense crumb and a milder flavor profile compared to using 100% whole rye. Many traditional Rugbrød recipes use a blend, often favoring a high percentage of whole rye for authenticity and nutritional value, but the specific choice impacts the final bread significantly.
Sourdough Starter vs. Yeast: Choosing Your Leavening Method
Traditionally, Rugbrød is leavened using a rye sourdough starter. A sourdough starter is a living culture of wild yeast and lactic acid bacteria. Using sourdough provides several benefits: it produces organic acids (like lactic and acetic acid) that contribute significantly to the characteristic tangy flavor of Rugbrød, helps break down the rye flour making nutrients more available, and contributes to the bread's excellent keeping qualities.
Developing and maintaining a rye sourdough starter requires patience and regular feeding, but it yields the most authentic flavor and texture. A healthy rye starter, often maintained at a 100% hydration (equal parts flour and water by weight) and fed regularly, is key to consistent results.
While a sourdough starter is traditional and preferred for flavor complexity, you can also make a simpler version of easy Scandinavian rye bread using commercial yeast. Using yeast provides a faster, more predictable rise. However, yeast-leavened Rugbrød will lack the depth of flavor and the characteristic tang that sourdough provides.
Some recipes combine a small amount of yeast with a pre-ferment (like a poolish or sponge made with rye flour and water) to try and capture some of the complexity, but it's generally not a direct substitute for a well-developed sourdough tang. For the most authentic taste and texture, investing time in a rye sourdough starter is highly recommended.
Other Essential Ingredients: Malt Syrup, Sunflower Seeds, and Pumpkin Seeds
Beyond rye flour and leavening, several other ingredients are crucial for authentic Rugbrød. Malt syrup (often dark rye malt syrup or barley malt syrup) is a common addition. It contributes to the bread's deep color, adds a subtle sweetness that balances the tanginess of the rye and sourdough, and provides nutrients that help the yeast (wild or commercial) thrive. Just a small amount, perhaps 2-4% of the flour weight, can make a significant difference in flavor and crust development.
Seeds are another hallmark of Rugbrød, adding texture, flavor, and nutritional value. Sunflower seeds and pumpkin seeds are perhaps the most common inclusions, often used in generous amounts, sometimes totaling 15-25% of the flour weight. They provide a pleasant crunch and nutty flavor that complements the dense rye crumb.
Other seeds like flax seeds, poppy seeds, and sesame seeds are also frequently used. Soaking a portion of the seeds and some cracked rye or other grains overnight (a "soaker" or "rugbrød base") is a common technique to soften them and prevent them from absorbing moisture needed by the dough during mixing and baking, ensuring a moist final loaf.
Our Step-by-Step Guide to Baking Authentic Rugbrød
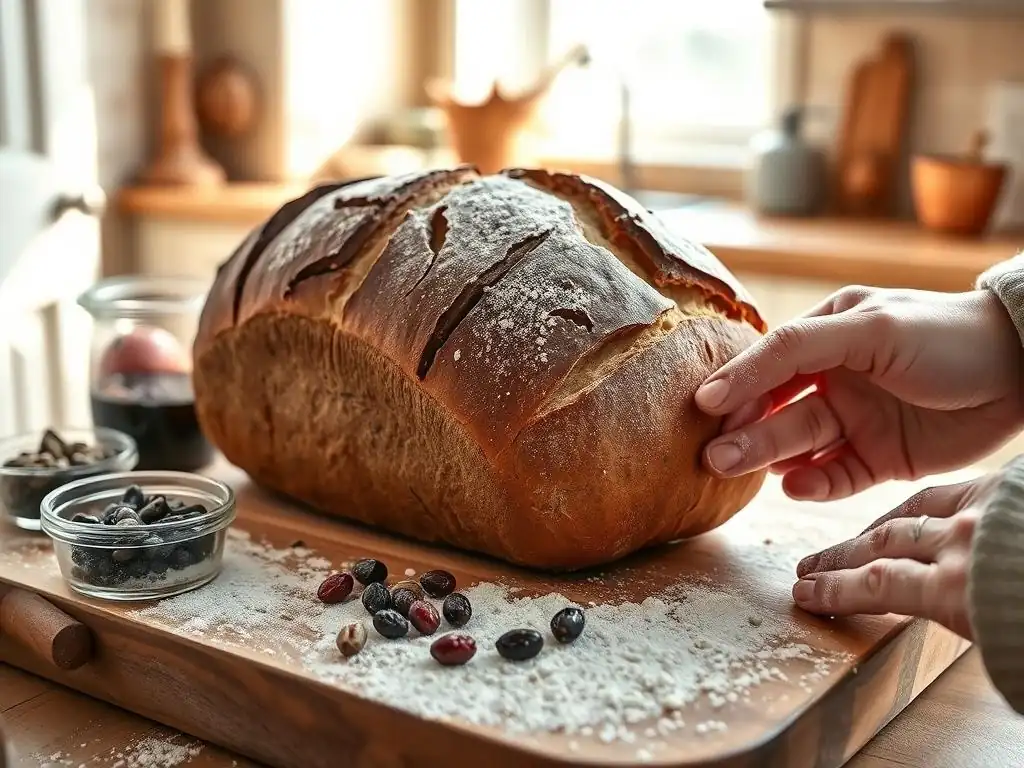
Step 1: Preparing Your Sourdough Starter (If Applicable)
If you're using a sourdough starter for your easy Scandinavian rye bread, the first step is to ensure your starter is active and ready. This usually involves feeding your starter 4-12 hours before you plan to mix your dough. A typical feeding ratio for a rye starter might be 1 part starter : 1 part water : 1 part rye flour by weight (e.g., 50g starter, 50g water, 50g rye flour).
After feeding, leave the starter at room temperature until it becomes bubbly, has increased significantly in volume (often doubling or tripling), and smells pleasantly tangy. This indicates that the wild yeast and bacteria are active and ready to leaven your bread.
Using an active starter is paramount for a good rise and flavor development. If your starter is sluggish, your bread may be dense and gummy. You can test readiness by dropping a small amount into water; if it floats, it's generally ready. Ensure you have enough active starter for the recipe requirements, typically around 15-30% of the total flour weight in the recipe. Any leftover starter can be stored in the refrigerator for future bakes after discarding a portion and feeding it.
Maintaining a Healthy Rye Sourdough Starter for Consistent Results
Consistency in your sourdough starter leads to consistency in your bread. To maintain a healthy rye starter, regular feeding is key. If you bake frequently (daily or every few days), keeping your starter at room temperature with 1-2 feedings per day works well. For less frequent baking (once a week or less), storing your starter in the refrigerator is best. In the fridge, feeding once a week is usually sufficient. Always feed your starter after taking it out of the fridge and before using it in a bake to wake up the microorganisms.
The ideal feeding ratio and schedule can vary depending on temperature and the specific starter, but a common approach is discarding a portion (to manage volume and acidity) and feeding with equal parts fresh rye flour and water by weight. For example, keeping 50g of starter and feeding it 100g rye flour and 100g water (a 1:2:2 ratio) can create a larger batch for baking.
Pay attention to your starter's behavior: it should rise predictably after feeding and have a pleasant, slightly sour aroma, not overly sharp or alcoholic. A healthy starter is the foundation for great easy Scandinavian rye bread.
Step 2: Mixing the Dough: Achieving the Desired Wet Consistency
Mixing Rugbrød dough is different from mixing wheat dough. Because of rye's low gluten content and high pentosan levels, the dough is typically very wet and sticky – often with a hydration level of 80-90% or even higher relative to the flour weight. The goal during mixing is not to develop a strong gluten network through extensive kneading, but rather to evenly distribute the ingredients, activate the starter, and hydrate the flour and seeds. Over-mixing rye dough can actually degrade its structure.
Combine your active sourdough starter, water, malt syrup (if using), salt, rye flour (both whole and light, as per recipe), and any soaked seeds or grains in a large bowl. Mix thoroughly with a sturdy spoon or a dough whisk until everything is just combined and there are no dry pockets of flour. The dough will resemble a thick batter or wet concrete rather than a traditional elastic dough. Don't be tempted to add more flour; the wetness is characteristic and necessary for the moist crumb. A few minutes of mixing is usually sufficient.
Tips for Handling and Mixing High-Hydration Rye Dough
Handling very wet rye dough can be a bit challenging compared to wheat dough, but a few tips make it easier. First, use a sturdy spoon, dough whisk, or a stand mixer with a paddle attachment for mixing, as the dough is too sticky for hand kneading. Second, embrace the stickiness; don't try to make it behave like wheat dough. Keep your hands or tools wet if you need to manipulate it briefly later.
When transferring the dough or shaping (discussed later), wetting your hands or spatula significantly reduces sticking. Remember that the structure in rye dough comes more from the starch and pentosans swelling with water during mixing and baking, rather than gluten development. So, focus on achieving an even mix and proper hydration rather than vigorous kneading. A well-mixed rye dough for easy Scandinavian rye bread will look shaggy and wet but uniform in color and texture.
Step 3: Bulk Fermentation: Developing Complex Flavors
Bulk fermentation is a crucial stage where the sourdough starter works its magic, developing flavor and producing carbon dioxide to leaven the bread. Unlike wheat dough, which might double in size, rye dough with high whole grain content often shows less visual rise during bulk fermentation. Instead, focus on the time and temperature, and look for subtle signs of fermentation, such as a slight increase in volume, a few bubbles on the surface, and a pleasant, tangy aroma developing.
The duration of bulk fermentation varies significantly depending on the temperature and the activity of your starter. At typical room temperature (around 20-24°C or 68-75°F), bulk fermentation for Rugbrød can take anywhere from 4 to 12 hours, sometimes even longer in cooler conditions. A longer, slower fermentation, perhaps overnight in a slightly cooler spot (16-18°C or 60-65°F), often results in a more complex, tangy flavor profile.
Optimizing Fermentation Time and Temperature for Rich Flavor Development
To optimize flavor, consider a long, slow bulk fermentation. While a few hours at warm room temperature might provide enough rise, an extended fermentation allows lactic acid bacteria in the starter more time to produce flavorful compounds. Aim for a fermentation time that allows the dough to develop a noticeable tangy aroma and perhaps increase in volume by 20-50%. Over-fermentation can lead to a very dense crumb and overly sour flavor, while under-fermentation results in a bland loaf with poor texture.
Experimenting with temperature can help control the fermentation speed. A warm spot will accelerate fermentation, while a cooler spot will slow it down. For a truly authentic easy Scandinavian rye bread flavor, don't rush this step. Taste development is key. Monitor the dough, paying attention to its smell and subtle changes in appearance rather than expecting a dramatic rise.
Step 4: Shaping the Loaf: Creating a Traditional Rectangular Shape
Shaping Rugbrød is different from shaping wheat loaves due to the wet, sticky nature of the dough. The traditional shape is a rectangular loaf, typically baked in a loaf pan. This shape is practical for slicing and fits well on open-faced sandwiches. Given the dough's consistency, shaping isn't about creating tension or structure as with wheat; it's primarily about transferring the dough into the pan cleanly and evenly.
After bulk fermentation, gently degas the dough slightly by stirring it down or turning it out onto a wet surface. The dough will still be very sticky. Use wet hands or a wet spatula/dough scraper to gather the dough. Transfer the dough into a well-greased or parchment-lined rectangular loaf pan. Parchment paper is highly recommended as it prevents sticking and makes removing the baked loaf much easier.
Techniques for Shaping and Pan Transferring Wet Rye Dough
To shape and transfer the wet rye dough smoothly, preparation is key. Ensure your loaf pan is generously greased or lined with parchment paper, allowing the parchment to extend over the sides for easy lifting. Wet your hands or use a wet dough scraper/spatula. Scoop the dough from the bulk fermentation container and drop it into the prepared pan.
Once the dough is in the pan, use your wet hands or a wet spatula to gently press it down and spread it evenly into the corners of the pan. Smooth the top surface as much as possible. There's no need for complex folding or shaping techniques; the pan provides the structure. The goal is simply to get the dough into the pan in a relatively uniform layer, ready for the final proof. This simplicity is part of what makes it an easy Scandinavian rye bread to handle compared to freeform loaves.
Step 5: Proofing: The Final Rise Before Baking
After shaping and placing the dough in the loaf pan, it undergoes a final proofing stage. Similar to bulk fermentation, rye dough in the pan will show less dramatic expansion than wheat dough. You're looking for a noticeable, but not massive, increase in volume – perhaps rising towards the top of the pan or slightly above the rim, depending on the recipe and pan size. The surface might also show small cracks or bubbles.
Proofing time varies based on temperature. At room temperature (20-24°C or 68-75°F), it might take 1-3 hours. You can also proof in a slightly warmer spot (up to 26°C or 80°F) to speed things up, but be careful not to overproof. Overproofed rye bread can collapse during baking or result in a gummy texture. The dough should look visibly lighter and feel somewhat airy compared to its state after mixing.
Ensuring a Proper Proof for Optimal Oven Spring
To ensure a proper proof, monitor the dough visually rather than relying solely on time. A good indicator is that the dough should look visibly expanded and the surface should appear less dense. You can also gently poke the surface with a wet finger; if the indentation slowly springs back halfway, it's likely ready. If it springs back immediately, it needs more time. If it leaves a permanent indentation, it might be slightly overproofed, but rye is often forgiving.
Cover the pan loosely with plastic wrap or a damp towel during proofing to prevent the surface from drying out and forming a crust too early. This helps the dough expand evenly. A well-proofed dough for easy Scandinavian rye bread is essential for achieving the desired texture and preventing a dense, brick-like loaf.
Step 6: Baking: Achieving a Dark, Caramelized Crust
Baking Rugbrød requires a relatively long time at moderate temperatures to ensure the dense interior cooks through without burning the crust. A common baking temperature range is 180-220°C (350-425°F). Many recipes start at a higher temperature for the first 15-20 minutes to encourage oven spring and crust development, then reduce the temperature for the remainder of the bake. The total baking time is often substantial, ranging from 60 to 90 minutes, sometimes even longer for very large or particularly dense loaves.
The goal is a deep brown, caramelized crust and a fully cooked interior. The internal temperature of the bread should reach at least 93-98°C (200-210°F) to ensure it's cooked through. Using an instant-read thermometer is the most reliable way to check for doneness. The crust will be firm and dark, adding another layer of flavor to the bread.
Baking Temperatures and Times for Perfect Rugbrød Texture
A common baking strategy for easy Scandinavian rye bread is to preheat the oven to 220°C (425°F), place the pan in the oven, and reduce the temperature to 180-190°C (350-375°F) after 15-20 minutes. Continue baking at the lower temperature for another 45-70 minutes, or until the internal temperature reaches the target range. If the crust is browning too quickly, you can loosely tent the loaf with aluminum foil.
Baking with steam during the initial phase (by placing a tray of hot water in the bottom of the oven) can help keep the crust supple for better oven spring, although it's less critical for pan-baked rye bread than for freeform loaves. Relying on the internal temperature reading is the best way to guarantee your Rugbrød is perfectly baked and avoids a gummy undercooked center.
Step 7: Cooling and Resting: Patience is Key to Flavor Development
This is arguably the most critical step for achieving the perfect Rugbrød texture and flavor. After baking, the bread must be cooled completely, which can take several hours, even up to 6-8 hours or overnight. During this time, residual heat continues to cook the interior, and the moisture within the loaf redistributes evenly. Cutting into the bread too soon will result in a gummy, unpleasant texture.
Furthermore, the flavors of Rugbrød, particularly the tanginess from the sourdough and the richness from the rye and malt, continue to develop and meld as the bread cools and rests. The bread often tastes even better the day after it's baked. Resist the temptation to slice into your beautiful loaf immediately!
Resting and Slicing for Optimal Taste and Texture
Once removed from the oven, transfer the loaf (still in or just out of the pan, depending on preference and if parchment was used) to a wire rack to cool. Ensure air can circulate around all sides. Allow the bread to cool completely to room temperature. This extended cooling period is non-negotiable for traditional easy Scandinavian rye bread.
When the bread is fully cooled, use a sharp, serrated knife to slice it thinly. Rugbrød is traditionally sliced very thinly, often just a few millimeters thick. Thin slices make it perfect for open-faced sandwiches and allow the dense texture to be enjoyed without being overwhelming. Slicing thinly also helps manage the richness and density of the bread.
Troubleshooting Common Rugbrød Baking Issues
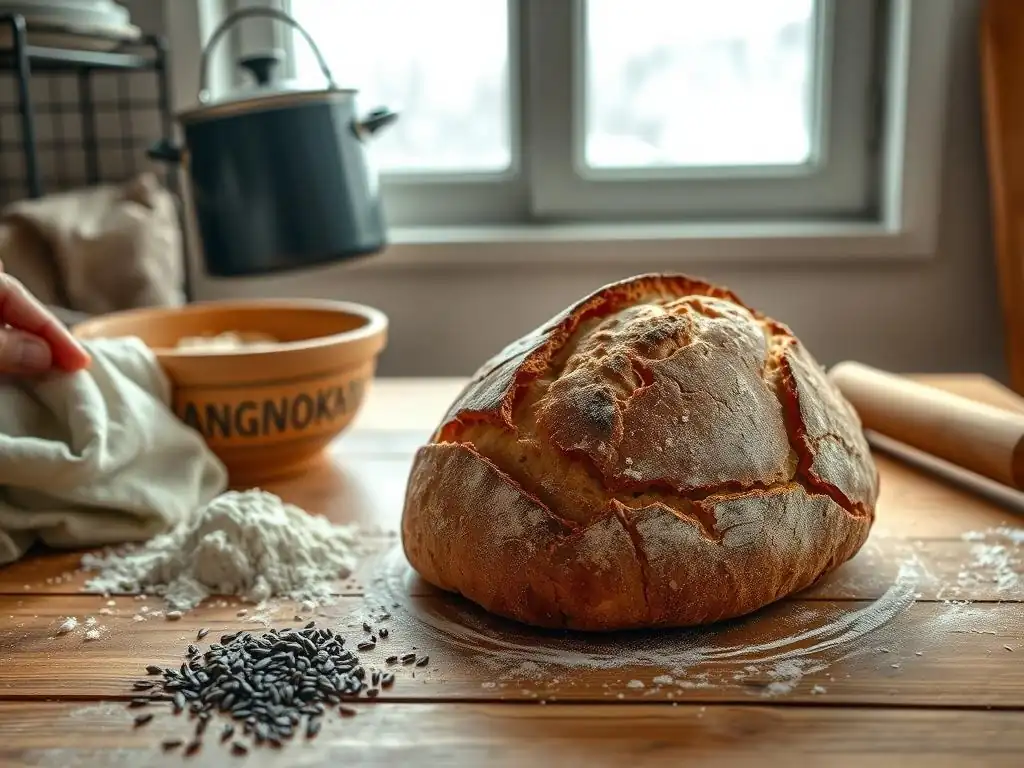
Dense and Gummy Texture: Identifying the Cause and Finding Solutions
One of the most common issues when baking Rugbrød is ending up with a loaf that is excessively dense or has a gummy, unpleasant texture. Several factors can contribute to this. The most frequent culprits are underbaking or slicing the bread before it has fully cooled and rested. As mentioned, rye bread requires a long bake and extensive cooling time (6+ hours) for moisture to redistribute and the internal structure to set properly. An internal temperature below 93°C (200°F) almost guarantees a gummy loaf.
Other potential causes include an inactive sourdough starter (leading to poor leavening), over-fermentation (which can cause the structure to collapse), or using insufficient hydration for the type of rye flour used. Ensure your starter is active, follow recommended fermentation times based on temperature, use enough water to create a very wet dough, and always bake until the internal temperature is reached, followed by a long, patient cool.
Lack of Sourness: Enhancing the Bread's Flavor Profile
If your homemade easy Scandinavian rye bread lacks the characteristic tangy flavor you expect from Rugbrød, the issue likely lies in the sourdough fermentation process. The sourness comes from the lactic and acetic acids produced by the bacteria in your sourdough starter. A faster, warmer fermentation tends to produce more lactic acid (milder tang), while a longer, cooler fermentation encourages acetic acid production (sharper tang).
To enhance sourness, try a longer bulk fermentation, perhaps overnight in a cooler spot (around 16-18°C / 60-65°F). Using a lower hydration starter (e.g., 60-80%) can also favor acetic acid production, though higher hydration is common for rye. Ensuring your starter is mature and healthy, with a good balance of yeast and bacteria, is also key. If using yeast, you simply won't achieve the same level of complex sourness, though adding a small amount of vinegar or citric acid during mixing can provide a hint of tang.
Difficulty Shaping the Dough: Techniques for Easier Handling
Working with the very wet and sticky nature of rye dough can be challenging, especially if you're used to handling drier wheat doughs. The key is to minimize direct handling and use tools and moisture to your advantage. Rye dough doesn't require the same kind of shaping that develops tension in wheat loaves; its structure comes from the pan.
Ensure you generously grease your loaf pan or, better yet, line it completely with parchment paper, leaving overhangs. This prevents sticking. When transferring the dough from your mixing bowl to the pan, use a wet spatula or dough scraper to scoop and guide the dough.
Wetting your hands slightly before gently pressing the dough into the pan corners and smoothing the top surface also helps prevent sticking. Don't try to form a neat ball or traditional loaf shape outside the pan; simply get the wet mass into the prepared pan as cleanly as possible. Embracing the dough's sticky nature is part of mastering easy Scandinavian rye bread.
Serving and Storing Your Homemade Rugbrød
Traditional Ways to Enjoy Rugbrød: Smørrebrød and Open-Faced Sandwiches
The most iconic way to enjoy Rugbrød is as Smørrebrød, the Danish open-faced sandwich. This involves topping thin slices of the dense rye bread with a variety of savory ingredients. Classic toppings include pickled herring, smoked salmon, hard-boiled eggs with mayonnaise and shrimp, cold cuts like roast beef or ham (often with remoulade and fried onions), liver pâté, and various cheeses. The dense, sturdy nature of the bread provides a perfect base that doesn't get soggy under the toppings.
Serving Rugbrød simply with butter and cheese is also common for breakfast or a snack. Its robust flavor also pairs wonderfully with soups and stews. The key is the thin slicing, which makes the dense bread manageable and allows the toppings to be the star. Exploring Smørrebrød variations is a delicious way to appreciate your homemade easy Scandinavian rye bread.
Tips for Storing Rugbrød to Maintain Freshness and Extend Shelf Life
Rugbrød has excellent keeping qualities due to its density, moisture content, and acidity from sourdough. A freshly baked loaf, properly cooled, can be stored at room temperature, tightly wrapped, for 3-5 days without significant loss of quality. To prevent it from drying out or molding, wrap it tightly in plastic wrap, beeswax wrap, or place it in a sealed bread bag after it has fully cooled. Avoid storing it in a paper bag at room temperature for extended periods, as this will cause it to dry out.
For longer storage, Rugbrød freezes exceptionally well. Once completely cooled, slice the loaf entirely or into halves/quarters. Wrap the portions tightly in plastic wrap, then place them in a freezer bag or aluminum foil. Frozen Rugbrød can maintain its quality for up to 3-4 months. To thaw, simply unwrap the desired portion and let it sit at room temperature for a few hours. Having a stash of frozen Rugbrød makes enjoying this easy Scandinavian rye bread convenient anytime.
Variations and Adaptations for Your Rugbrød Recipe
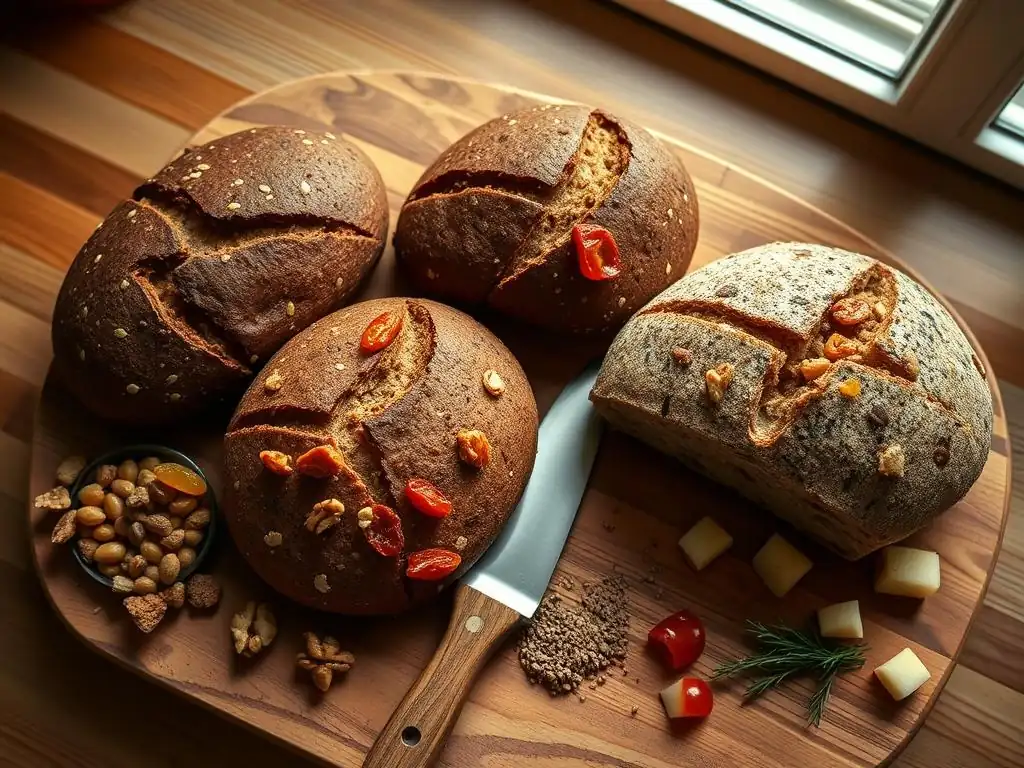
Adding Different Grains and Seeds for Unique Flavor Profiles
While sunflower and pumpkin seeds are traditional, you can easily adapt your easy Scandinavian rye bread recipe by incorporating other grains and seeds. Adding cracked rye, wheat berries, or oats can increase the chewiness and introduce new textures. Flax seeds provide healthy omega-3s and a slightly nutty flavor, while poppy seeds or sesame seeds add a delicate crunch and aroma to the crust.
Consider adding a "soaker" or "porridge" made from other grains like spelt or barley for added complexity. Simply soak the grains/seeds in an equal weight of hot water for several hours or overnight before adding them to the dough. The total weight of added grains and seeds can range from 10% to 30% or more of the total flour weight, depending on how dense and seedy you want the final loaf to be.
Exploring Different Rye Flour Blends
Traditional Rugbrød often uses a high percentage of whole rye flour, but varying the blend can change the bread's texture and flavor. Using a mix of whole rye and medium or light rye flour will result in a slightly less dense crumb and a milder rye flavor. You could also experiment with adding a small percentage (e.g., 10-20%) of other flours like whole wheat, spelt, or even a strong bread flour.
Adding some wheat flour will introduce more gluten, potentially making the dough slightly easier to handle and resulting in a loaf that is marginally less dense, though still very much a rye bread. Experimenting with different rye flour types and blends is a great way to customize your easy Scandinavian rye bread to your preferred texture and flavor intensity.
Creating Variations with Spices and Dried Fruits
While classic Rugbrød is typically savory and seedy, variations can include spices or even dried fruits for a different take. Caraway seeds are a common spice addition in many rye breads (though perhaps more common in German or Eastern European styles than strictly Danish), adding a distinct aromatic note. Fennel seeds or coriander seeds can also be used sparingly.
For a sweeter loaf, which is less traditional but enjoyable, you could incorporate dried fruits like raisins, cranberries, or chopped figs, along with spices like cinnamon or cardamom. These additions transform the bread into something closer to a fruit and nut loaf, delicious with butter or cream cheese. These variations show the versatility of the rye base, allowing you to explore different flavor profiles with your easy Scandinavian rye bread.
Conclusion: Enjoy the Taste of Denmark with Your Homemade Rugbrød
Making authentic Scandinavian rye bread, or Rugbrød, at home is a rewarding experience. It allows you to connect with a rich baking tradition and create a loaf that is not only incredibly nutritious but also bursting with complex, hearty flavors. While the process differs from baking wheat bread, it is surprisingly straightforward once you understand the unique properties of rye flour and the importance of patience during fermentation and cooling.
From understanding the role of rye flour and sourdough to mastering the long bake and crucial cooling period, each step contributes to the final dense, moist, and flavorful result. Baking your own easy Scandinavian rye bread offers control over ingredients, cost savings, and the immense satisfaction of pulling a beautiful, dark loaf from your oven.
Embrace the Art of Rugbrød Baking with Confidence
Don't be intimidated by the density or the long baking time. With a good recipe and attention to the key steps – using an active starter, ensuring proper hydration, allowing sufficient fermentation and, most importantly, cooling time – you can successfully bake delicious Rugbrød. Each loaf you bake will deepen your understanding of this unique bread and refine your technique.
Embrace the process, enjoy the earthy aroma filling your kitchen, and look forward to thinly slicing your creation for a traditional Smørrebrød experience or simply with butter. Baking easy Scandinavian rye bread is a journey into the heart of Nordic baking, and the result is a truly exceptional bread that is as good for you as it is delicious. Happy baking!
Frequently Asked Questions
Scandinavian rye bread is a dense, flavorful bread made primarily from rye flour. It is known for its nutty taste and is often enjoyed with various toppings.
To make Scandinavian rye bread, follow our easy recipe that includes simple steps and common ingredients. We provide a detailed guide to ensure success, even for beginners!
What makes this rye bread different from regular bread?
Scandinavian rye bread typically has a higher rye flour content than regular bread, resulting in a denser texture and a more complex flavor profile. It is also often made using sourdough techniques.
Can I use whole wheat flour instead of rye flour?
While you can substitute whole wheat flour, it will alter the flavor and texture of the bread. For an authentic taste, we recommend using rye flour as specified in our guide.
To keep your Scandinavian rye bread fresh, store it in a cool, dry place wrapped in a cloth or paper bag. For longer storage, consider freezing it to maintain its deliciousness!
Final Reflection: The Enduring Appeal of Simple, Delicious Bread
The art of baking, especially the creation of hearty, flavorful breads like Scandinavian rye, connects us to a rich culinary heritage while offering a deeply satisfying experience in the present. This simple act of kneading, rising, and baking transcends mere sustenance; it becomes a mindful practice, a connection to tradition, and a source of immense personal reward. The ease with which you can now create this complex-tasting bread, as outlined in this guide, makes this connection accessible to everyone.
The enduring popularity of Scandinavian rye bread speaks volumes about our desire for authentic, wholesome food. It's a testament to the power of simple ingredients transformed into something extraordinary. The comforting aroma filling your kitchen as the bread bakes, the satisfying chewiness of the crust, the deep, complex flavor – these are experiences that resonate deeply. As the renowned food writer, M.F.K. Fisher, once wrote: First we eat. Then we do everything else.
This bread, in its simplicity and deliciousness, embodies this fundamental truth, reminding us of the importance of nourishing ourselves, both physically and spiritually.
Now, consider your own kitchen. Imagine the warmth of that freshly baked loaf, the pride in creating something delicious and meaningful from scratch. Take the time to bake this bread. Embrace the process, savor the aroma, and share the joy with those you love. Let this simple act be a reminder of the power of tradition, the satisfaction of creation, and the enduring appeal of truly good food. You might be surprised at the profound impact this seemingly small act can have on your life.
Unleash Your Inner Baker: Craft the Perfect Rye!
Thanks for joining us on this baking adventure! We hope you've gained the confidence to tackle the delicious challenge of Scandinavian rye bread. Ready to take your newfound skills to the next level?
- Bake your own loaf today! Use our recipe as a starting point, experimenting with different flours and spices to create your signature rye.
- Share your baking journey! Post a picture of your masterpiece on social media and tag us – we’d love to see your results!
- Explore our other bread recipes on BakeWithEase.com for even more baking inspiration.
What unique twist will you add to your next rye bread creation?