
Baking Rye Bread in a Loaf Pan: Classic Shape, Easy Bake

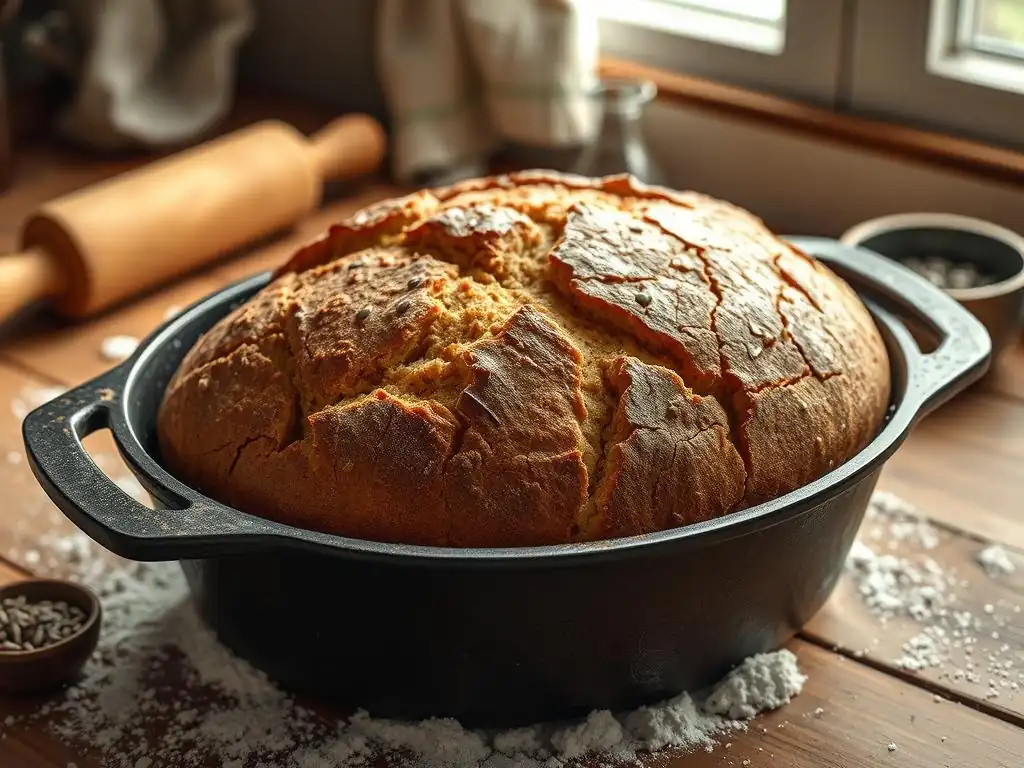
Welcome to BakeWithEase, your baking journey starts here! Ever wondered how to consistently bake a perfectly shaped rye bread loaf? Our guide unlocks the secrets to achieving that classic bakery-style look using a simple rye bread loaf pan. Discover the techniques and tips that will transform your rye bread baking from ordinary to extraordinary. Let's get baking!
- Baking Deli-Style Rye Bread in a Loaf Pan: Classic Shape, Easy Bake
- Introduction to Baking Deli-Style Rye Bread in a Loaf Pan
- Understanding Deli-Style Rye Bread Ingredients for Loaf Pan Baking
- Step-by-Step Guide: Baking Deli-Style Rye Bread in a Loaf Pan
- Tips and Tricks for Baking the Best Deli-Style Rye Bread Loaf
- Storing Your Homemade Deli-Style Rye Bread Loaf
- Deli-Style Rye Bread Loaf Pan Recipe: A Detailed Guide
- Enjoying Your Freshly Baked Deli-Style Rye Bread Loaf
- Conclusion: Mastering Deli-Style Rye Bread Baking at Home
-
Frequently Asked Questions
- What is the best size loaf pan to use for baking rye bread?
- Can I use a different type of pan besides a loaf pan for rye bread?
- What temperature should I bake rye bread at in a loaf pan?
- How do I prevent my rye bread from sticking to the loaf pan?
- How long should I let rye bread cool in the loaf pan before removing it?
- Final Reflection: The Humble Loaf, a Timeless Tradition
- Unleash Your Inner Baker: Bake a Rye Loaf Today!
Baking Deli-Style Rye Bread in a Loaf Pan: Classic Shape, Easy Bake
Introduction to Baking Deli-Style Rye Bread in a Loaf Pan
Why Bake Deli-Style Rye Bread in a Loaf Pan? The Advantages
Baking deli-style rye bread in a loaf pan offers distinct advantages, making it an excellent choice for home bakers, especially those new to rye or preferring a consistent result. The most obvious benefit is the predictable shape. Unlike freeform loaves that can spread horizontally, a loaf pan guides the dough upwards, resulting in a uniform, rectangular loaf that is easy to slice evenly. This is particularly useful for sandwiches, the classic use for deli-style rye. Using a standard 9x5 inch loaf pan typically accommodates dough for a 1.5 to 2 pound loaf, a very common size for homemade bread.
Furthermore, baking in a loaf pan simplifies the baking process. It eliminates the need for specialized equipment like baking stones or Dutch ovens, which are often used for freeform loaves to achieve a good crust and rise. The loaf pan provides support during the bake, helping the bread maintain its structure as it expands. This controlled environment can lead to a more consistent crumb structure throughout the loaf. For many home bakers, the reliability and ease of slicing a loaf baked in a rye bread loaf pan are compelling reasons to choose this method.
A Simple Guide to Deli-Style Rye Bread
Deli-style rye bread is known for its dense crumb, tangy flavor (often from a preferment or souring agent), and the characteristic aroma of caraway seeds. It's a staple in delicatessens, perfect for pastrami or corned beef sandwiches. Our guide focuses on achieving this classic bread using the accessibility of a loaf pan. We'll walk you through the process, from understanding the unique properties of rye flour to shaping and baking your perfect rye bread loaf pan creation.
Baking deli-style rye bread in a loaf pan is a rewarding process. It involves standard bread-making steps—mixing, kneading, proofing, shaping, and baking—but with specific considerations for rye flour, which behaves differently than wheat flour. This guide is designed to be straightforward, breaking down each stage so you can confidently bake a delicious, authentic-tasting rye bread loaf right in your own kitchen.
Understanding Deli-Style Rye Bread Ingredients for Loaf Pan Baking
Types of Rye Flour: Light, Medium, and Dark
Rye flour comes in various grades, primarily based on how much of the rye kernel is included and how finely it's milled. Light rye flour contains mostly the starchy endosperm and is lighter in color and flavor. It has less impact on gluten development and results in a lighter loaf. Medium rye flour includes more of the bran and germ, offering a stronger rye flavor and darker color. Dark rye flour, including pumpernickel, is milled from the whole kernel, including all the bran and germ. It has the strongest flavor, darkest color, and highest fiber content.
The choice of rye flour significantly impacts the final characteristics of your rye bread loaf pan creation. For a classic deli-style rye, a blend of medium or dark rye flour with bread flour (hard wheat flour) is common. Rye flour contains less gluten-forming proteins than wheat flour, and its pentosans (complex carbohydrates) absorb a lot of water and can interfere with gluten development. Using a mix, for example, 60-70% bread flour and 30-40% rye flour (often medium or dark), provides enough structure from the wheat gluten while imparting the distinct rye flavor and color.
Essential Ingredients: Flour, Yeast, Caraway Seeds, and More
Beyond the base flours (rye and wheat), several key ingredients contribute to the signature taste and texture of deli-style rye bread baked in a loaf pan. Yeast, whether active dry or instant, is the leavening agent, producing carbon dioxide that makes the dough rise.
For a standard loaf, about 1 to 2 teaspoons of instant yeast or 2 to 2.5 teaspoons of active dry yeast is typical for a recipe using around 3-4 cups of flour total. Salt is crucial for flavor, controlling yeast activity, and strengthening the gluten structure; generally, 1.5 to 2% of the total flour weight is a good starting point.
Caraway seeds are perhaps the most iconic flavoring in deli-style rye bread. Their warm, slightly anise-like flavor is unmistakable. Typically, 1 to 2 tablespoons of whole caraway seeds are added per loaf.
Other common additions can include a touch of sugar or molasses for sweetness and color, a small amount of oil or butter for tenderness, and often a souring agent like vinegar, lemon juice, or a rye sourdough starter (if not using a preferment) to replicate the tangy flavor traditionally achieved through extended fermentation or commercial souring agents. These ingredients work together to create the distinctive profile of a rye bread loaf pan baked loaf.
The Importance of Water and Hydration in Deli-Style Rye Bread Dough
Water is a critical component in any bread dough, and particularly so in rye dough. It hydrates the flour, activates the yeast, and allows for gluten development in the wheat portion. The amount of water used, relative to the flour weight, is known as hydration. Rye flour absorbs significantly more water than wheat flour due to its high pentosan content. This means that a rye dough often feels stickier and less elastic than a pure wheat dough at the same hydration level.
A typical hydration level for a deli-style rye bread dough suitable for a loaf pan might range from 65% to 75%. Higher hydration levels can result in a moister, more open crumb, while lower hydration makes the dough easier to handle and shape. However, too little water can lead to a dry, dense loaf.
Finding the right hydration is key; the dough should be shaggy and slightly sticky but still manageable enough to knead and shape into a loaf for your rye bread loaf pan. Adjusting water slightly based on the specific flour used and environmental conditions is often necessary.
Step-by-Step Guide: Baking Deli-Style Rye Bread in a Loaf Pan
Step 1: Preparing the Deli-Style Rye Bread Dough
Mixing the Ingredients: Achieving the Right Consistency
Begin by combining the dry ingredients: flours (rye and wheat), yeast, salt, and caraway seeds in a large mixing bowl. Whisk them together to ensure even distribution. In a separate bowl or measuring cup, combine the warm water (typically between 100-110°F or 38-43°C for active dry yeast, slightly cooler for instant yeast if mixing directly with flour) with any liquid sweeteners like molasses or vinegar. Pour the wet ingredients into the dry ingredients and mix using a sturdy spoon or a stand mixer with a dough hook until a shaggy dough forms and all the flour is hydrated.
The consistency at this stage should be somewhat sticky but not completely wet. It should pull away from the sides of the bowl, though some dough may stick to the bottom. If the dough seems too dry, add a tablespoon of water at a time until it comes together. If it's too wet, add a tablespoon of bread flour. Aim for a cohesive mass that is ready for kneading. This initial mix is crucial for developing the structure of your rye bread loaf pan dough.
Kneading the Dough: Developing Gluten for Structure
Kneading develops the gluten network in the wheat flour, providing the structure that allows the dough to rise and hold its shape. For deli-style rye bread, which contains a percentage of rye flour (which doesn't form gluten), the kneading time is typically shorter than for a pure wheat bread. Knead the dough on a lightly floured surface or using a stand mixer for about 6-10 minutes.
The dough is adequately kneaded when it becomes smoother and more elastic. While it won't pass the "windowpane test" as easily as a pure wheat dough due to the rye flour, it should feel less sticky and more manageable. If kneading by hand, use the heel of your hand to push the dough away from you, fold it back over, and rotate, repeating the process.
In a stand mixer, the dough should slap against the sides of the bowl and gather around the dough hook. Proper kneading is important for the final texture of your rye bread loaf pan baked loaf.
Step 2: First Proofing: Allowing the Dough to Rise
Optimal Conditions for First Proofing
The first proof, also known as bulk fermentation, is when the yeast produces carbon dioxide, causing the dough to expand. Place the kneaded dough in a lightly greased bowl, turning it to coat all sides. Cover the bowl tightly with plastic wrap or a damp cloth to prevent the surface from drying out. The ideal environment for proofing is a warm, draft-free place.
A temperature range of 75-80°F (24-27°C) is excellent for yeast activity. Common spots include a slightly warm oven (turned off), on top of the refrigerator, or simply at room temperature if your kitchen is warm. The duration of the first proof depends on the temperature and the amount of yeast used, but it typically takes 1 to 2 hours, or until the dough has roughly doubled in size. Rye doughs can sometimes take a bit longer than pure wheat doughs. This rise is vital for the airy texture of your final rye bread loaf pan creation.
Step 3: Shaping the Deli-Style Rye Bread Loaf
Preparing Your Loaf Pan: Greasing and Flouring
Proper pan preparation prevents the dough from sticking and ensures your beautiful rye bread loaf pan creation releases easily after baking. Grease the inside of your loaf pan thoroughly using butter, shortening, or a non-stick cooking spray. Pay attention to the corners and edges.
For an extra layer of non-stick insurance and a rustic look, you can lightly flour the greased pan. Sprinkle a tablespoon or two of flour (wheat or rye) into the pan after greasing, then tilt and tap the pan to coat the bottom and sides evenly. Pour out any excess flour. This step ensures your loaf slides out cleanly. A standard 9x5 inch metal loaf pan is the typical choice for baking rye bread in a loaf pan.
Shaping Techniques for a Perfect Loaf
After the first proof, gently turn the dough out onto a lightly floured surface. Degas the dough gently by pressing it down to release some of the built-up gases. For a loaf pan, the goal is to create a compact log that fits snugly into the pan. One common method is to shape the dough into a rectangle roughly the width of your loaf pan. Fold the top edge down to the center, press to seal, then fold the bottom edge up over the previous fold, pressing again.
Finally, roll the dough into a tight log, starting from one end. Pinch the seam closed along the bottom. Ensure the ends are also tucked under or sealed to create a smooth surface. The finished log should be slightly shorter than the length of your loaf pan. Place the shaped dough seam-side down into the prepared rye bread loaf pan. This careful shaping ensures an even rise and a well-formed loaf.
Step 4: Second Proofing: Final Rise in the Loaf Pan
Ensuring a Proper Second Proof
The second proof, or final proof, allows the shaped dough to rise again before baking. Cover the loaf pan loosely with plastic wrap or a light kitchen towel. Place the pan in a warm, draft-free location, similar to the first proofing environment. This proof is typically shorter than the first.
Allow the dough to rise until it has increased significantly in volume and looks puffy. It should rise to just about level with or slightly above the rim of the rye bread loaf pan. This usually takes about 30-60 minutes, depending on the ambient temperature. You can test if it's ready by gently pressing a finger into the dough; if the indentation springs back slowly or only partially, it's ready to bake. If it springs back immediately, it needs more time. Be careful not to overproof, as this can cause the loaf to collapse in the oven.
Step 5: Baking the Deli-Style Rye Bread Loaf
Oven Temperature and Baking Time
Preheating your oven correctly is essential for a good bake. Preheat your oven to the recommended temperature, typically between 375°F and 400°F (190°C and 200°C) for baking rye bread in a loaf pan. The higher temperature helps the loaf achieve a good initial rise (oven spring) and develop a crust. Allow at least 20-30 minutes for the oven to fully preheat and stabilize at the set temperature.
Place the loaf pan in the center of the preheated oven. The baking time for a standard 1.5 to 2 pound rye bread loaf in a pan is usually between 35 and 50 minutes. The exact time will vary depending on your oven and the size of the loaf. A reliable way to check for doneness is to use an instant-read thermometer. The internal temperature of the bread should reach 190-200°F (88-93°C).
Achieving a Golden-Brown Crust
During the baking process, the Maillard reaction and caramelization contribute to the crust's color and flavor. For deli-style rye bread, a dark, rich crust is desirable. Baking at a slightly higher temperature towards the beginning of the bake can help achieve this. Some bakers also like to brush the top of the loaf with water or an egg wash before baking for a glossier finish.
Towards the end of the baking time, keep an eye on the crust. If it is browning too quickly, you can loosely tent the top of the rye bread loaf pan with aluminum foil to prevent it from burning while the inside finishes baking. The loaf should sound hollow when tapped on the bottom. Once it reaches the target internal temperature and has a satisfying color, it's ready to come out of the oven.
Step 6: Cooling and Slicing: The Finishing Touches
Cooling the Deli-Style Rye Bread Properly
Once the rye bread loaf pan is removed from the oven, resist the urge to slice into it immediately! This is a crucial step. Carefully remove the loaf from the pan as soon as possible after baking – leaving it in the hot pan can cause the bottom crust to become soggy. Place the loaf on a wire rack to cool completely.
Cooling allows the internal structure of the bread to set and moisture to redistribute evenly throughout the loaf. Slicing hot bread can result in a gummy texture. A standard-sized rye bread loaf baked in a pan should cool for at least 1.5 to 2 hours, preferably longer, before slicing. Patience here is rewarded with better texture and flavor in your rye bread loaf.
Slicing Tips for a Perfect Loaf
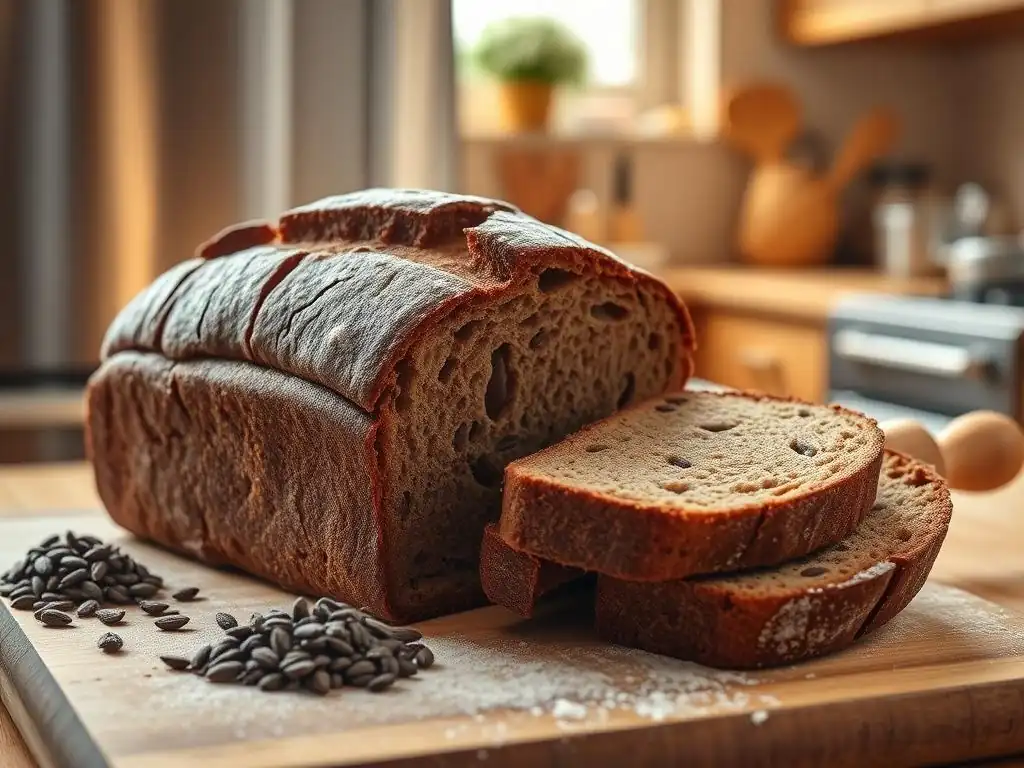
Once completely cool, your homemade deli-style rye bread loaf is ready to be sliced and enjoyed. Use a sharp serrated bread knife for the cleanest cuts. A serrated knife works by sawing through the crust and crumb without compressing the soft interior.
Place the loaf on a stable cutting surface. Use a gentle sawing motion, applying even pressure. Avoid pressing down hard, which can flatten the loaf. Slice the bread to your desired thickness, whether thin slices for sandwiches or thicker slices for toasting. Enjoy the aroma and texture of your perfectly baked rye bread loaf pan creation!
Tips and Tricks for Baking the Best Deli-Style Rye Bread Loaf
Achieving the Perfect Crust on Your Rye Loaf
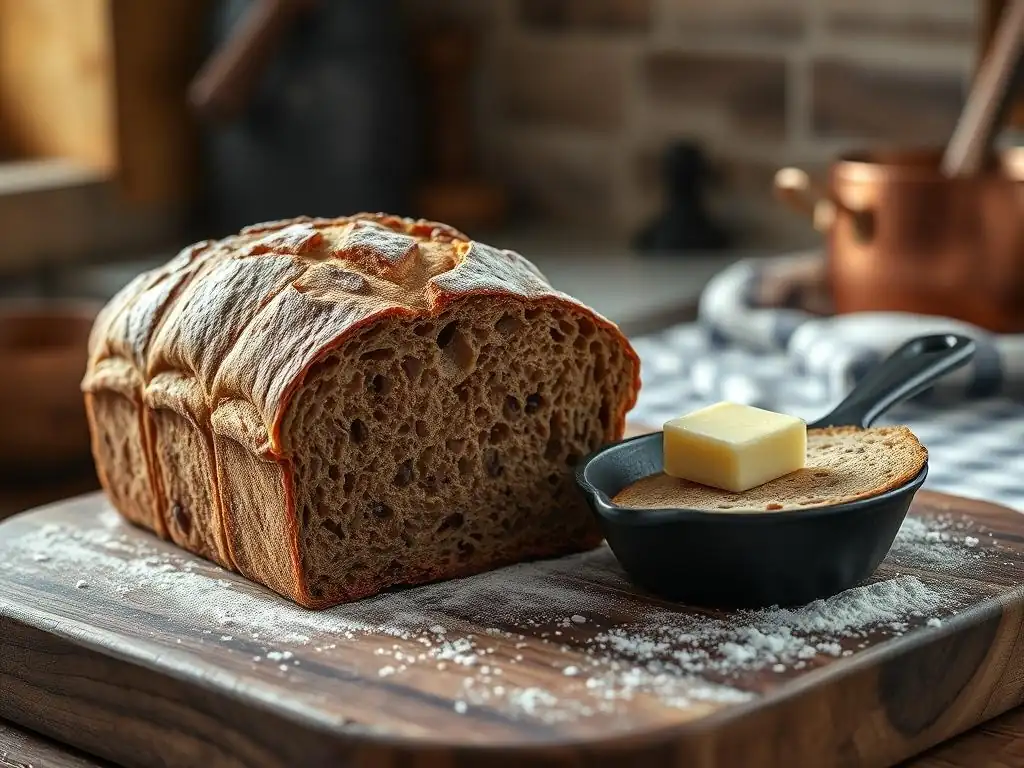
A hallmark of great deli-style rye bread is a firm, flavorful crust. Baking in a rye bread loaf pan can still yield a good crust, although it might differ slightly from a freeform loaf baked with steam. To encourage a crispier crust, ensure your oven is fully preheated. Some bakers like to place a pan of hot water on the bottom rack of the oven during the first few minutes of baking to create a humid environment, which delays crust formation and allows for better oven spring.
Another technique is to bake the loaf uncovered for the entire time. While tenting with foil is useful if it's browning too fast, letting it bake exposed allows the crust to fully develop. For a darker, richer crust, you can brush the top of the loaf with a mixture of water and cornstarch (a "wash") before baking, or simply with water. Baking until the internal temperature reaches the upper end of the recommended range (close to 200°F) also ensures the crust is fully developed and firm.
Troubleshooting Common Rye Bread Baking Issues
Baking rye bread can sometimes present unique challenges compared to wheat bread. One common issue is a dense or heavy crumb. This can be caused by using too much rye flour (especially dark rye), insufficient kneading (not enough gluten development from the wheat flour), under-proofing, or over-proofing. Ensure you use a recipe with a balanced ratio of rye to wheat, knead sufficiently, and proof the dough correctly in your rye bread loaf pan.
Another issue can be sticking in the pan. This is almost always due to inadequate greasing and flouring of the rye bread loaf pan before adding the dough. Be generous with your fat and flour. If the loaf sticks, try running a thin spatula around the edges after it cools slightly but before it's completely cold. Cracking on the crust can sometimes occur if the dough surface dries out during proofing or if there isn't enough steam in the oven; ensuring the dough is covered during proofing and considering adding a steam pan can help.
Adjusting the Sourness: Using a Starter or Sour Salt
Deli-style rye bread often has a distinct tangy flavor. This sourness can be achieved in several ways. Traditionally, it comes from a rye sourdough starter, which provides natural leavening and acidity through lactic and acetic acid production during fermentation. Using a portion of active rye sourdough starter in your dough, along with commercial yeast for a reliable rise, is a classic method.
If you don't use a sourdough starter, you can add commercial souring agents. Food-grade lactic or acetic acid can be added in small amounts. More commonly, bakers use ingredients like vinegar (white vinegar or apple cider vinegar) or lemon juice, typically a tablespoon or two per loaf, added to the liquid ingredients. Some older recipes might mention "sour salt" (actually citric acid), which provides a sharp tang. Experimenting with these additions allows you to customize the sourness of your rye bread loaf pan bake to your preference.
Storing Your Homemade Deli-Style Rye Bread Loaf
Best Practices for Keeping Deli-Style Rye Bread Fresh
Proper storage is key to enjoying your homemade rye bread loaf pan creation for as long as possible. Once the loaf is completely cool, store it at room temperature. Avoid refrigerating bread, as it can actually cause it to stale faster due to a process called starch retrogradation.
The best way to store rye bread is wrapped tightly. A linen bread bag or a cotton towel allows some air circulation while protecting the crust. For longer storage or in humid environments, a plastic bag or plastic wrap works well to prevent drying out, though it may soften the crust slightly. An airtight container is also suitable. Stored properly at room temperature, a rye bread loaf baked in a pan should stay fresh for 3-5 days.
Freezing Rye Bread for Later Enjoyment
If you won't finish your rye bread loaf pan creation within a few days, freezing is an excellent option to preserve its quality. Ensure the loaf is completely cool before freezing. You can freeze the entire loaf, half a loaf, or slice it first. Freezing sliced bread is incredibly convenient, as you can pull out just the amount you need.
To freeze, wrap the bread tightly in plastic wrap, then place it in a freezer-safe bag or wrap it again in aluminum foil. This double layer of protection helps prevent freezer burn. Frozen sliced rye bread can last for several months (up to 3-4 months) without significant loss of quality. Thaw whole or half loaves at room temperature. Slices can often be popped directly into a toaster or toaster oven from frozen.
Deli-Style Rye Bread Loaf Pan Recipe: A Detailed Guide
Ingredient List and Measurements
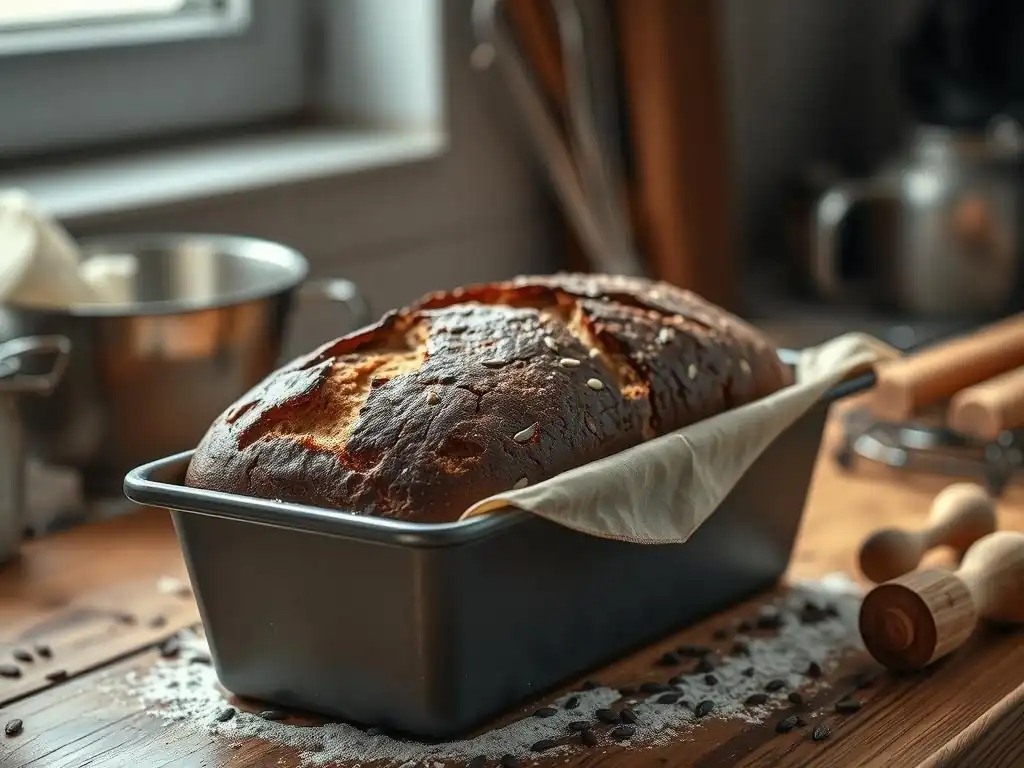
Here is a typical ingredient list for a standard 1.5-pound deli-style rye bread loaf baked in a 9x5 inch loaf pan.
- 1 cup (240ml) warm water (100-110°F / 38-43°C)
- 1.5 teaspoons instant yeast (or 2 teaspoons active dry yeast)
- 1 tablespoon sugar or molasses (optional, for color and flavor)
- 1 tablespoon white vinegar or apple cider vinegar (for tang)
- 1 teaspoon salt
- 1.5 cups (180g) medium or dark rye flour
- 2.5 cups (300g) bread flour
- 1-2 tablespoons caraway seeds
- 1 tablespoon melted butter or vegetable oil (optional, for tenderness)
- Extra flour for dusting
- Butter or spray for greasing the rye bread loaf pan
Step-by-Step Instructions
- Activate Yeast (if using active dry): If using active dry yeast, combine warm water, sugar (if using), and yeast in a large bowl. Let sit for 5-10 minutes until foamy. If using instant yeast, skip this step and add yeast directly with dry ingredients.
- Mix Dough: Add salt, vinegar, rye flour, bread flour, caraway seeds, and melted butter (if using) to the bowl with the yeast mixture (or just add all dry ingredients and wet ingredients if using instant yeast). Mix with a spoon or dough hook until a shaggy dough forms.
- Knead: Turn the dough out onto a lightly floured surface and knead for 8-10 minutes by hand, or 6-8 minutes in a stand mixer, until the dough is smoother and more elastic. It will still be somewhat sticky due to the rye.
- First Proof: Lightly grease a clean bowl. Place the dough in the bowl, turning to coat. Cover tightly with plastic wrap. Let rise in a warm place (75-80°F) for 1-1.5 hours, or until roughly doubled in size.
- Prepare Pan: Generously grease and lightly flour a 9x5 inch rye bread loaf pan.
- Shape Loaf: Gently turn the dough onto a lightly floured surface and gently deflate. Shape the dough into a log slightly shorter than the length of your rye bread loaf pan. Pinch the seam closed and tuck the ends under.
- Second Proof: Place the shaped dough seam-side down in the prepared rye bread loaf pan. Cover loosely with plastic wrap. Let rise in a warm place for 30-45 minutes, or until it has risen to just above the rim of the pan and looks puffy.
- Preheat Oven: While the dough is proofing, preheat your oven to 375°F (190°C).
- Bake: Place the loaf pan in the preheated oven. Bake for 40-50 minutes, or until the internal temperature reaches 190-200°F (88-93°C) and the crust is golden brown.
- Cool: Carefully remove the loaf from the pan immediately after baking and place it on a wire rack to cool completely for at least 1.5-2 hours before slicing.
Enjoying Your Freshly Baked Deli-Style Rye Bread Loaf
Serving Suggestions: Pairing Rye Bread with Food
Your homemade deli-style rye bread loaf is incredibly versatile and pairs wonderfully with a variety of foods. The classic pairing is, of course, with deli meats like pastrami, corned beef, or smoked turkey, often piled high with coleslaw or sauerkraut and Russian dressing for a Reuben or Rachel sandwich. The tangy, caraway-infused bread perfectly complements the rich, savory flavors of the meat.
Beyond sandwiches, rye bread is excellent with cheese. Try it toasted with sharp cheddar or Swiss cheese. It also makes a fantastic base for open-faced sandwiches, perhaps topped with smoked salmon and cream cheese or sliced hard-boiled eggs. Consider serving slices alongside soups or stews, like a hearty beef stew or a creamy tomato soup, for dipping. The robust flavor of the rye bread loaf holds up well to strong flavors.
Different ways to use your Rye Bread
Don't limit your rye bread loaf pan creation to just sandwiches! Leftover or slightly stale rye bread can be transformed into delicious croutons for salads or soups. Simply cube the bread, toss with olive oil or melted butter, herbs, and salt, then bake until crispy.
Rye bread also makes a flavorful base for breadcrumbs, which can be used in meatballs, as a coating for fried foods, or as a topping for casseroles. For a unique twist, try making rye bread pudding, which offers a denser, more savory version of the classic dessert. Even simple toast with butter or jam is elevated by the distinctive taste of homemade rye bread.
Conclusion: Mastering Deli-Style Rye Bread Baking at Home
Baking deli-style rye bread in a loaf pan is a rewarding journey that brings the taste of a classic deli staple into your own kitchen. By understanding the role of different rye flours, the importance of hydration, and mastering the steps of mixing, kneading, proofing, shaping, and baking, you can consistently produce delicious, authentic loaves.
Using a rye bread loaf pan simplifies the process, ensuring a perfect shape for slicing and easy handling during the bake. With a little practice and attention to detail, you'll be confidently baking beautiful and flavorful rye bread loaves that are perfect for sandwiches, toast, or simply enjoying on their own. So grab your ingredients, prepare your loaf pan, and get ready to enjoy the satisfying aroma and taste of freshly baked deli-style rye bread.
Frequently Asked Questions
What is the best size loaf pan to use for baking rye bread?
A standard 9x5 inch loaf pan is generally recommended for baking rye bread. This size provides a good balance between crust and crumb, ensuring a well-shaped loaf. Alternative sizes can be used, but may require adjustments to baking time.
Can I use a different type of pan besides a loaf pan for rye bread?
While a loaf pan is traditional, you can experiment. Using a round cake pan or even a dutch oven could work, but it will alter the shape and potentially the baking time. Keep a close eye on it.
What temperature should I bake rye bread at in a loaf pan?
Rye bread typically bakes well at around 350-375°F (175-190°C). This temperature allows for even cooking and a nicely browned crust, without drying out the inside. Always check for doneness with a thermometer or toothpick.
How do I prevent my rye bread from sticking to the loaf pan?
Greasing and flouring the pan thoroughly is crucial. You can also use parchment paper to line the pan for easy removal. Ensure the pan is prepared before adding the dough.
How long should I let rye bread cool in the loaf pan before removing it?
Allow the rye bread to cool in the loaf pan for about 10-15 minutes before attempting to remove it. This allows the bread to set slightly, preventing it from crumbling or breaking. Cooling too long can result in a soggy bottom crust.
Final Reflection: The Humble Loaf, a Timeless Tradition
The perfect rye bread loaf, achieved with ease in a simple loaf pan, is more than just a recipe; it's a testament to the enduring power of tradition and the joy of homemade baking. This article explored the surprisingly straightforward process of baking a classic rye loaf, dispelling the myth that this hearty bread requires complex techniques or specialized equipment. The accessibility of this method, coupled with the satisfying results, makes it a perfect entry point for both novice and experienced bakers alike.
The enduring appeal of rye bread, particularly when baked in a familiar loaf pan shape, lies in its comforting familiarity and its ability to connect us to generations past. The simple act of shaping the dough, watching it rise, and finally, the intoxicating aroma filling the kitchen as it bakes, evokes a sense of connection to something larger than ourselves. As the poet Mary Oliver so eloquently put it: What is it you plan to do with your one wild and precious life?
Baking this bread, in its simple perfection, feels like a small but meaningful answer to that question. It's a mindful act, a celebration of simple ingredients transformed into something beautiful and nourishing.
Now, consider your own kitchen. Think about the possibilities: the warm, crusty loaf cooling on a wire rack, the satisfying thud as you slice into it, the rich, complex flavor unfolding with each bite. Don't let the perceived complexity of rye bread hold you back. Embrace the simplicity of this method, gather your ingredients, and experience the profound satisfaction of creating something delicious and meaningful with your own two hands. The journey from flour to finished loaf is a rewarding one, and the taste of homemade rye bread, warm from the oven, is a reward in itself.
Unleash Your Inner Baker: Bake a Rye Loaf Today!
Thanks for taking the time to explore the world of rye bread baking with us! We hope you gained valuable insights and feel inspired to create your own delicious loaf. Ready to get your hands messy?
- Bake your own rye bread masterpiece: Follow the recipe steps again, experimenting with different additions like seeds or herbs. This time, see if you can perfect that beautiful, even crust.
- Share your baking journey: Post a picture of your finished loaf on social media – tag us if you like! We love seeing your creations.
- Discover more classic bread recipes: Dive into our other bread-making guides on BakeWithEase.com and expand your baking repertoire! You might be surprised by what you discover.
What unique ingredient will you add to your next rye bread creation to make it truly your own?