
Cold Fermentation: How Time Improves Your Rustic Bread

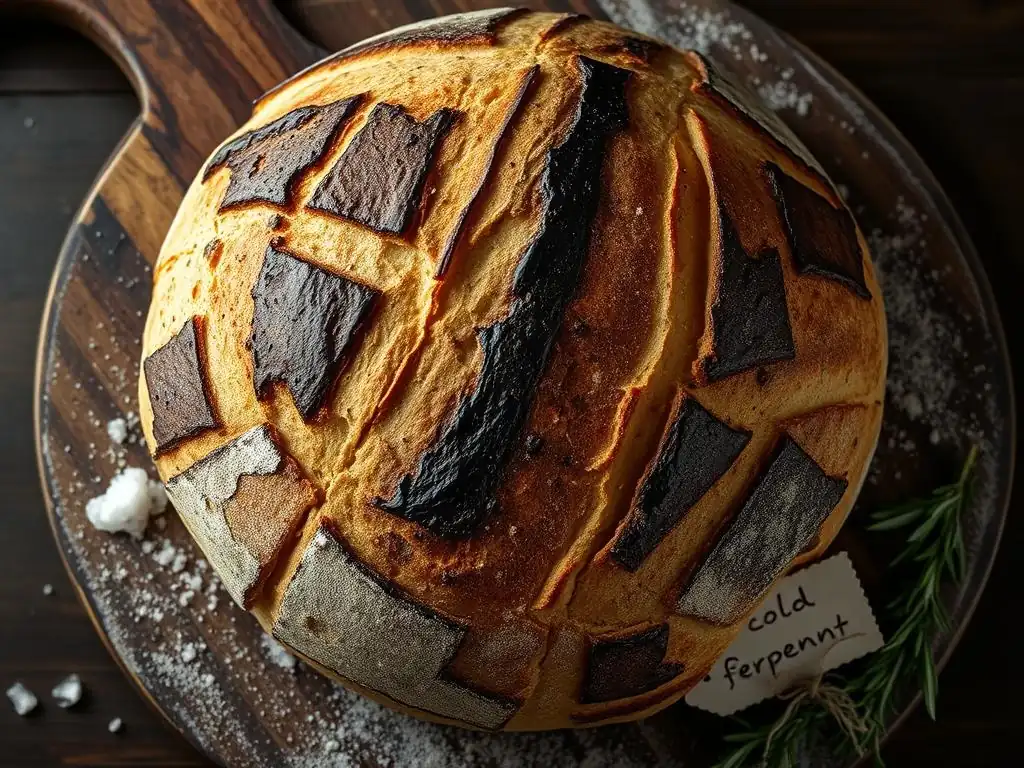
Welcome to BakeWithEase, your guide to unlocking baking brilliance! Ever wondered how a little patience can transform ordinary dough into extraordinary flavor? This week, we're diving deep into the secrets of rustic bread cold fermentation. Discover how this simple technique elevates your bread, creating a depth of flavor and texture you won't believe. Ready to unlock the magic? Let's get baking!
- Cold Fermentation: Enhancing Flavor and Texture in Bread
- Understanding Cold Fermentation
- Benefits of Cold Fermenting Bread Dough
- Mastering the Cold Fermentation Technique
- Troubleshooting Common Issues
- Recipes Using Cold Fermentation
- Tips for Perfecting Cold-Fermented Bread
- Cold vs. Room Temperature Fermentation: A Comparison
- Storing Cold-Fermented Bread
-
Frequently Asked Questions
- What exactly is cold fermentation, and why is it beneficial for rustic bread?
- How does cold fermentation differ from traditional, room-temperature fermentation?
- How long should I cold ferment my rustic bread dough?
- What are the key ingredients needed to bake rustic bread using cold fermentation?
- Can I over-ferment my dough in the refrigerator, and what are the signs?
- Final Reflection: The Slow Rise to Flavorful Perfection
- Unleash the Flavor: Take Your Bread Baking to the Next Level
Cold Fermentation: Enhancing Flavor and Texture in Bread
Understanding Cold Fermentation
What is Cold Fermentation?
Cold fermentation is a baking technique where bread dough is allowed to ferment slowly in a refrigerated environment, typically at temperatures between 4°C and 7°C (39°F and 45°F). This process significantly slows down the activity of yeast and bacteria in the dough compared to fermentation at room temperature. Instead of the rapid rise seen at warmer temperatures, the dough undergoes a prolonged, gentle fermentation over many hours, often ranging from 12 to 72 hours, or even longer for some recipes.
This extended, cool rest period is particularly beneficial for rustic bread cold fermentation, as it allows for a deeper development of complex flavors and aromas. The cooler temperature inhibits the quick production of carbon dioxide (which causes rapid rising) while promoting the slower breakdown of starches and proteins by enzymes. This subtle enzymatic activity, combined with the metabolic byproducts of the yeast and lactobacilli working at a reduced pace, contributes significantly to the characteristic tangy flavor and desirable chewy texture often associated with high-quality rustic loaves.
The Science of Slow Fermentation in Bread
At the heart of cold fermentation lies the controlled activity of microorganisms, primarily yeast and, in some cases like sourdough, lactic acid bacteria. When dough is placed in a cold environment, the yeast's metabolic rate slows dramatically. While still producing carbon dioxide for leavening, they also produce more complex alcohols and esters which contribute nuanced flavors often absent in fast-fermented breads.
Simultaneously, enzymatic activity continues. Amylase enzymes, naturally present in flour, break down starches into simpler sugars. This process is more thorough over a longer cold period, providing more 'food' for the yeast later and contributing to better crust browning during baking.
Furthermore, the slow fermentation process allows gluten to relax and hydrate more fully. Gluten, the protein network in dough, develops strength and elasticity as it ferments. In a cold environment, this development happens gradually, leading to a more extensible and manageable dough. This relaxed gluten structure contributes to a more open, irregular crumb structure – a hallmark of excellent rustic bread. The accumulation of organic acids, particularly in doughs containing sourdough starter or those fermented for extended periods, also contributes to the dough's strength and improves its keeping qualities, enhancing the rustic bread cold fermentation process.
Benefits of Cold Fermenting Bread Dough
Enhanced Flavor Development
One of the most significant advantages of using cold fermentation, especially for rustic bread, is the profound impact on flavor. The slow, prolonged activity of yeast and bacteria in the cold produces a wider range of complex organic compounds compared to rapid fermentation. These compounds include various organic acids (like lactic and acetic acids, particularly prominent in sourdough or long-fermented yeasted doughs), alcohols, and esters.
Consider a typical yeasted rustic loaf fermented quickly at room temperature versus one cold-fermented for 24 hours. The room-temperature loaf might have a simple, yeasty flavor. The cold-fermented loaf, however, will likely exhibit more depth – perhaps a subtle tang, malty notes, or a more aromatic profile. This is because the cold environment favors the production of desirable flavor precursors and limits the production of off-flavors that can sometimes occur with very rapid fermentation. This slow flavor maturation is key to achieving the characteristic taste profile of authentic rustic bread cold fermentation.
Improved Dough Handling and Texture
Cold fermentation doesn't just improve flavor; it also drastically changes the dough's physical properties, making it easier to handle and contributing to a superior final texture. As the dough rests in the cold, the gluten network relaxes and strengthens simultaneously. This dual action results in a dough that is less sticky, more elastic, and easier to shape without tearing. Bakers often find cold dough much more cooperative, especially for high-hydration doughs common in rustic bread recipes like ciabatta or pain de campagne.
Beyond handling, the cold fermentation process significantly impacts the bread's texture and crumb structure. The slow gas production allows bubbles to form more evenly and consistently throughout the dough. When the cold dough hits the hot oven, the sudden temperature change causes a rapid expansion of these well-developed gas pockets (oven spring). This results in a lighter loaf with a more open, irregular crumb – the desirable large holes and airy structure characteristic of artisanal rustic bread. The improved gluten development also contributes to a pleasant chewiness in the final crust and crumb.
Increased Shelf Life
Another notable benefit of cold fermentation for rustic bread is the potential for increased shelf life. The longer fermentation process, particularly when lactic acid bacteria are active (as in sourdough or long-fermented yeasted doughs), produces organic acids. These acids not only contribute to flavor but also act as natural preservatives. The lower pH created by the acids inhibits the growth of mold and spoilage-causing bacteria.
While not making the bread last indefinitely, a rustic loaf that has undergone a long, cold fermentation will typically stay fresh and palatable for a longer period compared to a loaf made with a quick, warm fermentation. A room-temperature loaf might start to stale or mold after 2-3 days, whereas a cold-fermented rustic bread might maintain its quality for 4-5 days when stored properly. This natural preservation aspect is a traditional benefit of slow-fermented breads and a practical advantage for home bakers.
Mastering the Cold Fermentation Technique
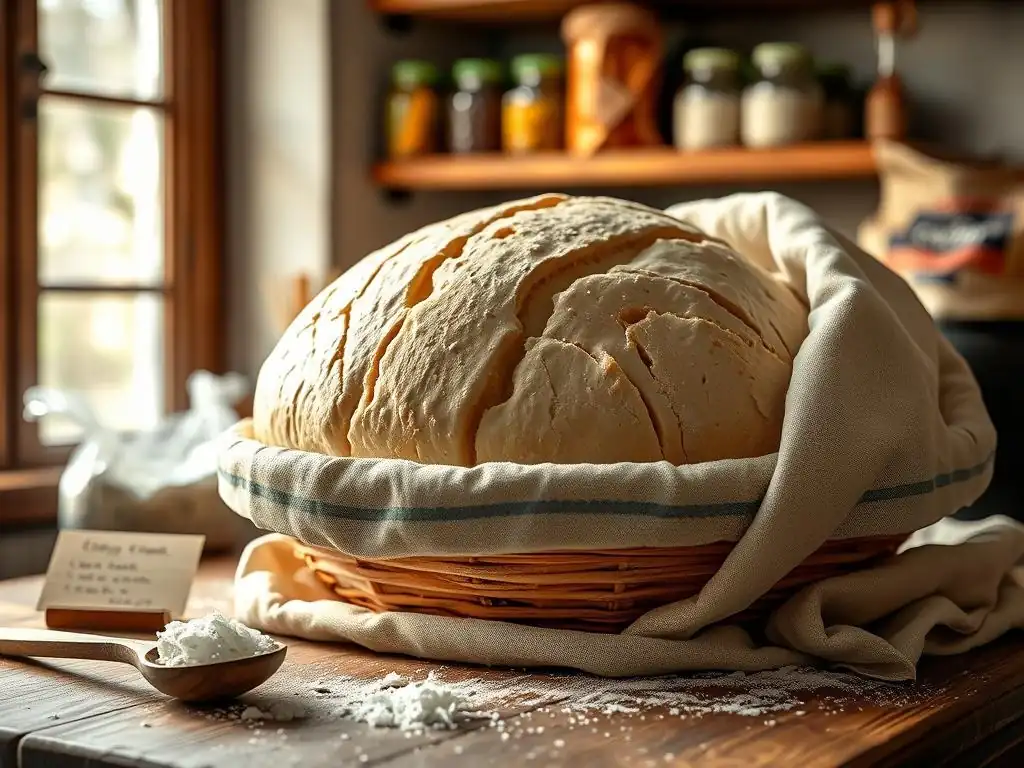
Essential Ingredients
Mastering rustic bread cold fermentation begins with understanding the role of each ingredient. The fundamental components are flour, water, yeast (or sourdough starter), and salt. The type of flour matters significantly; high-protein bread flour (around 12-14% protein) is often preferred for rustic loaves as it develops a strong gluten network capable of supporting the long fermentation and creating an open crumb. Whole wheat or rye flour can be added for flavor, but they absorb water differently and can impact gluten development, requiring adjustments in hydration.
Water quality can also play a minor role, though most tap water is suitable. The amount of water (hydration level) is crucial – rustic breads are often high hydration (70% or more water relative to flour weight), which benefits from the slow, gentle gluten development during cold fermentation. Yeast quantity is typically much lower in cold fermentation recipes than in rapid ones, as the long time compensates for less yeast activity.
A small amount of active dry yeast, instant yeast, or a well-maintained sourdough starter provides the necessary leavening and flavor development over the extended cold period. Salt is vital for flavor, controlling fermentation rate, and strengthening gluten; it's usually added after the initial mixing to allow for autolyse (a resting period of flour and water).
Step-by-Step Guide
Implementing cold fermentation for rustic bread is a straightforward process that requires patience more than complex technique.
Here is a general step-by-step guide:
Preparing the Dough
- Mix Flour and Water (Autolyse): Combine the flour and water called for in your recipe in a large bowl. Mix just until no dry flour remains. Cover and let rest for 20-60 minutes. This step, known as autolyse, allows the flour to hydrate fully and gluten development to begin without the interference of salt or yeast.
- Add Yeast/Starter and Salt: Sprinkle the yeast (or add your starter) and salt over the dough. Work them in using your hands, a stand mixer, or a dough whisk until fully incorporated. The dough will likely feel shaggy at this stage.
- Initial Kneading/Folding: Develop the dough's gluten structure. This can be done through traditional kneading (5-10 minutes), stretch and folds in the bowl over 1-2 hours, or a combination. The goal is a dough that starts to become smooth and elastic.
The Cold Fermentation Process: Time and Temperature
- Bulk Fermentation (Optional Short Warm Stage): Some recipes call for a short initial bulk fermentation at room temperature (e.g., 1-3 hours with a few folds) before refrigeration. This gives the yeast a head start. Others move the dough directly to the cold. Follow your specific rustic bread cold fermentation recipe.
- Transfer to Cold Storage: Lightly oil a clean container or bowl large enough for the dough to expand. Transfer the dough, cover tightly with a lid or plastic wrap to prevent a skin from forming, and place it in the refrigerator (ideally between 4°C and 7°C / 39°F and 45°F).
- The Cold Rest: Allow the dough to ferment in the refrigerator for the time specified in your recipe, typically 12 to 72 hours. Longer times generally yield more complex flavors. The dough will slowly increase in volume.
- Observe and Monitor: Check the dough periodically. It should rise slowly and might develop small bubbles on the surface. The dough will become more acidic over time, which helps strengthen the gluten.
Shaping and Baking
- Remove from Fridge: Take the dough out of the refrigerator. For some recipes, you shape the dough while it's still cold. For others, you might let it warm up slightly at room temperature for 30-60 minutes first. Handling cold dough is often easier as it's less sticky.
- Divide and Shape: Gently turn the dough out onto a lightly floured surface. Divide if making multiple loaves. Shape the dough into your desired rustic bread form (e.g., boule, batard). Be careful not to degassing the dough too much.
- Final Proofing (Proofing After Cold): Place the shaped loaves into proofing baskets (bannetons) or onto parchment paper. Cover and let them proof at room temperature. The proofing time will depend on how long the dough was cold-fermented and its temperature, but it could range from 1-3 hours. The dough should look visibly risen and feel light but not overly airy. Alternatively, some techniques proof cold and bake directly from the fridge.
- Bake: Preheat your oven and baking vessel (like a Dutch oven or baking stone) to a high temperature, typically 230-260°C (450-500°F). Score the loaves just before baking. Bake according to your recipe, often starting covered or with steam for the first 15-20 minutes to encourage oven spring and crust development, then uncovered to brown the crust.
Troubleshooting Common Issues
Over-Proofing
Over-proofing is a common issue in rustic bread cold fermentation if the dough is left in the fridge for too long, the fridge temperature is too high, or if the dough contains too much yeast for the duration. An over-proofed cold dough might look overly puffy, possibly starting to collapse slightly, and might have a very strong, overly acidic smell. When you try to shape it, it will likely feel fragile, tear easily, and lack elasticity.
Baking an over-proofed loaf typically results in poor oven spring – the loaf spreads out rather than rising up – and a dense, tight crumb structure instead of the desired open texture. The flavor might also be excessively sour or alcoholic. To prevent this, monitor your dough, especially if experimenting with longer fermentation times or new recipes.
Use the minimum amount of yeast recommended for cold fermentation and ensure your refrigerator is consistently cold. If you suspect over-proofing, you can try shaping very gently and baking immediately, or sometimes degas the dough slightly, reshape, and give it a very short final proof.
Under-Proofing
Under-proofing in cold fermentation means the dough hasn't had sufficient time in the cold (or subsequent room temperature proof) for adequate leavening and flavor development. An under-proofed cold dough might feel dense and tight after its cold rest, and may not have significantly increased in volume. When shaped, it will feel very elastic and resistant to stretching.
Baking an under-proofed rustic bread can result in a loaf with significant, uncontrolled oven spring (sometimes bursting at the seams if not scored deeply enough), a dense crumb with large, irregular tunnels (often just below the crust) surrounded by tight areas, and a less developed flavor profile – possibly tasting primarily of flour and yeast rather than complex fermentation notes. To avoid this, ensure you are allowing enough time in the cold as specified by the recipe, and that your refrigerator temperature is within the optimal range (4-7°C) for slow activity.
Pay attention to the dough's feel and appearance during the final proofing stage; it should feel light and airy, not dense or heavy.
Recipe Adjustments for Success
Achieving consistent results with rustic bread cold fermentation often requires minor adjustments based on your environment, ingredients, and refrigerator temperature. One key area is yeast quantity: for long cold ferments (24+ hours), you'll use significantly less instant yeast than a quick recipe – perhaps as little as 0.1% to 0.5% of the flour weight.
For sourdough, the starter hydration and activity level will influence fermentation speed. High hydration doughs (75%+) are common in rustic bread and benefit greatly from cold fermentation, but they can be trickier to handle; adjusting the hydration down slightly (e.g., to 70%) can make shaping easier for beginners while still allowing for good cold fermentation benefits.
Another crucial adjustment involves fermentation time versus temperature. A dough fermented at 4°C will ferment slower than one at 7°C. If your fridge is colder or warmer than average, you may need to adjust the time accordingly. For example, a recipe calling for 24 hours at 4°C might need 36 hours at 3°C or only 18 hours at 6°C. Pay attention to visual cues: the dough should look well-risen but not overly expanded, and feel airy. Don't be afraid to experiment and keep notes on what works best in your specific kitchen environment for your rustic bread cold fermentation.
Recipes Using Cold Fermentation
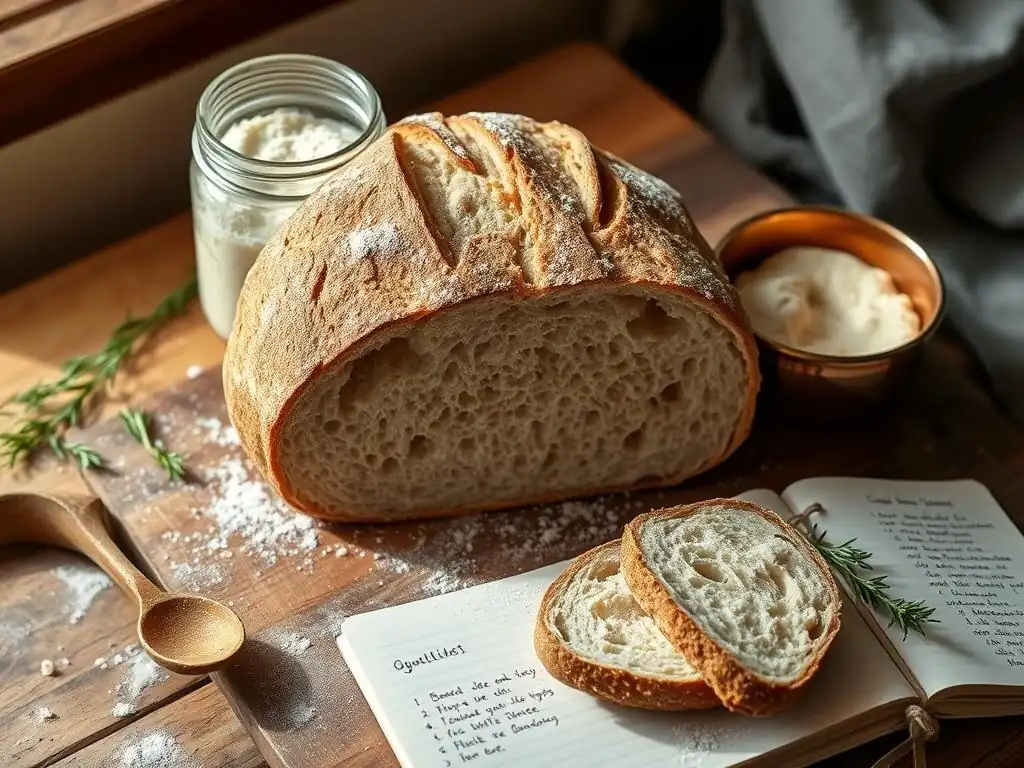
Simple White Bread
Cold fermentation can elevate even a simple white bread recipe into something special, imparting a depth of flavor typically found only in artisanal loaves. A basic formula might involve bread flour (100%), water (65-70%), salt (2%), and a very small amount of instant yeast (0.2% or less). After mixing and a brief series of stretch and folds, the dough is placed in the refrigerator for 12 to 48 hours.
This slow, cold rest transforms the simple ingredients. Instead of a bland, soft loaf, the resulting bread will have a more complex, slightly tangy flavor, a chewier crust, and a more interesting crumb structure. The process allows the gluten in the white flour to fully relax and hydrate, making the dough easier to handle after its cold nap. Baking after a final proof yields a loaf far superior to one rushed at room temperature, showcasing the power of rustic bread cold fermentation on even the humblest dough.
Sourdough Bread
Sourdough baking and cold fermentation go hand-in-hand; it's an almost essential technique for developing the characteristic flavor and structure of sourdough rustic bread. Sourdough starters contain both wild yeast and lactic acid bacteria, both of which thrive during a long, cool fermentation. A typical sourdough schedule involves mixing the dough, a bulk fermentation at room temperature with folds (often 3-5 hours), followed by shaping and then a long cold proof in the refrigerator for 12 to 72 hours.
The cold environment encourages the lactic acid bacteria to produce more lactic and acetic acids relative to the yeast's activity. Lactic acid contributes a mellow tang, while acetic acid provides a sharper, vinegary note. The balance of these acids, developed over the long cold period, is what gives sourdough its complex, signature flavor. The cold proof also firms up the dough, making it easier to score and promoting excellent oven spring, resulting in the beautiful open crumb and crust associated with artisanal sourdough rustic bread cold fermentation.
Whole Wheat Bread
Incorporating whole wheat flour into rustic bread benefits significantly from cold fermentation. Whole wheat flour contains the bran and germ, which can interfere with gluten development and absorb more water than white flour. A longer fermentation time, especially in the cold, allows the bran to soften and the gluten to develop more fully and evenly, leading to a better texture in the final loaf.
A whole wheat rustic bread recipe might use a blend of whole wheat and bread flour (e.g., 50/50), water (75-80% hydration is common for whole wheat to compensate for absorption), salt, and a small amount of yeast or sourdough starter. After mixing and initial gluten development, the dough is refrigerated for 18-48 hours.
This extended cold period ensures the whole wheat flavors meld and deepen, mitigating any potential bitterness from the bran and contributing to a moister crumb. The result is a whole wheat rustic bread with improved volume, a less dense texture, and a more nuanced, appealing flavor profile thanks to the rustic bread cold fermentation process.
Tips for Perfecting Cold-Fermented Bread
Dough Hydration
Dough hydration, the ratio of water to flour, is a critical factor in rustic bread cold fermentation. Higher hydration levels (70% water or more relative to flour weight) are common in many rustic bread recipes and work exceptionally well with cold fermentation. The abundant water allows for greater extensibility and a more open crumb structure. The long cold rest gives the flour ample time to fully absorb the water, making the high-hydration dough easier to handle after its time in the fridge than it would be after a quick room-temperature ferment.
However, working with very high hydration dough (80%+) can be challenging for beginners. If you're new to rustic bread cold fermentation, starting with a slightly lower hydration (e.g., 65-70%) can make the process more manageable while still yielding significant flavor and texture benefits from the cold ferment. As you gain experience, you can gradually increase hydration to achieve an even airier crumb, understanding that proper cold fermentation techniques are key to handling wetter doughs successfully.
Choosing the Right Flour
The type of flour you use profoundly impacts the outcome of rustic bread cold fermentation. High-protein bread flour (often labeled as such, with protein content around 12-14%) is ideal for many rustic loaves because its strong gluten network can withstand the long fermentation period without degrading. This strong gluten is essential for trapping the gases produced slowly in the cold and achieving that desirable open crumb structure.
Using weaker flours, like all-purpose flour (typically 10-11% protein), is possible but may result in a less robust structure and a tighter crumb after a long cold ferment. If using all-purpose flour for rustic bread cold fermentation, you might need to reduce hydration slightly or shorten the cold fermentation time to prevent the gluten from breaking down. Blends of different flours, such as adding whole wheat or rye, introduce different protein and fiber levels, which require careful consideration of hydration and fermentation time to ensure optimal results.
Monitoring Dough Temperature
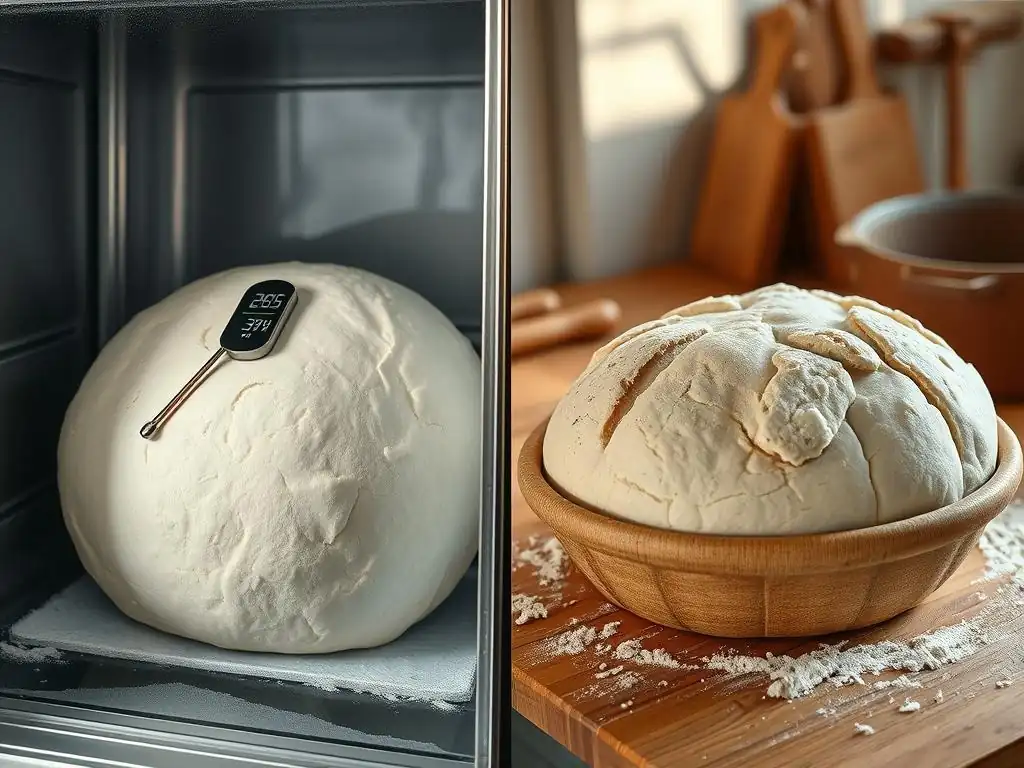
Maintaining a consistent cold temperature for your dough is paramount for successful rustic bread cold fermentation. The ideal range is typically between 4°C and 7°C (39°F and 45°F). Temperatures significantly above this range will speed up fermentation too much, potentially leading to over-proofing and less complex flavor development. Temperatures much lower (close to freezing) can slow fermentation excessively, potentially preventing the dough from developing adequately even over a long period.
It's helpful to know the actual temperature of your refrigerator. Placing a small thermometer inside can help you verify the temperature and adjust your fridge settings if necessary. Be mindful that the temperature inside a refrigerator can fluctuate slightly depending on how full it is and how often the door is opened. Placing the dough towards the back of the fridge, where temperatures are usually most consistent, can help ensure a stable environment for your rustic bread cold fermentation.
Cold vs. Room Temperature Fermentation: A Comparison
Horizontal Rule
| Feature | Room Temperature Fermentation | Cold Fermentation (Rustic Bread Cold Fermentation) |
|---|---|---|
| Speed | Fast (typically 2-4 hours bulk ferment) | Slow (typically 12-72+ hours bulk ferment/cold proof) |
| Yeast Amt. | Higher | Lower |
| Flavor | Simple, often yeasty; less complex acid notes | Complex, nuanced, often tangy; deeper flavors |
| Texture | Can be good, but sometimes less open crumb | Often leads to more open, irregular crumb & chewy crust |
| Dough Hdl. | Can be stickier, especially high hydration | Often easier to handle once cold |
| Flexibility | Less flexible; must bake relatively soon after proofing | Very flexible; bake on demand within cold window |
Horizontal Rule
Flavor Profile
When comparing cold fermentation to room temperature fermentation for rustic bread, the most striking difference lies in the flavor profile. Room temperature fermentation, while quick and efficient at producing gas for leavening, tends to yield a simpler, often predominantly yeasty flavor. The rapid activity doesn't allow sufficient time for the complex biochemical reactions that build depth and nuance.
Cold fermentation, on the other hand, acts as a slow flavor incubator. The extended time at cool temperatures allows enzymes to break down starches into a wider array of fermentable sugars, and for yeast and bacteria (especially lactobacilli in sourdough) to produce a rich tapestry of aromatic compounds, including organic acids, aldehydes, and esters.
This results in a rustic bread with a more developed, layered flavor – often described as more complex, tangy, malty, or wheaty, depending on the flour mix and duration. The subtle tanginess often associated with artisanal rustic bread is a direct result of this slow, cold flavor development.
Texture and Crumb
Beyond flavor, cold fermentation significantly impacts the texture and crumb structure of rustic bread. Dough fermented quickly at room temperature can certainly produce a decent crumb, but it often lacks the characteristic openness and irregularity sought after in artisanal loaves. The rapid rise can sometimes lead to a more uniform, tighter crumb.
Cold fermentation provides several advantages for texture. The slow, prolonged gluten development in the cold results in a stronger, more extensible network capable of trapping gases effectively. When the cold dough is baked, the sudden heat causes rapid expansion (oven spring) of the well-formed gas pockets, leading to a more voluminous loaf with a significantly more open and irregular crumb structure – the large, airy holes that are a hallmark of rustic bread cold fermentation. The improved gluten structure also contributes to a more satisfying chewiness in both the crust and the interior crumb.
Time Management
From a practical standpoint, one of the major benefits of cold fermentation is the flexibility it offers in time management. Traditional room temperature fermentation requires closer monitoring and adherence to a relatively short timeline; once the dough is proofed, it needs to be baked within a narrow window before it over-proofs. This can make baking on a busy schedule challenging.
Rustic bread cold fermentation, however, allows you to put your baking on hold. After the initial mixing and development, the dough can be refrigerated for a long period – often 12 to 48 hours, sometimes even longer depending on the recipe and desired outcome. This means you can mix the dough one day and bake it the next, or even two days later, fitting the baking process around your life. This "bake on demand" flexibility makes producing high-quality rustic bread much more accessible for home bakers.
Storing Cold-Fermented Bread
Best Practices for Freshness
Proper storage is key to enjoying the delicious results of your rustic bread cold fermentation for as long as possible. Once baked and fully cooled (cooling is crucial – at least 1-2 hours for a standard loaf), rustic bread is best stored at room temperature. Avoid refrigerating baked bread, as this temperature range actually promotes staling faster than room temperature.
Here are some storage options:
- Cut-side down: If the loaf is only partially eaten, place it cut-side down on a clean surface (like a cutting board) to minimize exposure to air.
- Bread box: A traditional bread box provides a good balance of air circulation and moisture retention.
- Paper bag: Storing the loaf in a paper bag helps keep the crust crisp for the first day while protecting the interior.
- Linen or cotton bread bag: These cloth bags allow the bread to breathe while preventing it from drying out too quickly.
- Avoid plastic: While plastic bags or wraps keep bread soft, they trap moisture and can quickly make the crust soggy, which is undesirable for rustic bread. They also increase the risk of mold growth, especially in humid environments.
By following these practices, your cold-fermented rustic bread should stay fresh and delicious for 3-5 days, retaining its superior flavor and texture developed during the cold fermentation process.
Freezing for Later
If you won't finish your rustic bread within a few days, freezing is an excellent option to preserve its quality, including the wonderful flavor and texture achieved through cold fermentation. Freezing effectively halts the staling process and prevents mold growth.
Here's how to freeze rustic bread effectively:
- [ ] Ensure the bread is completely cooled before freezing. Warm bread creates condensation, leading to ice crystals and freezer burn.
- [ ] For best results, freeze the loaf whole or sliced. Slicing before freezing allows you to thaw just the amount you need.
- [ ] Wrap the bread tightly. Use a layer of plastic wrap directly on the bread, pressing out as much air as possible.
- [ ] Follow with a layer of aluminum foil or place the wrapped bread in a freezer-safe bag. This double layer protects against freezer burn.
- [ ] Label the package with the date.
- [ ] Freeze for up to 3-6 months.
To thaw, remove the bread from the freezer. If whole, unwrap and let it thaw at room temperature for several hours. For best results, you can refresh a whole loaf by baking it in a preheated oven at 180°C (350°F) for 10-15 minutes until the crust is crisp again. Slices can be thawed quickly in a toaster or oven, or simply left on the counter for 15-30 minutes. Freezing allows you to enjoy the fruits of your rustic bread cold fermentation efforts weeks or months later.
Frequently Asked Questions
What exactly is cold fermentation, and why is it beneficial for rustic bread?
Cold fermentation is the process of slowing down the fermentation of dough by placing it in a cold environment, typically a refrigerator. This extended fermentation enhances flavor development and improves the bread's texture.
How does cold fermentation differ from traditional, room-temperature fermentation?
Unlike room-temperature fermentation, cold fermentation occurs over a longer period in a colder environment. This slower process allows for more complex flavors to develop and results in a more digestible bread.
How long should I cold ferment my rustic bread dough?
The ideal cold fermentation time varies, but generally, 12 to 72 hours is recommended. Experimenting within this range will help you find the timing that produces the best flavor and texture for your bread.
What are the key ingredients needed to bake rustic bread using cold fermentation?
The basic ingredients include flour, water, salt, and a leavening agent like yeast or sourdough starter. Using high-quality flour and unfiltered water can further enhance the final product.
Can I over-ferment my dough in the refrigerator, and what are the signs?
Yes, over-fermentation is possible. Signs include a sour, almost vinegary smell, a collapsed dough structure, and a sticky, difficult-to-handle texture.
Final Reflection: The Slow Rise to Flavorful Perfection
The enduring appeal of rustic bread lies not just in its satisfying texture, but in the nuanced flavors developed through the patient process of cold fermentation. This seemingly simple technique, explored throughout this article, offers a profound connection to traditional baking methods while simultaneously providing modern bakers with a powerful tool to elevate their craft. The results speak for themselves: a deeper, more complex flavor profile, improved digestibility, and a superior crumb structure.
Cold fermentation's influence extends far beyond the simple act of bread making. It represents a broader cultural shift towards appreciating the value of slow processes, a conscious rejection of instant gratification in favor of mindful creation. Slow food is good food, but it is also good culture, good economics, good environment and good health.
– Carlo Petrini. This quote perfectly encapsulates the philosophy behind cold fermentation, highlighting its impact not only on the taste of our bread but also on our relationship with food and the environment. It encourages us to slow down, to appreciate the artistry involved in transforming simple ingredients into something truly special.
Now, consider your own baking journey. Will you embrace the slow, deliberate pace of cold fermentation? Will you experiment with different timings and temperatures, discovering the unique nuances that emerge from this ancient technique? The journey of perfecting your rustic bread is a personal one, a testament to patience and dedication. Embrace the process, savor the results, and discover the profound satisfaction that comes from creating something truly exceptional, one slow rise at a time.
Unleash the Flavor: Take Your Bread Baking to the Next Level
Thanks for taking the time to explore the magic of cold fermentation! You've just unlocked a world of flavor and texture for your rustic loaves. Now it's time to put your newfound knowledge into action.
- Start your next sourdough or rye boule with a cold fermentation: This is the most direct way to experience the amazing benefits we discussed. Remember to track your results!
- Share your baking journey: Post a picture of your perfectly risen loaf on social media and tag #BakeWithEaseColdFerment – let's inspire each other!
- Consider trying a different type of flour – experiment to see how cold fermentation affects various grains.
Ready to transform your bread baking? What unique flour will you experiment with next?