
Flaky Pie Crust Made Simple: Your Foolproof Recipe

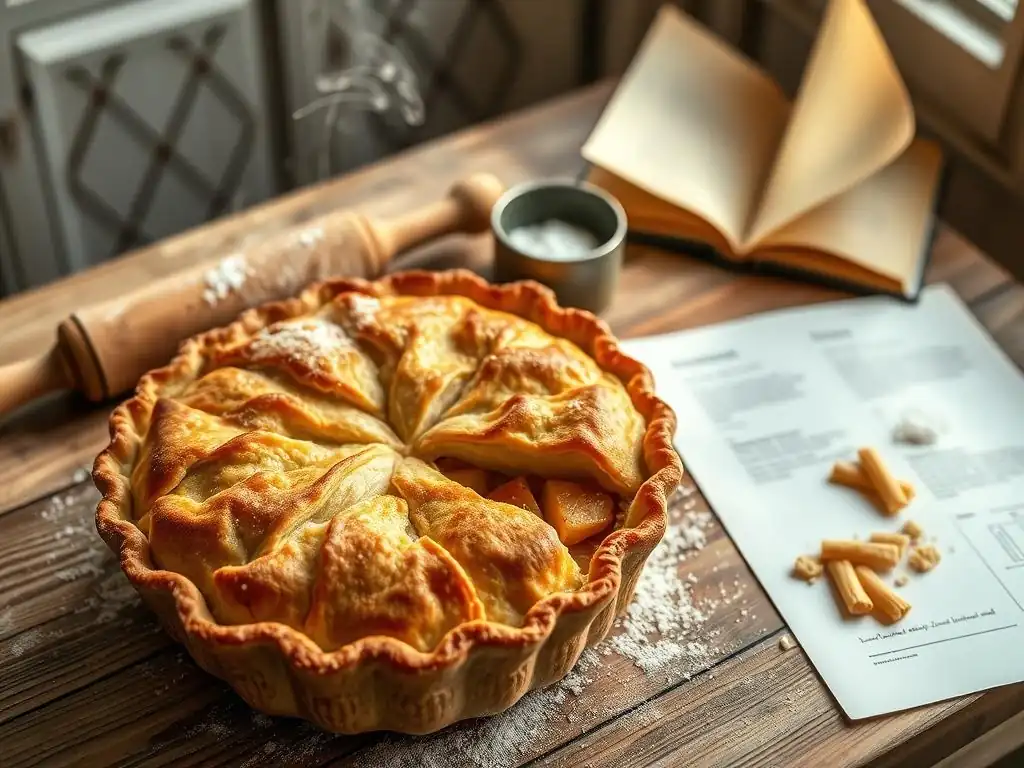
Welcome to BakeWithEase, your partner in creating delicious memories! Ever dream of that perfectly flaky pie crust that melts in your mouth? Well, dream no more! This beginner-friendly recipe demystifies the process, offering a foolproof guide to achieving bakery-worthy results. Get ready to impress with your next pie – you might be surprised just how easy it is. Intrigued? Let's get baking!
- BakeWithEase's Guide to Perfect Flaky Pie Crust for Beginners
- Why This Flaky Pie Crust Recipe is Perfect for Beginners
-
Step-by-Step: Making Your Own Flaky Pie Crust
- Step 1: Gathering Your Ingredients and Tools for Pie Crust
- Step 2: Preparing the Dough: Cold Ingredients are Key
- Step 3: Cutting the Butter (or Shortening) into the Flour
- Step 4: Adding Ice Water for a Tender Crust
- Step 5: Forming the Dough and Chilling
- Step 6: Rolling Out the Pie Dough
- Step 7: Transferring the Dough to Your Pie Plate
- Step 8: Crimping the Edges for a Beautiful Finish
- Baking Your Flaky Pie Crust to Golden Perfection
- Troubleshooting Common Pie Crust Problems
- Flavor Variations for Your Homemade Pie Crust
- Storing Your Flaky Pie Crust
- Mastering the Art of Flaky Pie Crust: Tips and Tricks
- Frequently Asked Questions
- Final Reflection: The Transformative Power of a Perfect Crust
- Unlock Your Inner Pastry Chef: Bake a Perfect Pie!
BakeWithEase's Guide to Perfect Flaky Pie Crust for Beginners
Welcome to BakeWithEase, where we believe everyone can master the art of baking! If the thought of making homemade pie crust from scratch seems daunting, you're not alone. Many bakers, especially beginners, are intimidated by the idea of achieving that perfect, flaky texture. But fear not! This guide provides a foolproof flaky pie crust beginner recipe designed specifically for those just starting out. We'll walk you through each step, explaining the 'why' behind the techniques, so you can confidently create a delicious base for your favorite pies.
Mastering a basic flaky pie crust is a fundamental skill that unlocks a world of dessert possibilities, from classic apple pie to savory quiches. Our simple approach focuses on key principles like temperature control and minimal handling, which are crucial for success. By following this easy-to-understand recipe, you'll learn the secrets to preventing tough or soggy crusts and instead achieve a beautifully golden, tender, and undeniably flaky result every time. Let's get baking your first perfect homemade pie crust!
Why This Flaky Pie Crust Recipe is Perfect for Beginners
Creating a truly flaky pie crust might seem like a challenge, but our recipe simplifies the process by focusing on essential techniques that deliver reliable results. We break down the science and process into manageable steps, ensuring that even if you've never made dough before, you can achieve a wonderful texture. This flaky pie crust beginner recipe minimizes complexities, focusing on the core elements that contribute to flakiness: cold ingredients and proper fat distribution.
This specific recipe is designed to be forgiving, allowing beginners to learn the feel of the dough without the pressure of needing absolute perfection on the first try. We provide clear instructions and troubleshooting tips to help you understand what can go wrong and how to fix it. By understanding the basics presented here, you'll build a strong foundation for all your future pie-making adventures, making this not just a recipe, but a fundamental baking lesson.
Understanding the Science Behind Flaky Pie Crust
The secret to a flaky pie crust lies in the fat – typically butter or shortening. When cold pieces of fat are cut into the flour and then mixed with cold water, they remain in distinct pieces rather than fully blending into the dough. As the pie bakes in a hot oven, these pieces of fat melt, releasing steam. This steam creates tiny air pockets within the layers of gluten developed in the flour, pushing the layers apart.
This process of fat melting and creating steam is what results in the characteristic layers and flakiness of the crust. If the fat is too soft or overworked into the flour, it creates a more cookie-like or tough texture rather than distinct layers. Maintaining cold temperatures throughout the process is paramount because it keeps the fat solid, allowing it to create those crucial steam pockets during baking.
Simple Ingredients for Foolproof Pie Crust
Our foolproof flaky pie crust beginner recipe relies on just a few basic ingredients you likely already have in your pantry. You will need all-purpose flour, a solid fat (like unsalted butter or shortening), salt, and ice-cold water. The quality and temperature of these simple components are key to success. Using good quality flour provides the structure, while the fat contributes flakiness and richness.
For this recipe, using unsalted butter is often recommended for its flavor, but shortening can also yield a very flaky crust and is sometimes easier for beginners to handle as it stays solid at warmer temperatures than butter. Regardless of the fat chosen, ensuring it is thoroughly chilled is non-negotiable. Salt adds flavor balance, and the ice-cold water hydrates the flour to form the dough while keeping the fat cold.
Step-by-Step: Making Your Own Flaky Pie Crust
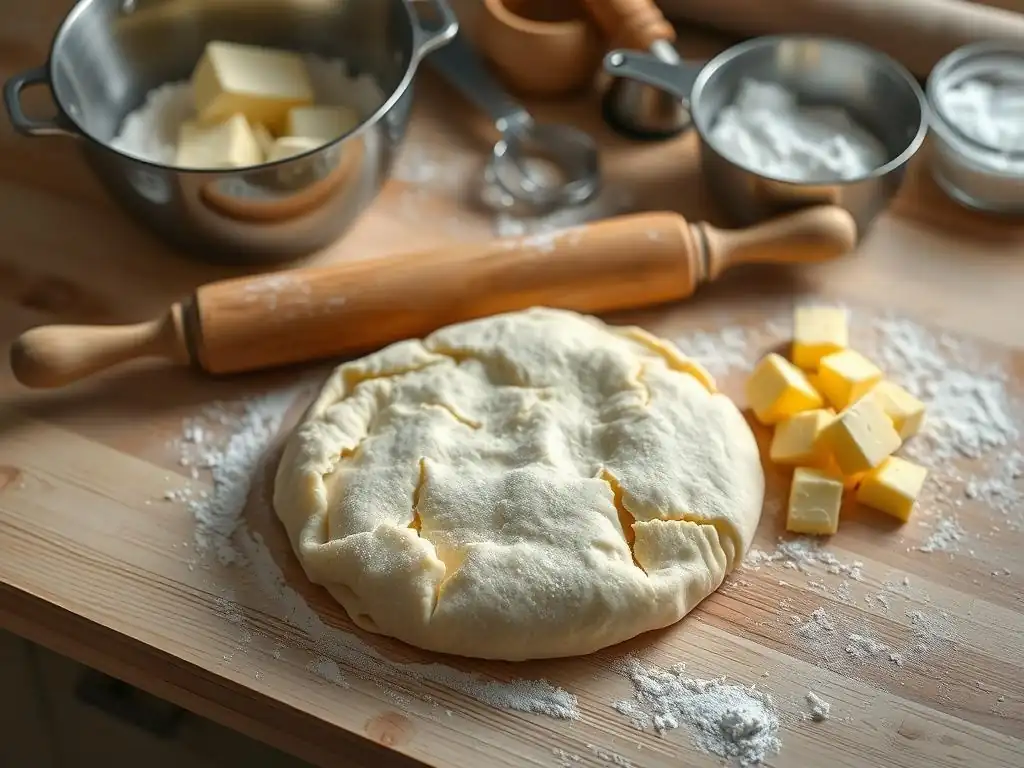
Embarking on your first homemade pie crust journey is exciting! This step-by-step guide breaks down the process into simple, actionable tasks suitable for any beginner. We'll cover everything from gathering your tools to chilling the dough, ensuring you build confidence with each stage. This detailed walk-through is designed to make our flaky pie crust beginner recipe as easy and successful as possible.
Following these steps precisely will significantly increase your chances of achieving a beautifully flaky and tender crust. Pay close attention to the temperature of your ingredients and your dough, as this is the most critical factor. Don't rush the chilling steps – they are essential for developing the structure and ensuring flakiness.
Step 1: Gathering Your Ingredients and Tools for Pie Crust
Before you begin mixing, make sure you have all your ingredients measured and your tools ready. This prevents scrambling mid-process and ensures everything is at the correct temperature. For our flaky pie crust beginner recipe, you'll need:
- 2 ½ cups all-purpose flour
- 1 teaspoon salt
- 1 cup (2 sticks) unsalted butter, very cold, cut into ½-inch cubes (or 1 cup cold shortening)
- ½ cup to ¾ cup ice water
Essential tools include a large mixing bowl, a pastry blender or two forks (or a food processor), measuring cups and spoons, plastic wrap, and a rolling pin. Having your butter cubed and returned to the refrigerator or freezer for a few minutes before starting is a great trick to ensure it's extra cold. Prepare your ice water by filling a cup with ice and water and letting it sit for a few minutes before measuring.
Step 2: Preparing the Dough: Cold Ingredients are Key
The absolute most crucial step in making a flaky pie crust is starting with cold ingredients, especially the fat and the water. This is not just a suggestion; it's a fundamental rule of pie dough science. Warm butter or shortening will blend too easily with the flour, preventing the formation of distinct fat pockets needed for flakiness. Think of it like tiny layers waiting to puff up in the oven.
Ensure your butter has been in the refrigerator for at least a few hours, ideally cut into cubes and chilled again for 15-20 minutes in the freezer before use. Your water should be ice water – measure the water after adding ice and letting it get very cold. Some bakers even chill their flour and mixing bowl for 15-30 minutes beforehand, especially on warm days. These extra steps might seem fussy, but they make a significant difference in the final texture of your flaky pie crust.
Step 3: Cutting the Butter (or Shortening) into the Flour
In a large bowl, whisk together the flour and salt. Add the cold, cubed butter or shortening directly into the flour mixture. Now, using a pastry blender, two forks, or your fingertips, work the fat into the flour. The goal is not to create a smooth, uniform mixture, but rather to break the fat into smaller pieces coated in flour.
Work quickly to avoid warming the fat with your hands. If using a food processor, pulse the mixture in short bursts (about 1 second each) until the desired texture is achieved. Stop when the mixture resembles coarse meal with some larger pieces of fat still visible.
Achieving the Right Texture: Pea-Sized Butter Chunks
The key to a truly flaky pie crust lies in the size of the fat pieces after cutting them into the flour. You are looking for a mixture that resembles coarse meal, but importantly, still contains some visible pieces of fat ranging in size from small peas to perhaps even small beans. These larger pieces are what create those wonderful, distinct layers as they melt and steam during baking.
If you overwork the fat and it becomes too fine, you'll end up with a tender but less flaky crust. If the pieces are too large and uneven, the dough might be harder to roll and bake unevenly. Aim for consistency in the size of the larger chunks while ensuring the rest of the mixture is crumbly. This balance is vital for our flaky pie crust beginner recipe.
Step 4: Adding Ice Water for a Tender Crust
Once your fat is properly cut into the flour, it's time to add the ice water. This step hydrates the flour, allowing the dough to come together. Add the ice water gradually, usually starting with about ½ cup, sprinkling it evenly over the flour mixture. Use a fork or your hands to gently mix until the dough just starts to come together.
You may need a little more water, but add it one tablespoon at a time, mixing until just combined before adding more. Be careful not to add too much water, as this can make the dough sticky and tough. The dough should be moist enough to hold together when squeezed, but not wet or sticky.
The Importance of Cold Water in Pie Dough
Just like the cold fat, using ice-cold water is critical for a flaky pie crust. Warm water would soften the fat pieces you just worked so hard to keep cold and distinct. Cold water helps maintain the solidity of the fat, preserving those pockets that will create flakiness. It also helps to control gluten development.
Gluten, a protein network formed when flour and water are mixed, gives dough structure. However, too much gluten development can lead to a tough crust. Cold water slows down gluten formation, and minimal handling (which we'll cover next) also helps. So, always use ice water and add it sparingly, just enough to bring the dough together.
Step 5: Forming the Dough and Chilling
Once the dough is just moist enough to cling together, gently gather it and divide it into two equal portions if you need a double crust, or keep it as one if you need a single crust. Gently shape each portion into a flat disc or rectangle. Avoid kneading the dough, as this develops gluten and can make the crust tough. The goal is simply to bring the dough together into a cohesive shape.
Wrap each disc tightly in plastic wrap. Flattening the dough into a disc makes it easier to roll out later. Now, the wrapped dough must be refrigerated for at least 30 minutes, and preferably for 1-2 hours, or even longer. This chilling period is non-negotiable for a successful flaky pie crust beginner recipe.
Why Chilling is Crucial for Flaky Pie Crust
Chilling the dough serves several vital purposes. Firstly, it allows the fat to firm up again after handling, which is essential for creating those flaky layers during baking. If you try to roll out warm dough with soft fat, the fat will just smear into the flour, resulting in a less flaky or even tough crust.
Secondly, chilling allows the gluten to relax. When flour and water are mixed, gluten strands form. Handling the dough activates these strands. Refrigeration gives the gluten a chance to relax, making the dough easier to roll out without shrinking back and preventing a tough texture. A well-chilled dough is significantly easier to work with and yields a much better flaky crust. Aim for at least 30 minutes, but 1-2 hours is ideal for best results.
Step 6: Rolling Out the Pie Dough
Once your dough is thoroughly chilled, it's time to roll it out. Lightly flour a clean, dry surface and your rolling pin. Take one disc of dough from the refrigerator (keep the other chilled if using two). Place the dough disc on the floured surface and begin rolling from the center outwards, rotating the dough occasionally and adding just a touch more flour if needed to prevent sticking.
Roll the dough into a circle about 12 inches in diameter for a standard 9-inch pie plate, or large enough to fit your specific pie plate with some overhang for crimping. Try to roll evenly to ensure a consistent thickness, aiming for about 1/8 inch. If the dough becomes too soft or sticky while rolling, carefully slide it onto a baking sheet and pop it back in the refrigerator for 10-15 minutes to firm up before continuing.
Tips for Easy Rolling and Preventing Sticking
Rolling pie dough can be tricky for beginners, but a few simple tips can make it much easier. First, ensure your surface and rolling pin are lightly floured, but don't use excessive flour, as this can make the crust tough. Keep your movements light and even. Roll from the center outward, giving the dough a quarter turn every few strokes to help maintain a circular shape and prevent it from sticking in one spot.
If the dough starts to stick despite flouring, you can try rolling it between two sheets of plastic wrap or parchment paper. This eliminates the need for surface flour altogether and makes transferring the dough much simpler. Another useful trick is to lightly flour the top of the dough before rolling. If the edges start to crack, you can gently pinch them back together before rolling over them. Remember, keeping the dough cold is your best defense against sticking and shrinking.
Step 7: Transferring the Dough to Your Pie Plate
Once your dough is rolled out to the correct size and thickness, it's time to transfer it to your pie plate. This step can feel a bit nerve-wracking, but there are easy ways to do it without tearing the delicate dough. If you rolled the dough on a floured surface, gently roll the dough circle around your rolling pin, then unroll it carefully over your pie plate, centering it as you go.
Alternatively, if you rolled the dough between plastic wrap or parchment, simply peel off the top layer, invert the dough into the pie plate, and then peel off the second layer of plastic or parchment. Gently ease the dough into the bottom and sides of the pie plate, making sure it's snug against the corners without stretching it. Avoid pulling or stretching the dough, as this can cause it to shrink back during baking.
Step 8: Crimping the Edges for a Beautiful Finish
With the dough settled in the pie plate and trimmed to leave about a 1-inch overhang, it's time to finish the edge. This overhang will be used to create the decorative and functional edge that holds the filling in. Fold the excess dough under itself so the edge sits flush with the rim of the pie plate.
Now you can crimp the edges. The simplest method for a beginner is to use your thumb and forefinger of one hand to pinch the edge while using the index finger of your other hand to push the dough between your thumb and forefinger, creating a wavy pattern. You can also use a fork to press indentations around the rim. Whichever method you choose, ensure the edge is sealed firmly to the pie plate rim. For a double-crust pie, you'll seal the top and bottom crusts together at this stage before crimping.
Baking Your Flaky Pie Crust to Golden Perfection
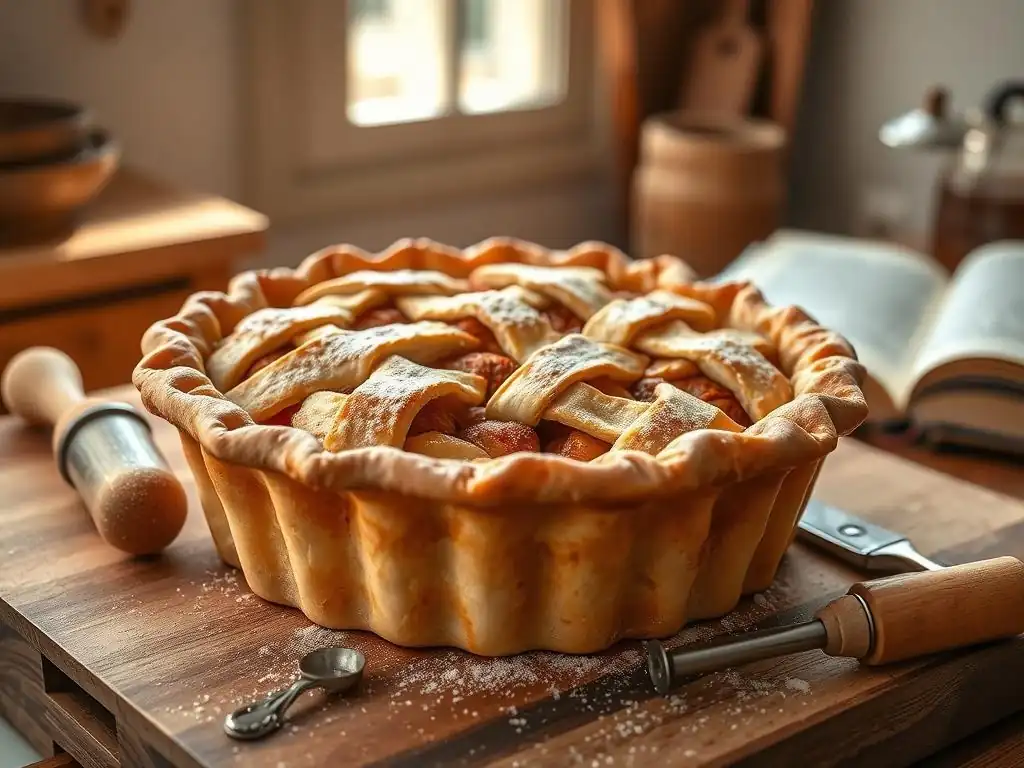
Baking is the final step where your cold fat pieces transform into those desirable flaky layers. The baking temperature and time depend on whether you are blind baking the crust or baking it with a filling. Generally, pie crusts bake at relatively high temperatures, often between 375°F and 425°F (190°C and 220°C), to ensure the fat melts quickly and creates steam before the dough structure sets too much.
Keep a close eye on your crust as it bakes, especially towards the end. It should turn a beautiful golden brown color. If the edges start browning too quickly, you can loosely cover them with aluminum foil or use a pie crust shield. Proper baking ensures the crust is cooked through, crisp, and has that wonderful flaky texture you worked for.
Blind Baking: Preventing a Soggy Bottom Crust
Blind baking, or pre-baking the pie crust before adding the filling, is often necessary for pies with wet fillings (like quiches or custard pies) or fillings that don't require baking (like fresh fruit pies). It helps to ensure the bottom crust is fully cooked and prevents that dreaded soggy bottom. To blind bake, line the chilled, crimped pie crust with parchment paper or foil and fill it with pie weights, dried beans, or rice. This holds the dough in place and prevents it from shrinking or puffing up.
Bake the weighted crust in a preheated oven (often around 375-400°F or 190-200°C) for 15-20 minutes, or until the edges are set and lightly golden. Then, carefully remove the weights and parchment/foil and continue baking for another 10-15 minutes, or until the bottom is golden brown and appears dry. Let the crust cool slightly before adding your filling.
Baking with Filling: Adjusting Baking Time and Temperature
When baking a pie with the filling already added, the baking time and temperature will depend entirely on the specific pie recipe you are using. Fruit pies often start at a higher temperature (like 400-425°F or 200-220°C) for the first 15-20 minutes to set the crust and encourage flaking, then the temperature is reduced (to around 375°F or 190°C) for the remainder of the baking time to cook the filling thoroughly without burning the crust.
Always refer to your specific pie recipe for precise instructions on baking time and temperature. Monitor the crust throughout the baking process. If the edges of your beautiful flaky pie crust start to get too dark before the filling is done, loosely cover the edges with strips of aluminum foil or a pie crust shield. The total baking time for a filled pie can range from 30 minutes to over an hour, depending on the filling.
Troubleshooting Common Pie Crust Problems
Even with a foolproof flaky pie crust beginner recipe, baking can sometimes present challenges. Understanding common issues and how to address them will help you improve your skills. Don's be discouraged by imperfect results – every bake is a learning opportunity!
Here are some frequent problems beginners encounter and how to troubleshoot them:
My Pie Crust is Too Tough!
If your pie crust turns out tough instead of tender and flaky, the most likely culprit is overworking the dough. Excessive mixing or kneading develops too much gluten, creating a dense, bread-like texture rather than a light, layered one. This can happen when adding too much water, causing you to handle the dough more to incorporate it, or simply by mixing too vigorously or for too long.
To avoid a tough crust, handle the dough as little as possible. Mix the water in until the dough just comes together. When shaping, gently gather and flatten the dough; don't knead it. Ensure your ingredients are cold, as warm dough is harder to work with quickly. If you suspect you've overworked the dough, chilling it for an extended period (an hour or more) can help relax the gluten slightly, though it won't fully reverse the toughness.
My Pie Crust is Cracking!
Cracking dough is a common issue, especially when rolling it out. The primary reason for cracking is usually that the dough is too cold or too dry. If the dough is rock hard straight from the refrigerator, let it sit at room temperature for 5-10 minutes before attempting to roll it. It should be pliable but still very cold.
If the dough seems dry and crumbly when you first mixed it, you likely didn't add quite enough water. While you can't easily fix this after chilling, next time ensure you add just enough water for the dough to hold together when squeezed. When rolling, if cracks appear at the edges, you can gently pinch them together with damp fingers before rolling over them. Rolling between parchment or plastic wrap can also help manage cracking.
My Pie Crust is Soggy!
A soggy bottom crust is a common frustration, particularly with wet fillings. This happens when moisture from the filling permeates the bottom crust before it has a chance to cook and crisp up. The main solution is blind baking (pre-baking the crust) before adding the filling, as discussed earlier.
Another reason for sogginess can be an oven that isn't hot enough, preventing the bottom crust from cooking properly before the filling is ready. Ensure your oven is accurately preheated to the specified temperature. Placing the pie on a preheated baking sheet or pizza stone in the oven can also help transfer heat quickly to the bottom crust, promoting even baking and preventing sogginess.
Flavor Variations for Your Homemade Pie Crust
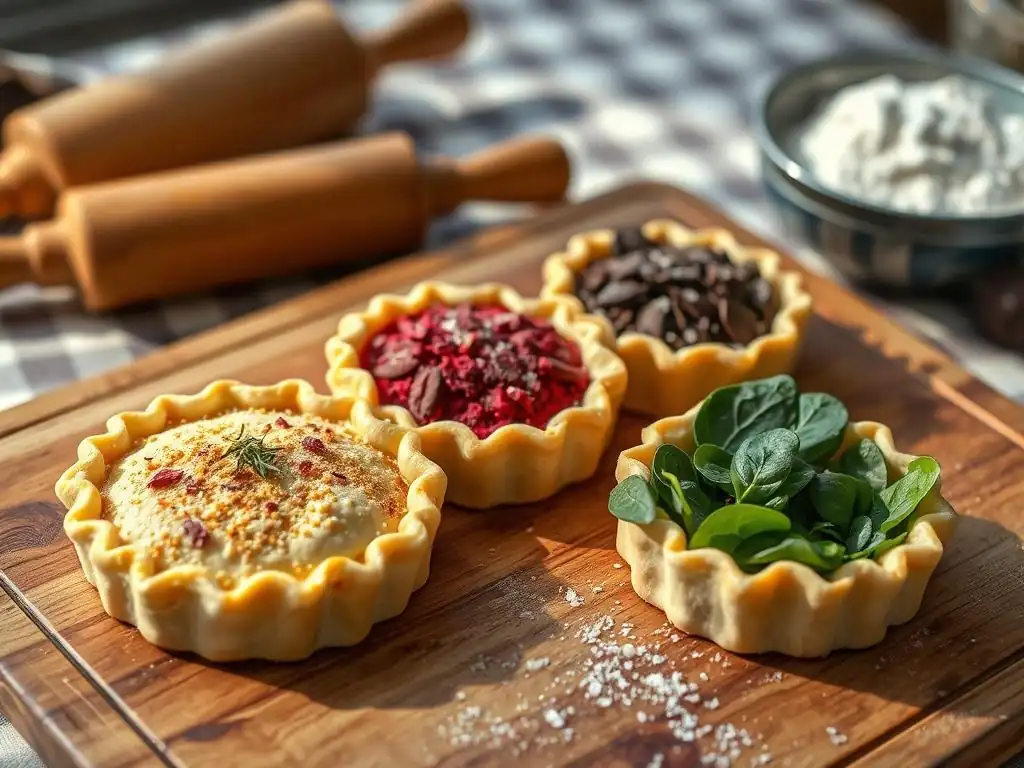
While a classic flaky pie crust is wonderful on its own, you can easily adapt this basic recipe to add different flavors, making it suitable for a wider range of fillings. These simple variations require just a few additions to the dry ingredients.
Experimenting with flavors allows you to personalize your pies and create unique combinations. Remember to still follow the core techniques for a flaky texture, regardless of the added flavorings.
Sweet Pie Crust Recipe Adaptations
For sweet pies, you can enhance the flavor of your basic flaky pie crust by adding sugar or spices to the dry ingredients. A common adaptation for fruit pies is to add 1-2 tablespoons of granulated sugar to the flour and salt mixture before cutting in the fat. This adds a subtle sweetness to the crust.
You can also incorporate spices like cinnamon, nutmeg, or ginger, especially for apple or pumpkin pies. Start with ½ to 1 teaspoon of ground spice mixed into the flour. For a richer flavor, consider substituting a portion of the butter with cream cheese or adding a tablespoon of sugar and a pinch of spice for a classic spiced crust.
Savory Pie Crust Recipe Adaptations
Savory pies, like quiches, pot pies, or tarts, benefit from a crust seasoned appropriately. For a savory flaky pie crust beginner recipe, omit any added sugar. Instead, you can increase the salt slightly (e.g., to 1 ¼ teaspoons).
Consider adding dried herbs like thyme, rosemary, or oregano (1-2 teaspoons total) to the flour mixture. Grated hard cheese, such as Parmesan or cheddar (¼ to ½ cup), can also be added with the dry ingredients before cutting in the fat for a delicious, cheesy crust. Ensure the cheese is cold and grated finely.
Storing Your Flaky Pie Crust
Proper storage is key if you make your dough ahead of time or have leftovers. Knowing how to store unbaked dough and baked crust ensures freshness and quality for future use. Both can be stored in the refrigerator for a short period or frozen for longer storage.
Always wrap the dough or baked crust tightly to prevent it from drying out or absorbing odors from the refrigerator or freezer.
Storing Unbaked Pie Dough
Unbaked pie dough is best stored wrapped tightly in plastic wrap in the refrigerator. It can typically be stored this way for 2-3 days. If you need to store it longer, it freezes beautifully. Wrap the chilled discs of dough first in plastic wrap, then in a layer of aluminum foil or place them in a freezer-safe bag.
Frozen pie dough can be stored for up to 3-4 months. To use frozen dough, transfer it to the refrigerator and let it thaw completely, which usually takes about 24 hours. Avoid thawing at room temperature, as this can warm the fat too much. Once thawed, let it sit at room temperature for 5-10 minutes before rolling, just until it's pliable.
Storing Baked Pie Crust
If you've blind-baked a pie crust or have leftover baked crust (perhaps from trimming), it can also be stored. A completely baked crust can be left at room temperature, loosely covered, for a day. For longer storage, wrap the cooled crust tightly in plastic wrap and then in foil.
Baked pie crust can be refrigerated for 2-3 days or frozen for up to 1-2 months. To reheat a frozen baked crust, you can place it directly in a preheated oven at a low temperature (around 300-325°F or 150-160°C) for 10-15 minutes, or until crisp again.
Mastering the Art of Flaky Pie Crust: Tips and Tricks
Achieving a consistently perfect flaky pie crust is a skill that improves with practice. While this flaky pie crust beginner recipe provides a solid foundation, incorporating a few expert tips can elevate your results even further.
These pointers focus on refining the core techniques and understanding the nuances of dough handling and temperature control.
The Secret to a Truly Flaky Pie Crust: Temperature Control
We've mentioned it repeatedly, but it bears emphasizing: temperature is the single most important factor in achieving a truly flaky pie crust. Keep your ingredients cold, keep your tools cold if possible (some people chill their bowls and rolling pins), and keep your dough cold at every stage until it goes into the oven.
If your kitchen is warm, work quickly. If the dough becomes soft or sticky while you're working with it, don't hesitate to stop and pop it back into the refrigerator or freezer for 10-15 minutes to firm up. This pause is crucial and will save you from potential frustration and a less-than-flaky result. Embrace the chill!
Best Practices for Handling Pie Dough
Minimal and gentle handling is key to preventing a tough crust. Overworking the dough develops gluten, which creates chewiness rather than flakiness. When mixing the water, stop as soon as the dough just comes together. When gathering the dough, press it gently into a disc; do not knead it like bread dough.
When rolling, use steady, even pressure and roll from the center outwards. Avoid stretching or pulling the dough when transferring it to the pie plate. The less you manipulate the dough, the more tender and flaky your final crust will be. Your goal is to coax the dough into shape, not force it.
Achieving Consistent Results Every Time
Consistency comes with practice, but also by paying attention to details. Use precise measurements for your ingredients, especially the water. Keep notes on what worked and what didn't. Was the dough too dry? Too wet? Did it crack? Did it shrink?
Pay attention to the feel of the dough at each stage – how it looks when the fat is cut in, how it feels when the water is added, and how it handles when rolling. By consistently following the steps in this flaky pie crust beginner recipe and being mindful of temperature and handling, you will build intuition and achieve beautiful, flaky results more reliably with each pie you bake.
Frequently Asked Questions
What makes a pie crust flaky?
The flakiness comes from creating thin layers of butter and dough that separate during baking. This is achieved by keeping the butter cold and not overmixing the dough.
What are the essential ingredients for a basic flaky pie crust?
The essential ingredients are flour, cold butter, ice water, and a pinch of salt. The ratio of these ingredients is crucial for the best result.
Why is it important to use ice water in a pie crust recipe?
Using ice water helps to keep the butter cold. Warm butter will melt into the flour, preventing the formation of the flaky layers that we're aiming for.
Can I use a food processor to make flaky pie crust?
Yes, you can use a food processor, but be careful not to overmix the dough. Pulse the ingredients until the mixture resembles coarse crumbs, then gently incorporate the ice water.
How do I prevent my pie crust from shrinking during baking?
Make sure to chill the dough before rolling it out and again after placing it in the pie plate. Also, blind baking the crust with pie weights can help prevent shrinking.
Final Reflection: The Transformative Power of a Perfect Crust
The pursuit of the perfect flaky pie crust is more than just a culinary quest; it's a journey of empowerment. Mastering this seemingly simple skill unlocks a world of delicious possibilities, from classic apple pies to savory galettes, proving that even the most intimidating recipes can be conquered with the right approach. This isn't just about baking a pie; it's about building confidence in the kitchen.
The joy of creating something beautiful and delicious from scratch is profoundly satisfying. It's a connection to tradition, a testament to patience, and a celebration of simple ingredients transformed into something extraordinary. The best things in life are simple,
a phrase often repeated, truly resonates when you bite into a perfectly flaky pie crust, the result of your own effort and dedication. This recipe, designed for beginners, aims to break down the perceived barriers to entry, making this rewarding experience accessible to everyone.
Now, it's your turn. Don't be intimidated by the prospect of making your own pie crust. Gather your ingredients, follow the steps outlined in this article, and embrace the process. The satisfaction of creating a flaky, golden-brown crust from scratch is a reward in itself, and the delicious pie that follows is just the cherry on top. So, roll up your sleeves, and let the baking begin!
Unlock Your Inner Pastry Chef: Bake a Perfect Pie!
Thanks for taking the time to explore the world of flaky, delicious pie crusts with us! We hope you gained some valuable tips and tricks to elevate your baking game. Now it's time to put your newfound knowledge to the test!
- Bake your dream pie: Grab your ingredients and try the recipe today! Don't be afraid to experiment with different fillings – you might discover your new favorite flavor combination!
- Share your creation: Snap a picture of your masterpiece and share it on social media – we’d love to see it! Use #BakeWithEasePie to join our baking community.
- Leave a comment: What was your biggest takeaway from this guide, and what filling are you most excited to try?
Ready to transform your baking from average to amazing? Let's hear your pie-baking plans!