
Using a Piping Bag: Basic Layer Cake Decoration

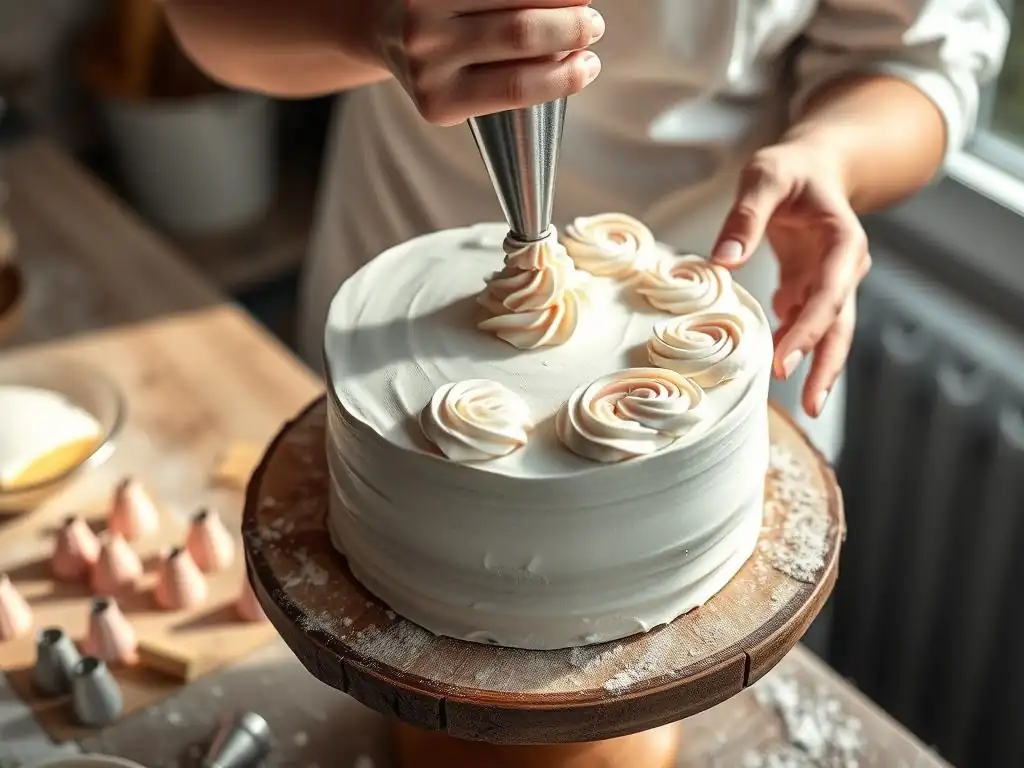
Welcome to BakeWithEase, where the magic of baking unfolds! Ever wondered how professional bakers create those stunning layer cakes? This article dives into the essential techniques for how to decorate a layer cake using a piping bag. Prepare to unlock the secrets of elegant frosting swirls and delicate designs, transforming your homemade cakes into show-stopping masterpieces. Let's get started and elevate your baking skills!
- Layer Cake Decoration with Piping Bags: Techniques for Stunning Results
- Introduction to Piping Bag Cake Decorating
- Preparing Your Piping Bag
- Basic Piping Techniques for Layer Cakes
- Decorating a Layer Cake: Step-by-Step
- Troubleshooting Piping Issues
- Conclusion: Elevate Your Layer Cakes with Piping Skills
-
Frequently Asked Questions
- How do I properly fill a piping bag for decorating a layer cake?
- What are the essential piping tips for a beginner decorating a layer cake?
- How do I achieve smooth and even frosting on a layer cake before decorating?
- What type of frosting works best for piping decorations on a layer cake?
- How can I prevent air bubbles from forming in my piping bag while decorating a layer cake?
- Final Reflection: The Sweet Art of Layer Cake Decoration
- Unleash Your Inner Cake Artist!
Layer Cake Decoration with Piping Bags: Techniques for Stunning Results
Introduction to Piping Bag Cake Decorating
Why Use Piping Bags for Cake Decoration?
Using a piping bag is a fundamental skill for anyone looking to elevate their layer cake decoration. It provides unparalleled precision and control, allowing you to create intricate designs, smooth borders, and delicate details that are difficult, if not impossible, to achieve with just a spatula. Whether you're outlining shapes, writing messages, or adding decorative elements, a piping bag gives you the ability to direct frosting flow exactly where you need it, ensuring clean lines and defined patterns. This level of control is crucial for achieving a professional finish on your layer cakes.
Beyond precision, piping bags offer incredible versatility. With a simple change of tip, you can transform smooth lines into ruffled edges, tiny dots into large rosettes, or flat icing into textured swirls. This versatility allows you to experiment with a wide range of decorative styles on a single cake. For instance, you might use a star tip for a decorative border around the base, a round tip for writing a birthday message, and a petal tip for creating delicate buttercream flowers on top. Mastering the piping bag unlocks a vast array of creative possibilities when decorating a layer cake.
Essential Tools for Piping Bag Cake Decorating
To begin your journey into decorating a layer cake with a piping bag, you'll need a few key tools. The most obvious is the piping bag itself, which comes in various materials like plastic, canvas, or silicone, and different sizes, commonly ranging from 8 inches to 18 inches.
You'll also need an assortment of piping tips, which are the small metal or plastic nozzles that attach to the end of the bag and determine the shape of the piped frosting. A coupler is a handy tool that allows you to change tips on the same bag without emptying it, saving time and reducing mess.
In addition to bags and tips, you'll need your prepared frosting or buttercream, ideally at a smooth, pipeable consistency. For cutting the bag and handling tips, a pair of kitchen scissors and a spatula or bench scraper for filling the bag are useful. Having a few different sizes and types of piping bags on hand is beneficial, as some designs might require smaller bags for fine details while others need larger bags for covering more surface area or holding more frosting. Ensure your tips are clean and dry before use for optimal performance.
Preparing Your Piping Bag
Choosing the Right Piping Bag: Material and Size
Piping bags are available in several materials, each with its own advantages. Disposable plastic bags are convenient for easy cleanup, especially when working with multiple colors or frostings, and are typically cost-effective. Reusable bags, made from materials like silicone or coated canvas, are more durable and environmentally friendly, though they require washing after each use. Silicone bags offer good grip and flexibility, while coated canvas bags are sturdy and often preferred for heavier frostings or large-scale work. Consider the type of frosting you're using and the complexity of your design when choosing the material.
The size of the piping bag is also important. Smaller bags (8-10 inches) are ideal for detailed work, fine lines, or when using small amounts of different colored frostings. Medium bags (12-14 inches) are versatile for general decorating tasks like borders, swirls, and filling larger areas.
Large bags (16-18 inches) are best suited for jobs requiring a large volume of frosting, such as covering a cake in swirls or piping large rosettes. Using a bag that is too small will require frequent refilling, while a bag that is too large can be unwieldy and harder to control, potentially impacting your ability to decorate a layer cake neatly.
Selecting Piping Tips: Common Types and Their Uses
Piping tips come in countless shapes and sizes, each designed for a specific purpose in cake decorating. Some of the most common types include star tips (open and closed), round tips, petal tips, leaf tips, and basketweave tips. Star tips, like the popular 1M or 2D, are excellent for creating borders, rosettes, shells, and textured fills. Round tips, ranging from tiny #1 or #2 for fine writing to larger #10 or #12 for dots and beads, are perfect for lines, outlines, dots, and filling in areas.
Petal tips (e.g., #104, #125) are uniquely shaped to create realistic flower petals, ruffles, and swags. Leaf tips produce realistic leaves, adding dimension to floral designs. Basketweave tips create woven patterns on the side of a cake. When learning how to decorate layer cake, starting with a basic set that includes a variety of these common tips will give you a solid foundation for exploring different decorating techniques. Experimenting with different tips is part of the fun and helps you discover the effects you can achieve.
Filling a Piping Bag: Step-by-Step Guide
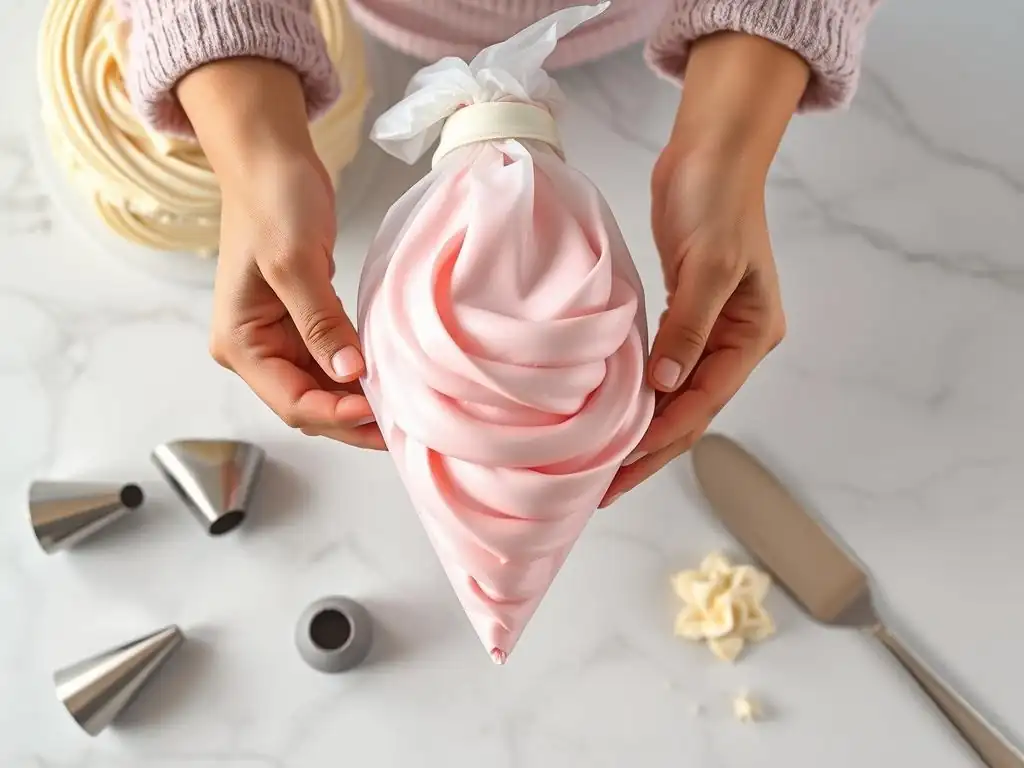
Properly filling a piping bag minimizes mess and makes piping much easier. First, fit your chosen piping tip into the bag. If using a coupler, place the bottom part of the coupler inside the bag, push it down, cut the bag opening just below the threads, attach the tip to the outside, and screw on the ring.
If not using a coupler, simply drop the tip into the bag and cut the bag opening just enough for the tip to poke through snugly. Twist the top of the bag just above the tip opening to prevent frosting from leaking out the bottom before you're ready.
To fill the bag, fold the top few inches of the bag down over your hand, creating a wide opening. Use a spatula to scoop frosting into the bag. Aim to fill the bag about two-thirds full; overfilling makes the bag difficult to handle and control.
Scrape the frosting from the spatula against the inside of the folded cuff to keep the edge clean. Once filled, unfold the cuff and twist the top of the bag tightly closed, pushing the frosting down towards the tip. This twisted top is where you'll apply pressure to pipe, ensuring a steady flow of frosting.
Basic Piping Techniques for Layer Cakes
Star Tip: Borders and Rosettes
The star tip is a fundamental tool for decorating a layer cake, offering versatility for both simple and elaborate designs. Open star tips produce defined points, creating crisp borders and shells, while closed star tips create more defined ridges and are excellent for rosettes and swirls. The technique involves applying steady pressure while moving the bag, then releasing pressure quickly to create a clean stop. This control is key to achieving uniform designs around the cake's edges or on its surface.
Mastering the star tip allows you to create classic looks that significantly enhance layer cake decoration. A simple shell border adds a polished edge, while rosettes piped across the top or sides create a beautiful, textured effect. The size of the tip will dictate the size of the design element, so having a range of star tips (e.g., small #18, medium #21, large 1M) lets you vary the scale of your decoration. Practice piping on parchment paper first to get a feel for the pressure needed for consistent results.
Piping Star Borders
To pipe a star border, hold the bag with the star tip just touching the cake surface at a slight angle. Apply steady pressure, allowing the frosting to build up into a star shape. As the frosting expands, gently pull the bag towards you or along the edge of the cake while maintaining pressure. Release pressure quickly and lift the bag to create a tail, which becomes the starting point for the next shell. Overlap each shell slightly to create a continuous border.
Piping Rosettes
Piping rosettes with a star tip is a popular way to decorate the top or sides of a layer cake. Hold the bag perpendicular to the cake surface. Start piping in the center of where you want the rosette. Apply steady pressure and move the tip in a tight spiral outwards, ending where you started. Release pressure quickly and pull the bag away. The closed star tip (like 2D) often produces rosettes with more defined ridges, while the open star tip (like 1M) gives a softer, more swirled look.
Round Tip: Lines and Details
Round tips are essential for fine detail work and creating smooth, classic elements on a layer cake. Small round tips (e.g., #2, #3) are perfect for writing messages, drawing delicate lines, or creating intricate patterns. Medium to large round tips (e.g., #8, #12) are used for piping dots, beads, or filling in areas with smooth frosting. The key to using a round tip effectively is maintaining consistent pressure and speed for uniform results.
Using round tips allows for precision that is invaluable when decorating a layer cake. You can outline sections, add small decorative dots, pipe strings of beads along edges, or even use a large round tip to create a smooth, domed top on cupcakes or mini cakes placed on your layer cake stand. Practice piping straight lines and dots on parchment paper to build muscle memory and achieve control over the frosting flow.
Piping Smooth Lines
To pipe smooth lines, hold the bag with the round tip just above the cake surface – don't let the tip touch. Apply steady, even pressure and move the bag smoothly along the path you want the line to follow. The frosting should fall naturally onto the cake in a consistent stream. To end the line, stop applying pressure and quickly pull the bag away. For writing, hold the bag at a comfortable angle, apply pressure, and write as if using a pen, maintaining an even flow.
Piping Dots and Beads
Piping dots is one of the simplest yet most effective techniques for decorating a layer cake. Hold the bag with a round tip perpendicular to the cake surface, just above where you want the dot. Apply quick, even pressure to release a small amount of frosting, then stop pressure and pull the bag straight up.
For beads, pipe a dot, then apply slightly more pressure and pull the bag horizontally a tiny bit before stopping pressure and pulling straight away, creating a slightly elongated dot. Piping uniform dots or beads around the base or edges adds a neat, finished look.
Petal Tip: Creating Flowers
Petal tips are specialized tips designed to mimic the look of flower petals and ruffles. They are shaped like a teardrop, with one end wider than the other. By controlling the angle of the tip and the pressure applied, you can create various types of petals, from flat ruffles to curved, realistic flower shapes. Mastering the petal tip requires practice to understand how pressure and movement interact to form the desired shape.
Using petal tips allows you to add beautiful, three-dimensional floral elements to your layer cake decoration. You can create simple buttercream roses, carnations, or ruffles cascading down the side of the cake. The wide end of the tip is typically held closer to the cake or the center of the flower, while the narrow end faces outwards, guiding the edge of the petal. This technique adds a sophisticated and artistic touch to your baking projects.
Piping Basic Petals
To pipe a basic petal, hold the bag with the petal tip so the wide end is touching the cake surface or the base of your flower (often a small mound of frosting). Apply gentle, steady pressure and move the narrow end of the tip outwards in a curved motion, following the desired shape of the petal. Release pressure and pull the bag away to finish the petal. Repeat, overlapping petals slightly, to build your flower shape.
Assembling Simple Flowers
A common way to assemble simple flowers like roses is on a flower nail. Pipe a small mound of frosting onto the nail head. Hold the petal tip with the wide end at the base and the narrow end pointing up. Pipe petals around the mound, slightly overlapping, turning the nail as you go. As you build layers, you can change the angle of the tip to create different petal shapes, from tight buds to open blooms. Once complete, carefully slide the flower off the nail onto your layer cake using a spatula.
Decorating a Layer Cake: Step-by-Step
Preparing the Cake: Crumb Coat and Chilling
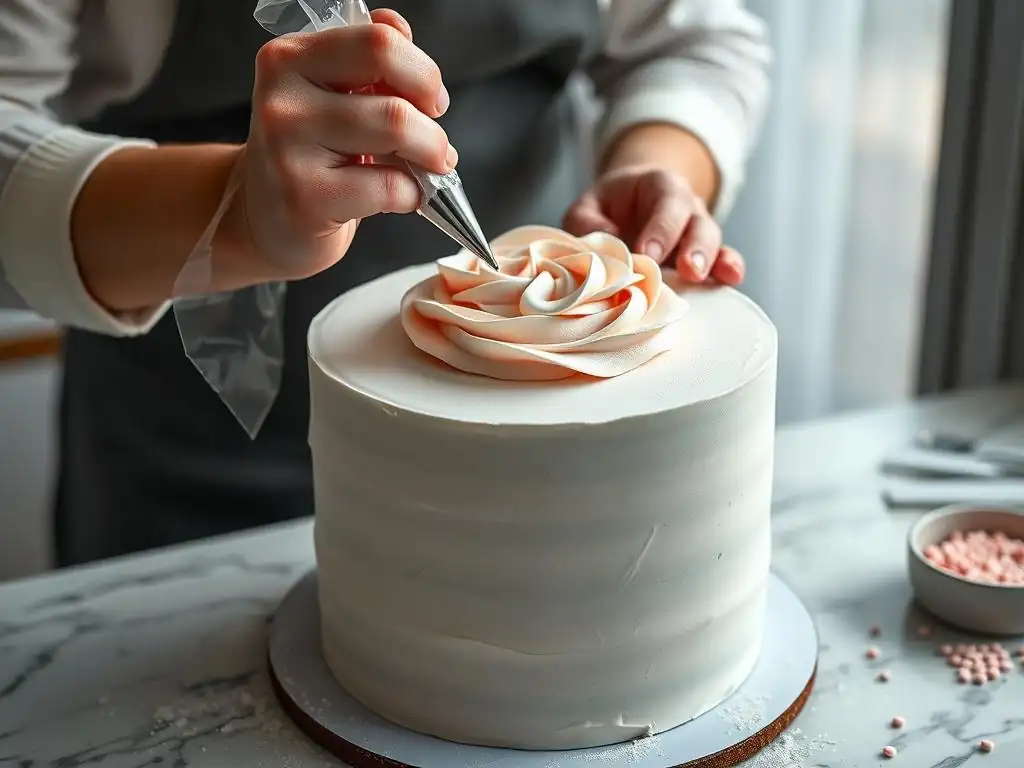
Before you start piping, proper cake preparation is essential for a smooth canvas. After stacking your cooled cake layers with filling, apply a thin layer of frosting all over the cake – this is called the crumb coat. The purpose of the crumb coat is to trap any loose crumbs, preventing them from getting into your final frosting layer. Use an offset spatula to apply a thin, even layer across the top and sides.
Once the crumb coat is applied, chill the cake in the refrigerator for at least 30 minutes, or until the frosting is firm to the touch. This chilling step is crucial because it sets the crumb coat, locking in crumbs and providing a stable base for your final frosting. Trying to apply the final frosting layer over a soft crumb coat will likely result in dragging crumbs and an uneven finish, making it harder to achieve clean piping designs later.
Final Frosting Layer: Achieving a Smooth Finish
After the crumb coat is chilled and firm, apply your final layer of frosting. Use a generous amount of frosting and apply it evenly across the top and sides of the cake using an offset spatula or bench scraper. The goal here is to create a smooth, even surface for your piping work. Use a cake scraper or bench scraper held against the side of the cake at a 90-degree angle, turning the cake on a turntable, to achieve smooth sides. For the top, use an offset spatula to smooth the surface, pulling excess frosting towards the center.
A smooth final frosting layer provides the perfect backdrop for your piped designs. Any bumps or imperfections in the base layer can make piped lines look wobbly or uneven. Take your time with this step to ensure the surface is as smooth and level as possible.
If your frosting is too thick, you can add a tiny bit of milk or cream to thin it to a better consistency for smoothing. Once the final layer is applied and smoothed, you can chill the cake again briefly if needed, especially if working in a warm environment, to firm up the surface before piping.
Piping Your Design: Tips and Tricks
With your cake prepared and chilled, it's time to bring your design to life using your piping bag. Plan your design beforehand – you might sketch it on paper or lightly score the cake surface as a guide. Hold the piping bag correctly: twist the top closed and hold it with your dominant hand, applying pressure from the top, while your non-dominant hand guides the bag near the tip. Maintain consistent, even pressure as you pipe to ensure uniform frosting thickness and flow.
Start with the elements that form the base or structure of your design, like borders or outlines. Work from the outside in or bottom up, depending on the design, to avoid smudging previously piped elements. For complex designs, pipe a section, then chill the cake briefly to set the frosting before continuing. This is especially helpful for delicate elements or when layering piped designs. Don't be afraid to scrape off a mistake and try again; that's part of the learning process when decorating a layer cake.
Finishing Touches: Sprinkles and More
Once your main piping work is complete, you can add finishing touches to enhance your layer cake decoration. This might include adding sprinkles, edible glitter, dragées, or other decorative elements. Sprinkles can be applied directly onto wet frosting for them to stick, or you can use a small amount of frosting as "glue" for placing larger decorations. Consider using a small spoon or your fingers to carefully place sprinkles or edible pearls along borders or within specific areas of your design.
Other finishing touches could involve piping small dots or stars in contrasting colors, adding edible images, or placing fresh fruit or candies on top of piped elements. These final details can add color, texture, and sparkle, completing your layer cake decoration and making it truly stand out. Step back and look at the cake from different angles to ensure the finishing touches enhance the overall design.
Troubleshooting Piping Issues
Air Bubbles: Prevention and Solutions
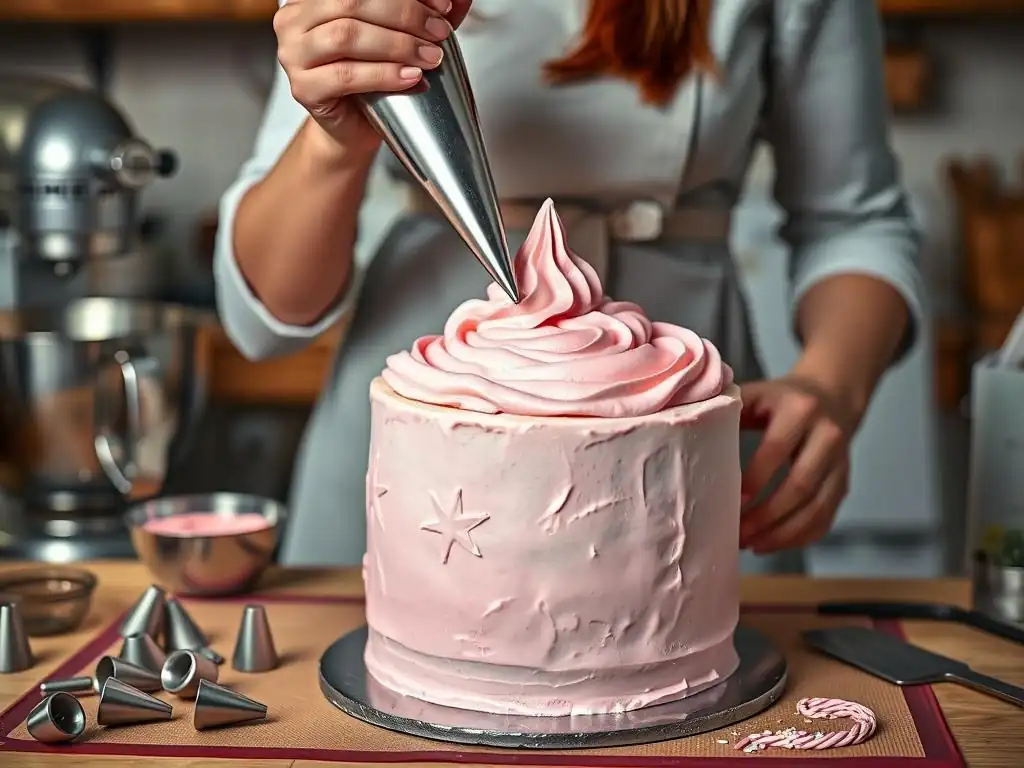
Air bubbles are a common frustration when piping, causing gaps or sudden bursts of frosting that ruin the consistency of your lines or shapes. Air can get trapped in the frosting during mixing or when filling the bag. To prevent this, make sure your frosting is well-mixed and free of large air pockets before filling the bag. When filling, gently push the frosting down into the bag to minimize trapped air.
If you encounter an air bubble while piping, you'll likely feel a sudden resistance or see a gap appear. Simply stop piping, point the tip away from the cake, and squeeze the bag until the air bubble is expelled. You might need to massage the bag gently to help move the bubble towards the tip. Once the frosting flows smoothly again, resume your piping. Taking a moment to remove the bubble is much better than continuing to pipe with inconsistent flow.
Inconsistent Pressure: Achieving Consistent Results
Maintaining consistent pressure is key to achieving uniform piping, whether you're piping lines, stars, or rosettes. If your pressure varies, your piped elements will be uneven in size and shape. This is often a matter of practice and developing muscle control in your piping hand. Ensure the top of your bag is twisted tightly; this provides the tension needed to apply pressure evenly from the top.
Practice piping simple shapes like lines and dots on parchment paper repeatedly. Focus on applying steady, even pressure throughout the movement. Pay attention to how the frosting comes out – if it's thin in some spots and thick in others, you're likely varying your pressure. The more you practice, the better you'll become at applying consistent pressure, leading to more professional-looking layer cake decoration. Remember to use your guiding hand to support the tip end of the bag and help direct the flow.
Clogged Tips: Cleaning and Maintenance
Piping tips can become clogged with crumbs from the cake, dried frosting, or even sugar crystals if the frosting isn't perfectly smooth. A clogged tip will prevent frosting from flowing properly or cause it to come out in a distorted shape. Prevention is the first step: ensure your crumb coat is firm and that your frosting is smooth and free of debris. If switching between colors or types of frosting, rinse your tip thoroughly.
If a tip becomes clogged during piping, stop immediately. You can try to clear it by squeezing the bag hard into a waste bowl, but often the best solution is to remove the tip (if using a coupler) or the bag end and clean the tip. Use a small brush or toothpick to dislodge the clog, then rinse the tip with warm water.
Dry the tip completely before reattaching it to the bag to prevent water from thinning your frosting. Keeping a small bowl of warm water and a brush or toothpick nearby while you work can be very helpful.
Conclusion: Elevate Your Layer Cakes with Piping Skills
Mastering piping bag techniques is an incredibly rewarding step in your baking journey, especially when learning how to decorate layer cake. It transforms a simple frosted cake into a work of art, allowing for intricate designs, beautiful textures, and personalized touches. From basic borders and rosettes using star tips to delicate flowers with petal tips and fine writing with round tips, the skills you develop will open up a world of creative possibilities.
While it may seem daunting at first, remember that practice makes perfect. Start with simple techniques and gradually work your way up to more complex designs. Don't be discouraged by initial imperfections; every baker starts somewhere. With the right tools, a little patience, and dedication to practicing these techniques, you'll soon be creating stunning layer cakes that not only taste delicious but also look absolutely spectacular, showcasing your newfound piping expertise.
Frequently Asked Questions
How do I properly fill a piping bag for decorating a layer cake?
Fill the piping bag only halfway to prevent it from bursting and to maintain better control. Fold the top of the bag over your hand to create a cuff and scoop in the frosting. Avoid overfilling!
What are the essential piping tips for a beginner decorating a layer cake?
A round tip is great for outlining and writing, while a star tip is perfect for borders and rosettes. A leaf tip can create realistic leaf designs. Experiment to find your favorites!
How do I achieve smooth and even frosting on a layer cake before decorating?
Use an offset spatula to apply a thin "crumb coat" and chill the cake to set. Then, apply a thicker layer of frosting and smooth it with the spatula for a professional finish.
What type of frosting works best for piping decorations on a layer cake?
Buttercream frosting is ideal due to its stable consistency and ability to hold its shape when piped. American buttercream is a good starting point. Avoid very liquid frostings.
How can I prevent air bubbles from forming in my piping bag while decorating a layer cake?
After filling the bag, gently tap it on the counter to release trapped air. Then, twist the top of the bag to create pressure and prevent air from entering while piping. Consistent pressure is key!
Final Reflection: The Sweet Art of Layer Cake Decoration
Mastering the piping bag isn't just about creating beautiful layer cakes; it's about unlocking a world of creative expression and bringing joy to those around you. The techniques explored in this article—from basic swirls to more intricate designs—are accessible to everyone, regardless of prior baking experience. This isn't just about following a recipe; it's about embracing the process and finding your own unique style.
The impact of beautifully decorated cakes extends far beyond the simple act of eating. They mark celebrations, commemorate milestones, and bring people together. A perfectly piped rose, a delicate swirl of buttercream, these small details speak volumes about the care and attention poured into the creation. As the saying goes, The best things in life are the people we love, the places we've been, and the memories we've made along the way,
and a beautifully decorated cake can be a significant part of those memories.
Now, it's your turn. Don't be intimidated by the piping bag; embrace the challenge! Experiment with different tips, colors, and designs. Let your creativity flow, and most importantly, have fun. The next time you're faced with a blank canvas – a delicious layer cake waiting to be adorned – remember the techniques you've learned and let your imagination run wild. The sweetest creations often come from the most unexpected places, and your next masterpiece awaits.
Unleash Your Inner Cake Artist!
Thanks for taking the time to learn the basics of piping layer cakes! You've now got the skills to create truly stunning desserts. Ready to put your newfound expertise to the test?
- Master a new piping technique: Try practicing different rose swirls or leaf patterns – the possibilities are endless! Challenge yourself to create a unique design.
- Share your creations: Post a picture of your beautifully piped cake on social media and tag us @BakeWithEase – we'd love to see your masterpiece!
- Explore advanced piping techniques: Dive deeper into our website to find more tutorials on buttercream frosting, filling techniques, and other decorating secrets.
What's your favorite piping tip to use, and what cake design are you most excited to try next?