
Achieve Amazing Oven Spring: Stone vs. Dutch Oven Techniques Revealed.

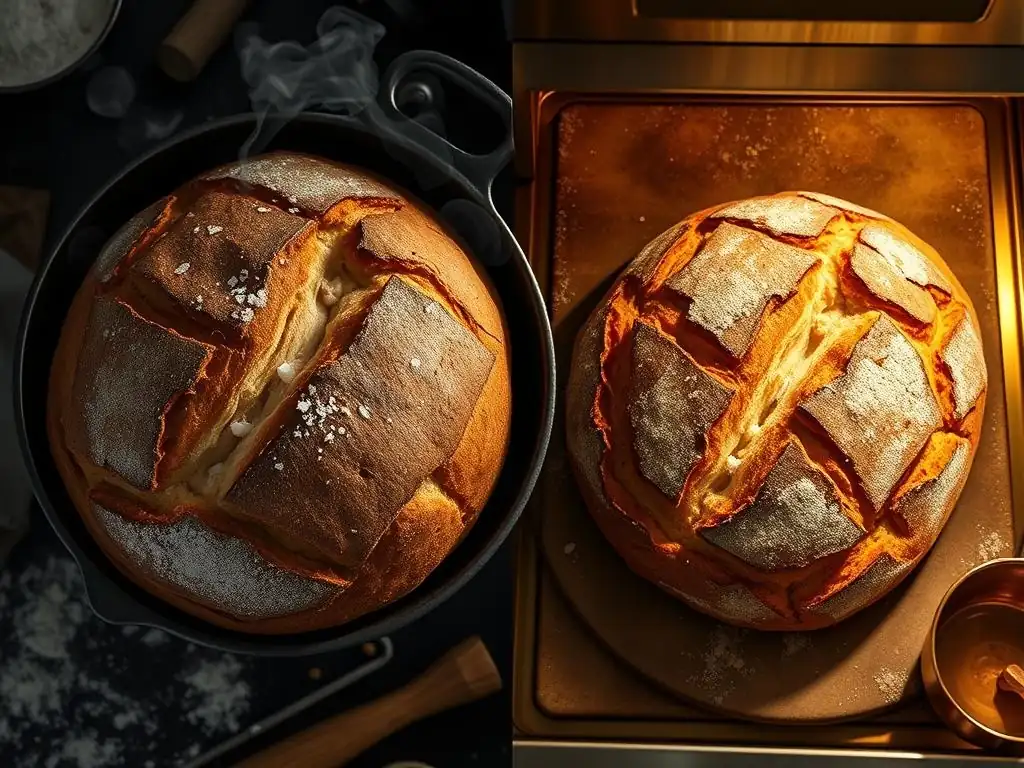
Welcome to BakeWithEase, your companion on the delightful journey of baking! Ever wondered how to achieve that perfect oven spring and a crust that sings? This guide dives deep into the world of Stone Dutch oven baking, revealing the secrets to unlocking bakery-quality loaves in your own kitchen. But which technique truly reigns supreme? Explore the nuances of each method and discover the best approach for your baking ambitions. Let's get baking!
- Achieving Optimal Oven Spring: Understanding Baking Steel vs. Dutch Oven Techniques
- Introduction: Maximizing Oven Spring for Artisan Bread
- Baking Steel Techniques for Enhanced Oven Spring
- Dutch Oven Techniques for Superior Oven Spring
- Baking Steel vs. Dutch Oven: A Comparative Analysis for Oven Spring
- Optimizing Oven Spring: Essential Factors Beyond the Baking Vessel
- Conclusion: Mastering Baking Steel and Dutch Oven Techniques for Exceptional Oven Spring
-
Frequently Asked Questions
- What is oven spring and why is it important for Stone Dutch oven baking?
- What are the key differences between using a baking stone and a Dutch oven for baking bread?
- How does the material of a Dutch oven (cast iron vs. ceramic) affect oven spring and overall baking results?
- What type of bread recipes are best suited for baking in a Stone Dutch oven?
- What are some essential tips for achieving optimal oven spring when using a Stone Dutch oven?
- Final Reflection: The Quest for Perfect Oven Spring: Stone vs. Dutch Oven
- Unleash Your Bread's Potential: Master the Art of Oven Spring!
Achieving Optimal Oven Spring: Understanding Baking Steel vs. Dutch Oven Techniques
Introduction: Maximizing Oven Spring for Artisan Bread
What is Oven Spring and its Impact on Bread Quality?
Oven spring, technically known as the final burst of expansion your bread dough undergoes when first placed in a hot oven, is a critical factor in artisan bread baking. It's the magical moment where the dough significantly increases in volume, pushing upwards and outwards.
This rapid expansion is primarily driven by the quick conversion of water in the dough into steam, coupled with the increased activity of yeast or sourdough starter producing carbon dioxide gas as the dough heats up. A strong oven spring leads to a well-risen loaf with a beautiful structure, contributing to a desirable open crumb and a lighter texture.
Beyond just volume, oven spring directly influences the crust development and overall shape of your bread. A powerful spring helps to open up scores (cuts made on the dough surface), creating visually appealing patterns and allowing for controlled expansion. Without sufficient oven spring, bread can appear dense, flat, and lack the characteristic airy interior that defines quality artisan loaves. Understanding how to maximize this crucial phase is key to moving from simply baking bread to crafting truly exceptional loaves.
Baking Steel vs. Dutch Oven: Selecting the Ideal Baking Vessel
Choosing the right vessel for baking bread is fundamental to achieving impressive oven spring and a perfect crust. Two popular and highly effective options are the baking steel (often used interchangeably with baking stone, though steels are more conductive) and the Dutch oven.
Both tools excel at transferring intense heat to the dough, which is essential for that initial powerful expansion, but they do so through different mechanisms and offer distinct advantages. Your choice between a baking steel setup or a Dutch oven will depend on your baking style, the type of bread you're making, and the specific characteristics you want in your final loaf.
A baking steel, made of highly conductive metal, provides intense radiant heat from beneath, rapidly setting the base crust and propelling upward expansion. This method often requires creating a separate steam environment in the oven. A Dutch oven, typically made of cast iron, traps steam released from the dough within its enclosed space, creating a humid microclimate that delays crust formation, allowing the dough to expand fully before the crust hardens.
Both techniques are excellent for achieving significant oven spring, but they yield slightly different results in terms of crust texture and overall loaf shape. Mastering Stone Dutch oven baking involves understanding these differences and how to leverage each tool effectively.
Baking Steel Techniques for Enhanced Oven Spring
Understanding Baking Steels: Material Properties and Heat Transfer
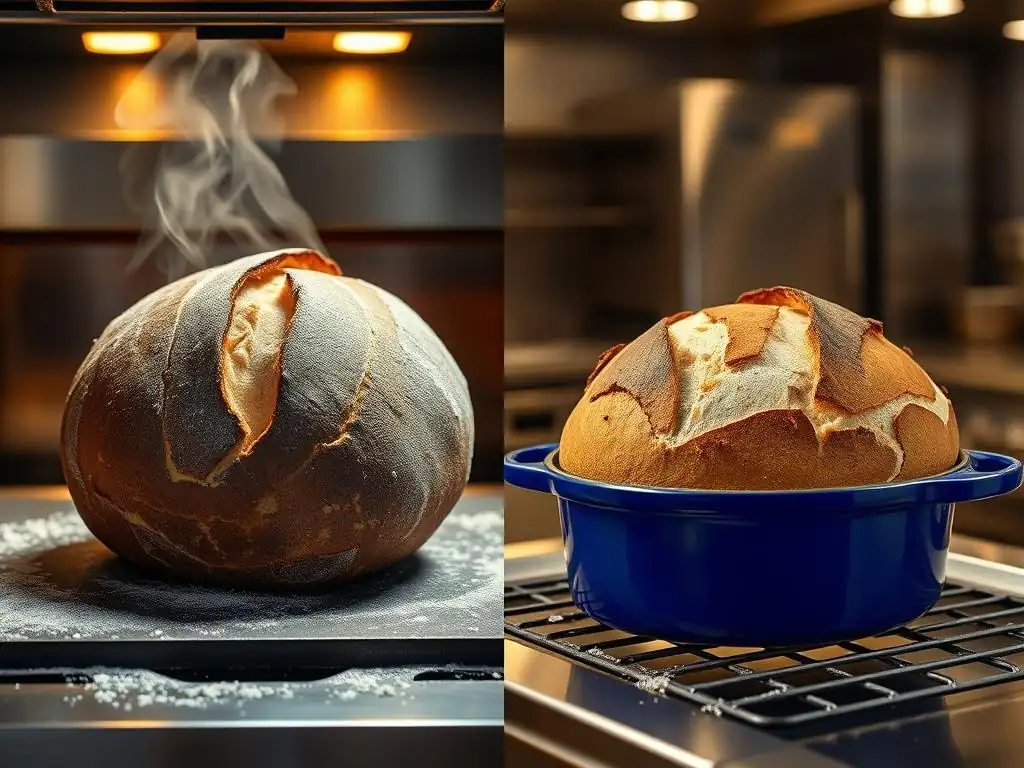
Baking steels are favored by many bakers for their exceptional heat retention and conductivity, far surpassing traditional ceramic baking stones. Made from thick plates of steel (often carbon steel or stainless steel), these slabs absorb and radiate heat much more efficiently. Steel's volumetric heat capacity is significantly higher than ceramic, meaning it can store more energy, and its thermal conductivity is roughly 20 times greater. When cold dough hits a preheated steel, the rapid transfer of intense heat to the base causes an immediate and powerful 'thermal shock'.
This rapid transfer of heat from the baking steel is crucial for maximizing oven spring. The intense heat quickly solidifies the bottom crust, providing structural support for the expanding dough. Simultaneously, the heat drives the rapid conversion of water into steam within the dough, contributing to the upward lift. A typical baking steel might be 1/4 inch to 1/2 inch thick, with thicker steels offering even greater heat retention, allowing them to recover temperature faster between bakes and maintain consistent heat throughout the baking process, especially important for multiple loaves.
Preparing Your Baking Steel for Baking
Proper preparation of your baking steel is essential for both performance and longevity. Before its first use, a steel often needs to be seasoned, similar to cast iron, to prevent rust and create a non-stick surface. This typically involves applying a thin layer of high smoke point oil (like flaxseed or grapeseed oil) and baking it at a high temperature (around 350-400°F or 175-200°C) for an hour or two, repeating the process a few times. For subsequent uses, ensure the steel is clean and dry.
The most critical step in preparing a baking steel for bread is thorough preheating. Place the steel on an oven rack, ideally in the upper third or middle of the oven, depending on your oven's hot spots. Preheat the oven to your desired baking temperature, often 450-500°F (230-260°C), and let the steel heat up for at least 45 minutes to a full hour after the oven indicates it has reached temperature. This ensures the steel is saturated with heat, providing the necessary thermal energy for the dramatic oven spring.
Baking Sourdough on a Steel: A Step-by-Step Guide
Preheating for Rapid Crust Formation
Achieving rapid crust formation on the base of your sourdough loaf when baking on a steel is paramount for maximum oven spring. This is directly linked to the intense heat transfer from the preheated steel. As mentioned, preheating the steel at a high temperature, typically 475-500°F (245-260°C), for a minimum of 45 minutes to an hour is non-negotiable. This ensures the steel has absorbed enough thermal mass to deliver that powerful initial heat shock upon contact with the dough.
The high temperature of the steel instantly starts setting the bottom crust, preventing the loaf from spreading too much horizontally and instead forcing the expansion upwards. Think of it like launching your dough off a hot plate – the energy transfer is immediate and impactful. This rapid setting of the base structure provides the necessary foundation for the internal steam and gases to push the dough upwards during the initial phase of baking, resulting in that coveted oven spring.
Utilizing Parchment Paper for Easy Dough Transfer
Transferring a delicate, high-hydration sourdough dough onto a screaming-hot baking steel can be tricky. This is where parchment paper becomes an invaluable tool. After shaping your loaf and letting it proof in a banneton or proofing basket, gently invert it onto a piece of parchment paper large enough to easily handle. You can then score the dough while it's on the parchment.
When your oven and steel are fully preheated, simply slide the dough, still on the parchment paper, directly onto the center of the hot steel using a pizza peel or a flat baking sheet. The parchment allows for a safe and seamless transfer without deflating the dough, which is crucial for preserving the structure needed for good oven spring. Once the crust has set after the first 10-15 minutes of baking, you can often carefully slide the parchment out from under the loaf, though leaving it in is also perfectly fine, especially for beginners.
Creating Steam with a Lava Rock Setup for Crust Development
While the baking steel provides intense bottom heat, creating a humid environment within the oven is essential for delaying the top crust formation, allowing the dough to expand fully before hardening. A common and effective method for generating steam when baking on a steel is using a tray of lava rocks or a cast iron pan filled with boiling water. Place this tray or pan on a rack below your baking steel during the preheating phase.
Just before you slide your dough onto the steel, carefully pour a cup of boiling water into the hot tray/pan (be extremely cautious of the steam!). Close the oven door quickly to trap the steam. This humid environment keeps the surface of the dough pliable for the first 15-20 minutes of baking, facilitating maximum oven spring and contributing to a thinner, crispier crust later in the bake. After this initial steaming period, you typically vent the oven (open the door briefly) or remove the steam tray to allow the crust to dry out and brown.
Tips and Tricks for Successful Baking Steel Bread
Adjusting Baking Time Based on Steel Thickness
The thickness of your baking steel significantly impacts how long it retains heat and thus can influence your overall baking time and temperature settings. A thicker steel, say 1/2 inch (approximately 1.25 cm), holds considerably more thermal energy than a thinner one, like 1/4 inch (approximately 0.6 cm). This means a thicker steel provides a more sustained burst of heat to the base of the loaf throughout the initial baking phase, potentially requiring slight adjustments to your total baking time or final temperature.
With a thicker steel, you might find that your loaf achieves sufficient browning on the bottom more quickly, or that you can slightly reduce the oven temperature after the initial high-heat phase without sacrificing oven spring or crust development. Conversely, a thinner steel might require maintaining a higher temperature for longer or relying more heavily on the oven's ambient heat. Experimentation is key; start with your recipe's recommended times and adjust based on how your specific steel performs and the desired doneness of your loaf.
Addressing Common Baking Steel Issues [e.g., hotspots]
Baking steels, while excellent heat conductors, can sometimes exacerbate existing temperature inconsistencies or "hotspots" within your oven. One common issue is uneven browning on the base of the loaf, where one side is darker than the other. This often indicates a hotter area on your steel or in your oven. To mitigate this, try rotating your loaf halfway through the bake, carefully turning it 180 degrees on the steel.
Another potential issue is the top of the loaf browning too quickly before the interior is fully cooked, especially in ovens with powerful top elements. If this occurs, consider placing the steel on a lower rack or tenting the loaf loosely with aluminum foil partway through the bake. Preheating the steel for the full recommended time is crucial; insufficient preheating is a frequent cause of disappointing oven spring and pale bottom crusts when using a steel.
Dutch Oven Techniques for Superior Oven Spring
The Benefits of a Dutch Oven: Trapped Steam and Consistent Heat
The Dutch oven is a beloved tool for artisan bread bakers, primarily for its ability to create a perfect microclimate for achieving maximum oven spring. Its heavy lid traps the moisture evaporating from the dough as it bakes. This trapped steam fills the pot, creating a highly humid environment around the loaf during the crucial initial phase of baking. This moist air keeps the surface of the dough soft and pliable, preventing a hard crust from forming prematurely.
By delaying crust formation, the steam allows the dough to continue expanding under the force of the internal gases (steam and carbon dioxide) for a longer period. This results in exceptional oven spring and a more open crumb structure. Furthermore, the heavy cast iron construction of most Dutch ovens provides excellent heat retention and even heat distribution, ensuring consistent baking temperatures around the loaf. This combination of trapped steam and stable heat makes the Dutch oven a powerful tool for Stone Dutch oven baking.
Preparing Your Dutch Oven for Bread Baking
Preparing a Dutch oven for baking bread is straightforward but requires careful attention to preheating. Unlike a baking steel where you might season initially, a well-maintained cast iron Dutch oven is usually ready to go. Ensure it's clean and dry before use. The most critical step is preheating the empty Dutch oven within your oven.
Place the Dutch oven (with its lid) in the cold oven, then set the temperature to your desired baking heat, typically 450-500°F (230-260°C). Allow the Dutch oven to preheat for a significant amount of time, usually 30-60 minutes after the oven reaches temperature. This ensures the cast iron is thoroughly heated, providing the radiant heat needed for the dough's initial burst of expansion when it's placed inside. A properly preheated Dutch oven is key to unlocking its potential for superior oven spring.
Baking a Boule in a Dutch Oven: A Detailed Walkthrough
Preheating for Maximum Steam Pressure
Preheating the Dutch oven to a very high temperature is fundamental to leveraging its steam-trapping capability for maximum oven spring. As the dough is placed into the hot pot and the lid is quickly replaced, the water within the dough rapidly turns to steam. The intensely hot walls of the Dutch oven facilitate this rapid conversion.
The sealed environment prevents this steam from escaping, building up pressure inside the pot. This pressurized steam environment is what keeps the dough surface moist and elastic. A typical preheating temperature for baking a boule in a Dutch oven ranges from 450°F to 500°F (230°C to 260°C), with the Dutch oven sitting inside for at least 45 minutes to ensure it's fully saturated with heat. This high initial heat is what creates the powerful steam effect necessary for significant oven spring.
Scoring Techniques for Controlled Expansion and Aesthetics
Scoring your dough just before placing it in the hot Dutch oven is more than just for decoration; it's a critical step for controlled oven spring and achieving an open crumb. Scoring provides weak points on the surface of the dough where the expanding gases can escape. Without scores, the crust would split unpredictably in weaker spots, leading to a less attractive loaf and potentially inhibiting optimal expansion.
Common scoring patterns include a single long slash down the center (for batards), a cross shape, or multiple parallel cuts for boules. The depth and angle of your score matter. A deep, confident score (around 1/2 inch or 1-1.5 cm deep) allows for significant 'bloom' or opening during oven spring. Scoring at an angle (e.g., 45 degrees) can create an ear – a desirable flap of crust. Practice different techniques to see how they affect the shape and oven spring of your loaf baked using the Dutch oven method.
Baking with and without the Lid for Optimal Crust
The Dutch oven baking process typically involves two distinct phases: baking with the lid on and baking with the lid off. The first phase, with the lid on, is where the magic of oven spring happens. The trapped steam allows the dough to expand fully for the first 15-25 minutes of baking, depending on the loaf size and recipe. This high-steam environment is vital for developing the internal structure and achieving maximum volume.
After this initial phase, the lid is removed. This allows the steam to escape and the dry heat of the oven to reach the loaf directly. This second phase is where the crust develops its color, thickness, and crispiness. The temperature might be slightly reduced during this phase, often by 25-50°F (15-30°C), to prevent the crust from burning while the interior finishes cooking. The duration of each phase is crucial for balancing oven spring, internal doneness, and crust development in Dutch oven baking.
Dutch Oven Baking Strategies for Excellent Oven Spring
Selecting the Appropriate Dutch Oven Size and Construction
Choosing the right size and type of Dutch oven is important for successful bread baking and achieving impressive oven spring. A 5-quart or 6-quart round cast iron Dutch oven is a popular choice for baking standard-sized boules (round loaves) weighing around 500-800 grams of flour. The size should be snug enough to encourage the dough to rise upwards rather than spread too wide, but not so small that the dough touches the sides prematurely.
Heavy cast iron Dutch ovens are preferred because they retain and distribute heat exceptionally well. Ensure the lid fits snugly to effectively trap steam. Enameled cast iron works just as well as bare cast iron for bread baking, offering easier cleaning. Some bakers also use ceramic or stoneware Dutch ovens, but cast iron generally offers superior heat retention and steam trapping for optimal oven spring in Stone Dutch oven baking.
Preventing Sticking and Burning in Your Dutch Oven
Preventing your loaf from sticking to the bottom of the hot Dutch oven is a common concern. The simplest and most effective method is using parchment paper. After shaping and proofing your dough, gently transfer it onto a piece of parchment. You can then lift the dough by the parchment paper and carefully lower it into the preheated Dutch oven. The parchment creates a barrier between the dough and the hot cast iron.
Another technique is to lightly dust the bottom of the Dutch oven with rice flour or cornmeal before carefully lowering the dough in. This creates tiny ball bearings that help prevent sticking. If using bare cast iron, ensure it is well-seasoned. If burning is an issue on the bottom crust, you can try placing a baking sheet or a trivet under the Dutch oven for the second half of the bake (lid off phase) to shield the bottom from direct heat, or even placing a small amount of cornmeal under the parchment paper.
Baking Steel vs. Dutch Oven: A Comparative Analysis for Oven Spring
Heat Retention and Conductivity: Which Performs Better?
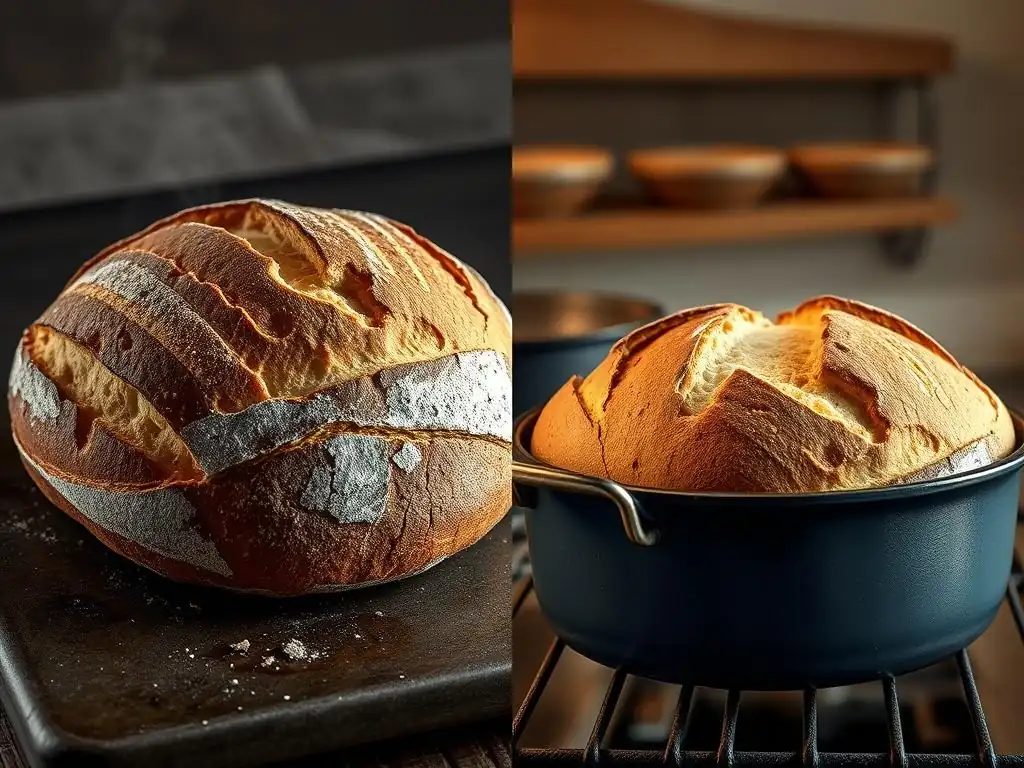
When comparing baking steel and Dutch ovens in terms of heat performance relevant to oven spring, we look at both conductivity and retention. Baking steels, being made of metal, have much higher thermal conductivity than cast iron. This means they transfer heat to the dough much faster upon contact. This rapid heat transfer is what creates that immediate, powerful push upwards from the base when using a steel.
Cast iron Dutch ovens, while less conductive than steel, excel at heat retention. Once heated, they hold onto that heat remarkably well and distribute it evenly around the enclosed space. This sustained, even heat contributes to consistent baking. For the initial burst of oven spring driven by bottom heat, steel has the edge in speed and intensity of transfer. For overall consistent heat surrounding the loaf and facilitating even expansion within a steamy environment, the Dutch oven is highly effective.
Steam Generation and Crust Characteristics: Steel vs. Dutch Oven
This is where the two methods diverge significantly regarding their impact on oven spring and crust. The Dutch oven's primary advantage is its ability to trap the dough's own steam, creating a highly humid environment. This trapped steam keeps the dough surface moist and elastic during the critical first phase, allowing maximum expansion and contributing to a thinner, crackly crust once the lid is removed and the loaf dries out.
When baking on a steel, you need to actively create steam in the oven, often using water in a hot pan or lava rocks. While effective, it can be harder to achieve the same level of intense, trapped humidity as in a sealed Dutch oven. The steel's direct, intense bottom heat often results in a thicker, more robust bottom crust compared to the Dutch oven, where the initial steam softens the entire surface, leading to a more uniformly thin crust before the lid-off phase. Both methods achieve great oven spring, but the texture of the resulting crust differs.
Dough Handling and Transfer: User-Friendliness Assessment
Considering ease of use, especially for high-hydration doughs, the Dutch oven method is often perceived as more forgiving. Transferring proofed dough into a hot Dutch oven is relatively straightforward using parchment paper or by simply inverting a banneton directly into the pot. The sides of the Dutch oven also offer some support to the dough initially.
Transferring dough onto a flat, hot baking steel requires a bit more dexterity, typically involving a peel or baking sheet. There's a slightly higher risk of misshaping the dough or it spreading too much if not transferred quickly and confidently. However, once the dough is on the steel, handling subsequent loaves (if baking multiple) might be easier as you're not dealing with a heavy, hot pot. Overall, for beginners tackling sticky doughs, the contained environment of the Dutch oven might feel more user-friendly for the transfer step, contributing to consistent oven spring results.
Bread Style Suitability: Which Vessel Excels for Different Breads? [e.g., Pizza on Steel, Rustic Loaves in Dutch Oven]
The choice between baking steel and Dutch oven often comes down to the type of bread or baked good you're making and the desired outcome. Baking steels are unparalleled for items requiring intense bottom heat and rapid cooking, such as pizza, focaccia, and certain types of flatbreads. The steel's ability to quickly transfer heat to the base creates a perfectly crisp crust in just minutes, something difficult to replicate in a Dutch oven.
For rustic, freeform loaves like sourdough boules, batards, or country loaves, the Dutch oven reigns supreme. Its ability to trap steam and provide consistent heat within an enclosed space is ideal for developing the volume, open crumb, and characteristic crust of these artisan breads. While you can bake rustic loaves on a steel with added steam, and pizza can be attempted in a Dutch oven (though less ideal), each tool has a clear strength based on the heat and steam requirements of different baked goods. Stone Dutch oven baking techniques are often tailored to the specific bread style.
Optimizing Oven Spring: Essential Factors Beyond the Baking Vessel
Flour Selection: Protein Content and Gluten Development
The type of flour you use plays a significant role in how much oven spring your bread can achieve, regardless of whether you're using a baking steel or Dutch oven. Flour with a higher protein content, typically bread flour (around 12-14% protein), is preferred for artisan loaves. The protein forms gluten when hydrated and kneaded, creating a strong, elastic network that can trap the gases produced by fermentation.
A well-developed gluten network is like an inflatable balloon for your dough; it allows it to expand significantly without collapsing. Using lower protein flours, like all-purpose flour (around 10-12% protein), can still yield good results, but the dough's structure might not be as robust, potentially limiting maximum oven spring. Properly developing the gluten through mixing, kneading, and folding is just as crucial as the flour itself.
Levain Management: Activity and Strength of Your Starter
For sourdough bread, the health and activity of your levain (sourdough starter) are paramount for achieving excellent oven spring. A strong, vigorous starter is essential because it's the primary engine producing the carbon dioxide gas that inflates the dough during bulk fermentation, proofing, and the initial stages of baking (oven spring). An inactive or weak starter simply won't produce enough gas to lift the loaf effectively.
Ensure your starter is mature and consistently active, doubling or tripling in size after feeding within a predictable timeframe (e.g., 4-8 hours at room temperature). Using your starter at its peak activity, when it's bubbly and has a pleasant, slightly tangy aroma, will provide the necessary leavening power for a strong oven spring. Feeding your starter regularly and keeping it healthy is a foundational step in Stone Dutch oven baking for sourdough.
Proofing Techniques: Achieving the Right Level of Fermentation
Proper proofing is a delicate balance that directly impacts oven spring. Proofing refers to the final rise of the shaped dough before baking. Underproofed dough hasn't developed enough gas or gluten structure, resulting in poor expansion and dense spots. Overproofed dough, conversely, has exhausted its leavening power and its gluten structure may have started to degrade, leading to a loaf that spreads rather than springs upwards in the oven.
Finding the 'sweet spot' for proofing is often the most challenging aspect for bakers. Signs of a properly proofed loaf include being visibly larger (though not necessarily doubled), feeling light and airy, and passing the "poke test" – when gently poked, the dough should slowly spring back, leaving a small indentation. If it springs back immediately, it's underproofed; if the indentation remains, it's likely overproofed. Correct proofing ensures the dough has the potential for maximum oven spring when it hits the heat.
Oven Environment: Temperature Stability and Adequate Steam
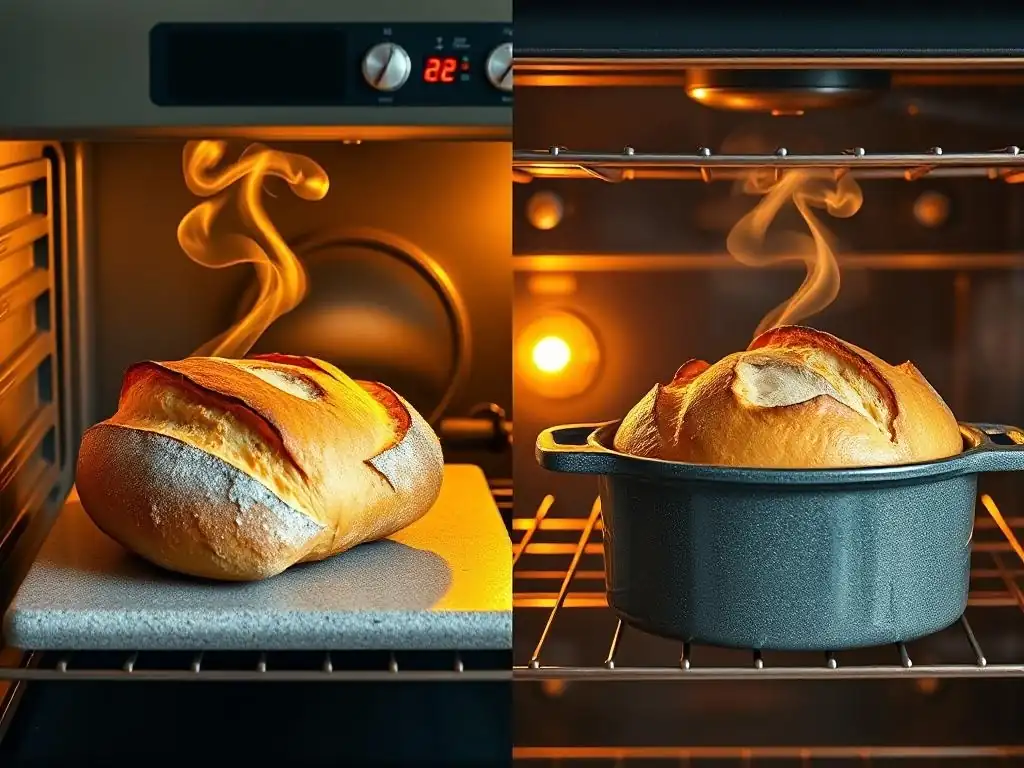
Beyond the baking vessel, the overall oven environment significantly influences oven spring. Maintaining a stable, high temperature is crucial. Ovens can fluctuate, and using an oven thermometer to verify the actual temperature is highly recommended. A consistent high temperature ensures rapid heat transfer to the dough, regardless of whether you're using a steel or a Dutch oven.
Adequate steam in the oven during the initial baking phase is also critical, as discussed earlier. Whether trapped inside a Dutch oven or created externally when using a baking steel, steam keeps the dough surface pliable, allowing for maximum expansion. Some home ovens have steam injection features, but most require manual methods like the Dutch oven itself or a steam tray setup. Mastering temperature and steam control is vital for consistently achieving great oven spring in your homemade bread.
Conclusion: Mastering Baking Steel and Dutch Oven Techniques for Exceptional Oven Spring
Selecting the Optimal Technique Based on Your Bread Preferences
Choosing between baking with a steel and using a Dutch oven ultimately depends on the type of bread you love to bake and the characteristics you prioritize. If you're a pizza enthusiast or frequently bake flatbreads, a baking steel's intense, rapid bottom heat is probably your best friend. It delivers that uniquely crisp crust quickly and efficiently.
For those dedicated to crafting beautiful, airy artisan loaves like sourdough boules and rustic country breads, the Dutch oven's ability to create a perfect, steamy environment for maximum oven spring and a thinner, crackly crust is often the preferred method. Many bakers find success and satisfaction in mastering both techniques, using the steel for one type of bake and the Dutch oven for another, expanding their repertoire in the world of Stone Dutch oven baking.
Continued Practice and Refining Your Bread Baking Process
Achieving consistently amazing oven spring, regardless of the vessel you use, is a journey that involves practice and attention to detail across the entire bread-making process. From nurturing a strong starter and developing sufficient gluten to mastering proofing times and controlling your oven environment, every step contributes to the final result.
Don't be discouraged by early attempts that don't yield the dramatic spring you hoped for. Analyze what might have gone differently – perhaps the starter wasn't quite active, the dough was slightly underproofed, or the oven temperature wasn't stable. Keep experimenting, perhaps trying the same dough recipe with both a baking steel and a Dutch oven to observe the differences firsthand. Each bake is a learning opportunity to refine your technique.
Savoring the Satisfaction of Achieving Perfect Oven Spring in Your Homemade Bread
There is immense satisfaction in slicing into a homemade loaf and seeing a beautiful, open crumb structure – a direct result of successful oven spring. It's a visual testament to your efforts and growing skill as a baker. The moment you pull a well-risen, perfectly shaped loaf from the oven, knowing you coaxed that expansion from simple flour, water, and starter, is incredibly rewarding.
Whether you achieve it through the intense heat of a baking steel setup or the steamy embrace of a Dutch oven, mastering oven spring is a major milestone in artisan bread baking. Enjoy the process, appreciate the nuances of each technique, and most importantly, savor the delicious results of your Stone Dutch oven baking adventures.
Frequently Asked Questions
What is oven spring and why is it important for Stone Dutch oven baking?
Oven spring refers to the rapid expansion of dough in the initial moments of baking. It's crucial for achieving a light and airy texture in breads baked in a Stone Dutch oven.
What are the key differences between using a baking stone and a Dutch oven for baking bread?
A baking stone provides a consistent heat source, while a Dutch oven traps steam, creating a humid environment that promotes oven spring. Both can significantly improve bread quality.
How does the material of a Dutch oven (cast iron vs. ceramic) affect oven spring and overall baking results?
Cast iron Dutch ovens retain heat more effectively and provide even heat distribution, leading to better oven spring compared to ceramic.
What type of bread recipes are best suited for baking in a Stone Dutch oven?
Recipes that benefit from high heat and steam, such as sourdough and crusty artisan breads, are ideal for Stone Dutch oven baking, resulting in a superior crust and crumb.
What are some essential tips for achieving optimal oven spring when using a Stone Dutch oven?
Preheating both the stone and the Dutch oven is crucial. Also, ensuring proper dough hydration and scoring the loaf before baking are critical for successful oven spring.
Final Reflection: The Quest for Perfect Oven Spring: Stone vs. Dutch Oven
The pursuit of the perfect loaf, with its glorious oven spring, remains a central challenge for home bakers, and the choice between a baking stone and a Dutch oven significantly impacts the outcome. Understanding the nuances of heat distribution and moisture retention is key to unlocking that airy, light crumb we all crave. This exploration into the distinct advantages of each method highlights the importance of mindful baking, where technique and equipment work in harmony.
The impact of these baking methods extends beyond the simple act of bread making; it speaks to a deeper connection with food, a celebration of craft, and a desire for quality. The satisfying thud of a perfectly risen loaf is a testament to patience and precision. Bread is the staff of life,
a simple phrase, yet it encapsulates the profound role bread plays in our cultures and individual lives. The quest for better bread, therefore, is a quest for a deeper understanding of our culinary heritage and our own connection to the process of creation.
Now, consider your own baking journey. What techniques have you mastered? What challenges still beckon? I encourage you to experiment, to embrace the learning process, and to find the method—be it stone or Dutch oven—that best suits your style and your oven. The perfect loaf isn't just about the equipment; it's about the joy of the process, the satisfaction of creating something delicious from simple ingredients, and the sharing of that creation with those you love. Embrace the challenge, and may your next loaf be your best yet.
Unleash Your Bread's Potential: Master the Art of Oven Spring!
Thanks for taking the time to explore the secrets of achieving amazing oven spring! You've now got the knowledge to elevate your bread baking to the next level. Ready to put it into practice?
- Bake a test loaf: Choose your preferred method (stone or Dutch oven) and immediately try a new recipe, focusing on the techniques we discussed. Note the differences!
- Share your results: Show off your perfectly risen loaves on social media and tag us – we’d love to see your baking journey! Use #BakeWithEaseOvenSpring.
- Dive deeper: Explore our other resources on bread baking for even more tips and tricks to perfect your craft.
What exciting bread adventure will you embark on first?