
Your First Flatbread: An Easy Beginner's Journey

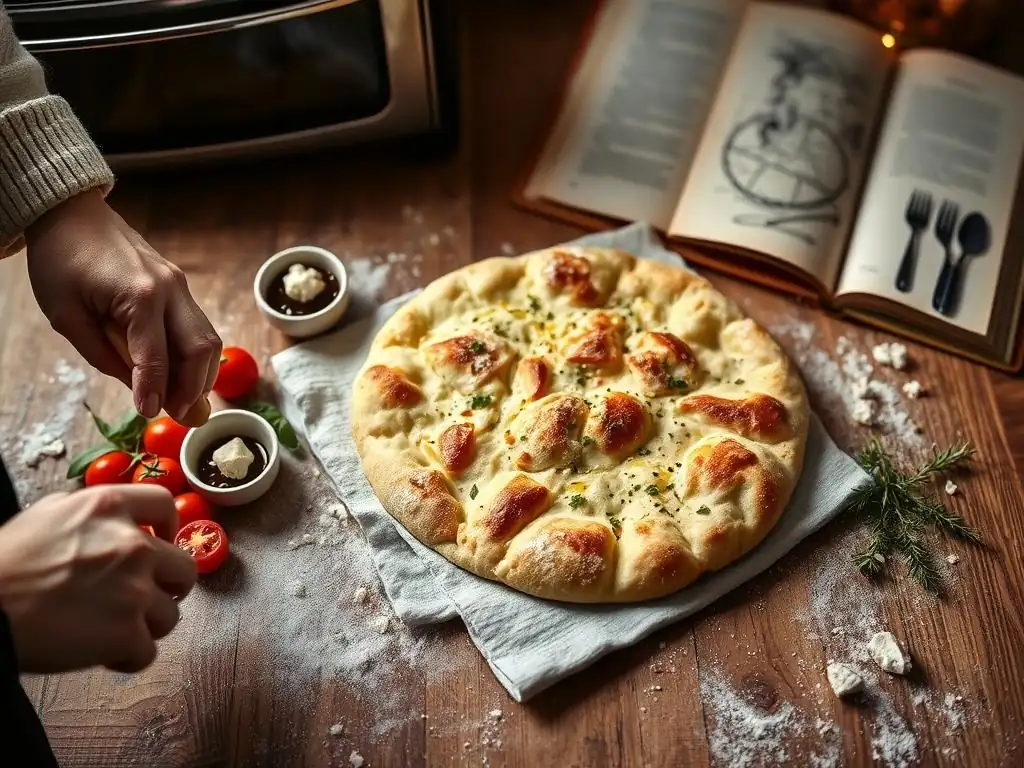
Welcome to BakeWithEase, your haven for simplified baking! Are you ready to ditch the intimidation and embrace the joy of creating delicious treats? This week, we're diving headfirst into the world of bread baking with an easy beginner flatbread recipe that will transform your kitchen into a fragrant bakery. Curious how just a few simple ingredients can yield such satisfying results? Let's unlock the secrets together and embark on your first flatbread adventure!
- Introduction to Easy Flatbread Baking for Beginners
- Understanding the Basics: What Makes a Great Beginner Flatbread?
-
Easy Beginner Flatbread Recipe: Step-by-Step Guide
- Step 1: Gathering Your Ingredients for the Flatbread Dough
- Step 2: Mixing the Simple Flatbread Dough (No-Knead Method)
- Step 3: Resting and Rising the Dough for Optimal Flavor
- Step 4: Shaping Your Flatbreads for Baking
- Step 5: Baking Your Flatbread to Golden Perfection
- Step 6: Serving and Enjoying Your Homemade Flatbread
- Tips and Tricks for a Perfect Beginner Flatbread
- Variations on the Easy Beginner Flatbread Recipe
- Beyond the Basics: Expanding Your Flatbread Skills
- Conclusion: Congratulations on Baking Your First Flatbread!
-
Frequently Asked Questions
- What makes this flatbread recipe "easy" for beginners?
- What if I don't have a stand mixer? Can I still make this flatbread?
- Can I substitute the all-purpose flour with another type of flour?
- How long does it take to make this easy beginner flatbread from start to finish?
- What are some serving suggestions for this flatbread?
- Final Reflection: The Humble Flatbread, A Gateway to Culinary Adventure
- Unleash Your Inner Baker: Craft Your First Perfect Flatbread!
Introduction to Easy Flatbread Baking for Beginners
Why Flatbread is the Perfect Starting Point for New Bakers
Starting your baking journey can feel a bit daunting, with complex recipes, proofing times, and kneading techniques often acting as barriers. However, flatbreads offer a wonderfully accessible entry point into the world of dough. Unlike many traditional loaves that require precise shaping and multiple rises, an easy beginner flatbread recipe is inherently forgiving.
They often require minimal kneading, sometimes none at all, and bake relatively quickly, providing almost instant gratification for your baking efforts. This low-pressure environment allows new bakers to build confidence and understand the basic principles of dough handling, yeast activity (if used), and baking in a hot oven, setting a solid foundation for tackling more complex bakes later on.
Moreover, flatbreads are incredibly versatile. A simple flatbread recipe can be the base for countless meals, from a quick pizza alternative to a side for soups and stews, or even a vehicle for dips like hummus or baba ghanoush. This versatility means you can practice the same basic dough recipe repeatedly while exploring different ways to serve it, keeping your baking experience fresh and exciting.
Mastering a simple flatbread recipe is a practical skill that yields delicious results you can enjoy right away, making it an ideal first project for anyone eager to start baking without getting overwhelmed. It’s a rewarding way to begin your exploration of baking with dough.
BakeWithEase's Commitment to Simple Baking Recipes
At BakeWithEase, our core mission is to demystify baking and make it accessible and enjoyable for everyone, regardless of their experience level. We understand that the first few attempts in the kitchen can shape your long-term relationship with baking, and we want that experience to be positive and empowering. That's why we focus on providing clear, step-by-step instructions, offering helpful tips, and curating recipes that are specifically designed for ease and success.
Our easy beginner flatbread recipe is a prime example of this commitment, breaking down the process into manageable steps that build confidence. We believe that armed with the right guidance and a simple flatbread recipe, anyone can experience the joy and satisfaction of pulling a warm, homemade bake from the oven.
We strive to be your trusted companion in the kitchen, offering not just recipes but also explanations behind the techniques. We aim to help you understand why certain steps are important, like why dough needs to rest or what happens when you bake at a high temperature. This educational approach, coupled with our focus on straightforward, simple baking recipes, ensures that you're not just following instructions but truly learning the fundamentals.
Our platform is designed to support your growth, providing resources that help you troubleshoot, adapt recipes, and continue exploring new baking adventures. Starting with an easy beginner flatbread recipe is just the first step on a fulfilling journey we're excited to take with you.
Understanding the Basics: What Makes a Great Beginner Flatbread?
Key Ingredients for a Simple Flatbread Recipe
An easy beginner flatbread recipe typically relies on a few fundamental ingredients you likely already have in your pantry. The most crucial is flour, usually all-purpose wheat flour, which provides the structure for the dough. For a simple flatbread recipe, standard all-purpose flour works perfectly, offering a good balance of gluten development without being too tricky to handle.
You'll also need a liquid, most commonly water, which hydrates the flour and activates the gluten. The temperature of the water can sometimes influence yeast activity, but for a basic recipe, lukewarm water is often recommended if using yeast, or simply room temperature if it's a no-yeast recipe.
Leavening is another key component, although some flatbreads are unleavened. For a slightly puffier, chewier texture often desired in a simple flatbread recipe, instant dry yeast is commonly used because it can be mixed directly with the dry ingredients and doesn't require proofing beforehand. Alternatively, baking powder can be used for a quick, unleavened or slightly leavened flatbread that bakes instantly.
Salt is essential for flavor, enhancing the taste of the flour and balancing any richness. Finally, a touch of oil, like olive oil or vegetable oil, is often included to add richness, improve texture, and make the dough easier to handle. These simple components, when combined correctly, form the basis of a delicious easy beginner flatbread recipe.
Essential Equipment for Your First Flatbread Baking Experience
You don't need a professional bakery setup to make a fantastic easy beginner flatbread recipe. In fact, the required equipment is quite minimal, making it perfect for home cooks just starting out. You'll need a large mixing bowl to combine your ingredients – a standard kitchen bowl made of glass, metal, or plastic will work fine. Measuring cups and spoons are necessary for accurately portioning your flour, liquid, and leavening agents. While precision is important in baking, a simple flatbread recipe is forgiving enough that slight variations won't ruin the result.
For mixing, a sturdy spoon or a spatula is usually sufficient, especially for a no-knead easy beginner flatbread recipe where you're simply bringing the ingredients together. Your hands are also excellent tools for the final mix and shaping. To bake the flatbread, a baking sheet is essential.
Lining it with parchment paper is highly recommended as it prevents sticking and makes cleanup a breeze. While not strictly necessary, a cast iron skillet or a baking stone can give flatbreads a wonderful crispy bottom, but a standard baking sheet on a hot oven rack works perfectly well for your first attempts. Lastly, a clean kitchen towel or plastic wrap is useful for covering the dough while it rests.
Mastering the Art of the No-Knead Flatbread Dough
The concept of a no-knead dough is a game-changer for an easy beginner flatbread recipe. Traditional bread recipes often require vigorous kneading to develop gluten, the protein network that gives bread its structure and chewiness. This can be physically demanding and intimidating for newcomers.
A no-knead method, however, relies on time rather than effort. By simply mixing the ingredients until just combined and then allowing the dough to rest for an extended period (often several hours, sometimes overnight), the gluten develops naturally through a process called autolysis. The water hydrates the flour over time, allowing the gluten strands to align and strengthen on their own.
This technique simplifies the process dramatically. Instead of kneading for 10-15 minutes, you might spend just 1-2 minutes mixing. The long rest period also allows for a slow fermentation, which can contribute to a more complex flavor in the finished flatbread.
While a no-knead dough might look shaggy and less smooth initially compared to a kneaded dough, don't be discouraged. After resting, it will become more pliable and easier to handle. This method makes baking an easy beginner flatbread recipe incredibly accessible, removing a common hurdle and allowing you to focus on the simple steps of mixing, resting, shaping, and baking.
Easy Beginner Flatbread Recipe: Step-by-Step Guide
Step 1: Gathering Your Ingredients for the Flatbread Dough
Before you begin mixing, the first and most important step for your easy beginner flatbread recipe is to gather all your ingredients and measure them accurately. This practice, known as "mise en place" in professional kitchens, ensures you don't forget anything and makes the mixing process smooth and efficient.
You'll typically need all-purpose flour (around 250-300 grams, which is roughly 2 to 2.5 cups), warm water (about 180-200 ml, or ¾ cup), instant dry yeast (around 1 teaspoon), salt (about ½ teaspoon), and a little olive oil (1-2 tablespoons). Having everything measured out and ready eliminates last-minute scrambling and helps prevent errors.
Using warm water, around 105-115°F (40-46°C), is ideal when working with instant yeast, as it helps activate it effectively. However, avoid using hot water, which can kill the yeast. If you're unsure about the temperature, lukewarm water that feels pleasant to the touch is a safe bet. Ensure your salt and yeast are fresh; expired yeast won't activate properly, and stale salt won't provide the necessary flavor boost. Taking this moment to prepare your ingredients sets you up for success with your easy beginner flatbread recipe and makes the subsequent steps straightforward and enjoyable.
Step 2: Mixing the Simple Flatbread Dough (No-Knead Method)
With your ingredients ready, it's time to mix your simple flatbread dough using the no-knead method. In your large mixing bowl, combine the flour, instant dry yeast, and salt. Give these dry ingredients a quick whisk with a spoon or whisk to distribute them evenly. This ensures the yeast and salt are dispersed throughout the flour, leading to a more consistent rise and flavor.
Next, add the warm water and the olive oil to the dry ingredients. Using a sturdy spoon or spatula, begin to mix everything together. Stir until all the flour is hydrated and a shaggy, sticky dough forms. There's no need to mix until smooth; just ensure there are no dry pockets of flour left in the bowl. This mixing process should only take about 1-2 minutes. The dough will look rough and unappealing at this stage, but trust the process – the magic happens during the rest period. Cover the bowl with plastic wrap or a damp kitchen towel.
Step 3: Resting and Rising the Dough for Optimal Flavor
This is where the "no-knead" magic truly happens for your easy beginner flatbread recipe. Once mixed, the dough needs time to rest and rise. Place the covered bowl in a warm spot in your kitchen, away from drafts. A warm oven (turned off, but perhaps preheated briefly and then turned off), or simply on the kitchen counter in a warm room works well. The ideal temperature for rising yeast dough is typically between 75-80°F (24-27°C).
Allow the dough to rest and rise for at least 2 hours, or even longer, up to 4-5 hours, or until it has roughly doubled in size and you see bubbles on the surface. The longer rest allows the gluten to develop naturally and the flavors to deepen through fermentation.
If you have more time, you can even place the covered bowl in the refrigerator for 8-24 hours for a slower, colder fermentation, which can result in an even more complex flavor. This resting period is crucial for developing the texture and taste of your simple flatbread recipe without any manual kneading.
Step 4: Shaping Your Flatbreads for Baking
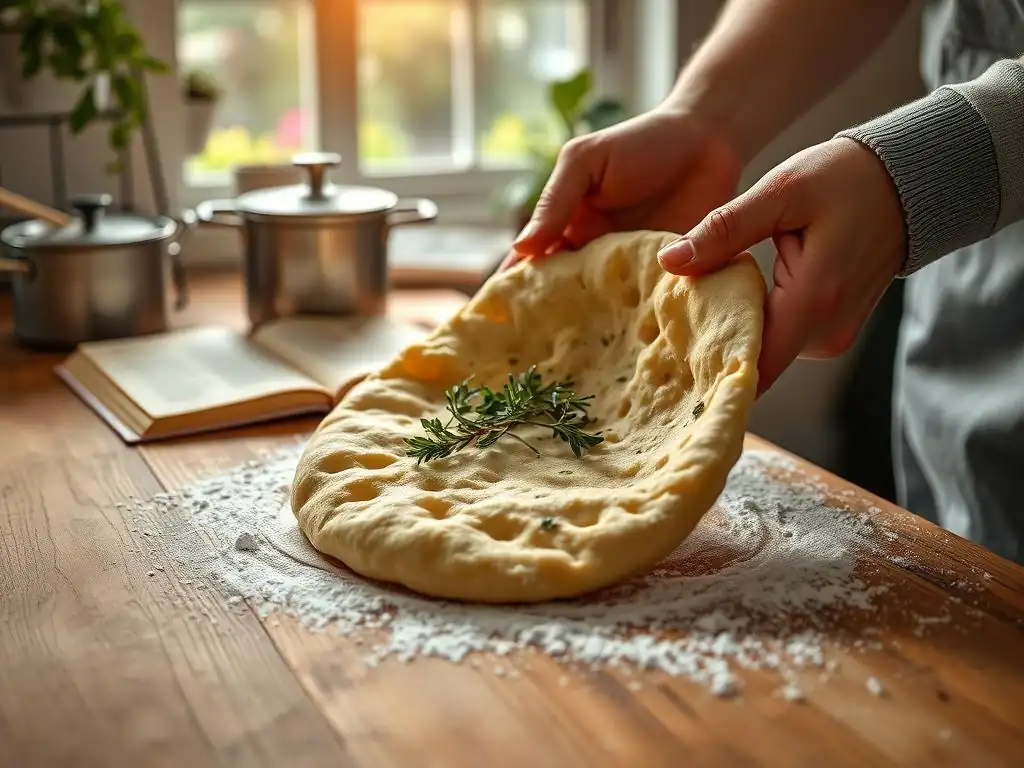
After the dough has rested and risen, it's time to shape it for baking. The dough will be sticky and airy. Gently scrape the dough out onto a lightly floured surface. Avoid the urge to knead it vigorously; you want to preserve the air bubbles that have developed. Divide the dough into portions, depending on how large you want your flatbreads to be. For example, you might divide a typical batch into 4-6 portions for medium-sized flatbreads.
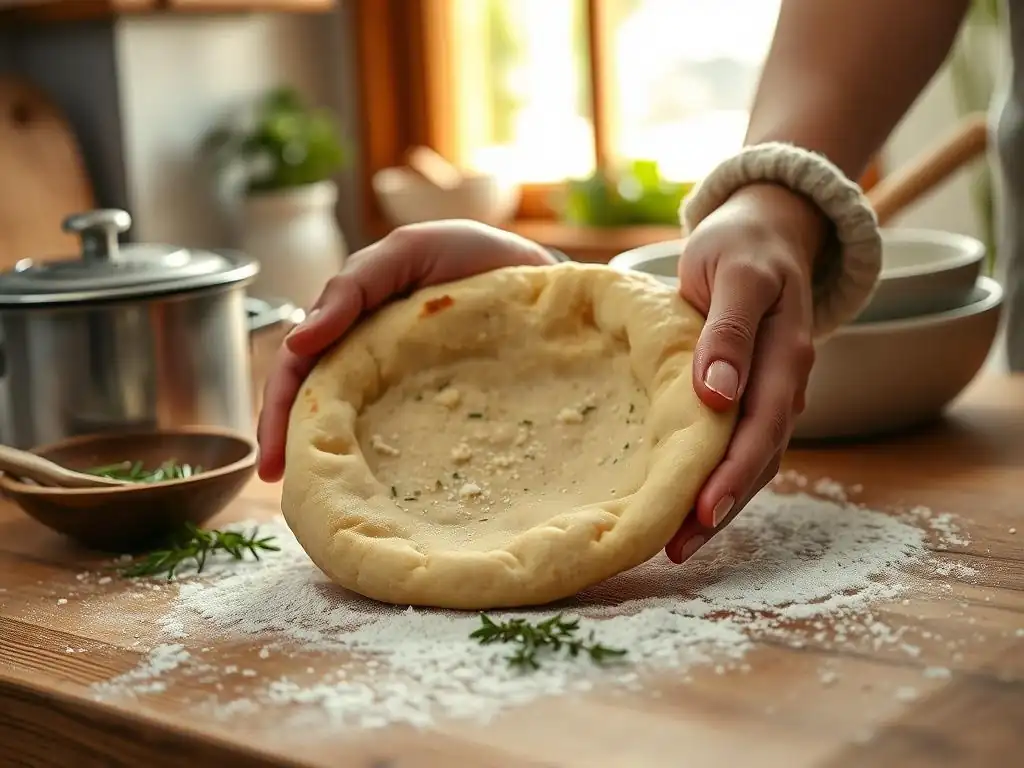
Working with one portion at a time, gently stretch or pat the dough into your desired flatbread shape – typically a rough circle or oval, about ¼ to ½ inch thick. You can use your fingers to dimple the surface slightly, similar to focaccia. Don't worry about making them perfectly round; rustic shapes are part of the charm of a homemade easy beginner flatbread recipe. Place the shaped flatbreads onto your prepared baking sheet lined with parchment paper, leaving some space between them. You may need to use two baking sheets depending on the size of your batch.
Step 5: Baking Your Flatbread to Golden Perfection
Preheating your oven is key to achieving a great texture for your easy beginner flatbread recipe. Preheat your oven to a high temperature, typically between 400-450°F (200-230°C). A hot oven helps the flatbread puff up quickly and develop a nice crust. If you're using a baking stone or steel, place it in the oven while it preheats. Once the oven is fully preheated, carefully slide the baking sheet with the shaped flatbreads onto the middle rack (or onto the hot stone/steel if using).
Bake the flatbreads for 8-15 minutes, depending on their thickness and your oven. Keep a close eye on them as they bake quickly. They are ready when they are puffed up (though they may deflate slightly upon cooling), golden brown on the edges and bottom, and cooked through. You can lift one gently with a spatula to check the underside for browning. The high heat ensures a relatively short baking time, minimizing the wait until you can enjoy your delicious, homemade simple flatbread recipe.
Step 6: Serving and Enjoying Your Homemade Flatbread
Once baked, carefully remove the hot flatbreads from the oven. For the best texture and flavor, it's recommended to serve them warm, shortly after baking. You can brush them lightly with olive oil or melted butter immediately after they come out of the oven for extra richness and a soft crust. A sprinkle of flaky sea salt at this stage is also a wonderful addition.
Allow the flatbreads to cool slightly on the baking sheet or a wire rack for a few minutes before serving. This brief cooling period helps them set. Your easy beginner flatbread recipe is now ready to be enjoyed! Serve them as a side, use them for dipping, top them like a pizza, or simply eat them plain. The satisfaction of eating something delicious that you made yourself, especially a simple flatbread recipe, is immense and a great reward for your first baking attempt.
Tips and Tricks for a Perfect Beginner Flatbread
Troubleshooting Common Flatbread Baking Issues
Even with an easy beginner flatbread recipe, you might encounter a few common issues, but don't worry, they are usually easy to fix or prevent. If your flatbreads didn't puff up much, it could be due to inactive yeast (check the expiration date! ), not enough resting time, or an oven that wasn't hot enough. Ensure your water temperature is correct for activating yeast and give the dough ample time to rest until visibly bubbly and increased in volume. Preheating your oven fully to a high temperature is crucial for that initial puff.
If your flatbreads are too tough or dense, it might be because you used too much flour when shaping, kneaded the dough too much (though less likely with a no-knead recipe), or didn't allow the dough to rest long enough. Use minimal flour when handling and shaping, just enough to prevent sticking. Ensure the dough has had its full resting time to develop gluten naturally.
If they are too dry, you might not have used enough water initially; the dough should be quite wet and sticky after mixing. With practice, you'll learn to recognize the correct dough consistency for your simple flatbread recipe.
Enhancing the Flavor: Easy Topping Ideas for Your Flatbread
Once you've mastered the basic easy beginner flatbread recipe, you can easily elevate its flavor with simple toppings added before or after baking. A classic choice is to brush the shaped dough with olive oil and sprinkle with flaky sea salt and dried herbs like oregano, rosemary, or thyme before baking. This adds a lovely aromatic quality. Fresh garlic, minced and mixed with olive oil, can also be brushed on for a pungent flavor boost – just be careful not to burn the garlic during baking.
After baking, you can brush the hot flatbreads with garlic-infused olive oil or melted butter. A sprinkle of fresh chopped herbs like parsley, chives, or cilantro adds freshness. Everything bagel seasoning is another popular and easy topping for a savory kick. For a slightly different take, you can top the shaped dough with thinly sliced onions, cherry tomatoes, or olives before baking, creating a mini focaccia-style flatbread. These simple additions transform your easy beginner flatbread recipe into something even more special without adding complexity to the baking process itself.
Storing Your Homemade Flatbread for Freshness
Proper storage helps keep your delicious easy beginner flatbread recipe fresh for longer. Once your flatbreads have cooled completely, stack them and wrap them tightly in plastic wrap or aluminum foil. You can also place them in an airtight container or a resealable plastic bag. Stored at room temperature, homemade flatbread typically stays fresh for 1-2 days. The texture might soften slightly over time, but the flavor should remain good.
For longer storage, flatbreads freeze exceptionally well. Once cooled, wrap them individually or in small stacks, then place the wrapped flatbreads in a freezer-safe bag or container. Frozen flatbreads can be stored for up to 2-3 months.
To reheat, you can thaw them at room temperature or reheat directly from frozen. A few minutes in a toaster oven, on a warm skillet, or wrapped in foil in a standard oven (around 350°F or 175°C) will bring them back to a wonderfully warm and pliable state, almost as good as fresh from the oven. This makes baking a batch of your simple flatbread recipe and storing some for later a very convenient option.
Variations on the Easy Beginner Flatbread Recipe
Garlic and Herb Flatbread: A Flavorful Twist
Adding garlic and herbs is one of the simplest and most popular ways to enhance your easy beginner flatbread recipe. You can incorporate flavor in a couple of ways. One method is to mix dried herbs like oregano, rosemary, or a blend of Italian herbs directly into the dry flour mixture in Step 1. Use about 1-2 teaspoons of dried herbs per batch of dough. You can also mince 1-2 cloves of fresh garlic very finely and add it to the wet ingredients before mixing. The garlic infuses into the dough as it rests.
Another delicious approach, especially after baking, is to create a garlic-herb oil. Finely mince 1-2 cloves of garlic and mix it with 2-3 tablespoons of olive oil and a pinch of dried or fresh chopped herbs. Immediately after taking the hot flatbreads out of the oven in Step 5, brush this flavorful oil generously over the surface. The heat of the bread helps the flavors meld beautifully. This variation on your simple flatbread recipe adds a wonderful aroma and taste, perfect for serving with savory dishes or enjoying on its own.
Whole Wheat Flatbread: A Healthier Option
If you're looking to make your easy beginner flatbread recipe slightly healthier, substituting some or all of the all-purpose flour with whole wheat flour is a great option. Whole wheat flour contains the bran and germ of the wheat kernel, adding more fiber, nutrients, and a nuttier flavor compared to refined all-purpose flour. You can start by substituting just 25-50% of the all-purpose flour with whole wheat flour to get accustomed to its properties. For example, if your recipe calls for 250g all-purpose flour, try using 125g all-purpose and 125g whole wheat.
Keep in mind that whole wheat flour absorbs more liquid than all-purpose flour, so you might need to add a little extra water (perhaps 10-20 ml) to achieve the correct dough consistency – it should still be quite wet and sticky after mixing. The dough might also feel slightly less elastic. The resting time remains important for developing flavor and texture. Baking time and temperature for this variation on your simple flatbread recipe should be similar, though you might notice a slightly darker color due to the whole wheat flour.
Sweet Flatbread: A Delicious Dessert Alternative
While often thought of as savory, your easy beginner flatbread recipe can also be transformed into a delightful sweet treat. To make a sweet version, you might slightly reduce the salt in the basic recipe (e.g., to ¼ teaspoon) and add a tablespoon or two of sugar to the dry ingredients in Step 1. Sugar provides sweetness and also helps feed the yeast, potentially leading to a slightly softer crumb.
After shaping and baking the flatbreads, instead of savory toppings, you can brush them with melted butter mixed with cinnamon and sugar. Another option is to top the shaped dough before baking with thinly sliced fruit like apples or pears, sprinkled with cinnamon and sugar. Once baked and slightly cooled, a drizzle of honey, maple syrup, or a simple glaze made from powdered sugar and milk can turn your simple flatbread recipe into a unique dessert or breakfast pastry.
Beyond the Basics: Expanding Your Flatbread Skills
Exploring Different Flours for Unique Flatbread Textures
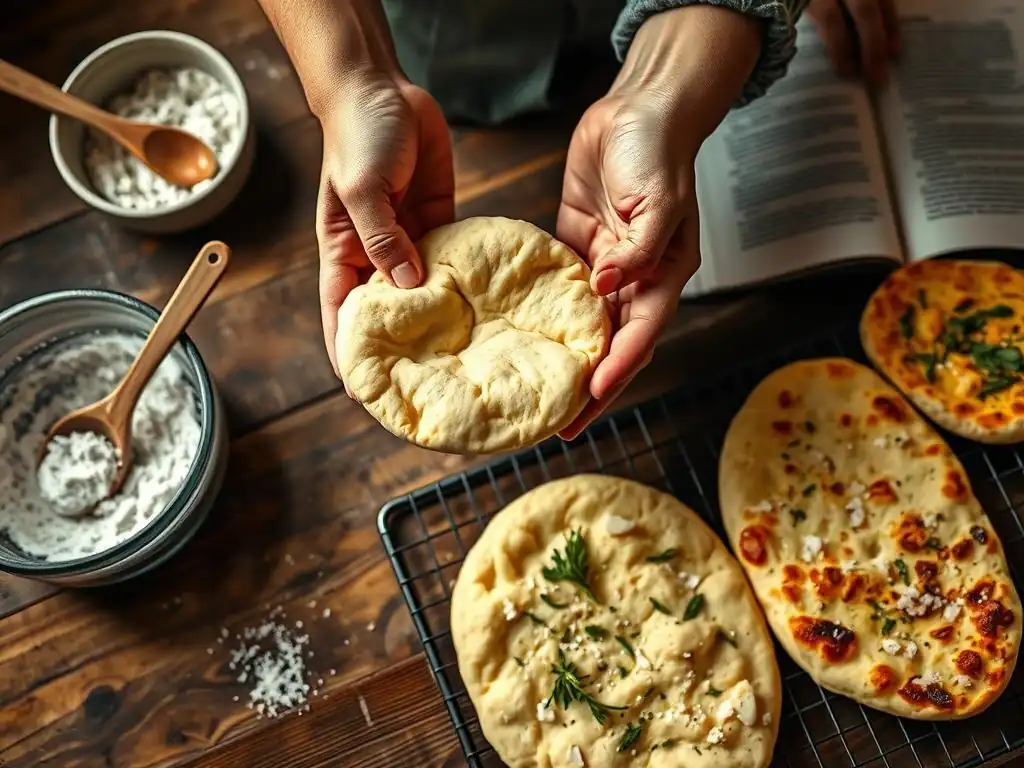
Once you're comfortable with your easy beginner flatbread recipe using all-purpose flour, you can broaden your horizons by experimenting with different types of flour. Substituting some of the all-purpose flour with bread flour (which has a higher protein content) can result in a chewier flatbread. Conversely, using cake or pastry flour (lower protein) can yield a more tender result. Exploring non-wheat flours opens up a world of possibilities; for instance, adding a percentage of semolina flour can give your flatbread a slightly gritty, rustic texture common in some Mediterranean flatbreads.
Using alternative flours like spelt, rye, or even gluten-free blends (though these require different techniques) will significantly change the dough's handling properties and the final texture and flavor of your flatbread. Remember that different flours absorb liquids differently, so you may need to adjust the amount of water in your simple flatbread recipe when experimenting. Researching the properties of new flours before using them can help you anticipate how they will behave and adapt your recipe accordingly, expanding your skills beyond the initial easy beginner flatbread recipe.
Experimenting with Advanced Flatbread Toppings and Fillings
Moving beyond simple brush-on toppings, you can explore more complex ways to flavor your flatbreads. Try incorporating ingredients into the dough itself during the mixing stage, such as roasted garlic, finely chopped sun-dried tomatoes, or shredded cheese. Be mindful that adding wet or heavy ingredients can affect the dough's hydration and texture.
Another avenue is creating stuffed flatbreads, where you enclose a filling within the dough before shaping and baking. Popular fillings include spiced potatoes (like for Aloo Paratha), cheese and herbs, or even cooked meat. This requires a bit more skill in shaping and sealing the dough to prevent the filling from leaking out during baking. While these techniques are a step up from a basic easy beginner flatbread recipe, they offer exciting ways to create entirely new dishes based on your foundational flatbread knowledge.
Connecting with the BakeWithEase Community for Baking Inspiration
Your baking journey doesn't have to be a solo endeavor! Connecting with other bakers is a fantastic way to get inspiration, ask questions, and share your successes (and occasional failures). The BakeWithEase community is a supportive space where you can find fellow enthusiasts who are also exploring baking, from mastering an easy beginner flatbread recipe to tackling more complex pastries. Sharing photos of your homemade flatbread can be incredibly rewarding and might inspire others to try the recipe too.
Engaging with the community allows you to learn from others' experiences, discover new variations on classic recipes like your simple flatbread recipe, and get real-time advice on troubleshooting. Whether you have a question about dough consistency or want ideas for new toppings, the collective knowledge of the community is a valuable resource. We encourage you to share your journey, celebrate your achievements, and connect with others who share your passion for easy baking and delicious results.
Conclusion: Congratulations on Baking Your First Flatbread!
Continuing Your Baking Journey with BakeWithEase
Congratulations! You've successfully baked your first easy beginner flatbread recipe. This is a significant achievement and a wonderful first step into the rewarding world of baking. You've learned the basics of handling dough, understanding resting times, and baking at high heat – fundamental skills that apply to countless other recipes. This simple flatbread recipe is just the beginning.
At BakeWithEase, we have a wealth of other simple baking recipes waiting for you to explore. From easy cookies and muffins to slightly more challenging breads and cakes, we are here to guide you every step of the way. Building on the confidence gained from making your easy beginner flatbread recipe, you can gradually try new techniques and expand your repertoire. Remember, every baking attempt is a learning experience, and we are committed to providing you with the resources and support you need to continue growing your skills and finding joy in the kitchen.
One of the most fulfilling parts of baking is sharing your creations, whether with family and friends or with a wider community. Your delicious homemade flatbread is something to be proud of, especially as it came from an easy beginner flatbread recipe that you mastered! We encourage you to share your baking successes. Take a picture of your finished flatbreads and share them online, tagging BakeWithEase or using relevant hashtags like #BakeWithEase or #EasyFlatbread.
Connecting with fellow bakers, perhaps through the BakeWithEase website or social media channels, allows you to celebrate your achievements and inspire others. You might get helpful feedback, discover new twists on your simple flatbread recipe from other community members, or simply enjoy seeing what others are baking. Baking is a journey best shared, and we love seeing what our community creates. Keep baking, keep learning, and keep sharing the delicious results!
Frequently Asked Questions
What makes this flatbread recipe "easy" for beginners?
This recipe focuses on simple ingredients and straightforward instructions, minimizing complex techniques that can overwhelm new bakers. It prioritizes a quick and satisfying result.
What if I don't have a stand mixer? Can I still make this flatbread?
Absolutely! The recipe is designed to be easily made by hand. Just combine the ingredients in a bowl and knead until a smooth dough forms.
Can I substitute the all-purpose flour with another type of flour?
While all-purpose flour is recommended for its gluten content, you can experiment. Using whole wheat flour will result in a denser flatbread, so you might need to adjust the hydration (add more water).
How long does it take to make this easy beginner flatbread from start to finish?
From gathering the ingredients to enjoying your freshly baked flatbread, the entire process should take roughly one hour, including the resting time for the dough.
What are some serving suggestions for this flatbread?
This flatbread is incredibly versatile! Enjoy it with dips like hummus, as a wrap for your favorite fillings, or simply brushed with olive oil and herbs. It's a perfect accompaniment to many meals.
Final Reflection: The Humble Flatbread, A Gateway to Culinary Adventure
The simple act of making flatbread, often overlooked, is a powerful entry point into the world of cooking. It's a testament to the fact that culinary mastery doesn't require complex techniques or expensive ingredients; sometimes, the most rewarding experiences come from the most basic beginnings. This accessibility makes flatbread baking a perfect starting point for anyone, regardless of their experience level.
The journey of making your first flatbread is more than just following a recipe; it's about connecting with a culinary tradition that spans millennia. It's about the satisfying feel of the dough in your hands, the intoxicating aroma filling your kitchen, and the pride in creating something delicious from scratch. This simple act fosters a sense of accomplishment and encourages further exploration in the kitchen. The best things in life are simple,
a sentiment perfectly embodied in the humble flatbread.
Now, I invite you to take this newfound knowledge and apply it. Don't be afraid to experiment! Try different flours, add herbs and spices, or even create your own unique variations. The possibilities are endless. Remember the joy of your first flatbread, and let it inspire you to continue your culinary journey, one delicious creation at a time. The world of cooking awaits – and it all starts with a simple, perfect flatbread.
Unleash Your Inner Baker: Craft Your First Perfect Flatbread!
Thanks for joining us on this delicious journey into the world of flatbreads! We hope you gained the confidence to tackle this seemingly daunting task. Now it's time to put your new skills to the test.
- Bake your own flatbread tonight! Use the recipe we provided and experiment with your favorite herbs and spices. Don't be afraid to get creative!
- Share your baking success (or even your hilarious mishaps!) on social media using #BakeWithEaseFlatbread. Let's inspire other aspiring bakers!
- Consider trying a new flatbread recipe from our website (link removed as per instructions). Explore the vast world of global flatbreads!
What unexpected flavor combination will you try in your next flatbread creation?