
NoKnead, Next Level: Advanced Techniques for HandsOff Pizza Dough

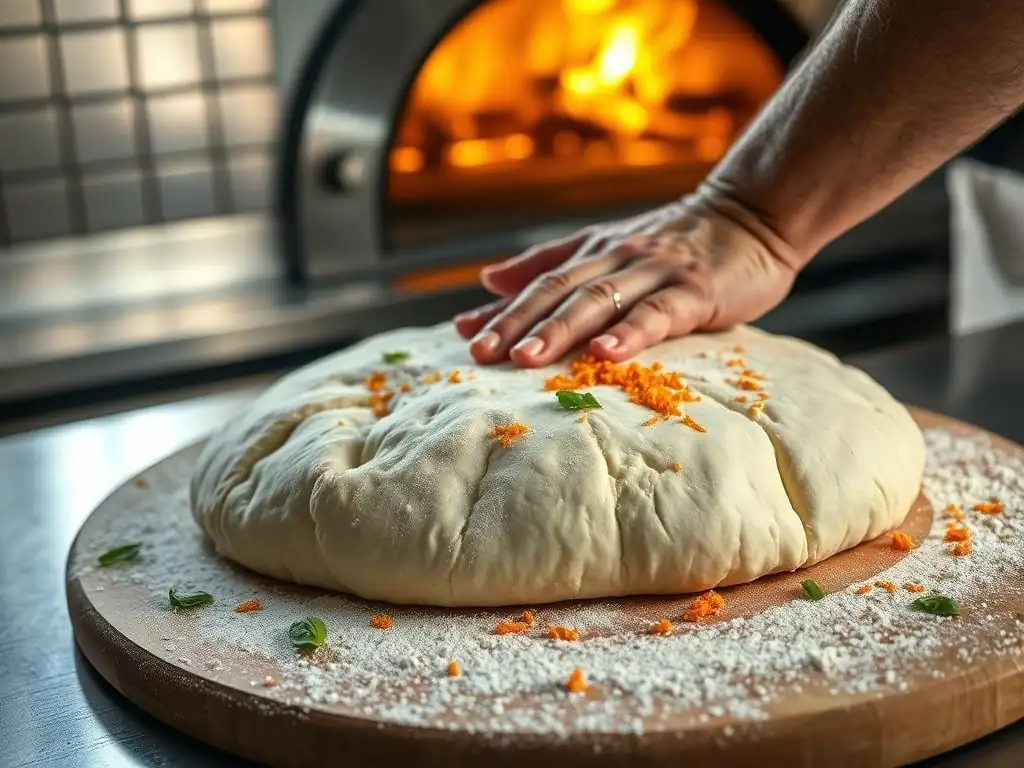
Welcome to BakeWithEase, where we believe everyone can unlock the joy of baking! Ever dreamed of achieving pizzeria-quality pizza at home with minimal effort? Get ready to elevate your pizza game. This article dives deep into advanced techniques for our incredibly popular noknead pizza dough recipe, revealing secrets to enhance flavor, texture, and rise. Intrigued? Let's explore how simple tweaks can transform your dough into a culinary masterpiece...
- No-Knead Pizza Dough: Advanced Techniques for Superior Results
- Mastering No-Knead Dough: Beyond the Basics
- Enhancing Flavor in No-Knead Pizza Dough
- Achieving Optimal Texture: Advanced Techniques
- Troubleshooting Common No-Knead Dough Issues
- Baking for a Perfect Crust
- No-Knead Pizza Dough Variations: Regional Styles
- Storing No-Knead Pizza Dough
- From Beginner to Pizza Pro
-
Frequently Asked Questions
- What is the main advantage of using a no-knead pizza dough recipe?
- How does the long fermentation process affect the final pizza crust?
- What advanced techniques are used in this no-knead pizza dough recipe?
- Can I substitute ingredients in the no-knead pizza dough recipe?
- How long can I store no-knead pizza dough in the refrigerator?
- Final Reflection: The Joy of Effortless Excellence in Pizza Dough
- Unleash Your Inner Pizzaiolo: Master the Art of Hands-Off Dough
No-Knead Pizza Dough: Advanced Techniques for Superior Results
Mastering No-Knead Dough: Beyond the Basics
Elevating Your No-Knead Dough
Moving beyond the basic no-knead pizza dough recipe involves understanding the science behind the simple mixing process. While the initial no-knead method relies on time for gluten development, advanced techniques introduce deliberate actions to enhance the dough's structure and extensibility. This includes understanding how hydration levels impact the final texture and how even minimal handling, like a gentle fold, can significantly improve the dough's strength and ability to hold its shape during baking, resulting in a superior crust.
Elevating your no-knead pizza dough also means paying closer attention to ingredients and environment. Using filtered water, carefully measuring flour by weight (a common standard is 120-125 grams per cup of all-purpose flour), and monitoring ambient temperature can dramatically affect fermentation. A slightly warmer room, for instance, might accelerate the initial bulk ferment, while a cooler environment necessitates a longer rise time. Mastering these nuances transforms a basic no-knead pizza dough recipe into a foundation for truly exceptional pizza.
Enhancing Flavor in No-Knead Pizza Dough
Experimenting with Different Flours: 00, Bread, and Whole Wheat
The type of flour used is perhaps the most significant factor in the texture and flavor of your no-knead pizza dough. "00" flour, specifically designed for pizza and pasta, is finely milled and has a moderate protein content (often around 10-12%). This results in a dough that is smooth, easy to stretch thin without tearing, and bakes up with a delicate, slightly chewy crust, characteristic of Neapolitan-style pizza. Using 00 flour can dramatically improve the feel and performance of your no-knead recipe.
Bread flour, with its higher protein content (typically 12-14%), develops more gluten during the no-knead process, leading to a chewier, more structured crust. This is excellent for styles like New York pizza, which requires a dough that can be stretched into a large, thin base and still have substance. Incorporating a portion of whole wheat flour (even just 10-20% of the total flour weight) adds nutty flavors, fiber, and a slightly denser texture, offering a rustic depth to your no-knead pizza dough.
Incorporating Aromatic Herbs and Spices: Garlic, Rosemary, and Chili Flakes
Infusing your no-knead pizza dough with aromatics can elevate its flavor profile before toppings are even added. Finely minced fresh garlic or garlic powder can be mixed directly into the dough with the water and yeast. For a subtle hint, consider using garlic-infused olive oil in the dough or brushing it on the crust before baking. This adds a savory base note that complements nearly any pizza topping.
Dried herbs like finely chopped rosemary or oregano, or spices such as red chili flakes for a touch of heat, can also be incorporated. About 1-2 teaspoons of dried herbs or 1/2 teaspoon of chili flakes per standard dough batch (around 500g flour) is a good starting point. Ensure they are well distributed during the initial mixing. These additions bloom during fermentation and baking, releasing their flavors directly into the crust, making every bite more interesting.
Fermentation Time: Cold Fermenting for Complex Flavors
Cold fermentation is a cornerstone technique for developing deep, complex flavors in no-knead pizza dough. After the initial room-temperature rise (usually 12-18 hours), placing the dough in the refrigerator slows down yeast activity significantly while allowing enzymes to break down starches into sugars. This enzymatic action creates more nuanced flavors and makes the dough easier to digest for some people.
A cold ferment typically lasts anywhere from 24 hours up to 5 days. During this time, the dough develops a slightly tangy, more mature flavor profile compared to dough only fermented at room temperature. The longer the cold ferment, generally the richer the flavor. This slow process also contributes to a better crust texture, making the dough easier to handle and resulting in a lighter, airier bake. This is a critical step for a truly next-level no-knead pizza dough recipe.
Achieving Optimal Texture: Advanced Techniques
Hydration Levels: High Hydration for Open Crumb Structure
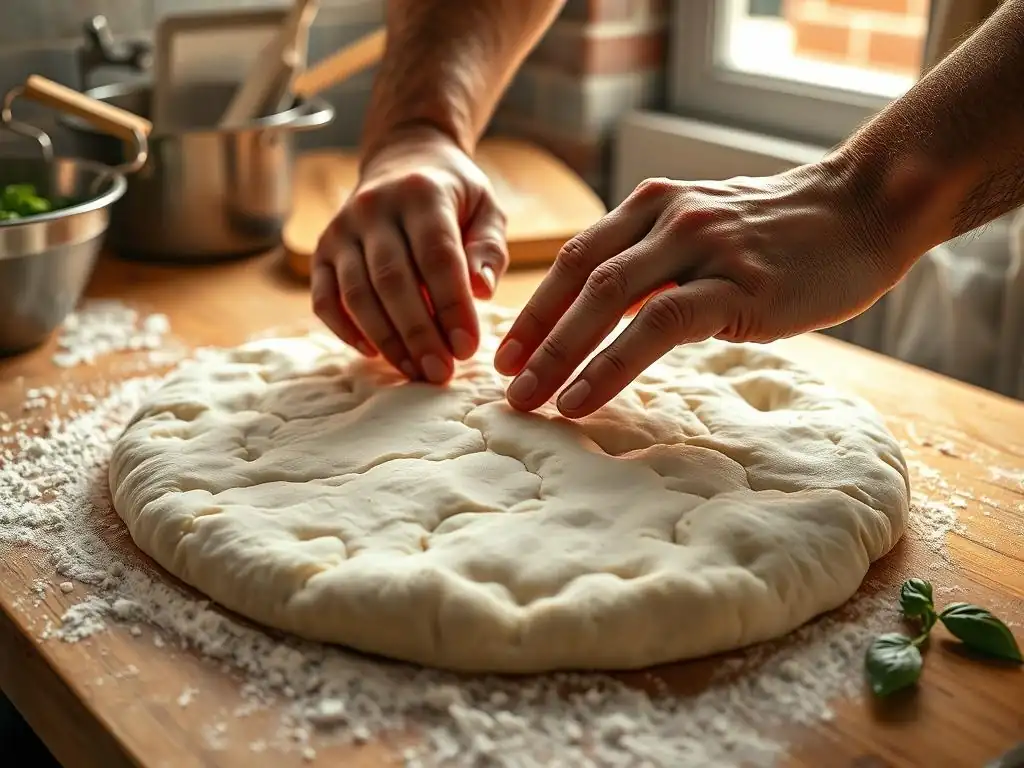
Hydration refers to the ratio of water to flour by weight in your dough. A standard no-knead pizza dough recipe might use a hydration level of around 65-70%. Increasing the hydration to 75% or even 80% (meaning 750-800 grams of water per 1000 grams of flour) results in a very wet, sticky dough. While challenging to handle initially, high hydration doughs produce an incredibly light, airy crust with a more open crumb structure, characterized by larger, irregular holes.
Working with high hydration dough requires patience and different handling techniques, often relying on wet hands or dough scrapers rather than dry flour. The increased water content provides more steam during baking, contributing to a tender interior and a crispier exterior. Mastering a high hydration no-knead pizza dough recipe unlocks the potential for crusts often found in artisan bread and high-end pizzerias.
Stretch and Fold Technique: Developing Strength and Gluten
Even in a no-knead process, incorporating a few sets of stretch and folds can dramatically improve gluten development and dough strength. This simple technique involves wetting your hands, gently lifting one side of the dough, stretching it upwards, and folding it back over the rest of the dough. Rotate the bowl and repeat 3-4 times until all sides have been stretched and folded.
Performing 2-4 sets of stretch and folds during the first hour or two of the initial room-temperature fermentation, with 20-30 minutes rest between sets, helps align the gluten strands that are forming. This builds structure, making the dough more elastic and easier to handle and stretch without tearing when it comes time to shape your pizza. It's a minimal effort technique with a significant impact on the final crust texture of your no-knead pizza dough.
Cold Fermentation: Enhancing Flavor and Texture
As mentioned for flavor, cold fermentation is equally crucial for texture. The slow, cold environment allows gluten to relax and become more extensible over time. This results in a dough that is less prone to snapping back when stretched, making it easier to achieve thin, even crusts. The long fermentation also conditions the dough, improving its handling characteristics and making it more forgiving.
Furthermore, the breakdown of starches during cold fermentation contributes to better crust coloration and crispness during baking. The increased sugars lead to more pronounced Maillard browning. A no-knead pizza dough that has undergone a proper cold ferment (e.g., 48-72 hours) will typically yield a lighter, airier, and crispier crust than one that is only proofed at room temperature for a shorter period.
Troubleshooting Common No-Knead Dough Issues
Managing Sticky Dough: Flour Adjustment and Handling Techniques
A common challenge with no-knead pizza dough, especially at higher hydration levels, is stickiness. If the dough is excessively sticky after the initial bulk fermentation and rest period, it might indicate slightly too much water or insufficient gluten development. Avoid the urge to continuously add flour directly into the dough batch; this can make it tough.
Instead, when handling sticky dough for shaping, lightly flour your work surface and your hands. Use a bench scraper to help lift and manipulate the dough. Remember that some stickiness is expected, particularly with high hydration. If the dough is truly unmanageable, you can very gently fold in a small amount of flour (a tablespoon at a time) during the stretch and fold phase, if you are incorporating that technique, or lightly dust the dough ball itself before its final rest.
Addressing Insufficient Rise: Yeast Activity and Temperature Control
If your no-knead pizza dough recipe isn't rising as expected, several factors could be at play. Check the expiration date of your yeast; old yeast loses its potency. Ensure the water temperature used to dissolve the yeast (if required by your recipe, though many no-knead recipes just mix dry yeast with flour) is within the optimal range, typically around 105-115°F (40-46°C) if blooming, or room temperature if mixing directly with dry ingredients.
Environmental temperature is also key. Yeast is most active in warm conditions. If your kitchen is cool (below 70°F or 21°C), the fermentation will be slower. Try placing the dough in a slightly warmer spot, like inside a turned-off oven with the light on, which can raise the temperature a few degrees. Ensure the dough is covered to prevent drying out, which inhibits yeast activity.
Preventing a Dense Crust: Proper Fermentation and Baking
A dense crust in your no-knead pizza dough often stems from under-fermentation or improper baking. If the dough hasn't had enough time to rise, either at room temperature or during a cold ferment, the gluten structure won't be fully developed and the yeast won't have produced enough gas to create an airy texture. Ensure you're following the recommended fermentation times for your specific no-knead pizza dough recipe and ambient temperature.
Baking technique also plays a role. If the oven temperature is too low or the baking surface isn't adequately preheated, the dough won't experience the rapid oven spring needed to puff up and create an open crumb. Using a preheated pizza stone or steel at a high temperature (500°F or higher) is essential for a light, airy crust, allowing the water in the dough to quickly turn to steam and expand the dough structure before the crust sets.
Baking for a Perfect Crust
Baking Vessels: Pizza Stone, Steel, and Cast Iron Skillet
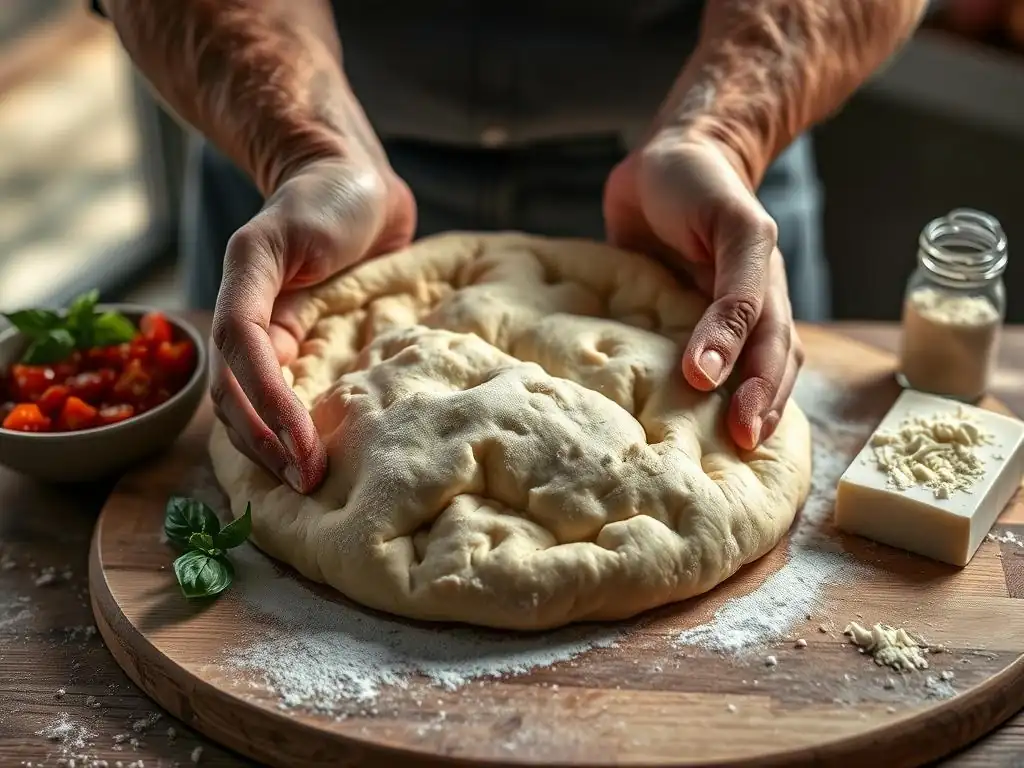
The surface you bake your pizza on significantly impacts the crust. A pizza stone, typically made of ceramic or cordierite, absorbs and retains heat well, providing a consistent, high temperature to the bottom of the dough. This helps achieve a crispy base and promotes oven spring. Stones require a good 30-60 minutes to preheat thoroughly at your desired high temperature.
A pizza steel, usually made of steel or iron, conducts heat even more efficiently than a stone. It transfers heat to the dough faster, resulting in a more rapid rise and often a crispier, more charred bottom crust. Steels also preheat relatively quickly, often within 30-45 minutes. A cast iron skillet or Dutch oven can also be used, particularly for thicker crust styles like deep-dish or pan pizza, providing excellent heat retention and even cooking.
Optimizing Oven Temperature: Achieving Maillard Reaction
High heat is crucial for achieving a perfect pizza crust with your no-knead pizza dough. Most home ovens can reach 500°F (260°C), and many can go up to 550°F (290°C) or utilize a broiler. Baking at these high temperatures triggers the Maillard reaction and caramelization quickly, processes responsible for the desirable browning, complex flavors, and crisp texture of the crust.
Preheating your oven to its highest setting, with your baking surface (stone, steel, or skillet) inside, for at least 30-60 minutes ensures the surface is screaming hot. This intense heat transfer to the dough base creates the necessary oven spring and sets the bottom crust rapidly, preventing a soggy bottom and developing those sought-after golden-brown and slightly charred spots.
High-Heat Baking: Charring Techniques
Achieving attractive charring (often called leoparding) on your no-knead pizza dough crust edges is a sign of successful high-heat baking and contributes to flavor. This happens when small areas of the crust reach temperatures high enough for rapid caramelization and Maillard browning. Using a pizza steel or stone preheated at 500°F or higher is key.
For even more char, some bakers use the broiler function of their oven for the final minute or two of baking. Once the pizza is mostly cooked and the bottom is browned, carefully move it closer to the broiler element. Keep a close eye on it, as charring happens very quickly under the broiler, often in under 60 seconds. This technique requires vigilance to prevent burning but can yield beautiful, blistered crust edges typical of authentic Neapolitan pizza.
No-Knead Pizza Dough Variations: Regional Styles
Neapolitan-Style Dough: High Hydration and Short Bake
Authentic Neapolitan pizza dough is traditionally made with just four ingredients: 00 flour, water, yeast, and salt. When adapting this to a no-knead pizza dough recipe, the focus is on high hydration (often 65-70% or even higher) and using 00 flour. The dough undergoes a long fermentation, typically including a significant cold ferment phase (24-72 hours), to develop elasticity and flavor.
Baking Neapolitan pizza requires extremely high temperatures, ideally 900°F+ (480°C+) in a wood-fired oven, resulting in a bake time of only 60-90 seconds. The crust is characterized by a soft, airy interior (the cornicione) and a blistered exterior. While home ovens can't reach these temperatures, using a pizza steel at your oven's highest setting (500-550°F) and potentially the broiler can approximate the results, aiming for a bake time of around 5-8 minutes.
New York-Style Dough: Moderate Hydration and Crispy Crust
New York-style pizza dough typically uses bread flour for its higher protein content, resulting in a chewier crust. The hydration level is usually moderate, around 60-65%. A no-knead pizza dough recipe for this style would still benefit from a cold ferment (24-48 hours) to improve flavor and handling, but the primary goal is a dough that can be stretched thin into a large circle without tearing and holds its shape.
Baking is done at high temperatures, but usually lower than Neapolitan, perhaps 475-550°F (245-290°C), often directly on the oven rack or on a stone/steel, for a longer duration, typically 10-15 minutes. This results in a crust that is crispy on the bottom but still has a satisfying chew, capable of being folded in half – the classic New York slice fold.
Detroit-Style Dough: High Hydration and Focaccia-Like Texture
Detroit-style pizza dough is unique; it's a high-hydration dough, often enriched with a little oil, and has a consistency similar to focaccia. It's traditionally baked in well-oiled rectangular steel pans (like a standard 10x14 or 12x16 inch pan) at a moderate temperature, typically 425-450°F (220-230°C), for a longer time, around 20-25 minutes.
A no-knead pizza dough recipe for Detroit style would involve mixing a very wet dough and letting it rise in the oiled pan itself after an initial bulk ferment. The long, slow bake in the pan results in a thick, airy, and tender interior crumb and a signature crispy, caramelized cheese crust that extends all the way to the edges of the pan.
Storing No-Knead Pizza Dough
Refrigerating: Slowing Down Fermentation
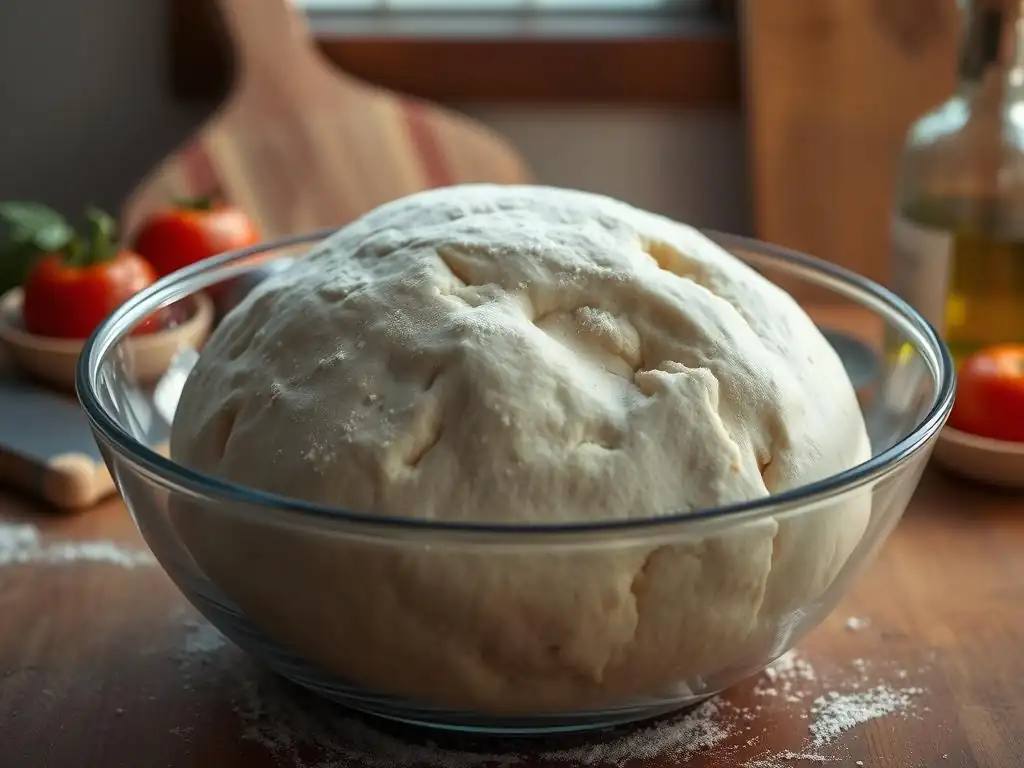
Refrigeration is the best way to store no-knead pizza dough for short to medium periods and is essential for cold fermentation. After the initial room-temperature rise, shape the dough into balls (or leave it as a single mass, depending on your recipe and preference) and place them in individual lightly oiled containers or a large container with plenty of space, ensuring they are airtight.
Storing in the refrigerator at around 38-40°F (3-4°C) slows yeast activity considerably. Dough can typically be stored this way for 3-5 days, sometimes up to a week, with flavor continuing to develop. When ready to use, remove the dough from the refrigerator 1-2 hours before shaping to allow it to come to room temperature, which makes it much easier to handle and stretch.
Freezing: Maintaining Dough Quality
For longer storage, no-knead pizza dough freezes well. After the initial room-temperature fermentation and shaping into individual dough balls, lightly oil each ball and place them on a baking sheet lined with parchment paper, spaced apart. Freeze them uncovered for about 2-3 hours until solid.
Once the dough balls are frozen solid, transfer them to individual freezer-safe bags or wrap them tightly in plastic wrap followed by aluminum foil. This prevents freezer burn. Frozen no-knead pizza dough can be stored for 1-2 months. To thaw, transfer the desired number of dough balls to the refrigerator the night before you plan to use them, then let them sit at room temperature for 1-2 hours before shaping.
From Beginner to Pizza Pro
Margherita Pizza: A Classic Application of Advanced Techniques
Making a classic Margherita pizza is the perfect way to showcase the results of mastering advanced no-knead pizza dough techniques. Start with a cold-fermented, high-hydration dough made with 00 flour. Stretch it gently by hand to preserve the airy structure. Top minimally with crushed San Marzano tomatoes, fresh mozzarella (torn or sliced), a drizzle of olive oil, and a few fresh basil leaves.
Bake this simple masterpiece on a preheated pizza steel at your oven's highest temperature (500-550°F) for just 5-8 minutes. The high heat will create a beautifully blistered, airy crust with a slightly chewy interior, while the minimal, high-quality toppings allow the flavor and texture of your expertly crafted no-knead pizza dough to truly shine.
Pizza Night: Tips for Hosting a Memorable Event
Hosting a pizza night with homemade no-knead pizza dough can be incredibly fun and rewarding. Prepare the dough balls ahead of time, utilizing the cold fermentation technique to enhance flavor and make them ready to use straight from the fridge (after warming up). Have a variety of sauces, cheeses, and toppings prepared in small bowls, allowing guests to customize their pizzas.
Set up a baking station near your oven, equipped with your preheated pizza stone or steel. Guide guests on how to gently stretch their dough (or pre-stretch them yourself if preferred). Bake pizzas one or two at a time, letting each guest experience their creation coming hot out of the oven. It's a delicious, interactive way to share your passion for making next-level pizza with your no-knead pizza dough recipe.
Frequently Asked Questions
What is the main advantage of using a no-knead pizza dough recipe?
The primary advantage is reduced effort and hands-on time. It allows for a longer, slower fermentation, which develops better flavor and texture without extensive kneading.
How does the long fermentation process affect the final pizza crust?
Long fermentation enhances the dough's flavor, creating a more complex and nuanced taste. It also results in a lighter and airier crust due to the slow development of gluten.
What advanced techniques are used in this no-knead pizza dough recipe?
This recipe utilizes techniques like cold fermentation for enhanced flavor and high hydration to create a light and airy texture. We also explore autolyse for improved gluten development.
Can I substitute ingredients in the no-knead pizza dough recipe?
While some substitutions are possible, it's crucial to understand their impact. Changing flour types or hydration levels can significantly affect the dough's consistency and final result. Always consider the impact on gluten development.
How long can I store no-knead pizza dough in the refrigerator?
Generally, no-knead pizza dough can be stored in the refrigerator for up to 3-5 days. This allows for continued flavor development. Ensure the dough is in an airtight container to prevent drying.
Final Reflection: The Joy of Effortless Excellence in Pizza Dough
The no-knead revolution isn't just a baking trend; it's a testament to the power of simplicity yielding extraordinary results. Mastering the art of no-knead pizza dough unlocks a world of culinary possibilities, freeing up your time and energy for the truly creative aspects of pizza making – the sauce, the toppings, the sharing of a delicious meal. This isn't just about a recipe; it's about reclaiming the joy of cooking.
The impact of this simple technique extends beyond the kitchen. It speaks to a larger cultural shift towards mindful cooking and appreciating the process as much as the product. The best things in life are simple,
a sentiment that rings truer than ever when you're enjoying a perfectly crisp, bubbly crust made with minimal effort. This approach encourages experimentation and allows even the busiest individuals to experience the satisfaction of creating something delicious from scratch, fostering a deeper connection with food and the art of cooking.
Now, it's your turn. Don't just read about the magic of no-knead pizza dough; experience it. Try the recipes outlined in this article, adapt them to your own tastes, and share your creations with loved ones. Embrace the simplicity, the ease, and the incredible flavor that awaits you. The journey to the perfect pizza begins with a single, perfectly risen dough – and it's easier than you think.
Unleash Your Inner Pizzaiolo: Master the Art of Hands-Off Dough
Thanks for joining us on this delicious journey into the world of no-knead pizza dough! We hope you gained valuable insights and a newfound confidence in your baking abilities. Ready to take your pizza game to the next level?
- Craft your masterpiece: Use the techniques you've learned to make your own incredible pizza dough tonight. Experiment with different flours and toppings – the possibilities are endless!
- Share your pizza pride: Post a picture of your creation on social media and tag us! We'd love to see your perfectly bubbly crusts. Use #BakeWithEasePizza.
- Dive deeper: Explore our other recipes and tips for elevated baking on the BakeWithEase website.
What unique topping combination will you try first? Let us know in the comments!