
From Simple to Stunning: The MustHave Cake Decorating Tool Kit

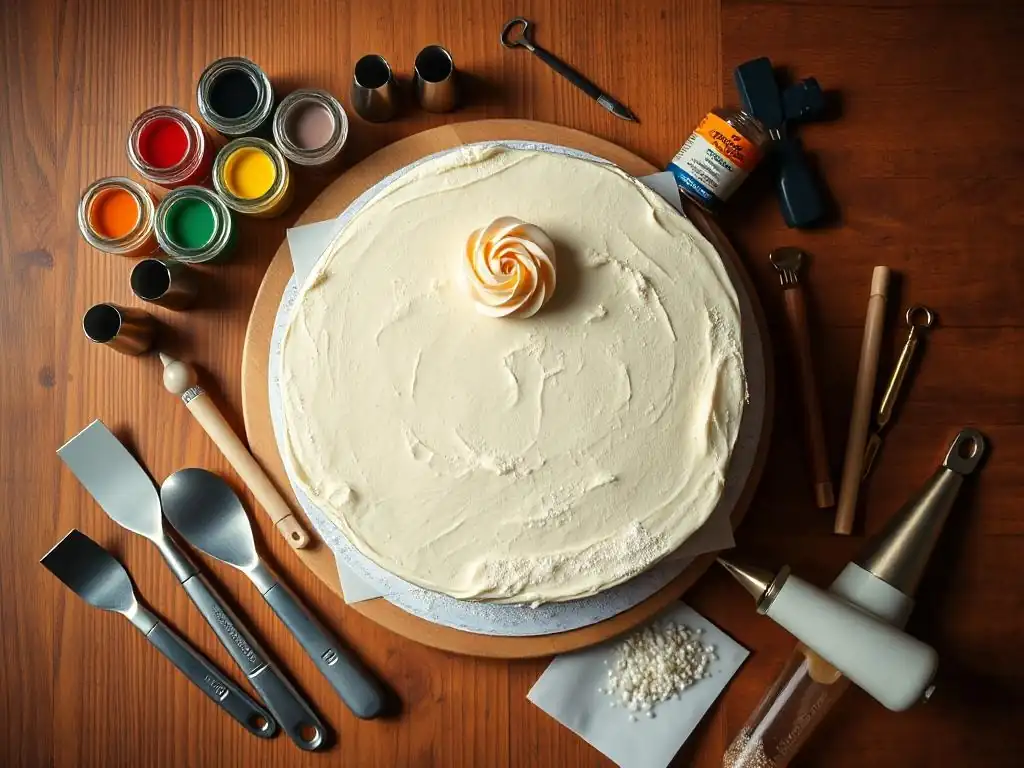
Welcome to BakeWithEase, your companion on the delicious journey of baking! Ever dreamed of creating show-stopping cakes but felt intimidated by the sheer volume of tools? This is where your adventure begins. Discover the essential cake decorating tool kit for beginners, designed to take you from simple swirls to stunning masterpieces. Ready to unlock your inner artist and transform ordinary cakes into extraordinary creations? Let's dive in!
- From Simple to Stunning: The Must-Have Cake Decorating Tool Kit for Beginners
- BakeWithEase Presents: Your Essential Cake Decorating Tool Kit
- Building Your Beginner-Friendly Cake Decorating Arsenal
- Essential Cake Decorating Tools: The Foundation
- Beyond the Basics: Expanding Your Cake Decorating Kit
- Assembling Your Cake Decorating Tool Kit: A Step-by-Step Guide
- Cake Decorating Tool Kit Maintenance: Keeping Your Tools in Top Shape
- Where to Buy Your Cake Decorating Tool Kit for Beginners
- Cake Decorating Tool Kit: Price Considerations for Beginners
- Mastering Cake Decorating with Your New Tool Kit: Next Steps
- Unleash Your Creativity with the Perfect Cake Decorating Tool Kit!
-
Frequently Asked Questions
- What is the most essential cake decorating tool for a beginner?
- What should I look for in a cake decorating tool kit for beginners?
- Are all cake decorating tips the same size and compatible with any piping bag?
- Can I use DIY tools instead of buying a cake decorating tool kit?
- How important is a cake turntable in a beginner's cake decorating tool kit?
- Final Reflection: Unlocking Your Inner Cake Artist
- Unleash Your Inner Cake Artist!
From Simple to Stunning: The Must-Have Cake Decorating Tool Kit for Beginners
BakeWithEase Presents: Your Essential Cake Decorating Tool Kit
Welcome to the World of Cake Decorating!
Embarking on the journey of cake decorating is an exciting step for any baking enthusiast. It's where your delicious baked goods transform into edible works of art, adding that extra layer of joy to celebrations and everyday moments. Don't feel intimidated by the elaborate cakes you see online; everyone starts somewhere.
With the right guidance and, crucially, the right tools, you can learn to create beautiful finishes, elegant borders, and even simple messages on your cakes. Think of this as building your foundation – mastering the basics with a reliable cake decorating tool kit beginners can easily handle will open up a world of creative possibilities.
Getting started doesn't require a massive investment or a professional kitchen setup. The most important ingredient is your willingness to learn and practice. As you gain confidence, you'll discover techniques like smoothing buttercream, piping rosettes, or adding simple patterns. This article is designed to walk you through assembling the perfect beginner's cake decorating kit, focusing on versatile tools that offer the most impact for your effort. We'll cover everything from the absolute essentials to a few items that can elevate your skills as you grow.
Why You Need a Dedicated Cake Decorating Tool Kit
While you might already have some kitchen utensils that can double for basic tasks, a dedicated cake decorating tool kit for beginners provides specialized instruments designed specifically for the nuances of frosting, piping, and finishing cakes. Using the correct tools not only makes the process significantly easier and more efficient but also leads to much cleaner, more professional-looking results. Trying to smooth a cake with a butter knife, for instance, is far more challenging and less effective than using a proper offset spatula.
Beyond ease of use and improved aesthetics, having a specific set of tools helps streamline your baking process. Everything you need for decorating is in one place, ready for action when your cake comes out of the oven and cools. This prevents frustration and saves time searching for makeshift tools. Furthermore, these specialized tools are often built with features like ergonomic handles, specific blade flexibility, or precise tip shapes that are simply not found in general kitchenware, making detailed work like piping intricate designs or achieving perfectly sharp edges much more attainable for someone just starting out.
Building Your Beginner-Friendly Cake Decorating Arsenal
Core Components of a Cake Decorating Tool Kit for Beginners
When you're just starting with cake decorating, focusing on a few versatile, high-quality tools is far more effective than accumulating a large number of specialized gadgets you might not use immediately. The core components of a solid cake decorating tool kit beginners should prioritize functionality and ease of use. These include a reliable turntable, various spatulas for applying and smoothing icing, piping bags and a few essential tips for adding decorative elements, and cake scrapers for achieving smooth sides.
Consider this initial investment as the bedrock of your decorating adventures. These basic tools will allow you to frost a cake smoothly, create simple borders, write messages, and practice fundamental piping techniques. Many starter kits available commercially bundle these items together, often at a more accessible price point than buying each item individually. However, selecting individual pieces allows you to choose quality and tailor the kit precisely to your needs and preferences from the outset.
Essential Cake Decorating Tools: The Foundation
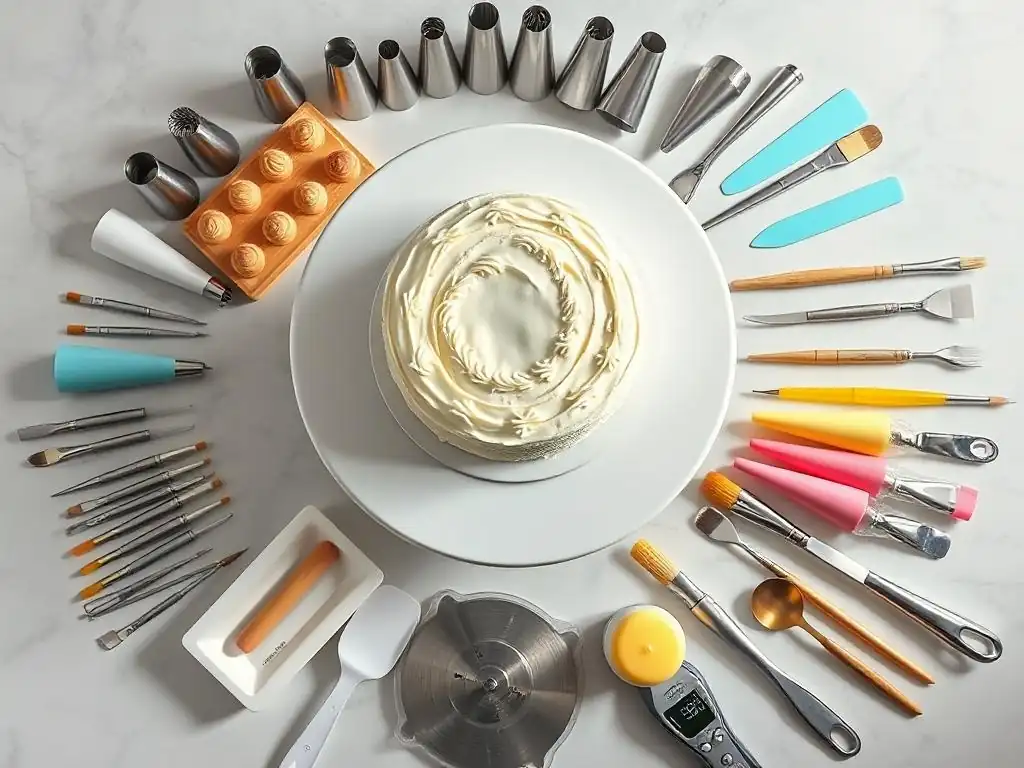
Turntable: The Key to Smooth Frosting
A cake turntable, also known as a revolving cake stand, is arguably one of the most crucial items in a cake decorating tool kit for beginners. Its primary function is simple: it allows you to rotate the cake smoothly while you apply frosting, scrape the sides, or pipe decorations. This eliminates the need to awkwardly move around the cake yourself, making it significantly easier to achieve even layers of frosting and consistent patterns. Imagine trying to frost the sides of a cake without being able to spin it – it's challenging to get a uniform thickness.
Turntables come in various materials, including plastic, metal, and glass. Plastic turntables are typically the most budget-friendly option, often costing between $15 and $30. While they are lightweight and easy to clean, some may wobble slightly under heavy cakes. Metal turntables, often made of aluminum or stainless steel, are sturdier and provide a smoother rotation, though they usually range from $40 to $80 or more. For beginners, a stable plastic or basic metal turntable with a non-slip base is usually sufficient and offers excellent value for improving frosting technique.
Spatulas: Mastering the Art of Icing
Spatulas are the workhorse of any cake decorating tool kit beginners might assemble. They are essential for applying, spreading, and smoothing frosting onto your cake layers. You'll typically encounter two main types: offset spatulas and straight spatulas, each serving a slightly different but equally important purpose in achieving that professional finish. Having a couple of each type, in different sizes, offers great versatility.
These tools are fundamental for tasks like crumb coating a cake (applying a thin layer of frosting to seal in crumbs before the final coat) or applying the main layer of buttercream. The flexibility of the blade is key; it allows you to glide over the cake's surface, creating smooth, even layers of frosting. While a small set of spatulas might cost around $10-$20, investing in good quality ones with comfortable handles can make a noticeable difference in your decorating experience and results.
Offset Spatulas: The Icing MVP
Offset spatulas are characterized by their angled blade, which is set below the level of the handle. This design is incredibly useful as it keeps your hand elevated and away from the cake's surface, preventing accidental smudges or dragging your knuckles through the frosting. They are indispensable for picking up dollops of frosting, spreading it across the top of the cake, and smoothing the sides with precision.
A common size for an offset spatula for beginners is around 8 inches (blade length). This size offers a good balance between covering large areas quickly and allowing for control on smaller cakes. You might find a set including a smaller 4-inch offset spatula useful for tighter spots or delicate details. The slight bend in the blade allows you to apply even pressure across the surface, making it easier to achieve a flat, smooth top layer of frosting.
Straight Spatulas: Smoothing and Leveling
Straight spatulas, also known as icing spatulas or palette knives (though they differ slightly from artist's palette knives), have a flat, straight blade that aligns directly with the handle. While they can be used for spreading, their primary strength lies in their ability to smooth the top surface of a cake to a near-perfect level finish. You can hold the straight edge parallel to the cake stand and gently pull it across the frosted top to scrape away excess and create a level plane.
These spatulas are also useful for transferring delicate items like fondant cutouts or meringue kisses. A 6-inch or 8-inch straight spatula is a good starting point for a beginner's kit. They are less commonly used for smoothing the sides compared to offset spatulas or scrapers, but their straight edge is invaluable for achieving a crisp, flat top surface, which is essential before adding further decorations or stacking layers.
Piping Bags and Tips: Adding Decorative Flourishes
Piping bags and tips are where the fun really begins in a cake decorating tool kit beginners utilize. This is how you transform simple frosting into borders, rosettes, stars, shells, and even write messages on your cake. Piping bags hold the frosting, and you insert a metal or plastic tip into the end to shape the frosting as it's squeezed out. The variety of tips available is vast, offering endless possibilities for texture and design.
For beginners, starting with a few reusable piping bags (silicone or plastic-coated canvas) and a small selection of versatile tips is ideal. Reusable bags are more environmentally friendly and durable than disposable plastic bags, though disposable ones are convenient for quick color changes or clean-up. A set of basic tips, often including round and star shapes, provides a great introduction to piping techniques without overwhelming you.
Couplers: Switching Tips with Ease
A coupler is a small, two-part plastic piece that fits inside a piping bag and allows you to change piping tips without changing the bag or the frosting inside. You place the base of the coupler in the bag, push it through the opening you've cut, and then place the piping tip over the outside part of the coupler. A ring then screws on to hold the tip securely in place.
Using couplers is incredibly efficient, especially when you want to use different tips with the same color of frosting. For example, you might use a round tip to pipe dots and then switch to a star tip to create a border, all with the same bag of buttercream. A standard coupler fits most small to medium-sized tips, making it a valuable addition to any cake decorating tool kit beginners might put together, saving both time and frosting.
Essential Piping Tips for Beginners
Focusing on a few fundamental piping tips is the best approach when building your first cake decorating tool kit for beginners. These basic shapes can be used in numerous ways to create a surprising variety of decorations. You don't need dozens of tips to start; just a handful of versatile ones will allow you to practice core techniques and achieve beautiful results.
A good starting set often includes one or two sizes of round tips and one or two sizes of open or closed star tips. Sometimes a leaf tip is also included, offering another simple decorative option. These tips are widely available and relatively inexpensive, often sold in small sets specifically marketed towards beginners.
Round Tips: Simple Borders and Lettering
Round piping tips, identified by a simple circular opening, are incredibly versatile. They are perfect for piping simple dots, lines, beads, or writing messages on your cake. Different sizes of round tips allow for different thicknesses of lines or dots – a small round tip (like a Wilton #3 or #4) is great for fine lettering or small dots, while a larger one (like a #10 or #12) is good for thicker lines or borders.
These tips are also used for filling in areas with frosting or piping the 'dams' of buttercream on cake layers before adding fillings. Mastering consistent pressure with a round tip is a fundamental skill in piping, and it's one of the easiest to start practicing with, making it a must-have in your cake decorating tool kit beginners.
Star Tips: Creating Classic Decorations
Star tips, featuring a serrated or pointed opening, are perhaps the most popular tips for classic cake decorating. They create beautiful, textured shapes like stars, rosettes, shells, and zigzags. Star tips come in 'open star' (where the points are spread further apart) and 'closed star' (where the points are closer together, creating more defined ridges) variations.
An open star tip (like a Wilton 1M or 21) is fantastic for creating large, swirly rosettes or simple star borders. A closed star tip (like a Wilton 32 or 199) produces more intricate stars and shells. Practicing with star tips allows you to add volume and texture to your cake designs easily, making them a cornerstone of any cake decorating tool kit beginners would find useful.
Leaf Tips: Adding Realistic Foliage
While perhaps less essential than round or star tips, a leaf tip can add a touch of realism and charm to your decorated cakes, especially if you're piping floral designs. Leaf tips have a narrow, V-shaped opening. By varying the pressure and movement as you pipe, you can create simple, realistic-looking leaves.
A single leaf tip (like a Wilton #352) is usually sufficient for a beginner's kit. They are relatively easy to use – applying steady pressure while pulling away slightly creates the leaf shape. Adding leaves around piped flowers or along borders is a simple way to enhance the visual appeal of your cake, demonstrating how even a single specialized tip can expand your decorating repertoire.
Cake Scrapers: Achieving a Polished Finish
Cake scrapers, also known as bench scrapers or icing smoothers, are flat tools used to smooth the frosting on the sides and sometimes the top of a cake to a perfectly even and professional finish. While spatulas can do some smoothing, scrapers are designed specifically for creating straight, sharp edges and flawlessly smooth surfaces, which is often the hallmark of a well-decorated cake.
Using a scraper involves holding it perpendicular to the cake (which is ideally on a turntable) and rotating the cake while applying gentle, consistent pressure. This technique removes excess frosting and fills in gaps, resulting in a smooth, polished appearance. Scrapers are available in various materials and shapes, offering different functionalities for your cake decorating tool kit beginners.
Metal Scrapers: Smooth and Precise
Metal cake scrapers, typically made from stainless steel, are known for their durability and ability to achieve incredibly smooth and sharp edges. Their weight and rigidity make it easier to apply consistent pressure and create a perfectly flat side on your frosted cake. Some metal scrapers have different edge patterns (like serrated or comb patterns) on different sides, allowing you to create textured finishes as well as smooth ones.
A standard 6-inch or 8-inch tall metal scraper is an excellent investment for a beginner. While they might be slightly more expensive than plastic alternatives (perhaps $8-$15), their effectiveness in creating a professional look is undeniable. The smooth, cool surface of the metal helps in getting a clean finish, especially with buttercream.
Plastic Scrapers: Versatile and Affordable
Plastic cake scrapers are a very popular and budget-friendly option for a cake decorating tool kit for beginners. They are lightweight, easy to clean, and often come in multi-packs with various shapes and sizes. Many plastic scrapers feature decorative edges (like waves, zigzags, or teeth of different sizes) on one or more sides, in addition to a straight edge, allowing you to add textured patterns to your frosting easily.
While they might not offer the same weight and rigidity as metal scrapers for achieving ultra-sharp edges, plastic scrapers are perfectly capable of smoothing sides and creating a neat finish. A set of plastic scrapers with different textured edges might cost as little as $5-$10 and provides great versatility for experimenting with different looks on your cakes. Their affordability makes them a great starting point.
Beyond the Basics: Expanding Your Cake Decorating Kit
Once you've mastered the fundamentals with your initial cake decorating tool kit beginners, you might find yourself wanting to explore more advanced techniques or improve efficiency. Several tools, while not strictly essential for your very first attempts, can significantly enhance your ability to create more complex or polished cakes. Adding these items gradually allows you to expand your skills and tackle new challenges in cake decorating.
These tools often address specific aspects of cake preparation or presentation, such as ensuring perfectly level layers or making it easier to handle and transport your finished creations. Think of these as the next level of investment once you're comfortable with the basics and are ready to take your decorating to the next level.
Leveling Tools: Ensuring Even Cake Layers
One of the keys to a professional-looking layer cake is having perfectly flat, even cake layers. Cakes often dome slightly in the center as they bake. While you can carefully slice off the dome with a serrated knife, tools specifically designed for leveling can make this task much easier and more accurate, ensuring your stacked cake is stable and straight.
Two common leveling tools for a cake decorating tool kit beginners might consider are a cake leveler (a wire saw with adjustable height settings) or a set of cake strips (fabric bands soaked in water and wrapped around the cake pan). A cake leveler allows you to slice horizontally through the cake at a precise height, creating a flat top. Cake strips help the cake bake more evenly, reducing or eliminating the dome altogether. A basic cake leveler might cost around $10-$20 and significantly improves the structure of your layer cakes.
Cake Boards and Boxes: Presentation Matters
While not strictly decorating tools in the application sense, cake boards and boxes are crucial for the final presentation and transportation of your decorated cake. A cake board provides a stable base for your cake, making it easy to move and serve. It also gives your finished creation a professional look, elevating it slightly from the serving surface.
Cake boards come in various materials like cardboard, foam core, or even wood, and in different shapes and sizes to match your cake. Using a board that is slightly larger than your cake is recommended. Cake boxes protect your decorated masterpiece during transport and storage. Having a few appropriately sized cake boards and boxes on hand (a pack of 10 basic cardboard circles might cost $5-$10) ensures that your effort in decorating is complemented by professional handling and presentation.
Measuring Tools: Precision is Key
While baking itself requires precise measurements of ingredients, certain measuring tools are also invaluable for cake decorating, especially when you start tackling more intricate designs or need to ensure symmetry. Tools like rulers, measuring tapes (flexible ones for measuring around the cake), and even protractors can help you plan and execute designs accurately.
For instance, if you want to space elements evenly around the side of a cake, a flexible measuring tape is essential. A ruler can help you mark guide points on the top or sides. While you might already have these items, considering their specific use in decorating and perhaps acquiring dedicated, easy-to-clean versions can be beneficial for your cake decorating tool kit beginners. Precision in marking can be the difference between a freehand look and a perfectly symmetrical design.
Assembling Your Cake Decorating Tool Kit: A Step-by-Step Guide
Building your cake decorating tool kit beginners doesn't have to be overwhelming. It's best approached as a gradual process, starting with the most fundamental items and adding more specialized tools as your skills and interests develop. This allows you to learn the purpose and use of each tool effectively before moving on.
Think about the types of cakes you want to decorate initially. Are you focused on smooth buttercream finishes, simple piped borders, or trying out basic floral designs? Your initial goals can help guide your first purchases. Remember, quality over quantity is often a good principle when selecting tools that you'll use repeatedly.
Step 1: Start with the Essentials
Begin by acquiring the absolute core tools discussed earlier: a stable turntable, a couple of offset and straight spatulas in useful sizes, a few reusable piping bags, a standard coupler, and a small selection of essential piping tips (round and star). Don't forget a basic cake scraper for smoothing. This initial set provides the foundation for frosting, smoothing, and basic piping techniques.
This first step focuses on versatility. These tools will allow you to cover a cake smoothly with buttercream, create simple piped decorations like shells or rosettes, and practice handling the tools. You can often find starter kits that bundle these items together, which can be a cost-effective way to begin building your cake decorating tool kit for beginners.
Step 2: Gradually Add More Specialized Tools
Once you're comfortable with the basics and perhaps want to try more specific techniques, start adding tools like a cake leveler, additional piping tips (like a leaf tip or different sizes of your favorite shapes), or perhaps specialty scrapers for textured finishes. This step is driven by your evolving skills and the types of decorations you want to create.
Maybe you've mastered smooth sides and now want to try piping intricate patterns, or perhaps you're tired of uneven cake layers. Adding tools like a set of different sized round tips or a flexible measuring tape falls into this category. This phased approach allows you to learn and integrate each new tool into your practice effectively, continually enhancing your cake decorating tool kit beginners.
Step 3: Consider Storage and Organization
As your cake decorating tool kit beginners grows, keeping your tools organized becomes important. Proper storage protects your investment and makes it easy to find what you need when you're ready to decorate. Consider tool caddies, dedicated drawers with dividers, or even small tackle boxes or craft organizers for piping tips and couplers.
Storing tools neatly prevents damage, keeps them clean, and saves you time searching. Piping tips can be stored in small containers, spatulas can be kept together in a drawer, and piping bags can be rolled or folded. Investing a little time and perhaps a small amount of money (an organizer might cost $10-$30) in storage solutions is a worthwhile step in maintaining your cake decorating tools.
Cake Decorating Tool Kit Maintenance: Keeping Your Tools in Top Shape
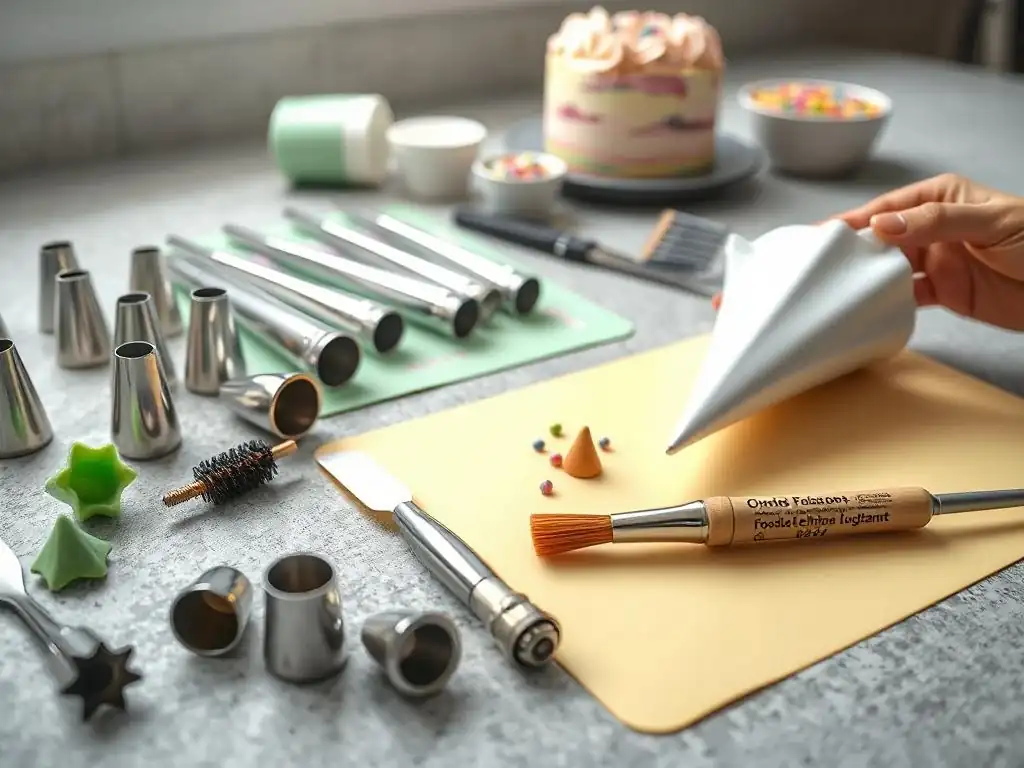
Proper maintenance is crucial for ensuring your cake decorating tool kit beginners remains functional, hygienic, and lasts for years. Cleaning and storing your tools correctly after each use prevents rust (especially on metal tips and scrapers), keeps plastic parts from degrading, and ensures everything is ready for your next baking project.
Neglecting cleaning can lead to dried frosting residue that is difficult to remove and can harbor bacteria. Incorrect storage can bend delicate piping tips or damage spatula blades. Taking a few minutes to properly care for your tools after you've finished decorating will save you time and frustration in the long run and protect your investment.
Cleaning and Sanitizing Your Tools
After each use, it's essential to thoroughly clean all components of your cake decorating tool kit beginners. Disassemble piping bags and couplers, and ensure all frosting is removed from tips, spatulas, and scrapers. Warm, soapy water is usually sufficient for cleaning most frosting types. For stubborn buttercream, a small brush (like a pastry brush or even an old toothbrush) can help get into the crevices of piping tips.
Sanitizing is also important, especially for tools that come into direct contact with food. After washing, you can sanitize metal tips and scrapers by briefly dipping them in boiling water or using a food-safe sanitizing solution according to product instructions. Ensure all tools are completely dry before storing them to prevent rust, particularly on metal items.
Proper Storage Techniques
Storing your cleaned and dried cake decorating tool kit beginners properly protects the tools and keeps them organized. Piping tips and couplers are small and easily lost; storing them in dedicated containers or compartments is highly recommended. Many bakers use small plastic storage boxes with dividers or even repurposed spice jars for tips.
Spatulas and scrapers can be stored flat in a drawer or upright in a utensil holder. Piping bags should be completely dry before folding or rolling them for storage. Keeping metal tools away from moisture is key to preventing rust. Organized storage not only makes decorating quicker but also helps you keep track of your tools and notice if anything is missing or needs replacing.
Where to Buy Your Cake Decorating Tool Kit for Beginners
When you're ready to purchase your first cake decorating tool kit for beginners, you have several options, each with its own advantages. Whether you prefer the convenience of online shopping or the ability to see and feel tools in person, you can find suitable places to acquire your decorating essentials.
Consider comparing prices and product reviews before making a purchase, especially for larger items like turntables or sets of tools. Look for reputable brands known for producing quality baking and decorating supplies.
Online Retailers: Convenience and Variety
Online retailers offer perhaps the widest selection of cake decorating tool kit beginners options, from individual tools to comprehensive starter sets. Websites like Amazon, specialized baking supply stores (e.g., BakeDeco, GlobalSugarArt), or even large craft stores with online shops (e.g., Michaels, Hobby Lobby) provide access to countless brands and product variations.
The convenience of shopping from home and having items delivered is a major plus. You can easily read product descriptions, compare prices across different vendors, and benefit from customer reviews to gauge the quality and suitability of tools. Many online stores also offer competitive pricing and frequent sales, making it possible to assemble a great kit within your budget.
Local Baking Supply Stores: Expert Advice and Hands-On Experience
Visiting a local baking supply store or even the baking aisle of a well-stocked craft or department store offers a different kind of advantage when buying your cake decorating tool kit for beginners. You can physically examine the tools – feel the weight of a spatula, check the stability of a turntable, or see the actual size of piping tips.
These stores often have knowledgeable staff who can offer personalized recommendations based on your beginner status and answer specific questions about different tools and brands. While the selection might be smaller than online, the ability to get expert advice and handle the tools before buying can be incredibly helpful for someone just starting out. Plus, supporting local businesses is always a great option!
Cake Decorating Tool Kit: Price Considerations for Beginners
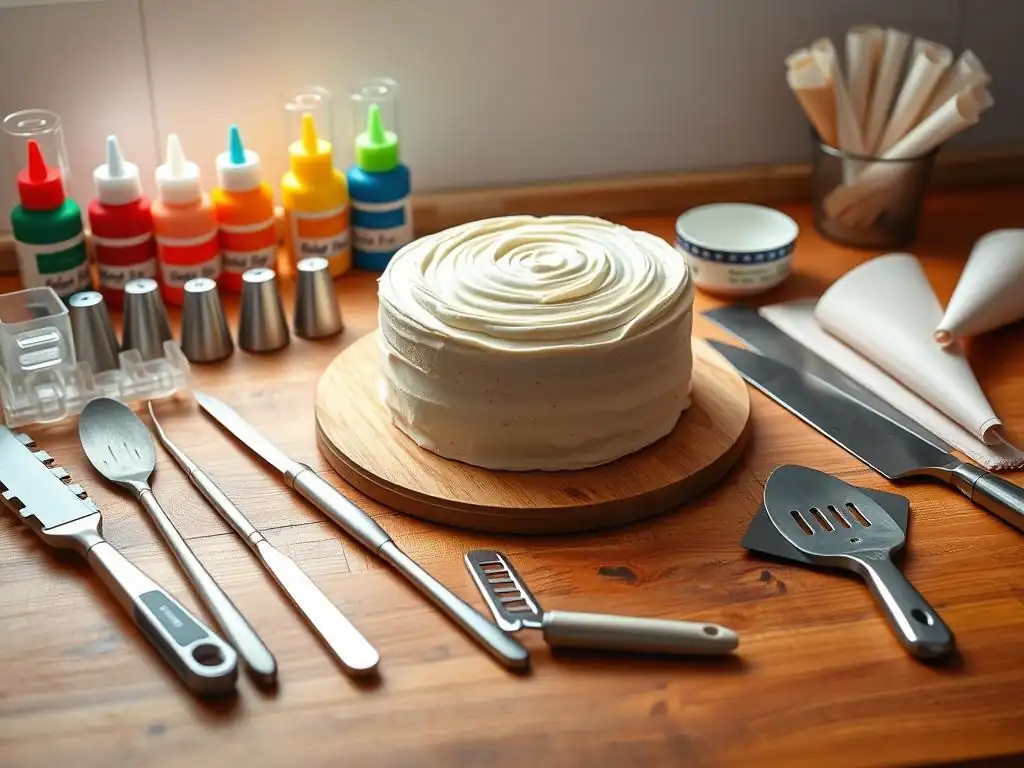
The cost of assembling a cake decorating tool kit beginners can vary significantly depending on whether you buy individual tools or a pre-packaged set, and the quality of the items you choose. It's possible to start with a very basic, budget-friendly kit, or invest a bit more in higher-quality tools that may last longer and perform better.
Setting a budget before you start shopping can help guide your decisions. Remember that you don't need the most expensive tools to learn and create beautiful cakes. Many affordable options are perfectly suitable for beginners and will serve you well as you develop your skills.
Building a Budget-Friendly Kit
If you're working with a tight budget, you can still assemble a functional cake decorating tool kit for beginners for a relatively low cost. Look for multi-packs of piping bags and tips, plastic scrapers, and a basic plastic turntable. You might find starter kits priced between $20 and $40 that include enough essential tools to get you started with basic frosting and piping.
Focus on the absolute must-haves first: a turntable, a couple of spatulas, a few basic tips, and a scraper. You can always add more specialized tools later as your budget allows and your skills improve. Garage sales or second-hand stores might occasionally yield baking tools, but ensure they are clean and in good condition.
Investing in Quality Tools
If your budget allows, investing a bit more in higher-quality tools for your cake decorating tool kit beginners can be beneficial in the long run. A sturdy metal turntable, spatulas with comfortable, durable handles, and seamless stainless steel piping tips can offer smoother performance and greater longevity.
While a premium starter kit might cost upwards of $50-$100, the improved feel and performance of quality tools can make the decorating process more enjoyable and potentially lead to better results as you practice. Consider starting with high-quality versions of the tools you'll use most frequently, like your primary offset spatula or your favorite piping tips.
Mastering Cake Decorating with Your New Tool Kit: Next Steps
Acquiring your cake decorating tool kit beginners is just the first step. The real magic happens when you start using those tools! Learning cake decorating is a hands-on process that requires practice, patience, and a willingness to experiment. Don't be discouraged if your first attempts aren't perfect – every baker has had a wonky rosette or a less-than-smooth side.
The key is to keep practicing and learning. Utilize the resources available to you and don't be afraid to try new techniques. Your new tools are designed to make the process easier, but it's your practice that will turn you into a skilled decorator.
Practice Makes Perfect: Start with Simple Designs
Begin by practicing basic techniques with your new cake decorating tool kit for beginners. Frost a cake dummy or even the back of a baking sheet covered in parchment paper to practice smoothing frosting with your spatulas and scraper. Use your piping bags and tips to practice piping dots, stars, and shells on parchment paper.
Start with simple cake designs on actual cakes – perhaps just a smooth buttercream finish and a simple piped border. As you gain confidence and control over your tools, gradually attempt more complex decorations. Practicing on a flat surface first allows you to reuse the frosting (if using buttercream) and focus solely on the piping motion without the pressure of decorating a real cake.
Explore Online Tutorials and Resources
The internet is a treasure trove of information for learning cake decorating. Websites like BakeWithEase.com offer step-by-step guides, and platforms like YouTube host countless video tutorials demonstrating how to use specific tools and create various decorations. Watching experienced decorators can provide valuable insights into techniques you can replicate with your cake decorating tool kit beginners.
Look for tutorials specifically aimed at beginners, focusing on techniques like frosting a cake smoothly, using a turntable, or piping basic shapes. Blogs, forums, and online classes also offer opportunities to learn new skills and troubleshoot common issues.
Join a Baking Community for Inspiration and Support
Connecting with other bakers, whether online or in person, can be incredibly motivating and provide a valuable source of inspiration and support. Share your decorating successes and challenges, ask questions, and learn from the experiences of others. Many online forums, social media groups, and local baking clubs welcome beginners.
Seeing what others are creating with their cake decorating tool kit beginners can spark new ideas, and receiving constructive feedback can help you improve your techniques. Being part of a community makes the learning process more enjoyable and less isolating, especially when you encounter difficulties.
Unleash Your Creativity with the Perfect Cake Decorating Tool Kit!
Frequently Asked Questions
What is the most essential cake decorating tool for a beginner?
A good offset spatula is arguably the most important. It allows for smooth frosting application and even spreads, making it crucial for achieving a professional finish.
What should I look for in a cake decorating tool kit for beginners?
Focus on kits containing basic tips for piping, a good spatula, and piping bags. Avoid overly complicated sets until you're comfortable with the fundamentals.
Are all cake decorating tips the same size and compatible with any piping bag?
No, cake decorating tips come in various sizes. Ensure the tip size is compatible with your couplers and bags for optimal piping control.
Can I use DIY tools instead of buying a cake decorating tool kit?
While some DIY substitutes exist, a proper kit offers precision and ease of use. Investing in quality tools will ultimately improve your cake decorating results.
How important is a cake turntable in a beginner's cake decorating tool kit?
A cake turntable is highly recommended. It allows for smooth rotation while frosting, resulting in a more even and professional looking cake.
Final Reflection: Unlocking Your Inner Cake Artist
The accessibility of stunning cake designs is closer than you think. No longer is breathtaking cake artistry confined to professional bakeries; with the right tools and a little practice, anyone can create show-stopping masterpieces. This article has highlighted the essential tools that form the foundation of a beginner's cake decorating toolkit, empowering aspiring cake artists to embark on their creative journey.
The impact of readily available cake decorating resources is profound. It's democratized a previously exclusive skill, fostering a vibrant community of home bakers who share their creations and inspire each other. This shared passion transcends simple confectionery; it's about self-expression, creativity, and the joy of bringing smiles to others' faces. The best things in life are homemade,
and that sentiment rings truer than ever in the world of cake decorating.
Now, it's your turn. Don't let the fear of the unknown hold you back. Take a leap, gather your essential tools, and begin experimenting. Each frosted flower, each perfectly piped swirl, is a step towards unlocking your inner cake artist. Embrace the process, celebrate your successes (and learn from your mistakes! ), and most importantly, have fun! The world awaits your delicious creations.
Unleash Your Inner Cake Artist!
Thanks for diving into the world of cake decorating with us! We hope you've gained valuable insights into building your perfect toolkit. Ready to transform your baking game?
- Master a new technique: Try out the rose swirl piping technique we discussed – you'll be amazed at how quickly you can create stunning blooms!
- Share your creations: Post a picture of your masterpiece on social media and tag us! Let's inspire each other. Use #BakeWithEase to join the community.
- Explore our advanced techniques: Dive deeper into cake decorating by checking out our other articles on advanced frosting techniques and unique design ideas.
What's the first cake you'll be decorating with your new skills? Let us know in the comments below!