
The Long Haul: Caring for a Sourdough Starter for Years


Welcome to BakeWithEase, your guide to unlocking the delightful world of baking! Ever wondered how to keep a sourdough starter thriving for years, ensuring countless loaves of tangy, flavorful bread? The secrets to long-term maintenance are surprisingly simple, and we're here to guide you through each step. Discover the techniques that separate fleeting fads from lasting traditions, and learn how to nurture a sourdough starter that will become a cherished part of your baking journey. Intrigued? Let's dive in!
- The Long Haul: Caring for a Sourdough Starter for Years - BakeWithEase.com
- Introduction to Longterm Sourdough Starter Maintenance
- Establishing a Solid Foundation for Longevity
- Longterm Sourdough Starter Feeding Strategies
- Storing Your Sourdough Starter for Extended Periods
- Identifying and Addressing Common Sourdough Starter Issues
- Refreshing and Strengthening a Mature Sourdough Starter
- Advanced Sourdough Starter Techniques for Longterm Success
- The Rewards of Patient Sourdough Starter Maintenance
- Conclusion: Embracing the Journey of Longterm Sourdough Starter Care
-
Frequently Asked Questions
- What is the most crucial aspect of long-term sourdough starter maintenance?
- How often should I feed my sourdough starter if I'm not baking regularly?
- What are the signs that my sourdough starter needs more attention and is not healthy?
- Can I revive a sourdough starter that has been neglected for a long time?
- What is "hooch" and does its presence mean my sourdough starter is spoiled?
- Final Reflection: The Enduring Legacy of a Simple Starter
- Unleash Your Inner Baker: Nurture Your Sourdough Journey!
The Long Haul: Caring for a Sourdough Starter for Years - BakeWithEase.com
Introduction to Longterm Sourdough Starter Maintenance
Caring for a sourdough starter is often seen as a daily or weekly commitment, and while that's true in the short term, the real magic unfolds over years of consistent care. A well-maintained starter doesn't just stay alive; it thrives, developing depth of flavor and robust leavening power that improves your baking significantly. Embarking on the journey of longterm sourdough starter maintenance transforms a simple mix of flour and water into a living legacy, capable of producing countless loaves of artisanal bread.
This guide will walk you through the nuances of keeping your starter healthy and vigorous for the long haul. We'll cover everything from the basic principles of feeding and storage to troubleshooting common issues and even advanced techniques for optimizing your starter's performance. Mastering the art of sourdough starter longterm maintenance is a rewarding endeavor that unlocks a world of baking possibilities and deepens your connection to the craft.
Why Longterm Sourdough Starter Care Matters
Longterm sourdough starter maintenance isn't just about keeping your culture alive; it's about cultivating its unique characteristics. Over months and years, the microbial balance within your starter stabilizes and matures. This maturity often leads to a more complex flavor profile in your bread, developing subtle notes of tang, sweetness, and earthiness that are impossible to replicate with commercial yeast. Think of it like aging a fine wine or cheese – time allows the flavors to deepen and harmonize.
Furthermore, a well-established, mature starter typically becomes more reliable and predictable in its leavening power. While a young starter might be erratic, peaking quickly and collapsing, a starter that has been cared for over years develops a consistent rhythm. This consistency is invaluable for bakers, making it easier to time your bakes and achieve reliable oven spring and crumb structure. The effort invested in consistent sourdough starter longterm maintenance pays dividends in the quality and consistency of your baked goods.
Understanding the Lifespan of a Sourdough Starter
Contrary to popular belief, a sourdough starter doesn't have a finite lifespan; it can, in theory, live indefinitely if properly cared for. The key is continuous feeding and maintaining a healthy microbial environment. Some starters boast lineages stretching back decades, passed down through generations of bakers. These ancient starters are living testaments to the power of diligent sourdough starter longterm maintenance.
However, a starter can die if neglected for too long, typically due to starvation (lack of feeding) or contamination (mold). Understanding the signs of a healthy starter – consistent rise and fall, pleasant aroma, bubbly texture – is crucial for ensuring its longevity. While occasional periods of dormancy (like refrigeration) are fine, consistent, long-term neglect will eventually lead to its demise. Proper sourdough starter longterm maintenance is about creating a sustainable ecosystem for the wild yeasts and bacteria.
Establishing a Solid Foundation for Longevity
Building a strong foundation for your sourdough starter from the beginning is paramount for its long-term health and vitality. This involves making conscious choices about the ingredients you use and establishing consistent habits. Just like building a sturdy house requires a solid base, ensuring your starter thrives for years depends on the care you provide from day one.
The choices made in the initial stages, such as the type of flour and water used, significantly impact the microbial community that develops. Consistency in feeding schedule and ratio also trains the starter into a predictable rhythm. These foundational practices are not just for getting a starter active; they are critical components of successful sourdough starter longterm maintenance.
Choosing the Right Flour: Unbleached vs. Whole Wheat
The type of flour you feed your sourdough starter has a direct impact on its microbial activity and flavor. Unbleached all-purpose flour is a popular choice because it's easy to work with and provides enough nutrients for the starter to thrive. It generally results in a milder flavor profile. For example, using a standard unbleached bread flour with around 12-13% protein content provides a good balance for consistent feeding.
Whole wheat or rye flour can supercharge a starter due to their higher nutrient content and presence of wild yeasts and bacteria on the grain husks. Many bakers start their starters with rye or whole wheat and then transition to feeding with a mix or primarily unbleached flour for maintenance.
A common practice for sourdough starter longterm maintenance is to use a 50/50 mix of unbleached bread flour and whole wheat flour, as this often encourages robust activity and a more complex flavor without being overly dense or difficult to handle. Experimentation is key to finding what works best for your specific starter and baking goals.
Water Quality: Filtered Water for Optimal Starter Health
The water you use to feed your sourdough starter is just as important as the flour. Tap water often contains chlorine or chloramines, chemicals added to make public water supplies safe for drinking. While safe for humans, these chemicals can inhibit or even kill the wild yeasts and bacteria in your starter, slowing down or preventing fermentation. Using filtered water removes these chemicals, providing a cleaner environment for your starter's microbes to flourish.
Distilled water is generally not recommended for sourdough starter longterm maintenance because it lacks the minerals found in tap or filtered water, which can be beneficial to the microbes. Ideally, use filtered water from a reputable filter system. If you don't have a filter, you can leave tap water out in an open container for 24 hours; this allows the chlorine to dissipate, though it won't remove chloramines. Aim for water that is around 70-80°F (21-27°C) for feeding, as temperature also influences microbial activity.
Maintaining a Consistent Feeding Schedule: Time and Ratio
Consistency in feeding is the cornerstone of sourdough starter longterm maintenance. When a starter is fed regularly at roughly the same time each day (or week, depending on your storage method), the microbial population establishes a predictable cycle of activity. This makes it easier to predict when your starter will be ripe and ready for baking. For a starter kept at room temperature, feeding once every 24 hours is a standard practice, using a ratio like 1:1:1 (starter:water:flour by weight).
The feeding ratio also impacts the starter's health and activity. A 1:1:1 ratio provides enough food for the starter to double or triple in size within 4-8 hours at room temperature (around 70-75°F or 21-24°C). A higher ratio, like 1:2:2 or 1:3:3, provides more food per amount of starter, allowing it to ferment for a longer period before peaking. This can be useful if you can't feed daily. Finding a feeding schedule and ratio that fits your lifestyle while keeping the starter consistently active is vital for effective sourdough starter longterm maintenance.
Longterm Sourdough Starter Feeding Strategies
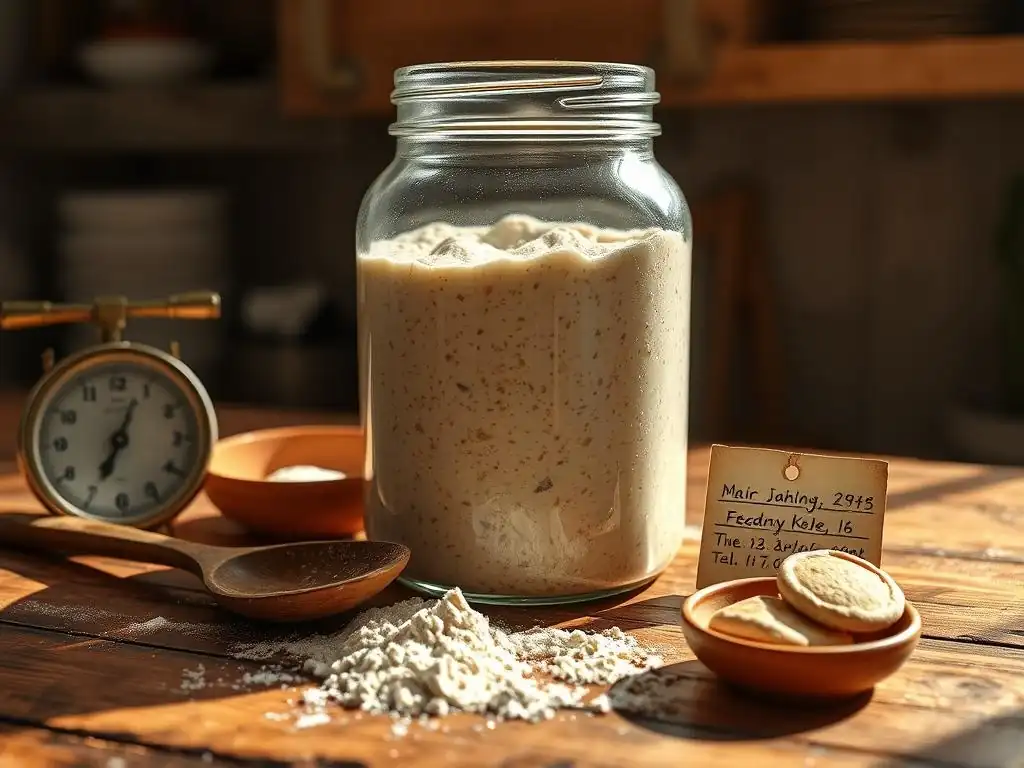
As you commit to sourdough starter longterm maintenance, you'll discover that feeding isn't a one-size-fits-all routine. Your lifestyle, baking frequency, and even the ambient temperature will influence the best feeding strategy for your starter. Adapting your approach is key to keeping your starter healthy and ready to perform when you need it, whether that's daily or less often.
Understanding how to adjust feeding frequency and ratios based on different circumstances is a critical skill for any baker serious about sourdough starter longterm maintenance. It allows you to manage your starter efficiently, minimize waste, and ensure its strength and vitality are maintained over extended periods.
Regular Feeding vs. Infrequent Feeding: Adapting to Your Schedule
For bakers who bake frequently (several times a week), keeping a starter at room temperature and feeding it daily is ideal. This provides the most active and predictable starter, ready to use within hours of feeding. A typical daily feeding might involve discarding all but 50g of starter and feeding it with 50g water and 50g flour (a 1:1:1 ratio). This regular feeding schedule promotes vigorous activity and consistent results, simplifying your sourdough starter longterm maintenance routine.
If you bake less often (once a week or less), keeping your starter in the refrigerator is a more practical approach. Refrigeration slows down fermentation significantly, meaning you only need to feed it once a week or even less frequently (some bakers go 2-3 weeks between feeds).
To feed a refrigerated starter, take it out, let it warm up slightly (optional but helpful), discard most of it, feed it, let it become active on the counter for a few hours, and then return it to the fridge. This infrequent feeding method is a cornerstone of sourdough starter longterm maintenance for busy individuals.
Adjusting Feedings Based on Temperature: Summer vs. Winter
Temperature plays a significant role in the activity level of your sourdough starter. Warm temperatures, typical of summer, accelerate fermentation, causing your starter to rise and fall faster. In these conditions, you might need to feed your room-temperature starter more frequently, perhaps twice a day, to prevent it from becoming overly acidic and weak. Alternatively, you can use a higher feeding ratio (e.g., 1:2:2) to provide more food and slow down the process slightly.
Conversely, colder temperatures, common in winter, slow down fermentation considerably. A starter that doubles in 4-6 hours in the summer might take 10-12 hours or longer in the winter. You can often reduce feeding frequency at room temperature or use a lower feeding ratio (e.g., 1:0.8:0.8 - slightly less water/flour than starter) to encourage activity. Understanding and adapting your feeding strategy to ambient temperature is crucial for successful sourdough starter longterm maintenance throughout the year.
The Importance of Discarding Sourdough Starter: Preventing Acidity
Discarding a portion of your sourdough starter before feeding is a fundamental step in sourdough starter longterm maintenance. When you feed your starter, you are essentially providing fresh fuel for the yeasts and bacteria. If you simply added new flour and water without removing any starter, the existing microbial population would become diluted with every feed, and the volume would quickly become unmanageable.
More importantly, discarding removes the highly acidic byproducts of fermentation. As the microbes consume sugars, they produce lactic and acetic acids. While some acidity is desirable for flavor and structure, too much makes the starter overly sour and can weaken its leavening power. Discarding ensures that you are feeding a smaller, healthier portion of the starter, keeping the acid levels in check and promoting vigorous growth. Aim to keep only a small amount (e.g., 20-50g) of your mature starter for feeding, using the rest in recipes or composting it.
Storing Your Sourdough Starter for Extended Periods
Life happens, and sometimes you need to step away from daily or weekly feeding. Fortunately, there are effective methods for storing your sourdough starter for extended periods without harming its long-term viability. These techniques allow you to take a break from active sourdough starter longterm maintenance while preserving your culture for future baking adventures.
Whether you need to store your starter for a few weeks or several months, understanding these storage methods is essential for any baker committed to the long haul with their sourdough journey. They offer flexibility and peace of mind, knowing your starter is safe and sound.
Refrigeration: Slowing Down Fermentation for Longterm Storage
Refrigeration is the most common method for storing a sourdough starter when you're not baking frequently. The cold temperature significantly slows down the metabolic activity of the yeasts and bacteria. This means the starter consumes its food much more slowly, allowing you to feed it less often – typically once a week or every two weeks is sufficient for effective sourdough starter longterm maintenance in the fridge.
To refrigerate your starter, feed it as usual, let it sit at room temperature for 1-2 hours until you see the first signs of activity (small bubbles), then place it in a sealed container in the refrigerator. When you're ready to bake, take the starter out, let it warm up, and feed it 1-2 times at room temperature until it becomes active and predictable again. This might take 1-3 days depending on how long it was in the fridge and its initial strength.
Drying Sourdough Starter: A Method for Backup and Travel
Drying your sourdough starter is an excellent method for very long-term storage, creating a backup in case of disaster, or for traveling. When dried, the microbes enter a dormant state and can survive for years. This is perhaps the ultimate form of sourdough starter longterm maintenance insurance.
To dry your starter, spread a thin layer (about 1/8 inch or 3mm) of active, recently fed starter onto parchment paper or a silicone baking mat. Let it air dry completely at room temperature until it's brittle and easily breaks into flakes. This can take 1-3 days depending on humidity. Once fully dry, break it into small pieces and store it in an airtight container in a cool, dark place. Properly dried starter can last for years, offering unparalleled peace of mind regarding your sourdough starter longterm maintenance.
Reviving a Refrigerated or Dried Sourdough Starter
Reviving a refrigerated starter is relatively simple. Take the starter out of the fridge, discard any hooch (liquid layer) on top, take a small amount (e.g., 20-30g), and feed it with equal parts water and flour (e.g., 30g water, 30g flour). Let it sit at room temperature. It might be sluggish at first. Continue feeding it daily (or even twice a day initially) until it shows consistent doubling within 4-8 hours. This process can take 1-3 days to fully restore vigor for sourdough starter longterm maintenance.
Reviving dried starter takes a bit longer. Start by placing a small amount of dried flakes (e.g., 5-10g) in a jar with an equal weight of warm water (5-10g) and let it soak for a few minutes. Add a small amount of flour (5-10g) and mix into a paste.
Let it sit at room temperature. Over the next few days, feed it small amounts of flour and water daily, gradually increasing the quantity as it shows signs of life (small bubbles, faint sour smell). It can take 5-7 days or more for dried starter to become fully active and ready for baking, demonstrating the patience required in sourdough starter longterm maintenance.
Identifying and Addressing Common Sourdough Starter Issues
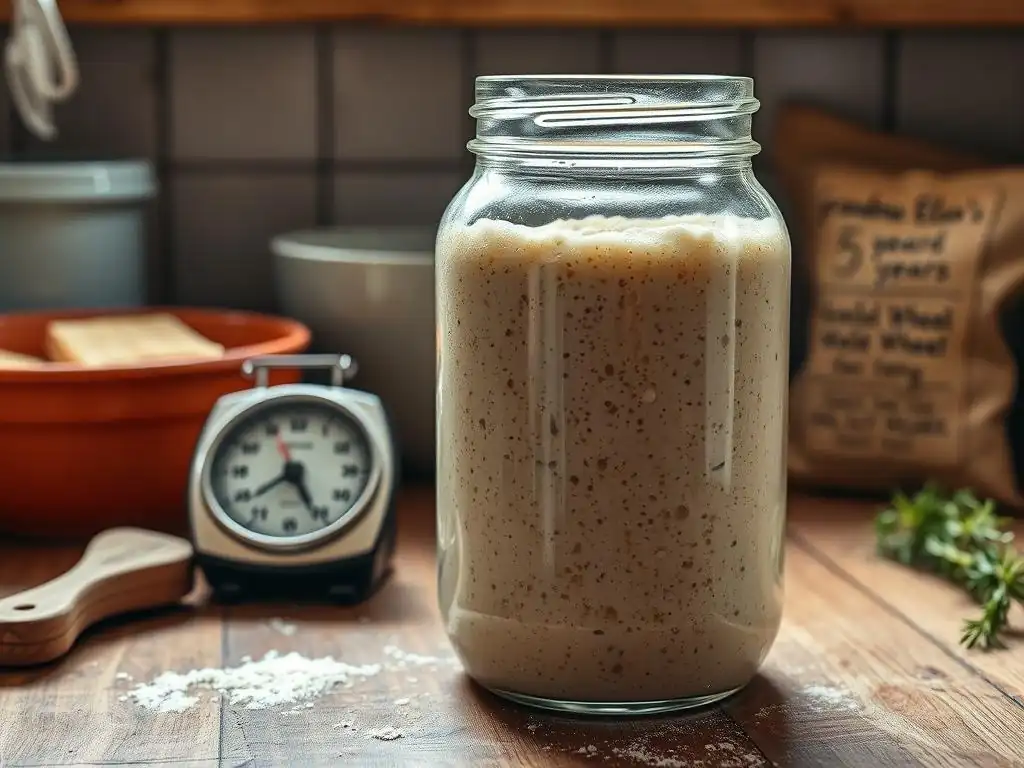
Even with diligent sourdough starter longterm maintenance, you might encounter common issues. Recognizing these problems early and knowing how to address them is crucial for keeping your starter healthy and vibrant. Most issues are easily fixable and don't necessarily mean the end of your starter.
Learning to diagnose and treat these ailments is part of the journey of sourdough starter longterm maintenance. It builds your intuition and understanding of your starter's needs and behavior.
Mold Growth: Prevention and Identification
Mold is one of the most serious issues a sourdough starter can face. It typically appears as fuzzy, colored patches (green, black, orange) on the surface of the starter. Mold indicates contamination and, unfortunately, if you see mold, it's generally recommended to discard the entire starter and start fresh or use a backup if you have one. Unlike hooch, mold is not benign.
Prevention is the best defense against mold. Always use clean jars and utensils when feeding. Keep the starter in a clean environment away from potential contaminants. Ensure your feeding ratio provides enough food so the starter doesn't become overly weak or acidic too quickly, as this can make it more susceptible to mold. Proper storage, especially in the refrigerator, can also help prevent mold growth by slowing down activity. Consistent, clean sourdough starter longterm maintenance significantly reduces the risk of mold.
Hooch Formation: What It Is and How to Handle It
Hooch is a liquid that can separate and pool on the surface of your sourdough starter. It's typically clear, yellowish, or dark gray/black depending on the flour used. Hooch is a sign that your starter is hungry – the yeasts and bacteria have consumed most of the available food and are producing alcohol as a byproduct. While not ideal, hooch is generally not harmful to your starter.
If you see hooch, you can either pour it off before feeding or stir it back in. Stirring it in adds some of the acidic byproducts back into the starter, which can slightly increase the tanginess of your bread. If hooch appears frequently and quickly after feeding, it's a sign that your starter needs more frequent feeding or a higher feeding ratio (more flour and water relative to starter). Regular feeding is key to minimizing hooch formation during sourdough starter longterm maintenance.
Sluggish Starter: Troubleshooting Fermentation Problems
A sluggish starter is one that isn't rising or becoming bubbly as expected after feeding. This can be frustrating, but it's a common issue and often easy to fix. Common causes include cold temperatures, inconsistent feeding, using chlorinated water, or simply needing a few consistent feeds to regain strength.
To revive a sluggish starter, try moving it to a warmer location (ideally 75-80°F or 24-27°C). Ensure you are using filtered water. Try feeding it with a bit of rye or whole wheat flour, which can give it a boost. Feed it consistently every 12-24 hours, discarding most of it before each feed, until it shows predictable activity (doubling within 4-8 hours). Sometimes, a sluggish starter just needs patience and a few days of consistent, warm feeding to bounce back as part of your sourdough starter longterm maintenance efforts.
Dealing with Pests: Prevention and Elimination
While less common than hooch or sluggishness, sourdough starters can occasionally attract fruit flies or other small insects due to the fermentation aromas. These pests can contaminate your starter and lay eggs. Prevention is key.
Always cover your sourdough starter, but use a breathable cover like cheesecloth secured with a rubber band or a lid loosely placed on top. Avoid tightly sealing the jar, as the gases produced during fermentation need to escape. If you notice fruit flies around your starter, cover it more securely and try setting up a fruit fly trap nearby (a small dish of apple cider vinegar with a drop of dish soap works well).
Inspect your starter carefully for any signs of larvae or eggs; if found, it's safest to discard and start fresh or use a backup. Keeping your starter covered and your kitchen clean are essential steps in sourdough starter longterm maintenance to prevent pests.
Refreshing and Strengthening a Mature Sourdough Starter
Even a mature starter that has undergone years of sourdough starter longterm maintenance benefits from strategic refreshing and strengthening, especially before a major bake. Preparing your starter correctly ensures it has the peak leavening power required for a successful loaf of bread. This process is often referred to as building a levain or preparing the 'preferment'.
Understanding how to refresh and strengthen your starter optimizes its performance and allows you to achieve the best possible rise and structure in your baked goods. It's a refinement of your sourdough starter longterm maintenance skills.
The Levain Build: Preparing Your Starter for Baking
A 'levain' (or 'leaven') is essentially a small portion of your mature sourdough starter that you refresh specifically for a bake. Instead of using your entire stored starter, you take a small amount (e.g., 20-50g) and feed it with a specific ratio of flour and water (often 1:1:1, 1:2:2, or ratios specified by your recipe) to create the exact amount needed for your dough. This build is typically done 4-12 hours before you plan to mix your dough, allowing the levain to reach its peak activity.
Building a levain has several benefits for sourdough starter longterm maintenance and baking. It allows you to use your main starter less frequently if stored in the fridge. It also ensures you are using your starter at its most vigorous point – just after it has peaked – for optimal leavening. This targeted feeding focuses the starter's energy on producing the gas needed for your specific recipe, leading to better oven spring and crumb structure.
Understanding the Impact of Temperature on Levain Development
Just as with your main starter, the temperature at which you build your levain significantly impacts its development time. A levain built and kept in a warm environment (75-80°F or 24-27°C) will typically mature and reach its peak much faster than one kept in a cooler environment (68-72°F or 20-22°C). For example, a 1:1:1 levain might peak in 4-6 hours at 78°F, but take 8-12 hours at 70°F.
Controlling the temperature of your levain build is a powerful tool in managing your baking schedule. If you need a levain ready for an early morning bake, you might build it the night before using cooler water or keeping it in a slightly cooler spot to slow down its activity. If you're in a hurry, warmer water and a warm spot can speed things up. Mastering this temperature control is key to consistent results in sourdough starter longterm maintenance and baking.
Assessing Starter Activity: Float Test and Visual Cues
Knowing when your starter or levain is at its peak activity and ready to use is crucial. The most common visual cue is that the starter has significantly increased in volume (ideally doubled or tripled, depending on the hydration and feeding ratio) and is full of bubbles, both on the surface and visible through the sides of the jar. The dome of the starter should be rounded and just starting to flatten or show signs of deflation around the edges.
A popular test for readiness is the 'float test'. Gently take a small spoonful of your starter and drop it into a glass of water. If it floats, it's generally considered ready to use – the gas produced by the active yeasts makes it buoyant. If it sinks, it likely hasn't built up enough gas yet and needs more time. While not foolproof, the float test, combined with visual cues, is a reliable way to assess your starter's readiness as part of your sourdough starter longterm maintenance routine.
Advanced Sourdough Starter Techniques for Longterm Success

Beyond the basic feeding and storage methods, there are advanced techniques that can enhance your sourdough starter longterm maintenance and provide added flexibility and security. These methods are particularly useful for experienced bakers looking to refine their process or safeguard their precious starter culture.
Implementing these techniques can elevate your baking practice and provide peace of mind, knowing your starter is resilient and adaptable to various situations.
Maintaining a Back-Up Starter: Insurance Against Disaster
One of the most valuable advanced techniques for sourdough starter longterm maintenance is creating and maintaining a backup. Accidents happen – mold can appear, a starter can be forgotten in the fridge for too long, or the primary jar could break. Having a backup ensures that years of cultivation aren't lost in an instant.
The easiest way to maintain a backup is by drying a portion of your active starter periodically, as described earlier. Store the dried flakes in an airtight container in a cool, dark place. Another method is to keep a second, smaller jar of starter in the refrigerator and feed it less frequently (e.g., once a month) as a "deep storage" backup. This might be fed with a higher ratio (e.g., 1:5:5) to give it plenty of food for a long dormancy. This insurance policy is a wise investment for any baker committed to sourdough starter longterm maintenance.
Creating Different Hydrations: For Different Baking Needs
Most sourdough starters are maintained at 100% hydration (equal weight of water and flour). However, you can maintain or build smaller portions of your starter at different hydrations for specific recipes. For instance, a stiffer starter (lower hydration, e.g., 60-70%) ferments more slowly and can contribute a different flavor profile (often more acetic acid). A wetter starter (higher hydration, e.g., 150-200%) ferments faster and can be easier to mix into very wet doughs.
For sourdough starter longterm maintenance, you typically maintain your main starter at a consistent hydration (usually 100%). However, you can take a portion of your active starter and build a levain at a different hydration specifically for a recipe. For example, to make a stiff levain for a specific Italian bread, you might take 20g of your 100% hydration starter and feed it with 30g water and 50g flour (60% hydration relative to the total flour). This flexibility allows you to adapt your starter to a wider range of baking applications.
Using Mature Starter in Pizza Dough Recipes
A mature sourdough starter isn't just for rustic loaves; it can dramatically improve other baked goods, like pizza dough. Using a small amount of active, mature starter in your pizza dough recipe, often alongside a small amount of commercial yeast for speed, can contribute wonderful flavor and a slightly chewier crust. The long fermentation possible with sourdough develops complex flavors that commercial yeast alone cannot replicate.
When incorporating your starter into pizza dough as part of your sourdough starter longterm maintenance benefits, you can either build a specific levain or use a portion of your daily-fed starter. A typical recipe might use 50-100g of active starter for a few pizzas. The slow fermentation process, often involving an overnight cold proof in the refrigerator, allows the starter to work its magic, developing both flavor and structure.
The Rewards of Patient Sourdough Starter Maintenance
Committing to sourdough starter longterm maintenance yields rewards far beyond simply having leavening for your bread. It's a practice that deepens your connection to the food you eat and the baking process itself. The benefits are tangible and contribute to a more fulfilling baking experience.
These rewards are the culmination of consistent effort and care, making the journey of sourdough starter longterm maintenance truly worthwhile.
Baking Consistently Delicious Sourdough Bread
The most immediate and satisfying reward of diligent sourdough starter longterm maintenance is the ability to bake consistently delicious sourdough bread. A strong, healthy, and predictable starter is the foundation of reliable oven spring, a beautiful open crumb structure, and that signature tangy flavor. You'll find that once your starter is mature and well-maintained, achieving excellent results becomes much easier and more predictable.
Imagine consistently producing loaves with a crackling crust, a soft, airy interior, and a nuanced flavor profile that evolves subtly over time. This level of consistency and quality is a direct result of the care invested in your sourdough starter longterm maintenance, turning baking from an occasional experiment into a dependable source of delicious bread.
Developing a Unique Sourdough Starter Flavor Profile Over Time
One of the fascinating aspects of sourdough starter longterm maintenance is how the flavor profile of your starter, and subsequently your bread, develops and becomes unique to your environment and feeding practices. The specific wild yeasts and bacteria in your local environment, combined with the types of flour you use and the temperatures you maintain, create a microbial community that is distinct.
Over months and years, this unique microbial balance matures, often resulting in a more complex and nuanced flavor. Some starters develop a pronounced sourness (acetic acid), while others are milder or have more lactic acid notes, contributing a creamy tang. The flavor becomes a signature of your home kitchen, a direct reflection of your dedicated sourdough starter longterm maintenance.
A wonderful reward of successful sourdough starter longterm maintenance is having a thriving culture that you can share with friends, family, or fellow bakers. Passing on a piece of your mature, active starter is like sharing a piece of your baking journey and expertise. It allows others to bypass the initial, sometimes frustrating, process of starting a culture from scratch and jump straight into baking with a proven, vigorous starter.
Sharing your starter is also a way to preserve its legacy and ensure it continues to thrive in other kitchens. Many ancient starters have survived precisely because they were shared and maintained by multiple bakers over generations. This act of sharing is a beautiful extension of your sourdough starter longterm maintenance efforts, spreading the joy of baking with natural leaven.
Conclusion: Embracing the Journey of Longterm Sourdough Starter Care
Embarking on the journey of sourdough starter longterm maintenance is more than just a kitchen chore; it's a rewarding relationship with a living culture. From understanding the basics of feeding and storage to troubleshooting issues and employing advanced techniques, each step deepens your connection to the ancient art of fermentation.
The patience and consistency invested in caring for your starter over years pay off in the form of consistently delicious bread, a unique flavor profile, and the ability to share this vibrant culture with others. So, embrace the process, learn from your starter's behavior, and enjoy the fulfilling experience of sourdough starter longterm maintenance. Your future self, and everyone who gets to taste your bread, will thank you.
Frequently Asked Questions
What is the most crucial aspect of long-term sourdough starter maintenance?
The most important aspect is consistent feeding and discarding. This maintains a healthy balance of yeast and bacteria, preventing unwanted mold or spoilage. Regularity is key for a thriving starter.
How often should I feed my sourdough starter if I'm not baking regularly?
When not baking, store your starter in the refrigerator and feed it only once a week or even less frequently. This slows down the fermentation process considerably.
What are the signs that my sourdough starter needs more attention and is not healthy?
Signs include a foul odor, unusual mold growth (other than the hooch liquid), or a lack of rise after feeding. These indicate an imbalance that needs addressing.
Can I revive a sourdough starter that has been neglected for a long time?
Yes, often you can! Begin by discarding most of the starter and feeding it small amounts of flour and water twice a day for several days. Patience is crucial.
What is "hooch" and does its presence mean my sourdough starter is spoiled?
"Hooch" is the liquid byproduct of fermentation, usually alcohol. While its presence indicates the starter is hungry, it doesn't necessarily mean it's spoiled. Simply pour it off and feed the starter.
Final Reflection: The Enduring Legacy of a Simple Starter
The seemingly humble sourdough starter transcends its culinary function; it becomes a living testament to patience, consistency, and the enduring power of nurturing. Its care mirrors the long-term commitments we make in life, demanding attention and dedication, yet rewarding us with something uniquely beautiful and deeply personal. The act of feeding and maintaining a starter for years is a powerful metaphor for the sustained effort required to achieve lasting goals.
The journey of caring for a sourdough starter, for me, has been a profound lesson in the interconnectedness of time, effort, and reward. It's a tangible representation of slow living, a counterpoint to the frenetic pace of modern life. The best things in life are not things; they are experiences, relationships, and moments of connection.
This quote resonates deeply with my experience, as the daily ritual of feeding my starter has become a quiet moment of reflection, a small act of mindful connection in an often chaotic world.
Now, I invite you to consider your own "long haul" projects – those endeavors that require sustained effort and unwavering commitment. What are you nurturing, both literally and metaphorically? Perhaps it's a relationship, a creative pursuit, or a personal goal. Remember the lessons of the sourdough starter: patience, consistency, and a willingness to invest in the process will yield immeasurable rewards. Embrace the long haul, and discover the profound satisfaction that comes from tending to something that grows and evolves alongside you.
Unleash Your Inner Baker: Nurture Your Sourdough Journey!
Thanks for taking the time to explore the rewarding world of sourdough starters! You've now learned the secrets to keeping your bubbly friend thriving for years to come. Ready to put your knowledge into action?
- Embrace the daily ritual: Maintain your starter's vibrant life with consistent feedings and observation. Note its changes and celebrate its unique personality!
- Bake something amazing: Experiment with new sourdough recipes, putting your now-expert knowledge to good use and delighting your taste buds (and those of your loved ones! ).
- Share your sourdough story: Tell us about your starter's quirks and triumphs – we'd love to hear from you in the comments!
What unexpected discovery will you make as you continue your sourdough adventure?