
Quick Tips for Melting Chocolate in the Microwave (Safely!)

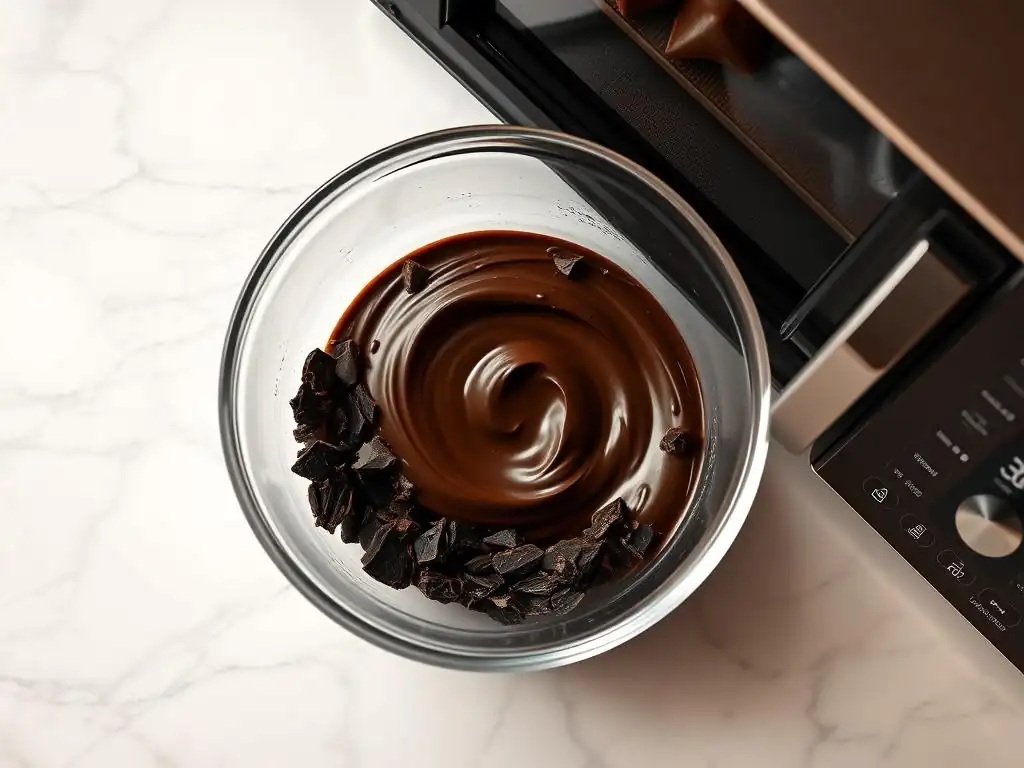
Welcome to BakeWithEase, your trusted guide to unlocking baking brilliance! Ever wondered how to microwave melt chocolate safely, achieving that perfect, smooth texture without the dreaded seizing? Dive into our "Ingredient Deep Dives" series and discover the secrets to mastering this essential technique, opening up a world of possibilities for your delectable creations. Ready to ditch the double boiler and melt chocolate like a pro? Let's get started!
- Baking Bliss: Your Guide to Microwave Melting Chocolate Safely
- Understanding Chocolate and Microwave Melting
- Step-by-Step Guide: How to Microwave Melt Chocolate Safely
- Troubleshooting Common Problems When Melting Chocolate in the Microwave
- Expert Tips for Flawless Microwave Melted Chocolate
- Safe Handling of Microwave-Melted Chocolate
- Recipes Using Microwave-Melted Chocolate
- Enjoying Your Perfectly Microwave-Melted Chocolate
-
Frequently Asked Questions
- How long should I microwave chocolate for the first time when melting it?
- What type of bowl is best for melting chocolate in the microwave?
- Why is it important to stir the chocolate frequently when microwaving it?
- What do I do if my chocolate seizes while melting it in the microwave?
- How can I prevent my chocolate from burning in the microwave?
- Final Reflection: The Sweet Science of Safe Chocolate Melting
- Unlock Your Inner Chocolatier: Master Microwave Melting!
Baking Bliss: Your Guide to Microwave Melting Chocolate Safely
Melting chocolate is a fundamental skill in baking, essential for everything from dipping strawberries to creating luscious ganaches. While traditional methods like a double boiler work beautifully, the microwave offers a speedier alternative. Learning to microwave melt chocolate safely is a game-changer for quick projects, provided you follow a few key techniques to avoid common pitfalls like burning or seizing. This guide will walk you through the process, ensuring your chocolate turns out smooth and ready for any baking adventure. Mastering how to melt chocolate in the microwave safely means less time waiting and more time creating delicious treats.
Successfully melting chocolate in the microwave hinges on understanding chocolate's unique properties and the microwave's heating mechanism. Unlike water, chocolate contains cocoa solids and fats that melt at different temperatures. Overheating even slightly can burn the cocoa solids, resulting in a grainy, unusable mess. The microwave heats from the inside out, making short intervals and stirring crucial for even heat distribution and preventing hot spots that lead to burning. With the right approach, microwave melting chocolate safely becomes a simple, reliable technique in your baking repertoire.
Understanding Chocolate and Microwave Melting
Why Microwave Melting Chocolate Requires Special Care
Microwave melting chocolate requires careful attention primarily because chocolate is sensitive to heat. It's not like melting butter, which has a clear melting point and remains liquid for a while after. Chocolate contains cocoa butter, which melts relatively low, typically between 86°F and 90°F (30°C and 32°C) for milk and white chocolate, and slightly higher for dark chocolate. However, the cocoa solids present in chocolate do not melt; they are suspended in the fat. If these solids get too hot, they burn, giving off a distinct, unpleasant odor and a gritty texture that cannot be fixed.
The microwave's method of heating makes this sensitivity particularly challenging. Microwaves excite water molecules primarily, and while chocolate has very little water, the uneven heating can create localized hot spots. These intense heat zones can quickly push the temperature of the cocoa solids past their burning point (which is much higher than the fat melting point but still reachable in a microwave) before the entire batch of chocolate is smoothly melted.
This is why short bursts of power and frequent stirring are absolutely non-negotiable steps when you microwave melt chocolate safely. Without them, you risk ruining perfectly good chocolate in seconds.
Types of Chocolate Suitable for Microwave Melting
Most types of chocolate can be successfully melted in the microwave, but some are easier to work with than others. Chocolate chips are perhaps the most common choice for microwave melting, largely because their small, uniform size promotes even heating. Baking bars, often found in the baking aisle, are also excellent candidates, especially those specifically formulated for melting and tempering. These usually have a higher cocoa butter content, which contributes to a smoother melt. Look for labels that mention "couverture" or "baking chocolate" for reliable results.
Compound chocolate, often labeled as "chocolate flavored" or "confectionery coating," is also very easy to melt in the microwave. Unlike real chocolate, compound chocolate uses vegetable oil (like palm kernel or soybean oil) instead of or in addition to cocoa butter. This fat melts very easily and is less prone to seizing than cocoa butter.
While it melts beautifully and is often used for dipping and coating due to its stable finish, it lacks the complex flavor of real chocolate. For the best flavor, stick to real chocolate with a good cocoa butter content when you plan to microwave melt chocolate safely for your recipes.
Step-by-Step Guide: How to Microwave Melt Chocolate Safely
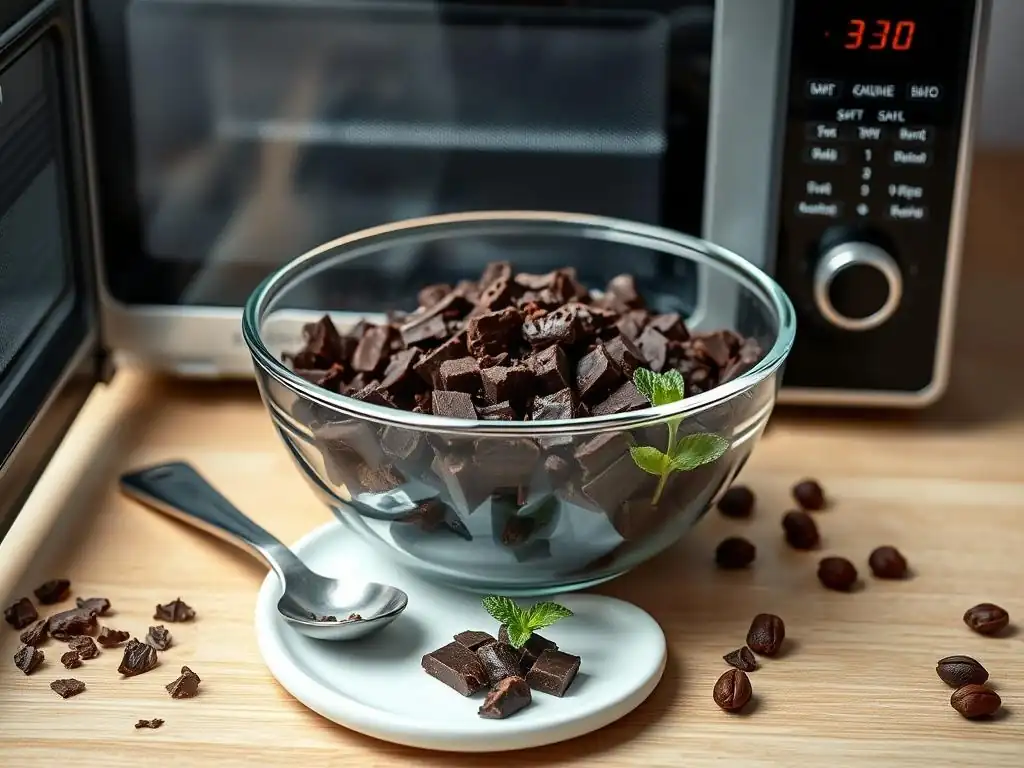
1. Choose a Microwave-Safe Glass or Ceramic Bowl
The vessel you use is crucial for successful microwave melting. Glass and ceramic bowls are the best choices because they heat evenly and retain heat well. This heat retention is actually beneficial during the stirring phases, helping residual heat finish the melting process without further microwaving. Plastic bowls can be used, but some types may not heat as evenly, potentially creating hot spots. Metal bowls are, of course, strictly forbidden in a microwave as they can cause sparks and damage the appliance.
When selecting your bowl, ensure it is large enough to comfortably hold the amount of chocolate you are melting, with room for stirring. A bowl that is too full can lead to spills, and a bowl that is too small makes it difficult to stir effectively, hindering even melting. Opt for a medium-sized glass or ceramic bowl for most standard amounts of chocolate used in recipes, such as 8-12 ounces (about 1-1.5 cups of chips). This allows you to easily microwave melt chocolate safely without fuss.
2. Chop Chocolate Finely for Even Melting
Preparation is key when you microwave melt chocolate safely. Whether you're using a baking bar or larger chunks of chocolate, chopping it into smaller, relatively uniform pieces is essential. Aim for pieces roughly the size of chocolate chips, or even slightly smaller, around 1/2 to 1/4 inch. This increases the surface area exposed to the microwaves and ensures that the chocolate melts at a more consistent rate. Larger, irregular chunks will melt unevenly, with some pieces melting completely while others remain solid, increasing the risk of overheating the already melted portions.
Using a sharp knife on a cutting board is the easiest way to achieve finely chopped chocolate from a bar. If you're using chips, they are already small enough and don't require chopping. Uniformity in size is more important than the exact size itself, as it promotes an even melt. Taking this extra step to chop the chocolate finely before you begin to microwave melt chocolate safely will significantly improve your results, leading to a smoother, more homogenous melted consistency without frustrating lumps.
3. Microwave in 30-Second Intervals: Preventing Burnt Chocolate
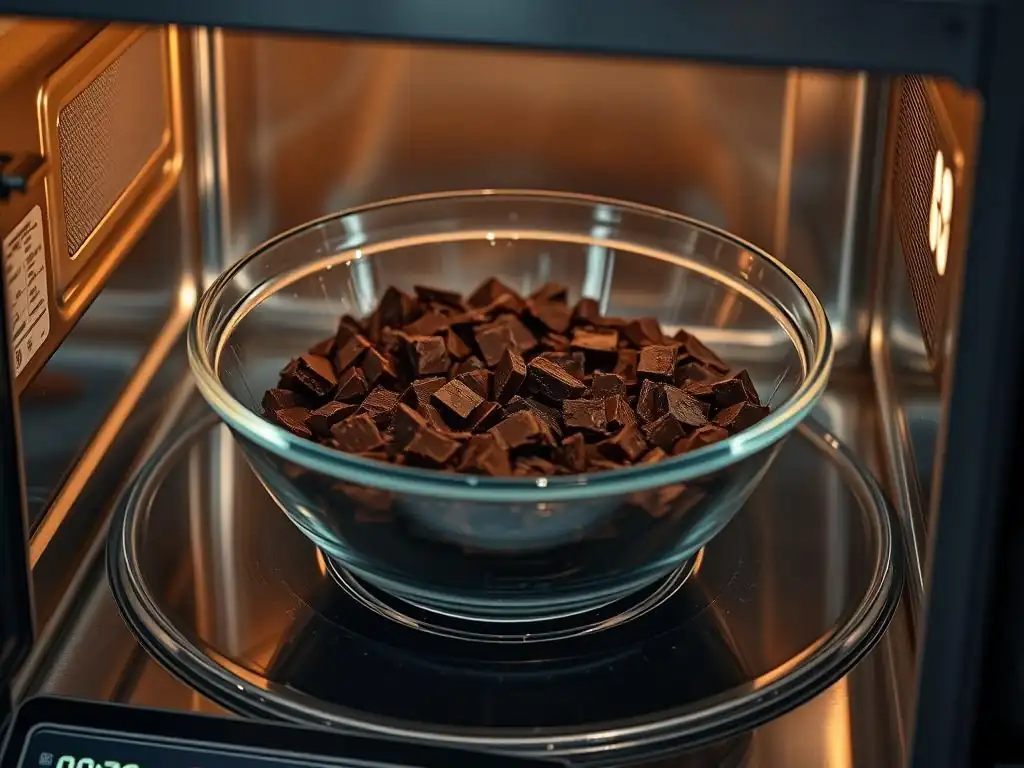
This is arguably the most critical step for how to microwave melt chocolate safely. Place your finely chopped chocolate (or chips) in the microwave-safe bowl. Start by microwaving on 50% power for 30 seconds. Lower power helps prevent overheating. After 30 seconds, remove the bowl from the microwave. Even if the chocolate doesn't look melted yet, it's absorbing heat internally. Stir the chocolate thoroughly with a spatula or spoon. You'll likely see some pieces softening or starting to melt around the edges.
Return the bowl to the microwave and heat again on 50% power for another 30 seconds. Remove and stir again. Continue this process of microwaving in short, 30-second bursts (at 50% power is recommended, though some microwaves might handle 100% for very short bursts like 15 seconds) followed by thorough stirring.
The key is to rely on the residual heat to do much of the work after the initial microwaving. As the chocolate gets closer to melting, you might even reduce the intervals to 15 or 20 seconds. This patient approach is the secret to preventing burnt chocolate and successfully learning to microwave melt chocolate safely.
4. Stir Vigorously Between Intervals: Ensuring Smooth, Even Melting
Stirring is just as important as the short microwave intervals when you microwave melt chocolate safely. After each 30-second burst (or shorter as it gets closer to melting), remove the bowl and stir the chocolate vigorously for 20-30 seconds. At first, it might just look like you're moving solid pieces around, but this stirring action is doing several vital things. It distributes the heat evenly throughout the chocolate, breaking up any hot spots that might have formed. It also helps the unmelted pieces come into contact with the already warmed or partially melted chocolate.
Furthermore, stirring encourages the residual heat within the chocolate itself and the bowl to continue the melting process even when it's outside the microwave. You'll often find that after a good stir, chocolate that looked mostly solid after a heating interval will smooth out significantly. Continue microwaving and stirring until only a few small lumps remain. At this point, stop microwaving and rely solely on stirring to melt those last stubborn pieces using the heat from the surrounding melted chocolate. This technique is fundamental to achieving a smooth, glossy finish when you microwave melt chocolate safely.
5. Identifying Perfectly Melted Chocolate: Smooth and Glossy
Knowing when to stop microwaving is crucial for preventing overheating. Perfectly melted chocolate should be smooth, fluid, and glossy. It should have a consistent texture with no visible lumps (unless you're working with a type that contains inclusions like nuts). When you lift your spatula or spoon, the chocolate should drizzle off easily. If it looks thick, grainy, or dull, it's a sign that it might be overheated or has seized (more on that in troubleshooting).
Stop microwaving when there are still a few small, solid pieces remaining. Continue stirring the chocolate outside the microwave. The heat from the already melted chocolate and the warm bowl will be sufficient to melt these last bits, bringing the chocolate to a smooth, perfectly melted consistency. This prevents you from accidentally pushing the temperature too high in the microwave. Trust the residual heat; it's your friend when learning how to microwave melt chocolate safely and achieve that beautiful, smooth result needed for dipping, drizzling, or incorporating into batters.
Troubleshooting Common Problems When Melting Chocolate in the Microwave
Chocolate Seizing: Causes and Prevention with Fat or Corn Syrup
Chocolate seizing is one of the most frustrating issues bakers face. It's when smooth, melted chocolate suddenly turns thick, grainy, and hard, almost like paste. The primary culprit is usually a tiny amount of water coming into contact with the melted chocolate.
This could be from steam, a wet utensil, or even condensation. Cocoa solids, being hydrophilic (water-attracting), clump together when they encounter water, expelling the cocoa butter and causing the mixture to seize. Using a microwave to melt chocolate safely minimizes steam exposure compared to a double boiler, but it's still possible if the bowl isn't completely dry or if using ingredients with high water content nearby.
While prevention is the best cure (ensuring everything is bone dry), you can sometimes rescue seized chocolate. The trick is to add more liquid – but not water! Adding a tablespoon or two of a neutral vegetable oil, melted shortening, or even warm corn syrup (per cup of chocolate) and stirring vigorously can sometimes re-emulsify the mixture, making it smooth again.
It won't be exactly like perfectly melted chocolate and might affect the final set, but it can make it usable for certain applications like brownies or cookies where texture is less critical. This rescue method can be a lifesaver when your attempt to microwave melt chocolate safely goes slightly awry due to accidental moisture contact.
Dealing with Lumpy Chocolate After Microwaving: Adding Shortening
Sometimes, even after following the steps to microwave melt chocolate safely, you might end up with chocolate that has small, stubborn lumps that won't melt with stirring. This usually happens if the chocolate wasn't chopped finely enough, or if the stirring wasn't quite sufficient to distribute the heat evenly, leaving some pieces less exposed to the warmth. While not as severe as seizing, lumpy chocolate isn't ideal for smooth coatings or drizzles.
To smooth out lumpy chocolate, you can try adding a very small amount of fat, such as a teaspoon of melted shortening or a neutral oil like canola or vegetable oil. Add the fat one teaspoon at a time to the warm, lumpy chocolate and stir continuously. The added fat helps to coat the solid particles and incorporate them into the smooth mixture, improving the overall texture.
Avoid adding too much fat, as this can make the chocolate greasy and prevent it from setting properly. This technique can often salvage slightly lumpy chocolate and achieve a smoother finish after you microwave melt chocolate safely.
Overheated Chocolate: What to Do
Overheating chocolate is another common problem, especially when using a microwave. This occurs when the chocolate gets too hot, causing the cocoa solids to burn. You'll recognize overheated chocolate by its dull, often grainy or paste-like appearance and a distinct, acrid smell. It might also look separated, with fat rising to the surface. Unlike seized chocolate, which can sometimes be rescued, truly burnt chocolate is usually beyond repair. The chemical changes that occur when cocoa solids burn are irreversible.
If your chocolate smells burnt or looks severely grainy and dull, it's best to discard it and start over with a fresh batch, paying extra attention to the short intervals and stirring when you microwave melt chocolate safely. However, if it's only slightly overheated (maybe just a bit thicker or less glossy than ideal, but not smelling burnt), you might be able to use it in applications where the texture isn't paramount, such as mixing it into brownie batter or cookie dough.
But for dipping, coating, or ganache, overheated chocolate will not perform correctly and won't give you that desired smooth, shiny finish.
Expert Tips for Flawless Microwave Melted Chocolate
Using a Silicone Spatula for Stirring
The tool you use for stirring might seem minor, but it can make a difference when you microwave melt chocolate safely. A silicone spatula is the preferred choice for stirring chocolate in the microwave. Its flexible edge allows you to scrape down the sides and bottom of the bowl effectively, ensuring that all the chocolate is brought into the center and subjected to even heat distribution. This thorough scraping prevents chocolate stuck to the sides from overheating while the rest melts.
Unlike wooden spoons which can retain moisture (a risk for seizing) or metal spoons which can scratch bowls, a silicone spatula is non-reactive and easy to clean. Its smooth surface doesn't hold onto chocolate, minimizing waste. Investing in a good quality silicone spatula will make the process of stirring between microwave intervals much more efficient, contributing to a smoother, more evenly melted batch of chocolate every time you microwave melt chocolate safely.
Adding a Touch of Liquid: Coconut Oil for Smoothness
While water is the enemy of melted chocolate, adding a small amount of certain fats or oils can actually improve its consistency for specific uses, like dipping or drizzling. For example, adding about 1 teaspoon of coconut oil or a neutral vegetable oil per 4-6 ounces of chocolate after it's fully melted can make it more fluid and easier to work with for creating smooth coatings or fine drizzles. The fat incorporates into the melted chocolate, reducing its viscosity without causing it to seize (unlike water).
This technique is particularly useful when you need a very smooth, pourable consistency for applications like chocolate fountains (though microwave melting might not be suitable for large quantities) or coating delicate items. It can also help if your chocolate seems a bit thick after melting. Just be sure to add only a small amount at a time and stir well to see if you've reached the desired consistency. This simple addition after you microwave melt chocolate safely can elevate the finish of your dipped or drizzled treats.
Achieving the Perfect Consistency for Different Baking Applications
The ideal consistency of microwave melted chocolate varies depending on how you plan to use it. For dipping items like strawberries, pretzels, or cookies, you want a relatively thin, free-flowing consistency that coats smoothly without being too thick. Adding a tiny bit of oil as mentioned above can help achieve this. For making ganache, you'll be adding warm cream to the melted chocolate, which will create a rich, thick, and creamy consistency perfect for fillings, glazes, or truffles.
If you're incorporating melted chocolate directly into a batter, like for muffins or cakes, the consistency is less critical as it will be mixed in. However, it should still be smooth and lump-free. For creating chocolate bark or molded chocolates, you need the chocolate to melt smoothly but also set up firmly.
This often involves a process called tempering (which is more complex than simple microwave melting but can sometimes be initiated with careful microwave technique), ensuring the cocoa butter crystals align correctly for a stable, shiny finish. Understanding the desired final consistency helps you adjust your melting process and any additions after you microwave melt chocolate safely.
Safe Handling of Microwave-Melted Chocolate
Avoiding Burns: Handling Hot Chocolate Carefully
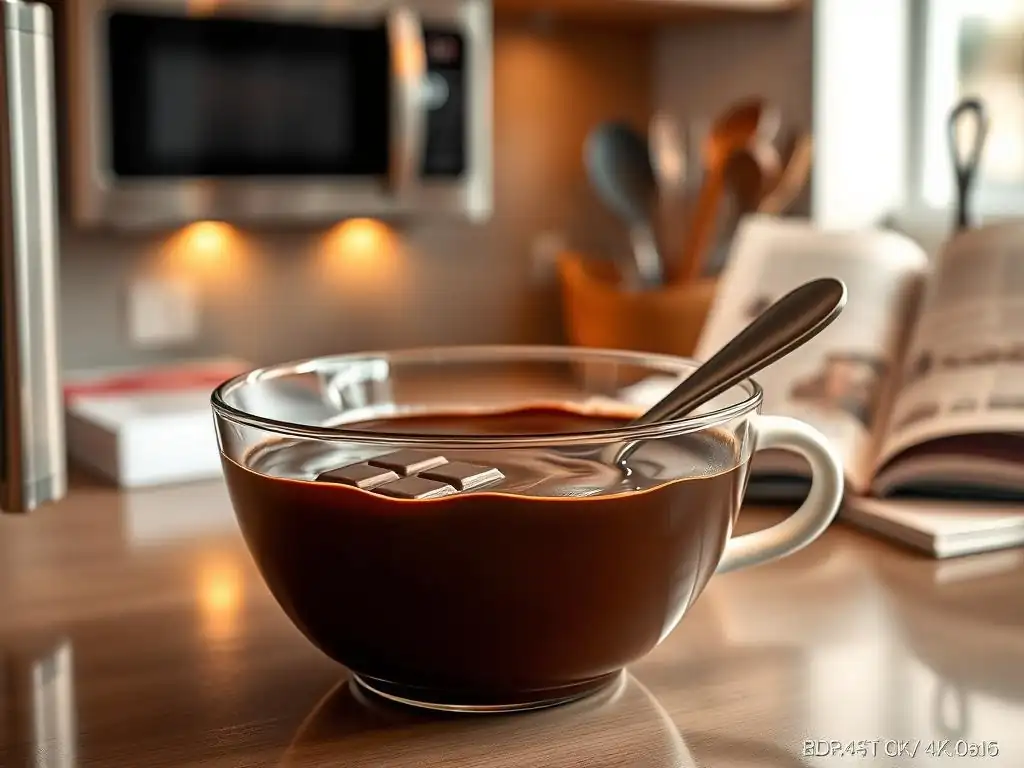
Although chocolate melts at a relatively low temperature compared to boiling water (around 86-115°F or 30-46°C when perfectly melted, depending on type), it is still hot enough to cause a burn. The bowl itself, especially if glass or ceramic, can become quite hot from repeated microwaving. Always use caution when removing the bowl from the microwave and when handling it while stirring.
Consider using oven mitts or pot holders, particularly for the first few intervals when the bowl is heating up. Be mindful of drips and spills, as the melted chocolate can stick to skin and cause burns. If working with children, supervise closely and handle the hot bowl yourself. Taking these simple precautions ensures that your focus remains on your baking project and you can safely enjoy the results of microwave melting chocolate safely.
Proper Cooling Techniques for Melted Chocolate
Once your chocolate is perfectly melted, how you handle its cooling can depend on your application. For immediate use in ganache or batters, it might be incorporated while still warm. For dipping or drizzling, letting it sit for a minute or two after the final stir can sometimes improve its consistency slightly, making it less likely to create streaks. However, for applications requiring a stable, shiny finish that doesn't melt easily at room temperature, like molded chocolates or professional-looking dipped items, the chocolate needs to be tempered.
Tempering involves carefully controlling the temperature of the melted chocolate through heating, cooling, and reheating cycles to stabilize the cocoa butter crystals. While full tempering is a precise process often done over a double boiler or with specialized equipment, getting your chocolate to the correct initial melting point using the microwave is the first step.
For simple home uses like bark or covered fruit that will be refrigerated, cooling in the fridge is sufficient, though it won't produce a true tempered finish. Understanding the role of cooling helps you decide the best next steps after you microwave melt chocolate safely.
Recipes Using Microwave-Melted Chocolate
Chocolate Covered Strawberries
One of the simplest and most delightful uses for microwave-melted chocolate is coating fresh strawberries. The process is quick and yields beautiful, impressive results. After carefully melting your chocolate using the microwave method, simply hold a clean, dry strawberry by its stem and dip it into the warm, smooth chocolate, twirling to coat evenly.
Let the excess chocolate drip back into the bowl before placing the strawberry on a parchment-lined baking sheet. The microwave melt chocolate safely technique provides the perfect consistency for this, allowing for a thin, even coating. Once the strawberries are dipped, a brief chill in the refrigerator helps the chocolate set quickly, transforming simple fruit into an elegant dessert that's perfect for parties or just a sweet treat.
Easy Chocolate Bark
Creating chocolate bark is another fantastic way to utilize microwave-melted chocolate. It's incredibly versatile – you can add almost any toppings you like, such as nuts, dried fruit, pretzels, or sprinkles. Start by melting a generous amount of your preferred chocolate type following the safe microwave method until it's smooth and glossy.
Pour the melted chocolate onto a parchment-lined baking sheet and spread it into a thin, even layer using a spatula. While the chocolate is still wet, sprinkle your chosen toppings generously over the surface. Gently press them in slightly to ensure they adhere. Once the toppings are added, let the bark cool completely at room temperature or in the refrigerator until firm. Then, simply break it into pieces. Microwave melting chocolate safely makes this easy recipe even faster, perfect for a quick homemade gift or snack.
Enjoying Your Perfectly Microwave-Melted Chocolate
Storing Leftover Melted Chocolate
It's not always necessary to melt an exact amount of chocolate for a recipe, and sometimes you might have a bit leftover. Fortunately, leftover melted chocolate can usually be saved and re-used. Allow the leftover chocolate to cool and solidify completely in the bowl you used for melting. Once solid, you can cover the bowl tightly with plastic wrap or transfer the chocolate to an airtight container.
Store the solidified chocolate at cool room temperature, away from direct sunlight or heat, just as you would store unopened chocolate. When you're ready to use it again, you can simply break it into smaller pieces if necessary and re-melt it using the same safe microwave melting techniques described in this guide: short intervals and frequent stirring. This allows you to minimize waste and ensures you always have chocolate ready for your next small baking project after you microwave melt chocolate safely.
Final Thoughts on Microwave Melting Chocolate for Baking Success
Mastering the art of melting chocolate in the microwave safely is a valuable skill for any baker. It's a fast, efficient method that, when done correctly, yields smooth, glossy chocolate perfect for a wide variety of applications, from dipping and drizzling to incorporating into batters and making simple confections like bark. The key takeaways are simple: use a microwave-safe bowl, chop your chocolate finely, microwave in short intervals (preferably at 50% power), and stir, stir, stir between each interval.
By following these quick tips and understanding the potential pitfalls like seizing and overheating, you can confidently microwave melt chocolate safely and achieve fantastic results every time. This technique opens up a world of quick and easy baking possibilities, allowing you to add that delicious chocolatey touch to your treats without the fuss of a double boiler. So go ahead, grab your favorite chocolate, and get ready to create some baking bliss with perfectly microwave-melted chocolate.
Frequently Asked Questions
How long should I microwave chocolate for the first time when melting it?
Start with short intervals of 15-30 seconds at 50% power. Stir well after each interval to prevent burning and ensure even melting. This helps to avoid overheating the chocolate.
What type of bowl is best for melting chocolate in the microwave?
Use a microwave-safe glass or ceramic bowl. Avoid plastic containers, as they can sometimes warp or leach chemicals into the chocolate. A dry bowl is crucial for proper melting.
Why is it important to stir the chocolate frequently when microwaving it?
Stirring redistributes the heat and prevents hot spots that can cause the chocolate to burn or seize. Regular stirring also helps to achieve a smooth and even melt.
What do I do if my chocolate seizes while melting it in the microwave?
Seized chocolate has become grainy and stiff. Sometimes, adding a very small amount of vegetable oil or shortening can help to smooth it out. It's usually best to start over though.
How can I prevent my chocolate from burning in the microwave?
Use low power (50%) and short intervals, stir frequently, and watch the chocolate closely. Overheating is the most common cause of burning, so patience is key to successful melting.
Final Reflection: The Sweet Science of Safe Chocolate Melting
The seemingly simple act of melting chocolate in the microwave holds a surprising amount of power – the power to create delicious treats or, if mishandled, a sticky, seized mess. This article aimed to demystify the process, offering practical tips and techniques to ensure consistently smooth, melt-in-your-mouth results every time. The ability to safely and effectively melt chocolate at home opens up a world of culinary possibilities, from decadent brownies to elegant ganaches.
The ease and convenience of microwave melting have undeniably changed how many home cooks approach chocolate. It's no longer a daunting task reserved for professional pastry chefs. The accessibility of this method has democratized chocolate-making, empowering individuals to experiment and create in their own kitchens. The best things in life are simple,
a sentiment often overlooked when facing a seemingly complex task like melting chocolate. This simple act, mastered, unlocks a world of creative potential.
Now, consider your own chocolate-melting experiences. Have you ever faced a seized chocolate disaster? Remember the frustration? This article provided you with the knowledge to avoid that frustration in the future. Take this newfound knowledge and apply it – experiment with different types of chocolate, try new recipes, and most importantly, enjoy the sweet rewards of your efforts. The journey of mastering chocolate melting is a delicious one, filled with learning, experimentation, and ultimately, the satisfaction of creating something beautiful and delicious.
Unlock Your Inner Chocolatier: Master Microwave Melting!
Thanks for taking the time to learn about safely melting chocolate in the microwave with BakeWithEase! You're now equipped to avoid those dreaded chocolate seizing disasters. Ready to put your newfound knowledge to the test?
- Dive right in and melt some chocolate! Experiment with different types of chocolate and recipes. Note your results, and share your triumphs (and even your mishaps!) with us in the comments.
- Try a new recipe that uses melted chocolate – the possibilities are endless! Think brownies, truffles, or even a delicious hot chocolate.
- Share this handy guide with fellow baking enthusiasts – let's spread the chocolatey love!
What's your favorite way to use perfectly melted chocolate? Let's hear it!