
Your GoTo Recipe for Vegan Pizza Dough

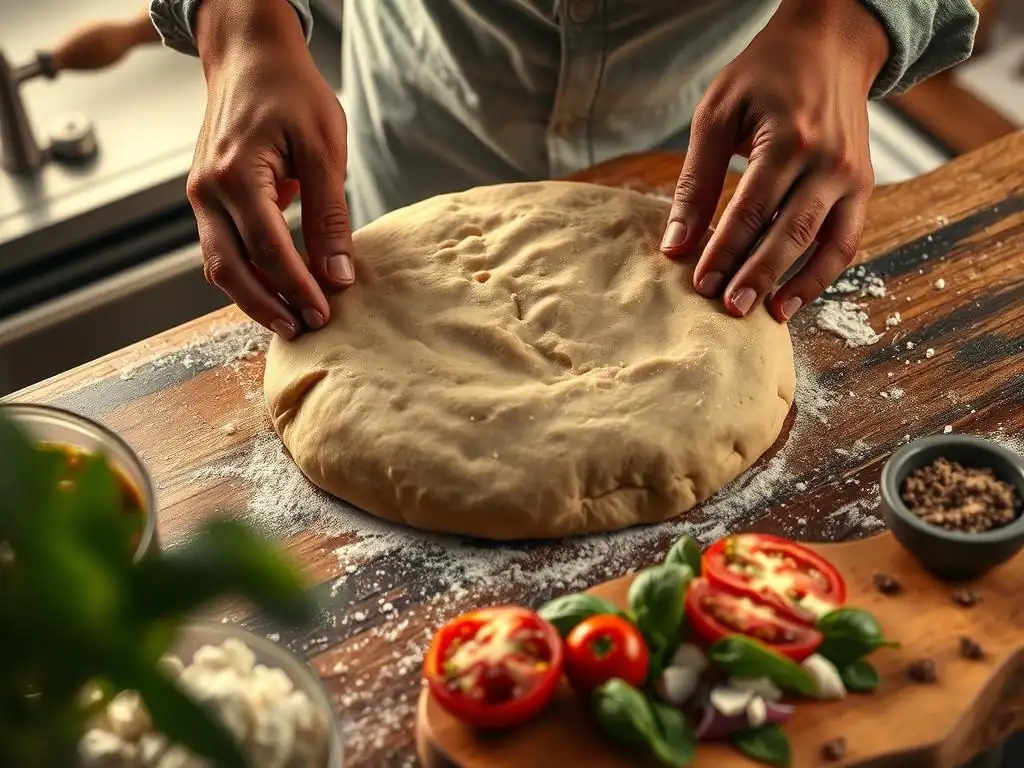
Welcome to BakeWithEase, your guide to the delightful world of baking! Are you ready to unlock the secrets to a perfectly chewy and flavorful Vegan Pizza Dough? Whether you're a seasoned baker or just starting your journey, discover how to create restaurant-quality pizza at home with our easy-to-follow recipe. What makes our dough so special? Let's dive in and explore!
- Introduction to Authentic Neapolitan Pizza Dough (Vegan)
- Why Choose This Recipe?
- The Authentic Neapolitan Pizza Dough Recipe (Vegan): Step-by-Step Guide
- Baking Your Neapolitan Pizza
- Tips and Tricks for Neapolitan Pizza Success
- Neapolitan Pizza Dough Recipe (Vegan): Printable Version
- Enjoy Your Homemade Neapolitan Pizza!
-
Frequently Asked Questions
- What makes this pizza dough recipe "vegan"?
- Can I substitute any of the ingredients in this vegan pizza dough recipe?
- How long does it take for the vegan pizza dough to rise?
- What's the best way to store leftover vegan pizza dough?
- What are some topping suggestions for a vegan pizza made with this dough?
- Final Reflection: The Humble Crust, a Gateway to Vegan Delight
- Unleash Your Inner Pizzaiolo: Craft the Perfect Vegan Pie!
Introduction to Authentic Neapolitan Pizza Dough (Vegan)
Crafting the perfect pizza at home is a rewarding experience, and it all starts with exceptional dough. While traditional Neapolitan pizza dough relies on just a few simple ingredients, adapting it for a vegan lifestyle is surprisingly straightforward. This guide will walk you through creating a plant-based version of this classic dough, focusing on achieving the signature light, airy, and slightly chewy crust characteristic of the pizzas baked in the pizzerias of Naples.
Understanding the principles behind Neapolitan dough – the minimal ingredients, long fermentation, and high-heat baking – is key to success. Our vegan pizza dough recipe maintains the integrity of the original while ensuring it's completely free of animal products. You'll learn how simple flour, water, yeast, and salt can transform into a base that rivals your favorite pizzeria, ready to be topped with your favorite vegan ingredients.
Why Choose This Recipe?
This specific vegan pizza dough recipe stands out for several reasons, making it an excellent choice whether you're a seasoned baker or trying your hand at pizza dough for the first time. It prioritizes simplicity and technique over a long list of ingredients, proving that incredible flavor doesn't require complexity.
The method outlined here is designed to be approachable yet yield professional-quality results. By following these steps, you'll not only produce a delicious pizza base but also gain a deeper understanding of the dough-making process, from hydration levels to the magic of cold fermentation, all within the context of a superb vegan pizza dough recipe.
Minimal Ingredients for Maximum Flavor
One of the hallmarks of authentic Neapolitan pizza is its reliance on just four core ingredients: flour, water, yeast, and salt. Our vegan pizza dough recipe adheres strictly to this tradition. This minimalist approach highlights the quality of each component and allows the natural flavors developed during fermentation to shine through.
Using only a few simple items means there's less to measure, less to potentially go wrong, and the focus remains squarely on technique and time. This simplicity is key to achieving that pure, unadulterated pizza flavor that forms the perfect canvas for any toppings.
Relatively Quick Preparation
While this vegan pizza dough recipe involves a significant amount of fermentation time (which is crucial for flavor and texture), the active hands-on preparation time is surprisingly short. From mixing the ingredients to forming the dough and preparing it for its long rest, you're looking at perhaps 20-30 minutes of active work spread across a couple of stages.
The majority of the time is spent waiting while the dough develops flavor and structure in the refrigerator during the cold fermentation phase. This makes it an ideal recipe for planning ahead – mix the dough one or two days before pizza night, and the bulk of the work is already done, leaving you with perfectly aged dough ready to stretch and bake.
Achieving the Signature Airy and Slightly Charred Crust
The characteristic crust of a Neapolitan pizza is light, airy, and features distinctive "leopard spots" or char marks. This vegan pizza dough recipe is specifically designed to help you achieve this. The high hydration level (the ratio of water to flour) and the long, slow cold fermentation contribute significantly to the dough's structure, creating large air pockets that expand rapidly in a hot oven.
When baked at high temperatures (typically above 450°F or 230°C), these air pockets puff up dramatically, resulting in a light interior and a beautifully blistered exterior. The combination of the dough's composition, the high heat, and the short baking time is what produces that sought-after balance of crispness and chewiness, complete with those coveted char marks.
The Authentic Neapolitan Pizza Dough Recipe (Vegan): Step-by-Step Guide
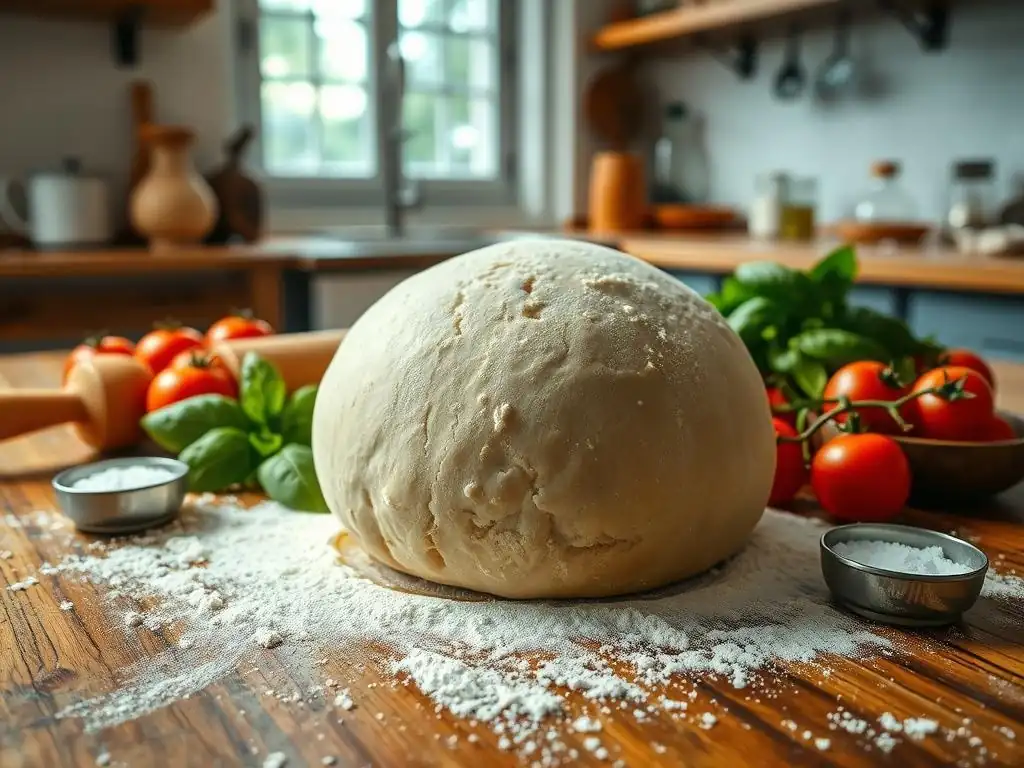
Creating this vegan pizza dough recipe involves a few key stages, each contributing to the final texture and flavor. Precision in measurements and patience during fermentation are your best allies.
Follow these steps carefully, and you'll be well on your way to baking delicious, authentic-style vegan pizzas at home. Remember that baking is also about feel – pay attention to how the dough feels at each stage.
Ingredients You'll Need
For this vegan pizza dough recipe, simplicity is key. You'll need just four fundamental ingredients, but the type and quality of each are important for achieving the best results.
Using accurate measurements, preferably by weight using a kitchen scale, is highly recommended for consistency in baking. This is especially true for the flour and water ratio, which dictates the dough's hydration.
Flour Selection: 00 Flour is Key
The traditional choice for Neapolitan pizza dough is Italian "Tipo 00" flour. This flour is finely milled and has a moderate protein content (typically around 10-12.5%), which is ideal for creating a dough that is strong enough to stretch thin without tearing but also tender and airy when baked. Look for brands specifically marketed for pizza or pasta.
While you can use all-purpose flour, it won't yield the exact same results as authentic 00 flour. If using all-purpose, the dough might be slightly less extensible, and the crust texture could be denser. For the best outcome with this vegan pizza dough recipe, sourcing 00 flour is highly recommended.
Yeast: Fresh or Active Dry
You can use either fresh or active dry yeast for this vegan pizza dough recipe. If using fresh yeast, you'll typically need about twice the weight of active dry yeast. For example, if the recipe calls for 2-3 grams of active dry yeast, you'd use 4-6 grams of fresh yeast.
Ensure your yeast is fresh and active. If using active dry yeast, it's a good practice to proof it first in a small amount of the recipe's water with a pinch of sugar (though sugar isn't strictly necessary for activation, just a visual cue). Fresh yeast can usually be added directly to the water.
Water: Cold is Crucial
Using cold water for this vegan pizza dough recipe is essential, especially when planning a long cold fermentation. Cold water helps to slow down the initial yeast activity, preventing the dough from over-proofing too quickly before it goes into the refrigerator.
The temperature of the water impacts the dough temperature, which in turn affects the fermentation rate. Aim for water that is refrigerator-cold, ideally around 40-45°F (4-7°C). This helps control the fermentation and allows for the development of complex flavors over the long cold rise.
Salt: Fine Sea Salt Recommended
Salt is crucial for flavor, controlling yeast activity, and strengthening the gluten structure in the dough. Use fine sea salt or a non-iodized fine salt. Avoid using coarse salts unless you dissolve them thoroughly in the water first, as undissolved salt crystals can damage the gluten network.
The amount of salt used in pizza dough typically ranges from 2% to 3% of the flour weight. For example, if using 500 grams of flour, you'd use 10-15 grams of salt. This might seem like a significant amount, but it's necessary for flavor and dough development.
Step 1: Dissolving the Yeast
Begin by measuring out your cold water into a large mixing bowl. If using active dry yeast, sprinkle it over the surface of the water. Let it sit for 5-10 minutes until it looks foamy or dissolved – this confirms the yeast is active. If using fresh yeast, crumble it directly into the water and stir gently with your fingers until mostly dissolved.
Ensure the water is cold, as discussed earlier. This step is primarily about waking up the yeast (if using active dry) and dispersing it evenly through the liquid before adding the flour. The goal is to have the yeast ready to start working as soon as it comes into contact with the flour.
Step 2: Combining Water and Flour
Once the yeast is dissolved or proofed, add about 90% of your measured 00 flour to the water in the bowl. Mix with your hands or a wooden spoon until a rough, shaggy dough forms and all the flour is hydrated. It will look wet and messy at this stage.
This initial mixing step, sometimes called the "autolyse" (though traditionally without the yeast, the principle of hydrating the flour is similar), allows the flour to absorb the water fully and the gluten development to begin without the interference of salt. This makes the subsequent kneading or mixing much easier and more efficient.
Step 3: Adding Salt and Forming the Dough
After the initial rough mix, add the measured salt over the shaggy dough. Begin to mix and knead the dough in the bowl or turn it out onto a clean, lightly floured surface. Knead for about 10-15 minutes by hand, or 5-7 minutes in a stand mixer with a dough hook on low speed.
Gradually add the remaining 10% of the flour as needed if the dough is too sticky, but be careful not to add too much. The goal is to develop gluten, turning the shaggy mass into a relatively smooth, elastic dough that is still quite soft and slightly tacky. It should pass the "windowpane test" – you should be able to stretch a small piece thin enough to see light through it without it tearing.
Step 4: Bulk Fermentation: The Long Cold Rise
Shape the dough into a ball and place it in a clean bowl lightly oiled with olive oil. Cover the bowl tightly with plastic wrap to prevent a skin from forming. Place the bowl in the refrigerator for a long, slow fermentation. This cold fermentation should last at least 24 hours, but ideally 48 to 72 hours.
The low temperature significantly slows down the yeast activity, allowing enzymes in the flour to break down complex carbohydrates into simpler sugars. This process dramatically improves the flavor and aroma of the dough, making it more complex and nuanced. It also strengthens the gluten structure slowly, resulting in a dough that is easier to handle and stretch, and produces a better crust texture.
Step 5: Dividing and Balling the Dough
After the cold fermentation, remove the dough from the refrigerator. It will have increased in size significantly. Gently turn the dough out onto a lightly floured surface. Using a dough scraper or knife, divide the dough into equal portions. For classic Neapolitan-sized pizzas (roughly 10-12 inches), dough balls typically weigh between 200 and 250 grams (about 7-9 ounces).
Shape each portion into a smooth, tight ball. The goal is to create surface tension. You can do this by gently folding the edges underneath the dough ball or by using the surface tension of your work surface to round the dough under your cupped hand. Avoid degassing the dough too much during this process; be firm but gentle.
Step 6: Proofing the Dough Balls
Arrange the shaped dough balls on a lightly floured surface or in individual proofing containers or trays. Ensure there is adequate space between them as they will expand. Cover the dough balls loosely with plastic wrap or a damp cloth to prevent them from drying out.
Allow the dough balls to proof at room temperature for 2-4 hours before baking. This final proofing allows the dough balls to relax, become airy, and reach their optimal state for stretching and baking. The exact time will depend on the room temperature; they should look puffy and airy but not overly expanded or deflated.
Step 7: Stretching and Shaping the Dough
When you are ready to bake, take one dough ball and place it on a lightly floured surface (use semolina flour if you have it, as it helps prevent sticking and adds a nice texture). Gently press down on the center of the dough ball with your fingertips, leaving a small rim untouched around the edge – this will become the crust.
Work outwards from the center, gently pressing and stretching the dough into a circle, maintaining the puffy edge. Avoid using a rolling pin, as this deflates the air bubbles that create the airy crust. Gravity is your friend here; you can lift the dough and let the weight of it stretch it out, rotating as you go.
Achieving a Thin Center and Puffy Crust
The key to the Neapolitan style is the contrast between the very thin center and the airy, puffy crust (cornicione). As you stretch, focus on pushing the air from the center towards the edges. The untouched rim you initially created should puff up as you work the center thinner.
Aim for a center that is almost translucent, allowing the sauce and toppings to cook quickly without making the base soggy. The edge should remain thicker, about 1-2 centimeters (0.5-0.8 inches), ready to expand dramatically in the heat of the oven.
Working Quickly to Prevent Tearing
As you stretch the dough, work relatively quickly but gently. Overworking or forcing the dough can cause it to tear, especially if it's not sufficiently relaxed from proofing. If the dough springs back too much, let it rest for a few minutes before continuing to stretch.
Practice makes perfect with stretching. Don't be discouraged if your first few attempts aren't perfectly round or if you get a small tear. Minor imperfections won't significantly impact the flavor or enjoyment of your homemade pizza.
Baking Your Neapolitan Pizza
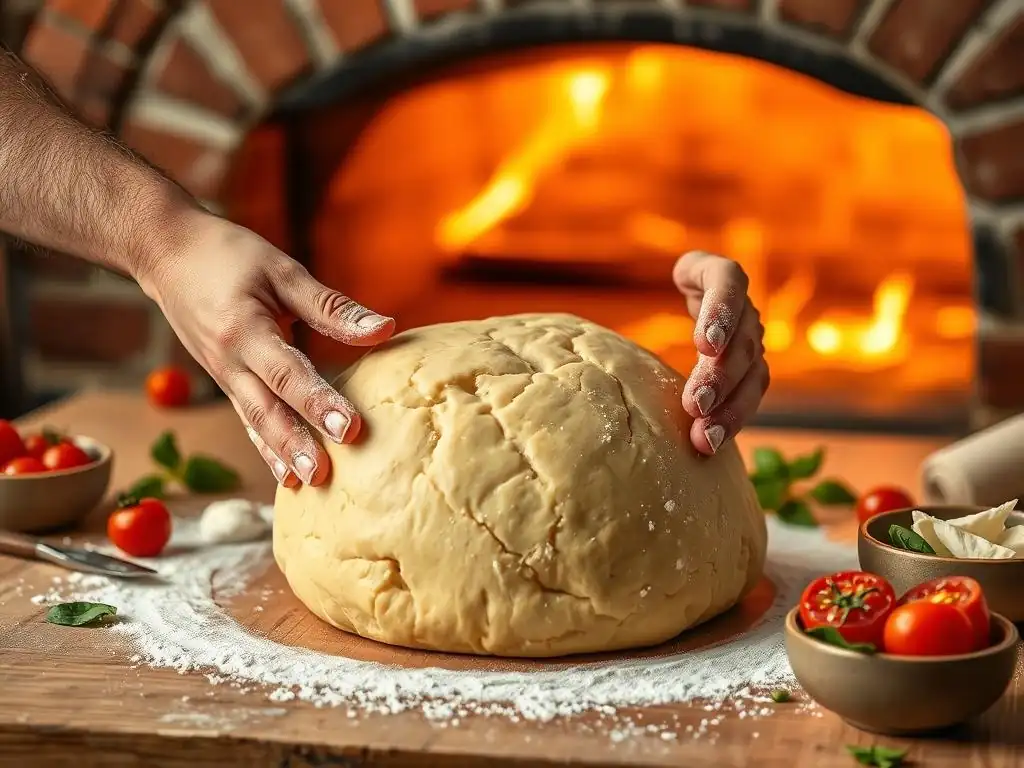
Baking Neapolitan pizza is a rapid, high-heat process. The goal is to cook the pizza in a very short amount of time (often 60-90 seconds in a wood-fired oven) to achieve a crispy crust, cooked toppings, and melted vegan cheese without drying out the dough. While home ovens can't typically reach the 900°F+ (480°C+) temperatures of a true Neapolitan oven, you can still get excellent results by maximizing your oven's heat.
Preparation is key before you even think about putting the pizza in the oven. Have your stretched dough ready, your toppings prepared, and your baking surface (stone or steel) preheated to the maximum possible temperature.
Oven Temperature and Baking Time: High Heat is Essential
Preheat your oven to the highest possible temperature it can reach, typically 500-550°F (260-290°C). Allow the oven, and your pizza stone or steel, to preheat for at least 60 minutes, or even longer, to ensure it is thoroughly saturated with heat. This intense heat is what mimics the environment of a professional pizza oven, causing the dough to cook extremely quickly and puff up beautifully.
Once the pizza is topped and ready to go, slide it onto the preheated stone or steel. The baking time will be very short, usually between 4 and 8 minutes in a home oven, depending on the exact temperature and thickness of your crust and toppings. Watch it closely!
Using a Pizza Stone or Steel
A pizza stone or steel is crucial for achieving a crispy crust in a home oven. These surfaces absorb and retain heat very efficiently, providing a burst of intense heat to the bottom of the pizza dough as soon as it's placed on them. This rapid heat transfer cooks the base quickly, preventing sogginess.
A pizza steel generally heats up faster and retains heat better than a stone, often leading to a crispier base and more pronounced oven spring (how much the crust puffs up). Place your stone or steel on the top rack of your oven, close to the heating element (if your oven has a top broiler you can use for the final moments).
Adding Toppings Sparingly
Traditional Neapolitan pizza is known for its minimal toppings. Using too many toppings, or wet toppings, can weigh down the dough, prevent it from cooking properly, and result in a soggy base. For a classic approach, use a thin layer of vegan tomato sauce (crushed San Marzano tomatoes are traditional), a small amount of vegan mozzarella or other plant-based cheese, and a few fresh basil leaves.
If using vegetables, consider pre-cooking those that release a lot of water (like mushrooms or zucchini) or slicing them very thinly. The goal is to let the incredible vegan pizza dough recipe shine through, not to bury it under a mountain of toppings.
Achieving Leopard Spotting (Char)
Those desirable dark spots on the crust, known as "leopard spotting" or "char," are a sign of high-temperature baking and a well-fermented dough. They add a slightly bitter, complex flavor that is characteristic of Neapolitan pizza. To encourage charring in a home oven, ensure your oven and stone/steel are fully preheated to the maximum temperature.
Some home ovens have a broiler element at the top. If yours does, you can carefully move the pizza to the top rack directly under the broiler for the last 30-60 seconds of baking. Watch it very closely during this time, as it can go from perfectly spotted to burnt in seconds. The intense heat from the broiler will help finish the top of the crust and encourage those dark spots.
Tips and Tricks for Neapolitan Pizza Success
Mastering Neapolitan-style pizza, even with a vegan pizza dough recipe, takes practice. Here are some tips and tricks to help you troubleshoot common issues and elevate your pizza game.
Understanding the role of time, temperature, and ingredient quality will significantly impact your results. Don't be afraid to experiment slightly once you have a feel for the dough.
Troubleshooting Common Dough Problems
Even with a great vegan pizza dough recipe, things can sometimes go awry. Knowing how to identify and fix common issues will save you frustration and lead to better pizzas.
Most problems relate to hydration, gluten development, or fermentation control. Paying close attention during the mixing and initial fermentation stages is crucial.
Dough Too Wet?
If your dough feels excessively sticky and difficult to handle after the initial mixing and kneading, you might have added too much water or not enough flour, or your flour might have a lower absorption rate than expected. Resist the urge to add large amounts of flour immediately.
Try adding just a tablespoon or two of flour at a time while continuing to knead, until the dough reaches a slightly tacky but manageable consistency. Remember that this dough is designed to be high hydration, so it will be stickier than a standard bread dough. Ensure your hands and work surface are lightly floured as well.
Dough Not Elastic Enough?
If your dough tears easily when stretching or springs back significantly, it likely hasn't developed enough gluten or hasn't proofed/relaxed sufficiently. Ensure you kneaded the dough for the recommended time to build a strong gluten network.
If the dough is springing back during stretching, cover it and let it rest for 10-15 minutes before trying again. This allows the gluten to relax. Ensure your cold fermentation and room temperature proofing times were adequate; proper fermentation also contributes to dough extensibility.
Preventing a Soggy Crust
A soggy crust is often the result of insufficient oven temperature, not preheating the stone/steel properly, using too many or too wet toppings, or not stretching the center of the dough thin enough.
Ensure your oven is preheated to its maximum temperature for at least an hour with the stone/steel inside. Be judicious with your toppings, keeping them minimal and not overly wet. Stretch the center of the dough very thin so it cooks through quickly on the hot stone.
Make Ahead Dough
This vegan pizza dough recipe is perfect for making ahead! The long cold fermentation is not just convenient; it's essential for developing the deep flavor and optimal texture of the dough.
You can confidently make this dough 24-72 hours in advance of when you plan to bake. Simply follow the steps through bulk fermentation (Step 4) and keep the dough in the refrigerator. When you're ready, proceed with dividing, balling, and proofing at room temperature (Steps 5 and 6).
Cold Fermentation Benefits
Cold fermentation, storing the dough in the refrigerator for an extended period, offers significant advantages for this vegan pizza dough recipe. As mentioned, it dramatically improves flavor by allowing enzymes to break down starches into sugars, resulting in a more complex taste and better browning during baking.
Furthermore, the slow fermentation process strengthens the gluten network more gradually and evenly than a quick warm rise. This results in a dough that is more extensible (easier to stretch without tearing) and produces a lighter, airier crust with larger, irregular air pockets. It's a fundamental technique for achieving authentic Neapolitan texture.
Variations (While Staying True to Neapolitan Style)
While the core of this vegan pizza dough recipe should remain true to the Neapolitan principles, there is some limited room for variation once you understand the basics. These adjustments should be minor to stay within the spirit of the style.
True Neapolitan pizza has strict guidelines, but for home baking, slight modifications can be made based on your oven, ingredients, and preferences, particularly regarding hydration and flour types.
Adjusting Hydration
The hydration level (water as a percentage of flour weight) in this vegan pizza dough recipe is likely around 60-65%, typical for Neapolitan dough. You could slightly adjust this percentage based on the specific flour you are using (different flours absorb water differently) or your personal preference.
Increasing hydration slightly (e.g., to 68-70%) can result in a more open, airy crumb structure but will make the dough stickier and harder to handle, requiring more practice. Decreasing it slightly might make the dough easier to manage but could result in a denser crust. Experiment in small increments (1-2% of flour weight in water).
Using Different Types of 00 Flour
While "00 flour" is the general term, different brands and types exist, designed for varying fermentation times. A "Tipo 00" flour labeled for long fermentation (often called "pizza classica" or similar) is ideal for the 24-72 hour cold rise in this vegan pizza dough recipe.
Using a "Tipo 00" flour intended for short fermentation might result in the dough over-proofing if left in the fridge for too long. Pay attention to the flour packaging recommendations if available.
Experimenting with Fermentation Times
The 24-72 hour cold fermentation range provides a good balance of flavor development and dough structure. You could experiment with slightly longer times (up to 96 hours) if using a very strong flour designed for extended fermentation, which can lead to even deeper flavors.
Conversely, if you're short on time, you could potentially reduce the cold fermentation to 12-18 hours, followed by a slightly longer room temperature proofing (maybe 3-5 hours). However, this will compromise some of the flavor complexity gained from the longer cold rise. Always ensure the dough balls are properly proofed at room temperature before baking, regardless of the cold fermentation length.
Neapolitan Pizza Dough Recipe (Vegan): Printable Version
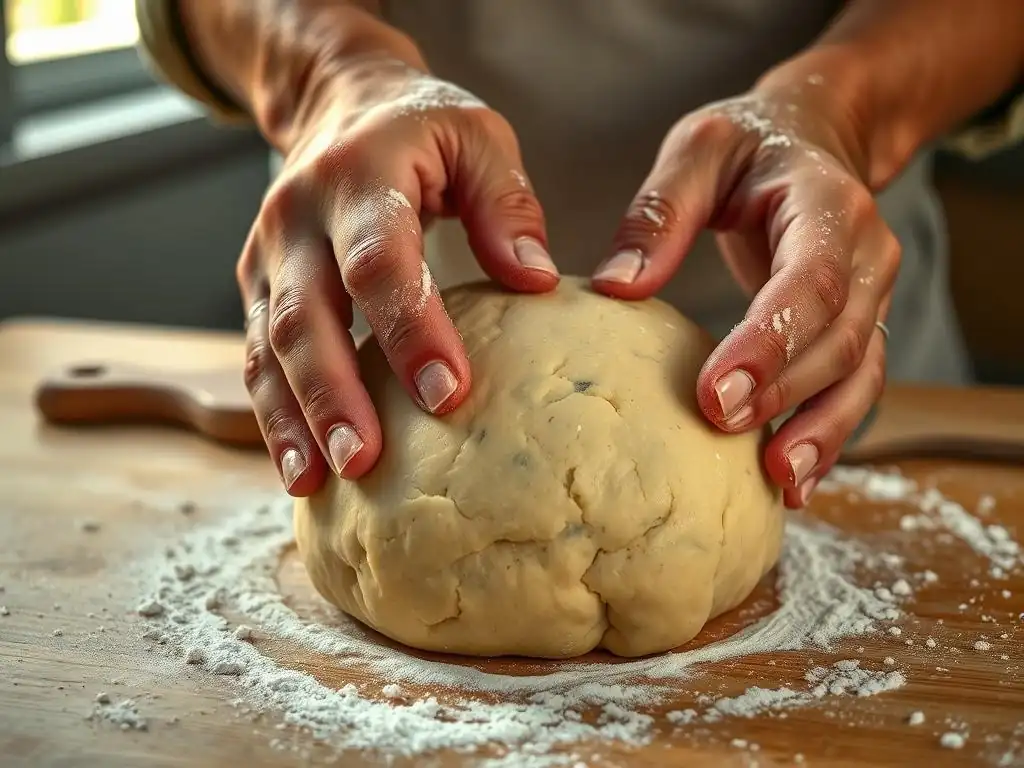
For your convenience, a printable version of this vegan pizza dough recipe would typically be provided here. This format allows you to easily follow the ingredient list and step-by-step instructions while you are baking, without needing to refer back to a screen.
Look for a summary box containing the full list of ingredients with measurements and a concise outline of the instructions, perfect for keeping handy in your kitchen.
Enjoy Your Homemade Neapolitan Pizza!
Congratulations! You've successfully made a delicious vegan pizza dough recipe in the classic Neapolitan style. The journey from simple ingredients to a perfectly proofed dough is rewarding, and the final step – baking and enjoying your creation – is the best part.
Gather your favorite vegan toppings, heat up your oven, and get ready to experience the magic of homemade pizza with a light, airy, and flavorful crust. Share it with friends and family, or savor it all yourself. Enjoy the fruits of your baking efforts!
Frequently Asked Questions
What makes this pizza dough recipe "vegan"?
This recipe is vegan because it uses no animal products. It relies on plant-based ingredients like flour, water, yeast, olive oil, and salt for a delicious and authentic taste.
Can I substitute any of the ingredients in this vegan pizza dough recipe?
While we recommend sticking to the recipe for best results, you can experiment! For example, you might try different types of flour, but be aware that the hydration levels may need adjusting.
How long does it take for the vegan pizza dough to rise?
The dough usually needs to rise for at least 1-2 hours, or until it has doubled in size. Rising time can vary depending on the room temperature and the activity of your yeast.
What's the best way to store leftover vegan pizza dough?
Wrap the dough tightly in plastic wrap or place it in an airtight container in the refrigerator for up to 3 days. You can also freeze the dough for longer storage.
What are some topping suggestions for a vegan pizza made with this dough?
The possibilities are endless! Try a classic marinara sauce with vegan mozzarella, or get creative with roasted vegetables, olives, artichoke hearts, and a drizzle of balsamic glaze.
Final Reflection: The Humble Crust, a Gateway to Vegan Delight
The quest for the perfect vegan pizza dough is far more than a culinary pursuit; it's a testament to the power of plant-based innovation and the ever-growing demand for delicious, inclusive food. This recipe, shared with you today, represents a culmination of experimentation and a desire to make accessible a cornerstone of comfort food to a wider audience. It's a recipe designed not just to be followed, but to be adapted, experimented with, and ultimately, enjoyed.
The journey to create this vegan pizza dough recipe has been a personal one, reflecting the broader shift in culinary landscapes towards plant-based options. It's a journey that highlights the creativity and resourcefulness inherent in vegan cooking, proving that deliciousness doesn't require animal products. The best things in life are simple,
a phrase often used, rings especially true when considering the humble pizza. This recipe aims to make that simplicity accessible and enjoyable for everyone.
Now, I invite you to take this recipe and make it your own. Experiment with different flours, herbs, and toppings. Don't be afraid to fail; the process of creation is as important as the final product. More importantly, share your creations, your adaptations, and your experiences. Let this recipe be a springboard for your own culinary adventures, a testament to the joy of cooking, and a delicious contribution to a more sustainable and compassionate food future.
Unleash Your Inner Pizzaiolo: Craft the Perfect Vegan Pie!
Thanks for joining us on this delicious journey into the world of vegan pizza dough! We hope you've gained the confidence to create truly amazing, plant-based pizzas at home. Ready to take your newfound skills to the next level?
- Bake your dream vegan pizza tonight! Use our recipe as a starting point, experiment with your favorite toppings, and let your culinary creativity shine. This is your chance to perfect your crust and impress your friends and family.
- Share your pizza creations! Post a picture on social media and tag us – we'd love to see your delicious results and maybe even feature your masterpiece!
- Dive deeper into vegan baking: Explore our other incredible vegan recipes on BakeWithEase.com (replace with actual domain name if different). Discover a whole new world of plant-based possibilities!
What unique topping combination will you try first on your homemade vegan pizza? Let us know in the comments below!