
Bake Ahead: Storing and Freezing Your Homemade Rolls

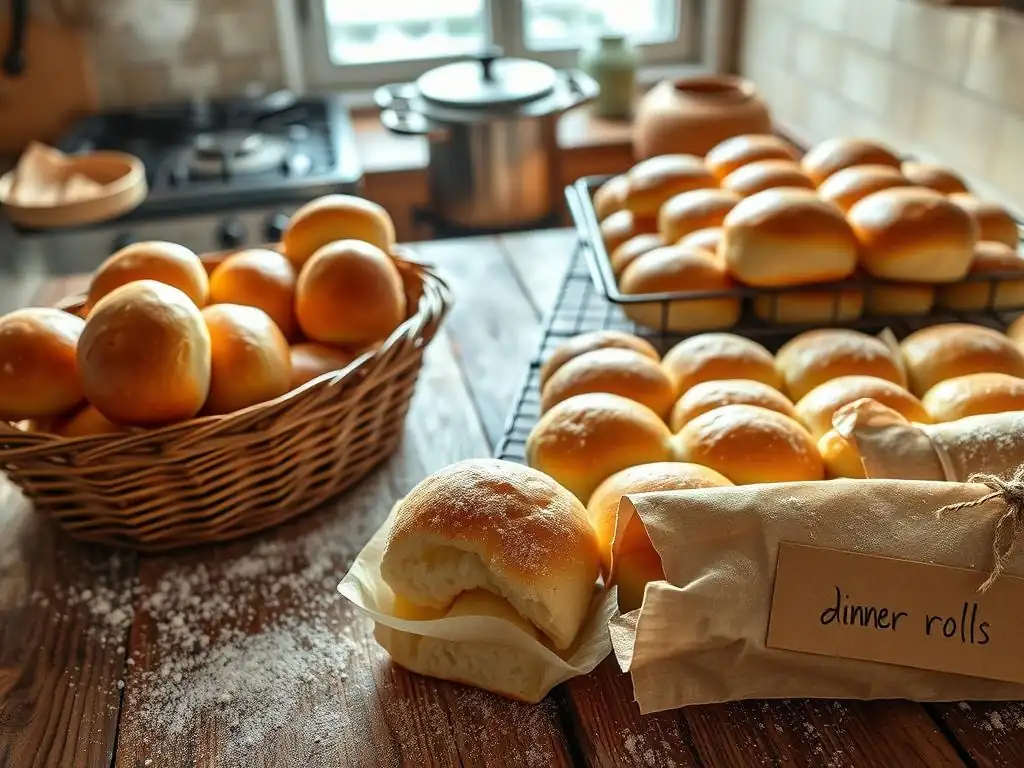
Welcome to BakeWithEase, your kitchen companion for all things baking!
Ever dreamt of perfectly soft, warm rolls gracing your table without the last-minute stress? Discover the secrets to effortless entertaining with our guide to freezing homemade rolls recipes. Unlock the freedom to bake ahead, ensuring delicious, freshly-baked goodness is always within reach. Are you ready to simplify your baking life and elevate your bread game? Let's get started!
- Bake Ahead: Storing and Freezing Your Homemade Rolls for Ultimate Convenience
- BakeWithEase' Guide to Freezing and Storing Homemade Rolls
- Why Freeze Your Homemade Rolls? Benefits of Baking Ahead
- The Best Homemade Roll Recipes for Freezing
- Preparing Your Homemade Rolls for Freezing: Step-by-Step
- Freezing Homemade Rolls: A Detailed Guide
- Thawing Frozen Homemade Rolls: Maintaining Texture and Flavor
- Baking Frozen Rolls: Tips for a Perfect Finish
- Storing Baked Homemade Rolls: Keeping Them Fresh Longer
- Troubleshooting Common Freezing and Storing Issues
- Serving Suggestions: Enjoying Your Frozen Homemade Rolls
- Frequently Asked Questions
- Final Reflection: The Enduring Magic of Homemade, Frozen Rolls
- Unleash Your Inner Baker: Mastering Roll Storage!
Bake Ahead: Storing and Freezing Your Homemade Rolls for Ultimate Convenience
BakeWithEase' Guide to Freezing and Storing Homemade Rolls
Baking homemade rolls is a rewarding experience, filling your kitchen with wonderful aromas and providing delicious, warm bread for your table. However, sometimes you bake a large batch, or you want to prepare ahead for a special occasion or busy week. That's where the magic of storing and freezing comes in. Mastering the techniques for freezing homemade rolls recipes allows you to enjoy that fresh-baked goodness anytime, without the daily effort. This guide from BakeWithEase will walk you through everything you need to know, from preparing your rolls for the freezer to thawing and reheating them perfectly.
Whether you're a seasoned baker or just starting out, understanding how to properly store and freeze your creations is a valuable skill. It helps you manage your baking time, reduce waste, and ensures you always have delicious, ready-to-eat rolls on hand. We'll cover different types of rolls, the best methods for packaging, and tips for achieving that just-baked taste and texture, even after your rolls have spent time in the deep freeze. Let's dive into the world of making your favorite freezing homemade rolls recipes work for you!
Why Freeze Your Homemade Rolls? Benefits of Baking Ahead
Freezing homemade rolls offers incredible flexibility and convenience for any home baker. It transforms baking from a single-event task into a strategic way to always have delicious bread available. The benefits extend beyond mere convenience, touching on efficiency, freshness, and even reducing food waste.
Embracing the practice of freezing homemade rolls recipes means you can bake when you have the time and enjoy the results when you don't. Imagine pulling warm, soft rolls from your oven on a busy weeknight or having them ready for an impromptu gathering. It's a simple technique that pays dividends in time saved and stress reduced, making homemade baking more accessible and enjoyable for everyone.
Saving Time with Frozen Dough: A Baker's Secret
Preparing roll dough takes time – mixing, kneading, rising, shaping. By making a large batch of dough and freezing portions, you significantly cut down on prep work during the week. For instance, a standard batch of dinner roll dough might take 2-3 hours from start to finish, including proofing.
If you double or triple that batch and freeze portions of the shaped dough (before the final rise), you can simply pull out what you need, let it thaw and rise, and bake. This can reduce your active time on baking day to just 30-40 minutes for shaping, proofing, and baking.
Many bakers find freezing dough before the final rise is the most time-efficient method for future baking. You can freeze individual shaped rolls on a baking sheet until solid (about 1-2 hours), then transfer them to a freezer bag. When ready to bake, place the frozen rolls on a baking sheet, cover loosely, and let them thaw and double in size at room temperature (this can take 3-5 hours depending on the room temperature). Then, bake as usual. This method saves you all the initial mixing and kneading steps on the day you want fresh rolls.
Always Fresh Rolls: Freezer to Table Convenience
One of the greatest advantages of freezing homemade rolls recipes is having fresh-baked goods available on demand. Unlike store-bought frozen rolls, your homemade versions contain no preservatives and offer superior flavor and texture. When properly stored and reheated, they can taste remarkably close to freshly baked.
Consider a scenario where you need rolls for dinner but don't have time to bake from scratch. If you have a stash of frozen, pre-baked rolls, you can simply pull out the desired number and reheat them in a warm oven for 5-10 minutes. This provides warm, soft rolls ready to serve almost instantly, offering a level of freshness and convenience that's hard to beat with any other method besides baking them the moment they are needed. It's a true "freezer to table" luxury.
Reducing Waste: Freezing Leftover Rolls
It's easy to bake too many rolls for a single meal or event. Instead of letting delicious leftovers go stale, freezing them is an excellent way to preserve their quality and prevent food waste. Baked rolls, when frozen correctly, can maintain good quality for up to 3-4 months.
If you find yourself with extra rolls after a dinner party, simply let them cool completely, wrap them well, and pop them in the freezer. This simple step ensures that those perfectly baked rolls don't end up in the trash. You can then pull them out one by one or in small batches as needed for lunches, snacks, or future meals, giving them a second life and maximizing the value of your baking efforts.
The Best Homemade Roll Recipes for Freezing
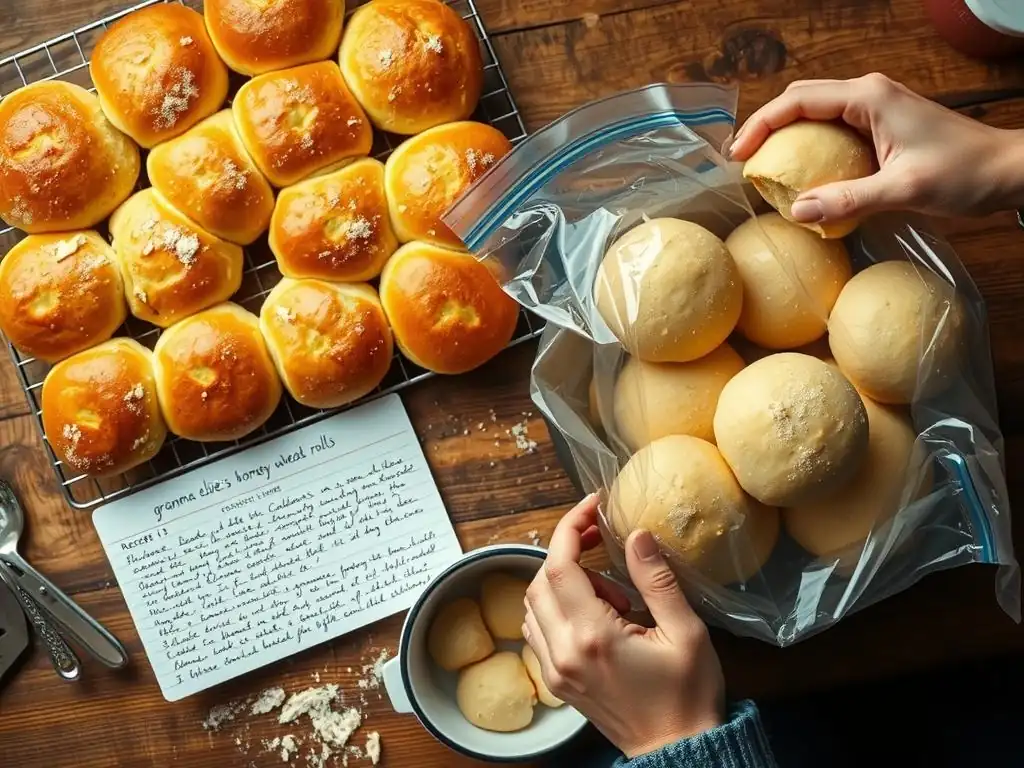
Not all roll recipes freeze equally well, but many popular types are excellent candidates for freezing, either as dough or after baking. Understanding which types perform best can help you choose the right freezing homemade rolls recipes for your make-ahead needs.
Generally, recipes with a moderate amount of fat (like butter or oil) tend to freeze better than very lean doughs. The fat helps keep the dough or baked roll tender during freezing and thawing. Enrichment from eggs and milk also contributes to a moister, more freezer-friendly product.
Yeast Rolls That Freeze Beautifully
Classic yeast dinner rolls, often enriched with milk, butter, and sometimes egg, are fantastic for freezing. The dough is robust enough to handle the freezing process, and the baked rolls retain their soft texture well after thawing and reheating. Recipes like Parker House rolls, potato rolls, or simple butter rolls are ideal candidates for freezing homemade rolls recipes.
You can freeze these yeast rolls either as shaped dough balls before the final rise or after they've been fully baked and cooled. Freezing the dough allows for fresh baking later, while freezing baked rolls offers ultimate convenience for quick reheating. Many bakers prefer freezing the shaped dough because the final texture and flavor are often superior compared to baking from a frozen state.
Sourdough Rolls: Freezing Tips and Tricks
Sourdough rolls, with their distinct tangy flavor and chewy crust, can also be successfully frozen, though they require slightly different handling than commercial yeast rolls. The wild yeast and bacteria in sourdough can be more sensitive to freezing temperatures. For this reason, many sourdough bakers prefer to freeze shaped dough before the final proof (cold proofing).
To freeze sourdough roll dough, shape the rolls, then flash freeze them until solid. Transfer to a freezer bag, removing as much air as possible. When you want to bake, place the frozen rolls on a baking sheet and let them thaw and complete their final proof at room temperature or in a warm spot. This process can take longer than with commercial yeast dough, often 4-6 hours or even more, depending on the ambient temperature and dough activity. Baking from frozen after thawing and proofing yields the best results for sourdough's unique texture and crust.
Sweet Rolls and Buns: How to Freeze Them Successfully
Sweet rolls, like cinnamon buns, sticky buns, or brioche rolls, are also excellent candidates for freezing homemade rolls recipes due to their enriched dough. The high butter, sugar, and egg content helps maintain moisture and tenderness during freezing.
You can freeze sweet rolls either before baking (after shaping but before the final rise) or after baking and cooling. If freezing before baking, you can even add the filling and glaze ingredients (like cinnamon sugar and butter) before freezing. Flash freeze the shaped, unbaked rolls, then transfer to freezer bags. When ready to bake, thaw and proof as usual, then bake and add frosting or glaze after baking.
If freezing baked sweet rolls, let them cool completely, wrap well, and freeze. Thaw at room temperature and gently warm in the oven. Add frosting or glaze after reheating for the best texture.
Preparing Your Homemade Rolls for Freezing: Step-by-Step
Proper preparation is crucial for ensuring your freezing homemade rolls recipes yield delicious results after their time in the freezer. Taking a few simple steps before freezing can prevent issues like freezer burn and ensure the rolls maintain their quality.
The goal is to protect the rolls from moisture loss and ice crystal formation, which can degrade texture and flavor. This involves cooling them completely, choosing the right packaging, and wrapping them securely.
Cooling Rolls Completely: An Essential Step
Whether you are freezing baked rolls or shaped dough, ensuring they are completely cool is perhaps the most critical first step. Warmth trapped inside packaging will create condensation, which turns into ice crystals in the freezer. These ice crystals are a primary cause of freezer burn, leading to dry, tough spots on your rolls.
After baking, transfer rolls to a wire rack immediately to cool down fully. This allows air circulation around them, speeding up the cooling process and preventing the bottoms from becoming soggy. For shaped dough that you plan to freeze before the final rise, ensure the dough itself is not warm from kneading or a brief initial proof before shaping and freezing. Allow it to rest at room temperature briefly if needed to reach ambient temperature before proceeding to flash freezing. This step might seem minor, but it significantly impacts the quality of your freezing homemade rolls recipes.
Choosing the Right Freezer-Safe Packaging
Selecting appropriate packaging is vital for protecting your rolls in the freezer. Standard plastic wrap or thin food storage bags are often not sufficient to prevent freezer burn over time. Look for materials specifically designed for freezing.
Heavy-duty freezer bags, airtight plastic containers, or aluminum foil specifically labeled for freezing are good options. Vacuum-seal bags, if you have a vacuum sealer, offer the best protection against air exposure and freezer burn, significantly extending the quality life of your frozen rolls. For optimal protection, it's often recommended to use a combination of materials, such as wrapping rolls tightly in plastic wrap or foil before placing them in a freezer bag or container.
Properly Wrapping Rolls for Freezing: Preventing Freezer Burn
Freezer burn occurs when the surface of food loses moisture and becomes dehydrated due to exposure to cold, dry air. It manifests as dry, discolored spots. To prevent this when freezing homemade rolls recipes, minimize air contact as much as possible.
If freezing individual baked rolls, wrap each one tightly in plastic wrap or aluminum foil. Then, place the wrapped rolls into a heavy-duty freezer bag or airtight container. Press out as much air as possible from the bag before sealing. If freezing shaped dough, flash freeze first, then transfer to a freezer bag, removing excess air. For larger batches of baked rolls, you can layer them in an airtight container, separating layers with parchment paper to prevent sticking, ensuring the container is filled to minimize air space. Double-wrapping offers an extra layer of protection.
Freezing Homemade Rolls: A Detailed Guide
Once your rolls are properly cooled and wrapped, it's time to place them in the freezer. A systematic approach ensures they freeze quickly and efficiently, preserving their quality for future enjoyment.
Following a few simple steps during the actual freezing process can make a big difference in the final outcome when you thaw and reheat your freezing homemade rolls recipes.
Flash Freezing: Preventing Rolls from Sticking Together
Flash freezing is a technique particularly useful when freezing individual items, like shaped dough balls or single baked rolls, that you don't want to stick together in the freezer bag or container. It involves freezing the items separately on a tray before combining them for long-term storage.
To flash freeze, place your shaped dough balls (before the final rise) or cooled baked rolls in a single layer on a baking sheet lined with parchment paper. Ensure they are not touching. Place the baking sheet in the freezer until the rolls are solid, typically 1-2 hours depending on size.
Once frozen solid, you can transfer them to your chosen freezer packaging (bags or containers). Because they are already frozen, they won't stick together, allowing you to easily grab just the number of rolls you need later. This is an essential step for many freezing homemade rolls recipes, especially if you freeze dough.
Arranging Rolls in Freezer Bags or Containers
After flash freezing (if applicable) or wrapping individually, transfer the rolls to your long-term freezer storage. Arrange them neatly in heavy-duty freezer bags or airtight containers. If using bags, fill them only about two-thirds full to allow for easy handling and removal of air.
If using containers, layer the rolls if necessary, using parchment paper between layers to prevent potential sticking, even after flash freezing. Pack the rolls relatively snugly but avoid crushing them. The goal is to minimize empty space within the container or bag, as this reduces the amount of air present, further preventing freezer burn. Ensure the container lid is tightly sealed or the freezer bag is zipped completely closed after pressing out as much air as possible.
Labeling and Dating Your Frozen Rolls: Keeping Track of Freshness
It's easy to forget when you froze something, and even properly frozen rolls have a recommended storage time for optimal quality. Always label your freezer bags or containers with the contents (e.g., "Dinner Rolls"), the date they were frozen, and perhaps even the type of roll (e.g., "Sourdough Rolls").
Use a permanent marker on freezer tape or directly on the freezer bag/container. This simple step helps you rotate your stock and ensures you use the oldest rolls first, consuming them within their peak quality window. For most freezing homemade rolls recipes, baked rolls are best used within 3-4 months, while frozen dough is best used within 1 month for optimal texture and rise, although they may remain safe to eat for longer. Proper labeling is key to managing your frozen inventory effectively.
Thawing Frozen Homemade Rolls: Maintaining Texture and Flavor
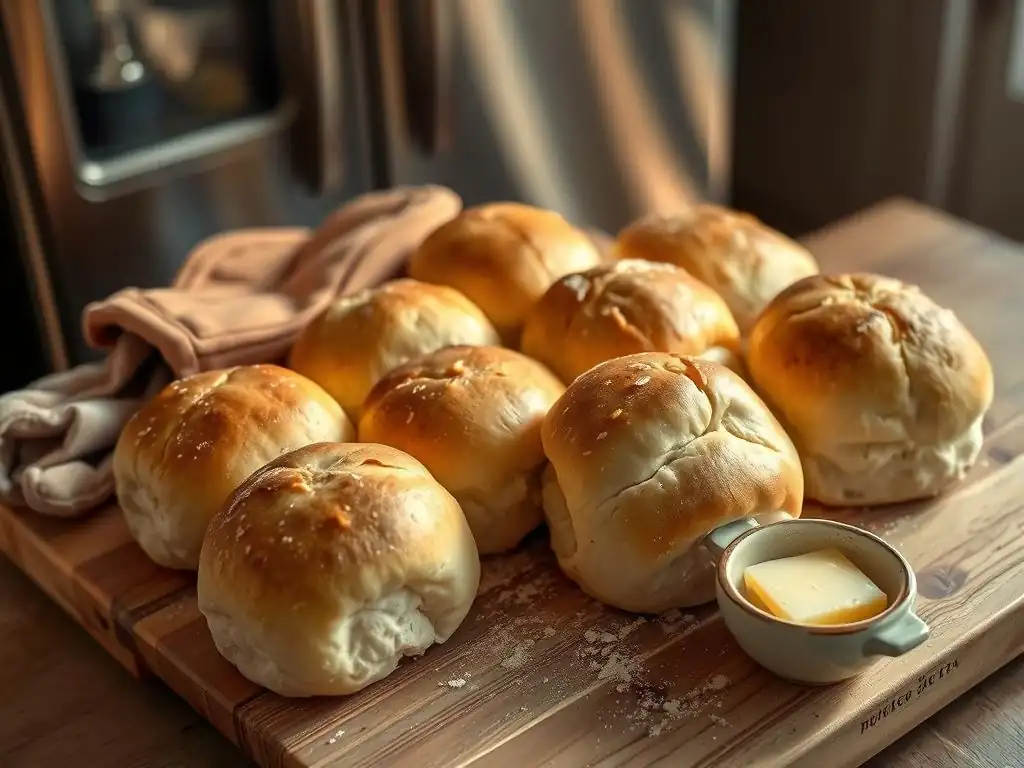
Thawing is a critical step in the process of enjoying your freezing homemade rolls recipes. Rushing the thaw or using an improper method can result in soggy, dense, or dry rolls. Patience is key here to preserve the texture and flavor you worked hard to achieve during baking.
The best thawing method depends on whether you froze baked rolls or unbaked dough, and how much time you have. Generally, slower, more gradual thawing methods yield better results than rapid ones.
Thawing at Room Temperature: A Gentle Approach
Thawing at room temperature is often the preferred method for both baked rolls and shaped dough. For baked rolls, simply remove them from the freezer and their packaging and place them on a wire rack or plate at room temperature. Small rolls may thaw in 1-2 hours, while larger ones might take 2-3 hours. Once thawed, they can be gently warmed in the oven.
For shaped dough balls (frozen before the final rise), arrange them on a baking sheet lined with parchment paper, leaving space for expansion. Cover loosely with plastic wrap or a clean kitchen towel to prevent drying. Let them thaw and rise at room temperature until doubled in size. This can take anywhere from 3-6 hours or even longer, depending on the temperature of your kitchen and the recipe. This slow thaw and rise allows the yeast to become active again gently, resulting in a better texture when baked compared to trying to force a quick thaw.
Thawing in the Refrigerator: A Slower but Safer Method
Thawing frozen rolls or dough in the refrigerator is a slower but very safe method, especially if you're not going to bake them immediately after thawing. This method is particularly good for frozen dough, as it allows for a very slow, controlled thaw and proofing process.
To thaw shaped dough in the refrigerator, place the frozen rolls on a baking sheet, cover tightly, and refrigerate for 8-12 hours, or even overnight. After thawing in the fridge, the dough will likely need additional time at room temperature to finish rising before baking. For baked rolls, transfer them to the refrigerator and let them thaw for several hours or overnight. While slower, this method is convenient if you plan ahead and minimizes any risk of the dough over-proofing at room temperature if you're not present to monitor it.
Using the Oven to Reheat Frozen Rolls: Restoring Warmth and Softness
For frozen, baked rolls, the quickest way to get them warm and soft is to reheat them directly from frozen in the oven. Preheat your oven to a relatively low temperature, around 300-325°F (150-160°C).
Place the frozen rolls directly on a baking sheet. You can cover them loosely with foil to prevent the crust from becoming too hard. Bake for 15-25 minutes, depending on the size of the rolls, until they are heated through and soft. Alternatively, you can thaw them first (at room temperature or in the fridge) and then reheat at a slightly higher temperature, around 350°F (175°C), for just 5-10 minutes until warm. Reheating in the oven helps restore that lovely warm, soft texture of freshly baked rolls.
Baking Frozen Rolls: Tips for a Perfect Finish
If you chose to freeze your rolls as unbaked dough, the final step is baking them to perfection. Baking from frozen or after thawing requires slight adjustments compared to baking fresh dough, but with the right approach, you can achieve a result that rivals a freshly made batch of your favorite freezing homemade rolls recipes.
The key is to ensure the rolls are fully thawed and properly proofed (if frozen as dough) and to adjust baking time and potentially temperature to account for their initial frozen state.
Adjusting Baking Time for Frozen Rolls
When baking rolls that were frozen as shaped dough, you'll typically bake them according to the original recipe instructions after they have fully thawed and completed their final rise. However, if you are attempting to bake rolls directly from a partially-thawed or still-chilled state (which is less common for best results but sometimes done), you will need to increase the baking time significantly.
For example, if a recipe calls for baking fresh rolls for 18-20 minutes at 375°F (190°C), baking the same rolls from a partially frozen state might require 25-35 minutes or more. It's crucial to bake them until they are golden brown and cooked through, with an internal temperature reaching around 190-200°F (88-93°C). Always rely on visual cues and internal temperature rather than just the clock when baking anything from frozen or chilled dough.
Adding Moisture for a Soft Crust
Sometimes, rolls baked from frozen dough can develop a slightly tougher crust compared to those baked fresh. This can be due to the longer proofing/thawing time or subtle changes in the dough structure from freezing. To help ensure a soft crust, you can add moisture to the oven during baking.
One simple method is to place a shallow pan of hot water on the bottom rack of your oven when you start preheating. The steam generated helps keep the surface of the rolls moist during the initial phase of baking, allowing them to expand fully and develop a softer crust. Be cautious when opening the oven door to avoid releasing all the steam at once. This technique is beneficial for many freezing homemade rolls recipes, especially those aiming for a tender exterior.
Achieving a Golden-Brown Finish on Frozen Rolls
Achieving a beautiful golden-brown color on rolls baked from frozen dough is similar to baking fresh rolls, but sometimes requires a little extra attention. The color comes from the Maillard reaction and caramelization of sugars in the dough, which are affected by temperature and time.
Ensure your oven is fully preheated to the correct temperature. Baking too cool can result in pale rolls. If the rolls are browning too quickly before they are cooked through, you can loosely tent them with aluminum foil. Conversely, if they are cooked but not golden enough, you can brush the tops with a little melted butter or milk during the last few minutes of baking to encourage browning. For an extra shiny, golden finish, an egg wash (1 egg beaten with 1 tbsp water or milk) applied before baking works beautifully on many freezing homemade rolls recipes.
Storing Baked Homemade Rolls: Keeping Them Fresh Longer
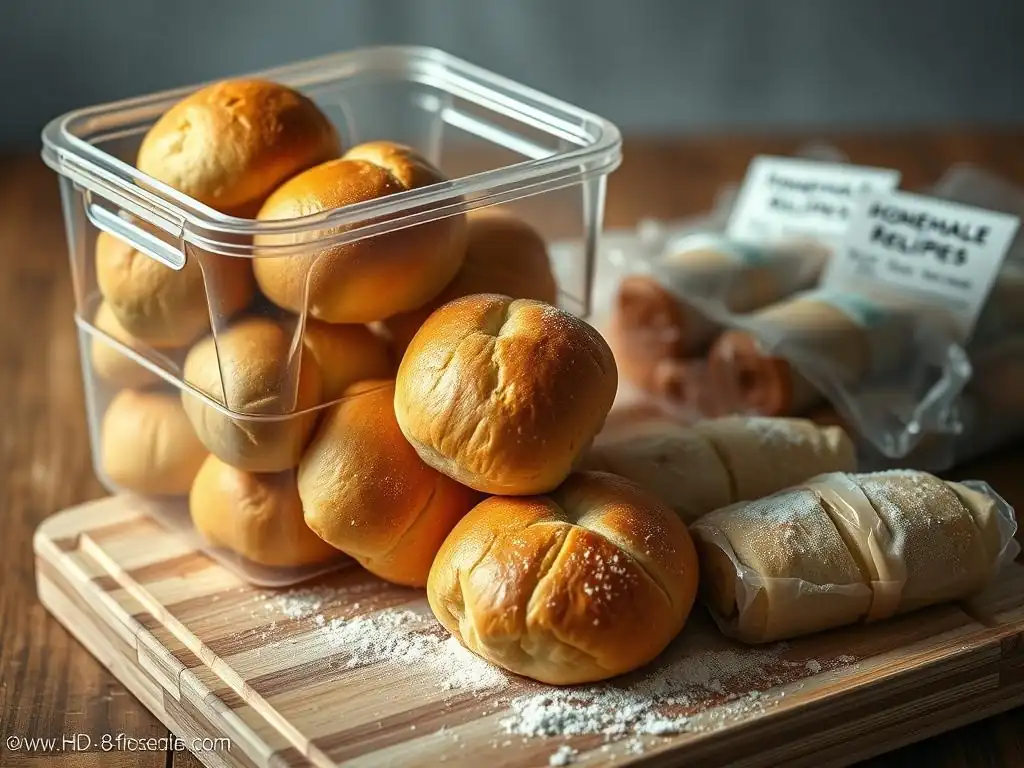
Even if you don't plan to freeze them immediately, knowing how to properly store your baked homemade rolls at room temperature or in the refrigerator is essential for maintaining their freshness and quality for a few days.
The primary enemies of baked goods are air (which causes staling) and moisture (which can lead to mold). Proper storage aims to protect against both.
Storing at Room Temperature: Best Practices
For short-term storage (1-3 days), baked homemade rolls are best stored at room temperature. However, simply leaving them exposed on the counter will lead to rapid staling. The best way to store them is in an airtight container or a bread box.
A plastic container with a tight-fitting lid or a large zip-top bag works well. Allow the rolls to cool completely before storing them. Storing warm rolls will create condensation inside the container, making them soggy and potentially promoting mold growth. Avoid storing rolls in the refrigerator if you plan to eat them within a day or two, as refrigeration can actually speed up the staling process of many types of bread by promoting starch retrogradation.
Storing in the Refrigerator: Extending Shelf Life
While refrigeration can accelerate staling for some bread types, it significantly extends the shelf life by inhibiting mold growth. If you need to store baked rolls for longer than 2-3 days but don't want to freeze them, the refrigerator is the best option.
Again, ensure the rolls are completely cool before placing them in an airtight container or bag. Stored in the refrigerator, baked rolls will typically stay fresh for 5-7 days. Be aware that their texture might become a bit firmer or chewier compared to room temperature storage. A quick warming in the oven or microwave can often help restore some of their original softness before serving. This is a good interim step if you anticipate using the rolls within a week but aren't ready to commit to freezing homemade rolls recipes for longer-term storage.
Troubleshooting Common Freezing and Storing Issues
Even with the best practices, you might occasionally encounter issues when freezing or storing homemade rolls. Knowing how to identify and address these problems can save your batch and improve your results next time.
Common problems include freezer burn, dough that doesn't rise after thawing, or rolls that turn out dry or stale. Understanding the causes helps you prevent them.
Preventing Freezer Burn on Rolls
Freezer burn is primarily caused by exposure to air in the freezer. To prevent it, focus on minimizing air contact during packaging. Ensure rolls are completely cool before wrapping. Wrap individual rolls tightly in plastic wrap or foil, then place them in a heavy-duty freezer bag or airtight container.
Press out as much air as possible from bags before sealing. Use containers that are appropriately sized for the number of rolls to reduce empty space. Vacuum sealing offers the best protection. While a small amount of freezer burn might not make rolls inedible, it can negatively impact texture and flavor. Proper wrapping is the most effective defense when freezing homemade rolls recipes.
Dealing with Dough That Didn't Rise After Thawing
If you froze shaped dough and it doesn't rise after thawing, it's likely that the yeast was killed during the freezing or thawing process. This can happen if the dough wasn't frozen quickly enough, thawed too slowly at room temperature (allowing harmful bacteria to grow), or if the yeast was old or inactive to begin with.
Unfortunately, dough with inactive yeast will not rise and cannot be salvaged for light, airy rolls. You can try reshaping it into flatbreads or crackers, which don't rely on leavening for texture, but it won't become fluffy rolls. To prevent this, use fresh, active yeast, ensure rapid freezing (flash freezing helps), and follow recommended thawing procedures (either a controlled fridge thaw or a monitored room temperature thaw). Avoid letting dough thaw and sit at room temperature for excessive periods.
Avoiding Dry or Stale Rolls After Baking from Frozen
If rolls baked from frozen dough turn out dry or stale, several factors could be at play. It might be due to freezer burn on the dough before baking, improper thawing, or baking at too high a temperature or for too long.
Ensure you are properly wrapping and sealing your rolls or dough to prevent freezer burn. If baking frozen dough, make sure it is fully thawed and proofed before baking according to the recipe instructions. If baking baked rolls from frozen, reheat them gently in a low oven (300-325°F / 150-160°C) just until warm, not until they are hard. Adding moisture to the oven during baking (for frozen dough) or reheating (for frozen baked rolls) can also help maintain a soft texture.
Serving Suggestions: Enjoying Your Frozen Homemade Rolls
You've successfully frozen, thawed, and reheated or baked your homemade rolls! Now it's time for the best part – enjoying them. Whether they were frozen as dough or baked, these rolls are ready to elevate your meal.
Warm, soft rolls are versatile and pair well with a wide variety of dishes, or can be transformed into new creations if you still have leftovers.
Perfect Pairings: What to Serve with Your Rolls
Warm homemade rolls are the perfect accompaniment to countless meals. They are classic partners for soups, stews, and chili, perfect for soaking up delicious broths and sauces. Serve them alongside roasted meats like chicken, beef, or pork, or with pasta dishes.
They are also fantastic for breakfast or brunch, slathered with butter, jam, or honey. Consider serving them with a simple green salad for a light lunch, or using them as the base for small sandwiches or sliders. The versatility of your successfully frozen homemade rolls recipes means they can be a highlight of almost any meal.
Creative Ways to Use Leftover Rolls
If, by some miracle, you still have a few rolls left after serving, don't let them go to waste! Stale or leftover rolls can be repurposed in delicious ways. Cut them into cubes and toast them to make croutons for salads or soup.
They can also be used to make breadcrumbs for coating meats or vegetables, or as a binder in meatballs or meatloaf. For a sweet treat, transform them into bread pudding or French toast. Even if you started with freezing homemade rolls recipes with a savory profile, they can often be adapted for sweet applications. Getting creative ensures that every last crumb of your delicious homemade baking is enjoyed.
Frequently Asked Questions
How long can I freeze homemade rolls?
You can freeze homemade rolls for up to 2-3 months for best quality. Make sure they are properly wrapped to prevent freezer burn.
What is the best way to wrap homemade rolls for freezing?
The best method involves wrapping the rolls tightly in plastic wrap, then placing them in a freezer-safe bag or container. This helps minimize air exposure.
Can I freeze baked rolls or just unbaked dough?
You can freeze both! Baked rolls should be cooled completely before freezing. Unbaked dough can be frozen after the first rise.
How do I thaw frozen homemade rolls?
Thaw frozen baked rolls at room temperature or in the refrigerator. For unbaked dough, thaw overnight in the refrigerator and then let it rise before baking.
Will freezing affect the taste or texture of my homemade rolls?
Freezing can slightly alter the texture, but properly wrapped rolls will maintain most of their original quality. Freezer burn is the biggest threat to taste and texture.
Final Reflection: The Enduring Magic of Homemade, Frozen Rolls
The art of baking isn't just about the process; it's about the preservation of warmth and flavor, extending the joy of homemade bread far beyond the day it's baked. This article explored the simple yet powerful techniques of storing and freezing homemade rolls, ensuring that the delicious aroma and comforting texture of freshly baked bread can be enjoyed whenever the craving strikes. The ability to freeze rolls effectively transforms baking from a time-consuming endeavor into a flexible and convenient one.
The impact of readily available, high-quality frozen foods on our modern lives is undeniable. It allows us to prioritize fresh ingredients and homemade goodness without sacrificing precious time. The best things in life are homemade,
a sentiment often echoed, takes on new meaning when we consider the ease with which we can preserve those homemade treasures. This simple act of freezing our baked goods allows us to share the love and care put into our creations with others, extending the warmth of a homemade meal beyond the immediate moment.
Now, consider your own baking journey. What treasured recipes do you hold dear? What flavors and aromas evoke feelings of comfort and connection? I encourage you to embrace the techniques outlined in this article, to experiment with your favorite roll recipes, and to experience the joy of pulling a batch of perfectly frozen, freshly-baked rolls from your freezer. Let the enduring magic of homemade bread, preserved through the simple act of freezing, enrich your life and the lives of those you share it with.
Unleash Your Inner Baker: Mastering Roll Storage!
Thanks for taking the time to explore the art of baking and storing delicious homemade rolls! We hope you gained valuable tips to elevate your baking game. Now, let's put that knowledge into action:
- Bake a batch of your favorite rolls today! Use the techniques you learned to ensure perfect texture and flavor every time. This is your chance to experiment with new recipes.
- Share your baking triumphs (or challenges!) with our community in the comments below. We'd love to see your creations and hear your feedback.
- Consider freezing a portion for future meals, ensuring you always have delicious homemade goodness on hand.
Ready to transform your baking routine? What's your go-to roll recipe you’re excited to try baking and freezing?