
Crafting Whole Wheat Baguettes: Easier Than You Think

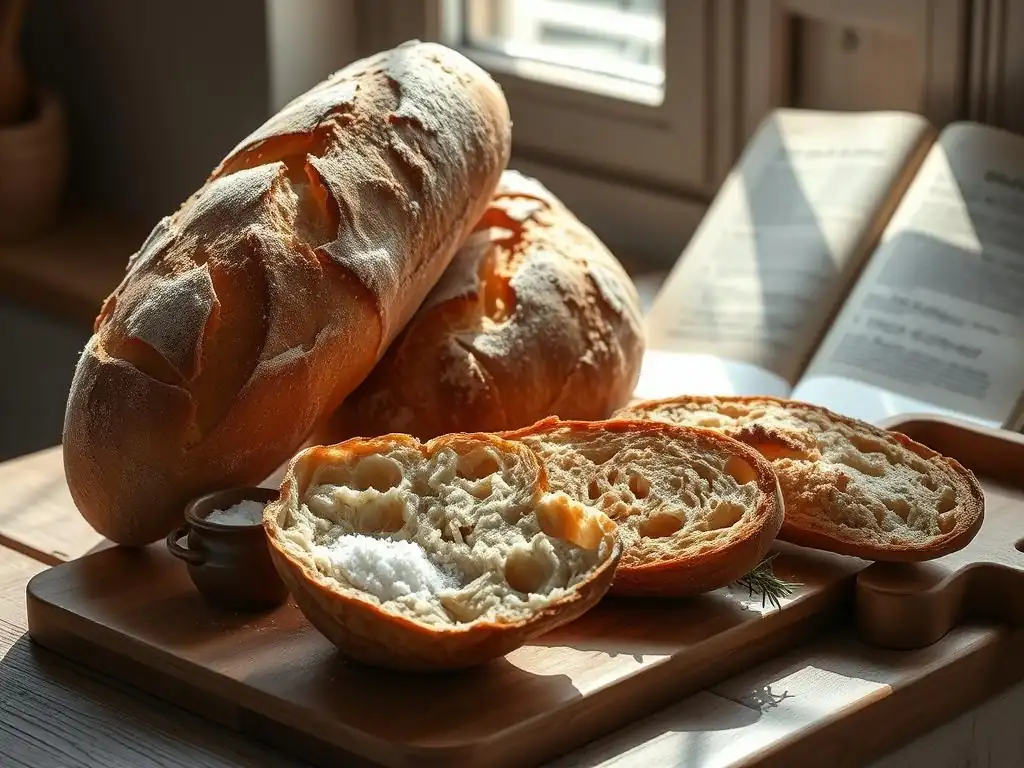
Welcome to BakeWithEase, where baking dreams become delicious realities! Ever thought a perfectly crusty, flavorful baguette was beyond your reach? Think again. Dive into our article and discover our easy whole wheat baguette recipe – a surprisingly simple method that will have you crafting bakery-worthy bread in your own kitchen. Intrigued? Let's unlock the secrets to baking success, one delicious loaf at a time...
- Bake Delicious Whole Wheat Baguettes at Home
- Why Bake Your Own Whole Wheat Baguettes?
- Easy Whole Wheat Baguette Recipe: A Step-by-Step Guide
- Making the Dough: Your First Step to Baking Baguettes
- Shaping Your Whole Wheat Baguettes: A Baker's Touch
- Baking the Baguettes: Achieving a Crispy Crust
- Tips for Baking the Best Whole Wheat Baguettes
- Variations on the Easy Whole Wheat Baguette Recipe
- The Joy of Baking Whole Wheat Bread at Home
-
Frequently Asked Questions
- How much experience do I need to have to try the Easy Whole Wheat Baguette Recipe from BakeWithEase?
- What makes this whole wheat baguette recipe "easy"?
- Can I substitute other types of flour in this Easy Whole Wheat Baguette Recipe?
- How long does it take to make the Easy Whole Wheat Baguette Recipe from start to finish?
- What are the key ingredients needed for the Easy Whole Wheat Baguette Recipe?
- Final Reflection: The Humble Baguette, Reimagined
- Unleash Your Inner Baker: Craft the Perfect Baguette!
Bake Delicious Whole Wheat Baguettes at Home
Baking your own whole wheat baguettes might seem like a challenge reserved for professional bakers, but it's a surprisingly achievable and rewarding endeavor for home cooks. Imagine pulling warm, crusty loaves from your oven, the aroma filling your kitchen. This guide will walk you through an easy whole wheat baguette recipe, breaking down each step into simple, manageable tasks, proving that delicious, healthy bread is well within your reach.
Creating homemade whole wheat baguettes allows you to control the ingredients, ensuring a wholesome product free from commercial additives. It's a deeply satisfying process, transforming simple flour, water, yeast, and salt into an iconic bread shape. Whether you're new to bread baking or looking to expand your repertoire, this easy whole wheat baguette recipe provides a clear path to success, making the art of baking accessible and enjoyable.
Why Bake Your Own Whole Wheat Baguettes?
The Benefits of Homemade Baguettes
Baking baguettes at home offers numerous advantages, extending beyond just the incredible taste and aroma. You gain complete control over the ingredients used. This is particularly important when crafting a whole wheat baguette, allowing you to select high-quality whole wheat flour and avoid preservatives or dough conditioners often found in commercially produced bread. For instance, many store-bought loaves contain calcium propionate to extend shelf life, which you can easily omit when baking yourself.
Furthermore, the cost of homemade baguettes is significantly lower than purchasing them from a bakery. While prices vary regionally, a single artisan baguette can cost anywhere from $3 to $5 or more. Using standard pantry staples, you can typically produce several baguettes for a fraction of that cost. Plus, there's the unparalleled freshness and warmth of bread straight from the oven, a sensory experience that store-bought bread simply cannot replicate.
Understanding Whole Wheat Flour for Baguettes
Whole wheat flour is fundamentally different from refined white flour because it retains the bran and germ of the wheat kernel, along with the endosperm. This inclusion provides more fiber, vitamins, and minerals, contributing to a healthier loaf. However, the bran and germ can interfere with gluten development, which is crucial for the structure and characteristic chewy texture of a baguette. This is why many whole wheat baguette recipes, including easy ones, often combine whole wheat flour with some bread flour or all-purpose flour to aid in gluten formation.
Working with whole wheat flour requires a slightly different approach compared to white flour. The dough might feel a bit stickier or require more hydration because the bran absorbs more liquid. It's also common for whole wheat dough to rise a little slower due to the presence of the bran. Understanding these characteristics helps you adjust your kneading and rising times, leading to a successful easy whole wheat baguette recipe that yields a loaf with a beautiful balance of rustic flavor and satisfying texture.
Easy Whole Wheat Baguette Recipe: A Step-by-Step Guide
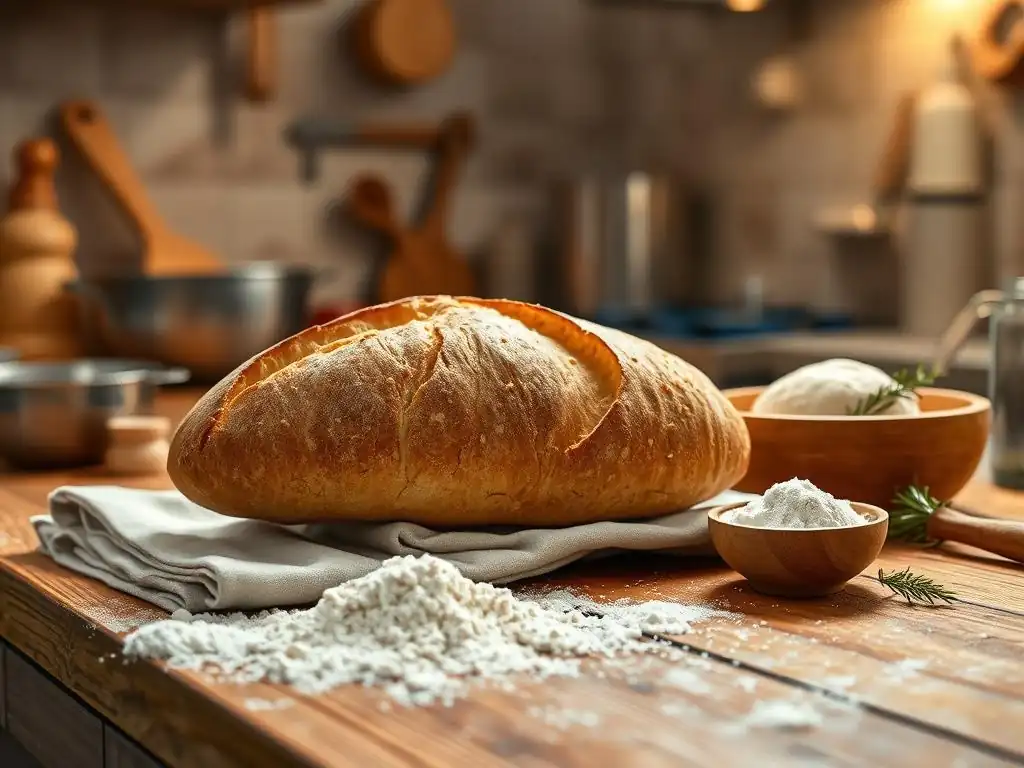
Ingredients for the Perfect Whole Wheat Baguette
Crafting an easy whole wheat baguette recipe starts with a few simple, core ingredients. You'll need a blend of whole wheat flour and often bread flour or all-purpose flour to ensure the dough has enough structure. A typical ratio might be around 50-70% whole wheat flour, with the remainder being white flour, though some recipes aim for 100% whole wheat. The total amount of flour for a batch yielding two or three baguettes might be around 500-600 grams.
Yeast is essential for leavening; active dry yeast or instant yeast are common choices for ease of use. You'll also need water, preferably lukewarm (around 105-115°F or 40-46°C) if using active dry yeast, or room temperature for instant yeast. The amount of water will influence the dough's hydration, typically ranging from 65% to 75% of the flour weight for baguettes. Finally, salt is crucial for flavor and regulating yeast activity, usually added at about 1.8-2% of the flour weight.
Equipment You'll Need
While you don't need a professional bakery setup, having the right equipment can make baking an easy whole wheat baguette recipe even smoother. A large mixing bowl is necessary for combining ingredients and the initial rise. A digital kitchen scale is highly recommended for accurately measuring flour and water by weight, which is far more precise than volume measurements and crucial for consistent bread baking results.
For baking the baguettes, a baking stone or steel is ideal for achieving a crispy crust and even heating, though a heavy-duty baking sheet can also work. You'll also need a lame or a very sharp razor blade for scoring the dough before baking. Parchment paper or a floured surface is helpful for handling the shaped dough. Finally, creating steam in your oven (discussed in the baking section) is key, which might involve using a steam pan or spraying water into the oven.
Making the Dough: Your First Step to Baking Baguettes
Step 1: Activating the Yeast
If your easy whole wheat baguette recipe calls for active dry yeast, the first step is typically activating it. This involves dissolving the yeast in a small amount of lukewarm water (around 105-115°F or 40-46°C) along with a pinch of sugar or honey. The sugar provides food for the yeast, helping it become active. After about 5-10 minutes, the mixture should become foamy and bubbly, indicating that the yeast is alive and ready to work. If it doesn't foam, your yeast might be dead or the water temperature was off, and you should start again with fresh yeast.
Instant yeast, on the other hand, usually does not require prior activation. It can be mixed directly with the dry ingredients in your bowl. This simplifies the process, making an easy whole wheat baguette recipe even more straightforward. Whichever type of yeast you use, ensuring its viability is a critical first step that sets the stage for successful dough development and a well-risen, airy baguette.
Step 2: Combining the Ingredients
Once your yeast is ready (or if using instant yeast, you've added it to the dry ingredients), it's time to combine everything. In your large mixing bowl, whisk together the whole wheat flour, any additional white flour, and salt. If using active dry yeast, pour in the activated yeast mixture and the remaining water. If using instant yeast, add the water to the bowl containing the flours, salt, and yeast.
Use a wooden spoon or a dough scraper to mix everything together until a shaggy, cohesive dough forms. At this point, it doesn't need to be smooth; just ensure all the flour is hydrated and there are no dry pockets. This initial mixing stage brings all the components together, starting the process of gluten development and preparing the dough for kneading.
Step 3: Kneading the Whole Wheat Baguette Dough
Kneading is crucial for developing the gluten structure that gives baguettes their characteristic chewiness and shape. You can knead the dough by hand on a lightly floured surface or use a stand mixer with a dough hook. For an easy whole wheat baguette recipe, aim for a dough that is smooth and elastic. Hand kneading typically takes about 10-12 minutes, while a stand mixer might take 8-10 minutes on medium speed.
As you knead, the dough will become less sticky and more pliable. A good test for sufficient kneading is the windowpane test: pinch a small piece of dough and gently stretch it. If you can stretch it thin enough to see light through it without it tearing, the gluten is well-developed. Whole wheat dough might not pass the windowpane test as easily as white dough due to the bran, but it should still feel smooth and elastic.
Step 4: The First Rise: Bulk Fermentation
After kneading, the dough needs time to rise, a process called bulk fermentation. Lightly grease your mixing bowl, place the dough inside, and turn it to coat. Cover the bowl tightly with plastic wrap or a damp towel to prevent the dough from drying out. Place the bowl in a warm, draft-free spot. A typical room temperature rise (around 70-75°F or 21-24°C) can take 60-90 minutes, or until the dough has roughly doubled in size.
The duration of the first rise can vary significantly based on the temperature of your kitchen and the activity of your yeast. Some easy whole wheat baguette recipes might even suggest a slower, colder rise in the refrigerator for 8-12 hours, which can develop more complex flavors. Whichever method you choose, the dough should feel airy and slightly expanded when ready for the next step.
Shaping Your Whole Wheat Baguettes: A Baker's Touch
Step 5: Dividing the Dough
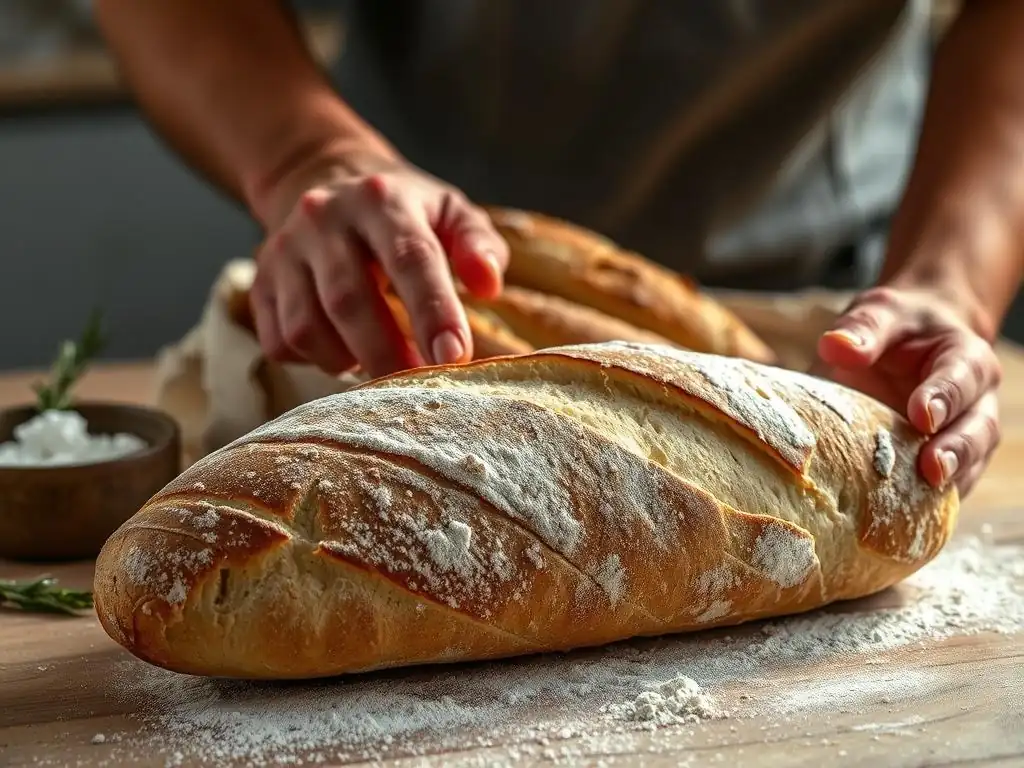
Once the dough has completed its first rise, gently turn it out onto a lightly floured surface. Avoid deflating it too much; handle it tenderly to preserve the airy structure. Use a bench scraper or knife to divide the dough into the desired number of portions for your baguettes. A typical batch yielding around 500-600 grams of flour might be divided into two or three equal pieces, depending on the size of baguettes you want to make.
Using a scale to weigh each portion ensures your baguettes are consistently sized, which helps them bake evenly. For example, if you have 900 grams of dough and want three baguettes, each piece would weigh 300 grams. Dividing the dough properly is the first step in transforming a single mass into individual loaves ready for shaping.
Step 6: Pre-Shaping the Baguettes
Pre-shaping helps to create tension in the dough and makes the final shaping easier. Take each portion of dough and gently shape it into a rough rectangle or oval. Then, fold the dough in half lengthwise and seal the seam with the heel of your hand. Turn the dough 90 degrees and repeat the fold and seal. This process creates a tighter structure.
After pre-shaping, cover the dough portions lightly with a damp towel or plastic wrap and let them rest for 15-20 minutes. This short rest period, often called the bench rest, allows the gluten to relax after being handled, making the final shaping much more manageable and preventing the dough from springing back excessively.
Step 7: Final Shaping and Proofing
Now comes the final shaping into the classic baguette form. Take one pre-shaped piece of dough and gently flatten it into a rectangle. Fold the top third down to the center and press to seal.
Fold the bottom third up over the fold and press to seal again. Then, fold the dough in half lengthwise and firmly seal the seam along the bottom edge using the heel of your hand, creating tension on the surface. Gently roll the dough back and forth with light pressure, starting from the center and moving outwards, to lengthen it to the desired baguette length (typically 12-16 inches or 30-40 cm).
Once shaped, the baguettes need a final rise, or proofing, before baking. Carefully transfer the shaped loaves to a proofing surface. A baker's couche (linen cloth) heavily floured with rice flour is traditional, or you can use a baking sheet lined with parchment paper and create pleats in the paper to support the loaves and prevent them from sticking together. Cover the baguettes lightly and let them proof for 30-60 minutes at room temperature, or until they are visibly puffy but still hold their shape and spring back slowly when gently poked.
Baking the Baguettes: Achieving a Crispy Crust
Step 8: Preheating Your Oven
Achieving that signature crispy baguette crust requires a very hot oven. Preheat your oven to a high temperature, typically between 450°F and 475°F (230°C to 245°C). It's crucial to preheat the oven for at least 30-45 minutes, especially if you are using a baking stone or steel, to ensure it is thoroughly heated. A properly preheated oven provides an initial burst of heat, known as oven spring, which helps the baguettes rise quickly and develop a light interior.
If you are using a baking stone or steel, place it on the middle rack of your oven before you begin preheating. This allows the stone/steel to absorb enough heat to transfer effectively to the bottom of the baguettes, ensuring a crisp base. Never place a cold stone or steel in a hot oven, as it could crack.
Step 9: Scoring the Baguettes
Just before baking, the proofed baguettes need to be scored. Scoring involves making shallow cuts on the surface of the dough with a sharp blade (like a lame or razor). These cuts serve several important purposes. First, they allow the dough to expand in a controlled manner during baking, preventing the loaf from bursting unpredictably.
Secondly, scoring contributes to the baguette's aesthetic appeal, creating characteristic patterns. For baguettes, diagonal cuts running along the length of the loaf are traditional. Aim for cuts about 1/4 to 1/2 inch (0.5-1 cm) deep, overlapping each cut slightly. Practice makes perfect when it comes to scoring; aim for confident, swift cuts to avoid dragging the dough.
Step 10: Baking with Steam for a Perfect Crust
Steam is the secret to a thin, crispy baguette crust. In the initial stages of baking, steam keeps the surface of the dough moist and pliable, allowing it to expand fully before the crust sets. Without steam, the crust would harden too quickly, restricting oven spring and resulting in a denser loaf. A moist surface also promotes better caramelization, leading to a richer color and flavor.
There are several ways to create steam in a home oven. One common method is to place a pan filled with hot water on the bottom rack of the oven when you start preheating. Another technique is to spray water directly onto the oven walls using a spray bottle just after loading the baguettes. Some bakers even place ice cubes in a hot pan in the oven. Be cautious of steam when opening the oven door. Bake the baguettes for about 20-30 minutes, or until they are deep golden brown and sound hollow when tapped on the bottom.
Step 11: Cooling and Enjoying Your Fresh Baguettes
Once your beautiful whole wheat baguettes are baked to a golden-brown perfection, carefully remove them from the oven. It's crucial to let them cool completely on a wire rack before slicing into them. While the temptation to break into a warm baguette is undeniable, slicing too early can result in a gummy interior because the internal structure is still setting and moisture is redistributing.
Allowing the baguettes to cool for at least 30-60 minutes ensures the crumb structure is fully developed and the crust remains crisp. The cooling process is just as important as the baking itself for achieving the perfect texture. Enjoy your fresh, homemade easy whole wheat baguette recipe results with butter, cheese, soup, or simply on their own!
Tips for Baking the Best Whole Wheat Baguettes
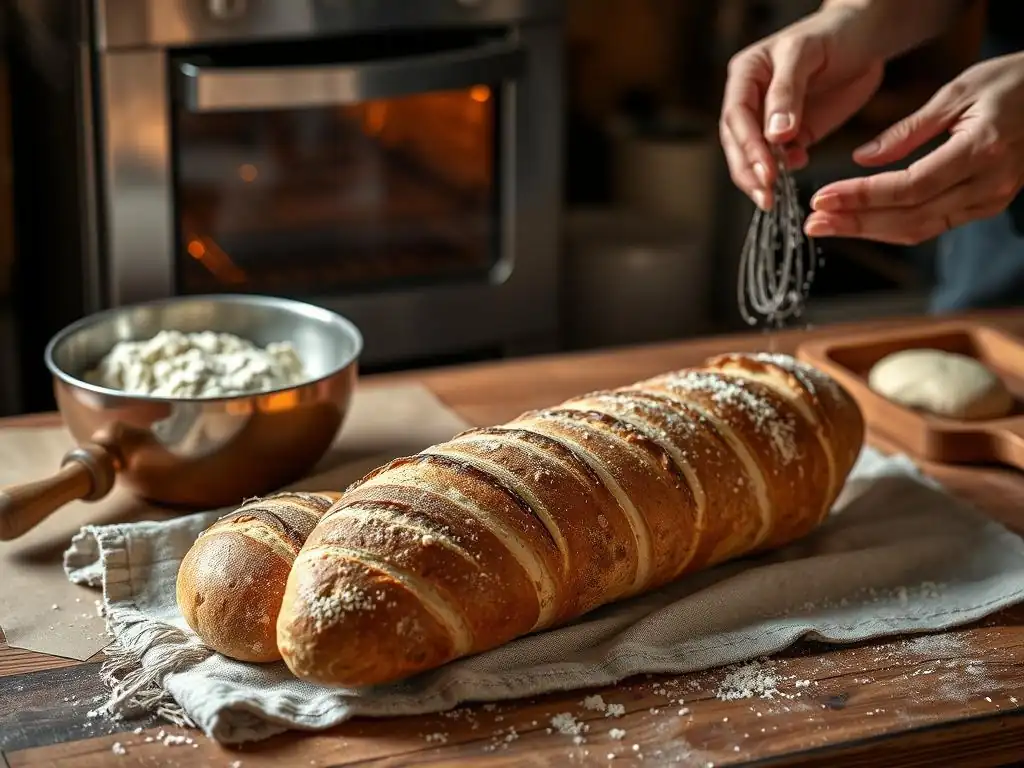
Troubleshooting Common Baguette Baking Problems
Baking baguettes, even with an easy whole wheat baguette recipe, can sometimes present challenges. If your baguettes are flat and dense, it could be due to under-proofing, insufficient kneading, or inactive yeast. Ensure your yeast is active (if using active dry) and that the dough passes the windowpane test (or is sufficiently elastic). Make sure your proofing environment is warm enough and allow adequate time for the dough to rise.
Another common issue is a pale or thick crust. This often indicates insufficient steam during baking or the oven temperature being too low. Ensure you generate enough steam in the first 10-15 minutes of baking and that your oven is accurately preheated to a high temperature, ideally using a baking stone or steel. If the crust is too hard, you might have over-baked them or used too little hydration in the dough.
Mastering the Art of Scoring
Scoring, also known as slashing or making coupes, is both functional and artistic. For an easy whole wheat baguette recipe, practice makes perfect. The ideal score is a swift, clean cut about 1/4 to 1/2 inch (0.5-1 cm) deep, made at a slight angle (around 30-45 degrees) to the surface of the loaf. Using a very sharp blade, like a baker's lame fitted with a razor blade, is essential for clean cuts that allow for proper oven spring.
Traditional baguette scoring involves a series of overlapping diagonal cuts along the length of the loaf, typically 3 to 5 cuts depending on the baguette length. Each cut should slightly overlap the previous one. Experiment with the angle and depth of your cuts to see how it affects the final appearance and expansion of your whole wheat baguettes. Don't be discouraged if your first attempts aren't perfect; focus on getting clean cuts that allow the loaf to open up.
Storing Your Homemade Whole Wheat Baguettes
Freshly baked baguettes are best enjoyed the day they are made, as their thin crust can soften quickly. However, if you need to store your homemade easy whole wheat baguette recipe loaves, there are a couple of methods. For short-term storage (1-2 days), storing them at room temperature in a paper bag is often recommended. This allows the crust to breathe, helping to maintain some of its crispness compared to plastic, which traps moisture.
For longer storage, freezing is the best option. Allow the baguettes to cool completely, then wrap them tightly in plastic wrap followed by aluminum foil or place them in a freezer bag. Frozen baguettes can be stored for up to 2-3 months. To reheat, remove from the freezer, unwrap, and bake in a preheated oven at around 350°F (175°C) for 10-15 minutes, or until warmed through and the crust is revived.
Variations on the Easy Whole Wheat Baguette Recipe
Adding Seeds and Grains for Extra Flavor
Enhancing your easy whole wheat baguette recipe with seeds and grains is a fantastic way to add texture, flavor, and nutritional value. You can incorporate ingredients like sesame seeds, poppy seeds, sunflower seeds, flax seeds, or even cooked grains such as quinoa or oats directly into the dough during the mixing stage. A common ratio is adding 5-10% of the total flour weight in seeds or grains.
Alternatively, you can roll the shaped baguettes in seeds just before proofing. This creates a beautiful crust coated in seeds. Experiment with different combinations, such as a mix of sesame, poppy, and nigella seeds, or incorporate a blend of cooked cracked wheat and sunflower seeds into the dough for a heartier loaf. Remember that adding grains might require slightly more hydration in the dough.
Experimenting with Different Flours
While this guide focuses on an easy whole wheat baguette recipe, you can explore variations by adjusting the flour blend. Instead of combining whole wheat with bread or all-purpose flour, you could try incorporating small amounts of other flours like spelt, rye, or even a touch of vital wheat gluten to boost the structure.
For instance, substituting 10-15% of the whole wheat flour with dark rye flour will impart a distinct tangy flavor and denser texture. Adding a tablespoon or two of vital wheat gluten (for every cup of whole wheat flour) can help improve the structure and rise of a dough made with a very high percentage of whole wheat. Always consider how different flours affect hydration and gluten development when experimenting.
Making Mini Whole Wheat Baguettes
The easy whole wheat baguette recipe can easily be adapted to make smaller loaves, often called demi-baguettes or ficelles (which are thinner). Instead of dividing your dough into 2 or 3 portions, divide it into 4, 5, or even 6 smaller pieces. Each piece will then be shaped into a shorter or thinner baguette.
The process remains the same – divide, pre-shape, rest, and final shape – but the baking time will be shorter due to the smaller size. Mini baguettes typically bake in 15-20 minutes. These smaller loaves are perfect for individual servings, sandwiches, or serving alongside soups and salads. Adjust the scoring pattern to suit the shorter length, perhaps using fewer cuts.
The Joy of Baking Whole Wheat Bread at Home
From Our Kitchen to Yours: Embrace the BakeWithEase Way
Baking an easy whole wheat baguette recipe is more than just following steps; it's an experience that fills your home with wonderful aromas and provides a genuine sense of accomplishment. From watching the dough rise to pulling golden-brown loaves from the oven, each stage is rewarding. At BakeWithEase, we believe that everyone can master the art of baking, and tackling a classic like the baguette, especially in its wholesome whole wheat form, is a fantastic step in that journey.
This easy whole wheat baguette recipe is designed to demystify the process, making it accessible for bakers of all levels. It encourages you to get hands-on, understand the ingredients, and appreciate the simple magic of bread making. Embrace the bake, learn from each batch, and soon you'll be effortlessly crafting beautiful, delicious whole wheat baguettes that rival those from your favorite bakery, right in your own kitchen.
Frequently Asked Questions
How much experience do I need to have to try the Easy Whole Wheat Baguette Recipe from BakeWithEase?
The Easy Whole Wheat Baguette Recipe is designed for bakers of all levels. The steps are clearly explained, even if you're new to working with yeast.
What makes this whole wheat baguette recipe "easy"?
This recipe simplifies the process by focusing on straightforward techniques and using easy-to-find ingredients. We also provide step-by-step instructions with helpful photos.
Can I substitute other types of flour in this Easy Whole Wheat Baguette Recipe?
While this recipe is specifically for whole wheat, you could substitute a portion with bread flour. However, this will alter the final texture and flavor of the whole wheat baguette.
How long does it take to make the Easy Whole Wheat Baguette Recipe from start to finish?
Expect to spend around 3-4 hours from mixing to baking. This includes the proofing time which is essential for the baguette's rise and texture.
What are the key ingredients needed for the Easy Whole Wheat Baguette Recipe?
The essential ingredients include whole wheat flour, water, yeast, and salt. Some variations may include honey or molasses for added flavor and moisture.
Final Reflection: The Humble Baguette, Reimagined
The art of baking, once perceived as an exclusive skill, is now within everyone's reach. Mastering a seemingly complex bread like the whole wheat baguette is more achievable than you might think, and the rewards—the satisfying aroma, the delightful crust, the wholesome taste—are immeasurable. This accessibility empowers us to connect with our food on a deeper level, fostering a sense of accomplishment and self-sufficiency in the kitchen.
The journey of crafting a perfect whole wheat baguette is a microcosm of life itself; it requires patience, attention to detail, and a willingness to embrace imperfections. The process, while demanding, is ultimately rewarding, mirroring our own personal growth. The subtle nuances in flavor and texture, the variations from batch to batch, remind us that even in the pursuit of perfection, there's beauty in the unique and unexpected. The best bread is made with love, and a little bit of flour on the counter.
- Unknown
Now, I invite you to roll up your sleeves, gather your ingredients, and embark on your own baguette adventure. Don't be intimidated by the seemingly complex steps; embrace the process, savor the experience, and relish the delicious results. The satisfaction of creating something beautiful and nourishing with your own hands is a gift you'll continue to enjoy long after the last crumb is gone. Remember, even the most accomplished bakers started somewhere, and your first (or next) whole wheat baguette is waiting to be born.
Unleash Your Inner Baker: Craft the Perfect Baguette!
Thanks for taking the time to explore the world of whole wheat baguettes with us! We hope you gained valuable insights and feel inspired to tackle this seemingly challenging bread. Now it's time to put your newfound knowledge into action.
- Bake your own baguette today! Use the recipe and tips from the article as your guide. Even a small attempt is a victory!
- Share your baking journey! Post a picture of your creation on social media and tag #BakeWithEase – let's inspire each other!
- Try experimenting with different flours or herbs to personalize your baguette. What unique flavor combinations will you create?
Ready to transform your kitchen into a Parisian boulangerie? What ingredient are you most excited to experiment with in your next baguette?