
The Art of Proofing: Equipment for Perfect Fermentation

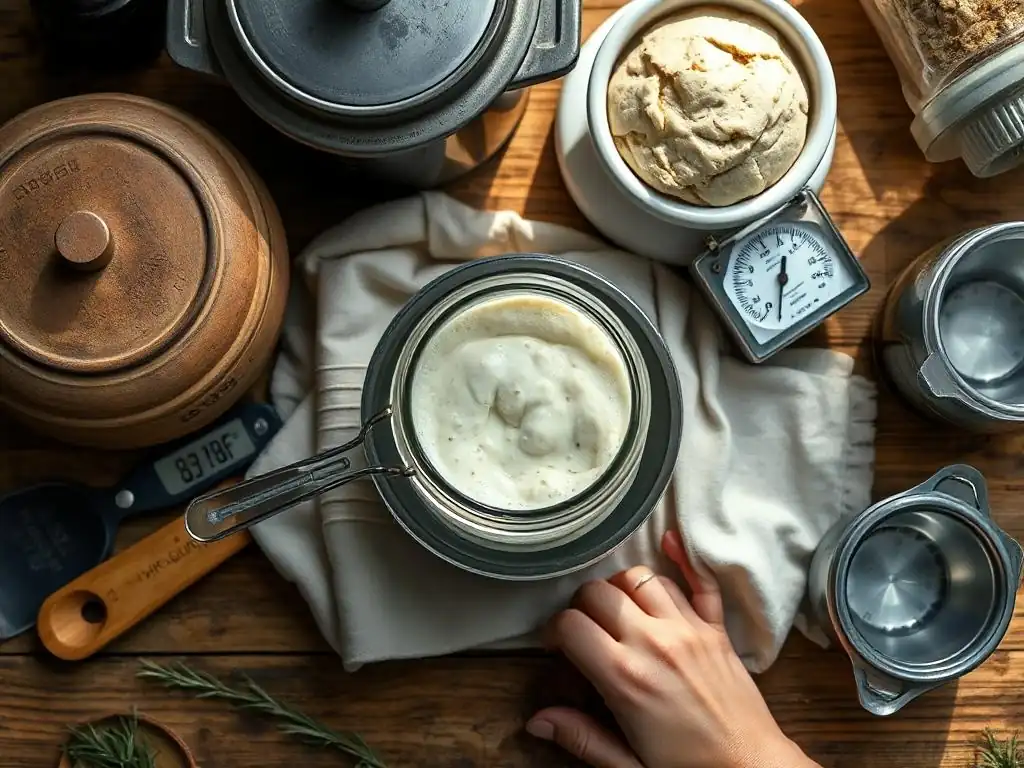
Welcome to BakeWithEase, your guide to conquering the kitchen! Ever wondered if you're truly unlocking the potential of your sourdough? Our latest guide dives deep into achieving perfect fermentation with the right sourdough starter proofing equipment. Discover how the correct tools can elevate your baking game and transform your loaves. Intrigued? Let's get started!
Why Proofing Equipment Matters for Successful Sourdough
Achieving a vibrant, active sourdough starter is the bedrock of successful sourdough baking, and this is where proper proofing equipment becomes indispensable. A healthy starter relies heavily on a consistent and favorable environment to thrive. The temperature at which your starter proofs directly impacts the speed and intensity of fermentation.
Too cold, and the yeast and bacteria become sluggish, leading to a weak starter that struggles to lift your dough. Too warm, and fermentation can race, potentially leading to an overly acidic starter or one that peaks and collapses too quickly before you're ready to use it. Using the right sourdough starter proofing equipment allows you to control these variables, ensuring predictable and robust activity every time you feed your starter.
Beyond just temperature, the container you use and how you monitor its activity are crucial. A clear container with straight sides makes it easy to track the starter's rise, often aiming for a doubling or tripling in volume, which is a key indicator of readiness. Marking the initial level with a rubber band or marker allows you to precisely measure growth.
Without suitable sourdough starter proofing equipment, you're essentially guessing whether your starter is ready, which can lead to inconsistent results in your final bread. Investing in or creating the right setup removes much of the guesswork, providing the stability needed for the symbiotic relationship between yeast and bacteria in your starter to flourish optimally, typically in a temperature range between 70°F and 80°F (21°C to 27°C).
Understanding Sourdough Starter Activity and Proofing Needs
Sourdough starter activity is a fascinating biological process driven by wild yeasts and lactic acid bacteria consuming sugars in flour and water, producing carbon dioxide (the bubbles that cause rise) and various organic acids (which give sourdough its characteristic flavor). The optimal conditions for this activity involve a balance of food (flour and water, typically in a 1:1:1 ratio by weight for feeding), hydration (the water percentage), and, critically, temperature.
When proofing your starter, you're creating the environment where this fermentation can occur efficiently. A starter that is happy and well-proofed will show visible signs of life: it will increase significantly in volume, develop a bubbly, airy texture throughout, and often emit a pleasant, tangy aroma.
Different stages of starter life and desired outcomes might influence your proofing needs. A young, developing starter benefits from a slightly warmer environment (closer to 80°F or 27°C) to encourage vigorous initial growth. A mature starter maintained for regular baking can often be happy at standard room temperature (around 70-75°F or 21-24°C), peaking within 4-8 hours after feeding depending on its hydration and the ambient temperature.
Understanding these needs helps you select the appropriate sourdough starter proofing equipment. For instance, if your kitchen is consistently cool, you'll need a method to provide supplementary warmth to ensure your starter reaches its peak potential predictably. Recognizing the visual cues of a ripe starter – typically when it has roughly doubled or tripled and is at the height of its dome before starting to slowly recede – is paramount, and clear proofing containers make this observation simple and accurate.
- Why Proofing Equipment Matters for Successful Sourdough
- Understanding Sourdough Starter Activity and Proofing Needs
- What is proofing a sourdough starter, and why is it important?
- What types of equipment are considered "best" for proofing a sourdough starter?
- How does temperature affect the proofing process of a sourdough starter?
- Can I proof my sourdough starter without any specialized equipment?
- What are some signs that my sourdough starter is properly proofed?
Essential Sourdough Starter Proofing Equipment: A Comprehensive Buying Guide
The Best Jars for Proofing Sourdough Starter: Functionality and Features
Choosing the right jar is perhaps the most basic, yet fundamental, decision when it comes to sourdough starter proofing equipment. The ideal jar allows you to easily feed, stir, and, most importantly, observe your starter's growth. Look for jars with wide mouths, which make adding flour and water and stirring the thick mixture much less messy.
Straight sides are also highly beneficial because they allow the starter to rise evenly and make it simple to track its progress against the side of the jar – marking the starting level with a rubber band is a common and effective technique. The material is also a factor; glass is preferred by many as it's non-reactive, easy to clean, and completely transparent for monitoring.
While lids are necessary for storage, for active proofing at room temperature, a loosely fitting lid or even just a piece of cloth secured with a rubber band is often recommended. This allows beneficial wild yeasts from the air to potentially contribute to the starter's ecosystem while preventing the starter from drying out on top.
Airtight seals, while great for storing starter in the fridge for longer periods, can sometimes lead to excessive pressure buildup during vigorous fermentation at warmer temperatures. Therefore, when actively proofing on the counter, ensuring adequate headspace in the jar and using a breathable cover or slightly loosened lid is important for both the starter's health and your safety.
Weck Jars for Sourdough: A Classic Choice for Monitoring Activity
Weck jars are a popular choice among sourdough enthusiasts, and for good reason. Their design, often featuring straight sides and a wide opening, makes feeding and monitoring starter growth incredibly easy. The clear glass allows for perfect visibility, letting you see the bubble structure developing and accurately track the rise against the jar wall. The standard Weck closure involves a glass lid, rubber ring, and metal clamps. While the clamps create an airtight seal for canning or refrigeration, during active proofing, you can simply rest the glass lid on top without the rubber ring or clamps.
This simple resting of the lid provides a protective cover to prevent drying and contamination while still allowing gases produced during fermentation to escape easily. Weck jars come in various sizes, allowing you to choose one appropriate for the amount of starter you maintain – a common choice is a jar that is at least twice the volume of your fed starter to accommodate its growth. Their aesthetic appeal is also a bonus for many bakers who keep their starter on the counter.
Le Parfait Jars: Airtight Seals and Stylish Proofing
Le Parfait jars, similar to Weck, are another European brand known for their quality glass jars. They typically feature a hinged lid with a rubber seal and wire bail, creating a strong airtight closure. While the airtight seal is excellent for storing starter in the refrigerator or for preserving other foods, it's crucial not to snap the wire bail completely shut when actively proofing your sourdough starter at warmer temperatures. The buildup of carbon dioxide gas can create significant pressure.
For proofing, the Le Parfait jar can be used by simply resting the hinged lid down without engaging the wire bail, or by placing a cloth over the opening. However, many bakers appreciate the straight sides and clear glass for monitoring. Le Parfait offers various sizes, and their durable construction makes them a long-lasting piece of sourdough starter proofing equipment. Their distinct orange rubber seals are easily recognizable.
Ball Mason Jars: Reliable and Affordable Proofing Containers
Ball Mason jars are perhaps the most accessible and widely used jars for all sorts of kitchen tasks, including sourdough starter proofing. They are readily available, affordable, and come in numerous sizes, from small 8oz jars perfect for maintaining a small amount of starter to quart-sized (32oz) jars that easily accommodate a larger, actively growing starter. The wide-mouth versions (marked "Wide Mouth" on the jar) are particularly convenient for feeding and stirring sourdough starter.
While they don't have perfectly straight sides like some specialty jars, the slight taper is usually not a significant hindrance for tracking growth, especially if you use a rubber band to mark the starting level. The standard two-part lid system (flat metal lid and screw band) can be used by simply resting the flat lid on top during active proofing to allow gases to escape, or using a coffee filter or cloth secured with the screw band. Mason jars are durable, easy to clean, and a cost-effective entry into dedicated sourdough starter proofing equipment.
Temperature Control: Maintaining the Ideal Environment for Sourdough Starter
Maintaining a consistent temperature is one of the most significant factors in successful sourdough starter proofing. Wild yeast and bacteria are highly sensitive to temperature fluctuations. While room temperature (around 70-75°F or 21-24°C) works well for many, achieving this consistently can be challenging depending on the season and your home's climate control. Providing a stable, slightly warmer environment can significantly speed up starter activity and ensure predictable results, especially if your kitchen is cool, say below 68°F (20°C). This is where specialized temperature-controlled sourdough starter proofing equipment shines.
Various methods exist to create a warmer microclimate for your starter. Some are dedicated appliances, while others are clever DIY solutions. The goal is to keep the starter within its optimal fermentation range, typically 70-80°F (21-27°C), to encourage vigorous growth and balanced acid production. Without temperature control, proofing times can vary wildly, making it difficult to time your bakes effectively. Consistent temperature control leads to a more consistent and reliable starter, which in turn leads to better bread.
Yogurt Makers for Sourdough Starter: Precise Temperature Control
While designed for making yogurt, many modern yogurt makers offer precise temperature control that is perfect for sourdough starter proofing. These appliances typically maintain a constant temperature, often adjustable within a range that includes the ideal temperatures for starter fermentation (e.g., 70°F to 110°F or 21°C to 43°C). You can simply place your jar of fed starter inside the yogurt maker, set the desired temperature (often around 75-80°F or 24-27°C), and let it proof.
The consistent heat ensures your starter develops predictably, regardless of the ambient temperature in your kitchen. Yogurt makers are relatively compact and energy-efficient. Look for models with digital temperature displays and timers for maximum control. Using a yogurt maker as sourdough starter proofing equipment removes much of the uncertainty related to environmental temperature, making it easier to achieve a peak-activity starter on your schedule.
Brod & Taylor Folding Proofer: Versatile Proofing Station for Sourdough and More
The Brod & Taylor Folding Proofer is a dedicated piece of baking equipment designed specifically for controlling temperature during proofing. It's a collapsible box with a heating element and thermostat, capable of maintaining temperatures from around 70°F to 120°F (21°C to 49°C). This makes it incredibly versatile, suitable not only for proofing sourdough starter but also for the bulk fermentation and final proof of your sourdough dough, as well as other yeasted doughs, yogurt, and even tempering chocolate.
For sourdough starter proofing, you set the desired temperature (e.g., 75°F) and place your starter jar inside. The proofer provides a stable, humid environment (if a water tray is used) that encourages consistent and active fermentation. While a more significant investment than a yogurt maker or DIY solution, its versatility and precise control make it a top-tier piece of sourdough starter proofing equipment for serious home bakers. When folded flat, it takes up minimal storage space.
DIY Proofing Box: A Cost-Effective Alternative Using Seedling Heat Mat and Insulated Cooler
A highly effective and budget-friendly approach to temperature-controlled sourdough starter proofing is building a simple DIY proofing box. This typically involves combining a small insulated cooler or a sturdy cardboard box (like a Styrofoam cooler) with a seedling heat mat and an external thermostat controller. The seedling heat mat provides a gentle, consistent heat source, and the thermostat probe is placed inside the box near your starter jar to regulate the temperature precisely.
You connect the heat mat to the thermostat, set the desired temperature (e.g., 78°F or 26°C), and the thermostat turns the heat mat on and off to maintain that temperature within the insulated box. This setup provides excellent temperature stability and is significantly less expensive than dedicated proofing appliances. It's a fantastic piece of homemade sourdough starter proofing equipment that delivers results comparable to commercial options.
Measuring and Monitoring: Essential Tools for Sourdough Proofing
Accurate measurement and diligent monitoring are fundamental practices in sourdough baking, extending from feeding your starter to proofing it. While observation is key, using the right tools provides objective data that helps ensure consistency and troubleshoot issues. These tools help you understand not just that your starter is proofing, but how quickly and at what specific conditions, allowing you to replicate successful outcomes and adjust when necessary. They are essential complements to your sourdough starter proofing equipment setup.
Whether it's precisely weighing ingredients for feeding or checking the temperature of your starter's environment, these tools remove guesswork and provide the foundation for informed decisions. They empower you to move beyond simply following a recipe and truly understand the biological process happening in your jar. Investing in reliable measuring and monitoring tools pays dividends in the consistency and quality of your sourdough starter and subsequent bakes.
Digital Thermometers: Accurate Temperature Readings for Optimal Proofing
A digital thermometer is an invaluable tool for sourdough starter proofing. It allows you to measure the ambient temperature of your proofing environment (whether it's a DIY box, proofer, or just your counter) and even the internal temperature of your starter itself. Knowing the exact temperature helps you understand why your starter is behaving a certain way – if it's sluggish, is the room too cold? If it's peaking too fast, is it too warm?
Using a digital thermometer, you can verify that your temperature-controlled sourdough starter proofing equipment is working correctly or determine if your room temperature is within the optimal range (70-80°F or 21-27°C). Instant-read digital thermometers are quick and easy to use, providing the precise data needed to make adjustments to your proofing setup or timing. They are a small but mighty addition to your toolkit.
Kitchen Scales: Precise Measurements for Consistent Starter Feeding
While not strictly "proofing" equipment, a reliable kitchen scale is absolutely essential for maintaining a healthy and consistent sourdough starter, which directly impacts its proofing performance. Feeding your starter using precise weight measurements (grams are standard in sourdough) ensures that the ratio of flour, water, and existing starter is accurate every time. This consistency is crucial for predicting how your starter will behave during proofing.
Using volume measurements (cups or spoons) for flour and water can lead to significant variations because flour density differs depending on how it's scooped. A difference of just a few grams can alter the hydration and food availability for your starter, affecting its fermentation speed and peak activity. A digital kitchen scale allows you to measure ingredients precisely, leading to a more stable and predictable starter that proofs reliably.
Proofing Baskets (Bannetons): Shaping and Proofing Your Sourdough Loaf
Proofing baskets, also known as bannetons or brotforms, are essential pieces of equipment for the dough proofing stage of sourdough baking, following the successful proofing of your starter. While not used for the starter itself, they are critical for the final rise before baking. Bannetons are typically made of rattan, cane, or sometimes plastic or wood pulp, and are dusted with flour (often rice flour) before the shaped dough is placed inside.
Their primary function is to provide structure and support to the shaped sourdough loaf during its final proof, preventing it from spreading outwards and helping it maintain its desired form. The basket also encourages a nice, taut surface tension on the dough. Rattan baskets can also wick away a small amount of moisture from the dough's surface, which can contribute to a crispier crust. They are a standard piece of equipment for achieving the classic shape and structure of artisan sourdough bread after your starter has been properly proofed and used in the dough.
Sourdough Starter Proofing: Beyond the Basics
Advanced Techniques: Using Ripe Starter Indicators for Perfect Proofing
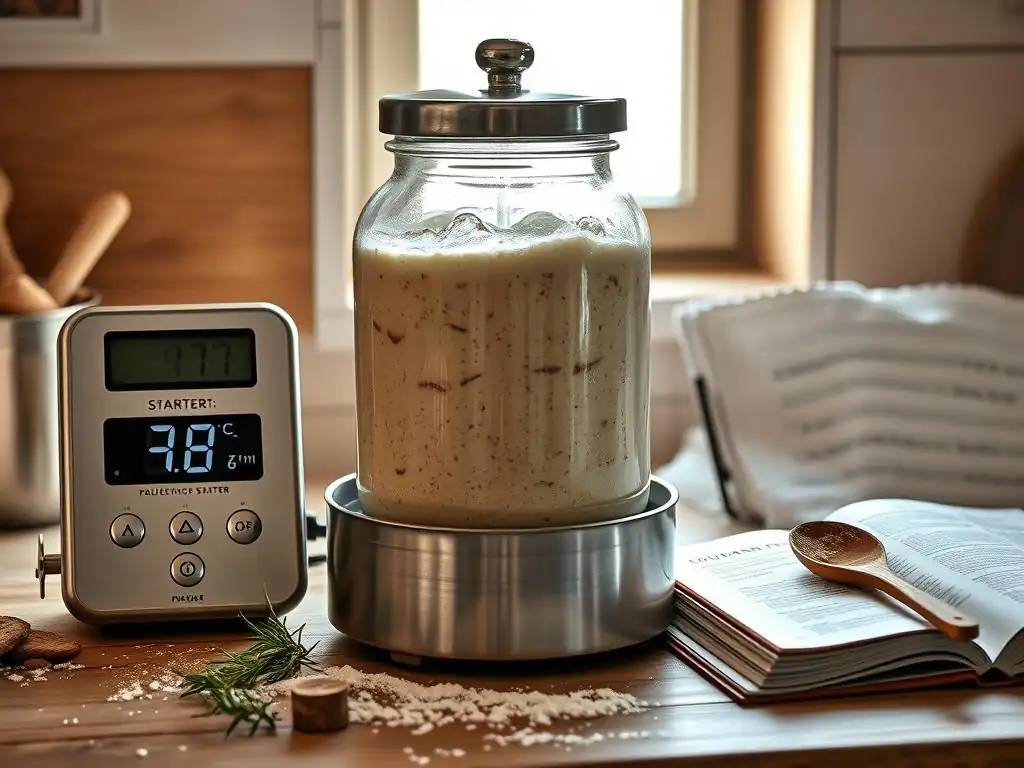
Moving beyond simply waiting for your starter to double, experienced sourdough bakers learn to read more subtle cues of a perfectly ripe starter. While doubling in volume is a good general indicator, a starter is often at its peak activity – the ideal time to use it for baking – slightly before it starts to recede. A key indicator is the "float test," although this is debated by some; a small spoonful of starter dropped into water should float if it contains enough trapped gas, indicating readiness. However, a more reliable method is observing the starter's structure and dome.
A truly ripe starter will have a domed top, often with many small bubbles visible just below the surface and throughout the mass when viewed through the side of a clear jar. The surface might show signs of just beginning to flatten or even a slight dimple in the center, indicating it's at its peak or just starting to think about collapsing. The aroma also changes, becoming pleasantly tangy but not overwhelmingly acidic or alcoholic.
Learning to recognize these specific visual and olfactory cues, in addition to volume increase, is an advanced technique that ensures you use your starter at its most potent, leading to the best possible rise in your dough. This level of observation is greatly aided by using appropriate sourdough starter proofing equipment, particularly clear jars with straight sides.
Troubleshooting Proofing Issues: Common Problems and Solutions
Even with the right sourdough starter proofing equipment, you might encounter issues. A common problem is a starter that is sluggish or doesn't rise much. This is often due to temperature being too low – try moving it to a warmer spot or using temperature-controlled proofing equipment like a heat mat setup or yogurt maker. Another cause could be an underfed starter or using filtered water if your tap water contains chlorine, which can inhibit microbial activity. Ensuring you are using unchlorinated water and feeding with a consistent ratio by weight (using a kitchen scale) are crucial steps.
Conversely, if your starter rises incredibly fast but then collapses quickly and smells strongly of alcohol or acetone, it's likely over-fermenting, often due to being too warm or needing a larger feeding. Try proofing at a slightly cooler temperature or increasing the amount of flour and water in your feeding ratio to provide more food for the microbes.
If the starter develops mold, it's usually a sign of contamination or infrequent feeding; discard it and start fresh, ensuring your jars and equipment are clean. Patience is key; a consistent feeding schedule and appropriate sourdough starter proofing equipment are your best allies in troubleshooting.
Maintaining Your Proofing Equipment: Cleaning and Storage Tips
Proper maintenance of your sourdough starter proofing equipment ensures its longevity and prevents contamination. Jars should be thoroughly cleaned after each use, especially if you switch jars during feedings. Hot soapy water is usually sufficient, followed by a good rinse. Some bakers prefer to sterilize their jars periodically by boiling them or running them through a dishwasher on a hot cycle, though daily sterilization isn't strictly necessary for a healthy, established starter. Ensure jars are completely dry before adding new starter and food.
Temperature control equipment like heat mats or proofers should be wiped clean as needed to remove any spills. Store equipment properly when not in use. Folding proofers collapse for easy storage. Jars can be stored in cabinets. Keeping your sourdough starter proofing equipment clean and organized makes the baking process smoother and helps maintain a healthy environment for your starter's fermentation.
Choosing the Right Sourdough Starter Proofing Equipment: Factors to Consider
Budget Considerations: Finding the Best Value for Your Needs
When selecting sourdough starter proofing equipment, your budget is a primary factor. You can get started with very little investment – a simple glass jar and a rubber band are the absolute basics. Ball Mason jars are an incredibly affordable and effective option. If your kitchen temperature is consistently warm, you might not need any temperature control equipment at all.
However, if you live in a cooler climate or want more predictable results, investing in temperature control becomes important. A DIY heat mat setup is a cost-effective solution, potentially costing less than fifty dollars. Dedicated proofers like the Brod & Taylor are a larger investment, often several hundred dollars, but offer convenience and versatility. Consider how often you bake and your need for precision when deciding how much to spend on sourdough starter proofing equipment. Sometimes, spending a little more upfront on a reliable tool saves frustration and wasted ingredients in the long run.
Space Constraints: Optimizing Your Kitchen Setup for Proofing
Kitchen space is often a premium, and this should influence your choice of sourdough starter proofing equipment. A simple jar takes up minimal counter space. If you choose a DIY proofing box using a cooler, you'll need space to set it up, but it can often be tucked away.
Dedicated appliances like yogurt makers or folding proofers require counter space or storage space. Folding proofers are designed to collapse flat for easy storage in a cupboard or drawer, which is a significant advantage in smaller kitchens. Consider where you will keep your starter and any proofing equipment, especially if you plan to maintain an active starter on your counter most of the time. Selecting compact or collapsible sourdough starter proofing equipment helps optimize your kitchen setup.
Personal Preferences: Selecting Equipment That Suits Your Baking Style
Ultimately, the best sourdough starter proofing equipment for you also depends on your personal baking style and preferences. Are you someone who thrives on precision and wants the most consistent results possible every single time? Then investing in a dedicated proofer or a precise temperature-controlled setup might be worth it.
If you prefer a more relaxed, intuitive approach and are comfortable with slight variations in proofing time based on ambient temperature, a simple jar and observation might be perfectly adequate. Some bakers appreciate the aesthetic of certain jars, like Weck or Le Parfait. Consider how much automation or control you desire, how much time you want to spend monitoring, and what kind of tools you enjoy using when selecting your sourdough starter proofing equipment. The goal is to find a system that makes sourdough baking enjoyable and successful for you.
Our Top Recommendations: The Best Sourdough Starter Proofing Equipment of 2024
Best Overall: Brod & Taylor Folding Proofer
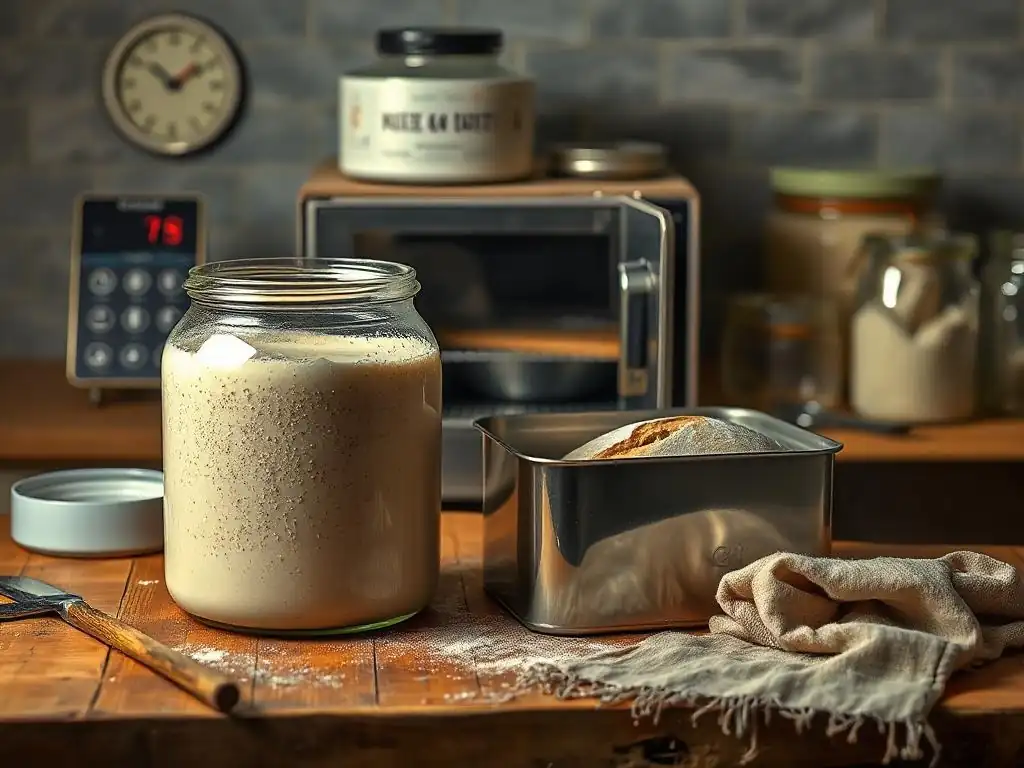
For serious home bakers seeking maximum control and versatility, the Brod & Taylor Folding Proofer stands out as the best overall sourdough starter proofing equipment. Its ability to maintain precise temperatures across a range suitable for both starter and dough proofing, along with its ability to create a humid environment, makes it an incredibly effective tool.
While it requires a significant investment, its performance in ensuring consistent, predictable fermentation for both your starter and your final loaf is unmatched by simpler methods. The fact that it folds down for storage is a major advantage. If you bake sourdough frequently and want to eliminate temperature as a variable, this is the top choice.
Best Budget-Friendly Option: Ball Mason Jars and DIY Proofing Box
For bakers on a budget, the combination of readily available Ball Mason jars and a DIY proofing box using a seedling heat mat and thermostat controller offers the best value in sourdough starter proofing equipment. Mason jars are inexpensive and functional for monitoring starter growth.
The DIY proofing box provides precise temperature control for a fraction of the cost of commercial units. This setup allows you to achieve consistent starter activity and predictable proofing times without breaking the bank. It requires a bit of assembly and space, but the performance for the cost is excellent.
Best for Precise Temperature Control: Yogurt Maker with Digital Display
If your primary need is precise temperature control specifically for your sourdough starter (and perhaps yogurt), a high-quality yogurt maker with a digital display and adjustable temperature settings is an excellent piece of sourdough starter proofing equipment. These units are designed to hold a consistent temperature for extended periods.
Many models offer temperature ranges that perfectly overlap with the optimal proofing temperatures for sourdough starter (70-80°F). They are typically more compact than a proofer box and require less setup than a DIY system. For reliable, consistent starter activity driven purely by temperature control, a good yogurt maker is a top contender.
Where to Buy Sourdough Starter Proofing Equipment: Trusted Retailers and Online Stores
Amazon: Wide Selection and Competitive Prices
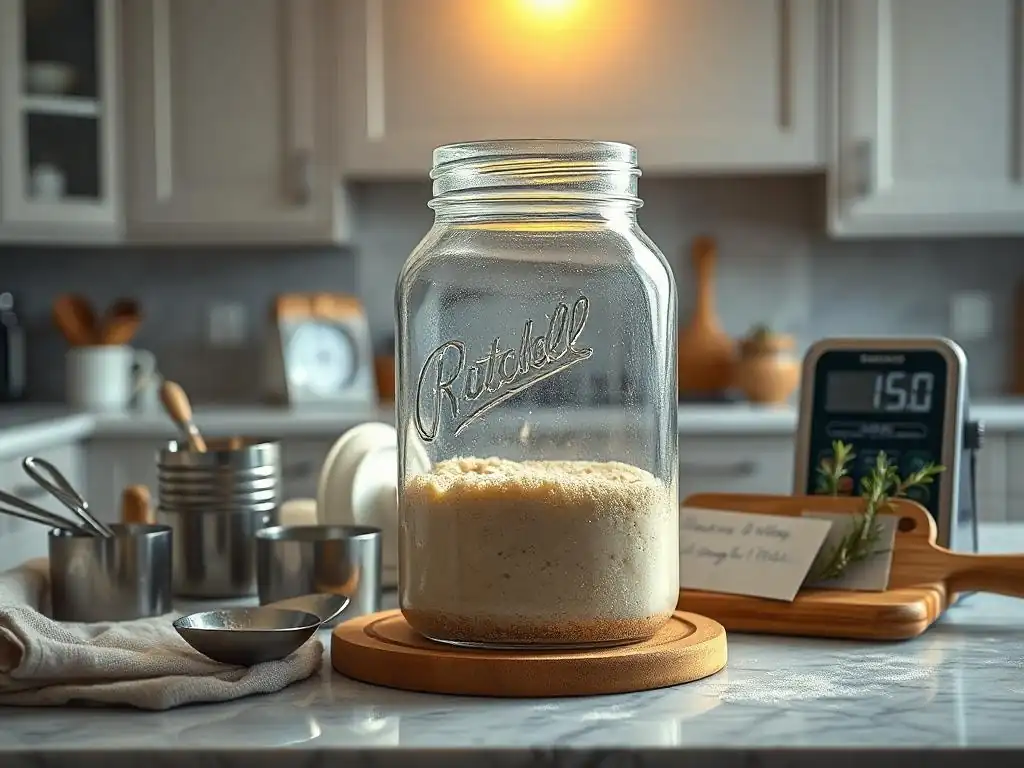
Amazon is a go-to source for a vast array of sourdough starter proofing equipment. You can find everything from basic Ball Mason jars and digital scales to seedling heat mats for DIY setups and even dedicated proofers like the Brod & Taylor. The selection is extensive, and prices are often competitive, with many options available for fast shipping.
It's easy to compare different brands and models, read customer reviews, and find specific items you might need for your sourdough journey. Whether you're just starting out or looking to upgrade your setup, Amazon offers convenience and variety for purchasing your sourdough proofing needs.
King Arthur Baking Company: High-Quality Baking Supplies
King Arthur Baking Company is a highly respected source for all things baking, and their selection of sourdough starter proofing equipment is curated for quality. They offer premium jars, scales, thermometers, and often feature items like the Brod & Taylor proofer. While their prices might be slightly higher than mass retailers, you can be confident in the quality and suitability of their products for baking.
Shopping with King Arthur also provides access to their wealth of baking knowledge and customer support. It's a great place to find reliable, baker-tested equipment specifically chosen for its performance in the context of sourdough and other baking projects.
Specialty Baking Stores: Expert Advice and Unique Products
Local or online specialty baking stores can be excellent resources for sourdough starter proofing equipment. These stores often carry unique items not found elsewhere and their staff are typically knowledgeable bakers who can offer expert advice tailored to your needs. You might find artisanal proofing jars, specific types of scales, or locally sourced equipment.
While potentially less convenient than large online retailers, supporting specialty stores often means supporting passionate bakers and getting access to a level of expertise that can be invaluable, especially if you have specific questions about sourdough starter proofing or other baking techniques.
Conclusion: Elevate Your Sourdough Baking with the Right Proofing Equipment
Mastering sourdough baking is a journey that involves understanding fermentation, developing technique, and using the right tools. Essential sourdough starter proofing equipment plays a critical role in this process, providing the consistency and control needed for a healthy, active starter and ultimately, a successful loaf of bread. From simple clear jars that help you monitor growth to sophisticated temperature-controlled environments that ensure predictable activity, the right equipment empowers you to take control of your sourdough.
Whether you opt for a budget-friendly DIY setup or invest in a dedicated proofer, choosing sourdough starter proofing equipment that fits your needs, space, and budget will significantly improve your results. By providing your starter with the ideal conditions to thrive, you unlock its full potential, leading to better rise, flavor, and texture in your bakes. Equip yourself wisely, observe your starter, and enjoy the rewarding process of creating delicious sourdough bread from scratch.
Frequently Asked Questions
What is proofing a sourdough starter, and why is it important?
Proofing refers to the process of allowing your sourdough starter to ferment and develop its characteristic flavor. It's vital for ensuring a light and airy bake.
What types of equipment are considered "best" for proofing a sourdough starter?
While not strictly required, temperature-controlled environments like proofing boxes or even your oven with the light on are ideal for consistent results. Jars are also important for watching the rise.
How does temperature affect the proofing process of a sourdough starter?
Temperature drastically affects the speed and activity of the yeast. Lower temperatures slow down fermentation, while higher temperatures accelerate it. Consistency is key!
Can I proof my sourdough starter without any specialized equipment?
Yes, absolutely! A warm spot in your kitchen is sufficient. Just monitor the starter's rise and adjust the proofing time as needed.
What are some signs that my sourdough starter is properly proofed?
A properly proofed starter will have doubled or tripled in size, be bubbly, and have a slightly tangy aroma. It should also pass the "float test" in water.
Final Reflection: The Perfect Rise: Mastering Sourdough Through Equipment
The pursuit of the perfect sourdough loaf hinges not just on skill, but on the right tools. Achieving that ideal fermentation, that ethereal rise, requires precision and control, and the equipment we choose plays a crucial role in this delicate dance between flour, water, and time. This article has explored the best equipment for sourdough starter proofing, highlighting the nuances of each option and guiding you towards a more consistent and successful baking journey.
The journey of sourdough baking, from the initial bubbling of the starter to the final golden crust, is a testament to patience and attention to detail. It's a process that connects us to a rich history of bread making, a tradition passed down through generations. The right equipment isn't just about convenience; it's about respecting the process and honoring the craft. As the renowned baker, Chad Robertson, once said: Bread baking is a journey of discovery, a constant learning process. The more you learn, the more you realize how much you don't know.
This sentiment perfectly encapsulates the ongoing evolution of my own sourdough journey, and I hope it resonates with yours as well.
Now, it's your turn. Consider the equipment you currently use for proofing your sourdough starter. Does it consistently deliver the results you desire? Are there areas where you could improve your process with a simple upgrade? Take this opportunity to reflect on your own baking practice, and embrace the possibilities that the right tools can unlock. The journey to the perfect loaf is ongoing, and with the right equipment and a little patience, you'll be well on your way to baking sourdough bread that is both beautiful and delicious.
Unleash Your Inner Baker: Perfect Your Fermentation!
Thanks for diving into the world of perfect fermentation! We hope you now feel equipped to tackle those sourdough starters and kombucha brews with confidence. Ready to take your baking to the next level?
- Start your fermentation journey today! Grab your favorite ingredients and try one of the recipes mentioned in the article – we'd love to hear about your results!
- Share your fermentation triumphs (and even your flops!) with our community on social media using #BakeWithEaseFermentation. Let's learn from each other!
- Experiment with a new ingredient or technique – what unique flavor combinations will you create?
What exciting fermentation project will you tackle first?