
The Secret Crunch: Adding Craquelin to Your Choux Pastry

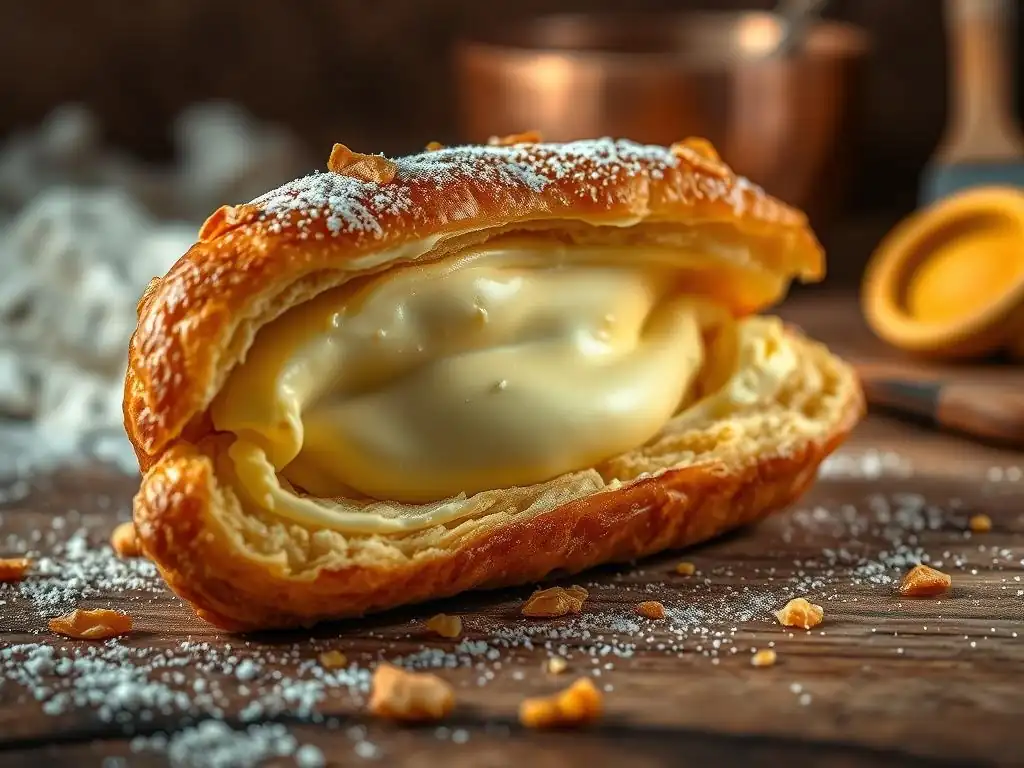
Welcome to BakeWithEase, where baking becomes a delightful journey, not a daunting task! Ever wondered how to elevate your choux pastry to bakery-level perfection? Prepare to unlock the secret to that irresistible, crackly top with our guide to the craquelin choux pastry recipe. This seemingly simple addition transforms your puffs into masterpieces. Intrigued? Let's get baking!
- Unlock the Perfect Choux: Mastering Craquelin for Superior Texture
- What is Craquelin and Why Add it to Your Choux Pastry?
- Craquelin Choux Pastry Recipe: Step-by-Step Guide
- Troubleshooting Your Craquelin Choux Pastry
- Tips and Tricks for Perfect Craquelin Choux
- Beyond the Basics: Advanced Craquelin Techniques
- Frequently Asked Questions
- Final Reflection: The Enduring Allure of the Craquelin Crunch
- Unleash Your Inner Pâtissier: Master the Craquelin Crunch!
Unlock the Perfect Choux: Mastering Craquelin for Superior Texture
Making choux pastry, those delightful airy puffs, is a rewarding baking endeavor. But imagine adding an extra layer of texture, a sweet, crisp crown that elevates each bite. That's where craquelin comes in. Mastering the addition of craquelin to your choux is a technique that transforms a simple pastry into a patisserie-quality creation, offering a delightful contrast to the soft, hollow interior. It's a secret weapon for anyone looking to perfect their craquelin choux pastry recipe.
This technique isn't just for professional bakers; it's entirely achievable at home. By understanding the components and following a few key steps, you can consistently produce choux buns with that sought-after crisp topping. It adds both visual appeal and a fantastic textural element, making your cream puffs, éclairs, or profiteroles stand out. Let's dive into how this simple addition can make such a significant difference in your choux pastry creations.
What is Craquelin and Why Add it to Your Choux Pastry?
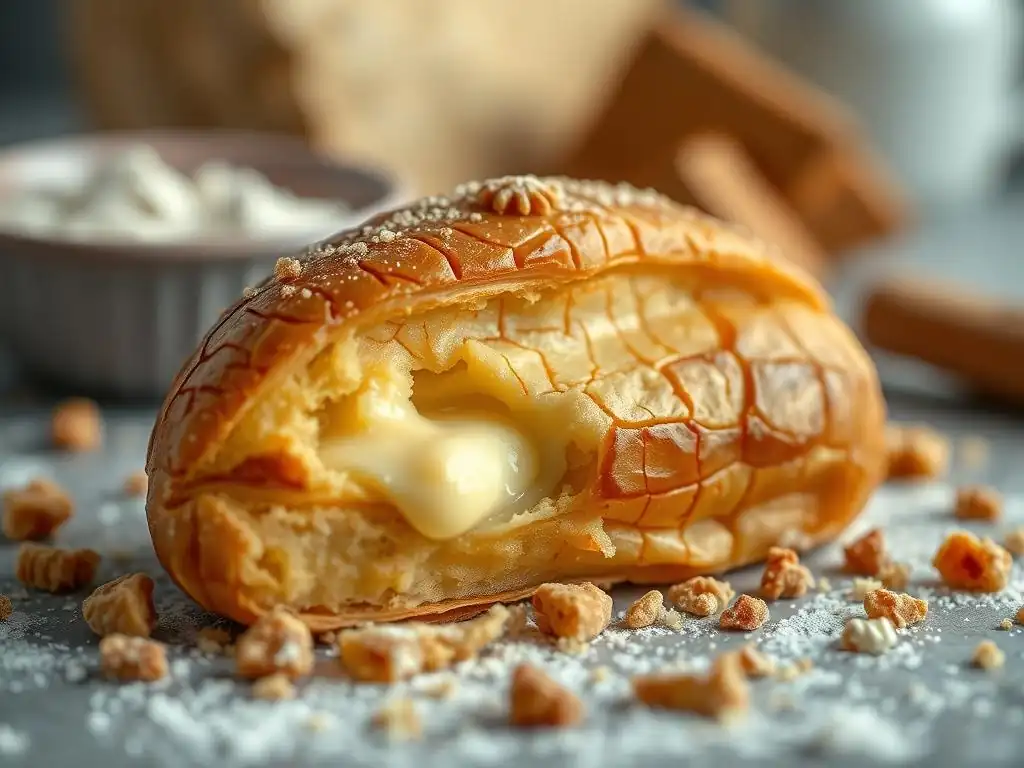
Craquelin is essentially a simple mixture of butter, sugar, and flour that is rolled thinly and placed on top of choux pastry before baking. When baked, this thin layer melts slightly and then crisps up, forming a delightful, crackled cookie-like crust over the puff. The name "craquelin" itself comes from the French word "craqueler," meaning "to crackle," perfectly describing its appearance.
Typically, the ratio of ingredients by weight is roughly equal parts butter, sugar, and flour, though variations exist. Some recipes might use a slightly higher proportion of sugar for extra sweetness and crispness, while others might adjust the flour type for different textures. The key is creating a pliable dough that can be rolled out thinly and holds its shape when chilled or frozen, ready to provide that signature crunch to your craquelin choux pastry.
Elevating Your Choux: The Benefits of Using Craquelin
Adding craquelin to your choux pastry offers several distinct advantages, transforming a classic bake into something truly special. Beyond just taste, it impacts the texture and appearance significantly. It's a relatively simple step that yields impressive results, making it a popular technique in pastry shops worldwide and a fantastic addition to your home baking repertoire.
The craquelin acts almost like a protective shield during baking. As the choux pastry expands rapidly in the hot oven, the craquelin layer stretches and cracks, creating the beautiful, irregular patterns it's known for. This process also helps the choux rise more evenly and maintain a rounder, more uniform shape, which can sometimes be a challenge with plain choux pastry.
Enhanced Texture: The Delightful Crunch Factor
The most immediate and noticeable benefit of using craquelin is the incredible texture it adds. While traditional choux pastry is known for its light, airy, and slightly chewy interior, the craquelin provides a thin, crisp, and buttery exterior layer. This contrast between the yielding puff and the firm, sweet crust is incredibly satisfying and adds a new dimension to the eating experience.
Imagine biting into a cream puff: first, you encounter that delightful snap of the craquelin, followed by the yielding resistance of the choux shell, and finally, the soft, creamy filling. This textural complexity is a hallmark of well-made patisserie and is easily achieved by incorporating this simple topping into your craquelin choux pastry recipe. It elevates the humble choux to a gourmet level.
Visual Appeal: Creating Beautifully Cracked Choux Buns
Beyond texture, craquelin significantly enhances the visual appeal of choux pastry. As the choux expands beneath the craquelin layer during baking, the craquelin cracks in unique, organic patterns, giving each puff a rustic yet elegant look. This natural "crackle" effect is highly desirable and instantly signals a pastry made with care and attention to detail.
The craquelin also helps the choux maintain a more consistently round shape as it bakes. Without it, choux can sometimes puff up unevenly or develop irregular peaks. The weight and structure of the craquelin help to guide the expansion upwards and outwards evenly, resulting in beautifully round, uniform buns with a lovely cracked surface. This aesthetic makes them perfect for display or special occasions.
Flavor Boost: Adding Sweetness and Depth to Your Choux
Craquelin isn't just about texture and looks; it also contributes significantly to the flavor profile of the choux pastry. Made from butter, sugar, and flour, it bakes into a sweet, slightly caramelized cookie layer. This sweetness complements the relatively neutral flavor of the choux dough and the richness of any filling you might add.
The butter in the craquelin also adds a wonderful richness and depth of flavor that permeates the outer layer of the choux as it bakes. It's a subtle but important addition that makes the overall pastry taste more complex and satisfying. Including craquelin in your craquelin choux pastry recipe ensures that every bite is flavorful from the crisp exterior to the airy interior.
Craquelin Choux Pastry Recipe: Step-by-Step Guide
Gathering Your Ingredients: Craquelin and Choux
To make perfect craquelin choux pastry, you'll need two sets of ingredients: one for the craquelin topping and one for the classic choux pastry base. Having all your ingredients measured and ready before you begin is crucial for a smooth process, especially since choux pastry requires quick work once the dough is cooked.
Ensure your butter is softened for the craquelin but cold and cubed for the choux pastry. Eggs should be at room temperature for the choux, as this helps them incorporate more easily into the warm dough. Using high-quality ingredients will always yield the best results in your craquelin choux pastry recipe.
Craquelin Ingredients: Butter, Flour, and Sugar Ratio
A common and reliable ratio for craquelin by weight is 1 part softened unsalted butter, 1 part granulated sugar (or sometimes light brown sugar for a slightly deeper flavor), and 1 part all-purpose flour. For example, you might use 50g butter, 50g sugar, and 50g flour. This ratio produces a dough that is easy to work with and bakes into a crisp, golden crust.
Some bakers prefer a slightly sweeter craquelin, using a ratio like 1 part butter, 1.2 parts sugar, and 1 part flour. Conversely, for a less sweet topping, you might use 1 part butter, 0.8 parts sugar, and 1 part flour. Experimenting with these ratios can fine-tune the sweetness and crispness to your preference when making your craquelin choux pastry recipe.
Choux Pastry Ingredients: The Classic Base Recipe
The classic choux pastry recipe relies on a few basic ingredients: water (or milk, or a mix), butter, salt, sugar (optional, a pinch is common), flour, and eggs. A typical ratio might involve 1 cup of liquid, 1/2 cup of butter, a pinch of salt and sugar, 1 cup of flour, and 4 large eggs. The exact amount of flour and eggs can vary slightly depending on humidity and flour type, so it's important to look for the correct dough consistency.
Using milk or a mix of milk and water instead of just water can result in a slightly richer, softer choux pastry with a more golden color. Salt is essential to balance the flavors, even in sweet applications, and a tiny pinch of sugar helps with browning. These simple ingredients, when cooked correctly, create the base for your impressive craquelin choux pastry.
Making the Craquelin Dough: A Simple Process
Making the craquelin dough is surprisingly straightforward and can be done quickly. The key is to ensure your butter is soft enough to cream easily with the sugar but not melted. Once made, the dough needs to be chilled or frozen before it can be rolled out and cut, which is essential for getting clean shapes to top your choux.
This step can be done well in advance, even days or weeks ahead, as the craquelin dough freezes beautifully. Having pre-made craquelin disks or squares ready in the freezer makes preparing craquelin choux pastry a much faster process when you decide to bake.
Mixing the Craquelin: Achieving the Right Consistency
Start by creaming the softened butter and sugar together in a bowl until the mixture is smooth and well combined. This can be done with a spatula, wooden spoon, or electric mixer on low speed. Avoid over-creaming, as you don't want to incorporate too much air.
Next, add the flour and mix until a cohesive dough forms. It should come together easily and feel slightly firm but pliable, similar to cookie dough. If it seems too sticky, you can add a tiny amount more flour (a teaspoon at a time), but be careful not to add too much, as this can make the craquelin tough. The dough should be uniform in color and texture, ready for rolling.
Rolling and Cutting the Craquelin: Preparing for Baking
Once your craquelin dough is mixed, turn it out onto a piece of parchment paper. Place another piece of parchment paper on top of the dough. Using a rolling pin, roll the dough evenly between the two sheets of parchment until it is very thin, typically about 1-2 millimeters thick. Aim for a uniform thickness so the craquelin bakes evenly.
With the dough still between the parchment papers, slide it onto a baking sheet or cutting board and place it in the freezer for at least 15-20 minutes, or until very firm. Once firm, peel off the top layer of parchment. Use a sharp knife or a round cookie/biscuit cutter (slightly larger than the size you plan to pipe your choux) to cut out your craquelin shapes. Return the cut shapes to the freezer on the parchment paper until you are ready to use them.
Freezing the Craquelin: Essential for Easy Handling
Freezing the craquelin dough after rolling and cutting is a critical step. When the craquelin is frozen solid, it is much easier to handle and transfer onto the soft choux pastry dough without distorting its shape or melting. This ensures that the craquelin sits neatly on top of each choux puff.
Additionally, the cold temperature of the craquelin hitting the hot oven helps it melt and spread slightly just as the choux begins to rise. This interaction is what creates the signature crackled effect. Do not skip this freezing step; it is vital for achieving the desired result in your craquelin choux pastry recipe.
Preparing the Choux Pastry: The Foundation
The choux pastry, or pâte à choux, is the foundation upon which the craquelin sits. It's a cooked dough that relies on steam to puff up dramatically in the oven, creating a hollow interior perfect for filling. While the process involves cooking on the stovetop, it's not overly complicated and requires careful attention to detail.
Getting the consistency of the choux dough right is paramount. It needs to be smooth, glossy, and thick enough to hold its shape when piped, but not so stiff that it won't expand properly. Mastering this base is key to a successful craquelin choux pastry recipe.
Making the Choux Dough: A Detailed Walkthrough
Combine water (or liquid), butter, salt, and optional sugar in a saucepan over medium heat. Bring the mixture to a rolling boil, ensuring the butter is completely melted. Remove the pan from the heat and immediately add all the flour at once. Stir vigorously with a wooden spoon or heatproof spatula until the mixture comes together and forms a ball of dough that pulls away cleanly from the sides of the pan.
Return the pan to low heat and continue to cook the dough, stirring constantly, for 1-2 minutes. This step, known as dessécher, helps to dry out the dough slightly, which is crucial for proper puffing. Transfer the dough to a clean bowl (a stand mixer bowl is ideal). Let it cool for a few minutes until it's warm but not hot – you should be able to comfortably touch the bottom of the bowl.
This prevents the eggs from cooking prematurely. Add the eggs one at a time, beating well after each addition until fully incorporated and the dough is smooth and glossy. The final dough should be thick but fall from the spoon in a V-shape or pipe cleanly while still holding its shape.
Piping the Choux: Achieving Uniform Shapes
Once the choux dough is ready, transfer it to a piping bag fitted with a plain or star tip (a large round tip like an Ateco 807 is excellent for classic puffs). Pipe uniform mounds of dough onto a baking sheet lined with parchment paper or a silicone baking mat. Aim for consistent size and shape, as this will ensure even baking. Leave enough space between each puff, as they will expand significantly.
For classic cream puffs, pipe round mounds about 1.5 to 2 inches in diameter. For éclairs, pipe straight lines of the desired length. The consistency of the dough should allow it to stand up relatively straight after piping without slumping too much. Uniform piping is important for the final appearance and ensures that your craquelin pieces will fit neatly on top of each puff in your craquelin choux pastry recipe.
Assembling and Baking: The Craquelin Choux Magic
This is where the two components, the craquelin and the choux, come together before the final transformation in the oven. The assembly is quick, and the baking process requires careful monitoring to ensure maximum puff and a perfectly crisp craquelin topping.
Proper oven temperature and timing are crucial for achieving that signature hollow interior and golden-brown exterior with a beautifully cracked craquelin crust. Resist the urge to open the oven door during the initial baking phase, as this can cause the choux to collapse.
Placing the Craquelin: Perfecting the Coverage
Retrieve the frozen craquelin shapes from the freezer. Carefully peel each piece of craquelin from the parchment paper and place it directly on top of each piped choux mound. The craquelin piece should be slightly larger than the base of the piped choux mound.
Press the craquelin gently onto the top of the choux dough to ensure good contact. This helps it adhere as it melts and spreads. The cold craquelin might cause the surface of the choux dough to firm up slightly, which is fine. Ensure the craquelin is centered on each puff for the most aesthetically pleasing result in your craquelin choux pastry.
Baking the Craquelin Choux: Temperature and Timing
Bake the assembled craquelin choux in a preheated oven. A common approach is to start with a high temperature (e.g., 400°F or 200°C) for the first 10-15 minutes to encourage rapid puffing, then reduce the temperature (e.g., 350°F or 180°C) for the remaining time to dry out the interior and crisp the exterior without burning the craquelin. Total baking time typically ranges from 25 to 40 minutes, depending on the size of the choux.
The choux are done when they are deeply golden brown, look firm, and sound hollow when tapped on the bottom. The craquelin should be golden and noticeably cracked. Turn off the oven and, if your oven holds heat well, you can prop the door open slightly and let the choux cool inside for 10-15 minutes. This helps prevent them from collapsing as they cool down, ensuring your craquelin choux pastry holds its shape.
Troubleshooting Your Craquelin Choux Pastry
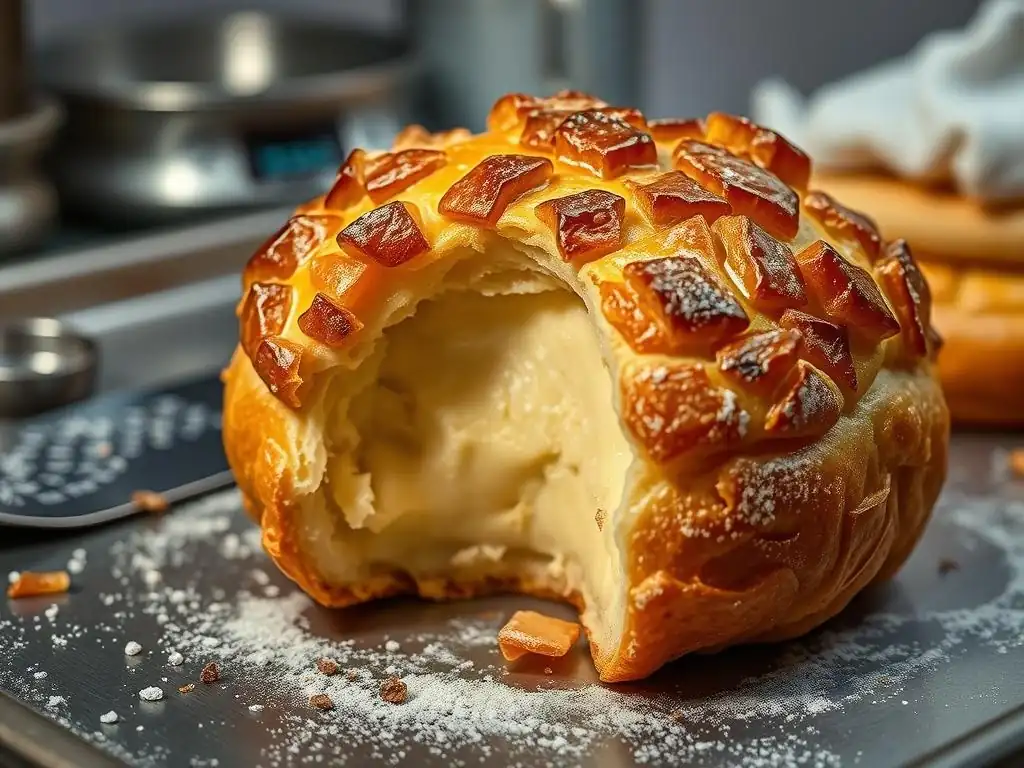
Even with a great craquelin choux pastry recipe, sometimes things don't go perfectly. Understanding common issues and their solutions can save your bake and help you learn for next time. Both the craquelin and the choux components have their own potential pitfalls.
Don't be discouraged if your first attempt isn't flawless. Baking, especially with techniques like choux, takes practice. Pinpointing what went wrong is the first step to improving your results and consistently producing beautiful craquelin choux.
Common Craquelin Issues and Solutions
While craquelin is relatively simple, issues can arise during mixing, handling, or baking that affect its appearance and texture. The goal is a thin, even layer that cracks attractively and adds a crisp bite, not a thick, hard shell or a layer that disappears completely.
Paying attention to the consistency of the craquelin dough and ensuring it's properly chilled are key preventative measures. If you encounter problems, a small adjustment can often make a big difference in your next batch of craquelin choux pastry.
Craquelin Spreading Too Much: Preventing a Flat Crust
If your craquelin spreads into a thin, uneven layer or seems to melt away completely during baking, it's likely due to the dough being too soft or the oven temperature being too low initially. Ensure your butter was softened, not melted, when making the dough, and that the dough was rolled thinly (1-2mm is ideal).
Crucially, the craquelin must be frozen solid before placing it on the choux and immediately transferring it to a hot oven. If the craquelin softens at room temperature before baking, it will spread excessively. Ensure your oven is fully preheated to the correct initial high temperature (around 400°F/200°C) to set the craquelin quickly as the choux begins to puff.
Craquelin Not Cracking: Ensuring the Signature Look
If your craquelin bakes into a solid disk without the characteristic cracks, it might be too thick, or the choux pastry didn't rise sufficiently underneath it. Ensure you roll the craquelin dough to a thinness of 1-2 millimeters; thicker craquelin is less likely to crack properly.
Also, confirm that your choux pastry dough is the correct consistency and that your oven is hot enough to ensure a strong, rapid rise. A strong puff from the choux is what pushes up against the craquelin and causes it to crack. If your choux isn't rising well, troubleshoot the choux pastry itself (see below). Proper rolling and a good choux rise are essential for the signature look of craquelin choux pastry.
Choux Collapsing: Maintaining the Perfect Puff
Sometimes, even with craquelin, choux can collapse after baking or while cooling. This is usually a sign that the choux pastry hasn't been baked long enough to fully dry out the interior. The structure is still too moist and weak to support itself once removed from the heat.
Ensure your choux are baked until they are a deep golden brown color – this indicates they are fully cooked and dried out. Reduce the oven temperature after the initial high heat period, but continue baking until they are firm. Allowing the choux to cool gradually in the oven with the door ajar after baking can also help prevent sudden temperature changes that lead to collapsing.
Common Choux Issues and Solutions
Problems with the choux pastry itself are often the root cause of issues with craquelin choux pastry. The correct consistency of the dough and the baking process are critical for achieving that essential puff and hollow interior. Addressing these fundamental choux issues will improve your craquelin results.
Whether your choux isn't rising or comes out soggy, there are specific steps you can take to identify and fix the problem for future batches. Patience and observation are key when working with choux pastry.
Choux Puff Not Rising: Addressing Common Errors
If your choux pastry doesn't puff up properly, several factors could be at play. The most common reasons include not cooking the dough long enough on the stovetop (the dessécher step), adding eggs when the dough is too hot (which cooks the eggs), or adding too many or too few eggs, resulting in the wrong dough consistency.
Ensure you cook the dough on the stove for 1-2 minutes after adding the flour until it forms a ball and a slight film forms on the bottom of the pan. Allow the dough to cool slightly before adding eggs. Add eggs gradually, checking the consistency – it should be smooth and glossy and fall from the spoon in a V-shape. Baking in an oven that isn't properly preheated or not hot enough can also prevent a good rise.
Soggy Choux: Preventing a Waterlogged Pastry
Soggy or wet interiors in choux pastry indicate that they haven't been baked long enough or at the correct temperature to dry out. The outside might look done, but the inside is still moist and dense instead of hollow and airy.
After the initial high-temperature puff, reduce the oven temperature but continue baking until the choux are deeply golden brown. This longer, lower-temperature bake allows the interior moisture to evaporate, leaving that desirable hollow center. Tapping the bottom of a finished choux should produce a hollow sound. If they still seem slightly soft or heavy, they need more time in the oven.
Tips and Tricks for Perfect Craquelin Choux
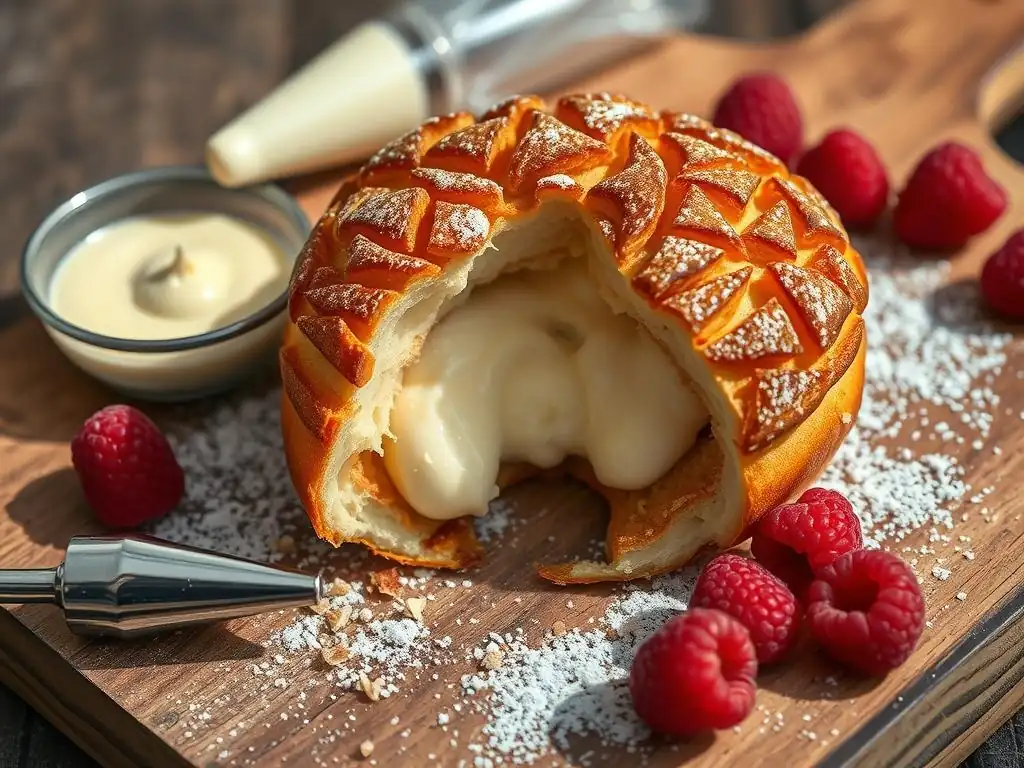
Beyond the basic craquelin choux pastry recipe, there are several tips and tricks that can help you achieve even better results and add your personal touch. Experimenting with flavors and understanding how to store and serve your creations will enhance your baking experience.
These small adjustments and considerations can elevate your craquelin choux from good to truly outstanding, making them a favorite for both baking and sharing.
Flavor Variations: Experimenting with Craquelin Flavors
While plain craquelin is delicious, you can easily infuse it with different flavors to complement your choux and fillings. This is a simple way to add complexity and tailor the pastry to specific dishes or occasions.
Consider the filling you plan to use and choose a craquelin flavor that pairs well. A lemon craquelin might go wonderfully with a raspberry filling, while a cocoa craquelin is perfect for chocolate pastry cream. These variations make your craquelin choux pastry truly unique.
Adding Extracts and Spices: Vanilla, Almond, and More
Before adding the flour to your craquelin dough, you can mix in extracts or spices with the creamed butter and sugar. A teaspoon of pure vanilla extract is a classic addition that enhances the sweetness and aroma. Almond extract provides a lovely nutty undertone, particularly good with fruit or frangipane fillings.
Ground spices like cinnamon, nutmeg, or cardamom can also be incorporated for warm, aromatic notes. Start with a small amount (e.g., 1/4 to 1/2 teaspoon per 50g butter/sugar/flour) and increase to taste in future batches. Ensure extracts are oil-based if adding to a very dry mix, though typically they incorporate fine into the butter/sugar.
Incorporating Chocolate or Nuts: A Richer Craquelin
For a richer, more complex craquelin, consider adding finely chopped chocolate or nuts. Replace a small portion of the flour (e.g., 10-15g per 50g butter/sugar/flour) with finely ground nuts like almonds, hazelnuts, or pistachios. This adds flavor and a slightly different texture.
Finely chopped chocolate or cocoa powder can also be added. For cocoa craquelin, replace about 10-15g of the flour with unsweetened cocoa powder (use Dutch-process for a darker color and smoother flavor). For chocolate pieces, mix in 15-20g of very finely chopped dark or milk chocolate after the flour is incorporated. These additions create delicious variations on the classic craquelin choux pastry recipe.
Storage and Serving Suggestions: Enjoying Your Craquelin Choux
Proper storage is key to maintaining the crisp texture of the craquelin and the freshness of the choux. Craquelin choux are best enjoyed the day they are baked, especially if filled, but there are ways to preserve their quality for a short time.
Consider how you plan to serve your craquelin choux – as simple unfilled puffs, classic cream puffs, elegant profiteroles, or part of a larger dessert like a croquembouche. The crisp craquelin makes them particularly delightful with creamy fillings.
Storing Baked Choux: Maintaining Crispness
Baked craquelin choux pastry shells, before filling, can be stored at room temperature in an airtight container for 1-2 days. To help maintain crispness, you can add a piece of parchment paper to the bottom of the container. If they lose some crispness, you can often refresh them by placing them on a baking sheet in a preheated oven at 300°F (150°C) for 5-10 minutes.
Once filled with cream, pastry cream, or other moist fillings, craquelin choux are best eaten within a few hours, as the filling will start to soften the shell and craquelin. Store filled choux in the refrigerator, but be aware that the craquelin and shell will soften over time.
Serving Ideas: From Cream Puffs to Profiteroles
Craquelin choux pastry is incredibly versatile. The most classic use is for cream puffs (filled with whipped cream or pastry cream) and profiteroles (often served with chocolate sauce and ice cream). The crisp craquelin adds a wonderful contrast to these rich, smooth fillings.
They can also be used to make éclairs (though the shape is different, craquelin can be added to the top of piped éclairs before baking) or used as components in elaborate desserts like the French croquembouche, where they are traditionally bound together with caramel. The added crunch of the craquelin makes any application of your craquelin choux pastry even more delightful.
Beyond the Basics: Advanced Craquelin Techniques
Once you've mastered the basic craquelin choux pastry recipe, you might want to explore more advanced techniques to further customize your creations. Playing with color, shape, and even the type of flour used in the craquelin can open up new possibilities for presentation and texture.
These techniques are perfect for adding a creative flourish to your baking and demonstrating a higher level of skill. They are particularly useful for themed events or when you want to make a truly unique pastry.
Colored Craquelin: Adding a Vibrant Touch
Adding color to your craquelin is a simple way to make your choux pastry visually stunning and suitable for various occasions or themes. This is especially popular for holiday baking or children's parties.
Gel food coloring works best as it is concentrated and won't add excess liquid to the dough, which could affect its consistency. Add the coloring when creaming the butter and sugar, before adding the flour, to ensure it is evenly distributed throughout the dough.
Shaped Craquelin: Creating Unique Designs
While round disks are standard, you can cut craquelin into different shapes for a unique look. Use small cookie cutters (like stars, hearts, or even mini animal shapes) that are slightly larger than your piped choux mounds.
For éclairs, you can cut craquelin into rectangles or strips to fit the top of the piped dough. Get creative! Just ensure the shapes are not too intricate, as they can be fragile when frozen, and make sure they are large enough to cover the top of the choux but not so large they interfere with neighboring pastries on the baking sheet.
Craquelin with Different Flours: Exploring Textural Variations
Experimenting with different types of flour in your craquelin can alter its texture and flavor. While all-purpose flour is standard, using cake flour can result in a slightly more tender, delicate crisp, while bread flour might yield a sturdier, crunchier texture due to its higher protein content.
Using alternative flours like rice flour can add a unique crispness, or finely ground nut flours (like almond flour) can add flavor and a slightly different crumbly texture. When substituting flours, you might need to make minor adjustments to the butter or sugar ratio to achieve the desired dough consistency, as different flours absorb moisture differently. This exploration allows you to fine-tune the texture of the crisp layer in your craquelin choux pastry.
Frequently Asked Questions
What exactly is craquelin and why add it to choux pastry?
Craquelin is a thin, crisp topping made from butter, sugar, and flour. Adding it to choux pastry provides a sweet, crunchy texture and helps the pastry bake evenly, resulting in a perfectly puffed and cracked shell.
Is craquelin difficult to make, especially for beginners?
No, craquelin is surprisingly easy! It involves simply mixing equal parts of butter, sugar, and flour, rolling the dough thinly, and chilling it before placing it on the choux pastry. BakeWithEase.com offers a simple recipe and step-by-step guide.
What are the benefits of using craquelin on choux pastry?
Besides the added crunch and sweetness, craquelin helps the choux pastry rise more evenly and prevents it from collapsing during baking. It also adds a visually appealing cracked surface.
Can I customize the flavor of my craquelin?
Absolutely! You can add different extracts, spices (like cinnamon or nutmeg), or even cocoa powder to the craquelin dough. This allows for endless flavor combinations to complement your choux pastry fillings.
What if my craquelin is too soft or too hard after chilling?
If it's too soft, simply chill it for longer. If it's too hard to roll, let it sit at room temperature for a few minutes until it softens slightly. The goal is a pliable dough that's easy to roll thinly and cut into circles.
Final Reflection: The Enduring Allure of the Craquelin Crunch
The perfect choux pastry isn't just about airy lightness; it's about the textural symphony created by the craquelin topping. This seemingly simple addition elevates a classic to new heights, transforming a humble cream puff into a sophisticated dessert. The satisfying crunch against the soft, yielding interior is a textural experience that lingers long after the last bite.
The craquelin's impact extends beyond mere culinary delight; it represents a powerful testament to the transformative power of seemingly small details. It's a reminder that even the most established recipes can be revitalized with a touch of creativity and attention to detail. As Julia Child once said, Find something you're passionate about and keep tremendously interested in it.
This passion for perfecting the craquelin, for achieving that perfect balance of crispness and flavor, is what elevates baking from a task to an art. The subtle nuances in color, texture, and taste—all achieved through careful attention to the craquelin recipe—speak volumes about the dedication and artistry involved.
Now, consider your own baking journey. What seemingly small detail could you refine to elevate your own creations? Perhaps it's a specific ingredient, a unique technique, or simply a renewed focus on precision. Don't underestimate the power of the small things. Embrace the challenge of mastering the craquelin, and let it inspire you to explore the endless possibilities within your own culinary pursuits. The journey of perfecting the crunch is a journey of self-discovery, a testament to the transformative power of passion and precision in the kitchen.
Unleash Your Inner Pâtissier: Master the Craquelin Crunch!
Thanks for joining us on this delicious journey into the world of craquelin! We hope you now feel confident in adding this delightful textural element to your choux creations. Ready to take your baking to the next level?
- Bake a batch of craquelin-topped choux puffs this weekend! Use your newfound knowledge to experiment with different flavors and toppings. Let your creativity flow!
- Share your craquelin creations on social media using #BakeWithEaseCraquelin – We’d love to see your stunning results!
- Consider trying a variation of the recipe – perhaps adding spices or different nuts to your craquelin for a unique twist.
What unexpected flavor combination will you try first with your perfectly crunchy craquelin?