
From Zero to Baker: Your First Delicious Quick Bread Loaf

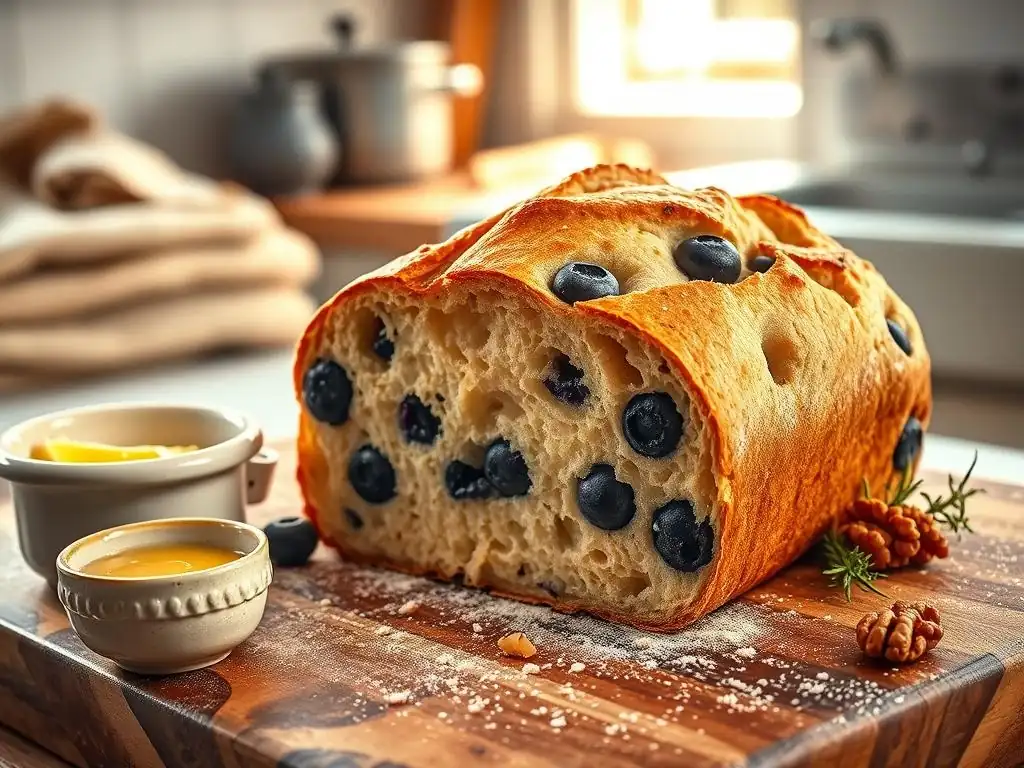
Welcome to BakeWithEase, where turning kitchen dreams into delicious realities is our specialty! Ever dreamt of that warm, crusty aroma filling your home? This week, we're demystifying the world of sourdough with our easy sourdough quick bread recipe. Forget complicated starters and endless kneading – discover how to create a mouthwatering loaf faster than you thought possible. Ready to unlock the secrets to baking success? Let's get started!
- Mastering Quick Bread: A Beginner's Guide to Delicious Loaves
- Baking Your First Quick Bread: An Easy Banana Bread Recipe
- Understanding Quick Bread: The Basics
-
Easy Banana Bread Recipe: Step-by-Step Guide
- Ingredients You'll Need for Your First Loaf
- Step 1: Preparing the Wet Ingredients
- Step 2: Combining Dry and Wet Ingredients - Achieving the Right Consistency
- Step 3: Adding Bananas and Other Add-ins
- Step 4: Preparing Your Loaf Pan
- Step 5: Baking Your Quick Bread to Golden Perfection
- Step 6: Cooling and Slicing - The Key to a Perfect Loaf
- Troubleshooting Common Quick Bread Baking Problems
- Quick Bread Variations & Flavor Ideas
- Storing Your Homemade Quick Bread
- Mastering the Art of Quick Bread: Next Steps
-
Frequently Asked Questions
- What makes this sourdough bread recipe "quick"?
- Do I need an active sourdough starter for this recipe to work?
- Can I substitute all-purpose flour for another type of flour?
- What if I don't have the exact ingredients listed? Are there any substitutions?
- How do I know when my quick bread loaf is fully baked?
- Final Reflection: The Unexpected Joys of Sourdough Simplicity
- Unleash Your Inner Baker: Craft Your First Loaf Today!
Mastering Quick Bread: A Beginner's Guide to Delicious Loaves
Quick bread is a fantastic starting point for anyone new to baking. Unlike yeast breads that require kneading and lengthy proofing times, quick breads rely on chemical leaveners like baking powder and baking soda, meaning they come together and bake up wonderfully fast. This ease makes them incredibly accessible and rewarding for novice bakers.
This guide will walk you through the simple steps of making your first delicious quick bread loaf, specifically focusing on a classic: banana bread. By the end, you'll understand the basics of this baking method and have a tasty treat to show for it. Get ready to discover just how simple creating a warm, homemade loaf can be.
Baking Your First Quick Bread: An Easy Banana Bread Recipe
Welcome to Quick Bread Baking
Embarking on your baking journey can feel daunting, but quick breads offer a gentle and encouraging introduction. They are the perfect antidote to complex recipes, providing almost instant gratification. Imagine the aroma of a freshly baked loaf filling your kitchen with minimal fuss – that's the promise of quick bread.
These simple loaves allow you to build confidence in basic baking techniques like measuring ingredients, mixing batters, and understanding oven temperatures. They are forgiving, often allowing for minor errors without catastrophic results, which is ideal when you're just starting out. Mastering an easy quick bread recipe is a foundational skill that opens the door to countless other delicious possibilities.
Why Quick Bread is Perfect for Beginner Bakers
Quick breads earn their name because they bypass the time-consuming fermentation process required by yeast. This dramatically reduces the overall time from mixing bowl to baked good, often taking less than 90 minutes from start to finish, compared to several hours or even days for some yeast breads like sourdough. For a busy beginner, this speed is a huge advantage.
Moreover, the batter for most quick breads is quite forgiving. Overmixing yeast dough can lead to tough bread, but with quick bread batter, while you still want to avoid excessive mixing, minor variations are less critical. The primary goal is simply to combine the wet and dry ingredients until just mixed. This straightforward process makes learning an easy quick bread recipe far less intimidating than tackling complex doughs.
Understanding Quick Bread: The Basics
What Makes a Quick Bread "Quick"?
The defining characteristic of quick bread is its leavening agent. Instead of relying on yeast, which produces carbon dioxide gas through fermentation over time, quick breads use chemical leaveners. These include baking powder, baking soda, or a combination of both, often activated by moisture and heat, or an acidic ingredient like buttermilk or brown sugar.
When these leaveners react, they release gas bubbles (carbon dioxide) rapidly within the batter, causing it to rise quickly during mixing and baking. This eliminates the need for proofing, which is the dedicated time yeast dough needs to rise. This chemical reaction is what allows you to mix a quick bread batter and get it into the oven almost immediately.
The Role of Baking Powder and Baking Soda
Baking powder is a complete leavener containing both an acid and a base, plus a starch filler. When it comes into contact with liquid, a first reaction occurs, producing some gas. A second, more significant reaction happens when heated in the oven. This double-action ensures a good rise throughout the baking process, making it a reliable leavener for many easy quick bread recipes.
Baking soda, on the other hand, is just a base (sodium bicarbonate). It requires an acid to react and produce carbon dioxide gas. Common acidic ingredients in quick breads include buttermilk, yogurt, brown sugar, molasses, citrus juice, vinegar, or even mashed bananas. Using baking soda alongside an acid provides a strong initial lift. Often, both baking powder and baking soda are used together to provide both initial lift (from soda + acid) and sustained lift (from double-acting powder) for the best texture and volume.
Essential Baking Tools for Quick Bread Success
You don't need a professional kitchen to bake a delicious quick bread. A few basic tools will set you up for success with any easy quick bread recipe. A set of dry measuring cups and spoons is crucial for accuracy, as baking is a science where proportions matter. Liquid measuring cups are also necessary for liquids like milk or oil.
You'll need at least two mixing bowls: one for dry ingredients and one for wet. A whisk is perfect for combining dry ingredients and for whisking wet ingredients until smooth. A rubber spatula or wooden spoon is essential for folding the wet and dry ingredients together without overmixing. Finally, a standard loaf pan (often 8.5x4.5 inches or 9x5 inches) is the primary vessel for baking your loaf. Parchment paper is also highly recommended for easy removal.
Easy Banana Bread Recipe: Step-by-Step Guide
Ingredients You'll Need for Your First Loaf
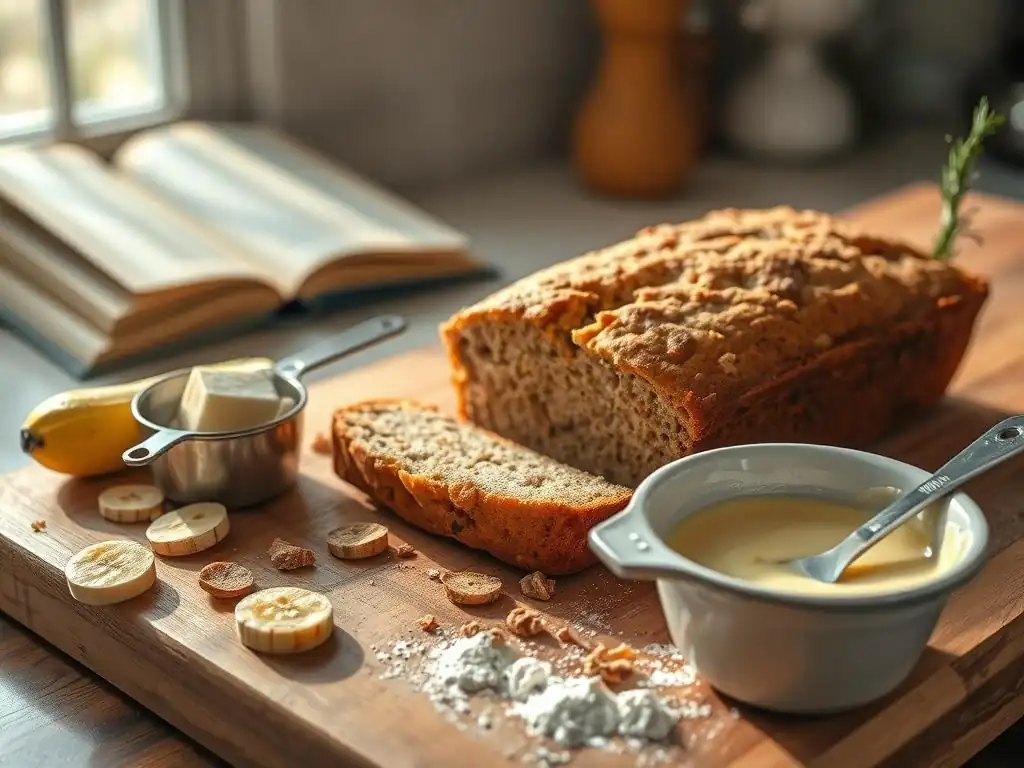
Gathering all your ingredients before you start is key to a smooth baking process. This simple banana bread recipe calls for common pantry staples. You'll need about 3 very ripe bananas (the riper, the better for sweetness and moisture), 1/3 cup melted butter, 1/2 teaspoon baking soda, a pinch of salt, 3/4 cup granulated sugar (or slightly less if your bananas are extremely sweet), 1 large egg (beaten), 1 teaspoon vanilla extract, and 1 1/2 cups all-purpose flour.
Optional add-ins like 1/2 cup chopped nuts (walnuts or pecans) or 1/2 cup chocolate chips can elevate your easy quick bread recipe, but for your very first loaf, keeping it simple is perfectly fine. Ensure your baking soda isn't expired; you can test it by adding a little vinegar – it should bubble vigorously.
Step 1: Preparing the Wet Ingredients
Start by preheating your oven to 350°F (175°C). In a medium mixing bowl, mash the ripe bananas thoroughly with a fork until they are mostly smooth with just a few small lumps remaining. The riper the bananas, the easier they will be to mash and the more natural sweetness they will impart to your easy quick bread.
Next, add the melted butter to the mashed bananas and stir to combine. Then, whisk in the beaten egg and vanilla extract until everything is well incorporated. This wet mixture forms the flavor base and provides moisture for your banana bread. Ensure the butter isn't too hot, or it might scramble the egg.
Step 2: Combining Dry and Wet Ingredients - Achieving the Right Consistency
In a separate, larger mixing bowl, whisk together the dry ingredients: the all-purpose flour, baking soda, salt, and granulated sugar. Whisking helps to distribute the leaveners evenly and aerate the flour slightly. This step is important for ensuring your easy quick bread rises properly.
Now, pour the wet ingredients from the first bowl into the bowl with the dry ingredients. Using a rubber spatula or wooden spoon, gently fold the ingredients together. Mix just until the dry streaks of flour disappear. The batter will look lumpy, and that's okay! Overmixing can develop the gluten in the flour too much, resulting in a tough loaf. A few lumps of flour are far better than a dense, rubbery quick bread.
Step 3: Adding Bananas and Other Add-ins
Wait, didn't we already add bananas? Yes, to the wet ingredients! This step is if you wanted to add extra banana chunks or other mix-ins. After gently combining the wet and dry ingredients in Step 2, this is the moment to fold in any optional additions like chopped nuts, chocolate chips, or even a handful of fresh or frozen blueberries (though blueberries can tint the batter green with baking soda, which is harmless but visually odd).
If adding nuts or chocolate chips (about 1/2 cup is standard), gently fold them into the batter with your spatula until they are evenly distributed. Be careful not to mix too vigorously. This step personalizes your easy quick bread recipe and adds texture and flavor dimensions.
Step 4: Preparing Your Loaf Pan
Properly preparing your loaf pan ensures your beautiful quick bread loaf doesn't stick, making removal and slicing much easier. You have a few options here. The simplest and most reliable method is to grease the pan with butter or baking spray, then line the bottom and two long sides with a strip of parchment paper, leaving an overhang on the sides.
Alternatively, you can heavily grease the pan with butter or shortening and then dust it with flour, tapping out the excess. Ensure all corners and sides are coated. The parchment paper method is often preferred for easy cleanup and guaranteed non-stick results, especially important for your first easy quick bread.
Step 5: Baking Your Quick Bread to Golden Perfection
Pour the batter into the prepared loaf pan and spread it evenly. If you like, you can place an extra banana half lengthwise on top for a classic look (it will darken significantly). Place the pan in your preheated 350°F (175°C) oven. The baking time for a standard loaf pan is typically between 50 and 65 minutes.
Start checking for doneness around the 50-minute mark. The top of the loaf should be a deep golden brown, and a wooden skewer or toothpick inserted into the center should come out clean or with just a few moist crumbs attached – no wet batter. If the top is browning too quickly, you can tent the loaf loosely with aluminum foil for the remaining baking time.
Step 6: Cooling and Slicing - The Key to a Perfect Loaf
Once your quick bread is baked and passes the skewer test, remove it from the oven. Let the loaf cool in the pan on a wire rack for about 10-15 minutes. This allows the loaf to set slightly and makes it easier to handle.
After the initial cooling period in the pan, use the parchment paper overhang (if used) or carefully invert the pan to remove the loaf onto the wire rack. Let the loaf cool completely on the rack before slicing. Slicing a warm quick bread often results in a gummy texture and crumbs. Patience here is key to enjoying the best texture from your easy quick bread recipe. A completely cooled loaf will slice cleanly.
Troubleshooting Common Quick Bread Baking Problems
My Quick Bread is Too Dense - [Solutions for Dense Bread]
Density in quick bread is often a result of overmixing the batter. When you overmix, you develop the gluten in the flour, similar to kneading yeast dough. For quick breads, this results in a tough, heavy texture instead of a tender crumb. Next time, mix the wet and dry ingredients just until the flour streaks disappear.
Another cause can be inactive leaveners (expired baking powder or soda) or incorrect measurement of flour, adding too much. Ensure your leaveners are fresh and measure flour using the spoon-and-level method (spoon flour into the measuring cup, then level off with a straight edge, don't scoop directly from the bag). Using too little fat can also contribute to density.
My Quick Bread is Too Dry - [Solutions for Dry Bread]
A dry quick bread usually indicates it was overbaked. Baking for too long at too high a temperature evaporates too much moisture. Ensure your oven temperature is accurate (an oven thermometer is a great investment) and start checking for doneness at the lower end of the suggested baking time range. The skewer test is your best friend here.
Incorrect ingredient measurements can also lead to dryness, particularly using too much flour or too little liquid (like milk, oil, or mashed banana). Using the spoon-and-level method for flour helps prevent adding too much. Ensure your bananas are ripe enough; very ripe bananas add significant moisture.
My Quick Bread Didn't Rise - [Troubleshooting Rise Issues]
The most common reason for a quick bread not rising is inactive or insufficient leavening. As mentioned before, check the expiration date on your baking powder and soda. Baking powder typically lasts 6-12 months once opened, and baking soda lasts longer but can still lose potency. Replace old leaveners.
Other culprits include forgetting to add the leavener entirely, using too much flour which can weigh down the batter, or the oven temperature being too low, which prevents the chemical reaction of the leaveners from happening effectively. Ensure your oven is preheated properly and consider calibrating its temperature.
My Quick Bread is Burning - [Preventing Burning]
If the top or sides of your quick bread are burning before the center is cooked through, the oven temperature is likely too high, or the loaf is positioned too close to a heating element. Use an oven thermometer to verify your oven's temperature accuracy; many home ovens run hot.
If the top starts browning excessively while the inside is still raw, loosely tent the loaf with aluminum foil. This reflects heat away from the top, allowing the inside to finish baking. Ensure the oven rack is in the center position. If the bottom is burning, you might need to place a baking sheet on the rack below your loaf pan to act as a buffer.
Quick Bread Variations & Flavor Ideas
Once you've mastered an easy quick bread recipe like classic banana bread, a world of delicious variations opens up! The basic quick bread formula is incredibly adaptable.
Sweet Quick Bread Recipes
Sweet quick breads are perfect for breakfast, brunch, or dessert. They often follow a similar wet-meets-dry method as banana bread.
Chocolate Chip Quick Bread
Adding 1/2 to 1 cup of chocolate chips to your basic quick bread batter is a simple but decadent variation. You can use semi-sweet, milk, or dark chocolate chips. For extra flavor, toss the chocolate chips with a tablespoon of flour before adding them to the batter; this helps prevent them from sinking to the bottom of the loaf.
This variation is particularly appealing to those who love a sweet treat. It bakes up beautifully and is fantastic served warm, allowing the chocolate chips to be slightly gooey. It's another incredibly easy quick bread recipe to add to your repertoire.
Blueberry Quick Bread
Blueberry quick bread is a summer favorite, but frozen blueberries work perfectly year-round. Gently fold 1 to 1.5 cups of fresh or frozen blueberries into your batter just before pouring it into the pan. If using frozen, don't thaw them first. You can also toss them with a tablespoon of flour to help distribute them evenly and prevent sinking.
Be aware that baking soda can react with the pigments in blueberries, sometimes turning the area around the berries a greenish hue. This is harmless and doesn't affect the taste. This easy quick bread recipe is wonderfully moist and flavorful, especially with a touch of lemon zest added to the batter.
Savory Quick Bread Recipes
Quick breads aren't just for sweet treats! Savory quick breads are excellent alongside soups, stews, or as a base for sandwiches. They often use less sugar and incorporate cheese, herbs, or vegetables.
Zucchini Quick Bread
Zucchini bread is a classic way to use up garden zucchini. The shredded zucchini adds incredible moisture to the loaf. Typically, you'll use about 1 to 1.5 cups of shredded zucchini for a standard loaf. Some recipes suggest squeezing out excess moisture from the zucchini, while others rely on that moisture for a very tender loaf.
Ingredients often include shredded cheese (like cheddar or Parmesan), herbs (like chives, dill, or rosemary), and sometimes savory spices like black pepper or garlic powder. This easy quick bread recipe is surprisingly moist and flavorful, a great way to sneak in some vegetables!
Cornbread
Cornbread is a quintessential savory quick bread, though it can sometimes contain a little sugar for sweetness. It's traditionally made with cornmeal, giving it a distinct texture and flavor. Recipes vary widely, from dense, cake-like versions to crumbly ones.
Key ingredients include cornmeal, flour, baking powder, salt, eggs, milk (often buttermilk), and oil or melted butter. Some versions include add-ins like cheese, jalapeños, or corn kernels. Cornbread is typically baked in a cast-iron skillet for a crispy crust and is a perfect companion to chili or barbecue.
Storing Your Homemade Quick Bread
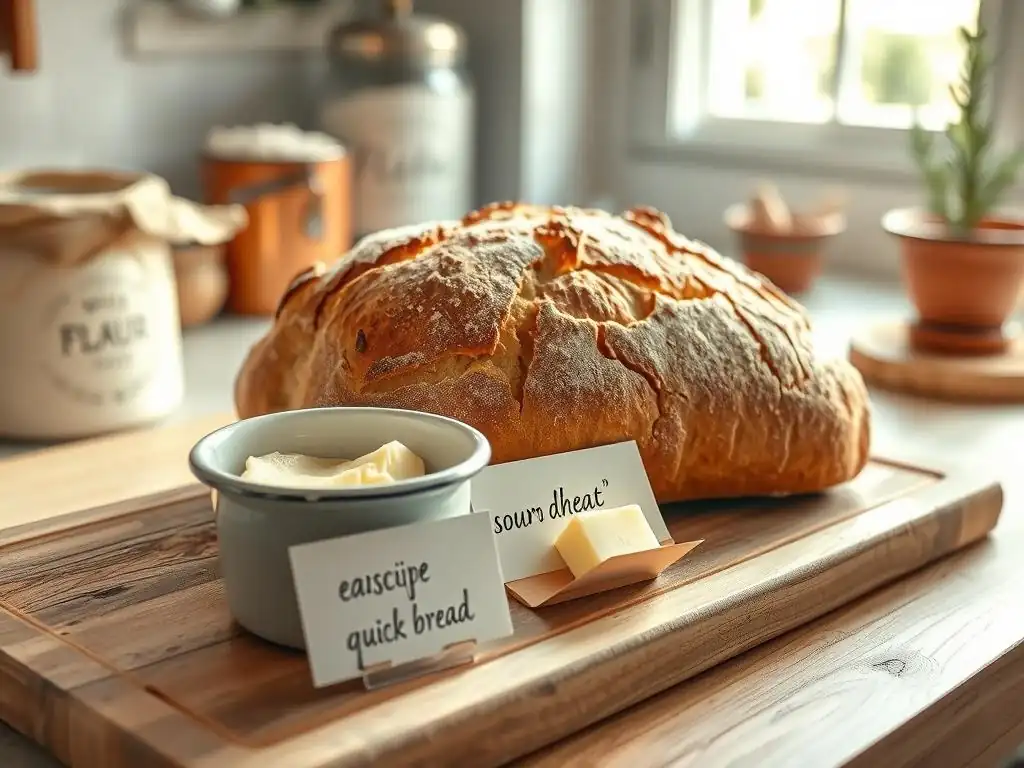
Proper storage is key to keeping your delicious, easy quick bread fresh and moist for as long as possible. While it's tempting to devour the whole loaf in one sitting, knowing how to store it ensures you can enjoy it over several days.
Keeping Your Quick Bread Fresh
Once your quick bread has cooled completely on a wire rack, store it at room temperature. The best way to keep it fresh is to wrap it tightly in plastic wrap, then place it in a resealable plastic bag or an airtight container. This prevents air from drying it out.
Stored this way on the counter, most quick breads will stay fresh and moist for 3 to 4 days. Avoid refrigerating quick bread, as the cold temperature can actually dry it out faster and alter the texture, making it dense.
Freezing Quick Bread for Later
Quick bread freezes exceptionally well, making it perfect for meal prep or saving slices for a later craving. Ensure the loaf is completely cooled before freezing. You can freeze the whole loaf, half a loaf, or individual slices.
Wrap the quick bread tightly in plastic wrap, then wrap it again in aluminum foil or place it in a freezer-safe bag. This double layer of protection helps prevent freezer burn. Label the package with the date. Frozen quick bread can maintain its quality for 2 to 3 months. Thaw wrapped quick bread at room temperature for a few hours (slices thaw faster) before enjoying.
Mastering the Art of Quick Bread: Next Steps
Congratulations on baking your first easy quick bread loaf! You've taken a significant step in your baking journey. But the fun doesn't stop here. Quick bread is a versatile foundation for further exploration.
Experimenting with Different Flours
While all-purpose flour is standard for many easy quick bread recipes, don't be afraid to experiment. Substituting a portion of the all-purpose flour with whole wheat flour (start with 1/4 to 1/2 cup) adds fiber and a nutty flavor. Gluten-free flour blends can also be used, though results may vary slightly depending on the blend.
Other flours like spelt, oat flour, or even a small amount of cornmeal (beyond just cornbread) can add unique textures and flavors. Remember that different flours absorb liquid differently, so you might need minor adjustments to the wet ingredients when experimenting.
Exploring Other Quick Bread Recipes
Beyond banana, blueberry, and zucchini, there are countless other easy quick bread recipes to try. Think pumpkin bread, apple bread, cranberry orange bread, lemon poppy seed bread, or even savory options with cheese and herbs. Each offers a slightly different texture and flavor profile.
Look for recipes that use the same basic principles you learned here: mixing wet and dry ingredients separately, then combining them gently. As you gain confidence, you can start adapting recipes yourself, perhaps adding different spices, extracts, or mix-ins to your favorite base recipe.
One of the greatest joys of baking is sharing your creations with others. Your friends, family, or colleagues will surely appreciate a slice of your homemade quick bread. Don't be shy about showing off your first loaf!
Taking pictures of your bake and sharing them online or with friends can also be a great way to document your progress and get encouragement. Celebrate your achievement – you started from zero and baked a delicious quick bread loaf. Keep baking and experimenting; the kitchen is your playground!
Frequently Asked Questions
What makes this sourdough bread recipe "quick"?
This recipe is considered "quick" because it doesn't require a long fermentation process like traditional sourdough. It uses a sourdough starter for flavor, but also incorporates baking powder or baking soda for a faster rise.
Do I need an active sourdough starter for this recipe to work?
While a very active and bubbly starter is ideal, this recipe is forgiving. A slightly less active starter will still work, but the bread may take a bit longer to rise, and the sourdough flavor might be milder.
Can I substitute all-purpose flour for another type of flour?
Yes, you can! While all-purpose flour is recommended for its accessibility, you can experiment with whole wheat flour or other flours. Just be aware that this may affect the texture and rise of the bread.
What if I don't have the exact ingredients listed? Are there any substitutions?
Minor substitutions are often possible. For example, you can often substitute plain yogurt or sour cream for buttermilk. However, avoid substituting key ingredients like the sourdough starter or leavening agents.
How do I know when my quick bread loaf is fully baked?
The best way to tell if your bread is done is to insert a toothpick into the center. If it comes out clean or with only a few moist crumbs attached, it's ready. You can also check for a golden-brown crust and listen for a hollow sound when you tap the bottom.
Final Reflection: The Unexpected Joys of Sourdough Simplicity
The ease of crafting a delicious sourdough quick bread belies the profound satisfaction it offers. It's more than just a recipe; it's a gateway to understanding the magic of fermentation and a reminder that even seemingly complex culinary techniques can be surprisingly accessible. This simple loaf, achievable even for complete beginners, opens doors to a world of flavour and creativity.
The journey from zero baking experience to confidently producing a warm, crusty loaf is deeply rewarding. It's a testament to the power of accessible recipes and the inherent human desire to create something delicious with our own hands. This experience resonated deeply with me, reminding me of the simple pleasures often overlooked in our fast-paced lives. The best things in life are simple.
This adage rings truer than ever when considering the joy found in the process of baking, and the even greater joy of sharing the results.
Now, I invite you to embrace the simplicity and embark on your own sourdough quick bread adventure. Don't be intimidated by the seemingly complex nature of sourdough; this recipe proves that it can be surprisingly easy. Try it, experiment with different additions, and share your creations with loved ones. The journey of baking, like life itself, is about the process as much as the product. So, roll up your sleeves, gather your ingredients, and discover the unexpected joys waiting for you in your own kitchen.
Unleash Your Inner Baker: Craft Your First Loaf Today!
Thanks for joining us on this baking adventure! You've just unlocked the secrets to crafting a delicious quick bread – and that’s something to celebrate! Now it’s time to put your new skills to the test.
- Bake your own loaf: Grab those ingredients and follow the recipe again! Experiment with different add-ins to personalize your creation. This time, try adding some dried cranberries and pecans.
- Share your success: Snap a picture of your finished loaf and tag us on social media – we love seeing your creations! Let’s inspire each other.
- Challenge a friend: Dare a friend to bake alongside you – a friendly competition can be a lot of fun (and delicious! ).
Ready to transform your kitchen into a bakery? What unique flavor combination will you try next?