
The Joy of Baking Pain au Chocolat: From Dough to First Bite

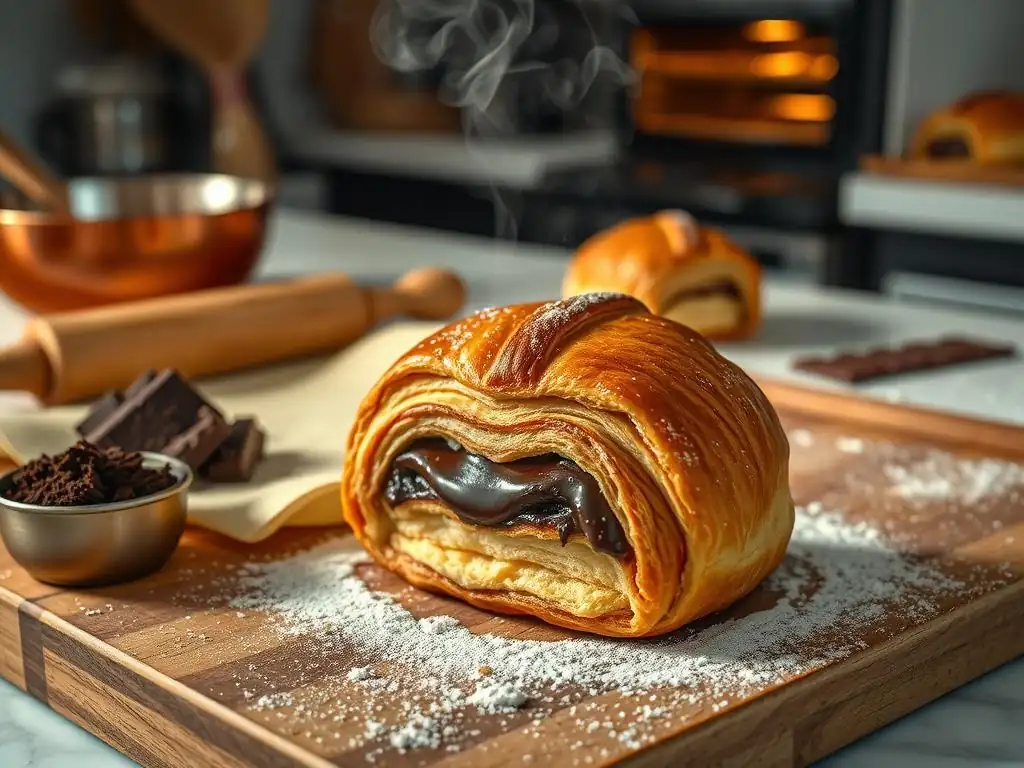
Welcome to BakeWithEase, your trusted companion on your baking journey! Ever dreamt of creating flaky, buttery pain au chocolat that rival those from your favorite Parisian bakery? Then you're in the right place. Dive into our pain au chocolat baking tips and discover the secrets to mastering this delightful pastry. Prepare to unlock the joy of baking, one delicious layer at a time, and create pain au chocolat that will impress everyone. Let's get baking!
- Introduction to Pain au Chocolat Baking: A BakeWithEase Guide
- Understanding the Key Ingredients for Pain au Chocolat
- Step-by-Step Pain au Chocolat Recipe: Mastering the Technique
- Pain au Chocolat Baking Tips for Flawless Results
- Troubleshooting Common Pain au Chocolat Baking Problems
- Serving and Enjoying Your Homemade Pain au Chocolat
- Conclusion: Embrace the Art of Pain au Chocolat Baking with BakeWithEase
-
Frequently Asked Questions
- How can I achieve a flaky and buttery texture in my Pain au Chocolat?
- What type of chocolate is best for Pain au Chocolat?
- What's the best temperature for baking Pain au Chocolat?
- How can I prevent the chocolate from melting and leaking out during baking?
- What are some common mistakes to avoid when making Pain au Chocolat?
- Final Reflection: The Enduring Magic of a Perfectly Baked Pain au Chocolat
- Unleash Your Inner Pâtissier: Bake Your Own Pain au Chocolat!
Introduction to Pain au Chocolat Baking: A BakeWithEase Guide
Why Pain au Chocolat is a Baker's Delight
Baking Pain au Chocolat is a truly rewarding experience that transcends simply following a recipe. It's an exploration of classic French viennoiserie, a process that transforms simple ingredients into flaky, buttery pastries filled with rich chocolate. The satisfaction comes from mastering the delicate lamination process and witnessing the dough puff up in the oven, revealing those coveted layers. It's a project that requires patience and precision, but the result – a warm, crisp Pain au Chocolat with melted chocolate inside – is absolutely worth the effort.
This journey into Pain au Chocolat baking offers a deep connection to baking traditions. It's a craft that builds confidence and skill, moving you beyond basic recipes into more nuanced techniques. Sharing freshly baked Pain au Chocolat with loved ones is a joy in itself, a testament to your dedication in the kitchen. It's not just about the end product; it's about the entire sensory experience, from the feel of the dough to the irresistible aroma filling your home.
Level Up Your Baking Skills: Intermediate Viennoiserie
Diving into Pain au Chocolat baking signifies a step up in your baking journey, moving firmly into intermediate territory. This recipe introduces you to the fundamental technique of lamination, which is crucial for many classic pastries like croissants and puff pastry. Mastering lamination requires understanding dough consistency, temperature control, and precise folding methods – skills that are transferable to a wide range of other baked goods. It's a challenging but incredibly rewarding skill to acquire.
Successfully baking Pain au Chocolat demonstrates a solid grasp of yeast doughs and the interaction between dough and fat. Unlike simple bread or cake recipes, viennoiserie demands attention to detail at every stage, from the initial dough mix to the final proofing and baking. By tackling Pain au Chocolat, you're not just learning one recipe; you're building a foundation of advanced baking techniques that will open up a whole new world of possibilities in your kitchen. These pain au chocolat baking tips will guide you through this exciting process.
Understanding the Key Ingredients for Pain au Chocolat
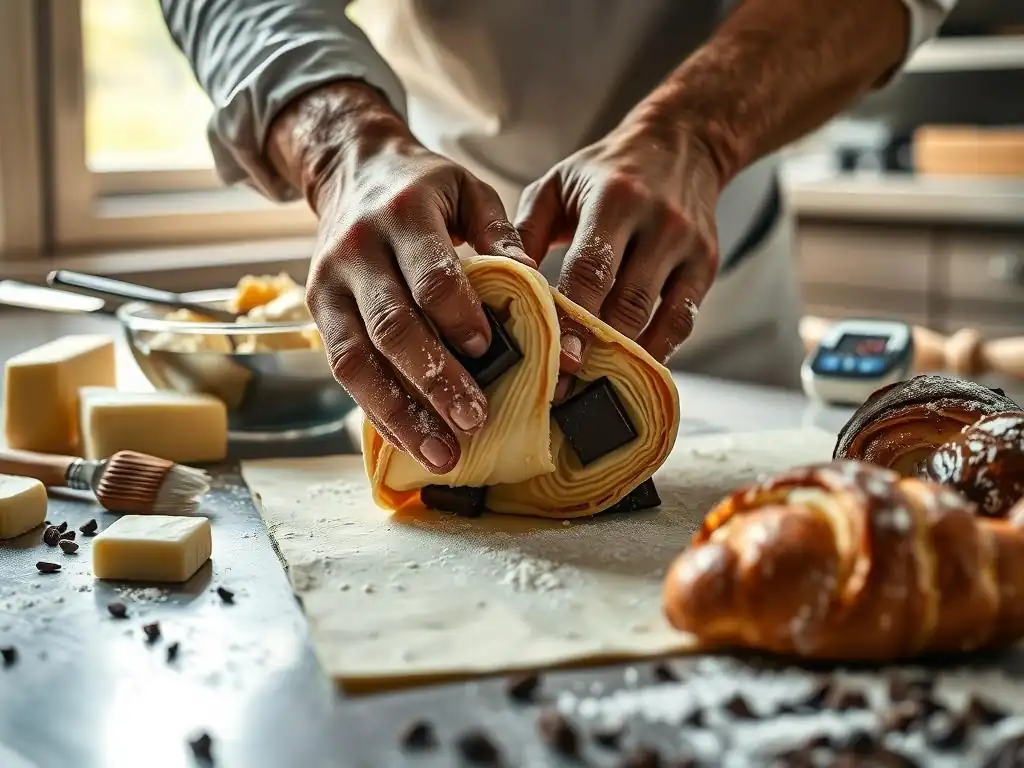
High-Quality Flour: The Foundation of Flaky Pain au Chocolat
The type of flour you use is paramount in Pain au Chocolat baking. A strong bread flour, typically with a protein content of 12-14%, is often recommended. This higher protein level contributes to stronger gluten development, which is essential for creating a dough that can withstand the repeated rolling and folding required during lamination.
The gluten network provides the structure that traps steam during baking, forcing the layers apart to create that characteristic flakiness. Using a good quality flour ensures your dough is elastic enough to be worked without tearing, which is critical for maintaining the integrity of the layers.
While bread flour is ideal, some bakers successfully use a high-quality all-purpose flour (around 10.5-11.5% protein), sometimes blended with bread flour, depending on the specific recipe and desired texture. The key is consistency and strength. A weak flour will result in a dough that tears easily during lamination, leading to poor layer separation and a less flaky pastry. Investing in good flour is one of the fundamental pain au chocolat baking tips for achieving excellent results.
The Importance of Butter: Achieving Layers and Richness
Butter is arguably the most critical component for achieving the signature flaky layers and rich flavor of Pain au Chocolat. High-quality unsalted butter with a high fat content, ideally around 82% or higher, is essential. This type of butter has less water, which helps prevent it from melting too quickly during lamination and baking. The butter is incorporated into the dough in a solid block, and as the dough is folded and rolled, the butter is spread into thin sheets between the dough layers.
During baking, the water in the butter turns to steam, which pushes the layers of dough apart, creating those airy, distinct flakes. The high fat content also contributes significantly to the pastry's richness and tenderness. Using butter with lower fat content or butter that is too soft will result in the butter mixing into the dough rather than creating separate layers, leading to a bread-like texture instead of flakiness. Proper handling of the butter block is a key pain au chocolat baking tip for success.
Choosing the Right Chocolate Batons for Authentic Pain au Chocolat
Authentic Pain au Chocolat uses specific pieces of chocolate called "batons" or "chocolatines." These are typically semi-sweet or bittersweet dark chocolate sticks, designed to melt beautifully within the pastry without burning. They are usually made from baking chocolate, which has a different composition than eating chocolate, allowing it to hold its shape better during baking while still melting smoothly. Using the correct type and size of chocolate baton is crucial for the classic Pain au Chocolat experience.
The quality of the chocolate directly impacts the final flavor. Opt for a good quality baking chocolate that you enjoy eating on its own. The batons should be approximately 3-4 inches long and around 1/4 to 1/2 inch thick. Using chocolate chips or chopped chocolate can work in a pinch, but they don't distribute as evenly and may not provide the same consistent melt as batons specifically designed for viennoiserie. Choosing the right chocolate is a simple yet effective pain au chocolat baking tip.
Step-by-Step Pain au Chocolat Recipe: Mastering the Technique
Preparing the Dough: A Detailed Guide
Mixing the Ingredients: Achieving the Perfect Dough Consistency
The process begins by combining the dry ingredients – typically flour, sugar, and salt – in a large bowl. Yeast is then added, usually instant dry yeast mixed directly with the dry ingredients, or active dry yeast proofed in a portion of the warm liquid (milk or water, around 100-110°F or 38-43°C). Wet ingredients, such as milk, water, eggs (optional but adds richness), and a small amount of melted butter or oil, are then added to the dry ingredients. The mixture is brought together to form a shaggy dough.
Once the dough comes together, it's kneaded. This can be done by hand or using a stand mixer with a dough hook. Kneading develops the gluten structure, which is vital for the dough's elasticity and ability to hold the layers during lamination. Knead until the dough is smooth, elastic, and passes the "windowpane test" – you should be able to stretch a small piece of dough thinly without it tearing. The consistency should be soft but not overly sticky. This initial dough preparation is fundamental to all pain au chocolat baking tips.
The First Rise: Allowing the Dough to Develop Flavor
After kneading, the dough undergoes its first rise, also known as bulk fermentation. This process allows the yeast to produce carbon dioxide, causing the dough to expand, and more importantly, it develops flavor through enzymatic activity. The dough is typically placed in a lightly oiled bowl, covered, and left to rise in a warm, draft-free place until it has doubled in size. This usually takes 1 to 2 hours at room temperature (around 70-75°F or 21-24°C), but it can be done slowly in the refrigerator overnight for a more complex flavor profile.
A slow, cold fermentation in the refrigerator is often preferred for viennoiserie as it not only enhances flavor but also chills the dough thoroughly. Chilling is crucial for the next step, lamination, as it helps keep both the dough and the butter cold and firm, preventing the butter from melting into the dough prematurely. This initial rise sets the stage for successful lamination and is a key part of mastering pain au chocolat baking tips.
Laminating the Dough: Creating the Signature Layers
The Butter Block: Preparing for Lamination
Lamination is the heart of Pain au Chocolat baking, where layers are created by repeatedly folding a block of butter into the dough. The first step is preparing the butter block. Take cold, high-fat butter and pound or roll it into a flat rectangle, typically about 1/4 inch thick and sized appropriately to fit within the rolled-out dough. The butter should be pliable but still cold and firm – not soft or greasy. It's helpful to shape the butter between two sheets of parchment paper.
The butter block needs to be roughly the same consistency as the dough when you begin lamination. If the butter is too hard, it will break through the dough; if it's too soft, it will melt into the dough. Achieving the right temperature and consistency for both the dough and the butter is one of the most critical pain au chocolat baking tips for successful lamination. Chill the shaped butter block until ready to use.
Folding and Turning: The Key to Flaky Layers
Lamination involves enclosing the butter block within the dough and then rolling and folding the dough multiple times. A common method is the "book fold" or "letter fold." The chilled dough is rolled into a rectangle, typically twice as long as the butter block. The butter block is placed on one half of the dough, and the other half is folded over to cover the butter, sealing the edges. The dough is then rolled out again into a long rectangle.
This rectangle is then folded in thirds (like a letter) or quarters (like a book). Each fold and subsequent rolling-out creates new layers of dough and butter. For Pain au Chocolat, typically 3-4 "turns" (a turn is one roll and one fold) are performed, with resting periods in between.
For example, a common schedule might be: enclose butter -> 1st turn -> rest -> 2nd turn -> rest -> 3rd turn -> rest. Each turn multiplies the layers; after three turns of folding in thirds, you would have theoretically (3^3) * 2 = 54 layers of dough and 54 layers of butter (starting with 2 dough layers around 1 butter layer after the first enclosure).
Resting the Dough: Essential for Relaxation and Gluten Development
Resting the dough between turns is absolutely crucial for successful lamination. After each fold and roll, the gluten in the dough becomes tight and resistant to further rolling. Resting the dough, typically in the refrigerator for 30-60 minutes, allows the gluten to relax. This makes the dough much easier to roll out evenly for the next turn, preventing tearing and ensuring the layers remain intact.
Chilling during the rest periods also serves the vital function of keeping the butter cold and solid. If the butter warms up and melts into the dough, you won't get those distinct layers. Adequate chilling time ensures the butter stays in thin sheets between the dough layers throughout the lamination process. Patience during these resting periods is a non-negotiable pain au chocolat baking tip.
Shaping and Filling the Pain au Chocolat
Cutting the Dough: Precise Measurements for Uniform Pastries
Once lamination is complete and the dough has had its final rest, it's rolled out to its final thickness, typically about 1/8 to 1/4 inch (3-5 mm). The dough should be rolled into a large, even rectangle. Precision is key at this stage to ensure uniform pastries that bake evenly. Using a ruler and a sharp knife or pastry wheel, trim the edges to create clean lines.
Then, cut the large rectangle into smaller rectangles of the size needed for individual Pain au Chocolat. A common size might be about 3-4 inches wide by 6-8 inches long (roughly 8-10 cm by 15-20 cm), depending on the desired size of the finished pastry and the length of your chocolate batons. Uniform cutting ensures consistent baking time for all pastries on the tray.
Adding the Chocolate Batons: Ensuring Optimal Chocolate Distribution
With the dough cut into rectangles, it's time to add the chocolate batons. Place one chocolate baton near one short edge of the dough rectangle. Then, roll the dough once to enclose the first baton. Place a second chocolate baton just behind the first roll. This ensures that when the pastry is fully rolled, there will be two lines of chocolate inside, which is traditional for Pain au Chocolat.
Some variations use only one baton, but two provides a more generous chocolate filling. Position the batons parallel to the short edge you are rolling from. Ensure the batons are centered widthwise on the dough strip. This careful placement is a simple yet effective pain au chocolat baking tip for achieving the classic look and feel.
Rolling and Shaping: Achieving the Classic Pain au Chocolat Form
Once the chocolate batons are in place, continue to roll the dough rectangle from the short edge with the batons towards the opposite short edge. Roll firmly but gently, ensuring the dough wraps snugly around the chocolate. The seam should end up on the underside of the pastry. The final shape should be a neat, somewhat rectangular roll.
Place the shaped Pain au Chocolat seam-side down on a baking sheet lined with parchment paper. Leave ample space between each pastry, as they will expand significantly during proofing and baking. Aim for a consistent shape and tightness in your rolls to ensure even proofing and baking. Proper shaping is a critical step in these pain au chocolat baking tips.
Proofing and Baking: The Final Touches
The Second Rise: Allowing the Pain au Chocolat to Puff Up
After shaping, the Pain au Chocolat undergoes its second rise, or proofing. This is a crucial step where the yeast produces more gas, causing the pastries to expand and become light and airy. Proofing is typically done in a warm, humid environment, ideally around 75-80°F (24-27°C) with some humidity. This can be achieved in a proofing box, a slightly warm oven that's been turned off, or by placing the baking sheet in a large plastic bag.
Proofing usually takes 1.5 to 2.5 hours, depending on the temperature. The pastries should visibly increase in size, becoming puffy and jiggly when gently shaken, but they should not double in size like a typical bread dough. Over-proofing can lead to a loss of structure and butter leakage during baking. Under-proofing will result in dense pastries. Learning to recognize properly proofed dough is a vital pain au chocolat baking tip.
Egg Wash: Achieving a Golden-Brown Crust
Just before baking, the proofed Pain au Chocolat are typically brushed with an egg wash. An egg wash is usually made by whisking a whole egg with a tablespoon or two of milk or water. This wash gives the pastries a beautiful golden-brown color and a lovely sheen as they bake. Be careful not to let the egg wash drip down the sides and seal the layers, as this can inhibit the flakiness.
Apply the egg wash gently using a pastry brush, covering the entire visible surface of the dough. A second, lighter coat can be applied after a few minutes if desired for a deeper color. Ensure even coverage for a consistent finish. This simple step adds visual appeal and is a standard practice in pain au chocolat baking tips.
Baking Temperature and Time: Ensuring a Perfectly Baked Pastry
Baking Pain au Chocolat requires a relatively hot oven to create that initial burst of steam that helps lift the layers. A common temperature range is 375-400°F (190-200°C). Preheat your oven thoroughly, ideally with a baking stone or steel if you have one, as this helps provide a consistent heat source from below, promoting even rising and browning.
Bake the pastries for approximately 15 to 20 minutes, or until they are deeply golden brown all over. Baking time will vary depending on your oven, the size of the pastries, and how deeply colored you prefer them. It's important to bake them long enough for the layers to set and become crisp and for the interior to cook through and the chocolate to melt completely. Don't be afraid of a rich, dark golden color – this indicates good caramelization and crispiness.
Pain au Chocolat Baking Tips for Flawless Results
Temperature Control: Maintaining the Ideal Dough Temperature
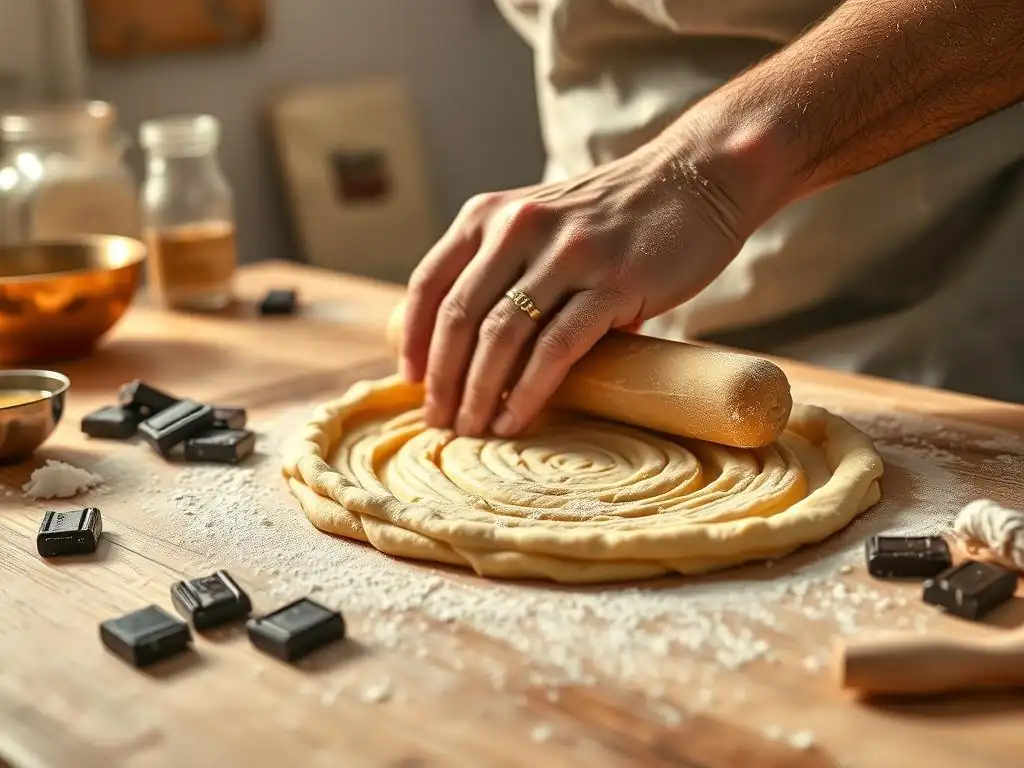
Temperature control is arguably the most critical factor in successful Pain au Chocolat baking. Throughout the process, especially during lamination, the dough and the butter must be kept cold. The ideal dough temperature during lamination is typically between 40-50°F (4-10°C). If the dough or butter gets too warm, the butter will melt into the dough, destroying the layers and resulting in a greasy, bread-like texture instead of flaky pastry.
Work quickly when rolling and folding, and don't hesitate to put the dough back in the refrigerator if it starts to feel warm or the butter seems too soft. Even a few minutes in the fridge can make a big difference. Using cold surfaces, like a marble pastry board, can also help. This focus on maintaining a consistent low temperature is one of the most important pain au chocolat baking tips you can follow.
Working with Butter: Preventing Melting and Ensuring Flaky Layers
Beyond keeping the butter cold, the consistency of the butter block is also vital. It should be pliable enough to roll without cracking but firm enough not to ooze out when you roll the dough. If your butter is too hard straight from the fridge, gently pound it with a rolling pin until it reaches the right consistency. If it's too soft, chill it briefly.
Ensure the butter block is evenly distributed within the dough rectangle before rolling. Any gaps or thin spots in the butter block will result in areas of the pastry that lack flakiness. Sealing the edges of the dough around the butter block properly after the initial enclosure prevents the butter from leaking out during rolling and baking. Master these butter-handling pain au chocolat baking tips for perfect layers.
Proofing Techniques: Achieving Optimal Rise and Texture
Proper proofing is essential for developing the airy texture of Pain au Chocolat. The proofing environment should be warm and humid to prevent the surface of the dough from drying out, which would inhibit expansion. A dry skin can also cause the layers to stick together. Using a proofing box or creating a humid environment (like placing the tray in an oven with a pan of hot water) helps achieve this.
Monitor the proofing carefully. The pastries should look visibly puffy and feel light, but they should not be so expanded that the layers start to separate before baking. Gently nudging a pastry should make it wobble slightly, indicating it's ready. Over-proofing can collapse the delicate structure, while under-proofing will result in dense, heavy pastries. Learning to judge the proof is one of the most valuable pain au chocolat baking tips.
Baking Time Adjustments: Adapting to Your Oven
Every oven is different, and baking times provided in recipes are always approximations. It's crucial to know your oven and be prepared to adjust the baking time and potentially the temperature slightly. Ovens can have hot spots, so rotating the baking sheet halfway through the baking time can help ensure even browning.
Look for visual cues: the pastries should be a deep golden brown, not just lightly colored. This color indicates that the layers are fully cooked and crisp. If they are browning too quickly on the outside but seem underbaked inside, you might need to lower the temperature slightly and increase the baking time. Conversely, if they are baking too slowly, a slight temperature increase might be needed. Don't be afraid to slightly adapt these pain au chocolat baking tips to your specific oven.
Troubleshooting Common Pain au Chocolat Baking Problems
Dough Too Sticky: Solutions and Prevention
If your dough is too sticky after mixing, it can be difficult to handle, especially during lamination. This is often caused by adding too much liquid or not developing enough gluten during kneading. To fix it during mixing, you can add a small amount of flour, a tablespoon at a time, until the dough reaches the desired consistency. Avoid adding large amounts of flour at once, as this can make the dough tough.
To prevent sticky dough, measure your ingredients accurately, especially liquids. Using a kitchen scale is highly recommended for precision in baking. Ensure you are kneading the dough long enough to develop the gluten properly, which makes the dough less sticky and more manageable. Starting with the correct hydration level is a fundamental pain au chocolat baking tip to avoid issues later.
Butter Leaking: Tips for Minimizing Butter Leakage
Butter leakage during lamination or baking is a common issue and usually indicates that the butter got too warm, either during rolling, resting, or proofing. If butter is leaking during lamination, immediately wrap the dough tightly and return it to the refrigerator for at least 30-60 minutes to firm up. Work more quickly and ensure your resting periods are sufficient and cold.
If butter leaks during baking, it's often due to the butter melting before the dough layers have set, usually from insufficient chilling before baking or over-proofing. Ensure your shaped pastries are well-chilled before going into a hot oven. While a small amount of butter leakage is sometimes unavoidable, significant leakage means the layers haven't formed correctly. Proper temperature management throughout the process is the best defense against this problem, and a key pain au chocolat baking tip.
Uneven Baking: Achieving Consistent Results
Uneven baking can result in some pastries being perfectly golden while others are pale or even burnt. This is often due to uneven oven temperature or inconsistent placement of pastries on the baking sheet. To combat this, always preheat your oven thoroughly, allowing ample time for the temperature to stabilize. Using an oven thermometer can help you verify the actual temperature inside your oven.
Arrange pastries on the baking sheet with enough space between them to allow hot air to circulate evenly. Avoid overcrowding the tray. Rotating the baking sheet halfway through the baking time (e.g., after 8-10 minutes) is a simple yet effective way to promote even browning, especially if you know your oven has hot spots. These simple adjustments are crucial pain au chocolat baking tips for uniform results.
Lack of Flakiness: Identifying and Correcting Issues
If your Pain au Chocolat turn out dense or bread-like instead of beautifully flaky, the primary culprit is almost always a problem with lamination or butter handling. This could mean the butter wasn't kept cold enough and melted into the dough, or the dough wasn't rested properly between turns, causing tearing that broke the layers. Insufficient rolling or folding (not enough turns) will also result in fewer layers and less flakiness.
Ensure you are using high-fat butter and handling it correctly. Pay close attention to dough and butter temperature throughout lamination. Make sure you complete the required number of folds as specified in your recipe and rest the dough sufficiently in the refrigerator between each turn. Proper proofing and a hot oven are also needed to create the steam that pushes the layers apart during baking. Reviewing these pain au chocolat baking tips related to lamination is key to improving flakiness.
Serving and Enjoying Your Homemade Pain au Chocolat
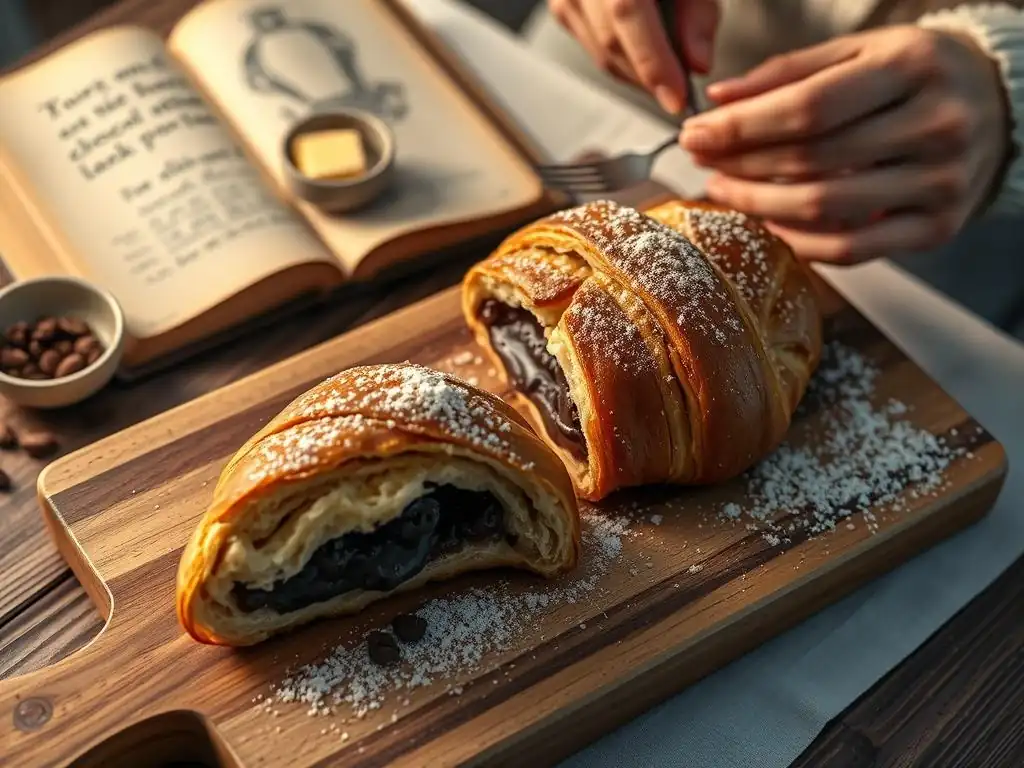
Freshly Baked: The Ultimate Pain au Chocolat Experience
There is truly nothing quite like a Pain au Chocolat enjoyed moments after it comes out of the oven. The layers are at their crispiest, the butter is still warm and fragrant, and the chocolate inside is perfectly melted and gooey. Allow them to cool on a wire rack for just a few minutes – perhaps 5-10 minutes – before diving in. This short cooling period allows the structure to set slightly and prevents you from burning your tongue on the hot chocolate.
The aroma of freshly baked Pain au Chocolat is intoxicating and fills your home with warmth and comfort. This is the moment all your hard work and patience pays off. Savor that first bite, the shatter of the crisp exterior giving way to the soft interior and the rich, melted chocolate. It's a simple pleasure that embodies the joy of baking.
Storage Tips: Maintaining Freshness and Flavor
Pain au Chocolat are best enjoyed on the day they are baked. However, if you have leftovers, you can store them at room temperature in an airtight container for up to 1-2 days. Be aware that the crispness of the layers will diminish over time. Avoid refrigerating baked pastries, as the cold air can dry them out and make them stale more quickly.
For longer storage, you can freeze shaped-but-unbaked Pain au Chocolat. Place the shaped pastries on a baking sheet and freeze until solid, then transfer them to a freezer bag or airtight container. When ready to bake, place them on a baking sheet and let them proof at room temperature for 2-4 hours (or longer in a cold environment, like overnight in the fridge) until they are puffy, then egg wash and bake as usual. This allows you to enjoy "freshly baked" Pain au Chocolat whenever you like.
Pairing Suggestions: Complementary Beverages and Treats
Pain au Chocolat pairs beautifully with a variety of beverages, making it a perfect treat for breakfast, brunch, or an afternoon snack. A classic pairing is a strong cup of coffee, such as an espresso or a smooth drip brew, which complements the richness of the butter and chocolate. A cafe au lait or cappuccino is also a delightful choice, the creamy milk balancing the pastry's flavors.
Beyond coffee, Pain au Chocolat is wonderful with a cup of tea, particularly a robust black tea or a milder oolong. For a more indulgent pairing, consider a rich hot chocolate, though this doubles down on the chocolate flavor! For a lighter option, a glass of cold milk or even a simple glass of water allows the pastry's flavors to truly shine.
Conclusion: Embrace the Art of Pain au Chocolat Baking with BakeWithEase
Baking Pain au Chocolat is a journey that challenges and rewards in equal measure. It requires attention to detail, patience, and a willingness to practice techniques like lamination. However, the result – a batch of warm, flaky pastries filled with melted chocolate – is a truly extraordinary payoff. Each step, from preparing the dough to the final bake, contributes to the magical transformation of simple ingredients into a classic viennoiserie.
With the pain au chocolat baking tips and step-by-step guide provided here on BakeWithEase, you have the tools to embark on this delicious adventure. Don't be discouraged if your first attempt isn't perfect; baking is a skill that improves with practice. Embrace the process, learn from each batch, and soon you'll be enjoying the incredible satisfaction of pulling your own perfect Pain au Chocolat from the oven. Happy baking!
Frequently Asked Questions
How can I achieve a flaky and buttery texture in my Pain au Chocolat?
The key is using cold butter and proper lamination. This creates distinct layers of dough and butter that separate during baking, resulting in the desired flakiness.
What type of chocolate is best for Pain au Chocolat?
Traditionally, bâtons de chocolat are used, which are specifically designed for this pastry. However, you can substitute with high-quality dark chocolate bars cut into similar shapes.
What's the best temperature for baking Pain au Chocolat?
Generally, baking at around 375°F (190°C) is ideal. This allows the dough to rise properly and the butter to melt without burning. Check your oven as they can vary.
How can I prevent the chocolate from melting and leaking out during baking?
Make sure the chocolate is completely enclosed within the dough and that the seams are properly sealed. Using frozen chocolate is another option.
What are some common mistakes to avoid when making Pain au Chocolat?
Overmixing the dough, using warm butter, and not allowing enough proofing time are common pitfalls. Patience and attention to detail are crucial for success.
Final Reflection: The Enduring Magic of a Perfectly Baked Pain au Chocolat
The art of baking the perfect pain au chocolat transcends mere culinary skill; it's a journey of precision, patience, and ultimately, pure joy. This article has explored the intricacies of crafting this beloved pastry, from selecting the right ingredients to achieving that coveted flaky, buttery texture. But beyond the technical tips and tricks, we've touched upon something far more profound: the satisfaction derived from creating something beautiful and delicious with your own hands.
The influence of baking, and specifically the joy found in mastering a recipe like the pain au chocolat, extends far beyond the kitchen. It's a connection to tradition, a celebration of simple pleasures, and a powerful reminder of the tangible rewards of dedication and effort. The best things in life are homemade.
This sentiment rings especially true when considering the warmth and satisfaction that comes from sharing a perfectly baked pain au chocolat with loved ones. The process itself, from the initial kneading to the final golden-brown crust, becomes a meditative practice, a moment of mindful creation in an often hectic world.
Now, I invite you to consider your own baking journey. Perhaps you've already mastered the pain au chocolat, or maybe this article has inspired you to try. Regardless, remember the power of intention and the transformative potential of creating something beautiful. Don't be afraid to experiment, to embrace the occasional imperfection, and most importantly, to savor the joy of the process, from the first mixing bowl to that first, unforgettable bite. The magic is in the making, and the reward is immeasurable.
Unleash Your Inner Pâtissier: Bake Your Own Pain au Chocolat!
Thanks for joining us on this delicious journey into the world of Pain au Chocolat! We hope you've gained a newfound appreciation for the artistry and satisfaction of baking this classic treat. Now it's time to put your newfound knowledge into practice.
- Bake your own Pain au Chocolat this weekend! Use the recipe we shared and enjoy the process from start to finish. It's more rewarding than you might think!
- Share your baking journey on social media using #BakeWithEasePainAuChocolat and inspire others to try this delightful recipe. We’d love to see your creations!
- Consider experimenting with different chocolate types to personalize your Pain au Chocolat. What unexpected flavor combinations will you discover?
Ready to transform your kitchen into a Parisian patisserie? What unique twist will you add to your Pain au Chocolat recipe?