
Decoding Choux Pastry: A Simple Approach for Intermediate Bakers

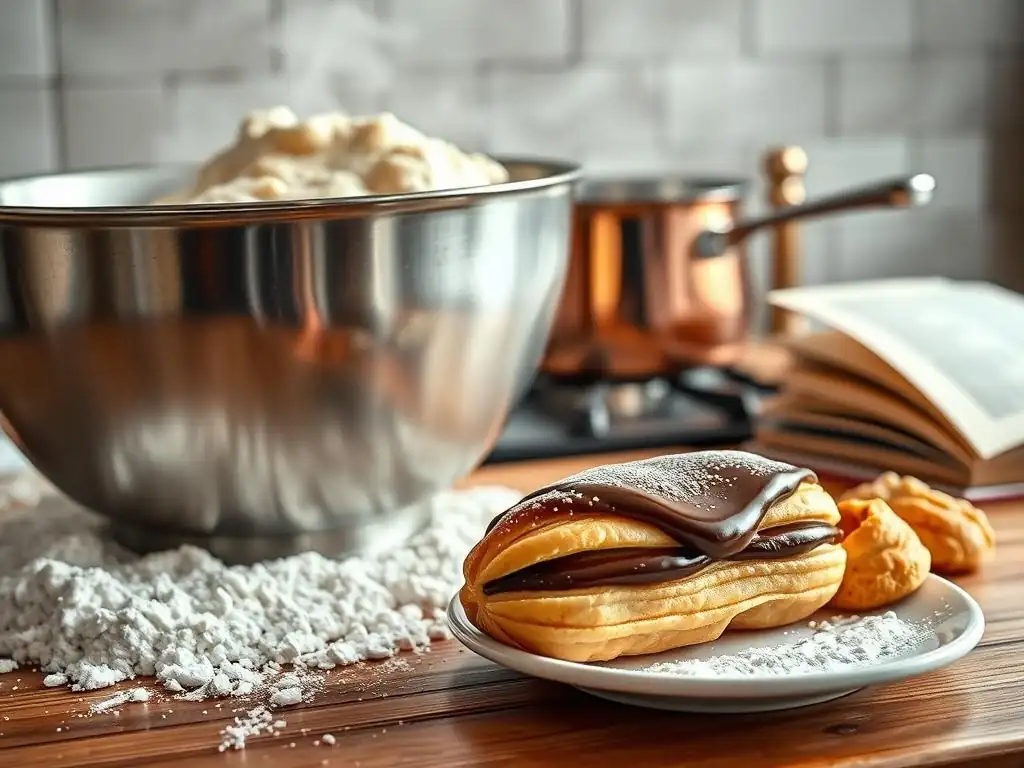
Welcome to BakeWithEase, your trusted companion in the world of baking! Ever wondered if you could conquer the seemingly daunting choux pastry? You're in the right place. We're about to unveil a simple choux pastry recipe designed for intermediate bakers like you, stripping away the complexity and revealing the secrets to light, airy perfection. Ready to elevate your baking game and create delightful treats? Let's get started and discover the magic behind this classic pastry!
- Introduction to Perfect Choux Pastry Baking
- The Core Components of a Choux Pastry Recipe
- Step-by-Step: Your Choux Pastry Recipe Walkthrough
- Troubleshooting Common Choux Pastry Problems
- Choux Pastry Recipe Variations and Adaptations
- Mastering Choux Pastry: Tips and Tricks for Intermediate Bakers
- Conclusion: Your Journey to Choux Pastry Success
-
Frequently Asked Questions
- What exactly is choux pastry, and what makes it different from other doughs?
- Is this "simple" choux pastry recipe really suitable for intermediate bakers, or is it still difficult?
- What are the most common mistakes people make when attempting choux pastry, and how can I avoid them?
- Can I freeze choux pastry, either before or after baking?
- What are some variations I can make to this simple choux pastry recipe?
- Final Reflection: Mastering the Humble Choux, One Puff at a Time
- Unlock Your Choux Pastry Potential!
Introduction to Perfect Choux Pastry Baking
Welcome to Choux Pastry: BakeWithEase's Guide
Welcome, intermediate bakers! You've mastered cakes, perhaps tackled some cookies, and now it's time to unlock the secrets of choux pastry. Often perceived as challenging, choux (pronounced "shoo") is actually one of the most fundamental and versatile pastry doughs in the baking world. From light-as-air cream puffs to elegant éclairs and savory gougères, this single dough forms the basis for countless delightful creations. Think of it as your next step in expanding your baking repertoire, a skill that builds upon the precision you've already developed.
This guide from BakeWithEase is designed to demystify the process, breaking down the simple choux pastry recipe into manageable steps. We'll walk you through the essential ingredients, the fascinating science behind the puff, and a clear, step-by-step recipe tailored for those ready to move beyond basic baking. Our goal is to equip you with the knowledge and confidence to consistently produce beautifully puffed, hollow choux shells, ready to be filled with your favorite creams or savories.
Why Choux Pastry Isn't as Difficult as You Think
Many bakers are intimidated by choux pastry, picturing collapsed shells or dense dough. However, the process relies on a few key principles and precise techniques, rather than complex maneuvers. Unlike laminated doughs or yeast breads that require extensive handling or long proofing times, a simple choux pastry recipe comes together quite quickly on the stovetop and in the mixer (or by hand!). The magic lies in understanding the science: creating a sturdy base (the panade) and incorporating eggs correctly to build structure and leverage steam.
Once you grasp these core concepts – heating the liquid and fat, adding and cooking the flour, and then mixing in the eggs to the right consistency – you'll find the process is quite logical. The puff happens in the oven almost automatically if the dough is prepared correctly and baked at the right temperature. It's less about intuition and more about following the steps accurately. Think of it as a straightforward chemical reaction you're facilitating, leading to delicious results with a simple choux pastry recipe.
Perfecting Your Choux: A Recipe for Intermediate Bakers
Achieving perfect choux pastry is within reach for any intermediate baker willing to follow a few guidelines. This simple choux pastry recipe focuses on standard ratios and techniques that provide reliable results. We'll be using common kitchen equipment – a saucepan, a wooden spoon or sturdy spatula, and optionally a stand mixer – making it accessible for most home kitchens.
The key to success with this simple choux pastry recipe lies in attentiveness during the panade stage (cooking the flour-liquid mixture) and careful incorporation of the eggs. We'll provide specific visual cues and timing suggestions to help you navigate these critical steps. Remember, practice makes perfect, but starting with a solid, simple choux pastry recipe like this one sets you up for success from the very first attempt.
The Core Components of a Choux Pastry Recipe
Essential Ingredients for Perfect Choux
A simple choux pastry recipe requires only a handful of basic ingredients, but their quality and proper use are paramount. These include water or milk (or a combination), butter, flour, salt, and eggs. Each plays a specific role in creating the dough's unique structure and puff. Using fresh, standard ingredients is the first step towards a successful batch of choux.
Let's look closer at the function of these key components. The liquid (usually water, sometimes milk for a richer result) and fat form the initial base. The flour is then cooked into this mixture, creating a cooked paste called the panade. Finally, eggs are added, providing lift, structure, and richness. Salt balances the flavor, whether you're making sweet or savory choux.
Flour Power: Choosing Bread Flour for Choux
While some recipes call for all-purpose flour, many experienced bakers prefer using bread flour for choux pastry. Bread flour typically has a higher protein content, often ranging from 12% to 14%, compared to the 10-12% in all-purpose flour. This higher protein develops more gluten when cooked with the liquid, resulting in a stronger, more stable panade.
A stronger gluten structure provides a firmer foundation for the dough, which is crucial for capturing and holding the steam generated during baking. This leads to a better, more consistent puff and a sturdier shell that can support various fillings without collapsing. While a simple choux pastry recipe can work with all-purpose, opting for bread flour often gives you a slight edge in achieving that desirable hollow interior and impressive rise.
Fat Matters: Unsalted Butter in Choux
Unsalted butter is the preferred fat for a simple choux pastry recipe. Butter contributes to the richness and flavor of the dough. More importantly, as it melts and emulsifies with the liquid and flour, it helps tenderize the dough and contributes to the texture. Using unsalted butter gives you complete control over the salt content in your recipe, which is important whether you're making sweet or savory applications.
The standard ratio often calls for equal parts liquid and butter by weight or volume. For example, a common starting point might be 1 cup (237ml) of water and 1/2 cup (113g) of unsalted butter. Ensure your butter is cut into pieces to melt evenly and quickly in the saucepan before adding the flour.
Egg-cellent Eggs: Using Large Eggs for Structure
Eggs are arguably the most critical component in a simple choux pastry recipe. They provide the necessary moisture to create steam during baking, add richness and flavor, and, most importantly, contribute structure through their proteins and emulsifiers. Large eggs are standard in most recipes, weighing approximately 50-57 grams (about 2 ounces) each. Using the correct size is important because adding too much or too little egg will result in dough that is either too wet or too dry, respectively.
The number of eggs required can vary slightly depending on the moisture content of your panade (how well it was cooked) and the size of your eggs. It's crucial to add the eggs gradually, checking the consistency of the dough as you go. The final dough should be smooth, glossy, and just soft enough to hold its shape when piped, often described as having a "volcanic" or "lava" consistency where it slowly flows back together when a line is drawn through it.
Understanding the Science Behind Choux Pastry
The magic of choux pastry lies in a fascinating interplay of simple ingredients and heat. It's a demonstration of basic physics and chemistry working together to create a remarkable texture. Understanding this science helps you troubleshoot and perfect your technique.
The process involves gelatinization of starch, emulsification of fat and liquid, and the powerful leavening action of steam. It's not leavened by yeast or baking powder, but purely by water turning into steam inside the dough during baking.
The Gelatinization Process: Flour and Water
The first scientific step in making a simple choux pastry recipe is the gelatinization of starch. When you add the flour to the hot liquid and fat mixture and cook it, the starch granules in the flour absorb the moisture and swell. As you continue to cook and stir vigorously, the starch granules burst, releasing amylose and amylopectin molecules that form a network, thickening the mixture into a paste known as the panade.
Cooking the panade correctly is vital. You need to cook it long enough (typically 1-3 minutes over medium heat) to drive off excess moisture and create a thick, cohesive ball of dough that pulls away from the sides and bottom of the pan. This ensures the starch is fully gelatinized and the base is firm enough to support the subsequent addition of eggs and the expansion during baking. An undercooked panade holds too much moisture and can result in flat choux.
Emulsification: Binding Fat and Water
Emulsification plays a role early in the process when butter is melted into the liquid, and later when eggs are incorporated into the panade. Initially, the butterfat is dispersed throughout the water (or milk). As the flour is added and cooked, the starch helps to stabilize this mixture.
The most significant emulsification occurs when the eggs are beaten into the cooled panade. Egg yolks contain lecithin, a powerful emulsifier that helps to bind the fat and water components of the dough into a smooth, cohesive structure. This creates a stable network that can trap the steam generated during baking, allowing the dough to puff dramatically without collapsing. Proper emulsification results in a smooth, glossy dough with the correct consistency.
Steam Power: Creating the Choux Puff
The dramatic rise of choux pastry is almost entirely due to steam. When the dough, which contains a significant amount of moisture from the liquid and eggs, is placed in a hot oven (often starting around 400°F or 200°C, then reducing to 375°F or 190°C), the water quickly turns to steam. This steam expands rapidly within the dough's elastic, gluten-starch-egg network.
As the steam pushes outwards, the dough inflates, creating a hollow cavity inside. Simultaneously, the heat causes the proteins in the eggs and flour to coagulate and set the structure, while the outside of the pastry bakes and dries, forming a crisp crust. Maintaining a consistent oven temperature and avoiding opening the oven door too early are crucial to allow the steam to perform its work and the structure to set before the dough cools and collapses.
Step-by-Step: Your Choux Pastry Recipe Walkthrough
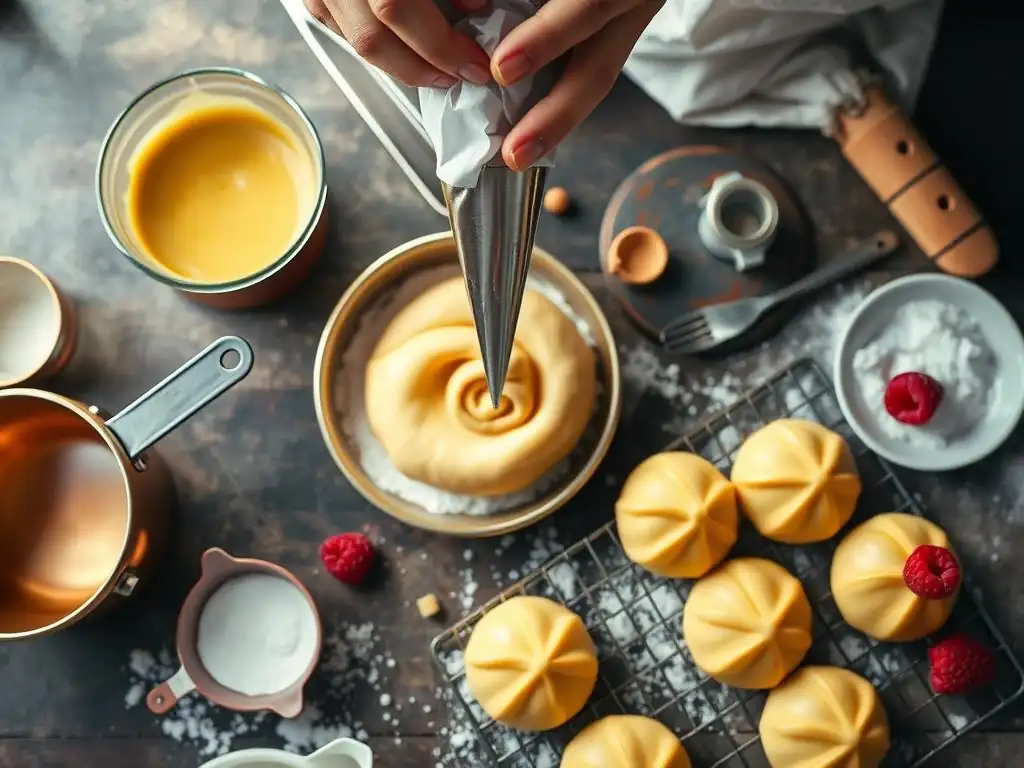
Ready to make your own simple choux pastry recipe? Follow these steps carefully, and you'll be well on your way to delicious results. Precision in measurement and technique is key here.
Preparing Your Ingredients: Mise en Place for Choux
Before you even turn on the stove, gather all your ingredients and equipment. This is known as mise en place (everything in its place) and is crucial for success in baking, especially with a simple choux pastry recipe where timing is important.
Your checklist should include:
- [ ] Measuring out your liquid (water, milk, or mix).
- [ ] Cutting your unsalted butter into cubes.
- [ ] Weighing or measuring your flour (preferably bread flour).
- [ ] Having your salt ready.
- [ ] Cracking your large eggs into a bowl and lightly whisking them. You might not use all of them, so having them ready makes adding gradually easier.
- [ ] Preparing your baking sheets, lining them with parchment paper.
- [ ] Setting up your piping bag and tip (if using).
Having everything prepped ensures you can move smoothly from one step to the next without interruption, which is particularly important during the panade stage.
Creating the Panade: The Foundation of Choux
This is the first critical step in your simple choux pastry recipe. Combine the liquid, butter, and salt in a heavy-bottomed saucepan. Heat this mixture over medium heat until the butter is completely melted and the liquid comes to a rolling boil. It's important that it's boiling vigorously before adding the flour.
Once boiling, remove the pan from the heat immediately and dump all the measured flour into the hot liquid at once. Stir vigorously with a wooden spoon or sturdy heatproof spatula. The mixture will look lumpy at first but keep stirring until it comes together into a cohesive ball of dough.
Return the pan to medium heat and continue to cook the dough, stirring and pressing it against the bottom and sides of the pan for 1 to 3 minutes. You'll see a thin film form on the bottom of the pan, and the dough will become smoother and less sticky. This cooking step is vital for drying out the panade and gelatinizing the starch properly.
Incorporating the Eggs: Achieving the Perfect Consistency
After cooking the panade, transfer it to a bowl (if using a stand mixer) or keep it in the saucepan. Let it cool slightly for 5-10 minutes. It should still be warm, but not so hot that it scrambles the eggs. If using a stand mixer, use the paddle attachment on low speed to help it cool down faster.
Begin adding the lightly whisked eggs gradually, a little at a time (about 1/4 to 1/3 of the egg mixture at a time). Mix thoroughly after each addition, ensuring the egg is fully incorporated into the dough before adding more. The dough will look broken and slippery initially after adding an egg, but keep mixing, and it will come back together and become smooth and glossy.
Continue adding eggs until the dough reaches the correct consistency. It should be smooth, shiny, and thick enough to hold its shape but soft enough to slowly fall from the spoon or paddle in a thick ribbon or triangle shape ("bird's beak").
A good test is to draw a line through the dough with your finger or a spoon; it should slowly fill back in but not immediately disappear. This typically requires 3 to 5 large eggs for a standard simple choux pastry recipe batch, but always go by consistency, not just the number of eggs.
Piping the Choux: Tips for Uniform Shapes
Once your choux dough is ready, transfer it to a piping bag fitted with your desired tip (a large round tip like Ateco 808 or 809 is common for puffs, a star tip for a decorative look, or no tip for a rustic shape). Piping helps create uniform shapes, which ensures even baking.
Pipe mounds or strips onto your parchment-lined baking sheets, leaving about 2 inches between each piece as they will expand significantly. For cream puffs, pipe rounds about 1.5 to 2 inches in diameter. For éclairs, pipe straight lines about 4-5 inches long. Dip your finger in water and gently smooth down any peaks on the piped dough; this prevents them from burning in the oven. Consistent size and shape are key to achieving beautiful, evenly baked choux from your simple choux pastry recipe.
Baking Your Choux: Temperature and Timing Secrets
Baking is where the magic happens, but it requires careful attention to temperature and time. The goal is to create a rapid burst of steam initially and then allow the pastry to dry out and set its structure.
A common technique for a simple choux pastry recipe involves starting at a higher temperature to maximize the initial puff, then reducing the temperature to cook the interior and crisp the exterior. It's crucial not to open the oven door during the first 15-20 minutes of baking, as this releases the steam and can cause the choux to collapse.
Oven Temperature: Finding the Sweet Spot (375°F/190°C)
Many simple choux pastry recipes recommend starting with a high temperature, such as 400°F (200°C) for the first 10-15 minutes, then reducing the heat to 375°F (190°C) for the remaining baking time. The initial high heat creates that powerful burst of steam needed for maximum puff. Reducing the temperature then allows the pastry to cook through and dry out without burning the exterior.
Alternatively, some recipes maintain a consistent temperature of 375°F (190°C) throughout. This can be simpler and still yields excellent results, especially for smaller choux. The key is ensuring your oven is accurately preheated to the correct temperature before you put the choux in. Using an oven thermometer is highly recommended, as oven temperatures can vary significantly from the dial setting, sometimes by as much as 25-50°F (15-30°C).
Baking Time: Visual Cues for Doneness
Baking time for a simple choux pastry recipe varies depending on the size and shape of your choux and your oven. Small cream puffs (1.5-2 inches) might take 20-25 minutes total, while larger éclairs (4-5 inches) could need 30-35 minutes or even longer.
Visual cues are your best guide. Choux is done when it is significantly puffed, golden brown all over (not just on the edges), and feels light and hollow when lifted. They should look sturdy and dry, not soft or pale. If they are removed too early, they will collapse as they cool because the interior structure hasn't fully set. Some bakers even recommend turning off the oven and leaving the choux inside for another 5-10 minutes with the door slightly ajar to help them dry out further.
Troubleshooting Common Choux Pastry Problems
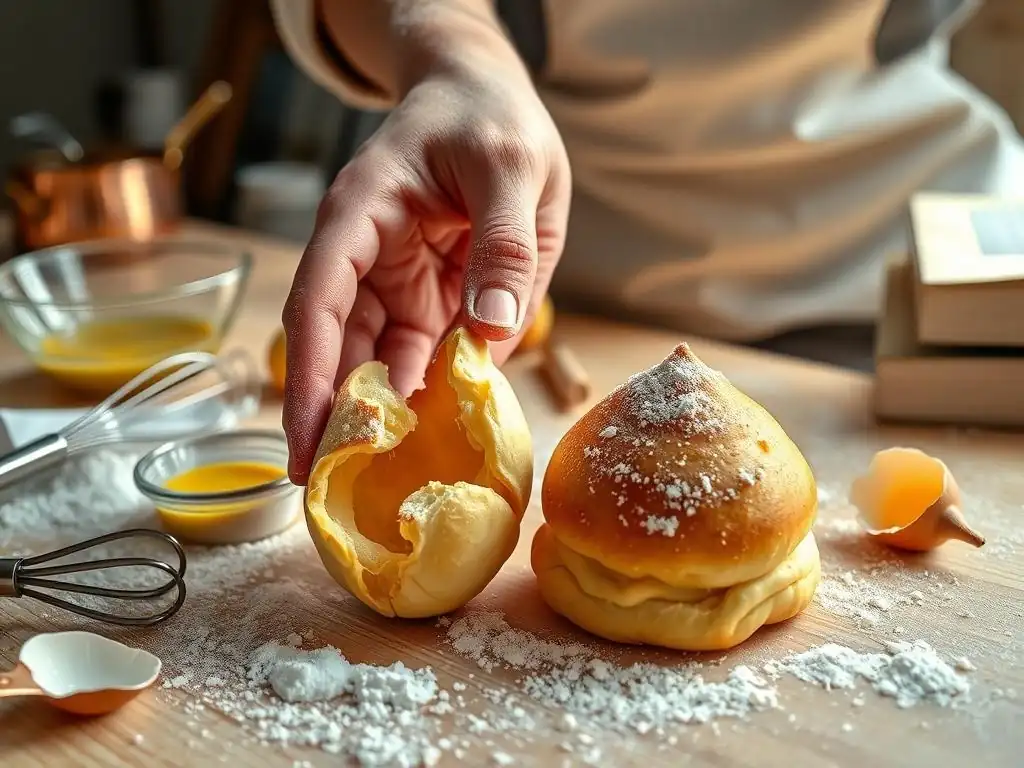
Even with a simple choux pastry recipe, things can sometimes go wrong. Don't be discouraged! Understanding common issues helps you identify what happened and improve on your next batch.
Flat Choux: Why They Didn't Puff
Flat choux is one of the most common frustrations. The primary reason is usually insufficient steam or a weak structure unable to capture the steam. This often stems from the panade not being cooked long enough, leaving too much moisture and a weak starch structure. The panade needs to be cooked until a film forms on the bottom of the pan, indicating excess moisture has evaporated.
Another culprit can be adding too many eggs, resulting in a dough that is too wet and heavy to puff properly. Conversely, if the oven temperature isn't high enough initially, you won't get that strong burst of steam needed for lift. Lastly, opening the oven door too early releases the steam and can cause them to deflate before the structure sets. Ensure your panade is cooked well, your egg consistency is correct, and resist the urge to peek too soon!
Soggy Choux: Avoiding a Waterlogged Pastry
Soggy or damp interiors, even if the choux puffed, indicate that the pastry didn't bake long enough or at the correct temperature to dry out the interior. The exterior might be golden, but the inside remains moist and dense instead of hollow and airy.
This is often a matter of baking time and temperature management. Ensure you are baking until the choux are truly golden brown and feel light. If you're worried about them getting too dark, reduce the oven temperature slightly after the initial puffing phase (e.g., to 350°F/175°C) and bake longer. Some bakers also pierce the finished choux with a skewer immediately after removing them from the oven to allow steam to escape, helping the interior dry out further.
Cracked Choux: Managing Oven Humidity
Cracked surfaces on choux pastry can happen for a few reasons. One common cause is the dough being too dry, either from an overcooked panade or not enough egg added. This lack of moisture and elasticity means the dough surface cracks rather than expands smoothly with the steam.
Another factor can be low humidity in the oven. While steam is created inside the choux, a very dry oven environment can cause the exterior to set too quickly and crack as the interior continues to expand. Some bakers combat this by placing a pan of hot water on the bottom rack of the oven during the initial high-heat phase to create some humidity. Ensure your dough consistency is correct – smooth, glossy, and pipeable, not stiff or dry.
Uneven Baking: Ensuring Consistent Results
Unevenly baked choux, where some are golden and others pale, or some puff well while others don't, is usually related to oven hot spots or inconsistent piping. Ovens often have hotter and cooler areas.
To mitigate this, try rotating your baking sheets halfway through the baking time. Ensure your choux are piped as uniformly as possible in size and shape so they require similar baking times. Also, avoid overcrowding the baking sheets, as this can hinder air circulation and lead to uneven cooking. Using an accurate oven thermometer can help confirm your oven's temperature is stable and correct throughout the bake.
Choux Pastry Recipe Variations and Adaptations
A simple choux pastry recipe is incredibly versatile! Once you master the basic dough, a world of possibilities opens up for both sweet and savory applications.
Savory Choux: Exploring Cheese and Herbs
By simply adding savory elements to your simple choux pastry recipe dough, you can create delightful appetizers or components for main dishes. The most popular savory variation is gougères (goo-jairs), which are made by incorporating grated cheese into the warm panade or the finished dough before piping. Gruyère, Parmesan, or sharp cheddar work wonderfully.
You can also add finely chopped fresh herbs like chives, thyme, or rosemary to the dough. These savory choux can be served warm on their own, split and filled with savory creams or smoked salmon, or used as a base for dishes like creamed chicken. The basic dough ratio remains the same; you're just mixing in flavorful additions.
Sweet Choux: Creating Cream Puffs and Éclairs
The classic applications of a simple choux pastry recipe are sweet pastries like profiteroles (small cream puffs) and éclairs. These are typically baked plain and then filled after cooling.
Cream puffs are usually piped as rounds and filled with pastry cream, whipped cream, ice cream, or chocolate mousse. Éclairs are piped as elongated shapes and traditionally filled with pastry cream and topped with chocolate glaze or fondant. The neutral flavor of the basic choux dough makes it the perfect vehicle for rich, sweet fillings and glazes.
Gluten-Free Choux: Adapting the Recipe for Dietary Needs
Adapting a simple choux pastry recipe for gluten-free diets is possible, although it requires some careful adjustments to the flour type and potentially the liquid ratio. Standard gluten-free flour blends often lack the protein content needed to build a strong structure like wheat flour does.
Using a blend that includes starches (like tapioca or potato starch) and a binder (like xanthan gum) is essential. The ratio of liquid to flour might need slight adjustment, as gluten-free flours can absorb moisture differently. Some success has been found using specific gluten-free choux recipes that are formulated to compensate for the lack of gluten, often resulting in a slightly less dramatic puff but still a functional and delicious pastry.
Different Fillings for Choux Pastry: Pastry Cream, Whipped Cream, Chocolate Ganache
The beauty of a simple choux pastry recipe lies in its ability to be filled with almost anything! The hollow interior is perfect for holding various sweet or savory fillings.
- Pastry Cream (Crème Pâtissière): A classic, rich, custard-based filling thickened with egg yolks and starch. It's smooth, creamy, and pairs perfectly with the light choux shell, especially in éclairs and cream puffs.
- Whipped Cream: Simple, light, and airy. Sweetened whipped cream is a quick and easy filling for profiteroles or cream puffs, often served with chocolate sauce.
- Chocolate Ganache: A decadent mixture of melted chocolate and hot cream. Cooled ganache can be whipped for a lighter texture or used as a rich filling or glaze.
- Other options include diplomat cream (pastry cream lightened with whipped cream), fruit curds, ice cream, or savory fillings like cheese sauce, mushroom duxelles, or chicken salad.
Mastering Choux Pastry: Tips and Tricks for Intermediate Bakers
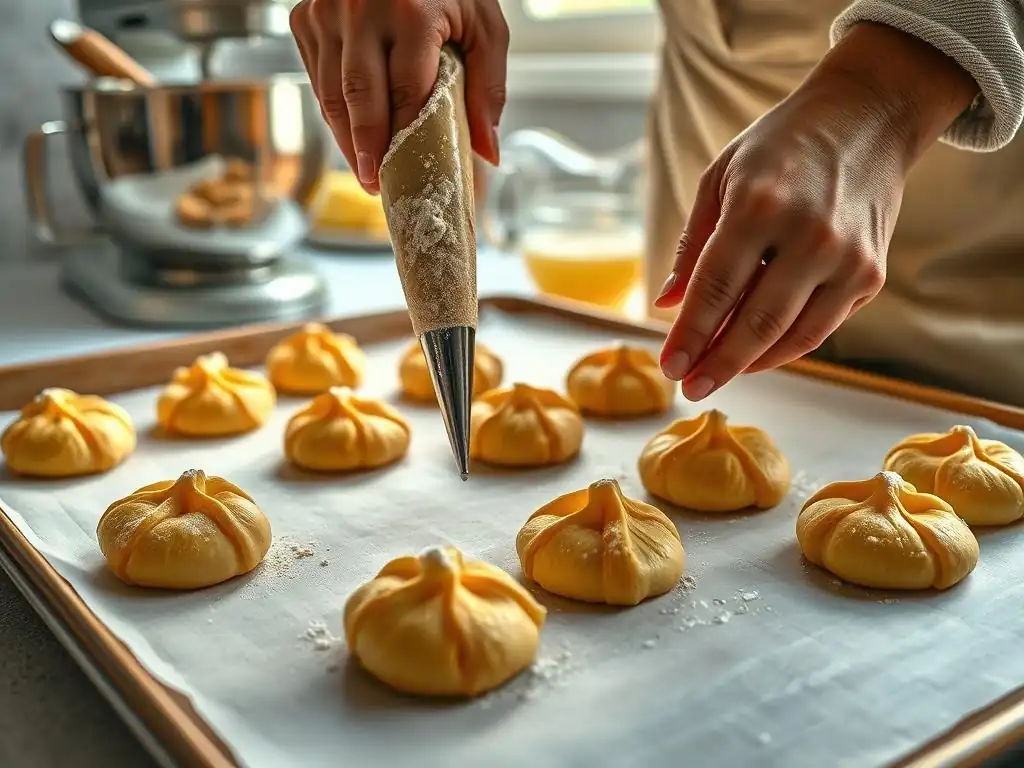
Beyond the basic simple choux pastry recipe, a few extra tips can help intermediate bakers elevate their results and handle their choux like a pro.
Achieving a Golden Brown Crust: Egg Wash Techniques
For a beautiful, golden, and slightly shiny finish on your choux pastry, apply an egg wash before baking. An egg wash is typically a whisked egg (or just the yolk) mixed with a tablespoon or two of water or milk.
Gently brush the tops and sides of your piped choux shapes with a thin, even layer of the egg wash. Be careful not to let it pool around the base, as this can prevent the dough from expanding properly. The egg wash helps promote even browning and adds a professional sheen to your finished pastries.
Storing Choux Pastry: Keeping It Fresh
Unfilled, baked choux shells are best stored at room temperature in an airtight container. This helps keep them crisp. They will remain fresh for 1-2 days. If they lose some crispness, you can refresh them by placing them on a baking sheet in a preheated oven at 300°F (150°C) for 5-10 minutes.
Once filled, choux pastries containing dairy-based fillings (like pastry cream or whipped cream) must be stored in the refrigerator due to the perishability of the filling. Filled choux are best consumed within 24 hours, as the moisture from the filling can soften the shell over time.
Freezing Choux Pastry: Preparing Ahead of Time
Choux pastry is excellent for making ahead! You can freeze both the raw dough and the baked shells. To freeze raw dough, pipe shapes onto a parchment-lined baking sheet and freeze until solid. Then, transfer the frozen shapes to a freezer-safe bag or container. Bake directly from frozen, adding a few extra minutes to the baking time.
To freeze baked shells, ensure they are completely cooled. Store them in a freezer-safe container or bag, ensuring they are well-protected to prevent crushing. They can be frozen for up to 1-2 months. Thaw them at room temperature, then re-crisp in a 300°F (150°C) oven for 5-10 minutes before filling. This makes a simple choux pastry recipe perfect for entertaining or prepping components in advance.
Advanced Techniques: Craquelin Topping
For an extra touch of elegance and a delightful crispy texture, try adding a craquelin topping to your choux. Craquelin is a simple mixture of butter, sugar (often brown sugar), and flour, rolled thin and cut into circles or squares.
Place a disc of craquelin on top of each piped choux shape before baking. As the choux puffs, the craquelin spreads and cracks, forming a beautiful, sweet, crispy cap. This not only adds texture and flavor but also helps the choux puff more evenly. It's a simple yet impressive technique to elevate your simple choux pastry recipe results.
Conclusion: Your Journey to Choux Pastry Success
Celebrate Your Choux Pastry Achievements
Congratulations! You've successfully navigated the world of choux pastry. Mastering a simple choux pastry recipe is a significant step for any intermediate baker. Take a moment to appreciate your accomplishment – whether you created classic cream puffs, elegant éclairs, or savory gougères, you've produced a versatile and impressive pastry from just a few basic ingredients.
Each batch is a learning opportunity. Reflect on what went well and what you might adjust next time. Perhaps you'll cook the panade slightly longer, fine-tune your egg consistency, or experiment with oven temperatures. The journey of baking is one of continuous learning and delicious discovery.
Further Exploration: Resources for Advanced Choux Baking
Ready to go beyond this simple choux pastry recipe? The world of choux offers many avenues for further exploration. You can delve into more complex fillings like mousseline cream, try different shapes like swans or Paris-Brest rings, or experiment with flavored choux doughs (e.g., chocolate choux).
Look for resources that explore the science in even greater detail, or find recipes for specific choux-based desserts from classic patisserie. Books and reputable online baking sites (like BakeWithEase!) offer a wealth of information and new challenges to keep your baking skills sharp and exciting.
We love seeing what our community bakes! Did you make this simple choux pastry recipe? How did your cream puffs or éclairs turn out? What fillings did you choose? Sharing your experiences and photos inspires fellow bakers and helps us all learn and grow together.
Don't hesitate to share your successes, ask questions, and connect with other baking enthusiasts. Your journey with choux pastry has just begun, and we're excited to be a part of it here at BakeWithEase. Happy Baking!
Frequently Asked Questions
What exactly is choux pastry, and what makes it different from other doughs?
Choux pastry (pronounced "shoo") is a light, airy pastry dough used to make items like cream puffs and éclairs. Unlike other doughs, it's cooked twice: once on the stovetop and again in the oven. This double cooking process creates its signature hollow interior and crisp exterior.
Is this "simple" choux pastry recipe really suitable for intermediate bakers, or is it still difficult?
This recipe is designed with intermediate bakers in mind. It focuses on clear instructions and troubleshooting tips to simplify the process. While choux pastry can be tricky, this approach aims to make it manageable.
What are the most common mistakes people make when attempting choux pastry, and how can I avoid them?
Common mistakes include not cooking the dough long enough on the stovetop, resulting in a runny batter. Also, opening the oven too early can cause the puffs to collapse. Ensuring proper stovetop cooking and avoiding oven drafts are key.
Can I freeze choux pastry, either before or after baking?
Yes, you can freeze unbaked choux pastry dough. Pipe the dough onto a baking sheet, freeze, and then transfer to a freezer bag. You can also freeze baked choux pastry shells. Ensure they are completely cooled before freezing and reheat in a warm oven to crisp them up.
What are some variations I can make to this simple choux pastry recipe?
You can add different flavorings to the dough, such as vanilla extract, citrus zest, or even savory herbs. Experiment with different fillings, like pastry cream, whipped cream, or savory cheese spreads. The possibilities are endless!
Final Reflection: Mastering the Humble Choux, One Puff at a Time
The seemingly simple choux pastry, a cornerstone of classic French baking, continues to challenge and delight home bakers today. Its delicate balance of crisp exterior and airy interior demands precision, yet the rewards – from elegant éclairs to whimsical cream puffs – are undeniably worth the effort. This article aimed to demystify the process, offering a straightforward approach accessible to intermediate bakers.
The journey of mastering choux pastry is more than just a recipe; it's a testament to the power of patience and attention to detail. It's a reminder that even the most seemingly complex culinary creations can be broken down into manageable steps. The subtle nuances – the precise temperature of the water, the gentle folding of the batter – are what truly elevate the final product. As Julia Child once wisely said, Find something you're passionate about and keep tremendously interested in it.
This sentiment perfectly encapsulates the spirit of baking, and particularly the rewarding challenge of perfecting choux pastry.
Now, I invite you to take what you've learned and apply it in your own kitchen. Don't be afraid to experiment, to adjust the recipe to your own tastes, and most importantly, to enjoy the process. The satisfaction of creating these beautiful, airy pastries from scratch is a reward in itself. So, gather your ingredients, preheat your oven, and embark on your own choux pastry adventure. The perfect cream puff awaits!
Unlock Your Choux Pastry Potential!
Thanks for taking the time to explore the world of choux pastry with us! We hope you now feel confident and inspired to create these delicate and delicious treats. Ready to put your new skills to the test?
- Master the perfect choux: Try baking your own batch today – experiment with different fillings and flavors to personalize your creations. This is your chance to shine!
- Share your success: Tag us on social media with your choux pastry masterpieces! We love seeing your baking journey.
- Explore our other recipes: Discover more easy-to-follow recipes on BakeWithEase.com – from cakes to cookies, we've got something for every baker.
What unique twist will you add to your first choux pastry creation?