
How to Make Stunning Dessert Garnishes Quickly

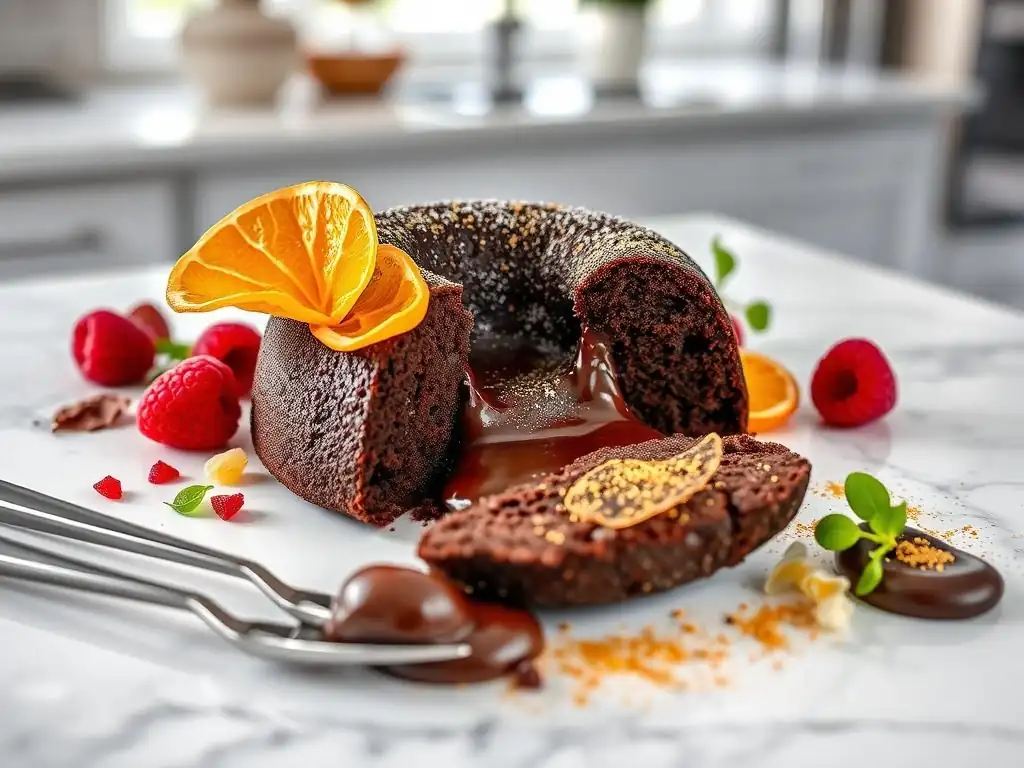
Welcome to BakeWithEase, where we believe everyone can create edible masterpieces! Ever wondered how professional bakers achieve those stunning dessert finishes with seemingly effortless flair? This article unveils the secrets to easy dessert garnish techniques, demystifying the process and empowering you to elevate your creations from simple to spectacular. Get ready to transform your pastries and desserts with these quick and impressive garnishing ideas – the delicious results await!
- How to Make Stunning Dessert Garnishes Quickly: Easy Dessert Garnish Techniques
- BakeWithEase Presents: Elevate Your Desserts with Quick & Easy Garnishes
- Understanding the Basics of Dessert Garnish
- Five Quick & Easy Dessert Garnish Techniques for Impressive Results
- Mastering Advanced Dessert Garnish Techniques (For the Aspiring Pastry Chef)
- Tips for Plating Desserts Like a Pro
- Storing and Preparing Dessert Garnishes in Advance
- Conclusion: Elevate Your Baking with Simple Dessert Garnishes
-
Frequently Asked Questions
- What are some easy and quick dessert garnish techniques perfect for beginners?
- Can I use pre-made ingredients for dessert garnishes to save time?
- What are some budget-friendly dessert garnish options?
- How do I prevent my dessert garnishes from wilting or melting before serving?
- Where can I find inspiration for creative dessert garnish ideas?
- Final Reflection: The Sweet Art of Effortless Elegance
- Unleash Your Inner Dessert Artist!
How to Make Stunning Dessert Garnishes Quickly: Easy Dessert Garnish Techniques
BakeWithEase Presents: Elevate Your Desserts with Quick & Easy Garnishes
Welcome to BakeWithEase, where we believe that beautiful desserts shouldn't require hours of intricate work. While the core of a delicious dessert is its flavor and texture, the visual appeal plays a significant role in the overall experience. Mastering a few easy dessert garnish techniques can transform a simple cake or pastry into a showstopper, impressing your family and friends without adding significant time or complexity to your baking process.
This guide is designed to introduce you to straightforward yet effective ways to add that professional touch to your homemade sweet treats. We'll explore simple methods using common ingredients and basic tools, proving that elegant plating is accessible to every home baker. Get ready to elevate your baking game and present stunning desserts with surprising ease!
Understanding the Basics of Dessert Garnish
Why Dessert Garnishes Matter: Presentation is Key
Presentation significantly impacts how food is perceived, and this is especially true for desserts. A beautifully garnished dessert doesn't just look appealing; it can actually enhance the perceived taste and value of the dish. Think about your favorite restaurant dessert – it's not just the flavor, but the way it's plated, the swirl of sauce, the sprinkle of something crunchy, or the delicate berry on top. These small additions signal care and attention to detail.
Research in food psychology has consistently shown that visual cues influence our expectations and enjoyment of food. For instance, studies have indicated that participants rate identical dishes higher in taste when they are presented attractively compared to when they are served plainly. Adding a simple easy dessert garnish is like adding the final brushstroke to a painting; it completes the picture and elevates the entire sensory experience, making your delicious baking creations truly unforgettable.
Essential Tools and Ingredients for Easy Dessert Garnishes
You don't need a professional pastry kitchen to create beautiful garnishes. Many easy dessert garnish techniques require only basic tools likely already in your kitchen. A good quality vegetable peeler is essential for chocolate shavings. A fine-mesh sieve is perfect for dusting icing sugar or cocoa powder evenly. A small, sharp paring knife is invaluable for slicing fruit or creating chocolate curls.
Beyond tools, a few staple ingredients can become your go-to for simple garnishes. Keep blocks of good quality chocolate (dark, milk, or white), fresh seasonal fruits like berries or citrus, heavy cream for whipping, icing sugar, cocoa powder, and perhaps some colorful sprinkles or edible glitter on hand. These versatile ingredients form the foundation for many quick and easy dessert garnishes that can be adapted to almost any sweet creation.
Food Safety First: Preparing Your Garnish Ingredients
Before you begin creating your beautiful garnishes, it's crucial to prioritize food safety. Always start by washing your hands thoroughly with soap and warm water. Ensure your workspace, tools, and cutting boards are clean and sanitized, especially when working with ingredients that won't be cooked, like fresh fruit or whipped cream.
When using fresh fruit, wash it gently under cool running water, even if it has skin you plan to remove. For berries, wash just before use to prevent them from becoming waterlogged and losing their firmness. Chocolate should be handled minimally to prevent melting from body heat, and stored properly in a cool, dry place. Whipped cream should be made with very cold cream and kept chilled until immediately before serving to maintain its structure and safety. Taking these simple precautions ensures your stunning garnishes are also safe and hygienic.
Five Quick & Easy Dessert Garnish Techniques for Impressive Results
1. Chocolate Shavings: The Classic Dessert Garnish
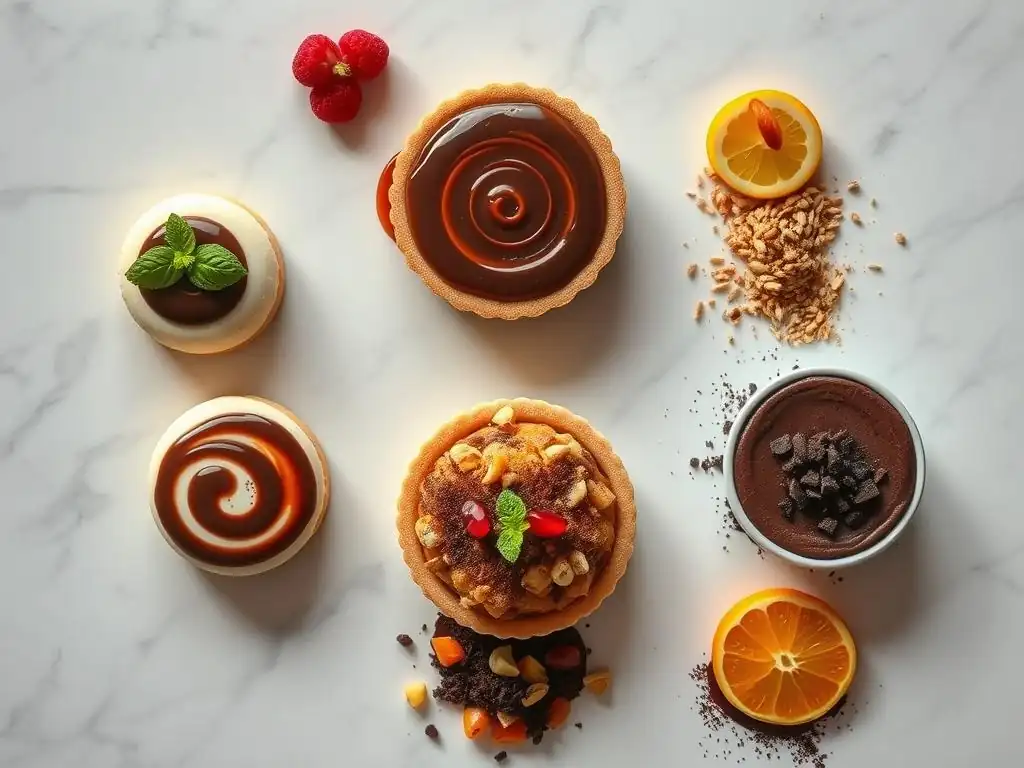
Chocolate shavings are a timeless and incredibly easy dessert garnish technique that adds instant elegance and a burst of chocolate flavor. They work well on everything from cakes and cupcakes to mousses and ice cream. The key is starting with a solid block of chocolate, not chips, as blocks yield better shavings and curls.
You can use various types of chocolate – dark chocolate (around 60-70% cocoa solid) provides a rich, slightly bitter contrast, while milk or white chocolate offers sweetness and a different color. Ensure your chocolate block is at room temperature or slightly cooler – too warm and it will melt, too cold and it will splinter rather than shave or curl smoothly.
Creating Chocolate Shavings with a Vegetable Peeler
Using a vegetable peeler is perhaps the quickest way to get a generous pile of chocolate shavings. Simply hold a block of chocolate firmly in one hand. With the other hand, draw the blade of a standard vegetable peeler down the side of the chocolate block, applying gentle, even pressure. The chocolate will curl and flake off into shavings.
Allow the shavings to fall directly onto parchment paper or a clean plate. For best results, try peeling from different sides of the block to create shavings of varying sizes and shapes. A standard 4-ounce bar of chocolate can yield enough shavings to generously cover a standard 9-inch cake top or several individual desserts.
Making Chocolate Curls with a Knife
For slightly larger, more defined curls, you can use a sharp chef's knife or a bench scraper. Place the chocolate block on a clean, firm surface. Hold the knife blade almost parallel to the surface, slightly angled (about 20-30 degrees). Pull the knife blade firmly across the surface of the chocolate, applying pressure. The chocolate should curl up as you pull the blade along.
This technique works best if the chocolate is slightly warmer than room temperature, or if you briefly warm the knife blade under hot water and dry it completely before use. Aim for steady, even strokes. A single pass along a 6-inch edge of a chocolate block can produce several beautiful curls, adding a touch of sophistication to your plating.
Tips for Perfect Chocolate Shavings & Curls
Temperature control is paramount for perfect chocolate shavings and curls. If the chocolate is too cold, it will break into small pieces; if it's too warm, it will smudge and melt. The ideal temperature is typically between 68°F and 72°F (20°C and 22°C). If your kitchen is warm, chill the chocolate block in the refrigerator for 5-10 minutes before shaving or curling.
Once created, handle the shavings and curls gently. Use a small offset spatula or tweezers to transfer them to your dessert. Store any unused shavings or curls in an airtight container in a cool, dry place away from direct sunlight. They can last for several weeks if stored properly, making this an excellent easy dessert garnish technique to prepare slightly ahead of time.
2. Fresh Fruit Arrangements: Naturally Beautiful Garnishes
Fresh fruit offers vibrant color, natural sweetness, and refreshing contrast, making it one of the simplest and most beautiful easy dessert garnish techniques. Using seasonal fruit ensures peak flavor and visual appeal. Berries like strawberries, raspberries, blueberries, and blackberries are particularly popular due to their bright colors and ease of use. Citrus fruits, kiwi, and stone fruits also offer great options depending on the dessert.
The key to using fruit as a garnish is freshness and careful preparation. Always wash fruit thoroughly and dry it gently before arranging. Consider the colors and shapes of the fruit and how they will complement your dessert. A simple arrangement can often be the most striking.
Simple Fruit Slices and Wedges for Elegant Presentation
Basic fruit slices and wedges can create stunning visual patterns. For example, thinly slicing strawberries lengthwise and fanning them out on the plate or dessert surface is a classic and elegant look. A sharp knife is essential for clean cuts. For fruits that brown quickly, like apples or bananas, dip slices briefly in a mixture of water and lemon juice (approx. 1 cup water to 1 tablespoon lemon juice) to prevent oxidation.
Consider the size and shape of your dessert and plate when deciding on the fruit cut. A few carefully placed orange segments can brighten a chocolate dessert, while thin slices of kiwi can add vibrant green to a white cake. The simplicity of clean lines from slices or wedges is a very effective easy dessert garnish technique.
Berry Stacks and Skewers: Adding Color and Texture
Creating small stacks or arranging berries on skewers adds height and visual interest. A stack of raspberries, for instance, is simple yet effective on top of a panna cotta or alongside a slice of cake. You can gently stack 3-4 berries for a small tower.
For skewers, thread a few different colored berries onto a small cocktail skewer. This works well when serving multiple small desserts or as part of a larger dessert platter. The mix of colors and shapes from different berries (e.g., red strawberries, blue blueberries, black blackberries) creates a lovely contrast and adds a delightful texture element.
Creating Fruit Puree Swirls on the Plate
A vibrant fruit puree or coulis drizzled or swirled on the plate adds both color and flavor. A simple raspberry coulis, for example, made by blending fresh or frozen raspberries with a little sugar and perhaps a squeeze of lemon juice, then straining to remove seeds, is a fantastic easy dessert garnish.
To create swirls, you can use a spoon to dollop spoonfuls of puree onto the plate and then drag the back of the spoon through the dollops. Alternatively, put the puree into a small squeeze bottle or a piping bag with a fine tip and drizzle patterns onto the plate before placing the dessert. A small batch of puree (using about 1 cup of fruit) is usually sufficient for garnishing several individual desserts.
3. Whipped Cream Rosettes: A Light and Airy Touch
Whipped cream is a beloved dessert accompaniment, and piping it into simple rosettes is an incredibly easy dessert garnish technique that adds lightness, elegance, and a creamy texture. Homemade whipped cream is simple to make and tastes far superior to aerosol cans.
Start with very cold heavy cream (also called whipping cream) – about 35% fat content is ideal. Ensure your bowl and whisk (or whisk attachment for a stand mixer) are also cold; chilling them in the freezer for 10-15 minutes before whipping can make a significant difference in achieving stiff peaks quickly.
Achieving Stiff Peaks for Perfect Whipped Cream
To make whipped cream, pour the cold heavy cream into your chilled bowl. Begin whipping on medium speed. As the cream starts to thicken, gradually add a little powdered sugar (about 1-2 tablespoons per cup of cream for a lightly sweetened cream) and a dash of vanilla extract. Increase the speed to medium-high.
Whip until the cream holds stiff peaks – when you lift the whisk, the peaks should stand straight up firmly without drooping. Be careful not to over-whip, or you'll end up with butter! This process typically takes 3-5 minutes with a stand mixer or 5-8 minutes with a hand mixer, depending on the quantity and equipment.
Piping Techniques for Simple Whipped Cream Rosettes
Once you have stiff whipped cream, transfer it to a piping bag fitted with a star tip (like a Wilton 1M or Ateco 824, common open star tips). These tips are perfect for creating classic rosettes and swirls. Hold the piping bag perpendicular to the surface of the dessert or plate.
Apply steady pressure to the bag while piping in a circular motion, starting from the center and swirling outwards to form a rosette. Release pressure and lift the bag away cleanly. Practice on a piece of parchment paper first if you're new to piping. A single bag of whipped cream made from 1 cup of heavy cream can produce about 10-15 small rosettes, plenty for garnishing a batch of cupcakes or a single cake.
Adding Flavors and Colors to Your Whipped Cream Garnishes
You can easily customize whipped cream by adding flavors or colors. Stir in a teaspoon of almond extract, peppermint extract, or even a tablespoon of cocoa powder for chocolate whipped cream. For color, use gel food coloring, adding just a tiny drop at a time until you achieve the desired shade. Add flavors and colors after the cream has started to thicken but before it reaches stiff peaks.
Consider pairing flavored whipped cream with complementary desserts – mint whipped cream on a chocolate dessert, almond on a fruit tart, or cocoa whipped cream on a vanilla cake. These simple additions using easy dessert garnish techniques add another layer of creativity and flavor.
4. Dustings and Sprinkles: The Easiest Way to Add Sparkle
Perhaps the most straightforward of all easy dessert garnish techniques involves simple dustings and sprinkles. This method requires minimal effort but can add significant visual appeal, texture, and flavor. It's perfect for adding a quick finish to brownies, cookies, cakes, or hot beverages.
The key to an even dusting is using a fine-mesh sieve. For sprinkles, variety is key – choose sprinkles that match the occasion, color scheme, or desired effect. This technique is so fast, it's often done right before serving.
Using Cocoa Powder, Icing Sugar, and Spices for Dusting
Icing sugar (powdered sugar) creates a delicate, snowy effect, perfect for dusting cakes, tarts, or pastries. Cocoa powder adds a rich, matte finish and a hint of chocolate flavor, commonly used on tiramisu or chocolate cakes. Spices like cinnamon or nutmeg can add warmth and aroma, ideal for apple pies or custards.
To dust, place a small amount of your chosen powder in a fine-mesh sieve. Hold the sieve over the dessert and gently tap the side with your hand or a spoon, allowing the powder to fall in a fine, even layer. Ensure the dessert surface is relatively dry for the best results. A tablespoon of icing sugar is usually enough to lightly dust a standard cake or a dozen cookies.
Choosing the Right Sprinkles for Your Dessert
The world of sprinkles is vast and colorful! Jimmies (the rod-shaped ones) add texture and bright color. Nonpareils (tiny balls) create a dense, speckled effect. Sanding sugar adds sparkle and a slight crunch. Edible glitter provides maximum shimmer. Consider the dessert's texture and the desired look.
For elegant desserts, use a light scattering of sanding sugar or a specific color of nonpareils that complements the dish. For fun, festive treats like birthday cupcakes, a mix of colorful jimmies is perfect. Approximately 1-2 tablespoons of sprinkles can add a significant visual impact to a single layer cake or several smaller items.
Creating Stencils for Decorative Dusting Patterns
Elevate your dusting game by using stencils to create decorative patterns. You can buy food-safe stencils or make your own by cutting simple shapes (like hearts, stars, or geometric designs) out of parchment paper or thin cardboard. Place the stencil gently but firmly on the surface of your dessert.
Hold the sieve with your powder over the stencil and tap gently. Lift the stencil straight up and away carefully to reveal the pattern. This easy dessert garnish technique allows you to add intricate designs to flat surfaces like cookie tops, cake layers, or even plates before placing the dessert on top.
5. Caramel Sauce Drizzle: A Sweet and Elegant Finish
A luscious caramel sauce drizzle adds a beautiful glossy finish, rich color, and decadent flavor to a wide variety of desserts, from cheesecakes and ice cream to tarts and bread pudding. Making a simple caramel sauce from scratch is surprisingly easy and yields a far superior result than store-bought options.
The key to a good caramel drizzle is achieving the right consistency – it should be fluid enough to pour or drizzle easily but thick enough to hold its shape slightly. This technique adds a touch of sophistication with minimal effort, making it a fantastic easy dessert garnish technique.
Making a Simple Caramel Sauce from Scratch
A basic caramel sauce can be made with just sugar, water, butter, and cream. Combine about 1 cup of granulated sugar with 1/4 cup of water in a saucepan. Heat over medium heat, stirring until the sugar dissolves. Stop stirring and let the mixture boil. Watch carefully as it changes color from clear to light amber, then a rich golden brown. This typically takes 5-10 minutes.
Once it reaches your desired caramel color (don't let it get too dark, or it will taste burnt), remove it from the heat. Carefully whisk in 4 tablespoons of butter until melted, then slowly whisk in 1/2 cup of heavy cream. Be cautious, as the mixture will bubble vigorously. Stir until smooth. This recipe yields about 1.5 cups of sauce, enough for many garnishing applications.
Achieving the Perfect Caramel Consistency for Drizzling
The consistency of your caramel sauce will change as it cools. It will be very liquid when hot but will thicken significantly as it cools to room temperature. For drizzling, you want a consistency that flows smoothly but isn't watery. If your sauce is too thick after cooling, gently warm it slightly over low heat or in a microwave for a few seconds, stirring until it reaches the desired drizzling consistency.
If it's too thin, you can try simmering it gently for a few minutes to reduce and thicken it, or whisk in a tiny bit more butter. Practice makes perfect, but generally, a sauce that coats the back of a spoon well is ideal for drizzling.
Creative Caramel Drizzle Patterns and Designs
There are many ways to apply caramel drizzle using easy dessert garnish techniques. The simplest is a freehand drizzle using a spoon. Dip a spoon into the warm sauce and let it fall in random patterns over the dessert or plate. For more control, pour the sauce into a squeeze bottle or a piping bag with a small round tip.
You can create parallel lines, crosshatch patterns, concentric circles, or abstract swirls. For a striking effect on a white plate, pipe concentric circles of caramel and then drag a toothpick or skewer through the circles from the center outwards to create a web effect. A single batch of caramel sauce allows for plenty of experimentation with different patterns.
Mastering Advanced Dessert Garnish Techniques (For the Aspiring Pastry Chef)
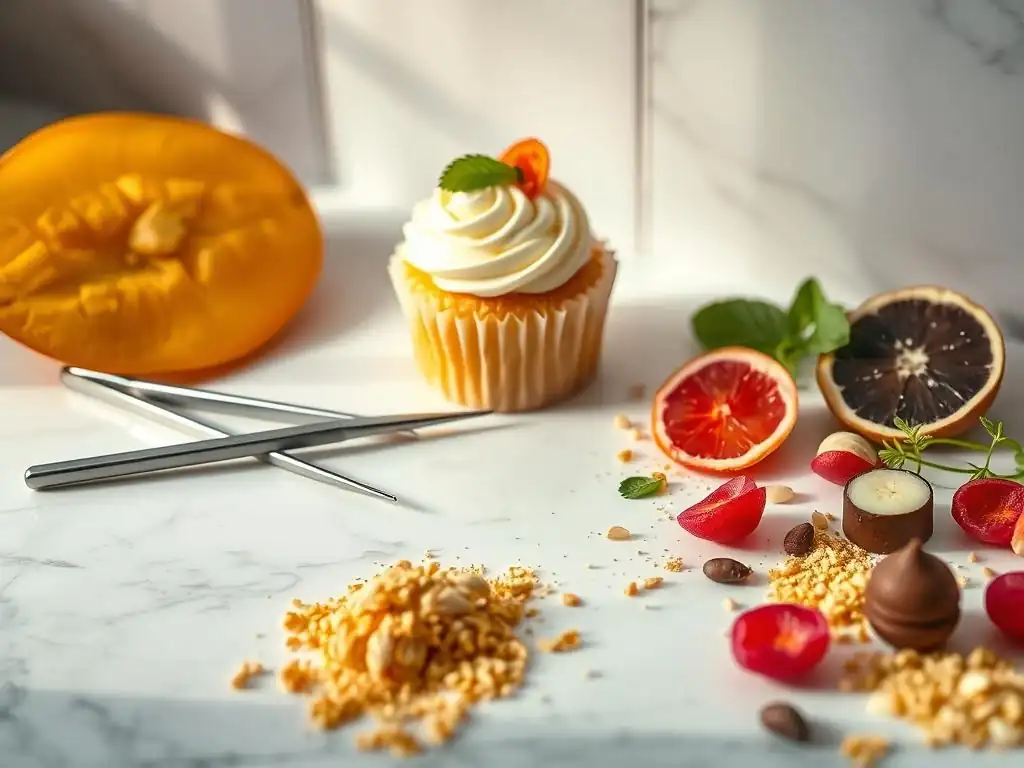
While the focus here is on easy dessert garnish techniques, for those looking to expand their skills, the world of advanced garnishes offers exciting possibilities. These techniques often require more precision, specific equipment, and practice, but the results can be truly stunning and give your desserts a professional pâtisserie look.
Exploring these methods can deepen your understanding of ingredients like chocolate and sugar and introduce you to new ways of adding intricate details and textures. While they aren't "quick," they are rewarding skills to develop for special occasions or when you want to take your baking to the next level.
Tempering Chocolate for Professional-Looking Garnishes
Tempering chocolate is a process of heating, cooling, and reheating chocolate to specific temperatures to stabilize the cocoa butter crystals. This results in chocolate that sets with a beautiful shine, a firm snap when broken, and resistance to melting at room temperature – ideal for professional-looking garnishes like shards, curls, or molded shapes.
The specific temperatures vary depending on the type of chocolate: dark chocolate is typically heated to around 115°F (46°C), cooled to about 80°F (27°C), and then reheated slightly to 88-90°F (31-32°C). Milk and white chocolate have lower temperature ranges. Achieving correct tempering requires a reliable thermometer and careful temperature management, often using a double boiler or microwave with short bursts of heat. Properly tempered chocolate can be spread thinly on parchment paper and shaped before it sets, or poured into molds to create intricate figures or textures.
Creating Sugar Decorations: Isomalt and Pulled Sugar
Working with sugar heated to very high temperatures allows for the creation of dramatic, sculptural garnishes like sugar shards, blown sugar spheres, or pulled sugar ribbons. This is one of the more advanced dessert garnish techniques and requires extreme caution due to the high temperatures involved (sugar reaches the hard crack stage around 300-310°F or 149-154°C).
Isomalt, a sugar substitute, is often preferred by confectioners because it is less prone to crystallization and remains more pliable for longer than traditional sugar syrup, making it easier to work with for pulled or blown sugar pieces. Simple sugar shards can be made by pouring hot sugar syrup onto a silicone mat and letting it cool and harden before breaking it into pieces. More complex techniques like pulling sugar to create ribbons or blowing sugar into shapes require specialized tools, heat lamps to keep the sugar pliable, and considerable practice to master safely.
Working with Edible Flowers: Adding a Touch of Nature
Edible flowers add a delicate, natural beauty and a subtle floral note to desserts. While seemingly simple, using them correctly requires careful sourcing and handling. Not all flowers are edible, and many are treated with pesticides, so it is crucial to obtain them from a reputable source specifically grown for culinary use (e.g., specialty farms or gourmet food suppliers), not from a florist or garden center.
Popular edible flowers include violas, pansies, nasturtiums (with a peppery taste), borage (cucumber-like), and rose petals. Store them gently in the refrigerator, often on a damp paper towel in a sealed container, and use them as close to serving time as possible as they are delicate and can wilt quickly, especially on moist desserts. They can be placed fresh on cakes, tarts, or plated desserts, or even sugared or candied for a more preserved and sparkly effect.
Tips for Plating Desserts Like a Pro
Beyond the individual easy dessert garnish techniques, the overall plating of your dessert is crucial for maximizing visual impact. How you arrange the components on the plate can make a significant difference in how professional and appealing your dessert looks. Thinking about the plate itself, the arrangement, and the balance of elements will elevate your presentation.
Consider your dessert as the main subject of a painting and the plate as your canvas. You want to create a harmonious composition that is visually interesting and guides the eye. Professional chefs spend considerable time perfecting their plating, but you can apply a few simple principles at home to achieve excellent results.
Choosing the Right Plate for Your Dessert
The plate is the foundation of your dessert presentation. White plates are a classic choice because they make the colors of the dessert and garnishes pop and provide a clean, neutral background. However, don't be afraid to experiment with other plate colors or textures if they complement your dessert. For example, a dark slate or black plate can provide a dramatic contrast for light-colored desserts or vibrant fruit garnishes.
Consider the size and shape of the plate relative to the dessert. Avoid overcrowding the plate; leave some negative space around the dessert and garnishes to allow them to stand out. A common guideline is to fill roughly two-thirds of the plate with the dessert and its components, leaving the outer edge clear.
Understanding Color and Texture Contrast
Creating contrast in color and texture is vital for dynamic plating. A monochromatic dessert can look flat, but adding elements with contrasting colors immediately makes it more visually appealing. Think about pairing dark chocolate with bright red raspberries or a pale vanilla mousse with a vibrant green mint sprig.
Texture contrast is equally important. A smooth, creamy dessert like panna cotta or cheesecake benefits greatly from a crunchy element, such as a sprinkle of toasted nuts, a piece of brittle, or a scattering of cookie crumbs. Combining smooth, crunchy, soft, and crisp textures on the plate adds interest not just visually but also texturally when eaten. These contrasts enhance the overall sensory experience.
Creating Visual Balance and Harmony
Aim for balance and harmony in your plating. This doesn't necessarily mean perfect symmetry; often, an asymmetrical arrangement can be more dynamic and interesting. Consider the rule of thirds, a principle used in photography and art, where key elements are placed along imaginary lines that divide the plate into thirds both horizontally and vertically. Placing your main dessert element off-center, with garnishes arranged along these lines or at their intersections, can create a pleasing composition.
Avoid placing all your garnishes in one pile. Scatter them thoughtfully, using drizzles or dustings to connect elements or lead the eye across the plate. Keep the edges of the plate clean and free of drips or smudges. A clean presentation is paramount to a professional look. Practice arranging components until you find a composition that feels balanced and visually appealing.
Storing and Preparing Dessert Garnishes in Advance
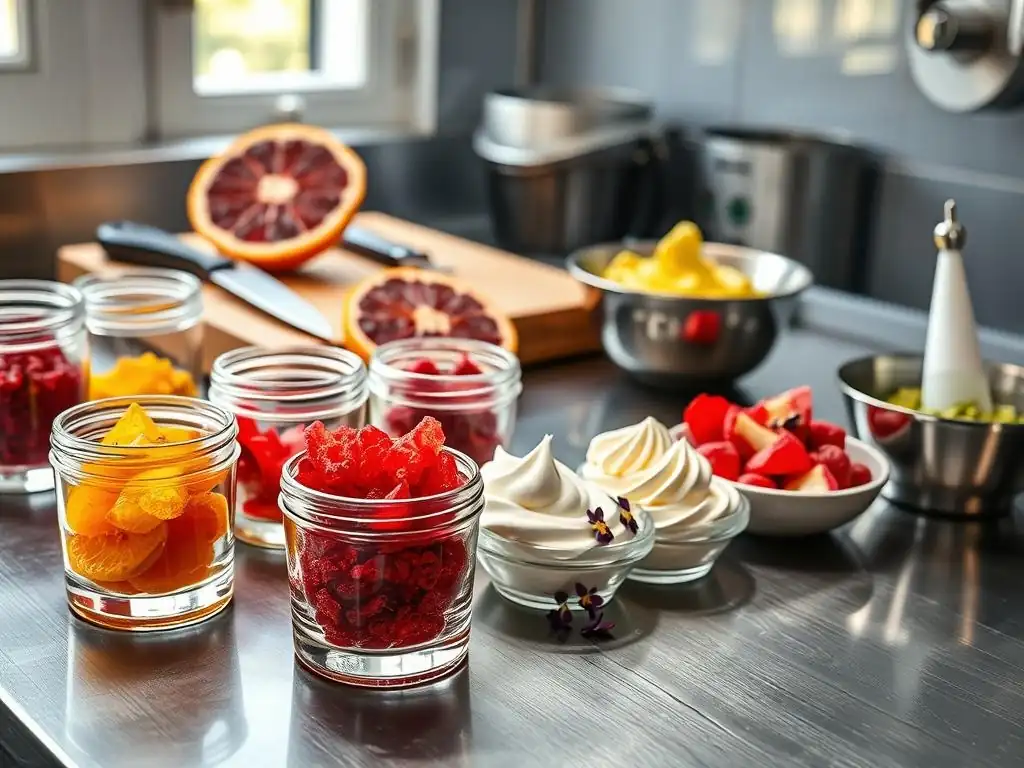
One of the benefits of many easy dessert garnish techniques is that some components can be prepared ahead of time, saving you precious minutes when it's time to plate. Knowing which garnishes store well and the best way to keep them fresh is key to efficient dessert preparation, especially when entertaining.
Planning your garnishes allows you to focus on baking your main dessert closer to the serving time. While some garnishes are best made a la minute (at the moment of serving), others can be prepared hours or even days in advance, making the final plating process much smoother and less stressful.
Proper Storage Techniques for Different Garnishes
Chocolate shavings and curls store very well. Place them gently in an airtight container lined with parchment paper to prevent sticking. Keep the container in a cool, dry place, away from direct sunlight or strong odors. Avoid refrigerating unless absolutely necessary, as condensation can cause them to bloom (develop a grayish cast, though they are still edible). Stored properly, they can last for several weeks.
Fruit garnishes are best prepared closer to serving time, especially sliced fruits that can brown. Whole berries can be washed and dried just before use. Fruit purees or coulis can be made a day or two in advance and stored in a sealed container in the refrigerator. Caramel sauce can be stored in an airtight container at room temperature for a few days or in the refrigerator for a couple of weeks; gently rewarm it to drizzling consistency before use.
Making Garnishes Ahead of Time: Dos and Don'ts
Do make chocolate shavings, curls, or molded pieces ahead of time. Do prepare caramel sauce or fruit purees a day or two in advance. Do make stencils or prepare chopped nuts or brittle pieces ahead of time. Do wash and dry whole berries, but store them in the refrigerator and only slice or hull strawberries right before use.
Don't whip cream too far in advance unless you use a stabilizer (like gelatin or cornstarch), as it can deflate. It's best to whip cream within an hour or two of serving. Don't slice fruits that brown easily (apples, bananas, pears) more than a few minutes before serving unless treated with lemon juice. Don't place delicate garnishes like fresh mint leaves or edible flowers onto a moist dessert surface too early, as they can wilt or darken. Don't assemble complex fruit arrangements too far ahead if the fruits have different moisture levels.
By preparing non-perishable or stable garnishes in advance, you streamline the plating process, allowing you to focus on the final touches and presentation when it matters most.
Conclusion: Elevate Your Baking with Simple Dessert Garnishes
You've seen how incorporating easy dessert garnish techniques can dramatically enhance the visual appeal of your baked goods and plated desserts. From the classic elegance of chocolate shavings to the vibrant freshness of fruit arrangements, the airy touch of whipped cream rosettes, the sparkle of dustings and sprinkles, and the rich flow of caramel drizzle, there are numerous simple ways to elevate your baking creations.
These techniques require minimal specialized equipment and rely on common ingredients, making them accessible for bakers of all levels. By dedicating just a few extra minutes to the final presentation, you can transform a delicious dessert into a truly memorable experience for anyone who enjoys it.
Unleash Your Creativity and Impress with Ease
Don't be intimidated by the fancy desserts you see online or in bakeries. With the easy dessert garnish techniques outlined here, you have the tools and knowledge to add that professional flair to your own baking. Start with one or two techniques that appeal to you and practice them. You'll quickly gain confidence and find yourself experimenting with different combinations and designs.
Remember, the goal is to enhance the dessert, not hide it. Use garnishes to add pops of color, contrasting textures, and complementary flavors. Have fun with the process, unleash your creativity, and enjoy the reactions of delight when you present your beautifully garnished desserts. At BakeWithEase, we're all about making baking joyful and rewarding, and mastering these simple garnishes is a fantastic way to add another layer of satisfaction to your culinary journey.
Frequently Asked Questions
What are some easy and quick dessert garnish techniques perfect for beginners?
Some great starter techniques include dusting desserts with powdered sugar using a stencil, creating chocolate shavings with a vegetable peeler, or arranging fresh berries in an attractive pattern. These are all simple methods that elevate the look.
Can I use pre-made ingredients for dessert garnishes to save time?
Absolutely! Using pre-made items like sprinkles, edible glitter, or even store-bought cookies can significantly reduce garnish preparation time. The key is to arrange them in a creative and visually appealing way.
What are some budget-friendly dessert garnish options?
Consider using ingredients you likely already have, such as fruit peels (citrus zest), a simple caramel drizzle made from sugar, or even crushed nuts. These options are both inexpensive and delicious, adding flavor and texture.
How do I prevent my dessert garnishes from wilting or melting before serving?
The key is to apply delicate garnishes like whipped cream or fresh fruit just before serving. For chocolate, ensure your dessert isn't too warm, and consider using a stabilized whipped cream for longer-lasting results.
Where can I find inspiration for creative dessert garnish ideas?
BakeWithEase.com offers a wealth of resources, but also consider browsing food blogs, social media platforms like Pinterest and Instagram, or exploring cookbooks for visual inspiration and new techniques.
Final Reflection: The Sweet Art of Effortless Elegance
The pursuit of visually stunning desserts is no longer the exclusive domain of professional pastry chefs. Mastering simple yet impactful garnish techniques empowers home bakers to elevate their creations from delicious to breathtaking, transforming an ordinary treat into a memorable experience. This accessibility is crucial in today's fast-paced world, where even a quick dessert deserves a touch of artistry.
The impact of beautiful food presentation on our enjoyment is undeniable. It's not just about the taste; it's about the overall sensory experience. We eat first with our eyes,
a culinary adage often repeated, perfectly encapsulates this truth. This article explored practical techniques, demonstrating that creating elegant garnishes doesn't require hours of painstaking work or specialized tools. The joy lies in the simple act of transforming something ordinary into something extraordinary, a small detail that speaks volumes about care and attention.
Now, consider your own baking journey. What simple garnish technique will you try next? Perhaps it's the delicate swirl of chocolate sauce, the vibrant pop of fresh berries, or the artful sprinkle of powdered sugar. Don't underestimate the power of a well-placed garnish; it's the final flourish that elevates your baking from a hobby to a form of self-expression, a way to share joy and creativity with those you love. Embrace the simplicity, embrace the elegance, and most importantly, embrace the deliciousness.
Unleash Your Inner Dessert Artist!
Thanks for taking the time to explore the world of quick and stunning dessert garnishes! We hope you've found some inspiration to elevate your baking. Ready to put your newfound skills to the test?
- Craft your masterpiece: Try creating at least one of the garnishes from the article today – even a simple one will make a big difference! Challenge yourself to experiment with different fruits, colors, and techniques.
- Share your creations: Show us your beautiful garnishes! Use #BakeWithEaseGarnishes on social media to share your photos and inspire others.
- Explore our other recipes: Dive deeper into our collection of easy-to-follow dessert recipes on BakeWithEase.com – many more garnish ideas await!
What's the most impressive garnish you plan to create and share with the world?