
Bake Crispy Lavash Bread: Simpler Than You Think

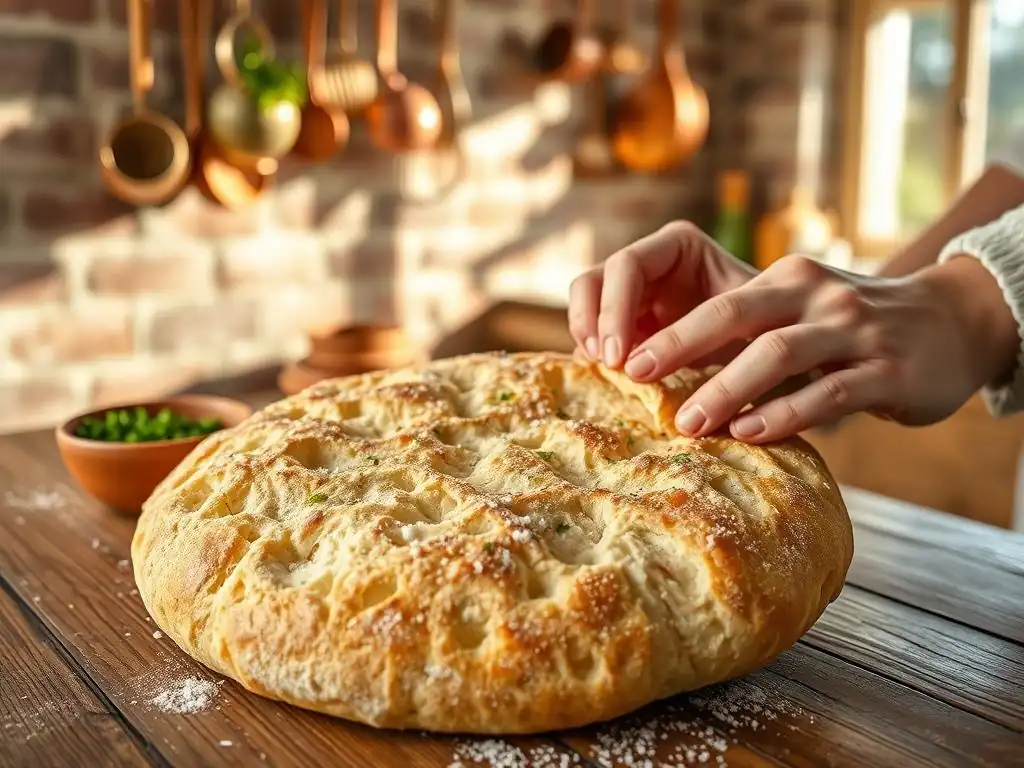
Welcome to BakeWithEase, where baking becomes a joy, not a chore! Ever dreamt of effortlessly creating that perfectly crisp, thin flatbread? Discover how surprisingly simple it is with our crispy lavash bread recipe, a delightful addition to any meal or snack. Uncover the secrets to achieving bakery-worthy results in your own kitchen and prepare to be amazed at how easy it is to master this versatile bread. Ready to unlock the potential of your oven and bake something extraordinary?
- BakeWithEase Presents: Your Easy Crispy Lavash Bread Recipe
- What is Lavash Bread? Exploring This Thin and Crispy Flatbread
- Mastering the Art of Crispy Lavash: An Easy Recipe for Home Bakers
- Step-by-Step Guide: Baking Your Own Crispy Lavash Bread
- Tips and Tricks for the Best Crispy Lavash Bread
- Serving Suggestions: Enjoying Your Homemade Crispy Lavash
- Crispy Lavash Bread Recipe: A Summary for Easy Baking
- Beyond the Basics: Exploring Other Flatbread Recipes on BakeWithEase
- Frequently Asked Questions
- Final Reflection: The Unexpected Joys of Crispy Lavash
- Unleash Your Inner Baker: Crisp Lavash Awaits!
BakeWithEase Presents: Your Easy Crispy Lavash Bread Recipe
Are you looking for a simple yet rewarding baking project? Dive into the world of flatbreads with our guide to making crispy lavash bread right in your own kitchen. Often perceived as complex, achieving that perfect, shatteringly crisp texture in lavash is actually much more accessible than you might imagine. This article will walk you through an easy crispy lavash bread recipe, breaking down each step to ensure your success, even if you're new to bread baking.
At BakeWithEase, we believe that delicious, homemade bread should be within everyone's reach. This crispy lavash bread recipe easy to follow, uses minimal ingredients, and delivers impressive results that are perfect for snacking, dipping, or pairing with your favorite meals. Get ready to discover the joy of baking your own crispy lavash!
What is Lavash Bread? Exploring This Thin and Crispy Flatbread
Lavash is a distinctive type of flatbread known for its very thin profile and, when baked properly, a delightful crispiness. Originating in the Caucasus region, it stands apart from thicker, chewier breads like pita or naan. Its simplicity in ingredients belies its versatility and rich cultural history.
When made crispy, lavash transforms into a cracker-like texture, perfect for breaking apart. Softer versions are also common, often used for wraps, but our focus here is on achieving that satisfying crunch that makes crispy lavash bread so appealing.
Understanding the Origins and Uses of Lavash
Lavash bread holds deep historical roots, particularly in Armenian culture, where it is considered a staple and symbol of tradition. In fact, the preparation, meaning, and appearance of traditional lavash were inscribed on the UNESCO Representative List of the Intangible Cultural Heritage of Humanity in 2014, recognizing its significant cultural importance. For centuries, lavash has been baked in traditional clay ovens called tonirs.
Historically, lavash served practical purposes beyond sustenance; its relatively long shelf life when dried made it ideal for travelers. Traditionally, it's used to wrap various foods, from grilled meats and kebabs to fresh herbs and cheeses. It's also central to ceremonial events, often shared during weddings and holidays.
Why Choose Lavash? Health Benefits and Culinary Versatility
Choosing lavash can be a smart option for several reasons. Made primarily from flour, water, and salt, it's a relatively simple bread. When made with whole wheat flour, it can offer more fiber compared to versions made solely with refined flour. While specific nutritional values vary, a serving of crispy lavash (perhaps 30-40 grams) might contain around 80-120 calories, making it a potentially lighter alternative to some other bread types, especially when enjoyed in moderation.
The culinary versatility of lavash is immense. While often used as a wrap when soft, its crispy form opens up a world of possibilities. Break it into pieces to serve as crackers with dips like hummus or baba ghanoush. Use larger pieces as a base for ultra-thin crust pizzas, or bake seasoned pieces into homemade chips for snacking. Its neutral flavor makes it a perfect canvas for both savory and sweet applications.
Mastering the Art of Crispy Lavash: An Easy Recipe for Home Bakers
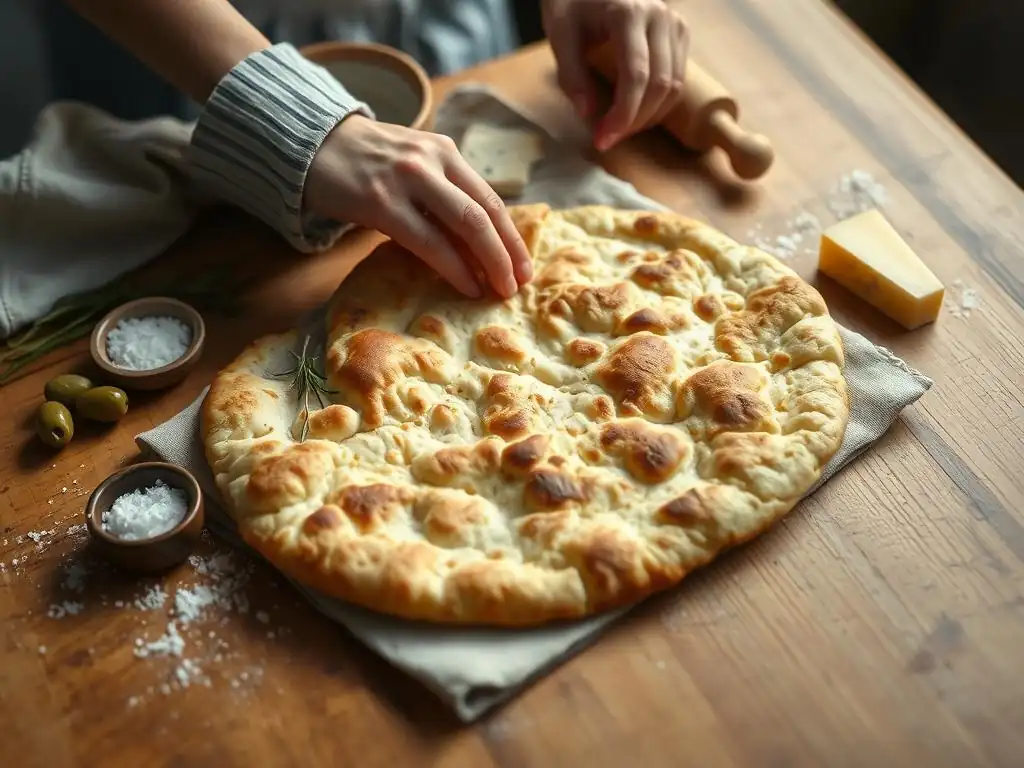
Ready to bake your own? This easy crispy lavash bread recipe is designed for the home kitchen and doesn't require specialized equipment beyond the basics. The key steps involve mixing a simple dough, rolling it incredibly thin, and baking it quickly at a high temperature.
Follow this guide, and you'll be enjoying homemade crispy lavash in no time. It's a straightforward process that demystifies bread baking and proves that you can achieve bakery-quality results with minimal fuss.
Simple Ingredients for Homemade Lavash Bread
The beauty of this crispy lavash bread recipe lies in its simplicity. You likely have most of the required ingredients in your pantry right now. For a batch yielding about 4-6 medium-sized pieces, you will need:
- 2 cups All-Purpose Flour (or Bread Flour)
- 1 teaspoon Salt
- Around 3/4 to 1 cup Warm Water (about 105-115°F or 40-46°C)
- Optional: 1 teaspoon Olive Oil for brushing/flavor
That's it! Some traditional recipes might use a tiny amount of yeast or a sourdough starter, but for pure crispiness and ease, a simple unleavened or minimally leavened dough works perfectly. Using good quality flour and salt can subtly enhance the final flavor.
Equipment Needed to Bake Perfect Lavash
You won't need fancy tools to bake amazing crispy lavash. Standard kitchen equipment is sufficient. Here's what's helpful:
- A large mixing bowl for combining ingredients.
- Measuring cups and spoons for accuracy.
- A rolling pin is absolutely essential for achieving the required thinness.
- Baking sheets (standard cookie sheets work well).
- Parchment paper (highly recommended to prevent sticking and make transfer easy).
For optimal crispiness, some bakers like to use a preheated baking steel or pizza stone placed in the oven. While not strictly necessary for a good result, using one can provide more intense heat from below, leading to a slightly crispier bottom crust. However, excellent crispy lavash can be achieved with just a baking sheet and parchment paper.
Step-by-Step Guide: Baking Your Own Crispy Lavash Bread
Now for the fun part – baking! This step-by-step guide simplifies the process, making this crispy lavash bread recipe easy for anyone to follow. Pay close attention to the rolling and baking times, as these are key to achieving that desirable crisp texture.
Remember, the goal is thinness and quick, hot baking. Don't be intimidated; embrace the simplicity of the process.
Step 1: Preparing the Lavash Dough - A Beginner's Guide
Start by combining the flour and salt in your large mixing bowl. If using, you can add a tiny pinch of instant yeast here, though it's not crucial for crispiness. Gradually pour in the warm water while mixing with a spoon or spatula. Add just enough water until the dough comes together into a shaggy ball.
Turn the dough out onto a lightly floured surface. Knead gently for about 5-7 minutes. Unlike yeasted bread loaves, lavash dough doesn't require extensive kneading; you just need it to become smooth and elastic enough to roll easily. It should be soft but not sticky. Cover the dough with the bowl or plastic wrap and let it rest at room temperature for at least 30 minutes. This resting period is vital as it allows the gluten to relax, making the dough much easier to roll out thinly.
Step 2: Rolling the Dough - Achieving the Perfect Thinness
This is arguably the most critical step for getting crispy lavash bread. Divide the rested dough into equal portions. For the quantities listed earlier, 4-6 portions work well. Take one portion and keep the others covered. On a lightly floured surface, begin rolling the dough ball using your rolling pin.
Roll the dough out as thinly as possible. Think paper-thin, almost translucent. This might require some effort and patience. Start from the center and roll outwards, rotating the dough frequently to maintain an even thickness and prevent sticking. If the dough springs back excessively, let it rest for 5-10 minutes before continuing to roll. Aim for a thickness of approximately 1-2 millimeters. The shape doesn't need to be perfect; rustic shapes are part of the charm of homemade lavash.
Step 3: Baking the Lavash - Tips for Maximum Crispiness
Preheat your oven to a high temperature, ideally between 400°F and 450°F (200°C to 230°C). The high heat is essential for crisping the thin dough quickly. If using parchment paper, place a sheet on your baking tray. Carefully transfer the rolled-out dough onto the prepared baking sheet. You can gently prick the dough all over with a fork to minimize large bubbles, though some small bubbles add character.
Bake in the preheated oven for a very short time, typically between 3 and 8 minutes. Keep a close eye on it! The exact time will depend heavily on your oven and how thinly you rolled the dough. You're looking for the lavash to become golden brown in spots, firm, and crispy. It will likely puff up slightly in places. Do not overbake, or it might become brittle or burnt.
Step 4: Cooling and Storing Your Homemade Lavash
Once the lavash is baked to golden, crispy perfection, immediately transfer it from the hot baking sheet to a wire cooling rack. Cooling on a rack is crucial because it allows air to circulate around the bread, preventing steam from accumulating underneath and making it soft.
Allow the lavash to cool completely before storing. Once cooled, crispy lavash is best stored in an airtight container or a resealable plastic bag at room temperature. While it will retain its crispiness for a couple of days, it might soften slightly over time. If it loses some crispness, you can often reheat it briefly in a warm oven (around 300°F/150°C) for a few minutes to crisp it up again. Enjoy your delicious, homemade crispy lavash!
Tips and Tricks for the Best Crispy Lavash Bread

Making a crispy lavash bread recipe easy and successful involves a few key techniques. Here are some tips to help you achieve the best possible texture and flavor every time you bake.
Paying attention to the details of temperature, thickness, and potential additions can elevate your homemade lavash from good to absolutely fantastic. Don't be afraid to experiment slightly to find what works best with your oven and ingredients.
Achieving Extra Crispiness: Baking Time and Temperature Adjustments
The primary factors for achieving crispy lavash are rolling the dough thin and baking it hot and fast. Ensure your oven is fully preheated to 400°F-450°F (200°C-230°C) before you put the lavash in. Baking at a lower temperature for longer is less likely to yield the desired crisp snap; it might just result in dry, hard bread.
Watch the lavash carefully as it bakes – it transitions from soft to crispy quite quickly. Look for significant golden-brown patches and edges that might curl slightly. If after the suggested time it's still soft in the center, bake for another minute or two, checking frequently. Using a preheated baking stone or steel can significantly boost the heat transfer to the bottom of the bread, leading to superior crispiness.
Flavor Variations: Adding Herbs and Spices to Your Lavash Dough
While plain crispy lavash is wonderful on its own, you can easily infuse it with extra flavor. Add dried herbs like rosemary, thyme, or oregano directly to the dry flour mixture before adding water. About 1 to 2 teaspoons of dried herbs per batch is a good starting point. Spices such as cumin, paprika, or a pinch of black pepper can also add a delightful twist.
For toppings, brush the thinly rolled dough with a little olive oil just before baking. Then, sprinkle with flaky sea salt, sesame seeds, poppy seeds, nigella seeds, or a mix of your favorite seasonings like za'atar. The oil helps the toppings adhere and adds a touch of richness.
Troubleshooting Common Lavash Baking Problems
Even with an easy crispy lavash bread recipe, you might encounter small issues. Here are a couple of common problems and their solutions:
- Problem: The lavash isn't getting crispy, staying soft or chewy.
- Solution: The most likely culprit is thickness. Ensure you are rolling the dough as thin as possible, aiming for 1-2 mm. Also, check your oven temperature; it might not be hot enough. Try increasing the temperature slightly or baking for an extra minute or two, focusing on achieving those golden-brown, crispy spots.
- Problem: The dough is difficult to roll out thinly, it keeps springing back.
- Solution: This usually means the gluten hasn't relaxed enough. Allow the dough to rest for a longer period, covered (another 15-30 minutes). Ensure your work surface and rolling pin are adequately floured, but not excessively, which could dry out the dough.
Serving Suggestions: Enjoying Your Homemade Crispy Lavash
Once you've mastered baking crispy lavash bread, it's time to enjoy your delicious creation! Its versatility makes it a fantastic addition to many meals and snacks.
Whether you're looking for a simple snack or a component for a larger dish, homemade crispy lavash fits the bill perfectly.
Creative Ways to Use Lavash Bread
Beyond just snacking, crispy lavash can be used in numerous creative ways. Break it into irregular pieces and serve it as a cracker alongside a cheese board or charcuterie. Use it as a base for quick appetizers – top baked pieces with goat cheese and roasted red peppers, or a slice of smoked salmon and dill cream cheese.
For a fun alternative to traditional chips, brush lavash with olive oil, sprinkle with your favorite seasonings (like garlic powder, onion powder, or chili flakes), break into chip-sized pieces, and bake until extra crispy. These homemade lavash chips are perfect for dipping or using in place of tortilla chips for nachos. You can also break crispy lavash over salads or soups for a crunchy element instead of croutons.
Pairing Lavash with Dips, Spreads, and Toppings
Crispy lavash is a natural companion to a wide variety of dips and spreads. Classic Middle Eastern pairings like hummus, baba ghanoush (roasted eggplant dip), and muhammara (roasted red pepper and walnut dip) are always a hit. Creamy yogurt-based dips, such as tzatziki or a simple labneh with olive oil and za'atar, also pair beautifully.
Consider serving your crispy lavash with olive tapenade, artichoke dip, or various cheese spreads. It also complements roasted vegetables, grilled meats, or serves as a wonderful side for hearty stews and curries. The simple, clean taste of the lavash allows the flavors of the dips and toppings to shine.
Crispy Lavash Bread Recipe: A Summary for Easy Baking
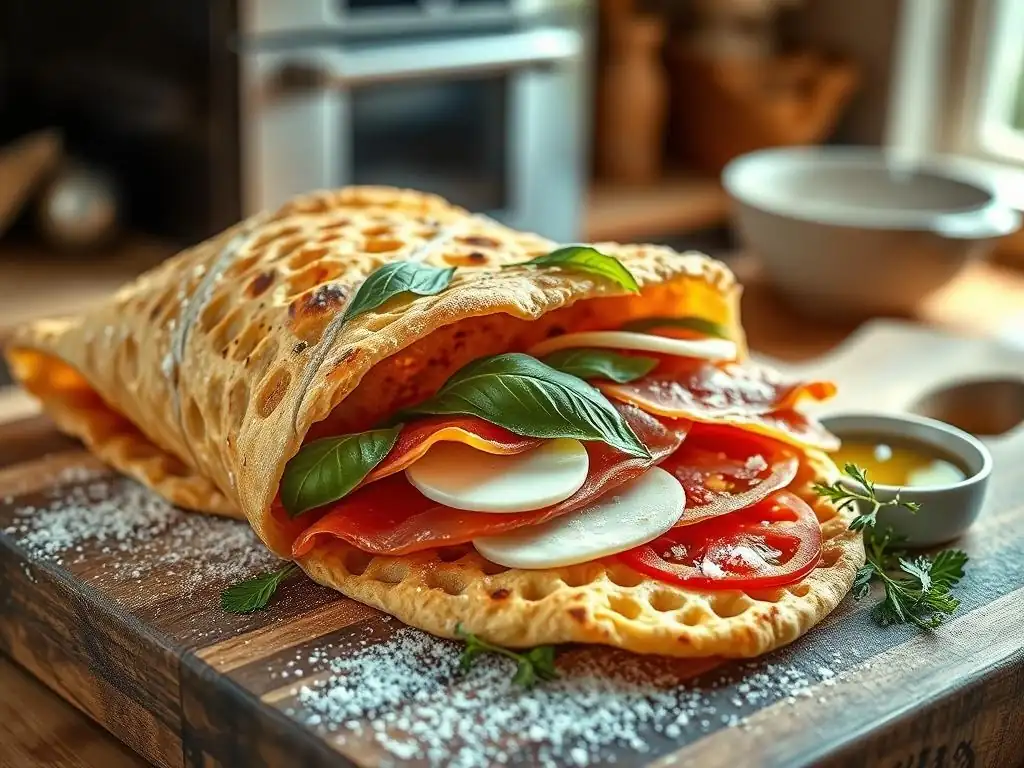
You've learned the steps to make this delightful flatbread. This crispy lavash bread recipe easy approach makes it achievable for home bakers of any level. From mixing the dough to achieving that perfect crisp, the process is straightforward and rewarding.
Remember the key elements: simple ingredients, thin rolling, and hot baking.
Quick Recipe Recap: BakeWithEase's Simple Lavash Recipe
Here's a quick recap of the essential steps for baking your easy crispy lavash bread:
- Combine flour, salt, and warm water to form a simple dough.
- Knead briefly until smooth, then rest for at least 30 minutes.
- Divide dough and roll each portion very thinly (1-2 mm).
- Transfer to a baking sheet, prick with a fork if desired.
- Bake in a preheated oven (400-450°F / 200-230°C) for 3-8 minutes until golden and crispy.
- Cool completely on a wire rack.
This simple crispy lavash bread recipe demonstrates that you don't need complex techniques to create delicious, satisfying bread at home. Give it a try!
Printable Recipe Card: Your Go-To Lavash Baking Guide
To make baking even easier, having a handy reference in the kitchen is invaluable. A printable recipe card for this easy crispy lavash bread recipe would typically summarize the ingredients, step-by-step instructions, and perhaps include a few key tips for achieving maximum crispiness.
Having this summary readily available can streamline your baking process, allowing you to quickly glance at quantities and steps without needing to refer back to a screen. It's a great tool to keep in your recipe binder or on your counter while you bake your next batch of homemade crispy lavash.
Beyond the Basics: Exploring Other Flatbread Recipes on BakeWithEase
If you enjoyed baking this crispy lavash bread, you've just scratched the surface of the wonderful world of flatbreads! There are many other types to explore, each with its unique characteristics and baking methods.
Continue your bread baking journey with BakeWithEase.
Discover Focaccia and Other Bread Baking Delights
Having successfully baked crispy lavash, you might be interested in trying other flatbreads, such as focaccia. Unlike the thin and crispy lavash, focaccia is a thicker Italian flatbread, often dimpled and topped with olive oil, herbs, and other delicious ingredients. It offers a different texture – soft and airy on the inside with a slightly crisp bottom.
Explore the Focaccia & Flatbreads section on BakeWithEase.com for more recipes and guides. You'll find easy-to-follow instructions for various flatbreads, as well as resources for other bread baking projects, from simple no-knead loaves to enriched doughs. Our site is designed to help bakers of all levels expand their skills and enjoy the rewarding process of making bread from scratch.
Frequently Asked Questions
How easy is this crispy lavash bread recipe for beginners?
This recipe is designed to be beginner-friendly, focusing on simple steps and readily available ingredients. You don't need prior baking experience to achieve great results.
What are the key ingredients needed for this crispy lavash bread recipe?
The recipe primarily requires flour, water, salt, and olive oil. You might also want to add optional seasonings for extra flavor.
How do I ensure my lavash bread turns out crispy?
Achieving crispiness relies on thinly rolling out the dough and baking it at a high temperature. Also, make sure to monitor it closely to prevent burning.
Can I customize the flavor of my crispy lavash bread?
Absolutely! You can experiment with adding herbs, spices, or even seeds to the dough or sprinkling them on top before baking. Get creative with your flavors!
What are some serving suggestions for crispy lavash bread?
Crispy lavash bread is incredibly versatile. It's great with dips, cheeses, soups, or as a base for flatbread pizzas. It's also delicious on its own as a snack.
Final Reflection: The Unexpected Joys of Crispy Lavash
The simple act of baking crispy lavash bread connects us to ancient traditions while offering a surprisingly modern culinary experience. It's more than just a recipe; it's a gateway to exploring flavors and textures, a testament to the power of simple ingredients transformed by mindful preparation. The ease of this process, as highlighted throughout this article, makes it accessible to everyone, regardless of baking experience.
The enduring appeal of lavash, a staple in many cultures for centuries, speaks volumes about its versatility and satisfying crunch. It's a canvas for countless culinary creations, from simple snacks to elaborate meals. The process itself, from the gentle kneading to the satisfying crisp of the finished product, is inherently meditative. Food is symbolic of love when words are inadequate.
– Alan D. Wolfelt. This quote resonates deeply with the experience of sharing homemade lavash; it's a tangible expression of care and connection.
Now, I invite you to embrace the simplicity and satisfaction of baking your own crispy lavash. Don't be intimidated by the seemingly complex process; the steps outlined in this article are designed to guide you every step of the way. Experiment with different toppings, share your creations with loved ones, and savor the joy of creating something delicious and meaningful with your own hands. The crispy crunch of homemade lavash is waiting for you – go ahead, give it a try!
Unleash Your Inner Baker: Crisp Lavash Awaits!
Thanks for taking the time to learn about baking crispy lavash bread! We hope you now feel confident and inspired to try this surprisingly simple recipe. Ready to get started?
- Bake your own batch of lavash: Gather your ingredients and follow the recipe – you'll be amazed at how quickly and easily it comes together! This is your primary step towards crispy, delicious lavash.
- Share your baking journey: Post a picture of your freshly baked lavash on social media and tag us – we’d love to see your creations!
- Explore variations: Try experimenting with different herbs or spices to create your own unique lavash flavor profile.
So, what exciting lavash creations will you be making first?