
Essential Terms Every Sourdough Rye Baker Should Know

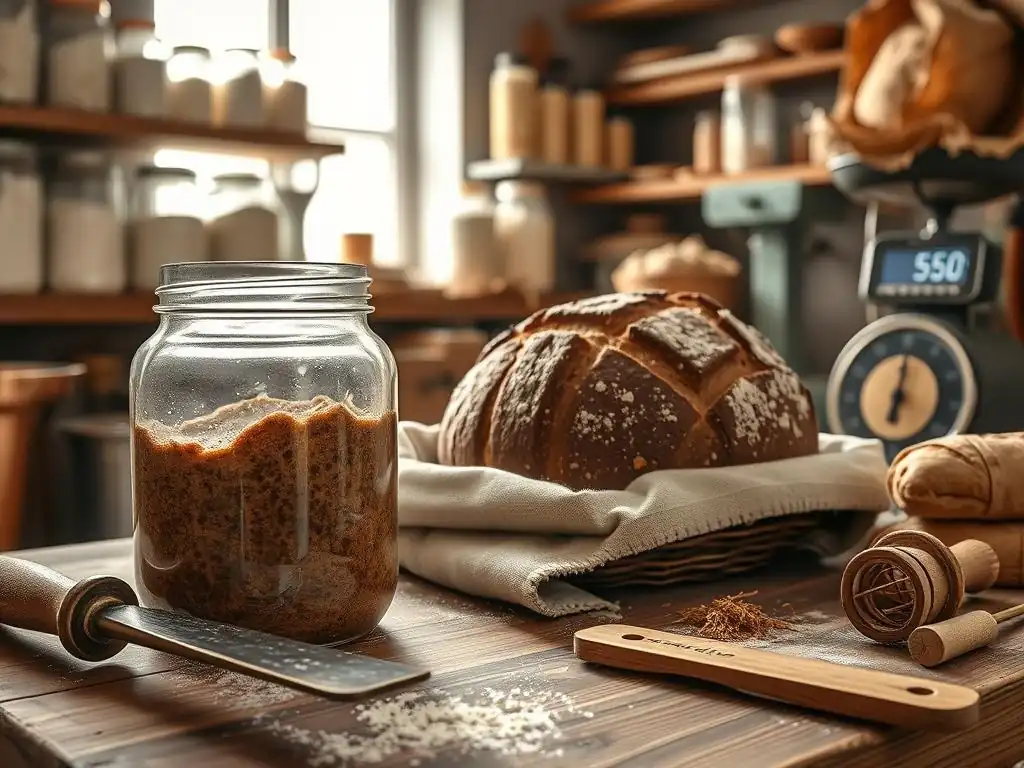
Welcome to BakeWithEase, your partner in creating delicious baked goods! Are you ready to unlock the secrets of rich, flavorful rye bread? Perhaps you're just beginning your journey with sourdough, and the nuances of a rye starter seem a bit daunting. Fear not! Today, we're diving into essential terms every sourdough rye baker should know, providing a solid foundation for mastering this rewarding craft. Curious about what makes a rye starter different and how to nurture its unique flavor profile? Let's get started!
- Understanding the Fundamentals of Sourdough Rye Baking
- Key Ingredients & Their Roles in Sourdough Rye Bread
- Dough Handling Techniques for Sourdough Rye
- Baking Sourdough Rye: Temperature and Timing
- Troubleshooting Common Sourdough Rye Baking Problems
- Advanced Sourdough Rye Baking Terminology
- Sourdough Rye Starter Tips & Best Practices
- Mastering the Language of Sourdough Rye Baking: A Recap
-
Frequently Asked Questions
- What is a sourdough rye starter, and why is rye flour used?
- How often should I feed my sourdough rye starter?
- What does the term "hydration" mean in sourdough rye baking?
- What is "autolyse," and why is it important for sourdough rye?
- What are some common signs that my sourdough rye starter is ready to use?
- Final Reflection: Unlocking the Mysteries of Sourdough Rye
- Unlock Your Rye Bread Potential!
Understanding the Fundamentals of Sourdough Rye Baking
Why Mastering Terminology is Key for Sourdough Rye Bread Success
Embarking on the journey of baking sourdough rye bread is an incredibly rewarding experience, but it comes with its own unique vocabulary. Understanding these terms isn't just about sounding like a pro; it's fundamental to interpreting recipes, diagnosing issues, and achieving consistent, delicious results. Imagine a recipe calls for "autolysing" your rye flour or mentions "bulk fermentation" at a specific temperature – without knowing what these mean, you're essentially baking blind.
Mastering the language allows you to troubleshoot effectively, whether you're dealing with a gummy crumb or a loaf that didn't rise. For instance, knowing that a "young" sourdough rye starter behaves differently than a "mature" one can dramatically impact your dough's rise and flavor profile.
Furthermore, precision in baking relies heavily on understanding the processes described by these terms. When a recipe specifies proofing "until doubled," knowing the visual cues for well-proofed rye dough prevents over-proofing, which can lead to a collapsed loaf, or under-proofing, resulting in a dense crumb.
Specific terms like "hydration percentage," when applied to rye, help you understand how sticky and difficult the dough might be to handle compared to wheat dough, which typically absorbs less water relative to its weight. By grasping these concepts, you gain control over variables like dough consistency, fermentation rate, and final loaf structure, making your sourdough rye baking journey much smoother and more successful.
BakeWithEase's Guide to Sourdough Rye Baking Language
Welcome to the BakeWithEase lexicon for sourdough rye! Our goal is to demystify the terms you'll encounter, making the process accessible whether you're a complete beginner or looking to refine your technique. We've broken down the language into categories, starting with the essential ingredients and moving through the core techniques. Think of this as your Rosetta Stone for baking beautiful, tangy sourdough rye. We'll cover everything from the nuances of different rye flour types to the specific stages of dough development unique to rye, such as why rye dough doesn't windowpane like wheat dough.
This guide will walk you through terms related to maintaining a healthy sourdough rye starter, understanding dough hydration specific to rye's unique properties, and mastering the often-tricky handling of sticky rye dough. We'll also touch upon baking temperatures and times optimized for rye's dense structure and delve into troubleshooting common issues like excessive sourness or gummy texture. By the end, you'll feel confident tackling any sourdough rye recipe, armed with the knowledge to understand why certain steps are taken and how to adjust them based on your specific sourdough rye starter tips and environmental conditions.
Key Ingredients & Their Roles in Sourdough Rye Bread
Rye Flour Types: Light, Medium, and Dark Rye Explained
Rye flour is the cornerstone of sourdough rye bread, and understanding the different types is crucial. The classification (light, medium, dark) primarily relates to how much of the rye grain is included after milling. Light rye flour is milled from the inner part of the rye berry, containing less bran and germ. It results in a lighter color and milder flavor, and behaves somewhat closer to wheat flour in terms of gluten development (though rye's gluten is less structured). Recipes using 100% light rye are rare; it's often blended with wheat or other rye types.
Medium rye flour includes more of the outer layers than light rye, offering a richer color and more pronounced rye flavor. It contains more fiber and nutrients. Dark rye flour, also known as pumpernickel flour in some regions, is milled from the whole rye berry, including most or all of the bran and germ.
It's the most flavorful and nutritious of the rye flours, resulting in dense, dark loaves with a strong, earthy taste. Due to its high fiber content and different protein structure, dark rye absorbs more water and creates a stickier dough with minimal gluten development compared to wheat or even lighter rye flours.
Understanding Rye Flour Ash Content
Ash content in flour refers to the mineral content left after burning a sample. While it sounds strange, it's a key indicator of how much of the whole grain is present. A higher ash content means more of the bran and germ (which are rich in minerals) are included. Light rye flour has a lower ash content (often around 0.7-0.9%), medium rye is higher (around 1.0-1.3%), and dark rye has the highest (often 1.5% or more). This measurement helps standardize flour types across different mills and countries.
The ash content directly impacts the flour's performance in baking. Higher ash content flours (darker rye) absorb more water and contain enzymes that can affect dough structure and fermentation speed. Understanding the ash content helps bakers predict how a specific rye flour will behave, how much water it will absorb, and how it will affect the flavor and texture of the final loaf. Recipes might specify flour type by color (light, dark) or by ash content, providing a more precise guide.
Sourdough Starter: The Heart of Your Rye Bread
The sourdough starter is arguably the most critical component in sourdough rye baking. It's a living culture of wild yeast and lactic acid bacteria thriving in a mixture of flour and water. This culture is responsible for leavening the bread, giving it rise, and developing the characteristic tangy flavor associated with sourdough.
For rye bread, many bakers prefer using a starter specifically fed with rye flour, as the microorganisms present in rye can contribute to a distinct flavor profile and potentially a more vigorous culture suited to breaking down rye's complex carbohydrates. Healthy sourdough rye starter tips often revolve around consistent feeding and observation.
A robust sourdough rye starter is active, bubbly, and smells pleasantly acidic and slightly sweet, sometimes described as yogurt-like or fruity. When ready to use, it should double or triple in volume within a few hours of feeding, reaching its peak activity before starting to fall. The yeast produces carbon dioxide gas, which makes the dough rise, while the bacteria produce lactic and acetic acids, contributing to the flavor and also helping to break down the flour, making the bread more digestible and extending its shelf life.
What is a Rye Sourdough Starter?
A rye sourdough starter is simply a sourdough starter that is fed either partially or entirely with rye flour. While you can convert a wheat-based starter to rye by gradually switching the feeding flour, starting one from scratch with rye flour is also common. Rye flour is particularly rich in nutrients that wild yeasts and lactic acid bacteria love, often making rye starters quite vigorous and resilient. They tend to become active relatively quickly compared to some all-wheat starters.
The characteristics of a rye sourdough starter include a typically darker color (depending on the rye flour used), a more liquid consistency even at lower hydration levels (rye absorbs water differently), and a distinct aroma that reflects the rye grain and the specific microbial balance. Maintaining a healthy sourdough rye culture involves regular feeding with fresh rye flour and water, usually at room temperature, to keep the microorganisms happy and active. The consistency of feeding and the ratio of starter, flour, and water used are key sourdough rye starter tips for success.
Maintaining a Healthy Rye Sourdough Culture
Keeping your rye sourdough starter healthy and active is paramount for successful sourdough rye baking. This involves consistent feeding, typically a ratio of starter:flour:water (e.g., 1:1:1 or 1:2:2 by weight). The frequency of feeding depends on storage temperature; a starter kept at room temperature usually needs daily feeding, while one in the refrigerator can be fed weekly. Use fresh, unbleached rye flour and non-chlorinated water.
Signs of a healthy culture include consistent doubling or tripling in volume after feeding, numerous bubbles throughout the culture and on the surface, and a pleasant, tangy aroma. If your starter seems sluggish or develops off-smells (like acetone), it likely needs more frequent feeding or a different feeding ratio. Discarding a portion of the starter before feeding helps maintain a manageable volume and ensures a fresh food supply for the microbes. Following good sourdough rye starter tips like using a clean jar and monitoring temperature will help maintain a robust culture ready to leaven your loaves.
Water Quality and its Impact on Rye Dough
Water is more than just a hydrating agent in sourdough rye baking; its quality can significantly affect your starter and dough. Tap water containing high levels of chlorine or chloramines can inhibit or even kill the wild yeast and bacteria in your sourdough starter, slowing down or stopping fermentation. If your tap water is treated with chlorine, leaving it uncovered at room temperature for 24 hours or filtering it can help remove the chemicals.
Minerals in water, such as calcium and magnesium (water hardness), can also impact dough development. Moderately hard water is generally preferred as it helps strengthen the gluten structure (though rye has limited gluten). However, extremely hard or soft water can cause issues. For rye dough, which relies less on gluten structure than wheat, the primary concern with water quality is its potential effect on the starter's activity. Using filtered or bottled water is a common practice to ensure your sourdough rye starter culture thrives.
Salt: More Than Just Flavor in Rye Bread
Salt plays several critical roles in sourdough rye bread beyond just adding flavor. It controls the rate of fermentation by slowing down both yeast and bacterial activity. This allows for a longer, more controlled rise, which helps develop better flavor and structure. Without salt, dough can ferment too quickly, leading to issues with handling and a lack of complexity in taste.
Salt also strengthens the dough structure by tightening the protein network (even the limited one in rye) and helps with crust formation and browning during baking. The typical salt percentage in bread dough ranges from 1.8% to 2.2% of the total flour weight. Using too little salt will result in a bland loaf with potentially uncontrolled fermentation, while too much salt can kill the starter and lead to a dense, heavy bread. Getting the salt balance right is a key part of sourdough rye baking success.
Dough Handling Techniques for Sourdough Rye
Autolyse: Enhancing Rye Flour Hydration
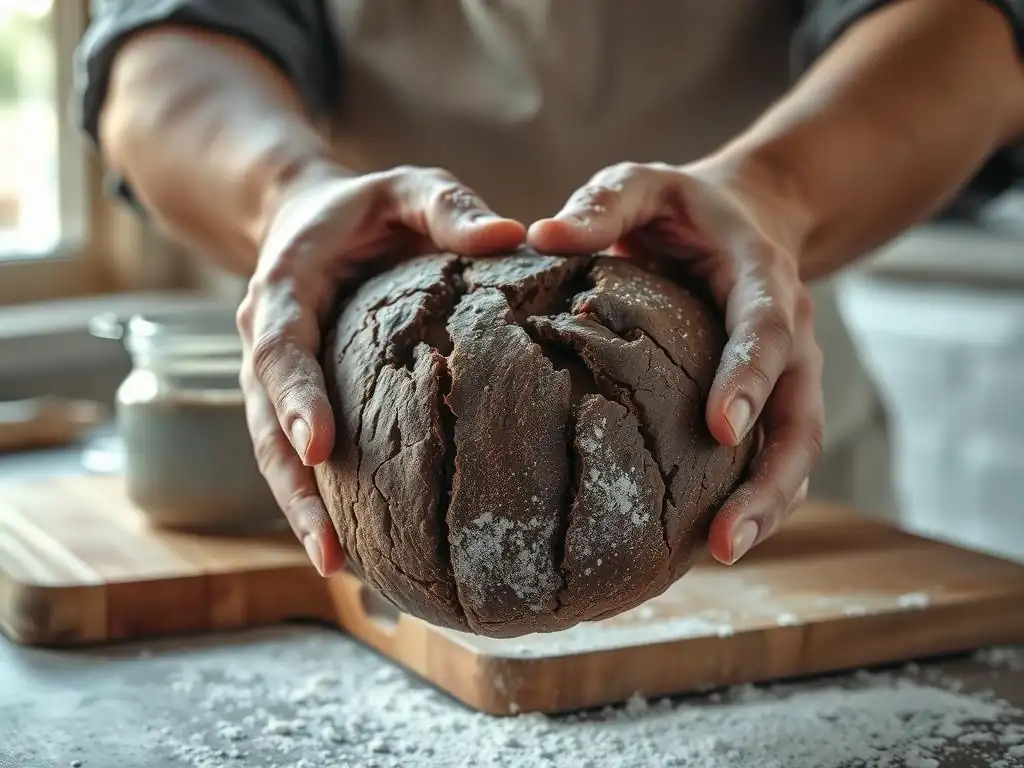
Autolyse is a simple technique involving mixing just the flour and water from a recipe and letting it rest for a period (usually 20 minutes to an hour) before adding the sourdough starter and salt. While traditionally used to help gluten development in wheat dough, it's still beneficial for rye. Rye flour takes longer to fully hydrate than wheat, and autolysing allows the water to penetrate the starch and proteins more completely.
For rye dough, autolyse helps reduce the mixing time needed after the starter is added, which is important because overmixing rye dough can damage its fragile structure. It makes the dough slightly more pliable and easier to work with, despite rye's inherent stickiness. This step isn't always strictly necessary, especially in very high-percentage rye loaves, but it can improve the texture and handling of loaves containing a significant portion of rye.
Bulk Fermentation: The First Rise of Your Rye Dough
Bulk fermentation, or the "first rise," is the period after mixing all the ingredients (flour, water, starter, salt) until the dough is shaped. During this time, the sourdough rye starter is actively producing gases that make the dough rise and acids that develop flavor and strengthen the dough structure. Unlike wheat dough, rye dough often doesn't show a dramatic increase in volume during bulk fermentation, especially at high percentages. Instead, it might simply look slightly puffy and feel aerated.
The length of bulk fermentation is influenced by temperature and the activity of your sourdough rye starter. It can range from a few hours at warm room temperature (e75-80°F or 24-27°C) to much longer at cooler temperatures. Experienced bakers often use a combination of time, temperature, and visual/tactile cues to determine when bulk fermentation is complete for rye dough, as a simple doubling in size is often not the goal.
Recognizing Signs of a Well-Fermented Rye Dough
Judging when rye dough is sufficiently bulk fermented requires practice, as the visual cues differ from wheat. Instead of looking for a doubling or tripling in size, look for a noticeable increase in volume (perhaps 30-50% for high rye content), the surface becoming smoother, and the dough feeling lighter and aerated when gently lifted. You might see some bubbles on the surface.
A well-fermented rye dough will also have a pleasant, slightly acidic aroma. The poke test, commonly used for wheat dough (where the dough springs back slowly), is less reliable for high-percentage rye dough as it lacks the strong gluten network. Focusing on the overall volume increase, texture, and aroma is generally more effective for determining readiness for shaping. Over-fermented rye dough can become overly sticky, difficult to handle, and may collapse during baking.
Shaping Sourdough Rye: Techniques for Success
Shaping rye dough can be challenging due to its stickiness and lack of strong gluten structure. Unlike wheat dough, you won't be able to develop surface tension through vigorous shaping techniques like those used for boules or batards. The goal of shaping rye is primarily to create a cohesive mass that holds its shape during proofing and baking, often by gently coaxing it into a loaf pan or forming a simple round or oval on a floured surface.
Techniques often involve using wet hands or a wet scraper to minimize sticking. A common method for higher-percentage rye dough is to simply fold the edges of the dough towards the center a few times to create some tension and then place it seam-side down into a well-floured banneton or directly into a greased loaf pan. Minimal handling is key to avoid degassing the dough too much or making it unmanageably sticky.
Handling Sticky Rye Dough
Rye dough is notoriously sticky, largely due to its high level of pentosans, soluble fibers that absorb large amounts of water. Resist the urge to add excessive amounts of flour to your work surface or hands, as this can change the hydration of the dough and result in a dry crumb. Instead, embrace the stickiness and use tools and techniques to manage it.
Keeping your hands and bench scraper wet is often more effective than flouring. A thin film of water creates a barrier that prevents the dough from sticking. Working on a lightly oiled surface can also help. When shaping, move quickly and confidently. If using a banneton, make sure it is very well-floured with rice flour or a mix of rye and rice flour, as these are less likely to be absorbed by the dough. Understanding that rye dough is sticky is the first step; learning to work with its nature rather than fighting it is the key.
Proofing Your Sourdough Rye Loaf
Proofing (also called final fermentation or second rise) is the period after shaping and before baking, where the shaped loaf continues to rise. For sourdough rye, this stage is crucial for developing the final texture and ensuring adequate oven spring. Unlike wheat dough, rye dough often doesn't double in size during proofing; a 50-75% increase is more typical, depending on the rye percentage and temperature.
Proofing can be done at room temperature or in the refrigerator (cold proofing). Cold proofing slows down fermentation, allowing flavors to deepen and providing more flexibility in baking time. Rye dough can sometimes be prone to over-proofing quickly, especially at warm temperatures, which can lead to a dense or collapsed loaf. Learning to judge the readiness of your rye loaf for baking is a skill that improves with experience.
Understanding Proofing Time and Temperature
Proofing time for sourdough rye is highly dependent on the temperature and the activity of your sourdough rye starter. At warm room temperature (75-80°F or 24-27°C), proofing might take 1-3 hours. In a cooler room (68-72°F or 20-22°C), it could take 3-6 hours. Cold proofing in the refrigerator (38-40°F or 3-4°C) can take anywhere from 8 to 24 hours or even longer.
To check if a rye loaf is ready to bake, you can use the poke test gently, but again, it behaves differently than wheat. A rye loaf ready for baking will spring back slowly and incompletely when gently poked. If it springs back immediately, it needs more time. If the indentation remains completely, it is likely over-proofed. Observing the volume increase and the overall feel of the dough is also important. For high-percentage rye loaves baked in pans, the dough should typically reach near the rim of the pan.
Baking Sourdough Rye: Temperature and Timing
Preheating Your Oven for the Perfect Rye Crust
Proper oven preheating is essential for achieving a good crust and oven spring in sourdough rye bread. Rye bread benefits from a hot oven initially to set the crust and provide a burst of steam (if using a baking vessel like a Dutch oven or adding steam) which helps the loaf expand before the crust hardens. Preheat your oven, including your baking surface (baking stone, steel, or Dutch oven), for at least 30-60 minutes after it reaches the target temperature.
Aim for a high initial temperature, often between 450°F and 500°F (230°C and 260°C), depending on the recipe and desired crust. Baking in a preheated Dutch oven or with added steam helps create a moist environment around the loaf, allowing it to expand fully before the crust sets. This is particularly beneficial for rye, which can sometimes struggle with oven spring.
Baking Temperatures for Different Rye Bread Styles
The ideal baking temperature and time for sourdough rye bread vary depending on the loaf size, shape, and the percentage of rye flour used. High-percentage rye loaves, especially dense ones like pumpernickel, are often baked at lower temperatures for a longer time to ensure the heat penetrates to the center without burning the crust. For example, a large 100% rye pumpernickel might bake for several hours at temperatures as low as 300-350°F (150-175°C).
Loaves with a mix of rye and wheat, or those with a lower percentage of rye, can often be baked at higher temperatures similar to wheat sourdough, perhaps starting at 450-475°F (230-245°C) for the first 15-20 minutes (often covered to trap steam), then reducing the temperature to 400-425°F (200-220°C) for the remainder of the bake. Always follow recipe specifics, but understand that higher rye content usually means lower temps and longer times are needed.
Understanding the Baking Process: Internal Temperature and Doneness
The most reliable way to determine if your sourdough rye bread is fully baked is by checking its internal temperature. A fully baked loaf, regardless of the percentage of rye, should reach an internal temperature of 200-210°F (93-99°C). Use an instant-read thermometer inserted into the center of the loaf.
Baking time will vary based on loaf size, shape, temperature, and oven calibration, but typical times for a standard-sized mixed rye loaf might be 30-50 minutes. High-percentage rye loaves or very large loaves will take considerably longer, sometimes over an hour or even several hours for very dense, large loaves. The crust should be a deep brown (though the darkness depends on the rye type), and the loaf should sound hollow when tapped on the bottom. Always prioritize the internal temperature for true doneness.
Troubleshooting Common Sourdough Rye Baking Problems
Dense Rye Bread: Possible Causes and Solutions
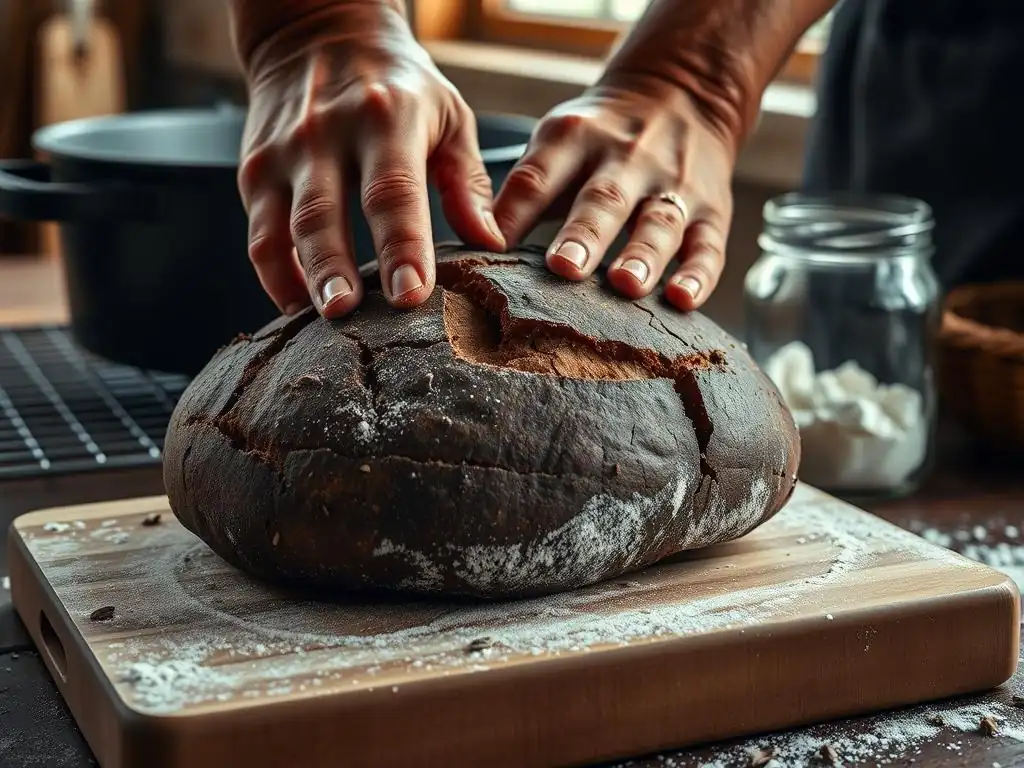
A dense, heavy crumb is one of the most common issues in sourdough rye baking. Several factors can contribute to this. One major cause is under-fermentation, either during bulk fermentation or proofing. If the sourdough rye starter wasn't active enough or the fermentation times were too short, the dough won't develop enough gas to rise properly. Ensure your starter is vigorous and allow adequate fermentation time based on temperature.
Another cause can be over-proofing, which leads to the dough collapsing before or during baking because the structure can no longer hold the gas. Improper shaping or handling that degasses the dough too much can also result in density. Using the wrong type of rye flour (e.g., trying to bake 100% light rye without adjustments) or incorrect hydration can also play a role. Review your steps, check your starter activity, adjust fermentation times, and handle the dough gently.
Sourness Levels: Adjusting Your Sourdough Rye Starter
The level of tanginess in your sourdough rye bread is primarily determined by the balance of lactic and acetic acids produced by the bacteria in your starter. Acetic acid contributes a sharper, vinegary tang, while lactic acid provides a milder, yogurt-like sourness. You can influence this balance through how you feed and maintain your sourdough rye starter.
Feeding your starter with a higher ratio of flour to starter (e.g., 1:3:3 or 1:4:4) and keeping it at a slightly cooler temperature (around 70-75°F or 21-24°C) tends to favor lactic acid production, resulting in a milder tang. Feeding more frequently or keeping the starter warmer (above 80°F or 27°C) can encourage acetic acid production, leading to a more pronounced sourness. Using a stiffer starter (lower hydration) also favors acetic acid. Experiment with these sourdough rye starter tips to find the sourness level you prefer.
Avoiding a Gummy Texture in Your Rye Bread
A gummy, sticky crumb is another common problem in rye bread, particularly in high-percentage loaves. This is often caused by the unique properties of rye flour, specifically its high pentosan content. Pentosans absorb a lot of water but aren't broken down effectively if the bread isn't baked thoroughly. Underbaking is a primary culprit for gumminess.
To avoid a gummy texture, ensure your loaf is baked to the correct internal temperature (200-210°F or 93-99°C). This might require baking at a lower temperature for a longer period, especially for dense loaves. Allowing the bread to cool completely before slicing is also crucial. Slicing hot rye bread traps moisture and can make the crumb gummy. Letting it cool for several hours, or even overnight for very dense loaves, allows the internal structure to set properly and moisture to redistribute. Proper hydration levels for the specific rye flour used also play a role.
Advanced Sourdough Rye Baking Terminology
Pumpernickel: Defining Characteristics and Key Terms
Pumpernickel is a very traditional German style of dark, dense, and slightly sweet rye bread, often made with coarse dark rye meal or chopped rye berries. It's typically a 100% rye bread, sometimes with a small amount of sourdough rye starter culture from a previous batch. Key characteristics include its very dark color, achieved through long, slow baking at low temperatures (sometimes for 12-24 hours) and the Maillard reaction/caramelization of sugars.
Terms specific to pumpernickel might include "rye meal" (coarsely ground rye), "schrot" (cracked rye), and "altus" (old bread incorporated into the dough for flavor and texture). The long, slow baking process is often referred to as "steaming" or "baking in a sealed environment" (like a covered pot or sealed tin) to prevent drying out. Pumpernickel is often baked without significant rise, focusing instead on flavor development and dense texture.
Roggenmischbrot: Understanding Mixed Rye Breads
Roggenmischbrot, translating literally to "rye mixed bread" in German, is a broad category encompassing breads made with a mix of rye and wheat flour. The ratio of rye to wheat can vary significantly, from predominantly rye (e.g., 80% rye, 20% wheat) to predominantly wheat with some rye (e.g., 30% rye, 70% wheat). The higher the percentage of rye, the denser the loaf and the more challenges you'll face with handling and rise similar to 100% rye.
These mixed breads benefit from the gluten provided by the wheat flour, which helps create a lighter texture and more open crumb structure than pure rye bread. The terms used for Roggenmischbrot often combine rye and wheat bread terms. For example, a "Sauerteig Roggenmischbrot" indicates a mixed rye bread made with sourdough. Understanding the rye-to-wheat ratio is key, as it dictates expected dough behavior, shaping techniques, and final loaf characteristics. A 50/50 rye/wheat loaf will handle and bake very differently from an 80/20 rye/wheat loaf.
Preferments: Adding Complexity to Your Rye Bread Flavor
A preferment is a portion of flour, water, and leavening (either commercial yeast or sourdough starter) mixed in advance of the main dough. Using a preferment, in addition to or sometimes instead of a direct addition of starter, can add complexity to the flavor profile and sometimes improve dough structure and keeping quality. In rye baking, preferments like a rye poolish or a specific rye sour are common.
A "rye sour" is essentially a specific type of stiff or liquid rye sourdough preferment, often built over several stages to develop a specific balance of acids and flavors before being added to the final dough. Using preferments allows more time for enzymatic activity and acid development in a controlled environment, contributing deeper, more nuanced flavors to the final sourdough rye loaf. Different hydration levels and fermentation times for preferments yield different flavor outcomes.
Sourdough Rye Starter Tips & Best Practices
Feeding Your Rye Sourdough Starter for Optimal Performance
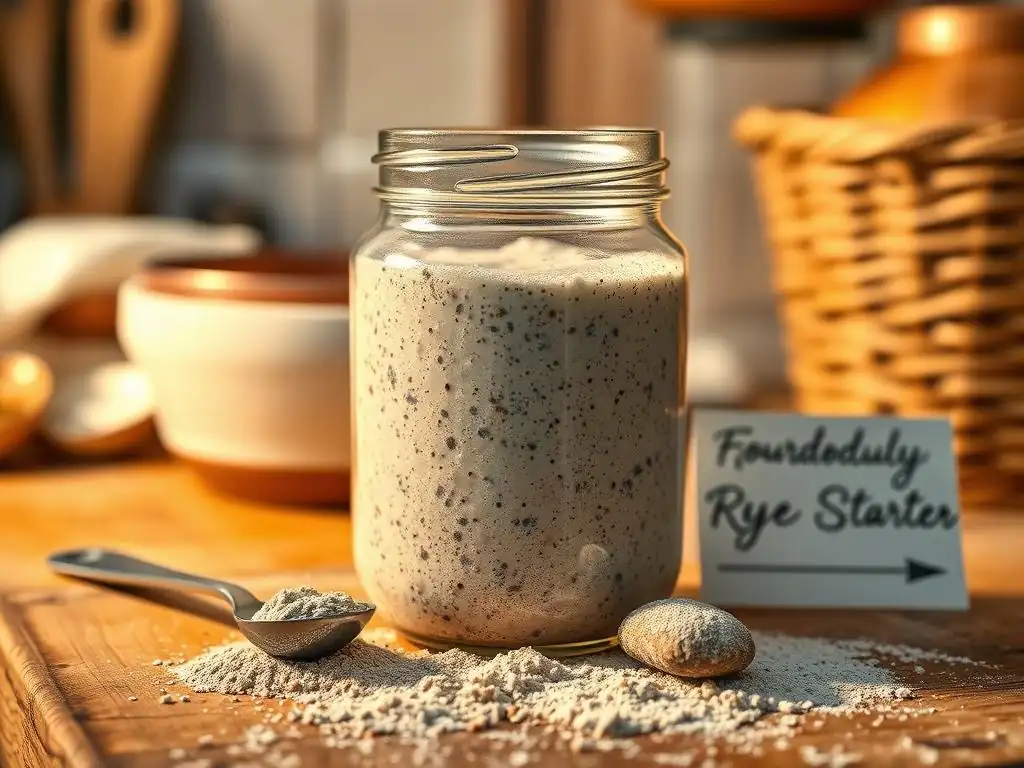
Consistent and appropriate feeding is the most important factor in keeping your sourdough rye starter active and ready for baking. The standard ratio is often 1 part starter : 1 part flour : 1 part water by weight (1:1:1), but ratios like 1:2:2 or even 1:5:5 can be used depending on how long you need the starter to be active before baking. Using fresh, unbleached rye flour provides the best food source for the microbes. Filtered or non-chlorinated water is essential.
Feed your starter at room temperature daily if you bake frequently. If storing in the refrigerator, feed it weekly. Before feeding, discard a portion of the starter to maintain a manageable volume and ensure the microbes have enough fresh food. Mix the starter, flour, and water thoroughly in a clean jar. Mark the level so you can track its rise. A healthy, regularly fed sourdough rye starter should double or triple in volume within 4-8 hours of feeding at room temperature and be full of bubbles. These sourdough rye starter tips ensure a vigorous culture.
Storing Your Rye Sourdough Starter for Long-Term Use
For bakers who don't bake daily, storing your sourdough rye starter in the refrigerator is the easiest way to maintain it. This significantly slows down microbial activity, reducing the need for frequent feeding. To store, feed your starter as usual, let it sit at room temperature for 1-2 hours until you see initial signs of activity, then place it in the refrigerator.
When you're ready to bake, take the starter out of the fridge and feed it at room temperature. You might need one or two feedings (discarding between feedings) for it to become fully active and ready to use in a recipe. Some bakers keep a small amount (e.g., 25-50g) as their "mother" starter in the fridge and build up a larger quantity for baking from a small portion of that mother. Ensure the container has a loose lid to prevent pressure buildup from gases. Following these sourdough rye starter tips for storage minimizes waste and effort.
Reviving a Dormant Rye Sourdough Starter
If your sourdough rye starter has been neglected in the refrigerator for several weeks or months, or if it shows signs of separation (hooch) or sluggishness, it might need reviving. Don't despair – sourdough starters are resilient! To revive, discard most of the starter, leaving only a small amount (e.g., 20-30g). Feed this small amount with fresh rye flour and water, using a generous ratio like 1 part starter : 3-5 parts flour : 3-5 parts water.
Mix well and keep it at room temperature. Feed it every 12-24 hours, continuing to discard most before each feeding. You should start seeing signs of activity (bubbles, rise) within a couple of days. Keep feeding it regularly until it consistently doubles or triples in volume within 4-8 hours after feeding. The hooch (liquid on top) is normal in a hungry starter; you can pour it off or stir it in before feeding. Patience and consistent feeding are key sourdough rye starter tips for successful revival.
Mastering the Language of Sourdough Rye Baking: A Recap
Frequently Asked Questions
What is a sourdough rye starter, and why is rye flour used?
A sourdough rye starter is a fermented mixture of rye flour and water, used to leaven bread. Rye flour adds complex flavors and provides more nutrients for the wild yeasts to thrive.
How often should I feed my sourdough rye starter?
Feeding frequency depends on storage. At room temperature, feed once or twice daily. In the refrigerator, feed once a week to maintain activity.
What does the term "hydration" mean in sourdough rye baking?
Hydration refers to the ratio of water to flour in a recipe or starter. It significantly impacts the dough's texture and rise.
What is "autolyse," and why is it important for sourdough rye?
Autolyse is a resting period where flour and water are mixed before adding the starter. This helps to develop gluten strength and improve dough extensibility, particularly important for rye.
What are some common signs that my sourdough rye starter is ready to use?
A ready starter will have doubled in size, show active bubbles, and have a slightly tangy, yeasty aroma. It should also pass the float test.
Final Reflection: Unlocking the Mysteries of Sourdough Rye
The pursuit of the perfect sourdough rye loaf is a journey, not a destination, and understanding the essential terminology is your compass. Mastering the art of sourdough rye baking requires more than just following a recipe; it demands a deep understanding of the processes and ingredients involved. This understanding, built upon a foundation of key terms, unlocks a world of flavor and texture previously unimaginable.
The influence of sourdough baking, particularly with rye, extends far beyond the kitchen. It's a connection to a rich history of bread making, a testament to the power of simple ingredients transformed by time and patience. This journey of discovery, for me, has been deeply rewarding, fostering a profound appreciation for the symbiotic relationship between baker and starter. Bread is the staff of life,
they say, and in the case of sourdough rye, it's a staff crafted with knowledge, care, and a healthy dose of patience. The subtle nuances in flavor and texture, achieved through understanding terms like "hydration," "autolyse," and "preferment," are a constant source of fascination and inspiration.
Now, it's your turn to embark on this rewarding journey. Don't be intimidated by the seemingly complex terminology; embrace it as a key to unlocking the secrets of this ancient craft. Experiment with different hydration levels, explore the impact of various rye flours, and most importantly, cultivate a relationship with your starter. The rewards – a crust with a satisfying crackle, a crumb with delightful chew, and a flavor profile that's uniquely yours – are well worth the effort. So, gather your ingredients, consult your glossary, and begin your own sourdough rye adventure.
Unlock Your Rye Bread Potential!
Thanks for diving into the world of sourdough rye with us! You've now armed yourself with the essential vocabulary to confidently tackle this delicious and rewarding bread. Ready to take your baking to the next level?
- Bake your own perfect rye loaf: Use your newfound knowledge to experiment with a new recipe! This is your chance to truly master the art of sourdough rye.
- Share your baking journey: Post a photo of your creation on social media using #BakeWithEaseRye and inspire others to join the sourdough revolution.
- Join our baking community: Leave a comment below and share your experiences – what challenges did you face, and what tips would you share with others?
What unique twist will you add to your next sourdough rye creation?