
Baking Whole Wheat Bread Without Special Equipment

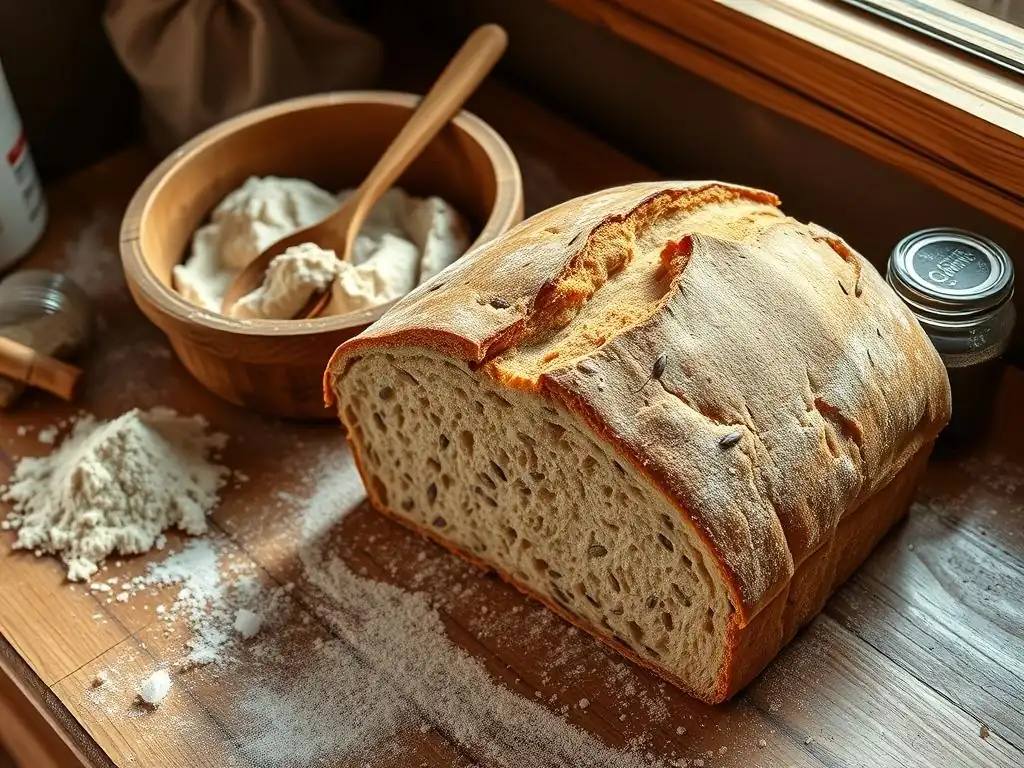
Welcome to BakeWithEase, your kitchen companion for unlocking the joy of baking! Tired of complicated recipes and fancy equipment? Discover the surprisingly simple secrets behind crafting a delicious, wholesome loaf with our guide to baking whole wheat bread – no mixer required! Intrigued? Let's explore how you can achieve bakery-quality results with just a few basic ingredients and a little patience. Keep reading to learn the step-by-step process and unlock the secrets to perfect, homemade whole wheat bread.
- Baking Delicious Whole Wheat Bread: No Special Equipment Needed
- Introduction to Whole Wheat Bread Baking at Home
- Essential Ingredients for Basic Whole Wheat Bread
-
Step-by-Step Guide: Baking Whole Wheat Bread (No Mixer)
- Step 1: Activating the Yeast and Mixing - Combining Ingredients
- Step 2: Autolysing (Optional) and Kneading - Developing Gluten by Hand
- Step 3: Bulk Fermentation (First Rise) - Allowing the Dough to Develop
- Step 4: Shaping the Dough - Preparing for the Final Rise
- Step 5: Final Proofing (Second Rise) - Getting Ready for the Oven
- Step 6: Baking the Bread - Getting That Perfect Loaf
- Tips for Perfect Whole Wheat Bread (No Mixer)
- Variations: Enhancing Your Homemade Whole Wheat Bread
- Enjoying Your Homemade Whole Wheat Bread
- Conclusion: Mastering Whole Wheat Bread Baking at Home
- Frequently Asked Questions
- Final Reflection: The Humble Loaf and the Joy of Simple Baking
- Unleash Your Inner Baker: Perfect Whole Wheat Bread, Effortlessly!
Baking Delicious Whole Wheat Bread: No Special Equipment Needed
Introduction to Whole Wheat Bread Baking at Home
Why Bake Whole Wheat? Flavor, Health, and Simplicity
Baking whole wheat bread at home offers a deeply satisfying experience, delivering loaves far superior in flavor and texture to many store-bought options. The rich, nutty taste of whole wheat flour brings a complexity that white bread often lacks. Beyond taste, whole wheat bread is a nutritional powerhouse.
It retains the bran and germ of the wheat kernel, providing higher levels of fiber, vitamins (like B vitamins and vitamin E), and minerals (such as magnesium, iron, and zinc). A single slice can contribute significantly to your daily fiber intake, aiding digestion and promoting overall wellness. Baking your own whole wheat bread also gives you complete control over ingredients, allowing you to avoid preservatives and additives often found in commercial loaves.
Furthermore, baking whole wheat bread doesn't require a culinary degree or expensive gadgets. It's a wonderfully simple process that can be mastered with basic kitchen tools and a bit of patience. The act of mixing and kneading dough by hand is therapeutic, connecting you to a timeless craft. For anyone looking to bake delicious, healthy bread without needing a stand mixer or other specialized equipment, learning how to make whole wheat bread no mixer is an accessible and rewarding starting point. It's a practical skill that yields delicious results, making healthy eating easier and more enjoyable.
Demystifying Whole Wheat: No Special Equipment Needed
Many aspiring bakers are intimidated by the idea of baking whole wheat bread, assuming it requires heavy-duty mixers or specific proofing tools. The truth is, delicious whole wheat bread no mixer is absolutely achievable with just your hands, a bowl, and an oven. You don't need a dough hook, a proofing box, or even a fancy Dutch oven to produce a beautiful, rustic loaf. The key lies in understanding the properties of whole wheat flour and adapting simple techniques.
Whole wheat flour absorbs water differently than white flour, and its bran particles can affect gluten development. However, with proper hydration and sufficient rest periods or hand kneading, you can develop a strong dough structure capable of trapping gases and rising beautifully. Essential equipment includes measuring cups and spoons, a large mixing bowl, a clean kitchen towel or plastic wrap for covering the dough, a baking sheet or loaf pan, and your oven.
Items like a bench scraper or scale are helpful but not strictly necessary for your first few attempts. The focus is on technique – learning to feel the dough and understand its stages of development through simple, manual steps. This makes baking whole wheat bread no mixer incredibly accessible for anyone.
Essential Ingredients for Basic Whole Wheat Bread
Understanding Yeast: Activating and Using
Yeast is the magical ingredient that makes bread rise, transforming a dense mixture of flour and water into a light, airy loaf. For most whole wheat bread recipes made without a starter, you'll use commercial yeast, typically active dry yeast or instant yeast. Active dry yeast usually requires activation in warm water (around 105-115°F or 40-46°C) with a pinch of sugar before being added to the dry ingredients.
You'll know it's active when it becomes foamy within 5-10 minutes. Instant yeast, on the other hand, can often be mixed directly with the dry ingredients, though some bakers still prefer to activate it.
The amount of yeast needed varies based on the recipe, the flour used, and the desired proofing time. A typical recipe for one loaf might use 1 to 2 teaspoons of instant yeast or one 2.25-teaspoon packet of active dry yeast. Using the right amount ensures a good rise without imparting an overly yeasty flavor.
Proper storage is also crucial; keep yeast in an airtight container in the refrigerator or freezer to maintain its potency. When baking whole wheat bread no mixer, ensuring your yeast is active and correctly used is a foundational step for a successful rise and a well-structured loaf.
Other Key Ingredients: Whole Wheat Flour, Water, and Salt
The foundation of whole wheat bread no mixer is, of course, whole wheat flour. Look for high-quality 100% whole wheat flour. Different brands can vary in their protein content and grind size, which affects water absorption. While a high-protein bread flour is often recommended for its gluten-developing capabilities, standard whole wheat flour works perfectly well for hand-mixed doughs when given adequate time to hydrate. Some recipes might call for a blend of whole wheat and all-purpose flour to make the dough easier to handle, but a pure whole wheat loaf is definitely achievable.
Water is equally vital, providing hydration for the flour and activating the yeast. The hydration level (the ratio of water to flour) significantly impacts the dough's texture. Whole wheat flour typically requires more water than white flour due to the bran's absorption. Water temperature is also important, especially for activating active dry yeast; lukewarm water is usually ideal.
Finally, salt is essential for flavor, controlling yeast activity, and strengthening the gluten structure. Don't skip the salt! A typical ratio is about 1.8-2% salt relative to the flour weight. These simple ingredients, when combined correctly, form the basis of delicious whole wheat bread no mixer.
Step-by-Step Guide: Baking Whole Wheat Bread (No Mixer)
Step 1: Activating the Yeast and Mixing - Combining Ingredients
The first step in baking whole wheat bread no mixer is preparing your yeast and combining the initial ingredients. If using active dry yeast, measure out the specified amount of lukewarm water (typically around 105-115°F or 40-46°C) into a large mixing bowl. Stir in a pinch of sugar (optional, but helps feed the yeast) and then sprinkle the yeast over the water. Let this mixture sit for 5-10 minutes.
You should see a foamy layer develop on the surface, indicating the yeast is alive and active. If no foam appears, your yeast may be dead, and you should start over with fresh yeast. If using instant yeast, you can often skip this activation step and mix it directly with the dry ingredients, then add the water.
Once your yeast is ready (or if using instant yeast), add the measured whole wheat flour and salt to the bowl. Begin mixing with a wooden spoon, spatula, or your hands. Stir until a shaggy dough forms and there are no dry pockets of flour.
At this stage, the dough might look quite wet and sticky – this is normal, especially with whole wheat flour's slower absorption. The goal is just to bring everything together initially. This manual mixing method is the core of baking whole wheat bread no mixer, relying on time and hand techniques rather than mechanical power.
Step 2: Autolysing (Optional) and Kneading - Developing Gluten by Hand
After mixing the initial ingredients, many bakers recommend an "autolyse" period, especially for whole wheat bread no mixer. This simply involves letting the shaggy dough rest for 20-30 minutes after the initial mix, before adding salt (if you held it back) or before significant kneading begins. During this rest, the flour hydrates more fully, and gluten development starts naturally without any effort. This makes the subsequent kneading much easier and more effective. If you added salt initially, you can still rest the dough.
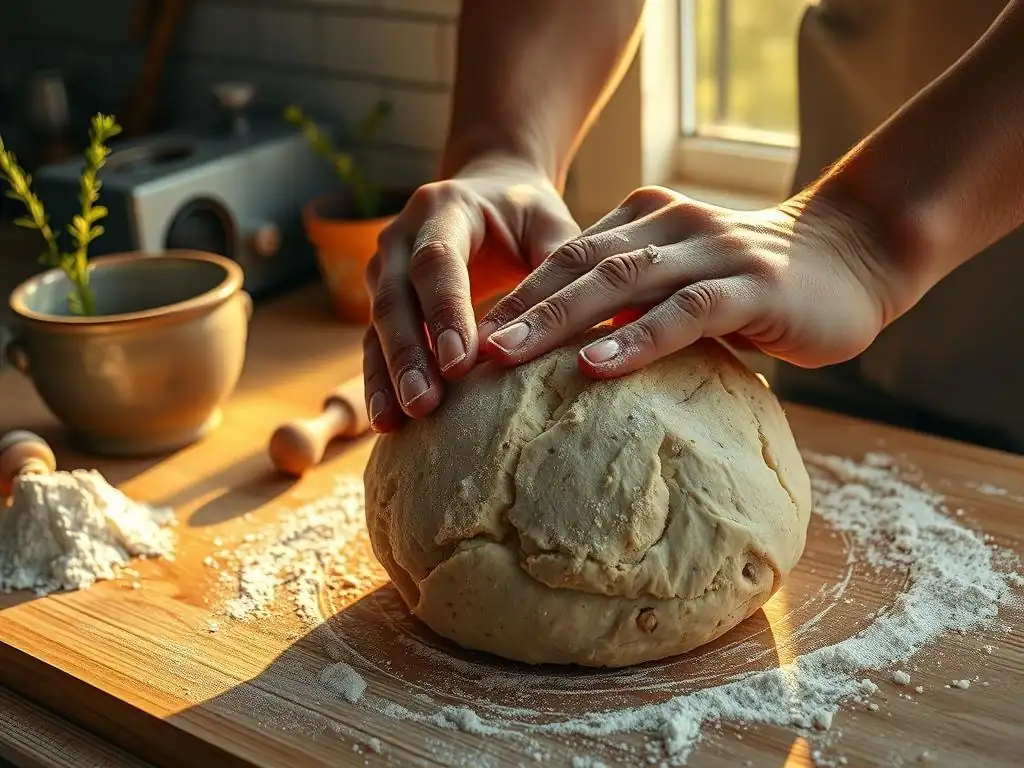
Following the rest, it's time to develop the gluten structure through hand kneading. Turn the dough out onto a lightly floured surface. Whole wheat dough can be sticky, so resist adding too much flour initially. Use a push-fold-turn motion: push the dough away from you with the heel of your hand, fold it back towards you, give it a quarter turn, and repeat.
Knead for 8-15 minutes, or until the dough becomes smoother, more elastic, and less sticky. It may not become as smooth as white flour dough, but it should pass the windowpane test partially (stretching a small piece thin enough to see light through without tearing immediately). This manual kneading is fundamental to successful whole wheat bread no mixer.
Step 3: Bulk Fermentation (First Rise) - Allowing the Dough to Develop
Bulk fermentation, or the first rise, is a crucial stage where the yeast produces carbon dioxide, causing the dough to expand and develop flavor. After kneading, place the dough in a lightly oiled bowl, turning to coat. Cover the bowl tightly with plastic wrap or a damp kitchen towel to prevent drying. Leave the dough in a warm spot (ideally 75-80°F or 24-27°C) to rise until it has doubled in size. This usually takes 1 to 2 hours, depending on the temperature and the activity of your yeast.
During bulk fermentation, some bakers perform "stretch and folds" every 30-45 minutes for the first hour. This involves gently stretching a portion of the dough up and folding it over the center, rotating the bowl, and repeating three or four times. This technique strengthens the gluten structure and helps distribute the yeast activity evenly, contributing to a better crumb in your whole wheat bread no mixer. Don't rush this stage; proper fermentation is key to both texture and flavor.
Step 4: Shaping the Dough - Preparing for the Final Rise
Once the dough has doubled in size during bulk fermentation, gently turn it out onto a lightly floured surface. The goal now is to shape the dough into its final form, whether it's a round loaf (boule) or an oblong loaf (batard or pan loaf). Gently deflate the dough by pressing down lightly to release some of the gas.
For a boule, gently tuck the edges underneath to create tension on the surface. For a pan loaf, flatten the dough into a rectangle, fold the top third down, the bottom third up, and then roll it up tightly from one end, pinching the seam closed.
Proper shaping creates surface tension, which helps the loaf hold its shape during the final rise and baking, contributing to good oven spring. Avoid using too much flour during shaping, as this can create dry pockets in the dough. If baking in a loaf pan, place the shaped dough seam-side down in a greased or parchment-lined pan. If baking a freeform loaf, place it on a sheet of parchment paper on a baking sheet. This step is vital for the structure of your whole wheat bread no mixer.
Step 5: Final Proofing (Second Rise) - Getting Ready for the Oven
After shaping, the dough needs a final proofing period (also called the second rise). Cover the shaped loaf loosely with plastic wrap or a light towel. Let it rise in a warm spot until it looks puffy and has increased significantly in size, though it may not quite double again. This typically takes 45 minutes to 1.5 hours, again depending on ambient temperature and yeast activity.
You can test if the dough is ready by gently pressing it with a floured finger; if the indentation springs back slowly and only partially, it's likely ready. If it springs back immediately, it needs more time. If it doesn't spring back at all and stays indented, it might be over-proofed.
This final rise is crucial for achieving a light texture in your whole wheat bread no mixer. While some advanced techniques involve cold proofing in the refrigerator for flavor development (as seen in sourdough), for a standard yeast-leavened whole wheat bread without special equipment, a room-temperature final proof is perfectly sufficient and much quicker.
Step 6: Baking the Bread - Getting That Perfect Loaf
Preheat your oven well in advance, usually to a high temperature like 425-450°F (220-230°C). If you have a baking stone or steel, place it in the oven while it preheats. If not, a standard baking sheet works fine. Creating steam in the oven during the initial baking phase is key for a good crust. You can do this by placing a shallow pan on the bottom rack while the oven preheats and carefully pouring about a cup of hot water into it just as you put the bread in.
Once the oven is hot and the dough is proofed, score the top of the loaf with a sharp knife or razor blade (see Scoring Techniques below). This allows the bread to expand predictably in the oven. Carefully transfer the loaf to the preheated baking surface (stone, steel, or sheet). Bake for 20-25 minutes, then carefully remove the steam pan (if used) and reduce the oven temperature slightly (e.g., to 400°F or 200°C).
Continue baking for another 20-25 minutes, or until the crust is deep golden brown and the internal temperature reaches around 195-205°F (90-96°C). The bottom of the loaf should sound hollow when tapped. Baking whole wheat bread no mixer successfully culminates in this final heat transformation.
Tips for Perfect Whole Wheat Bread (No Mixer)
Scoring Techniques for Oven Spring and Aesthetics
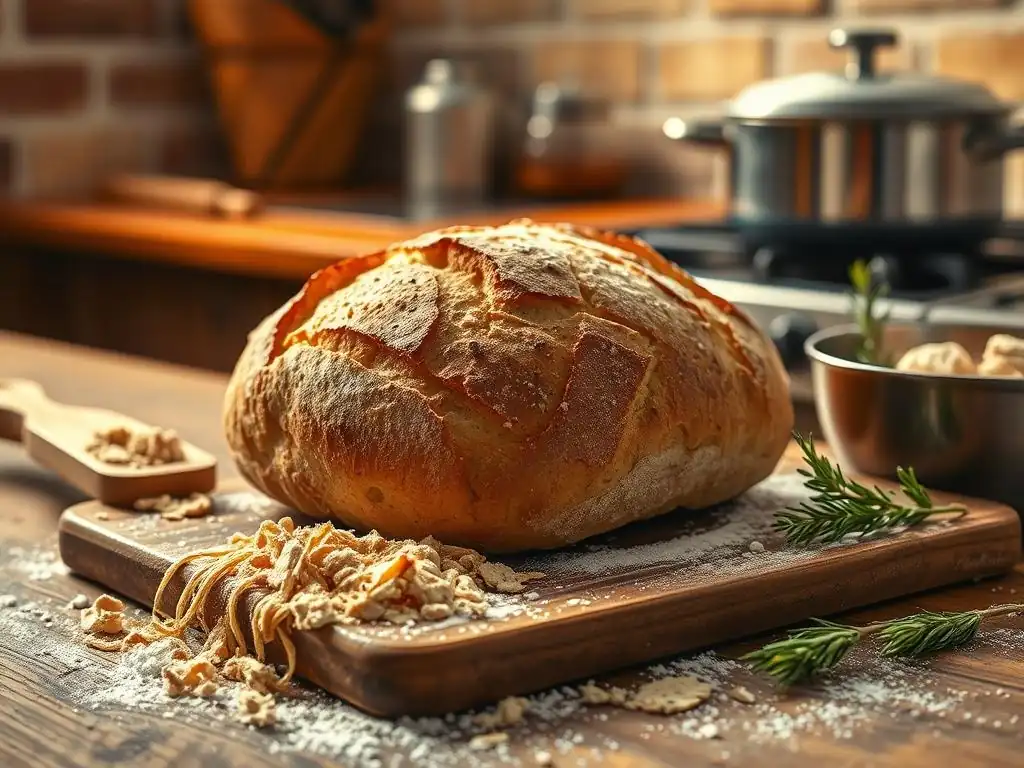
Scoring, or slashing, the top of your whole wheat bread dough just before it goes into the oven is more than just decorative; it's functional. As the bread bakes, the rapid expansion caused by the heat (known as oven spring) needs a path to escape. Scoring provides controlled weak points in the dough's surface, directing the expansion and preventing the crust from cracking unpredictably. Proper scoring allows the loaf to achieve its maximum volume and contributes significantly to the final shape and height.
For whole wheat bread no mixer, simple scoring patterns work best. A single, deep slash down the center is common for oblong loaves. For round loaves, a simple cross or a few parallel slashes are effective. Use a very sharp knife, razor blade (called a "lame"), or even sharp scissors for snipping. Make quick, confident cuts about 1/2 inch deep. Angle the blade slightly for slashes that open up beautifully during baking. Experimenting with scoring adds a personal touch to your homemade whole wheat bread.
Temperature and Humidity Control: Creating an Ideal Environment
Temperature and humidity play significant roles throughout the bread-making process, impacting fermentation times and the final crust. For yeast-leavened whole wheat bread no mixer, maintaining a consistent, warm environment (around 75-80°F) during bulk fermentation and final proofing is ideal for active yeast. Cooler temperatures will slow down the rise, requiring longer proofing times, while warmer temperatures will accelerate it. Avoid drafts, which can cool the dough too quickly.
Creating humidity in the oven during the initial bake is crucial for developing a thin, crisp crust and allowing maximum oven spring. The steam keeps the surface of the dough moist, preventing it from hardening too quickly and allowing the loaf to expand fully before the crust sets. As mentioned in the baking step, placing a pan of hot water in the oven works well.
After the initial steaming period (usually 15-20 minutes), removing the steam allows the crust to dry out and brown properly. Controlling these environmental factors contributes greatly to the success of your whole wheat bread no mixer.
Troubleshooting Common Whole Wheat Bread Problems
Dealing with Flat Bread: Ensuring Proper Rise
One of the most frustrating issues when baking whole wheat bread no mixer is a loaf that doesn't rise properly, resulting in a dense, flat bread. Several factors can contribute to this. First, check your yeast: ensure it's fresh and active by proofing it in warm water as described earlier. If it doesn't foam, get new yeast.
Second, temperature matters: if your kitchen is too cold, fermentation will be sluggish. Find a warmer spot, like near a preheating oven (but not too close! ), or use a proofing box if you have one (though the goal is no special equipment, warmth is key).
Third, ensure you haven't added too much salt, which can inhibit yeast activity. Follow the recipe measurements carefully. Fourth, proper kneading or stretch and folds are vital to develop gluten strength. Without a strong gluten network, the dough cannot trap the gases produced by the yeast, leading to a poor rise. Even with hand mixing for whole wheat bread no mixer, sufficient development is necessary. Finally, ensure you've given the dough enough time for both bulk fermentation and final proofing. Rushing these stages is a common cause of flat bread.
Preventing a Gummy Crumb: Proper Fermentation and Baking
A gummy or dense crumb is another common problem in homemade whole wheat bread. This often stems from insufficient fermentation or underbaking. During bulk fermentation, the yeast not only produces gas but also enzymes that break down starches, contributing to a lighter texture. If the dough doesn't ferment long enough, these processes are incomplete, resulting in a heavy, sometimes gummy interior. Ensure your dough has visibly increased in volume during both rises and has a slightly airy feel.
Underbaking is also a frequent culprit. If the bread is removed from the oven before the interior reaches the correct temperature (195-205°F or 90-96°C), the starches haven't fully set, leading to a wet or gummy texture. Use an instant-read thermometer to check the internal temperature. The crust should be well-browned and the bottom should sound hollow when tapped. Baking whole wheat bread no mixer requires patience through the fermentation stages and vigilance during the bake to avoid this common issue.
Variations: Enhancing Your Homemade Whole Wheat Bread
Adding Seeds or Other Grains for Texture and Flavor
Once you've mastered the basic whole wheat bread no mixer recipe, adding seeds or other cooked grains is a fantastic way to enhance texture, flavor, and nutritional value. Seeds like sunflower, pumpkin, flax, sesame, and chia can be incorporated directly into the dough during the initial mixing phase. A common ratio is adding 1/4 to 1/2 cup of mixed seeds per loaf. You can also soak some seeds (like flax or chia) in a small amount of water before adding them to prevent them from absorbing too much moisture from the dough.
Adding cooked grains, such as oats, quinoa, or barley, brings a chewy texture and nutty flavor. These should be cooked according to package directions and cooled before being mixed into the dough, typically during the kneading stage. Using about 1/2 cup of cooked grains per loaf is a good starting point. Incorporating these additions is a simple way to elevate your whole wheat bread no mixer and make it even more interesting.
Experimenting with Different Hydration Levels
Hydration level, the ratio of water to flour by weight, significantly impacts the dough's handling and the bread's final texture. Standard whole wheat bread recipes often use hydration levels between 70% and 80%. A lower hydration dough (e.g., 65-70%) will be stiffer and easier to handle, especially when kneading by hand for whole wheat bread no mixer. It tends to produce a loaf with a tighter crumb.
Increasing the hydration (e.g., 75-80% or even higher) results in a wetter, stickier dough that is more challenging to knead by hand but often yields a loaf with a more open, airy crumb. When working with higher hydration doughs using the no-mixer method, focus on techniques like "stretch and folds" in the bowl rather than traditional kneading on a floured surface. Experimenting gradually with hydration allows you to discover the texture you prefer and improve your hand-mixing skills.
Sweet and Savory Whole Wheat Bread Variations
Your basic whole wheat bread no mixer recipe is a versatile base for incorporating various sweet or savory additions. For a slightly sweet loaf, you can add a tablespoon or two of honey, maple syrup, or molasses to the water and yeast mixture, along with a pinch of cinnamon or nutmeg. Dried fruits like raisins, cranberries, or chopped apricots can be folded in during the final stages of kneading.
For savory variations, consider adding herbs like rosemary, thyme, or oregano, minced garlic, or grated cheese to the dough. Olives, sun-dried tomatoes, or cooked, crumbled bacon can also be folded in. These additions should typically be incorporated towards the end of the kneading process to ensure they are evenly distributed without inhibiting gluten development. Exploring these variations keeps your whole wheat bread no mixer baking exciting and allows you to tailor loaves to specific meals or preferences.
Enjoying Your Homemade Whole Wheat Bread
Serving Suggestions and Storage Tips
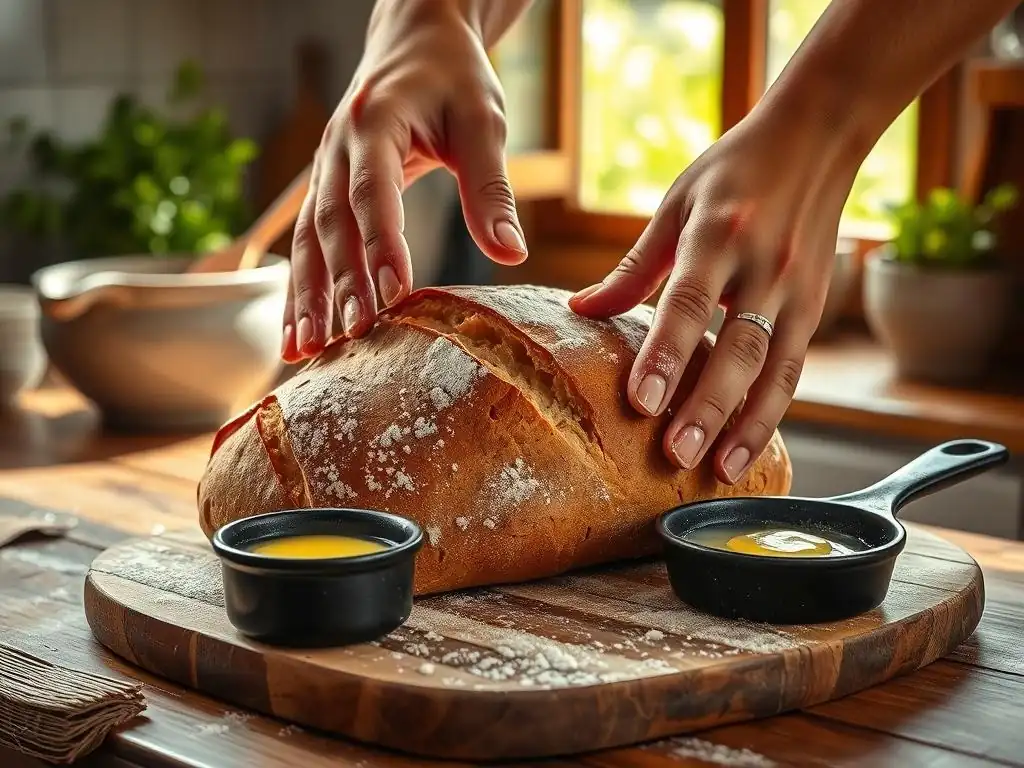
There's nothing quite like a slice of warm, homemade whole wheat bread no mixer, fresh from the oven. Allow the loaf to cool completely on a wire rack before slicing – cutting into hot bread can result in a gummy texture. Once cooled, enjoy it simply with butter, or use it as the base for sandwiches, toast, or alongside soups and salads. Its robust flavor pairs well with a variety of toppings and dishes.
To store your whole wheat bread, keep it at room temperature. A bread box is ideal, or you can wrap it in a clean linen towel or place it in a paper bag to maintain the crust while allowing the interior to breathe. For longer storage (more than 2-3 days), slice the cooled loaf and freeze the slices in an airtight bag or container. Frozen whole wheat bread no mixer can be toasted directly from the freezer or thawed at room temperature. Avoid refrigerating bread, as this tends to dry it out quickly.
Recipes for Using Leftover Whole Wheat Bread
Even the best whole wheat bread no mixer can become a bit stale after a few days. Don't let those delicious crumbs go to waste! Stale whole wheat bread is perfect for a variety of recipes. Cut it into cubes and toast them to make croutons for salads or soups. Whiz it into breadcrumbs in a food processor for coating cutlets, topping casseroles, or binding meatballs.
Whole wheat bread also makes excellent French toast or bread pudding. The slightly drier texture helps it absorb the custard mixture better than fresh bread. For a savory option, consider making Panzanella, an Italian salad where chunks of stale bread are soaked in dressing and mixed with tomatoes, cucumbers, and other vegetables. These ideas ensure that every last bit of your hard-earned whole wheat bread no mixer is enjoyed.
Conclusion: Mastering Whole Wheat Bread Baking at Home
Recap of Key Techniques for Successful Whole Wheat Bread (No Mixer)
Baking delicious whole wheat bread no mixer is a rewarding skill that relies on understanding a few key techniques. First, ensure your yeast is active and your ingredients are measured accurately. Second, embrace the process of hand mixing and kneading, allowing sufficient time for gluten development, perhaps aided by an autolyse rest. Third, pay close attention to the bulk fermentation and final proofing stages, giving the dough ample time to rise in a warm environment.
Shaping the dough correctly creates essential surface tension, and scoring before baking allows for optimal oven spring. Finally, baking at the right temperature, ideally with initial steam, ensures a beautiful crust and a properly cooked interior. Mastering these steps will consistently result in satisfying whole wheat bread no mixer, proving that you don't need fancy equipment to bake wonderful loaves at home.
Encouragement to Bake and Experiment with Whole Wheat Bread Recipes
Embarking on the journey of baking whole wheat bread no mixer is an exciting and fulfilling endeavor. Don't be discouraged by initial imperfections; every loaf is a learning experience. Whole wheat dough can be a bit trickier than white dough, but with practice, you'll develop a feel for its texture and behavior. The satisfaction of pulling a warm, fragrant loaf of whole wheat bread from your oven, knowing you made it entirely by hand, is immense.
Experiment with different flours, hydration levels, and additions like seeds or herbs. Try varying proofing times or exploring different baking vessels (like a simple pot if you want to mimic a Dutch oven effect without the specific equipment). The world of whole wheat bread no mixer is vast and full of possibilities. Keep baking, keep experimenting, and most importantly, enjoy the process and the delicious, healthy bread you create.
Frequently Asked Questions
What makes this whole wheat bread recipe "no mixer"?
The recipe is designed to be mixed by hand, using a simple bowl and spoon. This eliminates the need for a stand mixer or other electric equipment, making it accessible to all bakers.
Can I substitute other flours for whole wheat flour in this recipe?
While possible, it's not recommended for the best results. Using all-purpose flour will significantly alter the texture and flavor of the bread, making it less "whole wheat".
What if my dough is too sticky to handle?
Sticky dough is common with whole wheat. Ensure you're measuring ingredients accurately. Lightly flour your hands and work surface, but avoid adding too much flour, which can result in a dry and dense bread.
How do I know when the whole wheat bread is done baking?
The bread is done when the internal temperature reaches 200-210°F (93-99°C). Also, the loaf should sound hollow when tapped on the bottom and be a deep golden brown color.
Can I add any ingredients to customize this whole wheat bread?
Absolutely! Consider adding seeds like flax, sunflower, or pumpkin, or even dried fruits like raisins or cranberries for added flavor and texture. Just add them in during the kneading process.
Final Reflection: The Humble Loaf and the Joy of Simple Baking
The accessibility of whole wheat bread, even without specialized equipment, is a powerful statement about self-sufficiency and the enduring connection between food and well-being. It's a reminder that nourishing ourselves doesn't require expensive gadgets or complicated techniques; it requires intention, a little patience, and the willingness to get our hands a little messy. This simple act of baking becomes a powerful symbol of reclaiming control over our food choices and embracing a more mindful approach to eating.
The journey of making whole wheat bread without a mixer has profoundly impacted my own relationship with food. It's slowed me down, forcing me to appreciate the process, from the careful measuring of ingredients to the satisfying kneading of the dough. The best things in life are not things.
This quote resonates deeply, as the simple act of baking this bread, without relying on modern conveniences, has yielded a far greater reward than any store-bought loaf could offer. It's a connection to a simpler time, a reminder of the satisfaction found in creating something nourishing and delicious with our own hands.
Now, I invite you to try it. Don't let the lack of a stand mixer deter you from experiencing the joy of baking your own whole wheat bread. Embrace the challenge, feel the dough between your fingers, and savor the aroma of freshly baked bread filling your kitchen. The result will be more than just a loaf of bread; it will be a testament to your resourcefulness, a symbol of self-reliance, and a delicious reward for your efforts. The journey is as important as the destination, and the journey of baking this bread is one well worth taking.
Unleash Your Inner Baker: Perfect Whole Wheat Bread, Effortlessly!
Thanks for taking the time to explore the world of whole wheat bread baking with us! We hope you gained valuable insights and confidence in your ability to create delicious, healthy loaves from scratch, even without fancy equipment. Now it's time to put your newfound knowledge to the test.
- Bake your own masterpiece! Try the recipe from the article today. See how easy it is to create a truly satisfying loaf. Don't be afraid to experiment with different additions – what flavors are you most excited to try?
- Share your baking journey! Post a picture of your creation on social media and tag us – we'd love to see your results! Use #BakeWithEaseWholeWheat.
- Explore our other recipes: Dive into our collection of simple, delicious bread recipes to expand your baking repertoire. Discover new flavors and techniques with our easy-to-follow guides!
What unexpected ingredient will you add to your next whole wheat loaf to elevate the flavor?