
GlutenFree Bread Baking: Yeast Proofing Secrets

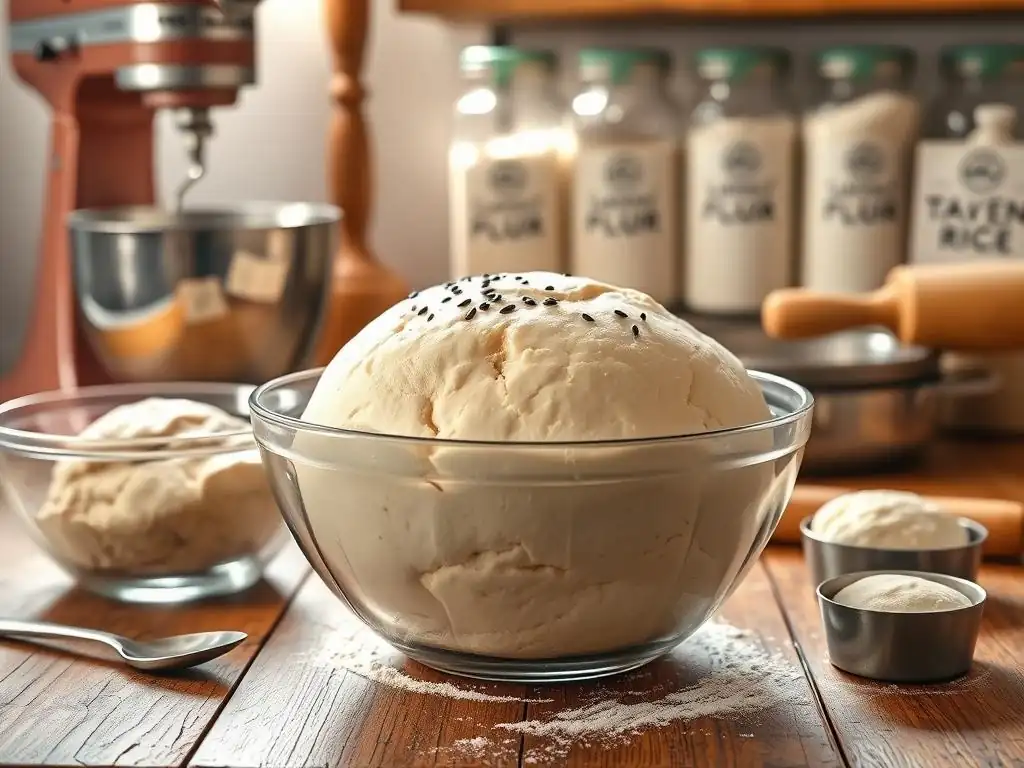
Welcome to BakeWithEase, your haven for baking brilliance! Are you ready to conquer the often-intimidating world of gluten-free bread? This article unveils the crucial gluten-free yeast proofing tips that will transform your baking experience. Discover the secrets to perfectly risen, delicious gluten-free bread and say goodbye to dense, disappointing loaves. Curious to know how to achieve that light, airy texture? Let's get started!
- Gluten-Free Bread Baking: Yeast Proofing Secrets for BakeWithEase
- Understanding Gluten-Free Yeast Proofing: A BakeWithEase Guide
- Essential Gluten-Free Yeast Proofing Tips for Successful Baking
- Troubleshooting Common Gluten-Free Yeast Proofing Problems
- Advanced Techniques for Gluten-Free Yeast Proofing
- Gluten-Free Yeast Proofing: Step-by-Step Instructions
- Mastering Gluten-Free Bread: Beyond Yeast Proofing
- Conclusion: BakeWithEase's Guide to Gluten-Free Yeast Proofing Success
-
Frequently Asked Questions
- What is yeast proofing and why is it important for gluten-free bread?
- How do I know if my yeast is active and ready to use in my gluten-free bread recipe?
- What's the ideal temperature for proofing yeast in a gluten-free bread recipe?
- What type of sugar is best for proofing yeast when baking gluten-free bread?
- How long should I proof my yeast for a gluten-free bread recipe?
- Final Reflection: Unlocking the Secrets of Gluten-Free Yeast
- Unlock Your Gluten-Free Baking Potential!
Gluten-Free Bread Baking: Yeast Proofing Secrets for BakeWithEase
Understanding Gluten-Free Yeast Proofing: A BakeWithEase Guide
Baking delicious gluten-free bread can sometimes feel like a culinary puzzle, especially when it comes to getting a good rise. At the heart of that rise is yeast proofing, a crucial step that differs significantly from its traditional wheat-based counterpart. Gluten-free dough lacks the elastic network that gluten provides, meaning the tiny bubbles created by yeast have less structure to cling to.
This requires a more deliberate and often more precise approach to activating and proofing your yeast to ensure your loaf isn't dense or heavy. Mastering the nuances of gluten-free yeast proofing is perhaps one of the most valuable glutenfree yeast proofing tips you can learn.
Understanding the science behind how yeast works in a gluten-free environment is key to consistent success. Yeast is a living organism that feeds on sugars, producing carbon dioxide gas and alcohol as byproducts. In wheat dough, the gluten network traps this gas, causing the dough to rise.
Without gluten, a different system is needed, often relying on gums like xanthan or psyllium husk, or specific flour blends, to provide some structure. Therefore, maximizing yeast activity and ensuring the gas production is robust becomes even more critical. This guide aims to demystify the process, offering practical glutenfree yeast proofing tips to help you achieve beautifully risen loaves every time.
Why Gluten-Free Yeast Proofing Differs From Traditional Baking
The fundamental difference in gluten-free bread baking is the absence of gluten, the protein network formed when wheat flour is mixed with water. In traditional bread, this network is elastic and strong, trapping the carbon dioxide gas produced by the yeast, which causes the dough to expand and hold its shape. Think of it like a balloon being inflated; the gluten forms the balloon's skin. Without this network, gluten-free doughs are typically stickier, more batter-like, or crumbly, lacking that inherent structure.
Because gluten-free dough provides less structural support, the bubbles created during proofing are more fragile and prone to collapsing. This means factors like temperature, hydration, and proofing time need careful control. Over-proofing or under-proofing can have more drastic consequences in gluten-free baking compared to traditional methods. Achieving a good rise requires optimizing yeast activity to produce sufficient gas, while simultaneously relying on alternative binders (like xanthan gum, psyllium husk, or even egg whites) to provide some semblance of structure to hold that gas. Effectively managing this process is central to successful glutenfree yeast proofing tips.
The Importance of Proper Yeast Activation in Gluten-Free Breads
Proper yeast activation is the absolute bedrock of successful gluten-free bread. Yeast needs to be "woken up" and shown that conditions are right for it to start feeding and producing gas. If your yeast isn't active, your dough simply won't rise, resulting in a dense, flat, and disappointing loaf. This initial step, often called blooming, involves dissolving the yeast in warm liquid, usually water or milk, with a pinch of sugar. Within 5-10 minutes, the mixture should become foamy or bubbly on the surface, indicating that the yeast is alive and actively consuming the sugar.
For gluten-free recipes, ensuring this vigorous activation is even more critical because, as mentioned, the dough has less inherent structure to capture the gas. A weak bloom means less gas production overall, which the fragile gluten-free structure cannot compensate for. A successful bloom, characterized by a significant foamy layer (often an inch or more deep), gives your dough the best possible start.
Skipping this test, or using inactive yeast, is a common pitfall in gluten-free baking. Always verify your yeast is active before proceeding with the rest of your ingredients; it's one of the most vital glutenfree yeast proofing tips.
Essential Gluten-Free Yeast Proofing Tips for Successful Baking
Achieving a good rise in gluten-free bread relies on understanding and controlling several key factors. These tips are designed to help you navigate the unique challenges of gluten-free dough and optimize yeast performance. Paying close attention to these details can dramatically improve the outcome of your gluten-free loaves.
Tip 1: Choosing the Right Yeast for Gluten-Free Bread
The type of yeast you choose can influence the speed and outcome of your proofing. The two most common types readily available are active dry yeast and instant yeast. Both work for gluten-free baking, but they have slightly different requirements and behaviors. Understanding these differences is a fundamental step in applying effective glutenfree yeast proofing tips.
Active dry yeast typically requires activation (blooming) in warm liquid before being added to the dry ingredients. This process confirms the yeast is alive and gives it a head start. Instant yeast, on the other hand, can often be mixed directly with the dry ingredients without prior hydration, as its granules are smaller and dissolve more quickly. Some bakers find instant yeast provides a more reliable and faster rise, which can be beneficial in gluten-free doughs that may be less resilient during longer proofing times.
Active Dry Yeast vs. Instant Yeast for Gluten-Free Recipes
Active dry yeast is granular and requires dissolving in warm water (usually 105-115°F or 40-46°C) for 5-10 minutes until foamy. This step is a crucial test for viability and is recommended for most gluten-free recipes using this type. For example, if a recipe calls for 2 teaspoons of active dry yeast, you would typically dissolve it in about 1/4 cup of warm water with a pinch of sugar. This ensures your yeast is ready to work before it interacts with the gluten-free flour blend, which can sometimes inhibit activation if mixed directly.
Instant yeast is processed differently into smaller particles, allowing it to be mixed directly with dry ingredients. It activates faster and often results in a quicker rise. Many gluten-free recipes are written specifically for instant yeast due to its convenience and reliability. If substituting active dry yeast for instant yeast (or vice versa), you might need to adjust the quantity slightly (often using about 25% more active dry yeast than instant) and always bloom active dry yeast first. The choice often comes down to recipe requirements and personal preference, but both can yield excellent results when proofing gluten-free dough.
Tip 2: The Ideal Temperature for Gluten-Free Yeast Proofing
Temperature is perhaps the most critical factor influencing yeast activity. Yeast thrives in warm environments, but too much heat can kill it, while too little will make it sluggish. For most yeasts, the optimal temperature range for proofing is typically between 75°F and 95°F (24°C and 35°C). Maintaining a consistent temperature within this range is vital for predictable gluten-free yeast proofing.
Proofing gluten-free dough at the correct temperature encourages steady and even gas production. Temperatures below 75°F will significantly slow down the rise, potentially leading to a longer proof time where the fragile structure might collapse before sufficient rise is achieved. Temperatures above 95°F can cause the yeast to work too quickly, potentially leading to off-flavors or causing the dough to over-proof rapidly before sufficient structure develops. Finding a warm, draft-free spot is essential – options include a slightly warm oven (turned off), a proofing box, or even on top of a warm appliance.
Using a Thermometer for Accurate Temperature Measurement
Guessing the temperature of your proofing environment or the liquid for activating yeast is a common mistake that can lead to inconsistent results. A simple kitchen thermometer, whether instant-read or candy thermometer, is an invaluable tool for accurate glutenfree yeast proofing. When activating active dry yeast, ensure the water temperature is within the recommended 105-115°F (40-46°C) range. Water that is too cool won't activate the yeast effectively, while water that is too hot (above 130°F or 54°C) can kill it instantly.
Similarly, measuring the ambient temperature where your dough is proofing can help ensure it's within the optimal 75-95°F (24-35°C) range. Placing a thermometer next to your proofing bowl can confirm the environment is warm enough. This precision takes the guesswork out of gluten-free yeast proofing tips and significantly increases your chances of a successful rise. For example, a kitchen that feels warm to you might only be 70°F, which is cooler than ideal for yeast activity. Using a thermometer provides objective data to guide your proofing process.
Tip 3: Sugar's Role in Gluten-Free Yeast Activation
Sugar plays a dual role in yeast proofing. Initially, a small amount of sugar provides readily available food for the yeast to kickstart its activity, especially during the blooming process for active dry yeast. Beyond this initial phase, yeast continues to feed on the natural sugars present in the flour or added to the recipe. Providing sufficient food is crucial for sustaining gas production throughout the proofing period, which is a key element in effective glutenfree yeast proofing tips.
However, it's important not to add too much sugar, particularly in the initial activation step. While yeast eats sugar, high concentrations of sugar can actually draw water out of the yeast cells through osmosis, inhibiting their activity. A small pinch (around 1/2 to 1 teaspoon) is usually sufficient for blooming a standard amount of yeast. The rest of the sugar required by the recipe is incorporated with the dry ingredients, providing a slower, sustained food source.
Best Sugar Types for Feeding Gluten-Free Yeast
Most common sugars work well for feeding yeast, but some are more efficient than others. Granulated white sugar is the most straightforward and commonly used type for initial yeast activation because it's easily digestible by the yeast. Brown sugar, honey, and maple syrup also contain sugars that yeast can consume, although honey has some antibacterial properties that can slightly inhibit yeast if used in very high concentrations or if the yeast is weak.
For the bulk of the recipe's sugar content, any type of sugar specified by the recipe is generally fine. The yeast will break down complex sugars over time. However, for that initial bloom of active dry yeast, simple granulated sugar is often preferred for its reliability. Avoid artificial sweeteners, as yeast cannot consume them. Ensuring the yeast has adequate, accessible sugar throughout the proofing process is a simple yet impactful one of many glutenfree yeast proofing tips.
Tip 4: Hydration is Key: Achieving the Perfect Liquid Ratio
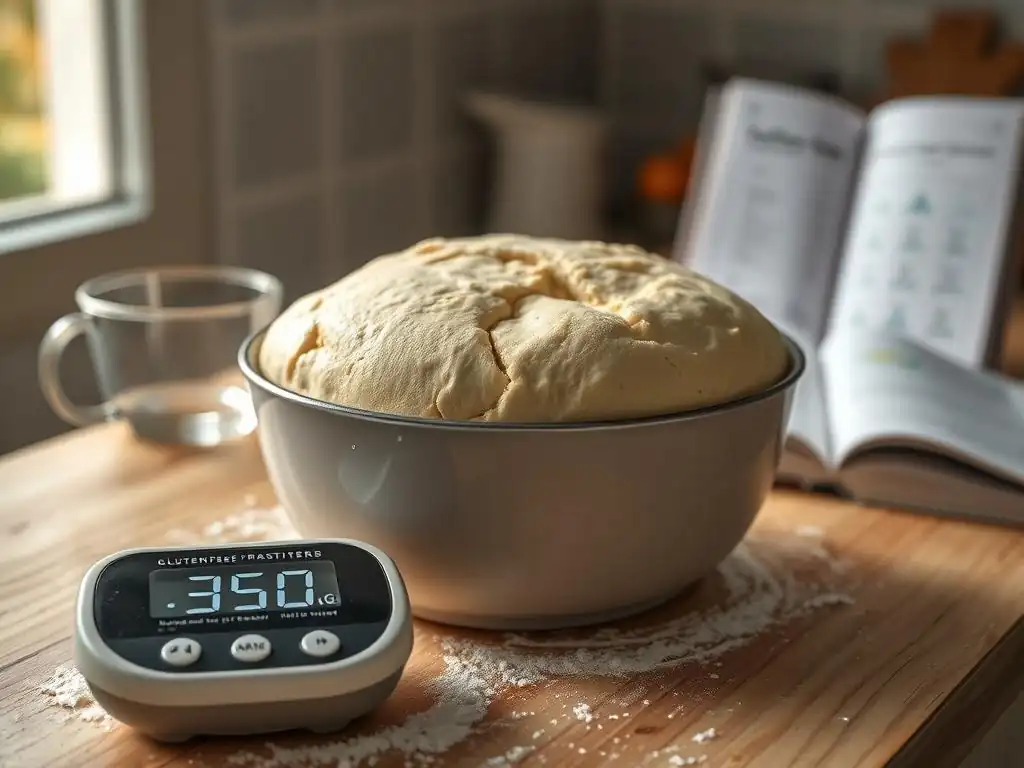
Hydration levels are critically important in gluten-free baking, and they directly impact yeast proofing. Gluten-free flours absorb liquid differently than wheat flour, and the optimal hydration level for a gluten-free dough often feels much wetter than a traditional wheat dough. Yeast needs moisture to become active and to move through the dough, accessing food. Too little liquid will result in a dry, dense dough where yeast activity is inhibited and gas bubbles struggle to expand.
Many successful gluten-free bread recipes have a high hydration level, sometimes feeling more like a thick batter than a kneadable dough. This high moisture content helps the yeast thrive and allows the gas bubbles to expand more easily within the structure provided by gums or other binders. Getting the liquid ratio correct, as specified by the recipe, is vital. Resist the urge to add more flour to make the dough less sticky, as this will reduce hydration and negatively impact yeast activity and the final texture.
Understanding Water Temperature for Optimal Yeast Activity
As mentioned in Tip 2, the temperature of the liquid used to activate yeast is paramount. For active dry yeast, the water should be warm, typically between 105°F and 115°F (40°C and 46°C). This range is warm enough to wake up the yeast quickly without being so hot that it causes damage. Using water that is too cool (below 100°F or 38°C) will slow activation significantly, potentially leading to a failed bloom or a very sluggish rise later.
For instant yeast, while it can often be mixed directly with dry ingredients, some recipes still call for adding it to warm liquid. If so, the same temperature guidelines apply. Even when adding instant yeast directly to dry ingredients, the temperature of the liquid added to the dough mixture should ideally be lukewarm (around 90-100°F or 32-38°C) to encourage immediate and efficient yeast activity throughout the dough. Using cold liquid will delay the start of proofing. Accurate water temperature is a fundamental part of effective glutenfree yeast proofing tips.
Tip 5: Proofing Time: Patience is a Virtue in Gluten-Free Baking
Proofing time for gluten-free bread can vary significantly depending on the recipe, the type of yeast used, the temperature of the environment, and the specific flour blend. Unlike wheat dough which often doubles in size, gluten-free dough typically won't achieve such a dramatic expansion. Expecting a gluten-free dough to double in size might lead to over-proofing, which can be detrimental.
Typical proofing times for gluten-free dough can range from 45 minutes to 90 minutes for a single rise, or longer if the recipe calls for a slower, colder proof. It's crucial to follow the recipe's recommended time as a guideline but also to learn the visual cues that indicate proper proofing, as conditions vary. Over-proofing is a common issue with gluten-free doughs; because they lack strong structure, they can rise beautifully and then collapse if left too long. Understanding these visual cues is one of the most practical glutenfree yeast proofing tips.
Visual Cues for Properly Proofed Gluten-Free Yeast
Since gluten-free dough doesn't behave exactly like wheat dough, relying solely on doubling in size isn't reliable. Instead, look for these visual cues:
- Increased Volume: The dough should have visibly increased in size, perhaps by 50-75%, depending on the recipe and hydration.
- Surface Appearance: The surface might appear puffy and slightly rounded. Small bubbles may be visible on the surface or around the edges.
- The "Poke Test": Gently poke the dough with a floured finger. If the indentation springs back very slowly or only partially, the dough is likely properly proofed. If it springs back quickly, it needs more time. If it collapses immediately, it is likely over-proofed.
Learning to recognize these signs is crucial for successful glutenfree yeast proofing tips. It moves you beyond just following a timer and helps you adapt to the specific conditions of your kitchen and dough.
Troubleshooting Common Gluten-Free Yeast Proofing Problems
Even with the best glutenfree yeast proofing tips, sometimes things don't go as planned. Understanding common issues and how to address them is essential for consistent baking success. Two frequent problems are yeast inactivity and over-proofing.
Problem: Yeast Isn't Activating (What to Do?)
If you've added active dry yeast to warm, sweetened liquid and it hasn't become foamy or bubbly after 10-15 minutes, your yeast is likely inactive or dead. This can happen if the water was too hot, too cold, or if the yeast itself is old or was improperly stored. Using inactive yeast will result in a flat, dense loaf because no gas is being produced to leaven the dough.
Do not proceed with the recipe if your yeast hasn't bloomed. Adding inactive yeast to your flour mixture is a waste of expensive gluten-free ingredients. It's far better to catch this problem early. This is why the initial blooming step for active dry yeast is so important – it's your test for yeast viability. For instant yeast, which is usually mixed directly, inactivity might only become apparent when the dough fails to rise during the proofing stage.
Solutions for Inactive Gluten-Free Yeast
If your active dry yeast fails the bloom test:
- Discard the mixture.
- Check your yeast expiration date. If it's expired, discard the package and get fresh yeast.
- Check your water temperature. Use a thermometer to ensure it's within the 105-115°F (40-46°C) range.
- Try again with fresh yeast and correctly tempered water.
- Ensure you added a pinch of sugar. Yeast needs food to activate.
If you've mixed instant yeast into your dough and it's not rising after the expected time (and you've ensured the proofing environment is warm enough):
- Your yeast might be inactive, or the dough temperature is too low.
- Unfortunately, it's difficult to "fix" inactive yeast once mixed into the dough. You could try moving the dough to a warmer spot, but if the yeast was dead to begin, it won't help.
- In most cases, if the dough shows absolutely no signs of rising after an extended period (e.g., 90-120 minutes in a warm place), the yeast is likely inactive, and the dough may need to be discarded or repurposed (perhaps into crackers, though the texture will be very dense). Prevention through proper yeast storage and temperature control is key.
Problem: Over-Proofing Gluten-Free Yeast (Signs and Prevention)
Over-proofing occurs when the dough is allowed to rise for too long or at too high a temperature. The yeast produces gas, but the fragile gluten-free structure eventually weakens and can no longer hold it. The dough rises to a peak and then starts to deflate, sometimes subtly, sometimes dramatically collapsing. This is a common pitfall when applying glutenfree yeast proofing tips without paying close attention to visual cues.
Signs of over-proofing include:
- The dough rises significantly and then starts to sink back down in the center.
- When poked, the indentation remains completely without springing back at all.
- A strong, sometimes unpleasant, yeasty or alcoholic smell.
- The baked loaf may have a very dense texture, a poor rise, or even collapse in the oven.
Prevention is key. Use the visual cues (Tip 5) and the poke test rather than relying solely on the clock, especially if your kitchen is warmer than usual.
Recovering Over-Proofed Gluten-Free Dough
Unfortunately, truly over-proofed gluten-free dough is difficult to fully salvage back into a well-risen loaf. Once the structure has collapsed, it's hard to rebuild.
However, you might be able to:
- Gently reshape the dough. This might knock out some gas, but sometimes a second, shorter proof can still yield a slightly improved texture compared to baking it deflated.
- Bake it immediately. If it's just starting to show signs of over-proofing (a slight slump), baking it right away might still give you a usable loaf, though perhaps denser than intended.
- Repurpose the dough. If it has significantly collapsed, you might be able to bake it into flatbreads, crackers, or even discard it if the texture is too compromised.
The best approach is prevention: monitor your dough closely during proofing and bake it as soon as it passes the poke test and shows the correct visual cues. Learning these signs is one of the most valuable glutenfree yeast proofing tips for avoiding disappointment.
Advanced Techniques for Gluten-Free Yeast Proofing
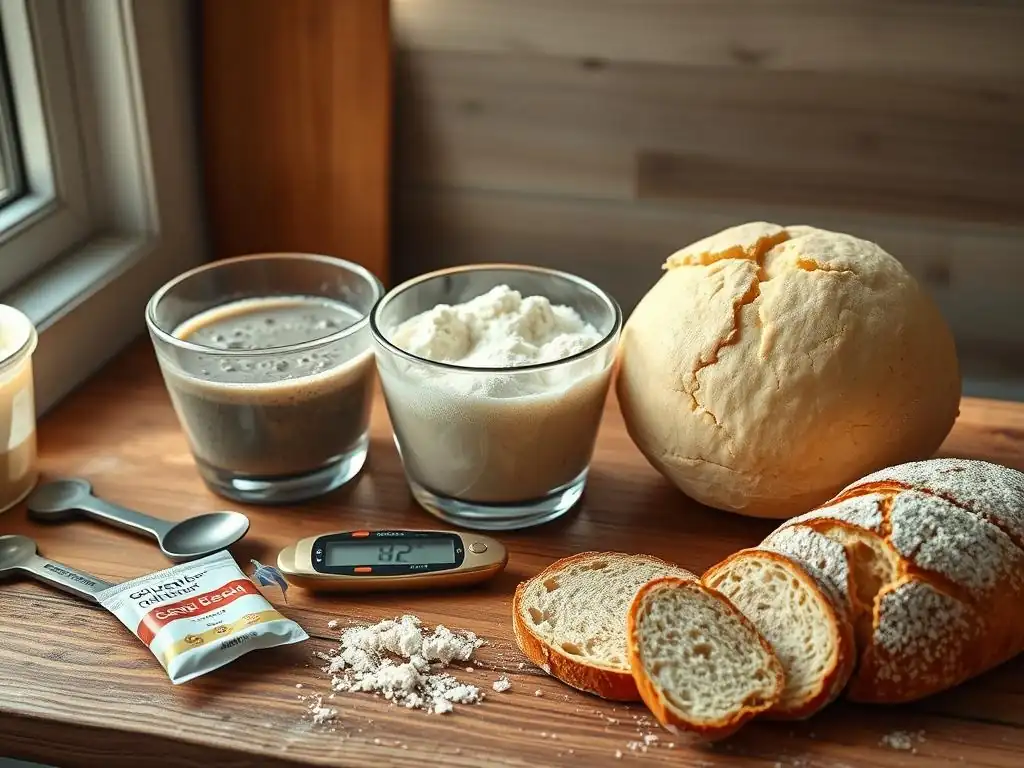
Once you've mastered the basics, you might want to explore techniques that can further enhance the flavor, texture, and rise of your gluten-free bread.
Using a Starter for Enhanced Flavor and Texture
While often associated with sourdough, a gluten-free starter (sometimes called a pre-ferment, like a poolish or biga) can be made and used to improve gluten-free bread. A starter is a mixture of flour (gluten-free in this case), water, and a small amount of yeast or wild yeast, allowed to ferment for several hours or overnight. This slow fermentation develops more complex flavors and aromas in the dough.
Using a starter means a longer overall process, but the benefits can be significant. The yeast in the starter is already very active when added to the main dough, contributing to a strong rise. The acids produced during the starter's fermentation can also interact with the gluten-free flours and binders, sometimes resulting in a slightly better texture and crumb structure. This technique adds another layer to mastering glutenfree yeast proofing tips.
Incorporating Enzymes to Improve Gluten-Free Yeast Performance
In commercial gluten-free baking, enzymes are often added to dough to improve texture, shelf life, and rise. While less common in home baking, some specialty baking suppliers offer food-grade enzymes like amylase. Amylase breaks down starches in the flour into simpler sugars, which provides more food for the yeast.
Providing this additional food source can lead to more vigorous and sustained yeast activity, potentially resulting in a better rise and a lighter texture. Enzymes can also help keep the bread softer for longer. Using enzymes is a more advanced technique and requires careful measurement, but it can be a powerful tool for optimizing gluten-free yeast performance and enhancing the effectiveness of your glutenfree yeast proofing tips.
Gluten-Free Yeast Proofing: Step-by-Step Instructions
Let's walk through the typical process of gluten-free yeast proofing, incorporating the tips discussed. This general guide can be adapted to specific recipes.
Preparing Your Ingredients for Gluten-Free Yeast Proofing
Before you begin, ensure all your ingredients are measured accurately. Gluten-free baking is more precise than traditional baking, so using a kitchen scale is highly recommended, especially for flours. Have your liquids (water, milk, etc.) ready and at the correct temperature. For active dry yeast, measure the warm liquid needed for blooming. For instant yeast, ensure your main liquid is lukewarm.
Ensure your yeast is fresh and properly stored (usually in an airtight container in the refrigerator or freezer). Gather your other ingredients, including your gluten-free flour blend, any required binders like xanthan gum or psyllium husk, sugar, salt, fat (oil or butter), and any other recipe-specific items. Having everything ready before you start makes the process smoother and helps you focus on the critical steps like yeast activation and proofing.
Activating the Yeast: A Detailed Guide
If using active dry yeast:
- Measure the specified amount of warm liquid (105-115°F or 40-46°C) into a small bowl or measuring cup. Use a thermometer to check the temperature.
- Stir in a pinch (about 1/2 to 1 teaspoon) of sugar.
- Sprinkle the active dry yeast over the surface of the liquid. Do not stir initially.
- Let stand for 5-10 minutes.
- The mixture should become foamy and bubbly on the surface, indicating the yeast is active. If it doesn't, discard and start over with fresh yeast and correct temperature.
- Once activated, gently stir the yeast mixture before adding it to your dry ingredients as directed by the recipe.
If using instant yeast:
- Check your recipe. It will likely instruct you to mix the instant yeast directly with the dry ingredients (flour, sugar, salt, etc. ).
- Ensure the main liquid you will add to the dry ingredients is lukewarm, typically 90-100°F (32-38°C), to encourage immediate yeast activity.
- While instant yeast doesn't require blooming, some bakers like to add it to the warm liquid first anyway as a quick viability check. If doing this, treat it like active dry yeast but note it may foam up faster.
This activation step is one of the fundamental glutenfree yeast proofing tips to never skip when using active dry yeast.
Incorporating the Proofed Yeast into Your Gluten-Free Dough
Once your yeast is activated (either bloomed active dry or mixed with dry ingredients), proceed with combining your ingredients according to the recipe.
- In a large mixing bowl, whisk together your gluten-free flour blend, salt, sugar (if not used in bloom), binders (xanthan gum, psyllium), and instant yeast (if using).
- Add the wet ingredients: the activated active dry yeast mixture (if applicable), warm water or milk, melted fat, eggs, etc.
- Mix thoroughly, usually with a stand mixer fitted with a paddle attachment or dough hook, or with a sturdy spoon, until a cohesive dough or thick batter forms. Gluten-free doughs are often sticky and may not resemble traditional kneadable dough.
- Once mixed, transfer the dough to a lightly greased proofing bowl. Cover the bowl tightly with plastic wrap or a damp tea towel to prevent the surface from drying out.
- Place the covered dough in a warm, draft-free spot (75-95°F or 24-35°C) to proof. Monitor the dough using the visual cues and poke test (Tip 5), rather than just the clock, to determine when it is properly proofed and ready to bake. This careful observation during proofing is essential for applying your glutenfree yeast proofing tips effectively.
Mastering Gluten-Free Bread: Beyond Yeast Proofing
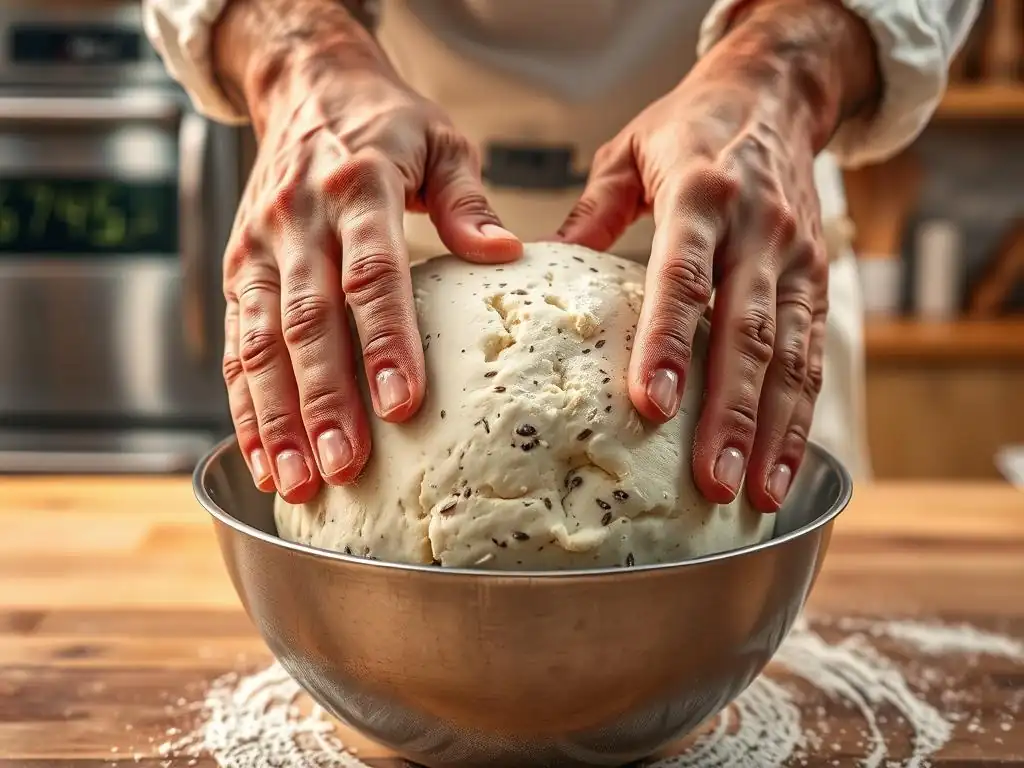
While successful yeast proofing is critical, it's just one piece of the gluten-free bread puzzle. The type of flour blend you use and your baking technique also significantly impact the final result.
Gluten-Free Flour Blends and Their Impact on Bread Texture
Gluten-free flour blends are typically a combination of different flours and starches (like rice flour, sorghum flour, tapioca starch, potato starch, cornstarch) designed to mimic the properties of wheat flour. The specific ratio and types of flours in the blend greatly affect the dough's hydration needs, how it rises, and the final texture of the bread.
Some blends are designed to be cup-for-cup replacements for wheat flour, while others require specific recipes formulated for that blend. Using a blend with a good balance of protein (from flours like sorghum or brown rice) and starch (from tapioca or potato starch) often yields better results.
The presence and type of binder (xanthan gum, psyllium husk) in the blend or added separately are also crucial for providing structure to hold the gas produced during glutenfree yeast proofing. Experimenting with different reputable blends or making your own can help you understand how they behave during the proofing and baking process.
Baking Techniques for Achieving a Perfect Gluten-Free Loaf
Gluten-free dough often benefits from slightly different baking techniques compared to traditional bread.
- Higher Oven Temperatures: Many gluten-free recipes call for a relatively high initial baking temperature (e.g., 400-425°F or 200-220°C) for the first 15-20 minutes. This high heat provides a burst of energy that helps the dough achieve maximum oven spring (the final rise in the oven) before the structure sets.
- Steam: Creating steam in the oven during the initial baking phase can help keep the crust supple, allowing the loaf to expand more fully. This can be achieved by placing a pan of hot water on the bottom rack or spraying the oven walls with water.
- Lowering Temperature: After the initial high-heat burst, the temperature is usually lowered (e.g., to 350-375°F or 175-190°C) to allow the bread to bake through without burning the crust.
- Baking Time: Baking until the internal temperature reaches 200-210°F (93-99°C) ensures the bread is fully cooked and not gummy inside.
Combining these baking techniques with successful glutenfree yeast proofing tips is the path to consistent, delicious gluten-free bread.
Conclusion: BakeWithEase's Guide to Gluten-Free Yeast Proofing Success
Mastering gluten-free yeast proofing is a key milestone on your journey to baking wonderful gluten-free bread. It requires attention to detail, understanding the unique properties of gluten-free dough, and a little patience. By focusing on choosing the right yeast, controlling temperature and hydration, providing adequate food for the yeast, and learning the visual cues for proper proofing, you can significantly improve your results.
Remember the importance of checking yeast viability, using a thermometer for accuracy, and recognizing the signs of both under- and over-proofing. While gluten-free baking presents its own challenges, applying these essential glutenfree yeast proofing tips will empower you to achieve lighter, airier loaves with a beautiful rise. Keep practicing, pay attention to your dough, and soon you'll be baking delicious gluten-free bread with ease!
Frequently Asked Questions
What is yeast proofing and why is it important for gluten-free bread?
Yeast proofing is the process of activating the yeast before adding it to the other ingredients. It's especially important for gluten-free bread because gluten-free flours lack gluten's structure, and properly activated yeast helps provide the necessary rise and texture.
How do I know if my yeast is active and ready to use in my gluten-free bread recipe?
You'll know your yeast is active when it foams or bubbles after being mixed with warm water and sugar. This indicates that the yeast is alive and producing carbon dioxide, which is essential for leavening. If it doesn't foam, the yeast is likely dead.
What's the ideal temperature for proofing yeast in a gluten-free bread recipe?
The ideal temperature range is typically between 105°F and 115°F (40°C and 46°C). Too cold, and the yeast won't activate. Too hot, and you'll kill the yeast. Use a thermometer to ensure accurate temperature.
What type of sugar is best for proofing yeast when baking gluten-free bread?
Any type of sugar will work, but granulated sugar is commonly used. The yeast needs sugar to feed on and produce carbon dioxide, and the type of sugar used has little impact as long as it's sugar.
How long should I proof my yeast for a gluten-free bread recipe?
Proofing time usually takes 5-10 minutes. Look for signs of bubbling or foaming. If nothing happens after 10 minutes, it's best to start with fresh yeast.
Final Reflection: Unlocking the Secrets of Gluten-Free Yeast
The quest for perfectly risen gluten-free bread is a journey, not a destination, but mastering yeast proofing techniques is the key that unlocks its delicious potential. The seemingly simple act of proofing yeast in a gluten-free environment presents unique challenges, as highlighted throughout this article. However, understanding the nuances of hydration, temperature, and starter activity allows bakers to overcome these hurdles and achieve consistently successful results.
The impact of accessible gluten-free baking extends far beyond just dietary needs; it's about inclusivity and the joy of sharing delicious food with everyone. It's about empowering individuals to create something beautiful and nourishing, even with ingredients that present unique challenges. Baking is at once child's play and adult joy. And love.
– Paul Hollywood. This quote perfectly encapsulates the emotional connection many feel to the process, a connection intensified when overcoming the specific hurdles of gluten-free baking. The journey to mastering gluten-free yeast proofing is a testament to the resilience and creativity of the baking community.
Now, it's your turn. Take the knowledge gained from this article and experiment! Don't be afraid to adjust techniques based on your environment and ingredients. Each loaf you bake, each successful rise, is a step closer to perfecting your own gluten-free bread-baking magic. Embrace the process, celebrate the successes, and learn from the setbacks. The reward – a warm, delicious loaf of gluten-free bread – is well worth the effort.
Unlock Your Gluten-Free Baking Potential!
Thanks for diving into the world of gluten-free yeast bread! We hope you gained valuable insights into perfecting that crucial proofing process. Now it's time to put your new knowledge into action.
- Bake your best gluten-free loaf yet! Use what you've learned to create a delicious, perfectly risen bread. Experiment with different flours and techniques to find your signature recipe.
- Share your baking triumphs (and challenges!): Let’s build a supportive community. Post photos of your creations on social media using #BakeWithEaseGlutenFree.
- Try a new gluten-free recipe this week – challenge yourself to master a different bread type.
Ready to elevate your gluten-free baking game? What’s the first recipe you'll tackle?