
Mastering the Dimple: The Essential Focaccia Technique

Welcome to BakeWithEase, where simplifying the joy of baking is our passion! Ever wondered how to achieve that perfect, dimpled surface and irresistibly chewy texture in focaccia? This week, we're diving deep into the secrets behind our Easy Dimple Focaccia Recipe. Discover the simple techniques that transform basic ingredients into a culinary masterpiece and unlock the secrets to focaccia perfection. Curious to know more? Let's get baking!
- Mastering Focaccia: A Guide to Achieving the Perfect Texture and Flavor
- Introduction to Focaccia: Understanding the Basics
- Understanding the Key Ingredients for Authentic Focaccia
- The Focaccia Recipe: Step-by-Step Instructions
- Tips and Tricks for Perfecting Your Focaccia
- Serving and Enjoying Your Homemade Focaccia
- Advanced Focaccia Techniques: Exploring Variations
- Conclusion: Enjoy the Art of Focaccia Baking
-
Frequently Asked Questions
- What makes this focaccia recipe considered "easy"?
- What is the secret to achieving the signature "dimples" in focaccia?
- Can I substitute ingredients in this dimple focaccia recipe?
- How long does it take to make this easy dimple focaccia recipe from start to finish?
- What kind of olive oil is best for this focaccia recipe?
- Final Reflection: The Enduring Allure of the Dimpled Crust
- Unleash Your Inner Focaccia Artist!
Mastering Focaccia: A Guide to Achieving the Perfect Texture and Flavor
Introduction to Focaccia: Understanding the Basics
What Makes Focaccia Unique?
Focaccia stands out in the world of bread for its distinctive texture and rich flavor, largely attributed to generous amounts of olive oil and its signature dimpled surface. Unlike many other breads that aim for a uniform crumb, focaccia embraces irregularity, featuring a wonderfully chewy interior punctuated by air pockets, and a gloriously crispy, almost fried bottom crust thanks to baking in a well-oiled pan. Its relatively high hydration dough also contributes to its moistness and open structure.
This Italian flatbread, hailing primarily from Liguria, is traditionally simple, often topped with just olive oil, salt, and sometimes rosemary. However, its versatility allows for a wide array of toppings, from cherry tomatoes and olives to onions and herbs. The ease with which variations can be created makes developing an easy dimple focaccia recipe a rewarding project for bakers of all skill levels. Its character is defined by this combination of simple ingredients handled with specific techniques, resulting in a bread that is both rustic and refined.
Why Focaccia is a Great Choice for Home Bakers
For those new to bread making or looking for a less intimidating project than sourdough or complex enriched doughs, focaccia is an excellent starting point. The dough is often very wet, which can feel unusual at first, but it's also very forgiving. Kneading requirements are minimal, sometimes involving just mixing and a few stretch-and-fold sessions over time. The long fermentation process, often done slowly in the refrigerator for 12-24 hours, develops flavor beautifully with minimal hands-on time.
Furthermore, the visual appeal of a well-made focaccia, dotted with those characteristic dimples holding pools of golden olive oil and perhaps colorful toppings, is immensely satisfying. The process of creating the dimples is tactile and enjoyable. Because it's baked in a pan, shaping is straightforward, eliminating the need for complex loaf shaping techniques. This ease of handling and high probability of success makes mastering an easy dimple focaccia recipe a confidence-boosting experience for any home baker.
Understanding the Key Ingredients for Authentic Focaccia
Flour Selection: Choosing the Right Flour for Optimal Results
The type of flour you choose significantly impacts the final texture of your focaccia. While all-purpose flour (around 10-12% protein) is perfectly acceptable and widely available, using bread flour (typically 12-14% protein) can yield a chewier interior crumb due to its higher gluten content. The extra gluten provides a stronger structure, allowing the dough to trap more air during fermentation and baking, contributing to those desirable large air pockets.
For an even more authentic Italian texture, some bakers prefer using a mix of bread flour and Italian "Tipo 00" flour. Tipo 00 flour is very finely milled but can have varying protein levels depending on its intended use (pasta vs. pizza/bread). A bread flour blend generally offers a good balance of structure and tenderness for an easy dimple focaccia recipe. Regardless of the specific flour, ensuring it's fresh is key to optimal gluten development and yeast activity.
Olive Oil: The Importance of Quality and Quantity
Olive oil is not just an ingredient in focaccia; it's fundamental to its identity. It's used generously in the dough, to coat the pan, and drizzled over the top before baking. Extra virgin olive oil, with its rich flavor and aroma, is highly recommended. Using a high-quality oil imparts a distinct fruity or peppery note that becomes a signature part of the focaccia's taste.
The quantity is also crucial. A typical focaccia dough might contain olive oil equivalent to 5-10% of the flour weight. More importantly, the pan is usually flooded with a significant amount of oil – perhaps 1/4 to 1/2 cup for a standard 9x13 inch pan. This oil is absorbed by the bottom of the dough during baking, creating that signature crispy, almost fried texture on the underside and preventing sticking. Don't be shy with the olive oil when aiming for an authentic and delicious easy dimple focaccia recipe!
Yeast Options: Working with Different Types of Yeast
Most easy dimple focaccia recipes rely on commercial yeast for leavening. Instant dry yeast is often preferred for its convenience; it can usually be mixed directly into the dry ingredients without prior proofing. Active dry yeast requires activation in warm water (around 105-115°F or 40-46°C) with a pinch of sugar for 5-10 minutes until foamy, before being added to the other ingredients. The amount of yeast used can vary, but a common ratio is about 1-2% of the flour weight for standard fermentation times.
For longer, cold fermentation (like an overnight rise in the refrigerator), the amount of yeast is typically reduced significantly, sometimes down to 0.2-0.5% of the flour weight. This slow, cool fermentation allows enzymes in the flour to break down starches into sugars, resulting in a more complex flavor profile and improved texture. While different yeast types behave slightly differently, both active dry and instant yeast can be used successfully to create a beautiful, easy dimple focaccia recipe.
Salt: Balancing Flavor and Dough Development
Salt plays a critical role in bread making beyond just adding flavor. It controls the rate of yeast fermentation, preventing the dough from rising too quickly. Salt also strengthens the gluten network by tightening the protein structure, which contributes to better dough elasticity and structure, ultimately leading to a better crumb texture. Without salt, dough can be sticky, hard to handle, and the final bread will be bland with a poor structure.
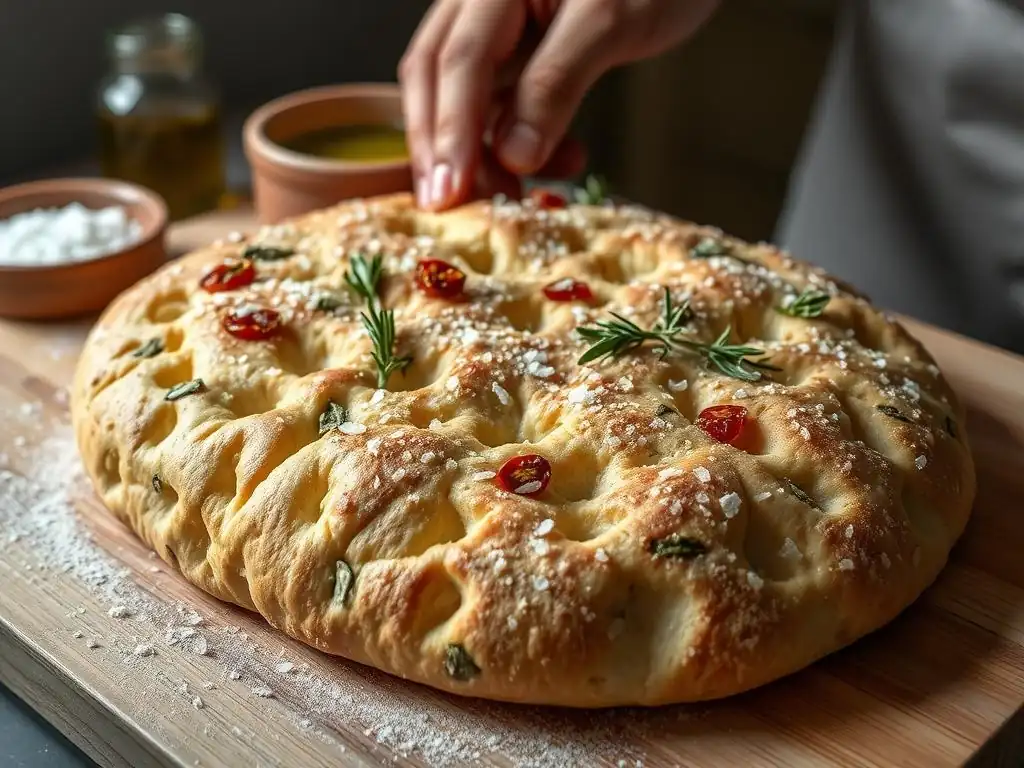
For focaccia, salt is incorporated into the dough and also sprinkled generously over the top before baking. Flaky sea salt or coarse kosher salt is often used for the topping as it provides bursts of salinity and a pleasant textural contrast to the soft bread. The amount of salt in the dough is typically around 1.8-2.2% of the flour weight. This balance ensures proper dough development and fermentation while providing essential seasoning throughout the bread.
The Focaccia Recipe: Step-by-Step Instructions
Step 1: Preparing the Focaccia Dough
Mixing the Ingredients: Achieving the Right Hydration
Creating the perfect focaccia starts with mixing the dough. Hydration levels for focaccia are often high, typically ranging from 70% to 85% hydration (meaning the weight of water is 70-85% of the weight of the flour). This high water content is key to achieving a light, airy interior crumb. Begin by combining the warm water (around 90-100°F or 32-38°C is good for activating yeast quickly, or cooler water for a longer fermentation), yeast, and a pinch of sugar (optional, but helps jumpstart yeast). Let it sit for a few minutes if using active dry yeast.
In a large bowl, combine the flour and salt. Pour the yeast mixture and most of the olive oil into the bowl with the dry ingredients. Mix everything together with a spoon or spatula until no dry flour remains and you have a shaggy, wet dough. This dough will be quite sticky – this is normal and desirable for an easy dimple focaccia recipe. Avoid the urge to add more flour; the stickiness is what contributes to the open crumb structure.
First Rise: Developing Flavor and Structure
After the initial mix, the dough needs time to ferment and develop gluten. Cover the bowl tightly with plastic wrap or a damp towel and let it rest. For a relatively quick rise, leave it at room temperature (around 70-75°F or 21-24°C) for 1 to 2 hours, or until it has roughly doubled in size and looks bubbly. During this time, you can perform 1-3 sets of "stretch and folds" every 30-45 minutes.
To do this, wet your hands, gently lift one side of the dough, stretch it upwards, and fold it over the center. Rotate the bowl and repeat with the other three sides. This process helps build strength in the dough without vigorous kneading.
Alternatively, for a more flavorful focaccia, you can opt for a long, cold fermentation in the refrigerator. After the initial mix (and perhaps one set of stretch and folds), cover the bowl and place it in the refrigerator for 12 to 24 hours. The cold temperature slows down yeast activity but allows enzymes to work longer, developing complex flavors. The dough will still rise slowly and develop strength over this period, resulting in a more nuanced and delicious easy dimple focaccia recipe.
Step 2: Shaping and Preparing Your Focaccia
Preparing the Baking Pan: Ensuring Easy Release
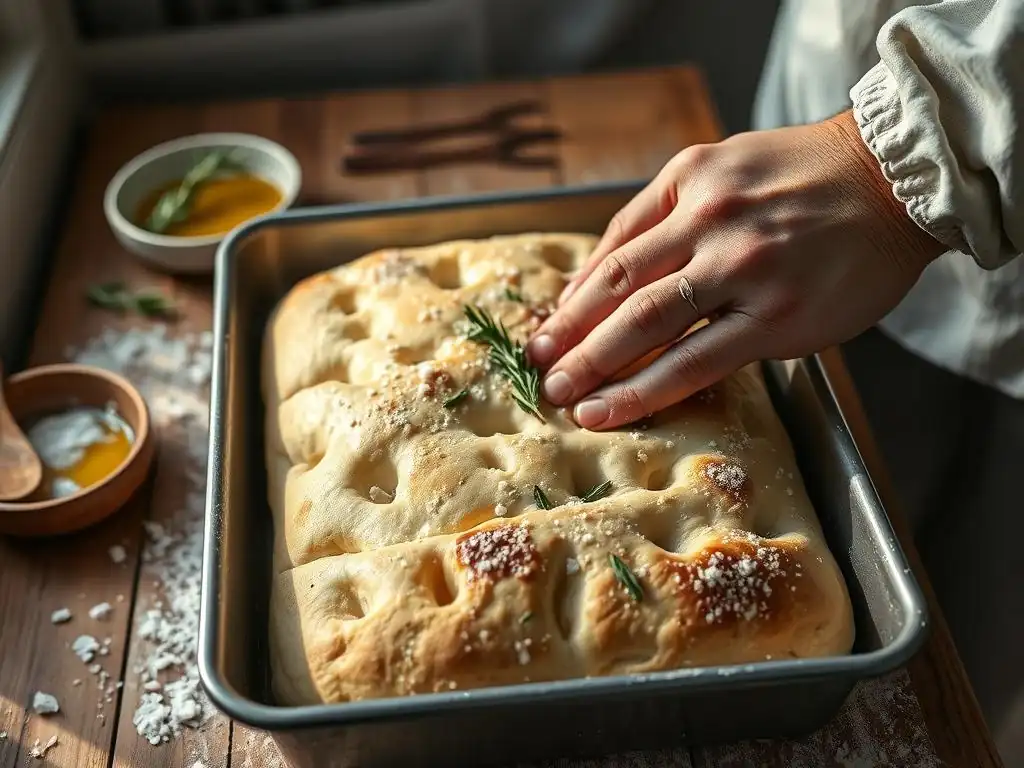
Proper pan preparation is essential for preventing your focaccia from sticking and contributing to that coveted crispy bottom crust. Choose a sturdy baking pan, such as a 9x13 inch rectangular pan, a 10-inch square pan, or a round cake pan. Pour a generous amount of olive oil into the pan – don't skimp! You want enough oil to coat the entire bottom and come up the sides slightly, perhaps 1/4 to 1/2 cup depending on the pan size.
Tilt the pan to ensure the oil is evenly distributed across the bottom and up the lower edges. You can even use your fingers or a pastry brush to help coat the sides. This layer of oil is crucial. As the focaccia bakes, the bottom layer of dough will absorb this oil, frying slightly and creating a golden, crisp crust that is easily released from the pan. This step is just as important as the dimpling for the final texture of your easy dimple focaccia recipe.
Stretching and Shaping the Dough: Maintaining Air Pockets
Once the first rise is complete (either at room temperature or after cold fermentation), gently transfer the dough from the bowl into the prepared oily pan. Be careful not to deflate the dough too much; you want to preserve as many of the air bubbles that have formed during the rise as possible. The dough will likely not fill the pan immediately, especially after a cold rise when it might be a bit stiff.
Gently nudge and stretch the dough towards the edges of the pan. If the dough springs back significantly, cover the pan and let it rest for 10-15 minutes. This resting period allows the gluten to relax, making the dough easier to stretch without tearing. Repeat the gentle stretching process until the dough roughly fills the pan. Don't force it; patience is key to maintaining that airy structure vital for a successful easy dimple focaccia recipe.
Creating Indentations: Achieving the Signature Focaccia Texture
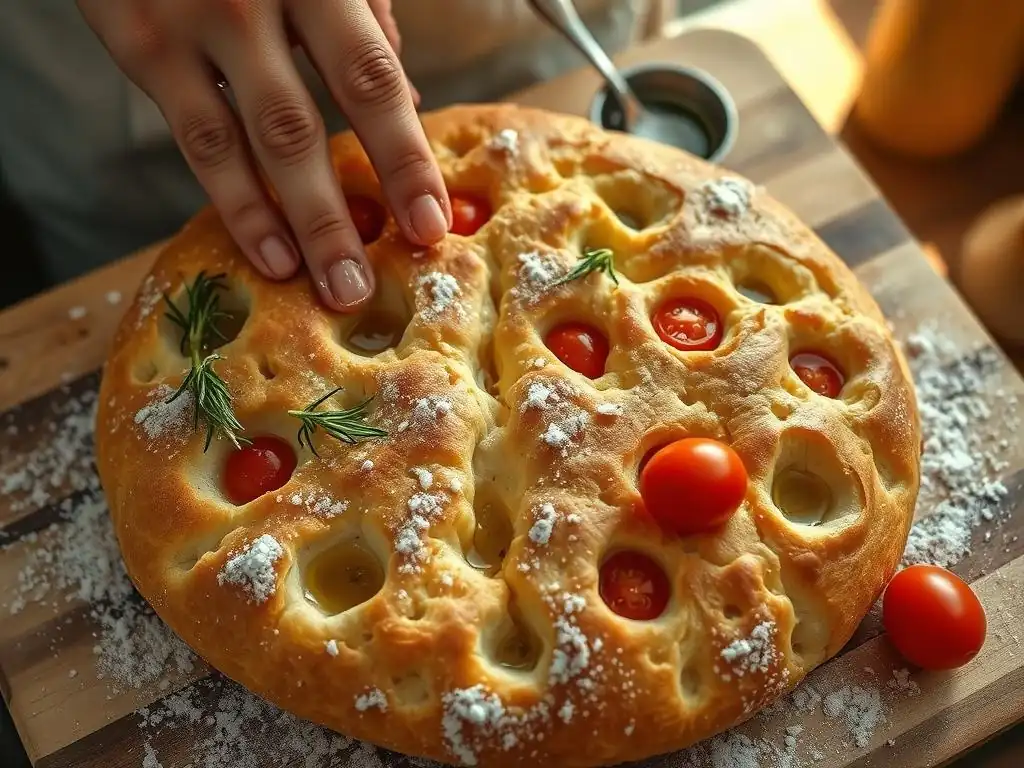
This is the step where the magic happens and you give your focaccia its signature look and texture – the dimpling! Once the dough is stretched to fill the pan, generously drizzle more olive oil over the surface of the dough. Don't be shy; this oil will pool in the dimples and infuse the top crust with flavor and help it crisp beautifully.
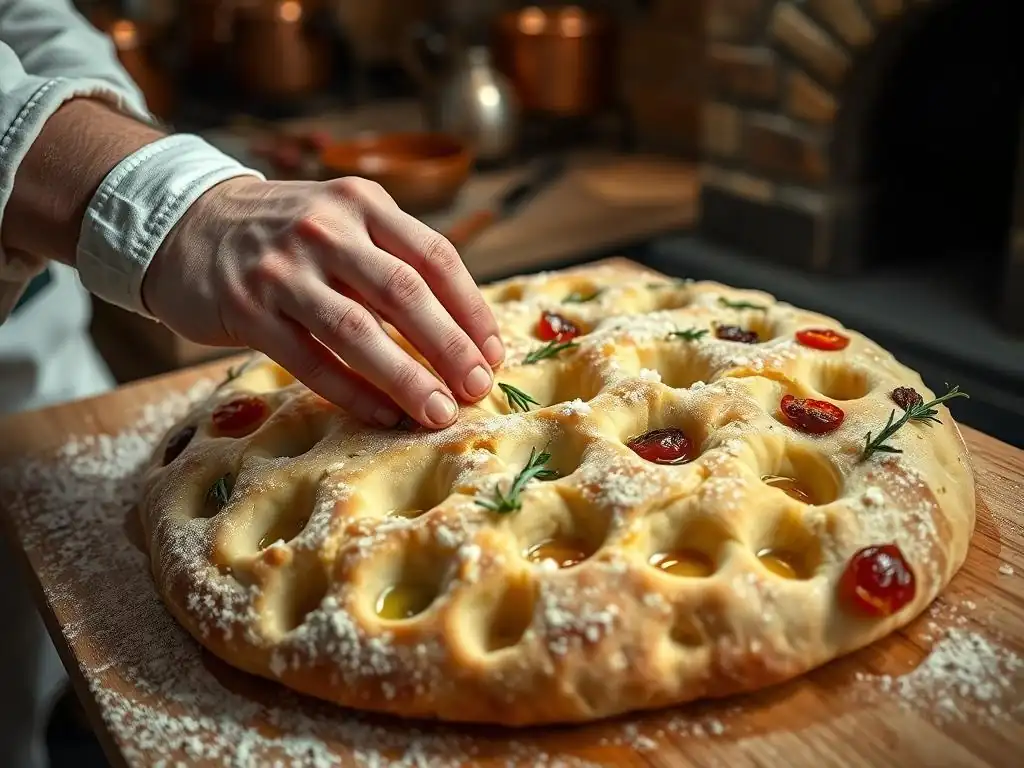
Now, using your fingertips (wetting them slightly with water or oil can help prevent sticking), gently but firmly press straight down into the dough, creating deep indentations. Space the dimples about an inch or two apart across the entire surface. The goal is to press down to almost touch the bottom of the pan, but without tearing through the dough completely.
These dimples serve multiple purposes: they prevent the dough from rising too much into a uniform loaf, they create pockets for the olive oil and toppings, and they contribute to the focaccia's unique chewy-crispy texture. Mastering the dimple is fundamental to an easy dimple focaccia recipe.
Step 3: The Second Rise and Final Touches
Promoting a Light and Airy Texture: Proofing Techniques
After dimpling and adding the final drizzle of olive oil, the focaccia needs a second rise, also known as proofing. This allows the dough to relax, expand slightly into the dimples, and become light and airy before baking. Cover the pan loosely with plastic wrap or a clean kitchen towel.
Let the dough proof at room temperature for 30 to 60 minutes, or until it looks visibly puffy and the dimples are still present but have softened slightly. You should see small bubbles forming on the surface. If your kitchen is cool, this might take longer. Proper proofing is crucial; under-proofed focaccia will be dense, while over-proofed focaccia might collapse in the oven. The goal is a dough that looks alive and airy, ready for baking to achieve that wonderful texture in your easy dimple focaccia recipe.
Brushing with Olive Oil and Adding Toppings: Flavor Enhancements
Just before placing the focaccia in the oven, give it one final, generous drizzle of olive oil over the surface. Ensure the oil pools nicely in the dimples. This last application of oil is essential for developing a golden, crisp, and flavorful top crust.
Now is also the time to add your desired toppings. The simplest and most classic topping is flaky sea salt and fresh rosemary sprigs pressed gently into the dimples. Other popular options include halved cherry tomatoes, sliced olives, caramelized onions, or thinly sliced garlic. Press the toppings gently into the dough so they don't fall off during baking. Be creative, but remember that less is often more with focaccia to let the bread's flavor shine. This final touch completes the preparation for your easy dimple focaccia recipe.
Step 4: Baking Your Focaccia to Golden Perfection
Oven Temperature and Baking Time: Achieving Optimal Results
Baking focaccia at a relatively high temperature is key to achieving a crispy crust and a well-risen, airy interior. Preheat your oven to 400-425°F (200-220°C) with a rack in the center position. Ensure the oven is fully preheated before putting the focaccia in.
The baking time will vary depending on your oven and the size and thickness of your focaccia, but it typically takes between 20 and 30 minutes. You'll know it's done when the top crust is a deep golden brown, the edges are crispy, and the bottom crust (you can carefully lift a corner with a spatula to check) is also golden brown and crisp. The internal temperature should register around 200-210°F (93-99°C).
Achieving a Crispy Crust and Soft Interior: Baking Strategies
Several factors contribute to the perfect focaccia texture during baking. The hot oven temperature ensures a good oven spring (the final burst of rising in the oven) and quickly sets the crust. The generous amount of olive oil in the pan essentially fries the bottom crust, making it incredibly crispy. The dimples on top help distribute heat and create those wonderful little pockets of crispiness around the oil and toppings.
Once baked, immediately transfer the focaccia from the pan to a wire cooling rack. Leaving it in the hot pan can cause the bottom to steam and lose its crispness. Cooling on a rack allows air to circulate around the entire focaccia, maintaining that desirable contrast between the soft, airy interior and the crispy top and bottom crusts. This final step is vital to experiencing the full glory of your easy dimple focaccia recipe.
Tips and Tricks for Perfecting Your Focaccia
Troubleshooting Common Focaccia Baking Problems: Addressing Common Issues
Even with an easy dimple focaccia recipe, you might encounter a few hiccups. If your focaccia is dense, it could be due to under-proofing, not enough hydration, or handling the dough too roughly and deflating it. Ensure your yeast is active and give the dough adequate time to rise in a warm spot. If the bottom is pale and not crispy, you likely didn't use enough olive oil in the pan or your oven temperature wasn't high enough. Try increasing the oil next time and ensure your oven is fully preheated to the correct temperature.
If the top is burning before the inside is cooked, your oven might be too hot or the rack position too high. Try lowering the temperature slightly or moving the pan to a lower rack. Dough that's hard to stretch might need a longer rest period (10-15 minutes) to allow the gluten to relax before you continue shaping. Patience and observation are key to mastering this delightful bread.
Achieving Even Texture and Distribution: Mastering the Technique
An even texture throughout your focaccia, with those characteristic air pockets, relies heavily on gentle handling and proper proofing. When transferring the dough to the pan and stretching it, use a light touch to avoid pushing out all the gas bubbles created during the first rise. The stretch-and-fold technique during the first rise helps build a strong, even gluten network that supports the airy structure.
The dimpling step also contributes to even texture. By pressing down across the entire surface, you distribute the dough more evenly in the pan and create consistent areas for oil and toppings. Ensure your dimples are relatively uniform in depth and spacing. During the second proof, the dough should relax and expand slightly into these indentations, leading to a balanced crumb after baking. Following these steps meticulously will help you achieve a beautiful, evenly textured easy dimple focaccia recipe.
Experimenting with Different Toppings and Flavors: Creative Variations
While the classic rosemary and sea salt focaccia is divine, don't hesitate to get creative with toppings once you've mastered the basic easy dimple focaccia recipe. The possibilities are vast! Consider seasonal vegetables like thinly sliced zucchini or bell peppers. Pitted olives, sun-dried tomatoes, or capers add a lovely Mediterranean twist. Caramelized onions or roasted garlic cloves offer deep, savory flavors.
Fresh herbs like thyme, oregano, or sage can be used instead of or in addition to rosemary. Cheeses like Parmesan, mozzarella, or crumbled feta can be added towards the end of baking. Sweet variations exist too, sometimes incorporating grapes or figs. When adding toppings, remember not to overload the bread, which can make it dense or soggy. Press them gently into the dough before the final proof.
Serving and Enjoying Your Homemade Focaccia
Delicious Serving Suggestions for Fresh Focaccia: Pairing Ideas
Focaccia is incredibly versatile and can be enjoyed in numerous ways. Its best served warm, straight from the oven, perhaps with an extra drizzle of high-quality olive oil for dipping. It makes a fantastic accompaniment to soups, stews, or salads. Imagine a warm slice alongside a hearty minestrone or a fresh caprese salad!
It's also perfect for making sandwiches; simply slice it horizontally and fill with your favorite ingredients like prosciutto, mozzarella, roasted vegetables, or pesto. Leftover focaccia can be cut into croutons for salads or used as the base for bruschetta. The simple yet rich flavor of a well-made easy dimple focaccia recipe pairs wonderfully with almost anything.
Storing Your Focaccia for Maximum Freshness: Preservation Techniques
Focaccia is best enjoyed on the day it's baked when the crust is at its crispiest and the interior most tender. However, if you have leftovers, store them properly to maintain quality. Allow the focaccia to cool completely on a wire rack before storing.
Wrap the cooled focaccia tightly in plastic wrap or aluminum foil, or place it in an airtight container. Stored at room temperature, it will remain relatively fresh for 1-2 days. For longer storage, you can freeze cooled focaccia. Wrap individual portions or the whole piece tightly in plastic wrap, then in aluminum foil or a freezer bag. Frozen focaccia can last for up to 2-3 months. To reheat, thaw at room temperature and warm gently in a preheated oven (around 350°F or 175°C) for 5-10 minutes to revive the crust.
Advanced Focaccia Techniques: Exploring Variations
Exploring Different Focaccia Variations: Regional Styles
Beyond the classic Ligurian focaccia, Italy boasts numerous regional variations. Focaccia Barese, from Puglia, often incorporates durum wheat flour and is topped with cherry tomatoes and olives pressed directly into the dough. Focaccia di Recco, also from Liguria, is a paper-thin, unleavened focaccia filled with Stracchino cheese.
Some variations are thicker, while others are very thin. Some use different flours or incorporate ingredients like potato into the dough for added softness. Exploring these regional styles offers a deeper understanding of focaccia's history and versatility, providing new avenues to apply the fundamental techniques learned from an easy dimple focaccia recipe.
Sourdough Focaccia: Enhancing Flavor and Complexity
For those with a sourdough starter, converting an easy dimple focaccia recipe to use sourdough can add incredible depth of flavor and a unique texture. The wild yeast and bacteria in the starter produce organic acids during fermentation, resulting in a slightly tangy taste and often a more complex crumb structure.
Using sourdough typically involves substituting a portion of the flour and water with an active sourdough starter (often at 20-30% of the total flour weight). The fermentation time will be longer compared to commercial yeast, often requiring an overnight or even 24-hour rise, sometimes incorporating folds over several hours. The dimpling technique and baking process remain similar, but the resulting focaccia offers a more nuanced flavor profile that sourdough enthusiasts will adore.
Poolish Focaccia: Utilizing a Pre-Ferment for Improved Texture
A poolish is a type of pre-ferment made with equal parts flour and water (by weight) and a very small amount of yeast, allowed to ferment for several hours (often 8-16 hours) until bubbly and active. Incorporating a poolish into your focaccia dough can significantly improve its flavor, texture, and keeping quality.
The poolish contributes to a more open crumb structure and helps develop complex flavors through its extended fermentation. When making a poolish focaccia, you prepare the poolish the day before or several hours in advance, then add it to the final dough ingredients (flour, water, salt, oil, and perhaps a little more yeast). The process of mixing, rising, dimpling, and baking follows the standard steps, but the pre-ferment elevates the final result of your easy dimple focaccia recipe to a new level.
Conclusion: Enjoy the Art of Focaccia Baking
Frequently Asked Questions
What makes this focaccia recipe considered "easy"?
This recipe emphasizes simplicity by using readily available ingredients and clear, step-by-step instructions, designed for bakers of all skill levels. It focuses on a fuss-free process.
What is the secret to achieving the signature "dimples" in focaccia?
The dimples are created by pressing your fingers deeply into the dough before baking. This creates pockets that hold the olive oil and seasonings, resulting in a flavorful crust.
Can I substitute ingredients in this dimple focaccia recipe?
While substitutions are possible, following the recipe closely ensures the best results. Experimenting with different flours or herbs is fine, but be mindful of potential changes in texture and flavor.
How long does it take to make this easy dimple focaccia recipe from start to finish?
The total time, including proofing, is approximately 3-4 hours. Most of this time is hands-off, allowing for the dough to rise properly.
What kind of olive oil is best for this focaccia recipe?
Using a high-quality extra virgin olive oil is highly recommended for the best flavor and aroma. The olive oil is a central part of the focaccia's taste profile.
Final Reflection: The Enduring Allure of the Dimpled Crust
The perfect focaccia, with its characteristic dimpled surface, is more than just a delicious bread; it's a testament to the power of simple techniques yielding extraordinary results. This seemingly small detail—the dimple—transforms a flatbread into a culinary masterpiece, a symbol of rustic charm and effortless elegance. The ease with which even novice bakers can achieve this beautiful texture makes it a truly accessible joy.
The journey of mastering the dimple, as explored in this article, is a microcosm of the larger culinary experience. It's about understanding the interplay of ingredients, the patience required for proper proofing, and the satisfaction of creating something beautiful and delicious with your own hands. The best things in life are simple,
a phrase often repeated, rings especially true when considering the humble focaccia. The dimple, a tiny imperfection, becomes a mark of authenticity, a testament to the human touch in a world increasingly dominated by perfection.
Now, as you put down this article, I invite you to consider your own journey of culinary exploration. Perhaps you'll try your hand at creating your own dimpled focaccia, embracing the imperfections and celebrating the unique character of each loaf. Remember the joy of the process, the satisfaction of a perfectly risen dough, and the simple pleasure of sharing your creation with loved ones. Let the dimple be a reminder that even the smallest details can make all the difference, and that the most rewarding experiences often lie in the simplest of pursuits.
Unleash Your Inner Focaccia Artist!
Thanks for taking the time to explore the art of the perfect focaccia dimple! We hope you now feel confident in creating those signature, airy pockets of deliciousness. Ready to put your new skills to the test?
- Bake your dream focaccia: Try out the recipe (or your own adaptation!) and share your results with us using #BakeWithEaseFocaccia. We'd love to see your creations!
- Experiment with flavors: What exciting herbs, cheeses, or vegetables will you add to your next focaccia masterpiece?
- Join our baking community: Share tips, ask questions, and inspire fellow bakers in our online forum. (link would go here, but per instructions no links)
What unique ingredient will elevate your next focaccia bake? Let us know in the comments below!