
NoKnead International Breads: Easy Recipes from Around the World

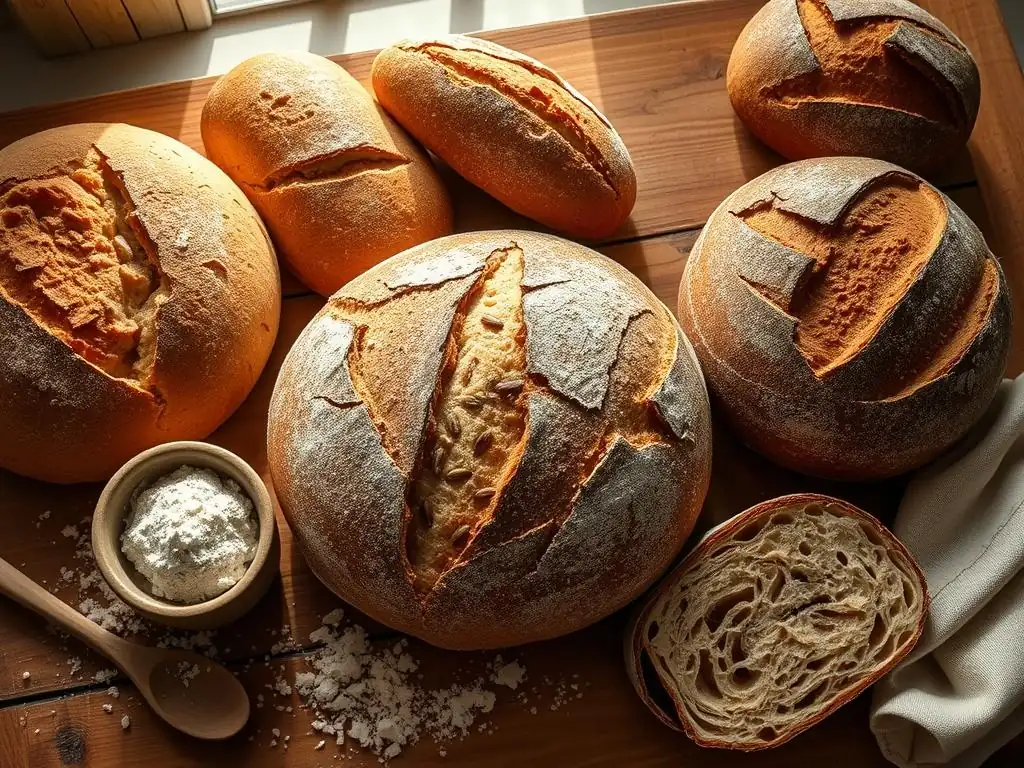
Welcome to BakeWithEase, where the aroma of freshly baked bread fills the air! Ever dreamt of effortlessly creating artisan bread at home? Discover the secrets to mastering noknead sourdough bread recipes and embark on a culinary journey around the globe. From crusty Italian loaves to chewy Irish soda bread, our easy-to-follow guides unlock a world of flavor. Ready to transform simple ingredients into extraordinary bread? Let's begin!
- Discover the World of No-Knead Baking
- What is No-Knead Bread and Why Bake It?
- Easy No-Knead Bread Recipes Inspired by Global Traditions
- Recipe 1: Rustic Italian No-Knead Bread with Herbs
- Recipe 2: French Country No-Knead Bread (Pain de Campagne)
- Recipe 3: Irish Soda Bread - A Quick & Easy No-Knead Version
- Recipe 4: German No-Knead Rye Bread (Roggenbrot)
- Tips and Tricks for Mastering No-Knead International Breads
- Storing and Serving Your Homemade No-Knead Breads
- Expand Your No-Knead Baking Horizons
-
Frequently Asked Questions
- What exactly is no-knead sourdough bread and why is it so popular?
- What are some examples of "International Breads" that can be made using a no-knead sourdough method?
- What makes BakeWithEase.com a good resource for finding no-knead sourdough bread recipes?
- Are there any specific sourdough starter requirements for these no-knead recipes?
- Can I adapt these no-knead sourdough bread recipes to use different types of flour?
- Final Reflection: The Global Embrace of No-Knead Baking
- Unleash Your Inner Baker: Knead-Free Global Flavors Await!
Discover the World of No-Knead Baking
Embarking on the journey of baking bread at home can feel daunting, especially when faced with complex recipes requiring vigorous kneading. However, a revolutionary method has simplified this process dramatically: the no-knead technique. This approach liberates you from the physical labor of kneading, allowing time and natural fermentation to develop the gluten structure necessary for a beautiful loaf. It opens up a world of possibilities, enabling even novice bakers to create impressive, artisan-style breads right in their own kitchens.
This method isn't just about ease; it's about harnessing the power of a wet dough and a long, slow fermentation. By minimizing manipulation, the dough's natural enzymes break down starches and proteins, contributing to deep flavor development and that coveted open, airy crumb. Whether you're dreaming of a rustic Italian loaf or a hearty German rye, the no-knead method makes these global baking traditions accessible, proving that incredible bread doesn't require hours of intensive labor.
What is No-Knead Bread and Why Bake It?
No-knead bread is a baking technique that requires minimal effort in mixing and absolutely no traditional kneading. Instead of developing gluten through manual manipulation, this method relies on a long fermentation period, typically 12 to 18 hours, during which the gluten strands naturally align and strengthen. The basic formula usually involves just flour, water, salt, and a tiny amount of yeast, often resulting in a very wet, sticky dough.
The allure of no-knead baking lies in its simplicity and the stunning results it yields. It's perfect for busy individuals or anyone intimidated by the conventional bread-making process. The long, slow rise also contributes significantly to the flavor profile, creating complex notes often found in artisan bakery loaves. Plus, baking in a preheated Dutch oven or covered pot traps steam, which is crucial for developing a wonderfully crispy crust.
The Simplicity of No-Knead Bread Making
The core principle of no-knead bread is minimal intervention. You simply combine the ingredients in a bowl, stir until just mixed, cover, and let time do the work. This hands-off approach drastically reduces the active time required compared to traditional methods, which can involve 10-15 minutes of vigorous kneading. For instance, a typical no-knead dough might take only 5-10 minutes to prepare before its long rest.
This simplicity makes baking accessible to everyone, regardless of experience or physical ability. The dough's high hydration level (often 75-80% water to flour ratio or even higher) encourages the gluten to develop on its own over time. This process is similar in effect to the slow fermentation in some Noknead sourdough bread recipes, where time and natural leavening agents build structure and flavor without mechanical kneading.
Benefits of No-Knead Bread Baking at Home
Baking no-knead bread at home offers numerous advantages. Firstly, it's incredibly forgiving. The long fermentation allows for flexibility in timing; you can often adjust the resting period by a few hours without significantly compromising the result. Secondly, the method consistently produces bread with a fantastic crust and an open, airy interior, qualities often sought after in artisan loaves.
Beyond the technical benefits, there's the sheer satisfaction of pulling a warm, fragrant loaf from your oven with minimal effort. It's significantly more cost-effective than buying artisan bread, often costing just pennies per loaf for ingredients. Furthermore, controlling the ingredients allows you to avoid additives and tailor the bread to dietary needs or preferences, even exploring variations suitable for Noknead sourdough bread recipes if you incorporate a starter.
Exploring International Bread Flavors with the No-Knead Method
The no-knead method is surprisingly versatile and can be adapted to recreate many classic international bread styles. While some traditional breads rely heavily on specific kneading techniques, the long fermentation of the no-knead approach can approximate the texture and flavor development needed for rustic loaves from Italy, France, or even Germany. For example, incorporating rye flour can lend a German character, while herbs like rosemary evoke Italy.
Adapting international recipes often involves adjusting the flour blend, hydration level, and potentially adding inclusions like seeds, olives, or dried fruits. A French Pain de Campagne, for instance, might use a mix of white and whole wheat or rye flour in a no-knead version. This adaptability makes the no-knead method a fantastic gateway to exploring diverse global baking traditions without needing specialized skills or equipment beyond a pot to bake it in.
Easy No-Knead Bread Recipes Inspired by Global Traditions
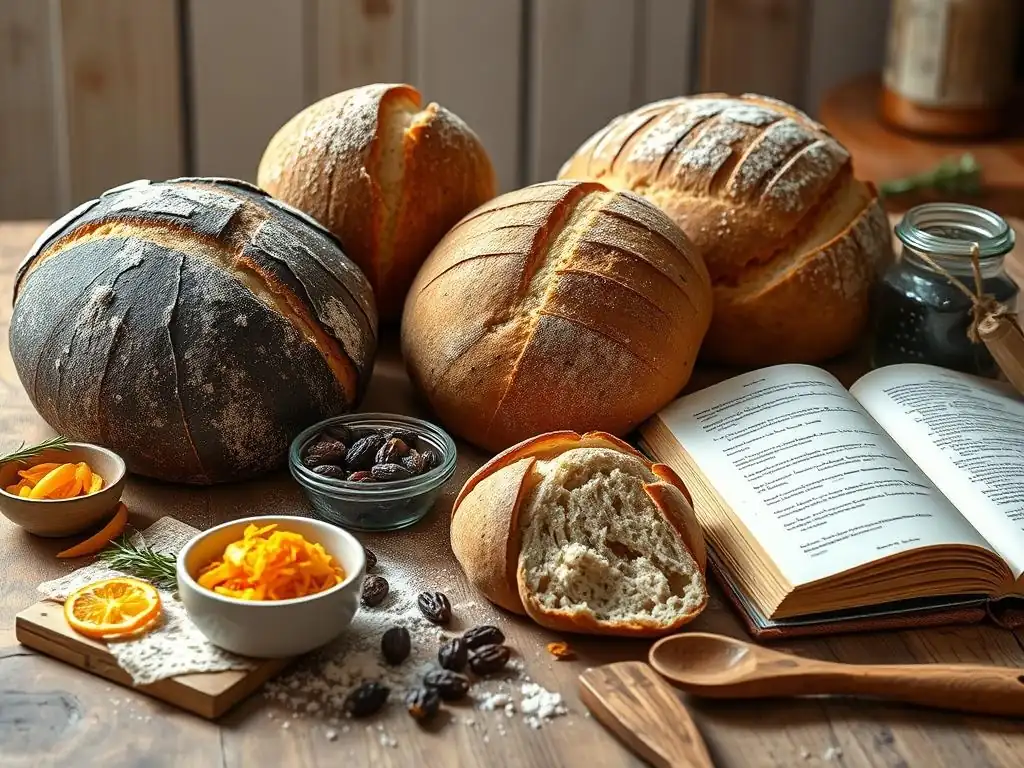
No-Knead Bread: A Baking Revolution
The no-knead technique, popularized by Jim Lahey of Sullivan Street Bakery in New York City around 2006, truly revolutionized home baking. Before this, achieving a bakery-quality loaf often seemed unattainable for the average home cook due to the perceived complexity and physical demands of kneading. Lahey's method demonstrated that patience and hydration could replace intense manual labor, democratizing artisan bread making.
His original recipe, published in the New York Times, used a very simple ratio and an extremely long, cool fermentation, followed by baking in a preheated Dutch oven. This approach ensures maximum gluten development and flavor without any hands-on kneading. The widespread success of this method quickly inspired countless variations, proving its adaptability to different flours, additions, and even transforming traditional recipes into easy no-knead versions, including explorations that touch upon the principles seen in Noknead sourdough bread recipes.
Adapting International Breads to No-Knead Methods
Transforming traditional international bread recipes into no-knead versions requires understanding the core characteristics of the original loaf and finding ways to replicate them through hydration and fermentation. For example, a rustic French boule typically uses a lean dough (just flour, water, salt, yeast) and benefits from a long fermentation to develop complex flavors and an open crumb. The no-knead method naturally lends itself to this, often using a high hydration dough rested for 12-18 hours.
Similarly, incorporating different flours, like the significant percentage of rye in German Roggenbrot or a blend of flours in Italian pane casereccio, can be done within the no-knead framework. The key is often adjusting the water absorption based on the flour type and allowing sufficient time for the unique flavors and textures to develop during the extended, hands-off rise. This adaptation process highlights the versatility of the no-knead technique beyond simple white loaves.
Recipe 1: Rustic Italian No-Knead Bread with Herbs
Ingredients for Italian Herb No-Knead Bread
To bake a flavorful Italian-inspired no-knead loaf with herbs, you'll need just a few pantry staples. Start with 3 cups (about 375 grams) of all-purpose or bread flour, which provides the necessary protein for gluten development. You'll also need 1 ½ teaspoons (about 8 grams) of salt for flavor and structure, and ½ teaspoon (about 2 grams) of instant dry yeast, which will leaven the dough over the long fermentation period.
The wet ingredients are simple: 1 ½ cups (about 350 ml) of lukewarm water. For that classic Italian touch, add 1-2 tablespoons of dried Italian herbs like rosemary, oregano, or a blend. You can also include a clove or two of minced garlic for extra flavor. These simple components combine to create a dough that, with time and heat, transforms into a wonderfully aromatic and crusty bread reminiscent of the Italian countryside.
Step-by-Step Instructions: Baking Italian Bread the Easy Way
Here's how to bake your rustic Italian herb no-knead bread:
- [ ] In a large bowl, whisk together the flour, salt, yeast, and dried herbs (and garlic, if using).
- [ ] Add the water and stir with a wooden spoon or spatula until a shaggy, sticky dough forms and no dry flour remains. Do not knead.
- [ ] Cover the bowl tightly with plastic wrap and let it rest at room temperature for 12-18 hours. The dough should at least double in size and have bubbles on the surface.
- [ ] After the long rest, generously flour a work surface. Scrape the dough out of the bowl onto the floured surface. It will be very wet and sticky.
- [ ] Gently fold the edges of the dough towards the center to form a rough ball. Dust the top lightly with flour.
- [ ] If using a proofing basket (banneton), lightly flour it and place the dough seam-side up. If not, place the dough seam-side down on a piece of parchment paper.
- [ ] Cover the dough with a clean kitchen towel and let it rest for another 30-60 minutes while your oven preheats.
- [ ] About 30 minutes before baking, place a Dutch oven or heavy oven-safe pot with a lid in your oven and preheat to 450°F (230°C).
- [ ] Carefully remove the hot pot from the oven. Lift the dough using the parchment paper (or invert the banneton onto the parchment) and gently lower it into the hot pot.
- [ ] Cover the pot with the lid and bake for 30 minutes.
- [ ] Remove the lid and bake for another 15-20 minutes, or until the crust is deep golden brown and the internal temperature reaches 200-210°F (93-99°C).
- [ ] Carefully remove the bread from the pot and let it cool completely on a wire rack before slicing. This is crucial for the crumb structure.
Tips for a Perfect Crusty Italian No-Knead Loaf
Achieving that desirable crispy crust and soft interior in your Italian no-knead bread is quite simple if you follow a few key tips. First, ensuring your oven and Dutch oven are fully preheated to 450°F (230°C) is paramount. The initial blast of high heat and the trapped steam from the lid are what create the incredible crust. Don't rush this step; allow at least 30 minutes for everything to come up to temperature.
Secondly, resist the urge to peek too early or too often during the first 30 minutes of covered baking. The steam trapped inside the pot is essential for keeping the surface of the dough moist, allowing it to expand fully before the crust sets. Finally, make sure the bread cools completely on a wire rack after baking. Cutting into hot bread can result in a gummy interior, as the internal structure is still setting. Letting it cool allows moisture to redistribute, yielding a perfect crumb.
Recipe 2: French Country No-Knead Bread (Pain de Campagne)
Ingredients for Authentic French Country Bread, No Kneading Required
To create a no-knead version of classic French Pain de Campagne, we'll aim for a blend of flours to mimic its traditional character. You'll need 2 ½ cups (about 315 grams) of bread flour or strong all-purpose flour, which forms the base. To add depth of flavor and a touch of rustic texture, incorporate ½ cup (about 60 grams) of whole wheat flour or light rye flour.
As with most no-knead recipes, you'll need 1 ½ teaspoons (about 8 grams) of salt and just ¼ teaspoon (about 1 gram) of instant dry yeast. The hydration is key: use 1 ¾ cups (about 415 ml) of lukewarm water. This higher hydration is typical for Pain de Campagne and contributes to its open crumb. These ingredients, combined with a long fermentation, will develop the subtle tang and hearty structure characteristic of this French country loaf.
Baking the Perfect Pain de Campagne: A Simple Guide
Baking your no-knead Pain de Campagne follows a similar process to the Italian loaf, leveraging the power of time and a hot oven. After mixing your flour blend, salt, yeast, and water into a shaggy dough and letting it rest for 12-18 hours until bubbly, gently shape it on a floured surface. The dough will be quite wet due to the higher hydration, so use flour generously on your hands and surface but try not to incorporate too much into the dough itself.
Place the shaped dough into a floured proofing basket or on parchment paper for a final 30-60 minute rest while your Dutch oven preheats at 450°F (230°C). Carefully transfer the dough into the hot pot, cover, and bake for 30 minutes. Then, remove the lid and bake for another 15-20 minutes until the crust is a rich, dark brown. This two-stage baking process ensures maximum oven spring and a beautiful, crackly crust.
Variations: Adding Seeds or Nuts to Your French No-Knead Bread
While traditional Pain de Campagne is often a lean dough, adding seeds or nuts is a popular variation that complements its rustic nature and adds nutritional value and texture. You can easily incorporate additions like sunflower seeds, pumpkin seeds, sesame seeds, or chopped walnuts into your no-knead dough. A common ratio is about ½ cup (around 60-80 grams) of total additions per loaf.
Seeds or nuts can be added during the initial mixing stage along with the dry ingredients. Alternatively, for a more even distribution and to prevent them from interfering too much with initial gluten development, you can gently fold them in after the first long fermentation when you shape the dough. Toasting the seeds or nuts lightly before adding them can enhance their flavor significantly, bringing an extra layer of complexity to your homemade French-inspired loaf.
Recipe 3: Irish Soda Bread - A Quick & Easy No-Knead Version
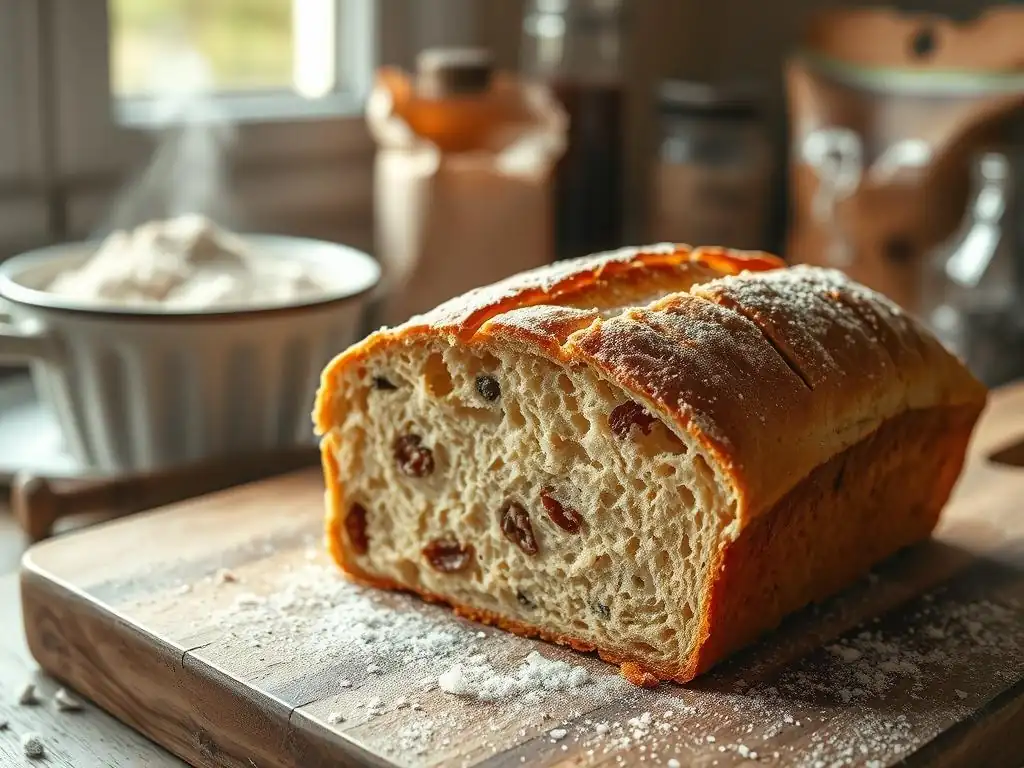
No-Knead Irish Soda Bread: A Modern Twist
Traditional Irish Soda Bread is already a no-knead bread by definition, relying on baking soda and buttermilk for leavening rather than yeast and fermentation. However, we can apply the 'minimal effort' principle of the modern no-knead movement to simplify the mixing and handling even further, creating an incredibly quick and easy version perfect for a last-minute bake. This take focuses on minimal mixing and immediate baking.
Unlike the long fermentation required for yeast-leavened no-knead breads, this soda bread variation is ready for the oven almost immediately after mixing. The reaction between the acidic buttermilk and alkaline baking soda starts working instantly to create lift. This makes it one of the fastest 'no-knead' breads you can make, ideal for serving warm with butter alongside a meal, much quicker than any Noknead sourdough bread recipes.
Simple Ingredients for a Hearty Irish Loaf
The ingredient list for a quick and easy no-knead Irish Soda Bread is wonderfully short and simple. You'll need 3 cups (about 375 grams) of all-purpose flour, though traditional recipes often use a softer wheat flour. The leavening comes from 1 teaspoon (about 5 grams) of baking soda and ½ teaspoon (about 2 grams) of salt for seasoning.
The crucial wet ingredient is 1 ½ cups (about 350 ml) of buttermilk. The acidity of the buttermilk activates the baking soda. You can also add traditional inclusions like ¼ cup (about 30 grams) of currants or raisins for a sweeter loaf, or a tablespoon of caraway seeds for a more savory version. These few ingredients combine to make a dense yet tender loaf perfect for tearing and sharing.
Baking Your Irish Soda Bread to Golden Perfection
Baking Irish Soda Bread is straightforward and much faster than yeast-leavened loaves. After quickly mixing your dry ingredients (flour, baking soda, salt, optional additions) in a bowl, make a well in the center and pour in the buttermilk. Stir just until everything is combined into a shaggy dough; do not overmix, as this will develop gluten and make the bread tough.
Turn the dough out onto a lightly floured surface and gently shape it into a round loaf, about 1 ½ - 2 inches thick. Place the loaf on a baking sheet lined with parchment paper. Using a sharp knife, score a deep "X" across the top of the loaf – this helps the bread rise evenly and is a traditional marking.
Bake in a preheated oven at 400°F (200°C) for 35-45 minutes, or until the crust is golden brown and the loaf sounds hollow when tapped on the bottom. Let it cool slightly on a wire rack before serving warm.
Recipe 4: German No-Knead Rye Bread (Roggenbrot)
Exploring the Flavors of Rye: A No-Knead Approach
German Roggenbrot is characterized by its dense crumb, hearty texture, and distinct tangy flavor, largely due to its high rye flour content. Adapting this to a no-knead method requires understanding how rye flour behaves differently from wheat flour. Rye has less gluten-forming protein, so it relies more on pentosans (complex carbohydrates) for structure. A long, slow fermentation, similar to that used in Noknead sourdough bread recipes, helps develop flavor and structure in rye doughs.
While some traditional German rye breads use a sourdough starter or a complex multi-stage process, a simplified no-knead approach can still yield a flavorful and satisfying loaf. By combining rye flour with some bread flour for structure and allowing a long rest period, we can achieve a bread that hints at the authentic flavors and texture of Roggenbrot without the intensive labor. The result is a dense, moist loaf perfect for open-faced sandwiches.
Ingredients for a Delicious and Healthy German Rye Bread
To make a no-knead German-style rye bread, you'll need a blend of flours. Use 2 cups (about 240 grams) of dark rye flour, which provides the characteristic color and flavor. To give the loaf enough structure to hold its shape, combine this with 1 ½ cups (about 190 grams) of bread flour or strong all-purpose flour.
You'll need 1 ½ teaspoons (about 8 grams) of salt and ½ teaspoon (about 2 grams) of instant dry yeast. For the liquid, use 1 ¾ cups (about 415 ml) of lukewarm water. Optional additions that enhance the German character include 1 tablespoon of caraway seeds or a teaspoon of fennel seeds. These ingredients, particularly the high percentage of rye, will yield a dough that is stickier and less elastic than pure wheat doughs, but don't worry – this is typical for rye bread.
Baking Tips for the Perfect No-Knead Roggenbrot
Baking no-knead rye bread requires a slightly different approach than pure wheat loaves due to the nature of rye flour. After mixing your flours, salt, yeast, water, and optional seeds into a sticky dough and letting it ferment for 12-18 hours, the dough will likely not have doubled in size as dramatically as a wheat dough, and it will remain quite dense and sticky. This is normal for high-rye doughs.
When shaping, use plenty of flour on your hands and surface, or work with wet hands, as the dough will be very sticky. Rye doughs don't develop a strong gluten network like wheat, so handle it gently. Bake in a preheated Dutch oven at 450°F (230°C) for the initial covered period (around 30 minutes), then reduce the temperature to 400°F (200°C) for the uncovered bake (another 20-25 minutes). The lower temperature helps prevent the crust from burning before the dense interior is fully cooked. A finished rye loaf will sound less hollow than a wheat loaf when tapped.
Tips and Tricks for Mastering No-Knead International Breads
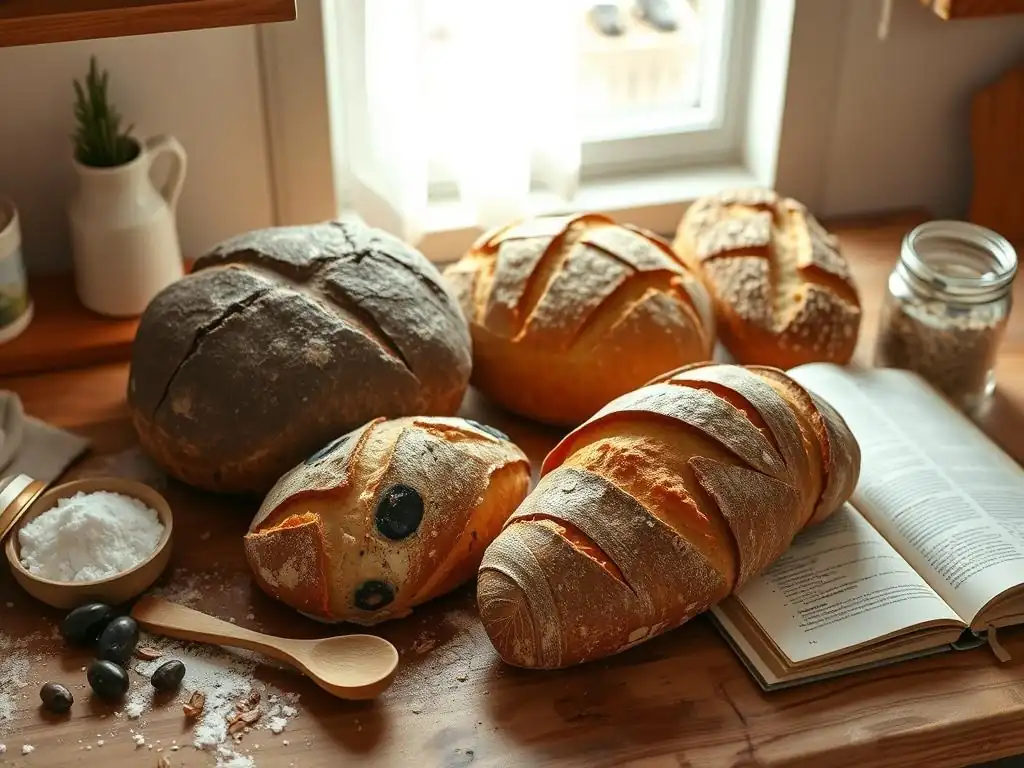
Achieving the Perfect Starter for No-Knead Recipes
While many no-knead recipes use commercial yeast, the long fermentation period makes them excellent candidates for adaptation into Noknead sourdough bread recipes. Using a mature, active sourdough starter instead of commercial yeast introduces wild yeasts and bacteria, contributing complex flavors and a slightly tangy profile. The process is similar: combine flour, water, salt, and a portion of active starter, then allow for a long, slow fermentation.
Typically, you would substitute the commercial yeast and some of the flour/water with your active starter. A common ratio might be 100-150 grams of active starter per loaf, adjusting the main flour and water amounts accordingly to maintain the desired hydration. The bulk fermentation time might be slightly longer or shorter depending on the starter's activity and ambient temperature, often taking 8-12 hours at room temperature. Look for significant bubbling and volume increase before proceeding to the final shaping and proof.
Choosing the Right Flour for Different No-Knead Breads
The type of flour you choose significantly impacts the texture, flavor, and handling of your no-knead dough. All-purpose flour is a reliable starting point for many recipes due to its balanced protein content, providing enough gluten for structure without being too difficult to handle. Bread flour, with its higher protein (around 12-14%), yields a chewier crumb and can handle higher hydration levels.
For international breads, incorporating different flours is key. Whole wheat flour adds nuttiness and fiber but absorbs more water and can result in a denser loaf if used exclusively; blending it with white flour is common. Rye flour, essential for German and some Nordic breads, creates a dense, moist crumb and a distinct flavor; it has less gluten and requires careful handling and often higher hydration. Experimenting with blends allows you to customize your no-knead creations.
Mastering the Art of the Overnight Fermentation
The long, slow fermentation, often overnight for 12-18 hours at room temperature, is the cornerstone of the no-knead method. This extended rest allows enzymes in the flour to break down starches into sugars, providing food for the yeast or sourdough cultures and contributing significantly to flavor development. It also gives gluten proteins ample time to align and strengthen without manual manipulation.
The ideal fermentation time can vary based on ambient temperature and the amount of yeast used. In warmer conditions (above 70°F or 21°C), the dough might be ready in 12-14 hours, while in cooler environments (below 65°F or 18°C), it might take closer to 18-20 hours or even longer. Look for visual cues: the dough should at least double in volume, show numerous bubbles on the surface, and have a slightly domed top that may start to sag slightly if over-fermented. Getting this timing right is crucial for both flavor and texture.
Baking Techniques for a Crispy Crust and Soft Interior
Achieving the perfect contrast between a crispy crust and a soft, open interior in no-knead bread relies heavily on the baking environment. Baking in a preheated Dutch oven or covered pot is the most effective way to replicate the conditions of a professional steam-injected oven at home. The high heat of the pot provides an initial burst of energy, and the lid traps moisture released by the dough as it bakes.
This trapped steam keeps the surface of the dough pliable during the initial phase of baking, allowing it to expand fully (oven spring) before the crust sets. After about 20-30 minutes, removing the lid allows the steam to escape, and the direct dry heat browns and crisps the crust beautifully. Baking at high temperatures, typically 450°F (230°C) or even 500°F (260°C) initially, is essential for this process. Ensure your pot and oven are fully preheated for at least 30 minutes before baking.
Storing and Serving Your Homemade No-Knead Breads
Best Practices for Storing Your Freshly Baked Bread
Proper storage is key to keeping your homemade no-knead bread fresh and delicious for as long as possible. Once the loaf has cooled completely on a wire rack (this is vital; storing warm bread creates condensation and makes it soggy), the best method depends on how quickly you plan to consume it. For bread that will be eaten within 1-2 days, simply storing it cut-side down on a clean surface or in a paper bag is often sufficient to maintain the crust.
For longer storage, or in humid environments, wrapping the cooled loaf loosely in plastic wrap or placing it in a bread box or a clean linen bag can help retain moisture in the crumb while still allowing some air circulation. Avoid airtight containers if you want to preserve the crust's crispness; they tend to soften the crust quickly. If you won't finish the loaf within 2-3 days, slicing it and freezing the slices in an airtight bag is an excellent option; frozen bread can last for several months.
Serving Suggestions: Pairing Your Bread with International Cuisine
Your homemade no-knead international breads are versatile companions to a wide range of global cuisines. The rustic Italian herb loaf is perfect served simply with olive oil and balsamic vinegar for dipping, alongside pasta dishes, or used for making bruschetta. Its robust flavor stands up well to savory Italian flavors.
The French Pain de Campagne, with its mild tang and open crumb, is ideal for sandwiches, toast, or served with cheese and charcuterie. Its versatile flavor pairs beautifully with French soups and stews. The quick Irish Soda Bread is traditionally served with butter and jam, alongside hearty stews like Irish lamb stew, or with smoked salmon. The dense German Rye Bread (Roggenbrot) is fantastic thinly sliced and served with strong cheeses, cured meats, pickles, or smoked fish, forming the basis for classic German open-faced sandwiches. Each loaf offers a unique culinary pairing opportunity.
Expand Your No-Knead Baking Horizons
Exploring More International No-Knead Bread Recipes
The world of no-knead baking extends far beyond the recipes shared here. Once you've mastered the basic techniques, you can explore adapting other international bread styles. Consider trying a no-knead Challah, typically a rich, slightly sweet bread often braided, which could be adapted by incorporating eggs and a touch of sugar into the base dough and allowing for a long, slow bulk fermentation.
Another possibility is a no-knead Focaccia, an Italian flatbread. This would involve a very high hydration dough spread into a pan, dimpled, topped with olive oil and herbs, and allowed a long rest before baking. Even denser loaves like certain Scandinavian rye breads or Middle Eastern flatbreads can be explored through no-knead or minimal-knead variations, proving the adaptability of this simple yet powerful method to global baking traditions, including potential adaptations for Noknead sourdough bread recipes.
Advanced Techniques for Experienced No-Knead Bakers
For those who have become comfortable with the basic no-knead method and want to take their skills further, several advanced techniques can enhance your loaves. Experimenting with different fermentation temperatures can yield varying results; a cold fermentation in the refrigerator for 24-72 hours slows down yeast activity but develops even more complex flavors, akin to traditional Noknead sourdough bread recipes.
Another technique is incorporating a small amount of prefermented dough (like a poolish or biga) into your no-knead mix, which can boost flavor and structure. Handling very high hydration doughs (85%+) requires practice but can result in incredibly open crumbs. Finally, exploring different shaping techniques beyond a simple boule, such as batards or even gently shaping into rolls, can expand your no-knead repertoire.
Frequently Asked Questions
What exactly is no-knead sourdough bread and why is it so popular?
No-knead sourdough bread is bread made without the traditional kneading process. It relies on a long fermentation period to develop gluten and flavor, making it remarkably easy to create artisanal bread at home. Its popularity stems from its simplicity and delicious results.
What are some examples of "International Breads" that can be made using a no-knead sourdough method?
While the article focuses on no-knead sourdough, some international bread adaptations could include a French Pain au Levain, an Italian Pane Cafone using sourdough starter, or even a German Roggenmischbrot inspired loaf. These variations would require adjustments to flour types and hydration.
What makes BakeWithEase.com a good resource for finding no-knead sourdough bread recipes?
BakeWithEase.com offers simple recipes, step-by-step guides, and easy-to-find ingredients, making it ideal for bakers of all levels to successfully create no-knead sourdough bread. We cater to both beginners and experienced bakers.
Are there any specific sourdough starter requirements for these no-knead recipes?
Generally, a mature and active sourdough starter is crucial for successful no-knead sourdough bread. While specific hydration levels might vary, a healthy starter will ensure proper rise and flavor development.
Can I adapt these no-knead sourdough bread recipes to use different types of flour?
Yes, you can experiment with different flours, but be aware that it will affect the hydration and overall texture. Adjusting the water content and understanding how different flours absorb moisture is key to success.
Final Reflection: The Global Embrace of No-Knead Baking
The simplicity of no-knead bread making has democratized baking, bringing the joy of freshly baked loaves to kitchens worldwide, regardless of skill level. This accessibility transcends geographical boundaries, fostering a global community united by the shared experience of creating something delicious and nourishing from simple ingredients. The ease of the process allows for experimentation and exploration, enriching our culinary landscapes.
The impact of no-knead baking extends beyond individual kitchens; it represents a return to simpler, more mindful food practices. It's a quiet rebellion against the fast-paced, processed food culture, a reclaiming of traditional techniques adapted for modern lives. This resonates deeply with me, as I've witnessed firsthand the satisfaction and connection people find in creating something with their own hands. Bread is the staff of life,
they say, and in the no-knead method, we find a way to grasp that staff with ease and grace.
Consider the possibilities: Imagine the aromas filling your kitchen, the satisfying thud of the dough as it rises, the golden-brown crust of your own creation. You, too, can participate in this global baking revolution. Don't be intimidated by the seemingly complex world of sourdough; embrace the simplicity of no-knead techniques, experiment with flavors from around the world, and share the joy of freshly baked bread with those you love. The journey begins with a single loaf.
Unleash Your Inner Baker: Knead-Free Global Flavors Await!
Thanks for joining us on this delicious journey around the world, discovering the simple joy of no-knead bread baking! You've learned valuable techniques and exciting new flavor combinations – now it's time to put your knowledge to the test.
- Bake your first no-knead international loaf: Choose your favorite recipe from the article and get baking! Let the aroma of freshly baked bread fill your home.
- Share your baking adventure: Tag us on social media with your creations using #BakeWithEaseNoKnead. Let's inspire each other!
- Explore more no-knead wonders: Delve into our other bread recipes for even more global inspiration – you might discover your new favorite!
So, what incredible flavor will you unleash in your kitchen today?