
Why Your Bread Dough is Too Wet (and How to Fix It)

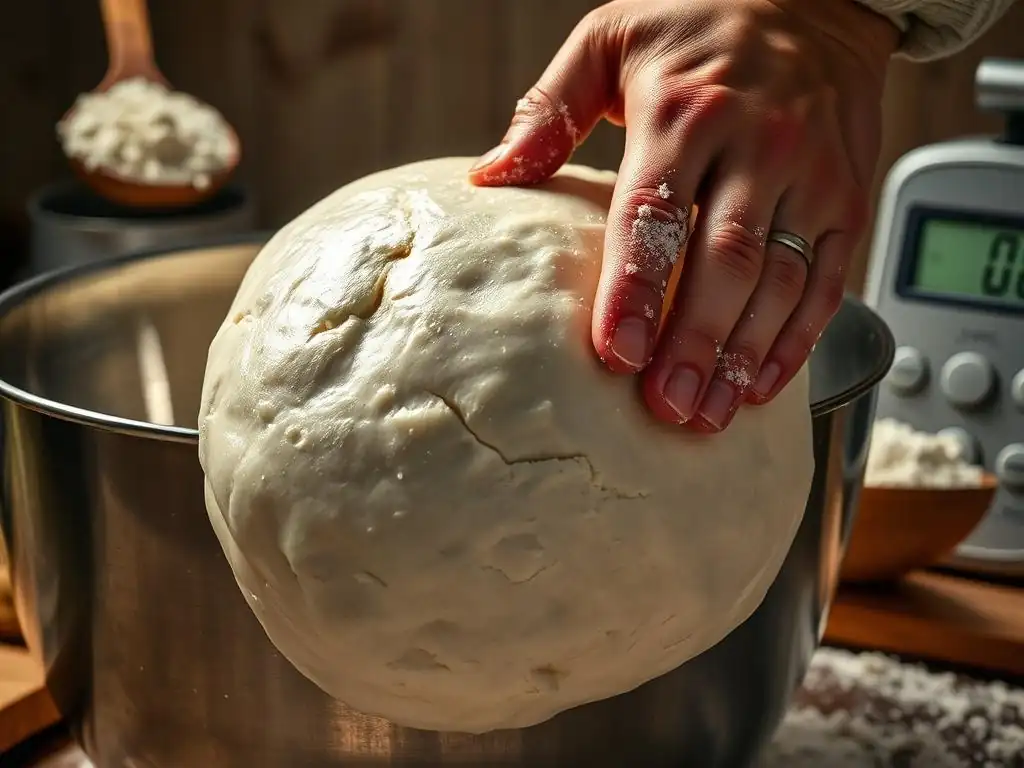
Welcome to BakeWithEase, your kitchen companion for conquering the world of baking! Ever wrestled with a dough that just won't cooperate? You're not alone! In this article, we're diving deep into the frustrating, yet fixable, issue of wet bread dough troubleshooting. Discover the secrets to achieving that perfect consistency and unlock the delicious potential of your bread creations. Let's get baking!
- Why Your Bread Dough is Too Wet (and How to Fix It) - BakeWithEase
- Introduction: Understanding Wet Bread Dough and Its Impact on Baking
- Common Causes of Excessively Wet Bread Dough
- Identifying Wet Dough: Signs and Indicators
- Wet Bread Dough Troubleshooting: Practical Solutions
-
Preventing Wet Dough in the Future: Tips and Best Practices
- Investing in Accurate Measuring Tools for Baking
- Understanding Your Flour: Choosing the Right Type and Adjusting Accordingly
- Controlling Humidity in Your Baking Environment
- Following Recipes Carefully: The Importance of Precise Measurements
- Experimenting with Hydration Levels: Finding Your Ideal Dough Consistency
- When to Embrace Wet Dough: High-Hydration Breads
- Conclusion: Mastering Dough Hydration for Better Bread Baking
- Frequently Asked Questions
- Final Reflection: The Unexpected Joys of a Perfectly Kneaded Loaf
- Unlock Perfectly Kneadable Dough!
Why Your Bread Dough is Too Wet (and How to Fix It) - BakeWithEase
Introduction: Understanding Wet Bread Dough and Its Impact on Baking
Achieving the perfect dough consistency is often cited as one of the most crucial steps in bread baking. When dough is too wet, it can be frustratingly sticky, difficult to handle, and may lead to a loaf that spreads too much during baking, resulting in a flat, dense texture rather than a lofty, airy one. Mastering dough hydration is key to consistently producing beautiful, well-structured bread with a desirable crumb and crust. Understanding why your bread dough might be excessively wet is the first step towards fixing the issue and improving your baking results.
This guide is designed to be your comprehensive resource for wet bread dough troubleshooting. We'll explore the common culprits behind overly hydrated dough, teach you how to identify the signs of dough that's too wet, and provide practical, step-by-step solutions to correct the consistency. Whether you're struggling with a sticky mess or simply want to refine your technique for handling dough, these tips and techniques will help you navigate the challenges of wet dough and pave the way for baking perfection.
Why Achieving the Right Dough Consistency Matters for Successful Bread Baking
The consistency of your bread dough directly influences gluten development, fermentation, and the final structure of your baked loaf. Dough that is too wet can hinder proper gluten formation, making it difficult for the dough to hold its shape and trap the gases produced during fermentation. This often results in a bread with a tight, dense crumb and a lack of oven spring. Conversely, dough that is too dry can be tough and yield a dense loaf with a dry texture.
Finding that sweet spot in dough consistency allows the gluten network to develop optimally, providing the strength and elasticity needed for the dough to rise beautifully. A well-hydrated dough that isn't too wet is pliable, slightly tacky (but not excessively sticky), and manageable. This balance ensures good fermentation, excellent oven spring, and a final loaf with a desirable open crumb structure and satisfying chew. Effective wet bread dough troubleshooting is therefore fundamental to achieving consistent, high-quality bread.
This Guide: Wet Dough Troubleshooting for Baking Perfection
Navigating the world of bread baking can sometimes feel like a balancing act, especially when dealing with variables like dough hydration. This guide provides a structured approach to wet bread dough troubleshooting, covering everything from identifying the problem at its source to implementing effective fixes. We'll break down complex concepts into easy-to-understand steps, empowering you to take control of your dough consistency.
Our aim is to equip you with the knowledge and skills needed to confidently address overly wet dough in any recipe. By understanding the 'why' behind common dough issues and learning practical 'how-to' solutions, you'll be better prepared to handle sticky situations and prevent them from happening in the future. Consider this your essential handbook for resolving wet bread dough issues and elevating your bread baking game to new heights.
Common Causes of Excessively Wet Bread Dough
Sticky, unmanageable dough is a common frustration for many bakers, often stemming from a few key culprits. Understanding these underlying causes is the first step in effective wet bread dough troubleshooting. From simple measurement errors to environmental factors, identifying the source of the excess moisture is crucial for applying the right fix.
One of the most frequent reasons for overly wet dough is an imbalance in the ratio of liquid to flour. This imbalance can occur for various reasons, including inaccurate measurements, variations in flour type, or even the humidity in your kitchen. Pinpointing which of these factors is at play will guide you toward the most effective solution, helping you turn that sticky mess into a perfectly pliable dough ready for baking.
Measuring Ingredients Inaccurately: A Key Cause of Sticky Dough
In the world of baking, precision is paramount, and inaccurate ingredient measurements are a leading cause of wet bread dough problems. While it might seem minor, even slight deviations in the amount of flour or liquid can significantly alter the dough's hydration level. This is particularly true when measuring by volume (cups) rather than by weight (grams), as the density of ingredients like flour can vary greatly depending on how it's scooped and leveled.
For instance, scooping flour directly from the bag can pack it down, resulting in significantly more flour by weight than if you lightly spoon it into the cup and level it off. A cup of all-purpose flour can weigh anywhere from 120 grams to 150 grams depending on how it's measured.
If a recipe calls for 500 grams of flour and you accidentally add only 450 grams due to inaccurate cup measurement, the hydration level will be much higher than intended, leading to a very wet dough. This highlights why accurate measurement is fundamental to preventing wet bread dough issues.
The Importance of Accurate Flour Measurement in Bread Baking
Flour is the backbone of bread dough, providing the structure through its protein content (gluten) which develops when hydrated and kneaded. The amount of flour used directly determines how much liquid the dough can absorb and hold. Using too little flour relative to the liquid will inevitably result in a dough that is too wet and sticky, lacking the necessary structure to develop gluten properly and hold its shape.
To ensure accuracy, especially when dealing with recipes that are sensitive to hydration levels, using a digital kitchen scale to measure flour by weight is highly recommended. Most professional recipes and many online resources now provide ingredient weights precisely for this reason. Measuring 500 grams of flour on a scale ensures you have exactly 500 grams, regardless of how compact the flour is in the bag, providing a consistent starting point for your dough hydration and minimizing common wet bread dough issues right from the start.
Liquid Measurement Errors: Avoiding Too Much Water or Milk
Just as too little flour can cause wet dough, adding too much liquid is another primary culprit. Whether it's water, milk, or another liquid called for in the recipe, precise measurement is just as critical as with flour. Using a liquid measuring cup on a level surface and reading the measurement at eye level is essential for accuracy when measuring by volume.
Even a small excess of liquid, perhaps just 20-30 milliliters (roughly 1-2 tablespoons) more than intended in a standard bread recipe, can push the dough's hydration level into the overly wet zone, making it difficult to handle and shape. For optimal accuracy, especially with larger batches or sensitive recipes, measuring liquids by weight using a kitchen scale (where 1 gram of water equals 1 milliliter) provides the highest degree of precision, effectively preventing excess liquid from being a cause for wet bread dough troubleshooting.
High Humidity's Effect on Dough Hydration
Environmental conditions, particularly humidity, can play a significant role in dough hydration. Flour is hygroscopic, meaning it readily absorbs moisture from its surroundings. On a very humid day, the flour itself may already contain more moisture than usual before you even add any liquid from the recipe.
Furthermore, dough exposed to a humid environment will absorb additional moisture from the air as it sits during mixing, kneading, and rising. This extra absorbed moisture, though it might seem minor, can be enough to push a dough that was initially at the correct hydration level into becoming overly wet and sticky.
Bakers in humid climates often need to slightly reduce the amount of liquid in their recipes or be prepared for more extensive wet bread dough troubleshooting. For example, a recipe calling for 65% hydration might need to be adjusted down to 62-63% hydration on a particularly muggy day.
Flour Absorption Rates: Understanding Variations in Flour
Not all flours are created equal when it comes to absorbing liquid. Different types of flour, and even different brands of the same type, can have varying protein and starch contents, which affect how much water they can effectively absorb and hold. For example, whole wheat flour typically absorbs more water than all-purpose white flour due to the presence of the bran and germ, which are highly absorbent.
Even within the same type of flour, variations can occur. A high-protein bread flour will generally absorb more water than a lower-protein all-purpose flour. If a recipe was developed using a high-absorption flour and you use a lower-absorption flour without adjusting the liquid, the resulting dough will likely be too wet. Understanding the characteristics of the flour you are using is key to anticipating its absorption rate and preventing wet bread dough issues. Some flours might absorb 60% water easily, while others require closer to 70% for a similar dough consistency.
Recipe Imbalances: When the Liquid-to-Flour Ratio is Off
While often the fault lies with the baker's execution, sometimes the recipe itself is the source of wet dough problems. Recipes that have an incorrect or poorly tested ratio of liquid to flour can inherently lead to dough that is too wet, regardless of how accurately you measure. This is more common with recipes found on less reputable websites or those that haven't been thoroughly tested across different environments and with various types of flour.
A recipe might call for a hydration level that is simply too high for the type of bread intended or for the typical flour available to home bakers. For example, a standard sandwich bread recipe usually works well with hydration levels between 60% and 65%, while a ciabatta might be 75% or higher.
If a recipe for a simple loaf calls for 75% hydration without specific instructions for handling such wet dough, it's likely to cause significant wet bread dough troubleshooting for most bakers. Always consider the source of your recipe and whether the hydration level seems appropriate for the type of bread you are making.
Identifying Wet Dough: Signs and Indicators
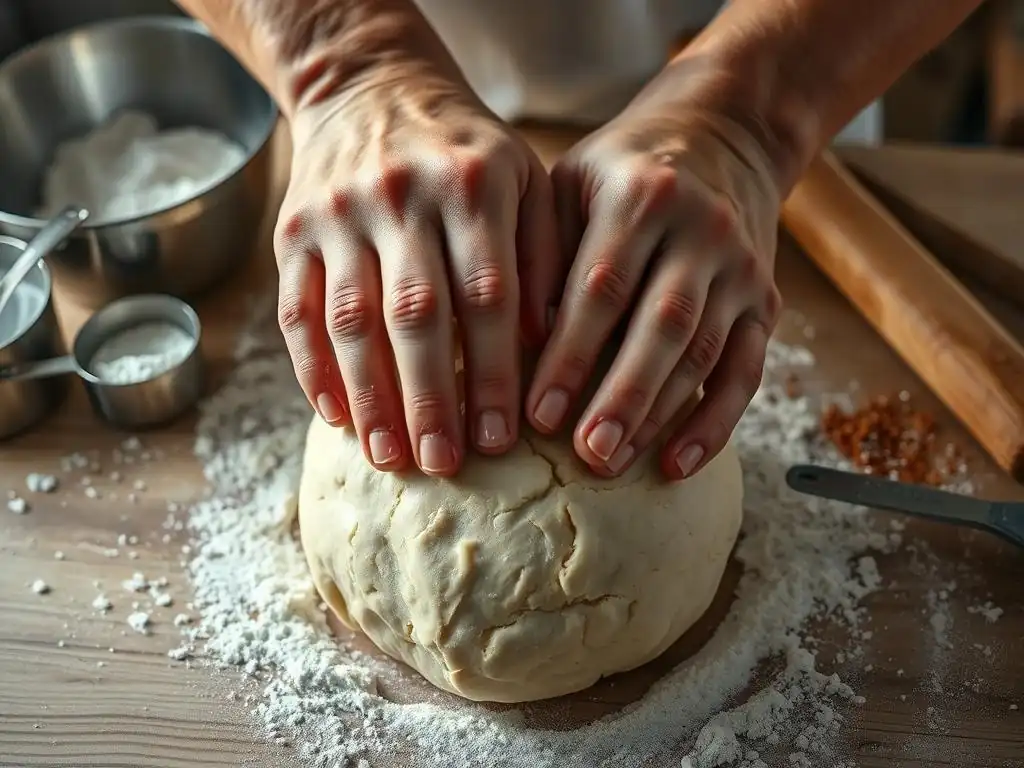
Before you can fix overly wet dough, you need to be able to recognize it. While some stickiness is normal in bread dough, especially during the initial mixing and kneading stages, excessive stickiness that persists and makes the dough unmanageable is a clear sign that the hydration level is too high. Learning to identify these signs early can save you a lot of frustration later in the baking process.
Observing the dough's behavior, feeling its texture, and noting its appearance are all part of diagnosing wet dough. It's not just about stickiness; overly wet dough also behaves differently during kneading and rising. Becoming familiar with these indicators will help you quickly assess your dough and determine if wet bread dough troubleshooting is necessary.
Recognizing the Characteristics of Overly Hydrated Dough
Overly hydrated dough is characterized by its excessive stickiness and lack of structure. Instead of pulling away cleanly from the sides of the mixing bowl or your hands, it clings stubbornly to everything it touches. It might feel more like a thick batter than a cohesive dough, even after several minutes of kneading.
When you try to stretch or pull overly wet dough, it tears easily and doesn't form a smooth, elastic membrane like properly hydrated dough does. It tends to slump and spread out rather than holding a rounded shape. This lack of tension and structure makes it very difficult to handle, shape, and score, often leading to a flat loaf during baking. Recognizing these characteristics is a key part of effective wet bread dough troubleshooting.
The Stickiness Test: Determining if Your Dough is Too Wet
A simple 'stickiness test' can help you determine if your dough is excessively wet. After mixing and kneading for a few minutes, observe how the dough interacts with your hands or the work surface. While some slight tackiness is normal, especially early on, the dough shouldn't stick so much that it's impossible to work with without constantly adding flour to your hands or the surface.
Take a small piece of dough and try to gently pull it. If it immediately smears or leaves a large amount of residue on your fingers without any cohesive pull-back, it's likely too wet. A properly hydrated dough might feel slightly tacky, but you should be able to handle it with minimal sticking, perhaps requiring just a light dusting of flour on your hands or scraper. Persistent, aggressive stickiness is a strong indicator that wet bread dough troubleshooting is needed.
Visual Cues: How Wet Dough Looks Different
Beyond the feel, overly wet dough also has distinct visual cues. It often appears slack and lacks tension; it won't hold a neat ball shape but will instead spread out into a puddle or a very flat disc on the work surface. The surface might look glossy or wet, even if you haven't just added liquid.
As you knead, overly wet dough might refuse to develop a smooth surface; it could remain shaggy or lumpy, or if it does smooth out slightly, it still lacks the firm, elastic feel and appearance of properly hydrated dough. Compare its appearance to photos or videos of correctly hydrated dough for the type of bread you're making. If your dough looks significantly looser and more spread out, it's likely too wet, signaling the need for wet bread dough troubleshooting measures.
Wet Bread Dough Troubleshooting: Practical Solutions
So, you've identified that your dough is too wet. Don't despair! There are several practical and effective ways to correct the hydration level and salvage your bake. The key is to act quickly and apply the appropriate fix without overcompensating or damaging the gluten structure you've started to develop.
The most common solution involves adding more flour, but it's crucial to do this correctly. Other techniques, like adjusting your kneading method or incorporating rest periods, can also help manage overly wet dough. This section will walk you through the best strategies for successful wet bread dough troubleshooting.
Adding Flour Strategically to Correct Dough Hydration
The most straightforward way to fix overly wet dough is to incorporate more flour. However, simply dumping in a large amount of flour can lead to a dense, tough loaf and disrupt the gluten development. The key is to add flour gradually and strategically, allowing the dough to absorb it slowly and evenly.
Start by adding just a tablespoon or two of flour at a time. Knead the dough for a minute or two to allow the new flour to integrate and absorb some of the excess moisture. Assess the dough's consistency.
If it's still too sticky, add another tablespoon of flour and repeat the process. Continue adding flour in small increments and kneading until the dough reaches a manageable consistency – it should be slightly tacky but no longer aggressively sticky and should start to pull away from your hands and the work surface. This gradual approach is crucial for effective wet bread dough troubleshooting when adjusting hydration.
How to Add Flour Gradually Without Overworking the Dough
When adding flour to correct wet dough, avoid the temptation to add too much at once, and be mindful of overworking the dough. Adding flour should be done during the kneading process. Sprinkle a small amount (1-2 tablespoons) over the sticky dough. Then, continue kneading as you normally would, folding the dough over itself to incorporate the new flour.
As you knead, the flour will start to absorb the excess moisture. You'll notice the dough becoming less sticky and more manageable. Stop adding flour as soon as the dough reaches the desired consistency – slightly tacky but elastic and able to hold a shape. Overworking the dough after adding flour can tighten the gluten too much, resulting in a tough crumb. Focus on gentle incorporation and assessment rather than aggressive kneading once the flour is added. This careful method is vital for successful wet bread dough troubleshooting without compromising texture.
The "Pinch Test" for Assessing Dough Consistency After Adding Flour
After adding flour and kneading it in, you can use a variation of the "pinch test" or "windowpane test" to assess if the consistency is improving and the gluten is developing. Take a small piece of dough and gently stretch it between your fingers. If it stretches without tearing and you can see light through the thin membrane (the windowpane effect), the gluten is developing well, and the dough is likely approaching the right consistency.
Another simple pinch test involves pinching the dough between your thumb and forefinger. Properly hydrated dough at this stage might stick slightly, but it should also have some resistance and elasticity. If it just smears or sticks heavily without any structure, it likely needs a bit more flour and kneading. Conversely, if it feels very stiff and tears immediately, you might have added too much flour or over-kneaded. Use this test as a guide during wet bread dough troubleshooting to gauge when to stop adding flour.
Adjusting Kneading Techniques for Wet Dough
Handling overly wet dough can be challenging with traditional kneading methods, where the dough is pushed and folded on a floured surface. The stickiness makes it difficult to work with. Fortunately, there are specific kneading techniques that are better suited for managing wet dough and promoting gluten development without excessive sticking.
Techniques like the "slap and fold" method, often used for high-hydration doughs, involve picking up the dough, slapping it onto the work surface, and folding it over itself. While messy initially, this method is very effective at developing gluten in wet dough. Another simple adjustment is to rely more heavily on a dough scraper to manipulate and fold the sticky dough, minimizing direct contact with your hands. Adapting your kneading technique is a practical form of wet bread dough troubleshooting.
The Importance of Proper Kneading for Developing Gluten in Wet Dough
Even when dough is too wet, proper kneading is still essential for developing the gluten network. Gluten provides the structure that allows the dough to trap gases and rise, creating that desirable airy crumb. Kneading aligns the gluten proteins and makes the dough elastic.
Overly wet dough can make gluten development slower and more challenging because the excess water can interfere with the initial bonding of gluten proteins. However, with the right technique and sufficient time, the gluten will eventually strengthen. Techniques that involve stretching and folding the dough, like the slap and fold or using a stand mixer with a dough hook, are particularly effective at building strength in wet dough. Don't give up on kneading; it's a critical step in wet bread dough troubleshooting and achieving a good loaf structure.
Using a Dough Scraper to Manage Sticky Dough During Kneading
A bench scraper or dough scraper is an invaluable tool when dealing with wet and sticky dough. Instead of constantly flouring your hands and the work surface (which can inadvertently add too much flour to the dough), use the scraper to manage the stickiness.
You can use the scraper to lift and fold the dough during kneading, minimizing how much it sticks to your hands. If the dough is spreading out, use the scraper to gather it back into a ball. You can also use it to scrape sticky residue from your work surface. Keeping the scraper clean and slightly wet (not floured) can help prevent sticking. Relying on tools like the scraper is a smart strategy for handling sticky dough during wet bread dough troubleshooting.
Incorporating Rest Periods (Autolyse) for Improved Hydration
Sometimes, simply giving the dough time to rest can help manage its hydration and make it easier to work with. The autolyse technique, which involves mixing just the flour and water and letting it rest for 20-60 minutes before adding other ingredients and kneading, allows the flour to fully hydrate and the gluten to start developing on its own.
While autolyse is typically used to improve dough handling and gluten development from the start, a shorter rest period can also be beneficial if you find your dough is too wet after initial mixing. Letting the dough rest for 10-15 minutes, covered, can give the flour more time to absorb the liquid, potentially making the dough less sticky and easier to knead. This passive absorption can sometimes slightly improve the dough's consistency, aiding in wet bread dough troubleshooting.
Dealing with High Humidity: Adjusting Liquid Levels in Your Recipe
If you suspect high humidity is contributing to your wet dough, a proactive approach in future bakes is to slightly reduce the amount of liquid in your recipe. On a very humid day, you might start with 5-10% less liquid than the recipe calls for. For example, if a recipe requires 300ml of water, start with 270-285ml.
You can always add more liquid later if the dough feels too dry, but it's much harder to take liquid away once it's added. By starting with slightly less liquid when humidity is high, you account for the extra moisture the flour and dough will absorb from the air. This preventative measure is often the most effective way to avoid wet bread dough troubleshooting caused by environmental factors.
Preventing Wet Dough in the Future: Tips and Best Practices
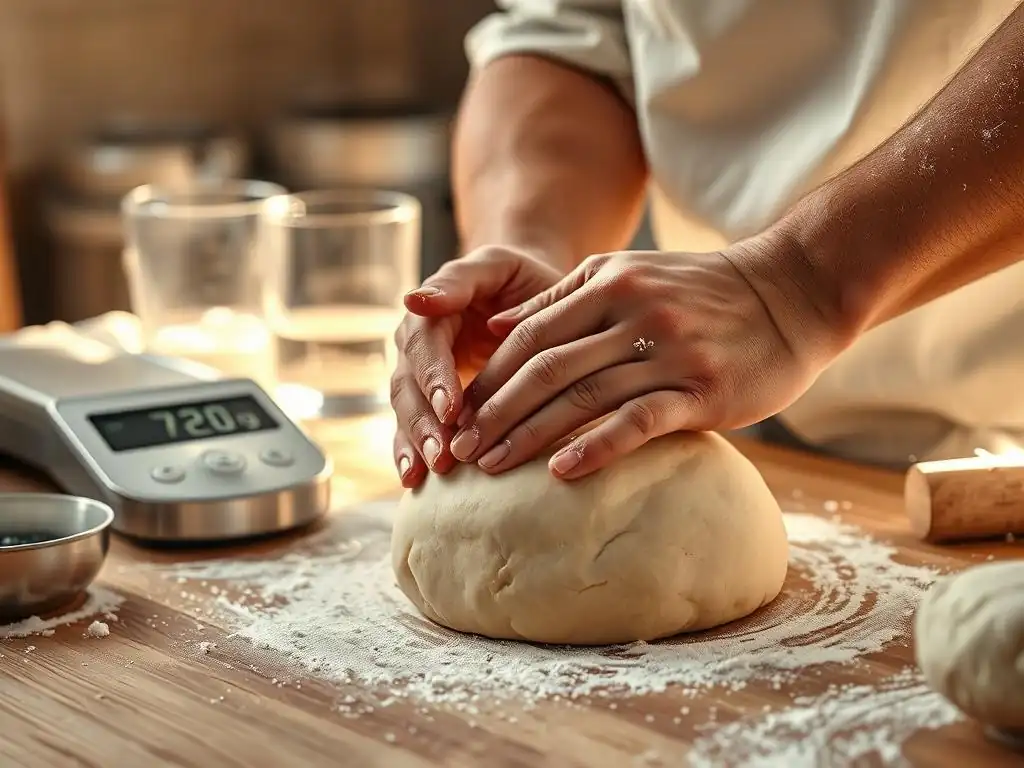
While knowing how to fix wet dough is valuable, preventing it from happening in the first place is even better. By adopting consistent practices and paying attention to key details, you can significantly reduce the likelihood of encountering overly wet dough in your bread baking.
Developing good habits in the kitchen, from accurate measurement to understanding your ingredients and environment, will lead to more consistent and successful baking results. These tips focus on precision and awareness, empowering you to take control of your dough hydration from the very beginning and minimize the need for wet bread dough troubleshooting.
Investing in Accurate Measuring Tools for Baking
The single most impactful step you can take to prevent wet bread dough is to measure your ingredients accurately, especially flour and liquid. Investing in a reliable digital kitchen scale is highly recommended. Scales provide much more consistent results than volume measurements (cups).
For example, using a scale ensures that 500 grams of flour is always 500 grams, whereas a cup measure can vary by as much as 30 grams depending on how the flour is scooped. This difference of 30 grams can significantly impact the dough's hydration, potentially turning a perfectly balanced recipe into a sticky mess. Precise liquid measurement, ideally also by weight or with a proper liquid measuring cup used correctly, is equally important. Accurate tools are the foundation of consistent baking and the best defense against wet bread dough problems.
Understanding Your Flour: Choosing the Right Type and Adjusting Accordingly
Get to know the flour you commonly use. Different brands and types of flour have varying protein content and absorption rates. A recipe developed for a high-protein bread flour might require less water if you use a lower-protein all-purpose flour to achieve the same dough consistency.
Pay attention to how your preferred flour behaves and how much liquid it seems to absorb. Some flour packages even provide information about protein content. If you switch brands or types of flour, be prepared to potentially adjust the amount of liquid slightly. Starting with slightly less liquid and adding more if needed is a safer approach than starting with too much and needing to perform wet bread dough troubleshooting.
Controlling Humidity in Your Baking Environment
While you can't control the weather, you can take steps to minimize the impact of high humidity in your kitchen. Avoid baking on extremely humid days if possible, or at least keep windows and doors closed to prevent moist air from entering. Running a dehumidifier in or near your kitchen can also help.
Storing your flour in an airtight container will prevent it from absorbing excess moisture from the air before you even use it. While these measures might seem small, they can make a difference, especially if you live in a consistently humid climate. Being mindful of your environment is part of comprehensive wet bread dough troubleshooting prevention.
Following Recipes Carefully: The Importance of Precise Measurements
This point circles back to accuracy but is worth emphasizing. When using a new recipe, especially one that provides ingredient weights, follow it precisely. Avoid making substitutions or arbitrary adjustments to the liquid or flour amounts until you have successfully made the recipe as written at least once.
If the recipe calls for measuring by volume (cups), use the correct technique: lightly spoon flour into the cup and level it off without packing. For liquids, use a clear liquid measuring cup on a level surface and read at eye level. Diligent adherence to the recipe's specified measurements is fundamental to achieving the intended dough consistency and avoiding the need for wet bread dough troubleshooting.
Experimenting with Hydration Levels: Finding Your Ideal Dough Consistency
Once you gain confidence, don't be afraid to experiment slightly with hydration levels to find what works best for you and your environment. Start with a standard recipe and note the dough consistency. If you prefer a slightly wetter dough for a more open crumb, try increasing the liquid by just 1-2% in your next bake.
Conversely, if you consistently find a recipe's dough too sticky, try reducing the liquid by a small percentage (e.g., 2-3%). Keep detailed notes on your adjustments and the resulting dough consistency and bread quality. This iterative process helps you understand how hydration affects dough and allows you to tailor recipes to your preferences and conditions, becoming adept at anticipating and preventing wet bread dough issues.
When to Embrace Wet Dough: High-Hydration Breads
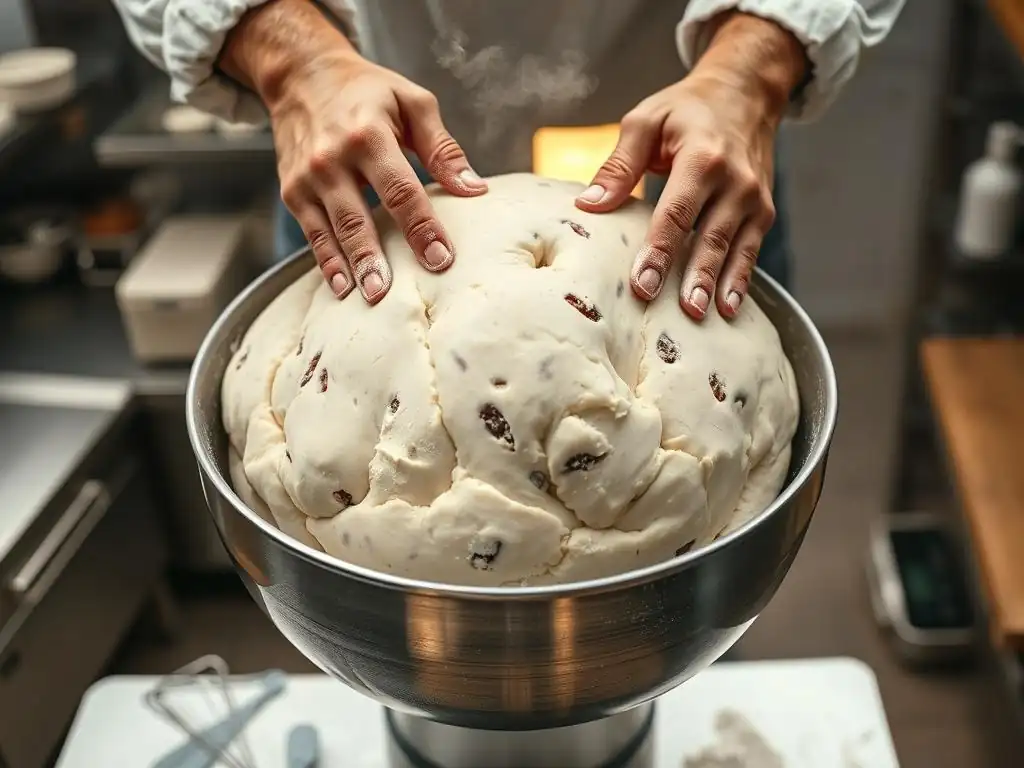
While this guide focuses on troubleshooting unintentionally wet dough, it's important to recognize that some bread recipes intentionally call for very high hydration levels. These doughs are designed to be wet and sticky, and their handling requires different techniques than those used for drier doughs.
High-hydration doughs, often above 70% water relative to flour, produce breads with unique characteristics, such as a very open, airy crumb and a crispy crust. Learning to handle these intentionally wet doughs is a step forward in your baking journey, opening the door to new types of bread. This isn't about wet bread dough troubleshooting as a problem, but rather mastering wet dough as a technique.
Understanding the Benefits of High-Hydration Doughs
High-hydration doughs offer several advantages that contribute to desirable bread characteristics. The increased water content allows for a more complete gelatinization of starches during baking, contributing to a moister, more open interior (crumb). The higher moisture also promotes a crispier crust because there is more water available to turn into steam in the hot oven.
Furthermore, the extra water facilitates enzymatic activity during fermentation, which can enhance the flavor profile of the bread. While challenging to handle initially, the unique texture and flavor achieved with high-hydration doughs, like those in artisan loaves, make the effort worthwhile. Understanding these benefits can inspire you to tackle wet doughs intentionally after mastering wet bread dough troubleshooting for standard recipes.
Recipes That Thrive with Wet Dough: Sourdough, Ciabatta, Focaccia
Many popular artisan bread types are made using high-hydration doughs. Sourdough loaves, particularly those with a rustic, open crumb, often use hydration levels of 70% or higher. The wetness contributes to the characteristic irregular hole structure.
Ciabatta, the Italian slipper bread, is another prime example, frequently made with hydration levels ranging from 75% to as high as 85% or even 90%. This extreme wetness is what gives ciabatta its incredibly open, airy crumb and irregular shape. Focaccia, while sometimes less hydrated, is also often made with a relatively wet dough that is poured or spread into a pan rather than shaped. These examples showcase that wet dough isn't always a problem requiring wet bread dough troubleshooting; sometimes, it's the key to a specific type of bread.
Techniques for Handling and Shaping High-Hydration Doughs
Handling intentionally wet dough requires different techniques than those used for traditional kneading and shaping. Since the dough is too sticky to knead vigorously on a floured surface, methods like stretch and folds are commonly employed. This involves wetting your hands and gently stretching and folding the dough in its bowl or container every 30-60 minutes during the bulk fermentation period.
Shaping high-hydration dough also requires practice. Minimal flouring of the work surface and hands, using a bench scraper to help manipulate the dough, and working quickly and confidently are key. Sometimes, the dough is simply poured or scraped into a proofing basket or baking pan rather than being tightly shaped. Learning these specific techniques is essential for successfully working with high-hydration doughs and moving beyond basic wet bread dough troubleshooting.
Conclusion: Mastering Dough Hydration for Better Bread Baking
Dealing with wet bread dough is a common hurdle in the journey of bread baking, but it's one that can be overcome with knowledge and practice. By understanding the common causes – from inaccurate measurements and environmental humidity to flour variations and recipe issues – you can better diagnose the problem when it arises. Learning to identify the signs of overly wet dough through touch and sight is also a crucial skill.
Armed with effective wet bread dough troubleshooting techniques, such as adding flour strategically, adjusting kneading methods, or using rest periods, you can confidently correct dough consistency. More importantly, by adopting preventative measures like using accurate measuring tools, understanding your ingredients, and controlling your environment, you can minimize the chances of wet dough problems in future bakes. Remember that intentionally wet, high-hydration doughs are a different category, requiring specific techniques to achieve desired results like open crumbs and crispy crusts.
Key Takeaways for Avoiding Wet Bread Dough Problems
To summarize the path to avoiding frustratingly wet dough, remember these key points:
- Prioritize accurate measurement, preferably using a digital scale for both flour and liquid.
- Be aware of the impact of humidity on your flour and dough, adjusting liquid slightly on humid days.
- Understand that different flours absorb liquid differently and adjust recipes accordingly if necessary.
- Use reliable, well-tested recipes.
- If dough is too wet, add flour gradually, a tablespoon at a time, kneading gently until the desired consistency is reached.
- Utilize tools like a bench scraper to manage sticky dough during kneading.
- Consider short rest periods if the dough is initially very sticky.
Mastering dough hydration is a continuous learning process. Each bake offers an opportunity to refine your skills and better understand how ingredients and environment interact. By applying these wet bread dough troubleshooting tips and best practices, you'll be well on your way to consistently achieving perfectly hydrated dough and baking delicious bread.
Continued Learning: Resources for Bread Baking Success on BakeWithEase.com
Improving your bread baking skills, including mastering dough hydration and wet bread dough troubleshooting, is a rewarding journey. BakeWithEase.com is dedicated to providing you with the resources you need every step of the way. Explore our extensive collection of simple recipes, detailed technique guides, and helpful tips designed for bakers of all levels.
Whether you're looking for more information on specific kneading methods, understanding gluten development, or exploring recipes for various bread types, you'll find valuable content to support your baking endeavors. Continue practicing, experimenting, and learning with us, and you'll soon be confidently handling all types of dough, from perfectly hydrated sandwich loaves to challenging high-hydration artisan breads. Happy baking!
Frequently Asked Questions
What causes bread dough to be too wet?
Bread dough can be too wet due to excessive water in the recipe or incorrect flour measurements. It's essential to follow the recipe closely and measure your ingredients accurately for the best results.
How can I fix wet bread dough?
To fix wet bread dough, you can gradually add more flour until you achieve the desired consistency. Be cautious not to add too much at once; a little goes a long way!
Is wet dough always a bad thing?
Not necessarily! Some bread types, like ciabatta or focaccia, benefit from a wetter dough. However, if your recipe calls for a firmer dough, then adjustments may be needed.
What are the signs of over-hydrated dough?
Signs of over-hydrated dough include a sticky texture that doesn't hold shape and difficulty in kneading. This often indicates that too much water has been added.
Can temperature affect dough hydration?
Yes, temperature can significantly affect dough hydration. Warm environments can cause the dough to absorb more moisture, while cooler temperatures may lead to a drier texture. Always work in a controlled climate for best results.
Final Reflection: The Unexpected Joys of a Perfectly Kneaded Loaf
The struggle with wet bread dough is far more common than you might think, a silent frustration shared by countless bakers. It's not just about achieving the perfect texture; it's about the entire baking experience, the journey from flour to fragrant, golden crust. Mastering this seemingly small detail unlocks a world of culinary possibilities and a deeper appreciation for the art of bread making.
The impact of a consistently successful bake extends beyond the individual. It's about sharing the fruits of your labor, the simple pleasure of warm bread with loved ones, the satisfaction of creating something beautiful and nourishing from humble ingredients. Bread is the staff of life,
they say, and I believe it's true, not just for sustenance, but for the connection it fosters and the joy it brings. The frustration of a wet dough, therefore, is more than just a baking mishap; it's a barrier to this shared experience.
So, what will you do with this newfound knowledge? Don't let a wet dough discourage you. Embrace the challenge, experiment with different flour types, and learn to read the subtle cues your dough is giving you. Each failed loaf is a lesson learned, a step closer to that perfect, golden crust. Remember the feeling of that first perfectly risen loaf, the aroma filling your kitchen, and let that feeling fuel your next baking adventure. You have the power to transform frustration into triumph, one knead at a time.
Unlock Perfectly Kneadable Dough!
Thanks for taking the time to learn about the secrets of perfect bread dough! You've now got the knowledge to conquer that frustratingly wet dough. Ready to put your new skills to the test?
- Try our recommended flour adjustments: Start with the recommended changes outlined in the article to see how your dough transforms. Don't be afraid to experiment a bit!
- Share your baking triumphs (or challenges!) with our community in the comments below. Let's learn from each other's experiences!
- Consider exploring other BakeWithEase articles on bread baking techniques to further refine your skills.
What unique tip do you have for achieving the perfect dough consistency?