
Get a Beautifully Soft Crust on Your Vegan Loaves

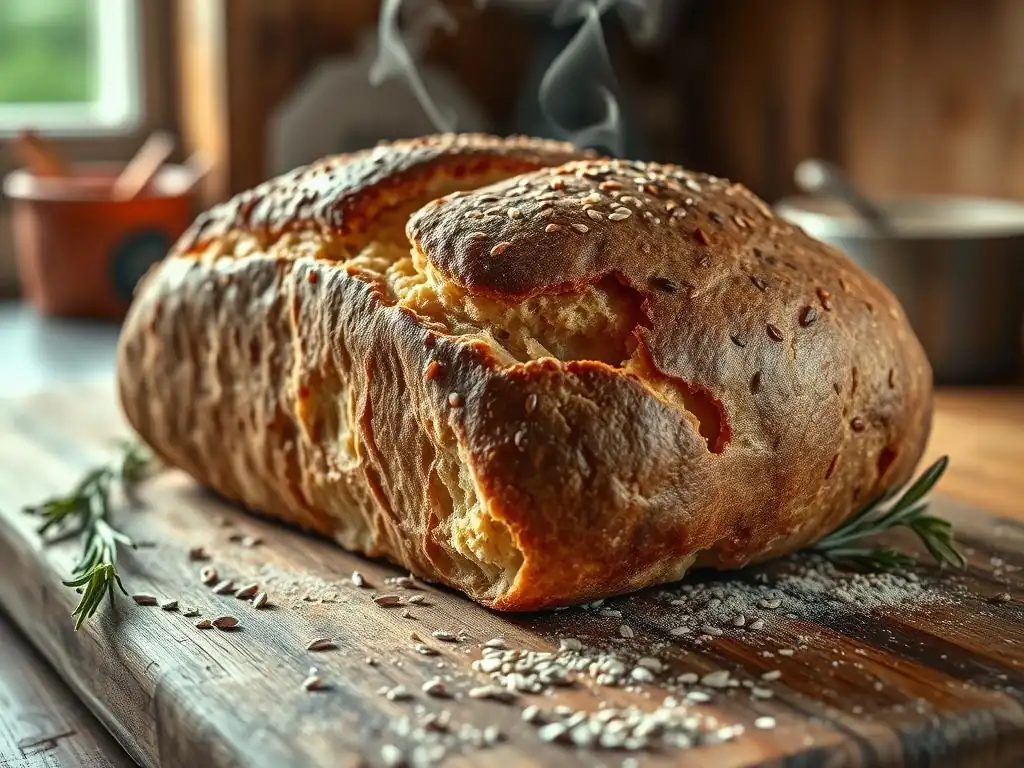
Welcome to BakeWithEase, your trusted guide to effortless and delightful baking! Ever wondered how to achieve that perfectly soft crust on your vegan loaf? We're about to unlock the secrets! Dive in to discover simple techniques and expert tips that will transform your bread baking. Prepare to be amazed – your dream vegan loaf is just a scroll away!
- Introduction: Achieving the Perfect Soft Crust on Vegan Loaves
- Understanding Vegan Loaf Crust Development
- Key Factors for a Soft Vegan Loaf Crust
- Techniques for Achieving a Soft Crust on Vegan Loaves
- Post-Baking Tips for Maintaining a Soft Vegan Loaf Crust
- Vegan Loaf Soft Crust Troubleshooting
- Soft Crust Vegan Loaf Recipe: A Step-by-Step Guide
- Conclusion: Enjoying Your Soft-Crusted Vegan Loaf
-
Frequently Asked Questions
- How can I achieve a softer crust on my vegan loaf?
- What role does hydration play in vegan loaf crust softness?
- Are there specific ingredients that contribute to a softer vegan loaf crust?
- What oven temperature is recommended for baking vegan loaves with a soft crust?
- Why is using steam important for achieving a soft crust on vegan loaves?
- Final Reflection: The Unexpected Joy of a Perfectly Soft Vegan Loaf Crust
- Unleash Your Inner Baker: Craft Perfectly Soft Vegan Loaves!
Introduction: Achieving the Perfect Soft Crust on Vegan Loaves
Many bakers dream of that perfect loaf with a tender, yielding crust. While often associated with traditional breads, achieving a beautifully soft crust on your vegan loaves is entirely possible and incredibly rewarding. Unlike some conventional breads that rely on dairy or eggs for softness, vegan baking requires a nuanced understanding of dough structure, hydration, and baking environment to prevent the crust from becoming overly thick or hard.
This guide will walk you through the essential principles and techniques to unlock the secret to a delightful, soft exterior on your homemade vegan bread. We'll explore the science behind crust formation in plant-based doughs, the critical role of hydration and fermentation, and practical tips for baking and storage that will elevate your vegan loaf crust softness to new levels.
Understanding Vegan Loaf Crust Development
The Science Behind Vegan Loaf Crust Texture
Crust formation in bread, including vegan loaves, is primarily a result of the Maillard reaction and caramelization occurring on the dough's surface when exposed to high heat. As the loaf bakes, moisture evaporates from the surface, creating a dry layer that then undergoes these chemical changes. Starches gelatinize and sugars brown, contributing to color, flavor, and the initial rigidity of the crust.
In vegan doughs, the absence of animal fats or proteins means that the structure and moisture retention mechanisms rely solely on the interaction of flour, water, and plant-based fats (if used). Controlling the rate of moisture loss from the surface during baking is key to influencing the final texture, aiming for a slower evaporation to promote a thinner, more flexible crust rather than a thick, brittle one.
The internal temperature of the crust also plays a crucial role. Below 100°C (212°F), the crust remains relatively soft due to the presence of water. As the temperature rises above this point, water evaporates entirely, and the crust hardens and becomes more rigid.
To achieve vegan loaf crust softness, the goal is often to limit the time the crust spends at these higher, moisture-free temperatures or to introduce elements that retain moisture on the surface longer. For instance, applying steam early in the bake significantly delays this hardening process, keeping the surface pliable while the loaf expands, leading to a thinner, softer crust upon cooling.
The Impact of Fermentation on Vegan Crust Characteristics
Fermentation is a powerhouse process in bread making, and its influence extends significantly to the final crust texture of your vegan loaf. During fermentation, yeast (or natural leaven in a vegan sourdough context) consumes sugars and produces carbon dioxide gas, which makes the dough rise. This activity also develops gluten structure, which is essential for trapping gas and giving the loaf its shape and crumb. A well-fermented dough will have a strong, elastic structure capable of expanding significantly in the oven (oven spring). This vigorous expansion helps to stretch the developing crust thinly.
Furthermore, fermentation breaks down complex starches and proteins into simpler compounds. Some of these simpler sugars contribute to better browning during baking, which can enhance flavor and color. Critically for vegan loaf crust softness, proper fermentation also contributes to the dough's overall hydration and strength. An under-fermented dough may not expand sufficiently, leading to a thicker, denser crust. An over-fermented dough might collapse slightly, also resulting in a less desirable crust structure. Aiming for optimal fermentation ensures the dough has the right balance of strength and extensibility for a beautiful, soft crust.
Key Factors for a Soft Vegan Loaf Crust
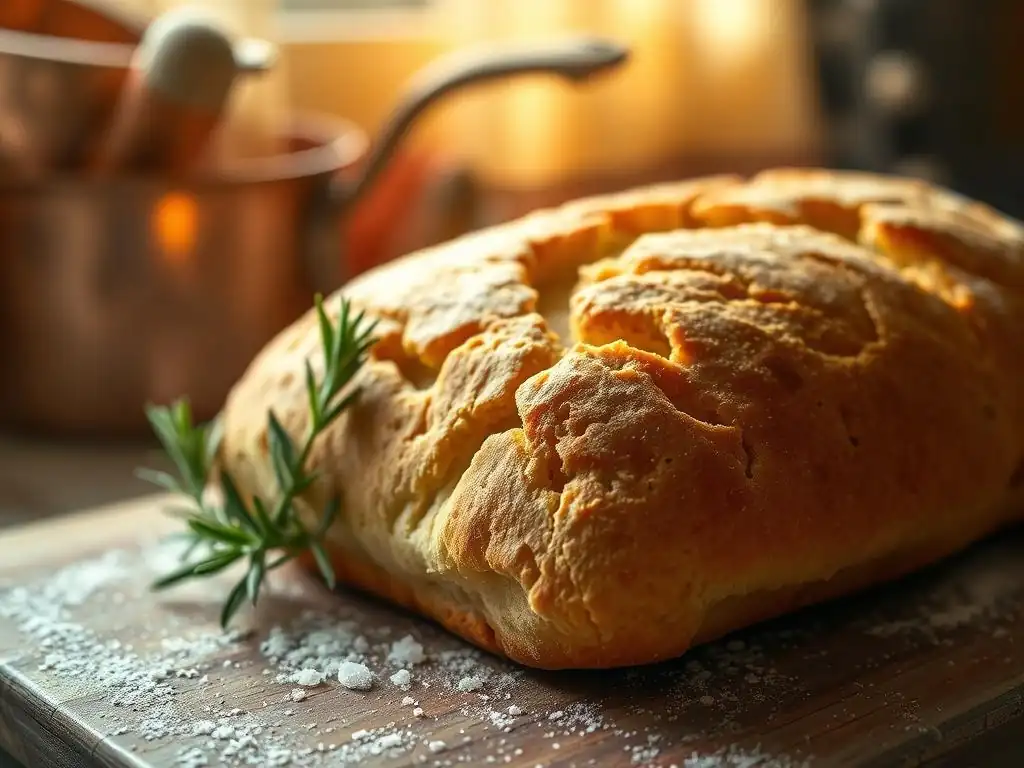
Hydration Levels and Their Effect on Vegan Crust
Hydration, or the ratio of water to flour in your dough, is perhaps one of the most impactful factors determining vegan loaf crust softness. Doughs with higher hydration levels (typically 75% or more) contain more water. This extra moisture takes longer to evaporate during baking. While the loaf's interior bakes, the surface stays moist for a longer period, delaying the hardening process and allowing the crust to remain thinner and more pliable. Imagine a dough with 80% hydration compared to one at 60%; the wetter dough has significantly more water to lose before the surface dries out and hardens.
Working with high-hydration vegan doughs can be challenging – they are often sticky and require different handling techniques like stretch and folds or coil folds rather than traditional kneading. However, the payoff in achieving a tender vegan loaf crust softness is substantial. The increased moisture also contributes to a more open and airy crumb structure inside the loaf, which complements the soft crust beautifully. Adjusting hydration by even 5-10% can make a noticeable difference in the final crust texture.
Flour Selection: Choosing the Right Grain for a Tender Crust
The type of flour used in your vegan loaf recipe significantly influences gluten development, hydration capacity, and ultimately, crust texture. All-purpose or bread flour, with moderate to high protein content (around 10-13%), develops sufficient gluten structure to support the loaf's shape and oven spring, which helps create a thinner crust. However, using a blend of flours can often yield even better results for vegan loaf crust softness.
Adding a percentage of softer flours like spelt or whole wheat (though whole wheat will also contribute to a thicker crust if used in large quantities) can sometimes impact crust texture. Flours with lower protein might result in a less chewy crust.
For optimal vegan loaf crust softness, combining a strong bread flour with a portion of a slightly softer wheat flour or even a small amount of a flour like oat flour (ensure it's certified gluten-free if needed) can alter the protein network and starch composition in a way that promotes a more tender bake. Experimenting with blends, for example, using 80% bread flour and 20% spelt flour, can reveal new dimensions of texture.
Scoring Techniques for Optimal Crust Expansion
Scoring, the act of cutting the surface of the dough before baking, isn't just for aesthetics; it's a functional technique crucial for controlling oven spring and influencing vegan loaf crust softness. As the loaf bakes, the rapidly expanding gases inside need an escape route. If the dough isn't scored, the crust will break randomly at the weakest points, often resulting in an uneven, thick, and sometimes tough crust. Proper scoring directs this expansion, allowing the loaf to rise predictably and fully.
When a loaf expands through a clean score, the dough surface stretches thinly along the edges of the cut. This controlled stretching prevents the crust from tearing haphazardly and encourages a more even development. For achieving a soft crust, sharp, deliberate cuts are essential. A shallow score might not open enough, restricting expansion. A deep, well-placed score allows maximum oven spring, stretching the potential crust surface area and resulting in a thinner, more delicate crust after baking. Aim for cuts about 1/2 inch deep, depending on the dough's hydration and tension.
The Role of Steam in Crust Formation
Steam is arguably the most critical element for achieving a soft, thin crust on any artisan-style bread, including vegan loaves baked in a home oven. When a loaf is introduced to a hot, steamy environment, the moisture in the air condenses on the cooler surface of the dough. This layer of moisture keeps the crust pliable for the first 10-15 minutes of baking, which is when the majority of oven spring occurs. Without sufficient steam, the surface dries out and hardens too quickly, essentially creating a rigid cage that restricts the loaf's expansion.
The presence of steam allows the dough to expand fully before the crust sets. As the loaf grows, the still-moist surface stretches thinly. Once the steam is released (or evaporates), the temperature on the surface rapidly increases, the Maillard reaction and caramelization kick in, and the crust begins to brown and crisp. The key is that it starts this hardening process after the major expansion has happened, resulting in a thinner, more delicate crust. This is why baking methods that trap steam, like using a Dutch oven, are so effective for vegan loaf crust softness.
Techniques for Achieving a Soft Crust on Vegan Loaves
Baking in a Dutch Oven: Creating a Steamy Environment
Baking your vegan loaf in a preheated Dutch oven is one of the most effective ways to replicate a professional bakery's steam-injected oven environment at home. When the raw dough is placed inside the hot Dutch oven and the lid is sealed, the moisture evaporating from the dough itself becomes trapped within the pot. This creates an intensely steamy microclimate around the loaf during the crucial initial phase of baking (typically the first 20-25 minutes).
This trapped steam keeps the surface of the loaf moist and pliable, allowing it to expand fully and achieve maximum oven spring before the crust sets. Once the lid is removed, the remaining baking time in the dry heat allows the crust to brown and crisp up slightly, but because it was allowed to stretch thinly during the steamed portion, the final result is a much softer, less brittle crust compared to baking on an open tray. Preheating the Dutch oven to around 230°C (450°F) is standard practice to ensure immediate heat transfer and steam generation.
Utilizing Steam Injection in Home Ovens
If you're not using a Dutch oven, you can still create a steamy environment in your home oven to promote vegan loaf crust softness. One common method is to place a baking tray or cast-iron pan on the bottom rack of your oven while it preheats to a high temperature (e.g., 230°C / 450°F). Just before you place your scored loaf in the oven, carefully pour about 1 cup (240ml) of hot water into the preheated pan. This will instantly generate a burst of steam.
Another technique involves placing ice cubes directly onto the hot pan. The melting ice also produces steam. Be cautious when adding water or ice to a hot pan in a hot oven to avoid burns. Close the oven door quickly to trap the steam inside. Maintain this steamy environment for the first 15-20 minutes of baking, then vent the oven or remove the steam source for the remainder of the bake to allow the crust to dry and brown. This method effectively delays crust formation, contributing significantly to vegan loaf crust softness.
Cold Proofing for Enhanced Crust Development
Cold proofing, or retarding the final rise of your vegan loaf dough in the refrigerator (at temperatures typically between 4-7°C / 40-45°F) for an extended period (from 12 up to 48 hours), offers several benefits, including contributing to a softer crust. The cold temperature significantly slows down yeast activity, allowing for a longer fermentation period. This extended time allows enzymes to break down starches into simpler sugars and proteins into amino acids, enhancing flavor development.
From a crust perspective, cold proofing can impact the dough in a couple of ways. Firstly, it can make the dough easier to handle and score cleanly when it's cold, leading to better controlled expansion in the oven. Secondly, the slower fermentation can sometimes lead to a slightly different dough structure and moisture distribution, which, combined with proper baking techniques, can contribute to a more tender crust. It's not a direct cause of vegan loaf crust softness on its own, but it works synergistically with factors like hydration and steam to improve the overall crust quality.
Post-Baking Tips for Maintaining a Soft Vegan Loaf Crust
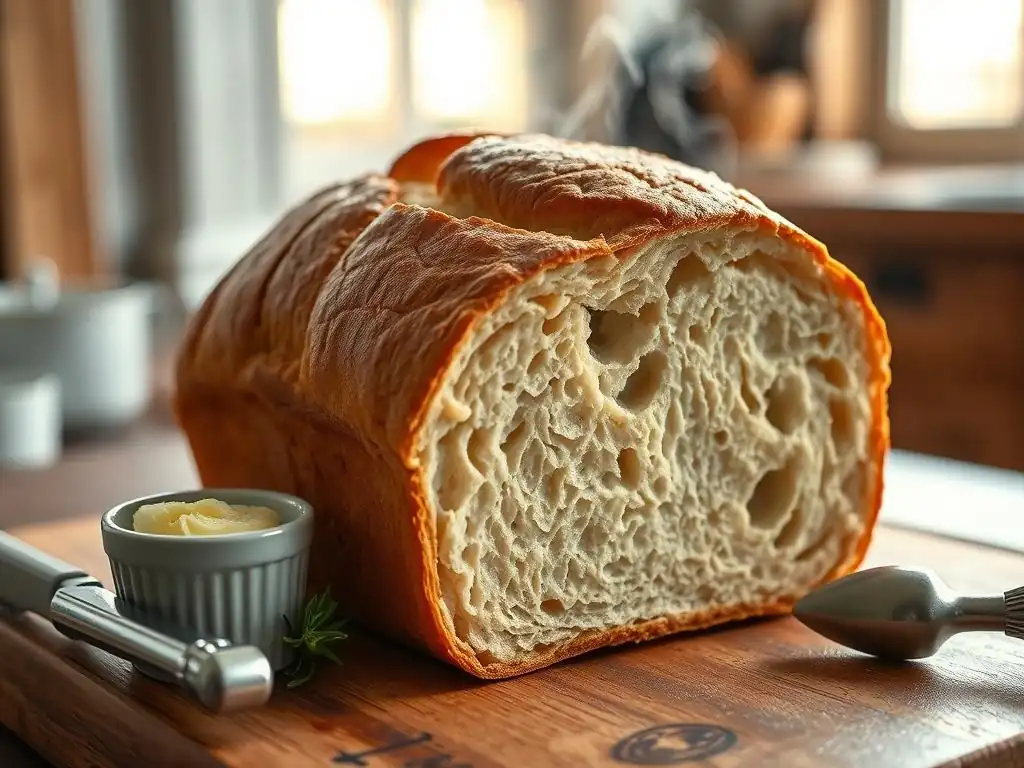
Cooling Your Vegan Loaf Properly
The cooling process is just as vital as the baking itself for achieving optimal vegan loaf crust softness. As soon as your loaf comes out of the oven, it's still undergoing significant internal changes. Moisture is migrating from the hot interior towards the cooler exterior, and starches are setting. Placing the hot loaf directly onto a solid surface will trap steam underneath, making the bottom crust soggy. More importantly for overall crust texture, the rapid cooling on a solid surface can cause condensation that softens the crust unevenly.
The correct way to cool your vegan loaf is on a wire rack, ensuring air circulation around the entire loaf. This allows steam to escape evenly, preventing sogginess and allowing the crust to set properly as it cools. Resist the urge to cut into the loaf too soon!
Cutting into a hot loaf releases steam from the interior, which can lead to a gummy crumb and a less desirable crust texture. Allow the loaf to cool completely to room temperature, which can take 2-3 hours for a standard-sized loaf, before slicing. This patient cooling process is key to preserving that hard-earned vegan loaf crust softness.
Storing Your Vegan Loaf to Preserve Crust Softness
Proper storage is essential to maintain the vegan loaf crust softness you worked hard to achieve. Once the loaf has cooled completely, the enemy of a soft crust is air circulation, which dries it out, and excessive moisture, which makes it rubbery. Storing the loaf correctly balances these two factors. Avoid refrigerating fresh bread, as the cold temperature accelerates starch retrogradation, making the bread stale and the crust hard much faster.
For short-term storage (1-2 days), wrapping the cooled loaf in a clean linen or cotton bread bag allows the crust to breathe slightly while protecting the crumb. If you need to store it longer, or if you prefer a softer crust over a crispier one, you can place the cooled loaf in a plastic bag or airtight container.
This will help retain moisture in the crust, keeping it softer, although it might sacrifice some crispness if it had any initially. For storage beyond a couple of days, slicing the cooled loaf and freezing the slices in an airtight bag or container is the best way to preserve both the crumb and the vegan loaf crust softness.
Vegan Loaf Soft Crust Troubleshooting
Problem: Crust is Too Thick
Possible Cause 1: High Oven Temperature
Baking at too high a temperature for too long can cause the crust to set too quickly and become excessively thick. For instance, baking a loaf at 250°C (480°F) for the entire duration without reducing the temperature can lead to this issue.
Possible Cause 2: Insufficient Steam
Lack of adequate steam during the initial baking phase allows the crust to dry out and harden prematurely, preventing the loaf from expanding fully and resulting in a thick crust. Using a dry baking sheet in a non-steamed oven is a common scenario.
Solution: Adjust Oven Settings & Increase Steam
Try reducing the oven temperature after the initial high-heat phase (e.g., drop from 230°C/450°F to 200°C/400°F after 20 minutes). Ensure you are using sufficient steam during the first 15-20 minutes of baking, either with a Dutch oven or by creating steam in your oven using a hot pan and water/ice.
Problem: Crust is Too Hard
Possible Cause 1: Over-Baking
Leaving the loaf in the oven for too long, even at the correct temperature, will continue to dry out the crust, making it excessively hard and brittle. A loaf baked for 50 minutes when 35-40 minutes was sufficient might have a hard crust.
Possible Cause 2: Low Hydration Dough
Doughs with significantly lower hydration (e.g., below 65%) naturally produce a thicker, harder crust because there is less internal moisture to keep the surface pliable during baking.
Solution: Reduce Baking Time & Increase Dough Hydration
Monitor your loaf's internal temperature (aim for 96-100°C / 205-210°F) rather than just relying on time. Reduce the overall baking time if the crust is consistently too hard. Consider increasing the hydration of your dough recipe by 5-10% in future bakes to see if that improves vegan loaf crust softness.
Problem: Crust is Uneven
Possible Cause 1: Uneven Oven Temperature
Hot spots or inconsistent temperatures within your oven can cause one part of the crust to bake faster and harder than another, leading to an uneven texture.
Possible Cause 2: Improper Scoring
Scores that are too shallow, unevenly spaced, or not sharp can restrict the loaf's expansion, causing the crust to tear unpredictably in areas not scored, resulting in uneven development and thickness.
Solution: Rotate Loaf During Baking & Improve Scoring Technique
Rotate your loaf halfway through the baking process (e.g., after the steam phase or after 20 minutes) to ensure even exposure to heat. Practice your scoring technique using a sharp lame or razor blade, aiming for clean, decisive cuts that are deep enough to allow controlled expansion.
Soft Crust Vegan Loaf Recipe: A Step-by-Step Guide
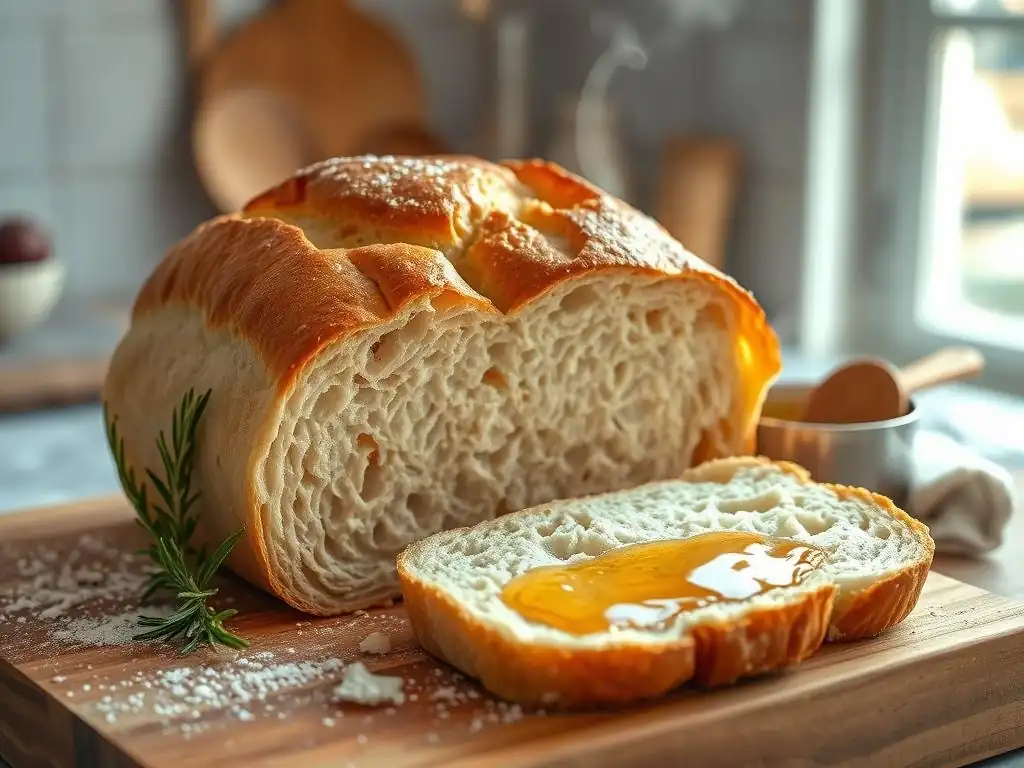
This recipe is designed to promote vegan loaf crust softness through proper hydration and steam.
Recipe Ingredients for a Soft Crust Vegan Loaf
- 500g Strong White Bread Flour
- 400g Lukewarm Water (80% hydration)
- 10g Fine Sea Salt
- 7g Instant Dried Yeast
- Optional: A tablespoon of olive oil or melted vegan butter for added richness and potential crust tenderness.
Step-by-Step Instructions for Baking a Soft Crust Vegan Loaf
- Mix: In a large bowl, whisk together the flour, salt, and instant yeast (and optional oil/butter if using). Pour in the lukewarm water. Mix with a spoon or spatula until a shaggy, wet dough forms. Ensure all the flour is hydrated.
- Autolyse (Optional but Recommended): Cover the bowl and let the dough rest for 20-30 minutes. This step allows the flour to fully absorb the water and gluten development to begin.
- Develop Strength: Perform a series of stretch and folds or coil folds over the next 1.5 to 2 hours. For stretch and folds, wet your hand, grab one edge of the dough, stretch it upwards, and fold it over the center. Rotate the bowl and repeat 3-4 times. Rest for 20-30 minutes. Repeat this process 3-4 times. For coil folds, wet your hands, lift the dough from the middle using both hands underneath, letting the ends fold under themselves. Rest for 20-30 minutes and repeat 3-4 times. This builds gluten structure in the wet dough.
- Bulk Fermentation: Cover the bowl and let the dough rise at room temperature (around 22-24°C / 72-75°F) until it has significantly increased in volume, roughly 50-75%. This could take 2-4 hours depending on your room temperature. The dough should look bubbly and feel airy.
- Shape: Gently turn the dough out onto a lightly floured surface. Be careful not to deflate it. Gently shape the dough into a round or oval loaf, creating some surface tension.
- Proof: Place the shaped loaf seam-side up into a floured banneton or a bowl lined with a floured tea towel. Cover and proof at room temperature for 30-60 minutes, or cold proof in the refrigerator for 12-24 hours for enhanced flavor and easier handling/scoring.
- Preheat Oven & Dutch Oven: About 30-45 minutes before baking, place a Dutch oven with its lid in your oven and preheat to 230°C (450°F).
- Score & Bake (Steamed): Carefully remove the hot Dutch oven from the oven. Gently invert the proofed loaf into the hot Dutch oven. Score the top of the loaf with a sharp blade. Place the lid back on the Dutch oven and return it to the oven. Bake for 20 minutes.
- Bake (Uncovered): Carefully remove the lid from the Dutch oven (steam will escape!). Reduce the oven temperature to 200°C (400°F). Continue baking for another 20-25 minutes, or until the crust is a nice golden-brown and the internal temperature reaches 96-100°C (205-210°F).
- Cool: Remove the loaf from the Dutch oven and place it on a wire rack to cool completely before slicing.
Tips for Perfecting the Recipe and Achieving Desired Crust Softness
- Don't skimp on hydration: The 80% hydration level is key for this recipe's vegan loaf crust softness goal. Resist the urge to add more flour during mixing or shaping if the dough feels too wet; embrace the stickiness and use wet hands or a bench scraper.
- Listen to your dough: Fermentation times are estimates. Watch the dough's volume increase and look for bubbles rather than sticking strictly to the clock. An under-fermented dough will be dense; an over-fermented one might collapse.
- Master the score: A confident, quick score with a sharp blade is crucial for good oven spring and a thin, even crust. Don't hesitate!
- Use the Dutch oven: While other steam methods work, a Dutch oven provides the most consistent and effective steam environment in a home oven for maximizing vegan loaf crust softness. Ensure it's properly preheated.
- Cool completely: Patience is a virtue! Cutting too early traps moisture and can make the crust rubbery. Wait the full 2-3 hours for a standard loaf.
Conclusion: Enjoying Your Soft-Crusted Vegan Loaf
Achieving that coveted soft crust on your vegan loaves is a journey that involves understanding the science of baking, mastering hydration, leveraging the power of steam, and handling your dough with care. By paying attention to factors like flour choice, scoring, and proper cooling, you can consistently bake loaves with a tender exterior that complements a beautiful, airy crumb.
Embrace the process, don't be afraid to experiment with slight adjustments to hydration or baking times, and most importantly, enjoy the delicious results of your efforts. There's immense satisfaction in pulling a perfectly baked, soft-crusted vegan loaf from your oven. So go forth, bake with ease, and delight in the wonderful world of vegan loaf crust softness!
Frequently Asked Questions
How can I achieve a softer crust on my vegan loaf?
Achieving a soft crust involves several techniques. Primarily, increasing the hydration level in your dough is crucial. Also, baking with steam in the oven can help.
What role does hydration play in vegan loaf crust softness?
Higher hydration means more moisture is present during baking. This moisture creates steam, which inhibits crust formation early on, leading to a softer final product.
Are there specific ingredients that contribute to a softer vegan loaf crust?
Yes, incorporating ingredients like oil or plant-based butter into the dough can help. These fats inhibit gluten development and contribute to a more tender and softer crust.
What oven temperature is recommended for baking vegan loaves with a soft crust?
Generally, a slightly lower temperature, around 350°F (175°C), is recommended. This allows the loaf to bake more slowly, promoting even cooking and a softer crust without burning.
Why is using steam important for achieving a soft crust on vegan loaves?
Steam creates a humid environment in the oven. This prevents the crust from drying out and hardening too quickly, resulting in a softer and more pliable final crust.
Final Reflection: The Unexpected Joy of a Perfectly Soft Vegan Loaf Crust
The quest for a flawlessly soft crust on a vegan loaf isn't just about texture; it's about unlocking a deeper connection to the joy of baking and sharing. Achieving that delicate, yielding exterior, free from dryness or toughness, elevates the entire baking experience, transforming a simple loaf into a culinary masterpiece. This seemingly small detail speaks volumes about the dedication and artistry involved in vegan baking.
The pursuit of the perfect vegan loaf crust has, for me, become a metaphor for the broader journey of vegan cooking itself. It's about embracing innovation, experimenting with ingredients, and never settling for less than the best. The subtle nuances of texture, the delicate balance of flavors—these are the details that truly matter. As Alice Waters so eloquently put it: Good food, good cooking, good eating are all about people, how we live together, how we treat each other, how we share our lives.
This sentiment extends beyond the kitchen table, encompassing the mindful creation and sharing of food, regardless of dietary restrictions.
Now, I invite you to take this journey with me. Don't just bake a vegan loaf; craft one. Pay attention to the subtle shifts in texture as you knead the dough, the gentle rise as it proofs, and the satisfying crackle as the crust forms. Share your creations with loved ones, and savor the moment. The perfectly soft crust is a testament to your dedication, a symbol of the joy that can be found in the simplest of things, and a delicious reminder of the power of mindful baking.
Unleash Your Inner Baker: Craft Perfectly Soft Vegan Loaves!
Thanks for joining us on this delicious journey into vegan baking! We hope you've gained valuable tips and tricks for achieving that coveted soft crust. Now it's time to put your newfound knowledge into practice!
- Bake your dream vegan loaf today! Experiment with your favorite flavors and techniques. Don't be afraid to get creative!
- Share your baking masterpiece on social media using #BakeWithEaseVeganLoaves – let's inspire each other!
- Explore other vegan recipes on our website for even more delicious inspiration.
What unique flavor combination will you try in your next vegan loaf? Let's hear your ideas in the comments below!