
Your First Perfect GlutenFree Bread: A Simple Guide

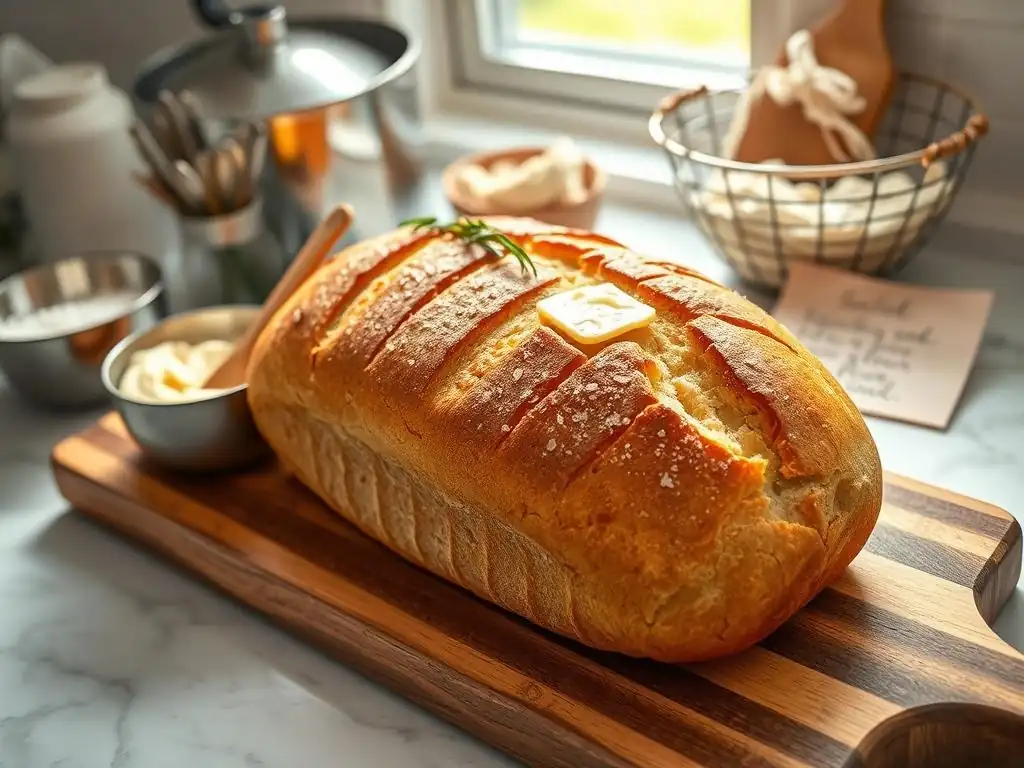
Welcome to BakeWithEase! Are you ready to unlock the secrets to delicious, perfectly risen gluten-free bread? It's easier than you think! Dive into our comprehensive Glutenfree bread baking guide and discover simple techniques that will transform your kitchen into a haven of freshly baked goodness. Forget dense, crumbly loaves – let's bake something amazing together!
- Mastering Gluten-Free Bread Baking: A Comprehensive Guide
- Understanding Gluten-Free Baking
- Gluten-Free Bread Baking Fundamentals
- Step-by-Step Gluten-Free Bread Recipe: Classic White Bread
- Troubleshooting Common Gluten-Free Bread Issues
- Expanding Your Gluten-Free Bread Baking Repertoire
- Storing and Enjoying Your Gluten-Free Creations
- Conclusion: Your Gluten-Free Baking Journey
-
Frequently Asked Questions
- What makes this GlutenFree Bread Baking Guide different from other guides?
- What key ingredients are essential for successful gluten-free bread baking?
- What are the most common mistakes beginners make when baking gluten-free bread?
- How can I ensure my gluten-free bread has a good rise and texture?
- Can I adapt this guide to bake different types of gluten-free bread?
- Final Reflection: The Joy of Gluten-Free Baking, Unlocked
- Unlock Your Gluten-Free Baking Potential!
Mastering Gluten-Free Bread Baking: A Comprehensive Guide
Understanding Gluten-Free Baking
Benefits of Gluten-Free Bread and Dietary Considerations
Baking gluten-free bread has become increasingly popular, not just for those diagnosed with celiac disease but also for individuals with gluten sensitivity or those simply seeking dietary variety. For the estimated 1% of the global population with celiac disease, strictly avoiding gluten is medically necessary to prevent damage to the small intestine. Symptoms can range from digestive issues to fatigue and nutrient deficiencies. Baking your own gluten-free bread ensures you have a safe and delicious option free from cross-contamination, a significant concern with commercially produced goods.
Beyond medical necessity, many people report feeling better physically when reducing or eliminating gluten. While not scientifically proven for everyone, some individuals experience less bloating, improved digestion, and increased energy levels. Baking at home gives you complete control over ingredients, allowing you to choose nutrient-dense flours, add beneficial seeds, and avoid artificial additives often found in store-bought alternatives. This makes homemade gluten-free bread a versatile and health-conscious choice for a growing number of households.
The Role of Gluten in Traditional Bread Making
In traditional wheat-based bread, gluten is the superhero. It's a protein network formed when glutenin and gliadin, proteins found in wheat flour, are hydrated and kneaded. This network is elastic and strong, capable of trapping the carbon dioxide gas produced by yeast during fermentation. Think of it like tiny balloons inflating within a stretchy dough matrix.
This trapped gas is what causes the bread to rise and develop its characteristic open, airy crumb structure. During baking, the heat sets the gluten network, giving the loaf its shape and texture. Without gluten, doughs tend to be more like batters or heavy pastes, lacking the elasticity needed to trap gas effectively and resulting in dense, crumbly, or gummy textures. Replacing this unique function is the primary challenge addressed in any gluten-free bread baking guide.
Essential Gluten-Free Bread Baking Ingredients
Successfully baking gluten-free bread relies on a careful selection of ingredients that replicate, as much as possible, the functions of gluten. The foundation is typically a blend of different gluten-free flours. These can include rice flour (white or brown), sorghum flour, millet flour, oat flour (certified gluten-free), buckwheat flour, and teff flour, each contributing unique flavors and textures. A common approach in gluten-free bread baking is to combine lighter flours with more nutrient-dense options.
Beyond flours, starches are crucial for tenderness and structure. Potato starch, tapioca starch (or tapioca flour), cornstarch, and arrowroot starch are commonly used to lighten the texture and improve the crumb. Binders, like xanthan gum, psyllium husk powder, or guar gum, are perhaps the most critical additions. They act as the "glue" that holds the dough together, mimicking gluten's ability to provide structure and elasticity, preventing the bread from crumbling apart. Yeast, sugar (to feed the yeast), salt (for flavor and yeast control), and liquid (water, milk, or plant-based milk) are also fundamental components, just as in traditional baking.
Gluten-Free Bread Baking Fundamentals
Selecting the Ideal Gluten-Free Flour Blend
Choosing the right gluten-free flour blend is fundamental to a successful gluten-free bread baking guide. Pre-mixed commercial blends are convenient and often formulated to work well in standard recipes, typically containing a mix of rice flour, sorghum flour, potato starch, and tapioca starch, plus a binder. However, results can vary significantly between brands.
For more control and customization, you can create your own blend. A common ratio for a versatile all-purpose gluten-free blend might be roughly 60% whole-grain flour (like brown rice, sorghum, or millet) combined with 40% starch (like tapioca or potato starch). For bread specifically, adding a small percentage of a protein-rich flour like almond or buckwheat flour can enhance flavor and nutrition. Experimentation is key, but starting with a balanced blend is a solid step in your gluten-free bread baking journey.
Binders, Starches, and Gums: Key Components for Gluten-Free Bread Structure
In gluten-free bread baking, binders are indispensable for providing the necessary structure and elasticity that gluten normally supplies. Xanthan gum is perhaps the most widely used, typically added at a rate of about 1% to 2% of the total flour weight in yeasted bread recipes. Psyllium husk powder (or whole psyllium husks ground finely) is another popular binder, often used at slightly higher percentages (around 2-3%) and known for creating a softer, more pliable dough and a less gummy crumb. Guar gum is sometimes used but can produce a slightly tougher texture and is less common in bread.
Starches, such as tapioca, potato, and cornstarch, play a different but equally vital role. They help to lighten the density of the gluten-free flours, contribute to a tender crumb, and improve the overall texture of the baked bread. Without sufficient starch, a gluten-free loaf can be heavy and dense. A typical gluten-free flour blend for bread might contain 20-40% starch to achieve a desirable texture. Getting the right balance of flours, starches, and binders is crucial for successful gluten-free bread baking.
Yeast and Leavening: Achieving the Perfect Rise
Achieving a good rise is a critical step in gluten-free bread baking. Active dry yeast and instant yeast are the most common leavening agents. Instant yeast is often preferred in gluten-free recipes as it can be mixed directly with the dry ingredients, simplifying the process. Like traditional bread, yeast feeds on sugar and produces carbon dioxide gas, which creates air pockets and causes the dough to expand.
The proofing process – allowing the dough to rise – is where the magic happens. Gluten-free doughs often require warmer temperatures and higher humidity to rise effectively compared to wheat doughs. Aim for a warm, draft-free spot, ideally around 75-85°F (24-29°C). Proofing times can vary, but a typical first rise for a gluten-free loaf might be 30-60 minutes, or until the dough has visibly increased in size (often not doubling like wheat dough). Over-proofing can cause the structure to collapse, so monitoring is important in your gluten-free bread baking guide.
Step-by-Step Gluten-Free Bread Recipe: Classic White Bread
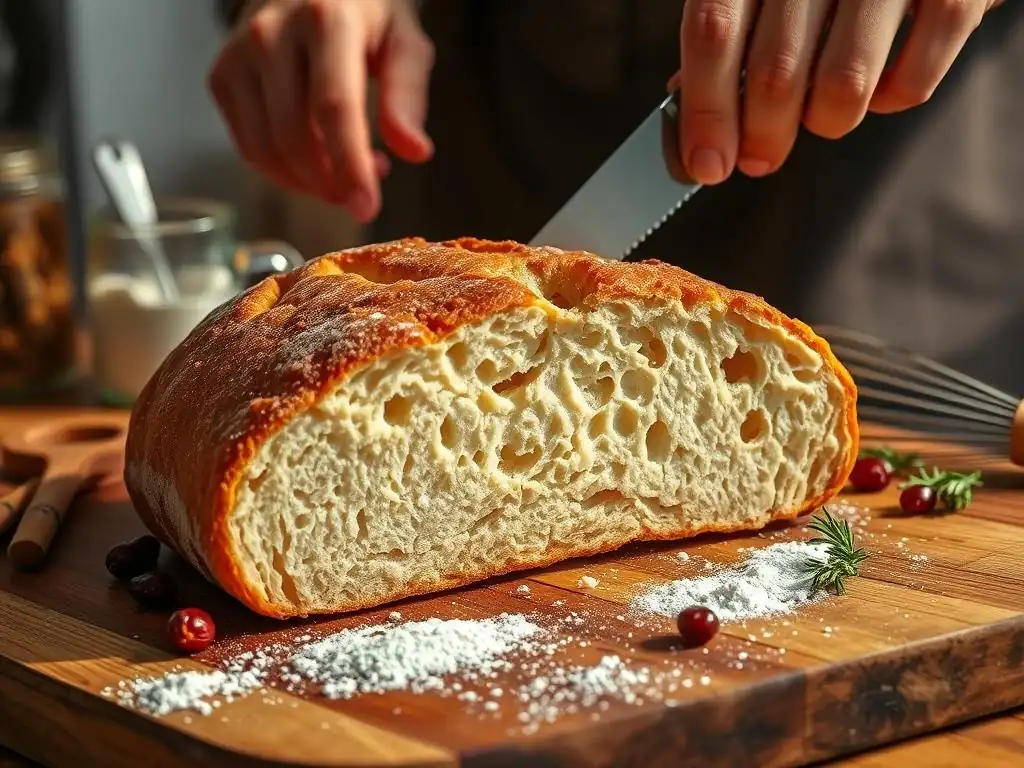
Recipe: Classic Gluten-Free White Sandwich Bread
This simple recipe provides a great starting point for your gluten-free bread baking journey. It yields one standard loaf (approx. 8.5 x 4.5 inches).
Ingredients:
- 400g Gluten-Free All-Purpose Flour Blend (containing rice flour, starch, and binder like xanthan gum)
- 2 tsp Instant Yeast
- 1 tbsp Sugar
- 1 tsp Salt
- 350-380ml Warm Water (105-115°F or 40-46°C)
- 2 tbsp Olive Oil or Melted Butter
- 1 tsp Apple Cider Vinegar (optional, helps with texture)
Step 1: Preparing Ingredients and Equipment
Before you begin, ensure all your ingredients are measured accurately. Gluten-free baking is often more precise than traditional baking, so using a kitchen scale for flour is highly recommended. Have your warm water ready within the specified temperature range – too hot will kill the yeast, too cold won't activate it properly. Grease and flour a standard loaf pan (8.5 x 4.5 inches) using a gluten-free flour blend or rice flour, or line it with parchment paper for easy removal. Preheat your oven later in the process, but have the rack positioned in the center.
Gather your equipment: a large mixing bowl, a whisk, a spatula or wooden spoon, and measuring cups/spoons. Some people prefer using a stand mixer with a paddle attachment for gluten-free doughs, as they are often more like thick batters than traditional kneadable dough. This preparation sets the stage for a smooth gluten-free bread baking process.
Step 2: Mixing the Dough: Achieving the Right Consistency
In your large mixing bowl, whisk together the gluten-free flour blend, instant yeast, sugar, and salt until well combined. In a separate jug, combine the warm water, olive oil (or melted butter), and apple cider vinegar (if using). Pour the wet ingredients into the dry ingredients.
Using a spatula, wooden spoon, or stand mixer, mix the ingredients until a cohesive, thick batter or soft dough forms. Gluten-free doughs are typically much wetter and stickier than wheat doughs; they will not form an elastic network or be kneadable in the traditional sense. Mix for about 3-5 minutes on medium speed with a stand mixer, or vigorously by hand, to ensure the binder (like xanthan gum) is fully hydrated and distributed, which is crucial for structure in this gluten-free bread baking guide. The consistency should resemble thick cake batter or very soft cookie dough.
Step 3: Proofing the Dough: Patience is Key
Once mixed, transfer the dough into your prepared loaf pan. Use a wet spatula or the back of a wet spoon to smooth the top evenly. Gluten-free doughs benefit from rising in the pan as they lack the structure to hold their shape during a free-form rise.
Cover the loaf pan loosely with plastic wrap or a damp tea towel. Place the pan in a warm, draft-free place to rise. An oven with the light on (but the oven off) or a proofing setting if available works well. The dough should rise until it is just peaking over the edge of the pan, which typically takes 45-75 minutes, depending on the temperature. Do not wait for it to double in size; it likely won't, and over-proofing can cause collapse during baking. While it proofs, preheat your oven to 375°F (190°C).
Step 4: Baking to Golden Perfection
Once the dough has adequately proofed (peaking just over the pan edge), place the loaf pan in the preheated oven. Bake for 45-60 minutes. The baking time can vary based on your oven and the specific flour blend used.
You'll know the bread is done when the crust is golden brown, and the internal temperature reaches 200-210°F (93-99°C) when tested with an instant-read thermometer inserted into the center of the loaf. If the top is browning too quickly before the inside is done, you can loosely tent the loaf with aluminum foil for the remaining baking time. Proper baking is essential for setting the structure in gluten-free bread baking.
Step 5: Cooling and Slicing
This is perhaps the most critical step for achieving the best texture in gluten-free bread: COOLING COMPLETELY. As soon as the bread comes out of the oven, carefully remove it from the loaf pan and place it on a wire cooling rack.
Allow the bread to cool completely to room temperature before slicing. This can take 2-3 hours, or even longer. While it cools, the internal structure continues to set, and moisture distributes evenly. Slicing warm gluten-free bread will often result in a gummy, dense texture. Patience here is rewarded with a much better crumb. Once fully cool, slice using a serrated knife.
Troubleshooting Common Gluten-Free Bread Issues
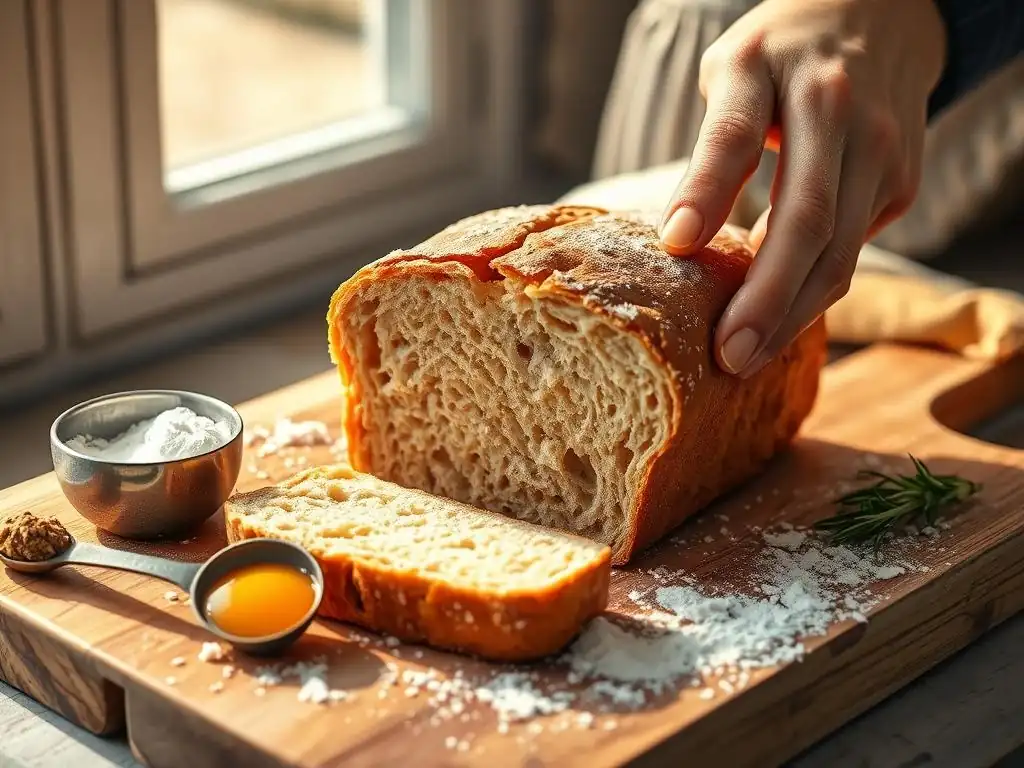
Common Problems: Dense Texture, Gummy Interior, and Insufficient Rise
New bakers following a gluten-free bread baking guide often encounter a few recurring issues. A dense texture is perhaps the most common complaint, often linked to insufficient leavening, incorrect hydration, or poor binder function. A gummy interior, another frequent problem, can result from under-baking, slicing the bread before it has fully cooled, or an imbalance in starches and flours.
Insufficient rise can stem from inactive yeast (check the expiration date and water temperature), a proofing environment that is too cold, or dough that is too stiff (needs more liquid). Sometimes, the issue is simply expecting a gluten-free loaf to rise and behave exactly like a wheat loaf; they generally won't achieve the same volume or open structure. Recognizing these common pitfalls is the first step in troubleshooting your gluten-free bread baking efforts.
Solutions: Adjusting Hydration, Flour Blends, and Baking Time
Addressing density and gumminess often involves adjusting the hydration. Gluten-free dough needs adequate moisture for starches and binders to hydrate properly. If your bread is dense, try adding slightly more liquid (start with an extra 10-20ml) next time. For gumminess, ensure you are baking the bread fully (check internal temperature!) and letting it cool completely. Adjusting your flour blend can also help; sometimes, increasing the proportion of starch or using a different binder like psyllium husk can improve texture.
For insufficient rise, double-check your yeast is active by proofing it separately in warm water with a pinch of sugar before adding to the dry ingredients (if using active dry yeast). Ensure your proofing environment is warm enough. If the dough seems too stiff during mixing, add liquid a tablespoon at a time until it reaches a thick batter consistency. Experimentation is key; small adjustments can make a big difference in your gluten-free bread baking.
Achieving a Light and Airy Texture: Expert Tips
While achieving the exact same open structure as wheat bread is challenging, you can significantly improve the lightness and airiness of your gluten-free loaves. One top tip is to ensure your wet ingredients are warm enough (but not too hot) to fully activate the yeast and hydrate the binders. Using a blend with a good amount of starch (around 30-40%) contributes to a lighter crumb.
Incorporating a small amount of apple cider vinegar or lemon juice (about 1 tsp per loaf) can help activate baking soda if your blend contains it and can also react with protein in some flours to create a slightly lighter texture. Finally, don't skip the binders – they are essential for trapping gas. Using psyllium husk can often yield a bread with a less gummy and slightly more open crumb than xanthan gum alone. Consistent practice following a reliable gluten-free bread baking guide will refine your technique.
Expanding Your Gluten-Free Bread Baking Repertoire
Enhancing Flavor: Incorporating Seeds, Herbs, and Spices
Once you've mastered a basic gluten-free loaf, you can easily enhance its flavor profile by incorporating various additions. Seeds are a popular choice, adding texture and nutty flavor. Try adding 2-4 tablespoons of sunflower seeds, pumpkin seeds, chia seeds, or flax seeds to the dry ingredients. A mix of seeds sprinkled on top before baking also adds visual appeal and crunch.
Herbs like rosemary, thyme, or dill (1-2 tablespoons fresh, or 1-2 teaspoons dried) can be mixed into the dough for a savory twist. Spices such as garlic powder, onion powder, or a pinch of black pepper can also elevate the flavor. For a slightly sweet bread, consider adding cinnamon or cardamom. These simple additions can transform a basic recipe and add exciting variety to your gluten-free bread baking adventures.
Exploring Gluten-Free Bread Varieties: Sourdough, Rolls, and Baguettes
The world of gluten-free bread baking extends far beyond simple sandwich loaves. Gluten-free sourdough is a rewarding, though more advanced, pursuit. It requires maintaining a gluten-free sourdough starter, typically fed with a blend of gluten-free flours and water. The process is similar to traditional sourdough but requires careful management of hydration and proofing due to the lack of gluten structure.
You can also adapt basic gluten-free bread recipes to create other shapes. Forming rolls or baguettes requires a dough that is slightly less wet than a standard loaf batter, often achieved by slightly reducing the liquid or increasing the flour/starch ratio. These shapes may require support during proofing and baking, such as using a baguette pan or shaping rolls closely together on a baking sheet. Expanding into these varieties is a natural next step in your gluten-free bread baking guide.
Gluten-Free Bread Options for Dietary Needs: Vegan and Dairy-Free
Many standard gluten-free bread recipes are already naturally dairy-free, often using water or plant-based milk (like almond, soy, or oat milk) and oil instead of butter. To make a gluten-free bread vegan, simply ensure that any fat used is plant-based (oil, vegan butter) and that the recipe doesn't call for eggs. Most basic yeast bread recipes are egg-free anyway, but some enriched gluten-free loaves might include them for added softness and structure.
If a recipe does call for eggs, common vegan substitutions in gluten-free baking include using a "flax egg" (1 tablespoon ground flaxseed mixed with 3 tablespoons water, let sit for 5-10 minutes) or commercial egg replacers. These substitutions help bind ingredients and add a little richness, ensuring that dietary restrictions don't limit your ability to enjoy delicious homemade gluten-free bread.
Storing and Enjoying Your Gluten-Free Creations
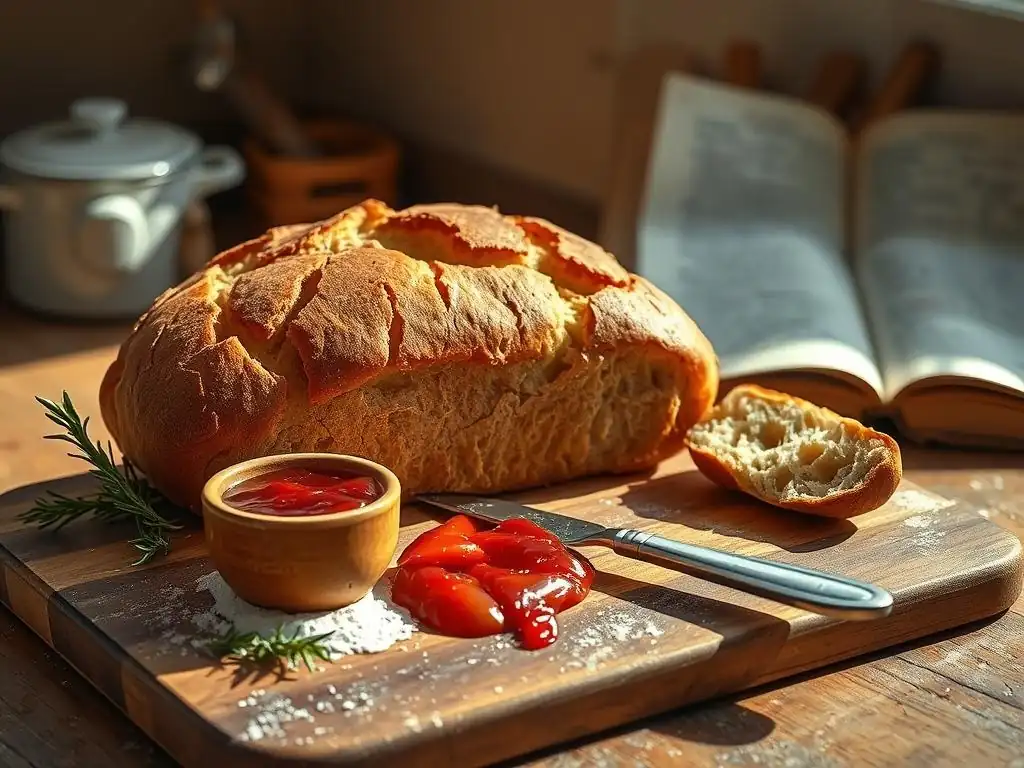
Maintaining Freshness: Optimal Storage Techniques
Gluten-free bread tends to dry out and become stale faster than wheat bread because it lacks the gluten network that helps retain moisture. To maintain freshness, ensure the bread is completely cool before storing. Storing it in a sealed plastic bag or airtight container at room temperature is generally best for 1-2 days.
For longer storage, freezing is highly recommended. Slice the cooled loaf completely, then place the slices in a freezer-safe bag or container, using parchment paper between slices if desired to prevent sticking. Frozen gluten-free bread can last for up to 3-4 months. You can then toast slices directly from frozen, or thaw them at room temperature or in the refrigerator. This proactive storage approach is key to getting the most from your gluten-free bread baking efforts.
Creative Uses for Gluten-Free Bread
Homemade gluten-free bread is incredibly versatile. Beyond simple sandwiches and toast, it can be used in numerous ways. Stale or slightly dry gluten-free bread is perfect for making breadcrumbs; simply process dried bread pieces in a food processor. These can be used as a coating for baked or fried foods, or as a topping for casseroles.
Cube dried gluten-free bread to make croutons for salads or soup – toss with oil, herbs, and spices and bake until crispy. Gluten-free bread can also be used for bread pudding, French toast (though the batter may need to be thicker due to the bread's texture), or even as a base for stuffing recipes. Don't let any delicious crumb go to waste!
Conclusion: Your Gluten-Free Baking Journey
Celebrating Your Success: You've Baked Gluten-Free Bread!
Congratulations! You've taken a significant step in your baking journey by successfully baking your first gluten-free loaf. Mastering gluten-free bread baking can feel challenging at first, given the unique properties of the dough compared to traditional wheat bread. However, by understanding the role of ingredients, following a reliable gluten-free bread baking guide, and being patient with the process, you've created a delicious, safe, and satisfying result.
Every loaf baked is a learning experience. Pay attention to how slight variations in flour blend, hydration, proofing time, or oven temperature affect the final outcome. Note what worked well and what you might adjust next time. This iterative process is part of the joy of baking. Take pride in your accomplishment and enjoy the fruits of your labor – a warm slice of homemade gluten-free bread.
Resources for Further Exploration
To continue developing your gluten-free bread baking skills, explore different recipes and resources. Look for recipes that use alternative flour blends, different binders (like psyllium husk if you started with xanthan gum), or techniques like tangzhong (a cooked flour paste) which can improve the softness and shelf life of gluten-free bread.
Many reputable gluten-free bloggers and cookbook authors specialize in bread, offering a wealth of knowledge and tested recipes. Consider joining online baking communities focused on gluten-free baking, where you can ask questions, share experiences, and learn from others facing similar challenges. Continuous learning is a hallmark of a dedicated baker.
One of the best parts of baking is sharing your creations. Let friends and family taste your homemade gluten-free bread. Their feedback can be valuable, and it's a wonderful way to show care for those with dietary needs.
Consider documenting your baking process – take photos of your ingredients, the dough consistency, the rise, and the final baked loaf. Sharing your journey, including both successes and challenges, can inspire others who are just starting their gluten-free bread baking guide. Your experience adds to the collective knowledge and helps build a supportive community of gluten-free bakers. Happy baking!
Frequently Asked Questions
What makes this GlutenFree Bread Baking Guide different from other guides?
This guide focuses on simplicity and easy-to-find ingredients, making gluten-free bread baking accessible for beginners. Other guides can be overly complex and intimidating. It also focuses on achieving a "perfect" first loaf
What key ingredients are essential for successful gluten-free bread baking?
Essential ingredients include a gluten-free flour blend, a binding agent like xanthan gum or psyllium husk, and proper hydration for the dough. These elements are critical for structure and texture.
What are the most common mistakes beginners make when baking gluten-free bread?
Common mistakes include over-mixing the dough, which can lead to a tough texture, and not using enough moisture. Also, using the wrong flour blend can be fatal.
How can I ensure my gluten-free bread has a good rise and texture?
Using the right amount of yeast or leavening agent, combined with proper proofing time, are crucial for a good rise. You should also use good-quality flour blend for texture.
Can I adapt this guide to bake different types of gluten-free bread?
Yes, the fundamental principles in this guide can be adapted. Experiment with different flour blends, flavorings, and additions to create various gluten-free bread variations.
Final Reflection: The Joy of Gluten-Free Baking, Unlocked
The quest for delicious gluten-free bread is no longer a culinary Everest; it's a manageable, even joyful, climb. This guide has aimed to simplify the process, demystifying the techniques and ingredients that often intimidate newcomers to gluten-free baking. The result? A path to creating bread that is not only gluten-free but also genuinely satisfying and delicious.
The impact of gluten-free baking extends far beyond the kitchen table. It represents a significant shift in inclusivity and accessibility, allowing individuals with dietary restrictions to participate fully in the simple pleasure of enjoying freshly baked bread. This is more than just a recipe; it's a gateway to connection and community. Food is symbolic of love when words are inadequate.
- Alan D. Wolfelt. This sentiment rings especially true for those who have found themselves excluded from traditional baking practices due to dietary needs. The ability to create something so fundamental and comforting, independently, is empowering.
Now, it's your turn. Don't be afraid to experiment, to adjust the recipe to your own tastes, and to embrace the learning process. The journey to your perfect gluten-free loaf might involve a few missteps, but the reward – that first bite of warm, fragrant bread – is well worth the effort. So, gather your ingredients, preheat your oven, and embark on this delicious adventure. The world of gluten-free baking awaits!
Unlock Your Gluten-Free Baking Potential!
Thanks for taking the time to explore the world of gluten-free bread with us! We hope you now feel confident and excited to create delicious, healthy loaves at home. Ready to get baking?
- Bake your first perfect gluten-free loaf: Use the recipe and tips from this article as your starting point. Remember, practice makes perfect!
- Share your baking journey: Post a picture of your creation on social media and tag us – we’d love to see your results!
- Explore other gluten-free recipes on our site to expand your baking horizons.
What surprising ingredient are you excited to try in your next gluten-free bread adventure?