
Baking Rolls with Poolish or Biga: Enhanced Flavor

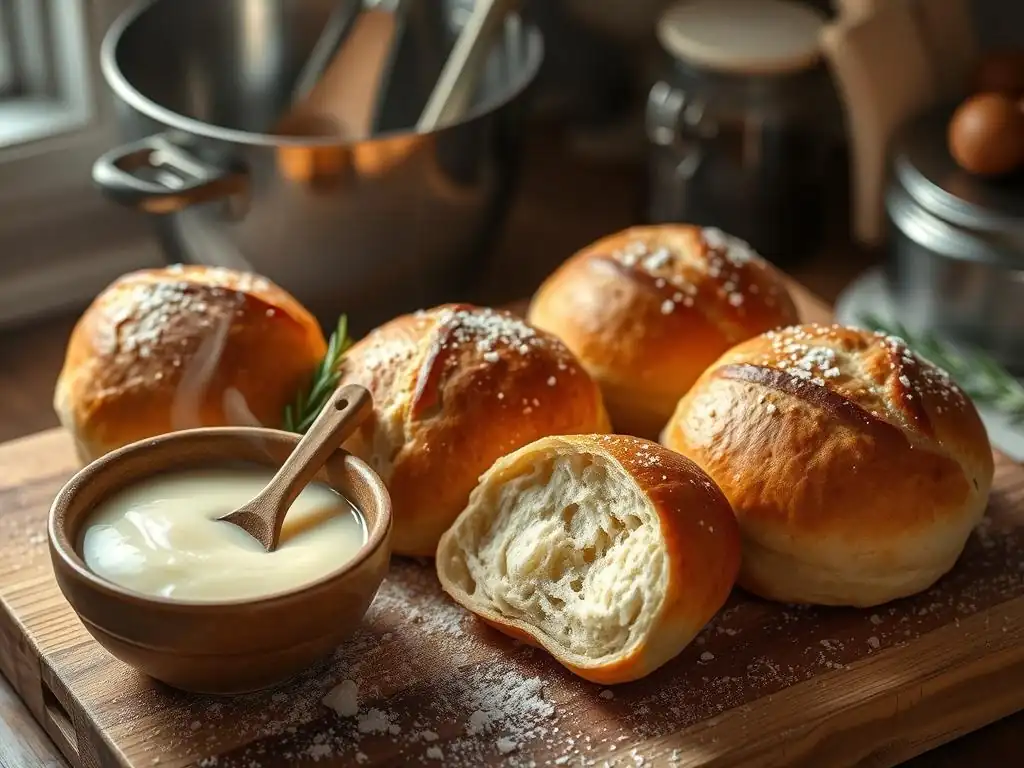
Welcome to BakeWithEase, your trusted guide to baking brilliance! Ever wondered how to unlock extraordinary flavor and texture in your homemade rolls? Today, we're diving into the secrets of easy poolish baking rolls. Discover how this simple pre-ferment transforms ordinary dough into something truly special, and prepare to be amazed by the results! Intrigued? Let's get baking!
- Baking Sourdough Rolls: Enhanced Flavor and Texture (BakeWithEase.com)
- Introduction to Sourdough: Elevating Your Bread Roll Baking
- Easy Sourdough Baking Rolls: A Step-by-Step Guide
- Autolyse for Sourdough Rolls: Improving Dough Structure
- Incorporating Sourdough Starter into Your Roll Dough
- Shaping and Baking Your Sourdough Rolls
- Tips and Tricks for Baking Perfect Sourdough Rolls
- Sourdough Baking Rolls Recipe: A Detailed Guide
- Conclusion: Enjoying Your Homemade Sourdough Rolls
-
Frequently Asked Questions
- What is a poolish and why is it used in baking rolls?
- How does using a poolish differ from a biga in roll making?
- What are the key benefits of using a poolish when making rolls?
- How long should a poolish ferment for baking rolls?
- Can I use all-purpose flour for the poolish or do I need a special type of flour?
- Final Reflection: The Sweet Science of Simple Sourdough Rolls
- Unleash Your Inner Baker: Master the Art of Poolish & Biga!
Baking Sourdough Rolls: Enhanced Flavor and Texture (BakeWithEase.com)
Introduction to Sourdough: Elevating Your Bread Roll Baking
Baking homemade bread rolls is a rewarding experience, and introducing sourdough into the process takes the flavor and texture to a whole new level. Unlike rolls made solely with commercial yeast, sourdough rolls boast a complex, tangy depth and a wonderfully chewy yet tender crumb. This unique character comes from the natural fermentation powered by wild yeast and beneficial bacteria present in a sourdough starter. Mastering sourdough rolls requires understanding fermentation, but the results are well worth the effort for truly exceptional bread.
While methods like using an easy poolish for baking rolls offer their own benefits, the distinct tang and artisanal quality of sourdough rolls are unparalleled. The slow fermentation process breaks down starches and proteins, making the final product potentially easier to digest for some, in addition to developing those sought-after flavors. At BakeWithEase.com, we're here to guide you through the journey of creating these delightful rolls, transforming simple ingredients into something truly special.
Understanding Sourdough Starter: The Secret to Tangy Rolls
A sourdough starter is a living culture, typically a mixture of flour and water, that harbors wild yeast and lactic acid bacteria from the environment. These microorganisms work together, feeding on the flour's sugars and producing carbon dioxide (which leavens the bread) and organic acids like lactic and acetic acid. It's these acids that give sourdough its characteristic tangy flavor profile, ranging from mildly acidic to quite pronounced depending on the starter's hydration, feeding schedule, and the fermentation temperature.
The unique microbial balance in a sourdough starter provides a different kind of leavening and flavor development compared to commercial yeast or other pre-ferments like an easy poolish used for baking rolls. Commercial yeast primarily produces carbon dioxide and alcohol quickly, resulting in a different flavor. Sourdough's slower, more complex fermentation contributes a wider range of volatile organic compounds, resulting in the nuanced flavors and aromas that sourdough enthusiasts cherish in their rolls.
BakeWithEase: Unlock the Magic of Sourdough Fermentation in Roll Baking
Sourdough fermentation is where the magic truly happens in roll baking. It's a patient process that allows the starter's wild yeasts to leaven the dough and the bacteria to develop complex flavors over time. This typically involves a longer bulk fermentation period compared to commercial yeast doughs, often several hours at room temperature, sometimes followed by a long, cold proof in the refrigerator. This extended fermentation is crucial for breaking down the flour and creating a light, airy structure and that signature sourdough tang.
The key to successful sourdough roll fermentation, whether you're aiming for a classic tang or a milder flavor, lies in understanding your starter's activity and controlling dough temperature and time. Unlike the relatively predictable timeline of an easy poolish for baking rolls, sourdough fermentation can be more variable. Paying attention to visual cues like dough volume increase (aiming for perhaps a 30-50% rise during bulk fermentation) and texture changes (becoming more extensible and gassy) is essential. At BakeWithEase, we emphasize learning to read your dough to achieve optimal results.
Easy Sourdough Baking Rolls: A Step-by-Step Guide
Baking sourdough rolls doesn't have to be intimidating. With a reliable, active starter and a clear process, creating delicious, tangy rolls is achievable for home bakers. This guide breaks down the steps, focusing on key stages to help you master easy sourdough baking rolls from start to finish. Patience is a virtue in sourdough, but the techniques themselves are straightforward and rewarding.
From preparing your starter to shaping and baking, each stage contributes to the final flavor and texture of your rolls. While the timeline is longer than a quick yeast recipe or even one using an easy poolish for baking rolls, the active hands-on time is often minimal. Let's dive into the process that results in truly flavorful and satisfying sourdough rolls.
Preparing the Sourdough Starter: Feeding and Activation for Optimal Rise
Before you can bake sourdough rolls, your starter needs to be active and ready. This involves a process called feeding. A common feeding ratio is 1:1:1 by weight (1 part starter, 1 part water, 1 part flour). For instance, you might discard down to 50 grams of starter, add 50 grams of water, and 50 grams of flour. Use warm water (around 75-80°F / 24-27°C) to encourage activity. Stir until well combined, cover loosely, and let it sit at room temperature.
An active starter for baking rolls should double or triple in volume within 4-8 hours after feeding, depending on the temperature. It will look bubbly and have a pleasant, slightly tangy aroma. A simple test is the 'float test': drop a small spoonful into a glass of water; if it floats, it's typically active enough for baking. Using a starter at its peak activity ensures your rolls will have sufficient leavening power, leading to a light and airy crumb, a different mechanism than the rapid gas production from commercial yeast in an easy poolish for baking rolls.
Starter Hydration and Age: Simple Steps for Perfecting the Pre-Ferment
The hydration of your sourdough starter (the ratio of water to flour) impacts its activity and the dough's overall hydration. A 100% hydration starter (equal parts water and flour by weight) is very common and easy to maintain. If your recipe specifies using a starter at a different hydration, you might need to adjust your feeding routine temporarily. Consistency in feeding helps maintain a robust culture.
The 'age' of the starter after its most recent feeding is also crucial. For most sourdough roll recipes requiring good lift, you want to use the starter when it's young and vigorous, typically within 4-10 hours of being fed, when it has peaked or is just starting to fall. Using a starter that is too old (many hours past its peak) might result in less oven spring. While a poolish also benefits from being used at its peak, the signs of readiness and the microbial composition are distinct from a sourdough starter.
Sourdough Fermentation Time: Achieving Optimal Flavor Development
Optimal flavor development in sourdough rolls relies heavily on fermentation time, both during the initial bulk fermentation and the subsequent proofing phase. Bulk fermentation, the first rise of the dough before shaping, typically lasts 3-6 hours at room temperature (around 72-78°F / 22-26°C). During this time, the dough should increase in volume by 30-50% and become noticeably more airy and bubbly. This is when the majority of the flavor compounds are created.
Proofing, the final rise after shaping the rolls, can take 1-3 hours at room temperature or 8-24 hours in the refrigerator (cold proof). Cold proofing significantly slows down fermentation, allowing more complex flavors to develop and resulting in a stronger tang. While an easy poolish for baking rolls also adds flavor through fermentation, the flavor profile developed over a long sourdough fermentation is distinctively more complex and acidic due to the presence of lactic acid bacteria alongside wild yeast.
Autolyse for Sourdough Rolls: Improving Dough Structure
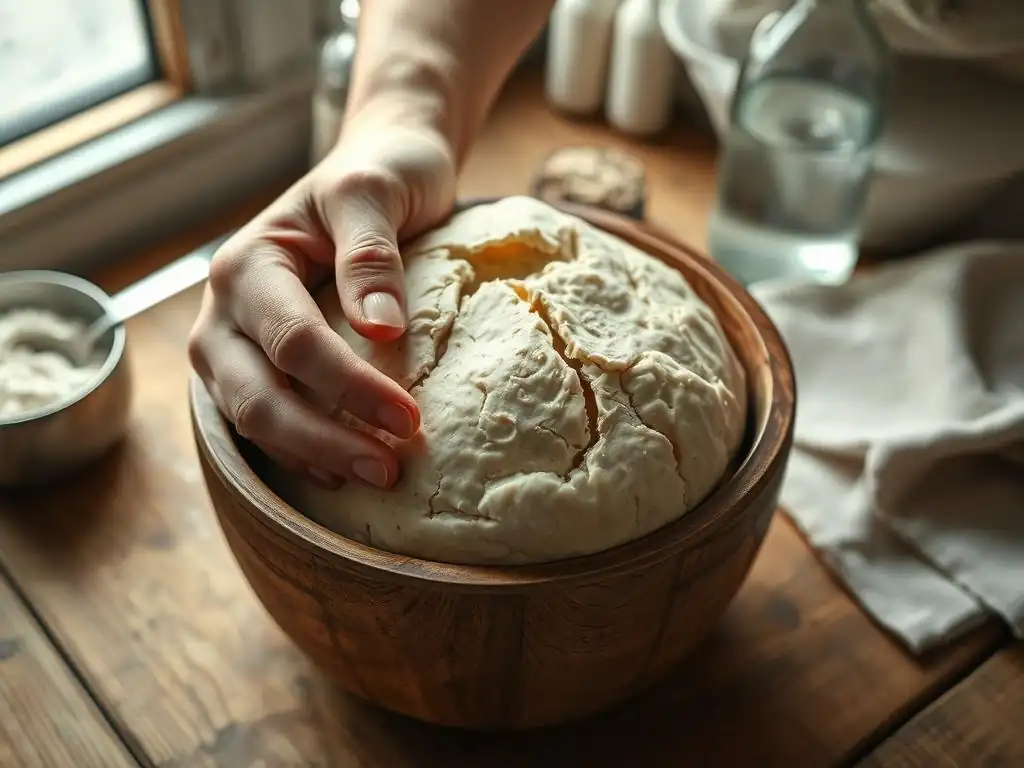
The autolyse technique is a simple yet powerful step that can significantly improve the structure and handling of sourdough roll dough. It involves mixing just the flour and water from the recipe and letting the mixture rest before adding the starter and salt. This resting period allows the flour to fully hydrate and activates enzymes (protease and amylase) naturally present in the flour.
What is Autolyse? Exploring the Benefits for Sourdough Baking
Autolyse, a term coined by French baking professor Raymond Calvel, simply means resting the dough after the initial flour and water mix. This rest period, typically ranging from 20 minutes to an hour or even longer, allows the gluten network to begin forming on its own without mechanical kneading. The enzymes activated during autolyse start breaking down proteins, making the dough more extensible and easier to work with later.
For sourdough rolls, implementing an autolyse step results in dough that is less sticky, easier to knead or perform stretch and folds on, and develops gluten more efficiently. This leads to a better dough structure, which translates to a more open and tender crumb in the final baked roll. It sets a strong foundation for the unique characteristics provided by the sourdough fermentation, different from a dough prepared using an easy poolish for baking rolls where autolyse might be less critical depending on the recipe.
Autolyse Time and Hydration: Detailed Walkthrough
The ideal autolyse time can vary depending on the type of flour used and the dough's hydration level. For most sourdough roll doughs made with bread flour, a 30-minute rest is a good starting point. Higher hydration doughs might benefit from a slightly shorter autolyse, while doughs with a significant amount of whole wheat or other less refined flours might benefit from a longer rest (up to an hour) to allow the bran to soften and fully hydrate.
To perform an autolyse, weigh your flour and water according to your recipe. Combine them in a mixing bowl and mix just until no dry flour remains. The mixture will look shaggy and rough. Cover the bowl to prevent the surface from drying out and let it rest for the specified time at room temperature. After the rest, the dough will appear smoother and more cohesive, ready for you to incorporate the sourdough starter and salt.
Incorporating Sourdough Starter into Your Roll Dough
Once the autolyse is complete, it's time to bring your active sourdough starter and the salt into the dough. This stage requires thorough mixing to ensure the leavening agent and seasoning are evenly distributed throughout the dough mass. Proper incorporation is key for consistent fermentation and flavor development in your sourdough rolls.
This step marks the beginning of the active fermentation process in the bulk dough. The wild yeasts in the starter will begin consuming sugars, producing gas to leaven the rolls, while the bacteria continue their work of acid production, building the characteristic sourdough flavor profile. This interaction is unique to sourdough and differs significantly from the faster, yeast-driven leavening in an easy poolish for baking rolls.
Mixing the Final Dough: Combining Sourdough with Other Ingredients
After the autolyse, add your ripe sourdough starter and the salt to the dough. You can mix by hand or using a stand mixer. If mixing by hand, use a technique like the "pincer" method to break up the starter and squish it into the dough, then fold the dough over itself repeatedly. If using a stand mixer, mix on low speed initially to incorporate, then increase speed slightly.
Mix until the starter and salt are fully integrated and the dough starts to come together. The dough will likely still be somewhat shaggy at this point, but the ingredients should be evenly distributed. Avoid overmixing at this stage; gluten development will continue during the subsequent bulk fermentation and folding steps.
Dough Hydration: Achieving the Right Consistency for Soft Rolls
Dough hydration, expressed as a percentage of the water weight relative to the flour weight, is a critical factor in achieving the desired texture for your sourdough rolls. Hydration levels for rolls typically range from 65% to 75%. Higher hydration (more water) generally results in a more open, airy, and tender crumb, but the dough can be stickier and harder to handle. Lower hydration results in a denser crumb but is easier to manage.
Consider your comfort level with sticky dough when choosing a hydration level. If you're new to sourdough, starting with a hydration around 65-70% is recommended. As you gain experience, you can experiment with higher hydration for a more open crumb. The type of flour also affects how much water it can absorb; whole wheat and high-protein flours absorb more water than all-purpose flour. Adjusting hydration is key whether you're making sourdough rolls or easy poolish baking rolls, though the dough characteristics will differ.
Kneading Techniques: Developing Gluten and Strength
Developing a strong gluten network is essential for trapping the gases produced by the sourdough starter, giving your rolls structure and rise. For sourdough, gentle folding techniques are often preferred over aggressive kneading, especially for higher hydration doughs. Stretch and folds are a popular method: wet your hands, grab the edge of the dough, stretch it upwards, and fold it over the center. Rotate the bowl and repeat this process several times.
Perform 3-4 sets of stretch and folds during the first 2-3 hours of bulk fermentation, spaced 30-60 minutes apart. This builds strength gradually without tearing the delicate gluten strands developing during the slow fermentation. Alternatively, a stand mixer can be used for 8-10 minutes on medium speed until the dough passes the windowpane test – you can gently stretch a small piece thin enough to see light through it without tearing. This development is vital for the structure of sourdough rolls, regardless of whether you're using a starter or a poolish pre-ferment.
Shaping and Baking Your Sourdough Rolls
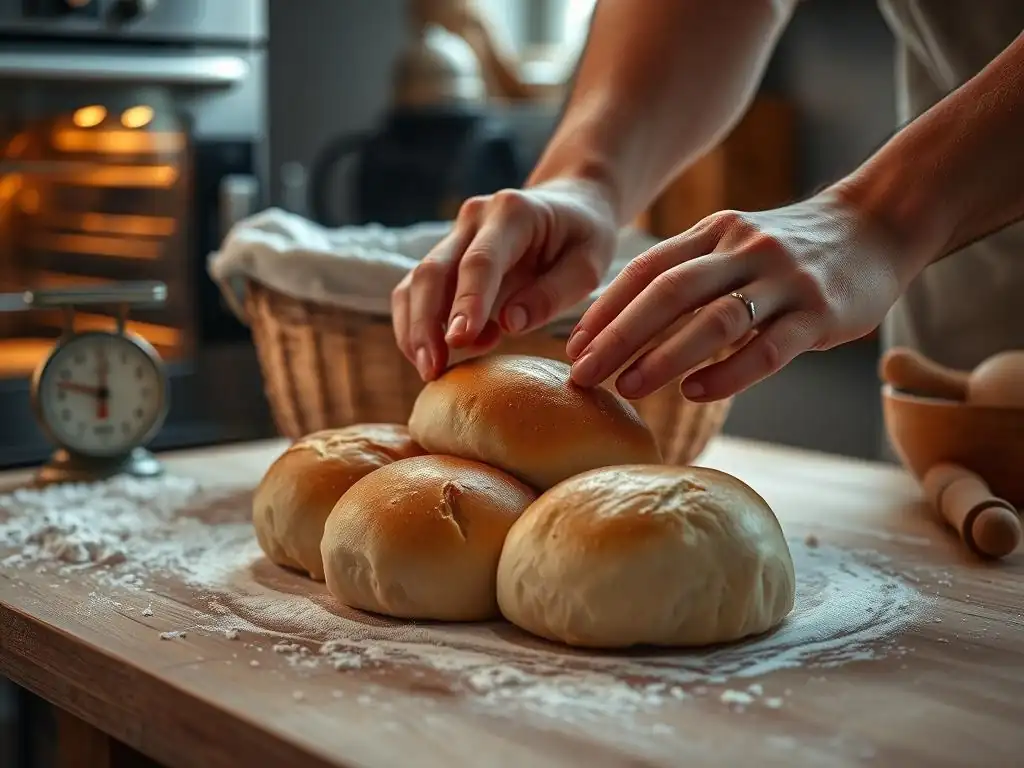
After the bulk fermentation, your dough is ready to be divided, shaped, and proofed before hitting the oven. Proper shaping creates tension which helps the rolls hold their form and rise upwards during baking. Proofing allows the dough to build sufficient gas before baking, ensuring a light texture. Finally, baking at the correct temperature and duration yields a beautiful crust and fully cooked interior.
These final steps are where your careful preparation pays off, transforming the fermented dough into delicious, ready-to-eat rolls. The techniques for shaping and baking are similar to those used for rolls made with commercial yeast or an easy poolish for baking rolls, but the dough handling might feel slightly different due to the unique characteristics developed during sourdough fermentation.
Proofing Your Rolls: Ensuring a Light and Airy Texture
Proofing is the final rise the shaped rolls undergo before baking. It allows the wild yeast to produce more gas, expanding the rolls and making them light and airy. The duration of proofing depends heavily on temperature. At warm room temperature (around 75-80°F / 24-27°C), proofing might take 1-3 hours. The rolls should look visibly puffy and increased in size, perhaps by 50-75%.
A good test for proofing is the "poke test": gently poke the side of a roll with a floured finger. If the indentation springs back slowly and not completely, the roll is likely perfectly proofed. If it springs back immediately, it needs more time. If it doesn't spring back at all and the indentation remains, it might be over-proofed. Cold proofing (in the refrigerator for 8-24 hours) is an excellent option for developing more flavor and fitting baking into your schedule.
Shaping Techniques for Various Roll Styles: Round Rolls, Braided Rolls
Shaping your sourdough rolls creates tension on the surface, helping them rise with good structure. For simple round dinner rolls, divide the dough into equal portions (e.g., 80-100g each). Gently preshape each piece into a rough ball and let them rest for 10-15 minutes. Then, shape them tightly by pulling the edges underneath and rolling against a clean, dry surface to create tension.
For other styles like braided rolls or knots, divide the dough and form strands or portions as needed for the specific shape. Ensure the tension is relatively even across all rolls so they bake uniformly. Place shaped rolls on a baking sheet lined with parchment paper, leaving space for expansion.
Baking Temperature and Time: Achieving a Golden-Brown Crust
Sourdough rolls are typically baked at a relatively high temperature to encourage good oven spring and develop a golden crust. Preheat your oven to 375-425°F (190-220°C). The exact temperature depends on the roll size and your oven. Baking time usually ranges from 20 to 30 minutes for standard-sized rolls. They are done when they are deeply golden brown on the outside and the internal temperature reaches around 200-210°F (93-99°C).
For a slightly crispier crust, you can create steam in your oven during the first 5-10 minutes of baking, similar to baking a sourdough loaf. This can be done by placing a tray of hot water in the bottom of the oven when you preheat it, or by using a Dutch oven (though less common for multiple rolls). Baking yields the final texture, whether you've used a sourdough starter or an easy poolish for baking rolls.
Tips and Tricks for Baking Perfect Sourdough Rolls
Even with a solid recipe, baking sourdough can sometimes present challenges. Knowing how to troubleshoot common issues and enhance your rolls with extra flavors will help you consistently bake perfect sourdough rolls. These tips are born from experience and address the unique aspects of working with a sourdough starter.
Experimentation is part of the fun in baking, especially with sourdough. Don't be afraid to try variations once you've mastered the basic techniques. These tips can help you refine your process and add personal touches to your easy sourdough baking rolls.
Troubleshooting Common Issues: Dense Rolls, Tearing Dough
If your sourdough rolls turn out dense, several factors could be the cause. Your starter might not have been active enough when you used it. The dough might have been under-fermented during bulk fermentation or under-proofed before baking, meaning not enough gas was produced to lighten the crumb. Ensure your starter is doubling reliably and your dough is showing sufficient signs of fermentation and proofing.
Tearing dough during shaping or handling can indicate insufficient gluten development or improper hydration. Ensure you are performing enough stretch and folds or kneading adequately during the mixing phase. If the dough feels too dry and tears easily, you might need to slightly increase the hydration in your next batch. Conversely, overly wet dough can also be difficult to handle and might tear if not developed properly. These issues are common to many bread doughs, including those made with an easy poolish for baking rolls, but sourdough adds the variable of starter activity.
Enhancing Flavor: Adding Herbs, Seeds, or Cheese
One of the joys of baking rolls is customizing them with various add-ins to enhance flavor. For sourdough rolls, ingredients like fresh rosemary, thyme, or chives add an aromatic touch that complements the tangy base. Incorporate chopped herbs (e.g., 1-2% of the flour weight) during the final mixing stage.
Seeds like sesame, poppy, sunflower, or pumpkin seeds (e.g., 5-10% of flour weight) can be mixed into the dough or sprinkled on top before baking for added texture and nutty flavor. Grated cheese (e.g., cheddar, Parmesan, Gruyere, 10-20% of flour weight) can be mixed in for savory rolls. Ensure add-ins are distributed evenly without overworking the dough. These additions work beautifully with the complex flavor of sourdough, creating rolls distinct from simple easy poolish baking rolls.
Storing Your Rolls: Keeping Them Fresh and Delicious
Proper storage helps maintain the quality and freshness of your homemade sourdough rolls. Once completely cooled, store them at room temperature. A bread box or a paper bag is ideal for keeping the crust from becoming too soft. Avoid storing them in airtight plastic containers or bags when they are still warm, as this can trap moisture and make the crust soggy.
For longer storage, sourdough rolls freeze exceptionally well. Once cooled, place them in a freezer-safe bag or container. They can be frozen for up to 3-4 months. To reheat, thaw at room temperature and warm them in a preheated oven (around 350°F / 175°C) for 5-10 minutes, perhaps wrapped in foil to prevent drying out. Enjoying a warm, fresh-tasting roll from the freezer is a simple pleasure.
Sourdough Baking Rolls Recipe: A Detailed Guide
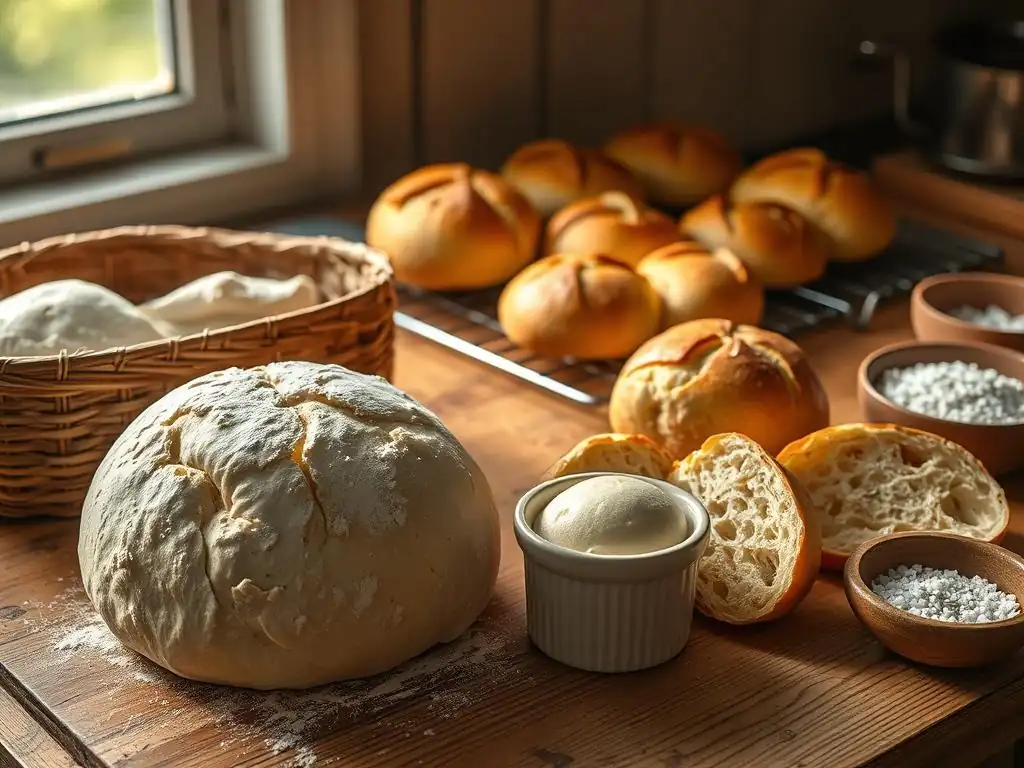
Ready to bake? Here is a foundational recipe structure for easy sourdough baking rolls. This provides a starting point; feel free to adjust quantities slightly based on your starter's activity and your preferred dough hydration. Mastering this basic recipe will open the door to many variations.
Remember that sourdough baking is influenced by environmental factors like room temperature. Pay attention to how your dough looks and feels, rather than strictly adhering to clock times, especially during fermentation and proofing.
Ingredients List: Flour, Water, Salt, Sourdough Starter
- Active Sourdough Starter: Approximately 20% of the total flour weight (e.g., 100g for 500g flour)
- Strong Bread Flour: 100% (e.g., 500g)
- Water: Approximately 65-75% of the flour weight (e.g., 325g - 375g), adjusted based on flour absorption and desired hydration
- Fine Sea Salt: Approximately 2% of the total flour weight (e.g., 10g for 500g flour)
(Note: These are illustrative percentages and weights. A specific recipe would provide exact amounts.)
Step-by-Step Instructions: Mixing, Kneading, Proofing, Baking
- Autolyse: In a large bowl, mix the flour and water until no dry flour remains. Cover and let rest for 30-60 minutes.
- Mix Final Dough: Add the active sourdough starter and salt to the autolysed dough. Mix by hand (pincer method, folding) or stand mixer until incorporated.
- Bulk Fermentation & Folding: Cover the bowl. Over the next 3-5 hours at room temperature (72-78°F / 22-26°C), perform 3-4 sets of stretch and folds, spaced 30-60 minutes apart. The dough should become smoother and more airy, increasing in volume by 30-50%.
- Divide and Preshape: Gently turn the dough onto a lightly floured surface. Divide into equal portions (e.g., 80-100g each). Gently preshape each portion into a loose ball. Let rest, covered, for 10-15 minutes.
- Shape: Shape each preshaped piece into its final roll form (e.g., tight rounds). Place on a parchment-lined baking sheet.
- Proof: Cover the shaped rolls loosely. Proof at room temperature for 1-3 hours, or cold proof in the refrigerator for 8-24 hours, until puffy and the poke test indicates readiness.
- Preheat Oven: Preheat oven to 375-425°F (190-220°C) with a baking stone or steel if using. If creating steam, add a steam pan to the bottom rack.
- Bake: Place the baking sheet in the oven. Bake for 20-30 minutes, rotating the tray halfway through, until golden brown and cooked through (internal temp 200-210°F / 93-99°C).
- Cool: Transfer baked rolls to a wire rack to cool completely before storing or slicing.
Conclusion: Enjoying Your Homemade Sourdough Rolls
Baking sourdough rolls is a journey that rewards patience with incredibly flavorful and satisfying results. From the subtle tang of the starter to the perfect balance of chewy crust and tender crumb, homemade sourdough rolls offer a taste experience far beyond what you find in most bakeries. Each batch is a testament to the power of natural fermentation and the simple magic of flour, water, salt, and starter.
Whether slathered with butter, used for sandwiches, or enjoyed simply on their own, your easy sourdough baking rolls will be a source of pride and deliciousness. The process, while different in rhythm from using an easy poolish for baking rolls, becomes intuitive with practice, allowing you to connect with the ancient craft of bread making.
BakeWithEase: Mastering the Art of Sourdough Bread Roll Baking
At BakeWithEase.com, our goal is to demystify baking and make techniques like sourdough accessible to everyone. We believe that with clear guidance and a little practice, you can master the art of sourdough bread roll baking and fill your home with the aroma of fresh, delicious bread. Our resources are designed to support you from feeding your first starter to pulling golden-brown rolls from your oven.
Embrace the process, learn from each bake, and savor the incredible flavor that only natural fermentation can provide.
Ready to explore more? Dive deeper into the world of baking with related articles that can expand your skills and knowledge. Discover tips for maintaining your sourdough starter, explore different types of flour, or find inspiration for other bread recipes. (Note: Specific article links are not included as per instructions).
Frequently Asked Questions
What is a poolish and why is it used in baking rolls?
A poolish is a type of pre-ferment, used to enhance the flavor and texture of baked goods. It's a simple mixture of flour, water, and yeast left to ferment before being added to the main dough, increasing complexity.
How does using a poolish differ from a biga in roll making?
Both are pre-ferments, but a poolish typically has a higher hydration level (more water). This results in a slightly different flavor profile and can impact the final crumb structure of the rolls.
What are the key benefits of using a poolish when making rolls?
The main benefit is improved flavor, adding depth and complexity that isn't found in straight doughs. Poolish also contributes to a lighter, more airy texture and extended shelf life.
How long should a poolish ferment for baking rolls?
Generally, a poolish should ferment for 12-16 hours at room temperature, or longer in the refrigerator (up to 24 hours). The goal is for it to be bubbly and slightly increased in volume.
Can I use all-purpose flour for the poolish or do I need a special type of flour?
While you can use all-purpose flour, using bread flour in the poolish is recommended. Bread flour has a higher protein content, which contributes to better gluten development and a more robust flavor.
Final Reflection: The Sweet Science of Simple Sourdough Rolls
The enduring appeal of homemade bread, particularly the satisfying chew and complex flavor of sourdough rolls, is undeniable, and the ease of achieving this with a poolish or biga starter is transforming home baking. This article explored the subtle yet significant differences between these two pre-ferments, demonstrating that achieving professional-quality results isn't as daunting as it might seem. The simplicity and accessibility of these methods are democratizing the art of sourdough baking, bringing the joy of freshly baked bread to more kitchens than ever before.
The journey of mastering sourdough, even in its simplified poolish or biga form, is a testament to patience and the rewarding connection between effort and outcome. It's a process that mirrors life itself – requiring careful nurturing and attention to detail, yet yielding incredible rewards. The best things in life are worth waiting for,
a sentiment perfectly encapsulates the slow fermentation process and the ultimate satisfaction of biting into a perfectly risen, tangy roll. The impact extends beyond the culinary; it's a mindful practice that encourages a slower pace and appreciation for the simple things.
Now, it's your turn. Don't be intimidated by the seemingly complex world of sourdough. Take the leap, try a simple poolish or biga recipe, and experience the magic of creating something delicious and deeply satisfying with your own two hands. The aroma alone is worth the effort, but the taste? That's an experience you won't soon forget. Embrace the process, enjoy the journey, and savor the results. You might just discover a new passion, a new skill, and a new appreciation for the simple act of baking.
Unleash Your Inner Baker: Master the Art of Poolish & Biga!
Thanks for taking the time to explore the world of poolish and biga! You've just unlocked the secret to unbelievably flavorful bread rolls. Ready to put your new knowledge into practice?
- Bake a batch of rolls using your preferred method: This is your chance to experiment and see the difference these techniques make firsthand. Did the poolish or biga create a more nuanced flavor?
- Share your baking journey: Post a picture of your delicious creations on social media and tag #BakeWithEasePoolishBiga – let's inspire others!
- Explore other advanced bread-making techniques: Dive deeper into our blog for more tips and tricks on achieving baking perfection.
What unique flavor profile will you create with your next batch of rolls?