
Quick(er) Rustic Bread: When You Don't Have All Day

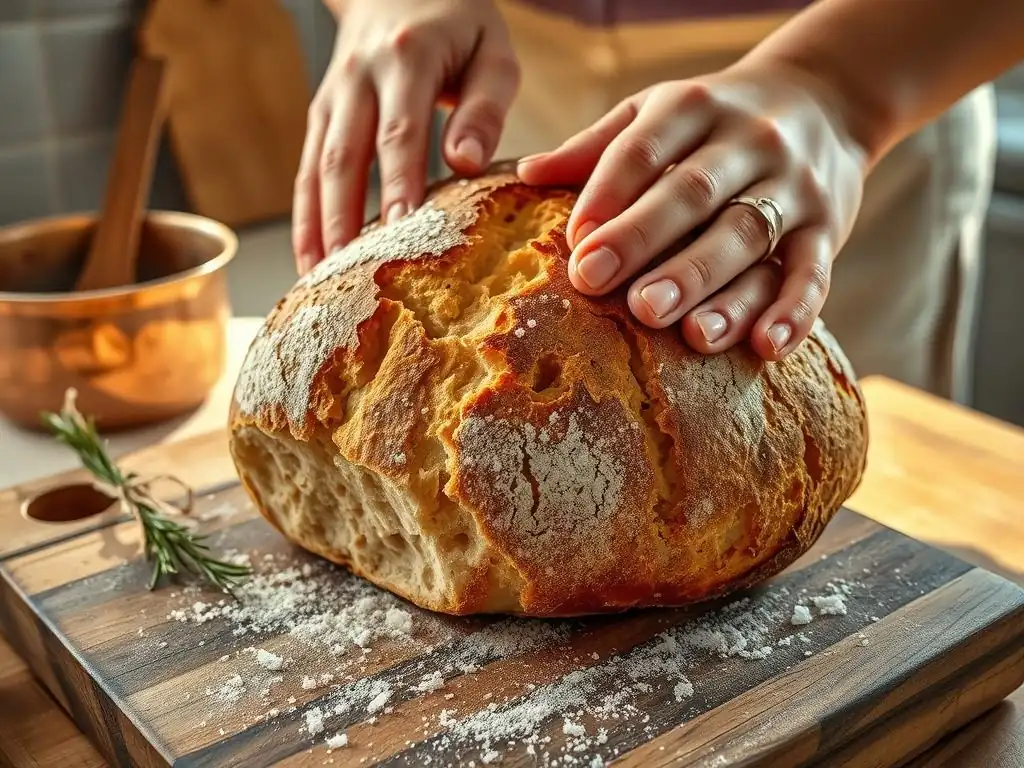
Welcome to BakeWithEase, your haven for mastering the delicious world of baking! Ever dreamt of pulling a warm, crusty loaf from your oven but thought you didn't have the time? This week, we're diving into the secrets of our easy rustic bread recipe, proving that incredible homemade bread is within reach, even on a busy schedule. Intrigued? Let's get baking!
- Quick(er) Rustic Bread: When You Don't Have All Day - BakeWithEase.com
- Introduction: Enjoying Rustic Bread Without the Wait
- Why This Easy Rustic Bread Recipe is Perfect for Busy Bakers
- The Secret to a Fast & Flavorful Rustic Bread
- Easy Rustic Bread Recipe: Step-by-Step Instructions
- Tips for Baking the Best Quick Rustic Bread
- Serving and Storing Your Homemade Rustic Bread
- Mastering the Art of Quick Rustic Bread Baking
-
Frequently Asked Questions
- What makes this rustic bread recipe "quick(er)" compared to traditional recipes?
- What kind of flour is best for achieving that rustic bread texture?
- Can I use a stand mixer instead of kneading by hand?
- How do I know when the bread is properly proofed and ready to bake?
- What is the best way to store leftover rustic bread to keep it fresh?
- Final Reflection: The Joy of Imperfectly Perfect Bread
- Unleash Your Inner Baker: Craft Your Own Rustic Loaf!
Quick(er) Rustic Bread: When You Don't Have All Day - BakeWithEase.com
Introduction: Enjoying Rustic Bread Without the Wait
There's something undeniably comforting about a loaf of rustic bread, with its crackling crust and airy, irregular crumb. It's the kind of bread perfect for dipping in olive oil, slathering with butter, or serving alongside a hearty soup. Traditionally, achieving that perfect rustic texture and deep flavor requires significant time, often involving long fermentation periods that can stretch over 12 to 24 hours or even more. While those methods yield incredible results, they aren't always practical for our busy lives.
Imagine craving that fresh, homemade rustic loaf but knowing you won't be home all day to nurture a slow-rising dough. This is where a quicker approach comes in handy. Our goal with this guide is to provide an easy rustic bread recipe that significantly cuts down on the waiting time without sacrificing too much of the desirable texture and flavor. We've adapted traditional techniques to fit a tighter schedule, making homemade rustic bread accessible even on a weeknight or a busy weekend.
Why This Easy Rustic Bread Recipe is Perfect for Busy Bakers
Craving Homemade Bread? This Recipe Fits Your Schedule
We all love the idea of baking our own bread, but the reality of juggling work, family, and other commitments often makes traditional, time-intensive recipes feel out of reach. Many classic rustic bread methods require multiple folds over several hours, overnight refrigeration, or very long proofing times. This can be daunting when you only have a few hours free in an afternoon or evening. This easy rustic bread recipe is specifically designed for those moments when the craving hits, but time is of the essence.
Instead of a multi-day process, this recipe streamlines the steps, focusing on key moments where time can be saved without compromising the essential characteristics of rustic bread. You can mix the dough in the morning before work and bake it in the evening, or start it after lunch and have warm bread by dinner. It’s about making the joy of baking and eating homemade bread a realistic part of your life, even when your schedule is packed.
Understanding the Time Commitment of Traditional Rustic Bread
Traditional rustic bread, particularly styles like artisan loaves or some ciabattas, often relies on slow fermentation to develop complex flavors and a desirable open crumb structure. For example, a classic no-knead rustic loaf might require a bulk fermentation of 12 to 18 hours at room temperature, followed by shaping and another proofing period. Some sourdough rustic loaves can take even longer, sometimes up to 48 hours from starter feeding to baked loaf, incorporating cold fermentation to enhance sourness and texture.
This extended timeline allows enzymes in the flour to break down starches into sugars, feeding the yeast and contributing to deeper flavors. It also gives gluten ample time to develop strength with minimal handling. While these long fermentation times are ideal for flavor depth and structure, they require significant planning and patience. Our quicker method aims to capture some of these benefits in a compressed timeframe.
Our Quicker Method: Flavor Without the Fuss
Our approach to an easy rustic bread recipe focuses on accelerating the process without resorting to excessive yeast or sacrificing flavor entirely. We achieve this primarily by using a slightly higher amount of instant yeast than a very slow recipe would call for, combined with a strategic fermentation temperature and a potentially shorter pre-ferment (optional but recommended). The higher hydration level, characteristic of rustic bread, is maintained because it's crucial for the open crumb.
This method prioritizes getting a delicious, satisfying rustic loaf into your hands faster. While a 24-hour loaf might have a slightly more nuanced flavor profile, the difference achieved in our quicker method is remarkably small for the time saved. You still get that wonderful chewy interior and crisp crust that defines great rustic bread, making it a fantastic option for everyday baking or when unexpected guests arrive.
The Secret to a Fast & Flavorful Rustic Bread
High Hydration Dough: The Key to Open Crumb
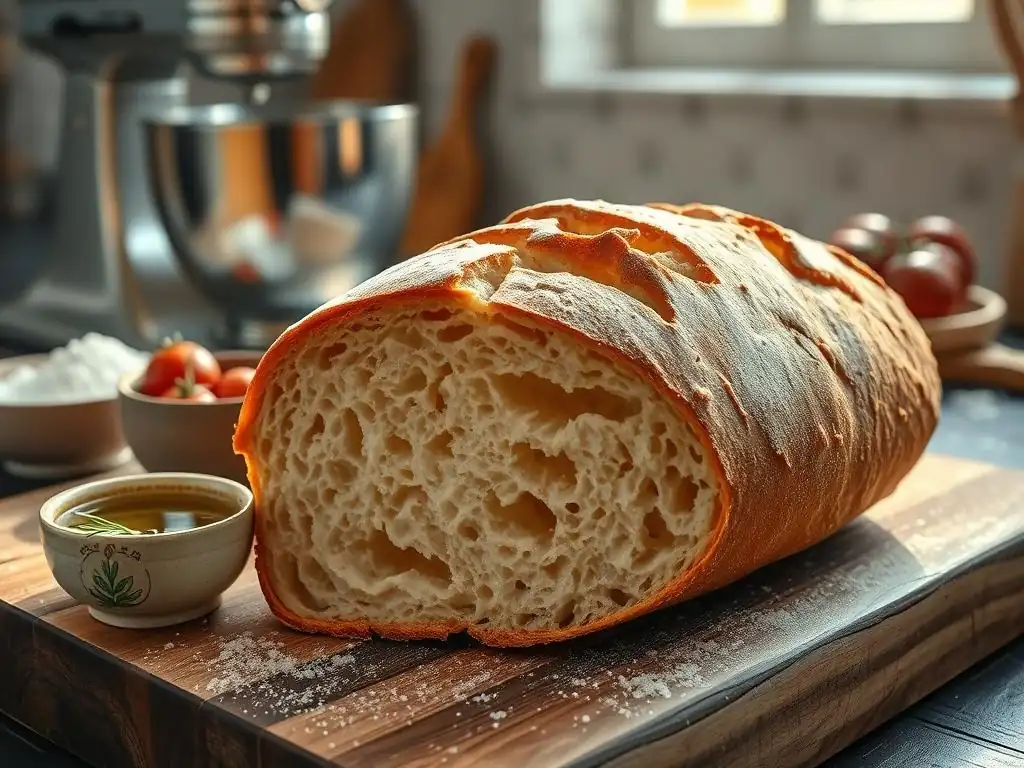
High hydration is a cornerstone of many rustic bread styles, including ciabatta and some artisan loaves. Hydration refers to the ratio of water to flour in the dough, typically expressed as a percentage (e.g., 70% hydration means 700g water per 1000g flour). A high hydration dough, often 75% or higher, is typically wet and sticky, requiring less kneading and more gentle handling like stretching and folding. This wetness is crucial for developing the characteristic irregular, open crumb structure with large air pockets.
Working with high hydration dough can be a little challenging at first because of its stickiness, but it's essential for that rustic texture. The extra water helps the gluten relax and expand during fermentation and baking, creating those beautiful holes. While a standard sandwich loaf might be around 60-65% hydration, our easy rustic bread recipe aims for 75-80% hydration to ensure that signature airy interior, even with a shorter fermentation time.
Using Instant Yeast for Speed and Convenience
Traditional rustic bread recipes sometimes use active dry yeast, which needs to be proofed in water first, or even wild yeast sourdough starters, which require very long fermentation times. For a quicker recipe, instant yeast is the perfect choice. Unlike active dry yeast, instant yeast can be mixed directly into the dry ingredients without proofing. Its granules are smaller, allowing it to activate more quickly and reliably throughout the dough.
Using instant yeast allows us to significantly speed up the fermentation process. While a slow-rising dough might use as little as 0.1-0.2% yeast relative to flour weight, our quicker method might use closer to 0.5-1%. This increased amount, combined with the instant activation, ensures the dough rises effectively within a shorter timeframe, making the entire baking process much more manageable for a busy schedule.
Enhancing Flavor with a Pre-Ferment
Even in a quicker recipe, incorporating a pre-ferment (like a poolish or a small prefermented piece of dough) can dramatically improve flavor without adding excessive time to the main process. A poolish is a simple pre-ferment made with equal parts flour and water by weight, plus a tiny amount of yeast. It's typically mixed several hours before the main dough, sometimes overnight, allowing it to ferment and develop complex aromatic compounds.
For our quicker easy rustic bread recipe, we can use a "short" poolish, mixed just 2-4 hours before the main dough, or even just include a small percentage of the total flour and water mixed with yeast earlier in the day. This small step introduces fermentation products and acidity that add depth and character to the final loaf, mimicking some of the flavor development that occurs during much longer traditional fermentations. It's a simple technique with a big payoff in taste.
Easy Rustic Bread Recipe: Step-by-Step Instructions
Ingredients for Your Quick Rustic Bread
To make this easy rustic bread recipe, you'll need just a few basic ingredients. Quality matters, so using good bread flour can make a difference, but all-purpose flour works too.
- Flour: 500g (approx. 4 cups) Bread Flour or All-Purpose Flour
- Water: 375g - 400g (approx. 1.5 - 1.6 cups) Lukewarm water (75-80% hydration)
- Instant Yeast: 4g (approx. 1 teaspoon)
- Salt: 10g (approx. 1.5 teaspoons)
- (Optional Pre-ferment ingredients): 100g Flour, 100g Water, 0.5g Instant Yeast (mixed 2-4 hours prior)
Here is a simple task list for gathering your ingredients:
- [ ] Measure flour
- [ ] Measure water
- [ ] Measure instant yeast
- [ ] Measure salt
- [ ] (Optional) Prepare pre-ferment if using
Step 1: Mixing the Dough (Simplified Method)
In a large bowl, combine the flour, salt, and instant yeast (and the prepared pre-ferment, if using). Gradually add the lukewarm water while mixing with a wooden spoon or your hand until a shaggy, wet dough forms. There's no need for intensive kneading here; the high hydration and resting time will do most of the work. Ensure all the dry bits of flour are incorporated. The dough will be very sticky – this is correct!
Once the ingredients are just combined into a shaggy mass, cover the bowl with plastic wrap or a damp tea towel. Let the dough rest for 20-30 minutes. This resting period, called autolyse (or a partial autolyse since salt is included), allows the flour to fully absorb the water and gluten development to begin on its own, making subsequent handling much easier.
Step 2: Bulk Fermentation: A Shorter Rise Time
After the rest, it's time for bulk fermentation, where the main rising happens. This is where we save significant time compared to traditional methods. Instead of many hours, we'll aim for about 1.5 to 2.5 hours at room temperature (around 70-75°F or 21-24°C), or until the dough has visibly increased in size, roughly doubling. During this time, perform 2-3 sets of stretch and folds.
Approximately every 30-45 minutes during the bulk fermentation, wet your hand slightly and gently grab one side of the dough, stretching it upwards and folding it over the center. Rotate the bowl and repeat this 3-4 times until all sides have been stretched and folded. This process builds strength in the dough's gluten structure without kneading. After the last set of folds, let the dough rest undisturbed until it's ready. A dough that has doubled in size and feels airy and bubbly is typically ready for the next step in this easy rustic bread recipe.
Step 3: Shaping Your Rustic Bread Loaf
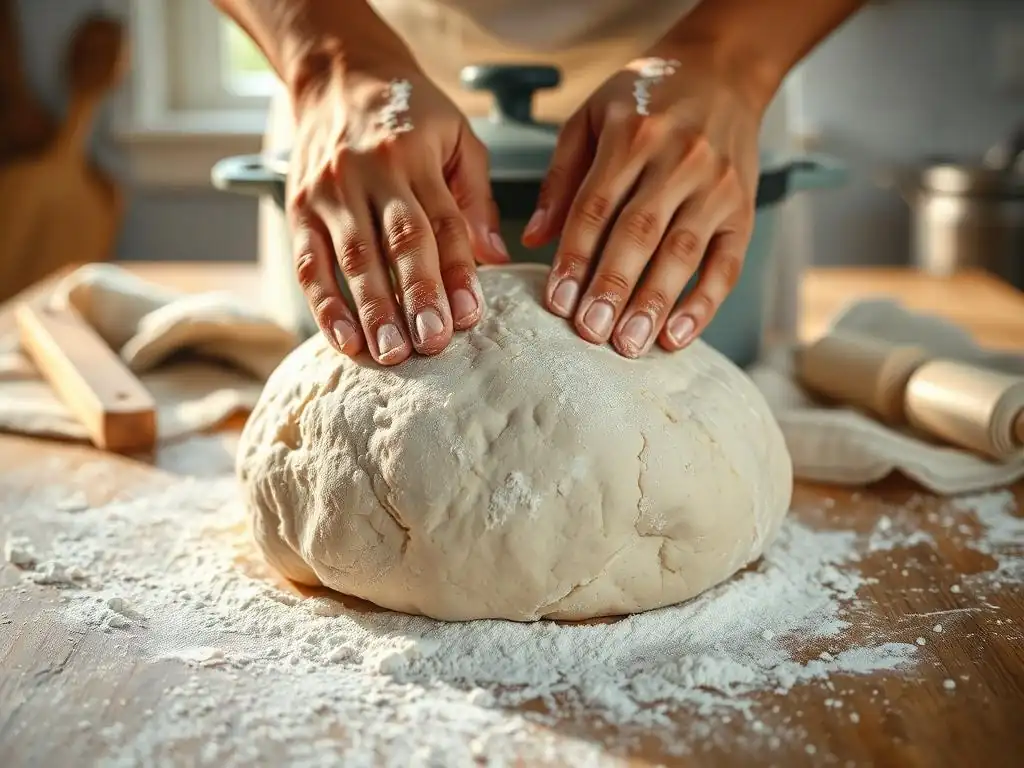
Once the bulk fermentation is complete, gently turn the dough out onto a lightly floured surface. Rustic bread often has a less structured, more freeform shape. Avoid degassing the dough too much; you want to preserve those precious air bubbles. Gently shape the dough into a round or oval (batard) shape using a bench scraper and your hands.
To shape a round (boule), gently pull the edges of the dough towards the center, flipping the dough over so the seam is underneath, then lightly cup your hands around it and rotate it against the counter to create surface tension. For an oval, gently fold the dough into thirds like a letter, then roll it up from one end. The key is to be gentle and work relatively quickly.
Step 4: Proofing for the Perfect Texture
Proofing is the final rise before baking. For rustic bread, proofing in a proofing basket (banneton) or a bowl lined with a floured tea towel helps the dough hold its shape. Place the shaped dough seam-side up in the prepared basket/bowl. Cover it loosely with plastic wrap or a light towel.
The proofing time for this quicker easy rustic bread recipe will be shorter than traditional methods, typically 45-75 minutes at room temperature. You can also proof in the refrigerator for a few hours if you need more flexibility. The dough is ready when it looks puffy and has increased significantly in size, but hasn't fully doubled, and when gently poked with a floured finger, the indentation springs back slowly, but not completely. This is known as the "poke test."
Step 5: Baking to Golden Perfection
Preheat your oven with a Dutch oven, baking stone, or heavy baking sheet inside to a high temperature, typically 450-475°F (230-245°C). This high heat is crucial for achieving a good crust and oven spring (the final burst of rising in the oven). If using a Dutch oven, preheat it for at least 20-30 minutes.
Carefully turn the proofed dough out onto a piece of parchment paper or directly onto the preheated baking surface. Score the top of the loaf with a sharp razor blade or knife – this helps control where the bread expands.
If using a Dutch oven, carefully lower the dough on the parchment into the hot pot, cover with the lid, and bake for 20-25 minutes. Then, remove the lid (if using a Dutch oven) or introduce steam (if using a baking stone/sheet) and continue baking for another 20-25 minutes, or until the crust is deep golden brown and the internal temperature reaches around 200-210°F (93-99°C).
Tips for Baking the Best Quick Rustic Bread
Achieving a Crusty Exterior and Soft Interior
The hallmark of great rustic bread is its contrast between a crisp, crackling crust and a soft, airy interior. High baking temperature and steam are key to achieving this. Baking in a preheated Dutch oven is one of the easiest ways to create a steamy environment around the loaf in the initial phase of baking. The steam keeps the crust soft initially, allowing the dough to expand fully before the crust hardens.
If you don't have a Dutch oven, you can create steam by placing a tray of hot water on the bottom rack of your oven when you preheat it, or by spraying the oven walls with water just after putting the bread in (be cautious of oven components). Baking on a preheated stone or steel also helps transfer heat quickly to the base of the loaf, promoting good oven spring and crust development. Ensure the oven is fully preheated to the high temperature before loading the bread.
Troubleshooting Common Rustic Bread Problems
Even with an easy rustic bread recipe, you might encounter issues. If your dough isn't rising well, check your yeast – is it fresh? Is the water temperature correct (lukewarm, not hot)? Over-proofing can lead to a loaf that collapses in the oven, while under-proofing results in a dense crumb. Learn to recognize the feel of a properly proofed dough (the poke test is your friend).
If your crust isn't getting crispy, ensure your oven is hot enough and you are using sufficient steam during the first part of the bake. If the crust is too hard or thick, you might be baking for too long or at too low a temperature, or not using enough steam. Sticky dough is normal for high hydration, but if it's unmanageable, try reducing the water slightly (e.g., by 20-30g) next time. Practice makes perfect, and each bake teaches you more about your oven and ingredients.
Variations: Adding Herbs, Cheese, or Seeds
This easy rustic bread recipe is a fantastic base for variations. You can easily incorporate mix-ins to customize your loaf. For example, add 1-2 tablespoons of chopped fresh rosemary or thyme during the initial mixing phase for an aromatic herb bread. You could also add 50-75g of grated hard cheese like Parmesan or Gruyère.
Seeds are another popular addition. Mix in 25-50g of sesame seeds, poppy seeds, sunflower seeds, or a combination into the dough during the initial mix. Alternatively, you can sprinkle seeds on the outside of the loaf just before baking after misting the surface with water. Experiment with different additions to find your favorite flavor combinations!
Serving and Storing Your Homemade Rustic Bread
Delicious Ways to Enjoy Your Freshly Baked Bread
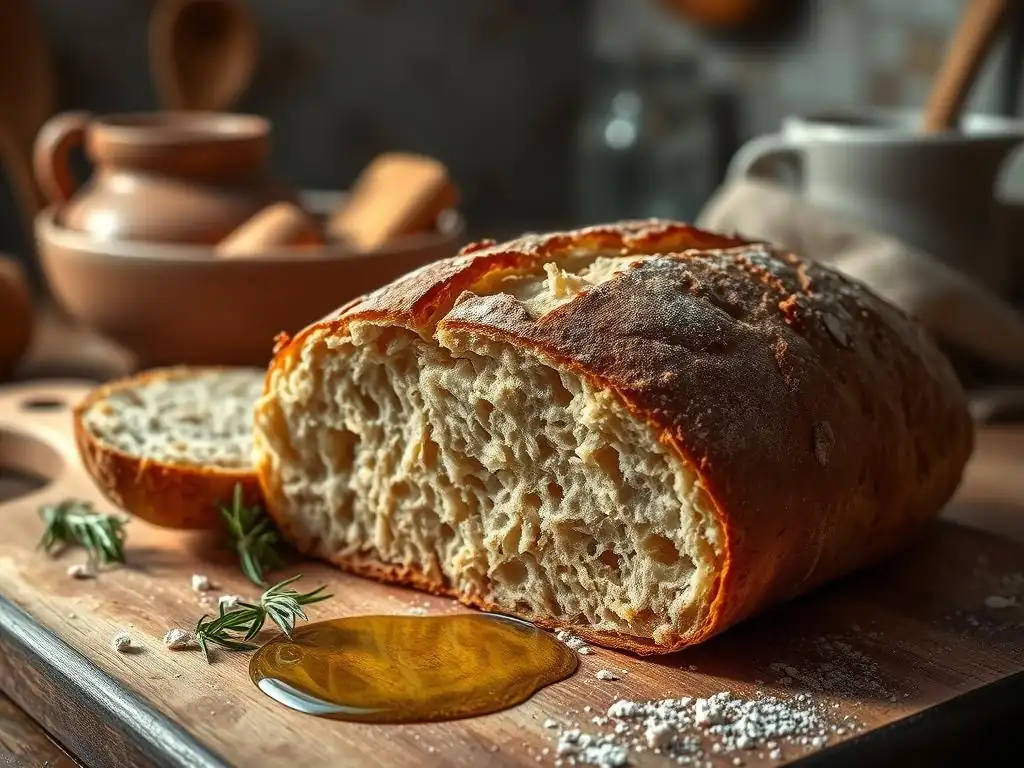
The best way to enjoy your quick rustic bread is often simple: sliced thick while still slightly warm, with a good quality butter that melts into the airy crumb. It's also perfect for dipping into olive oil, especially one infused with garlic or herbs. Serve it alongside a hearty stew or soup – the crust is excellent for soaking up broth.
Consider using slices for open-faced sandwiches, bruschetta topped with fresh tomatoes and basil, or simply toasted. The slightly irregular shape and texture make it wonderfully versatile. Don't forget to listen for that satisfying crackle when you slice through the crust!
Keeping Your Rustic Bread Fresh for Longer
Rustic bread, due to its crusty nature, is best enjoyed the day it's baked. However, you can store it to keep it fresh for a couple of days. Once completely cooled, store the loaf at room temperature. The best method is often to place it cut-side down on a clean surface or cutting board to prevent the exposed crumb from drying out.
Avoid storing rustic bread in plastic bags right away, as this can soften the crust. If you need to store it for more than a day, or if the crust begins to soften, a paper bag is a better option for maintaining some crispness. For longer storage, slice the cooled loaf and freeze the slices in an airtight container or freezer bag. To enjoy, simply pop a frozen slice directly into a toaster or warm it in the oven.
Mastering the Art of Quick Rustic Bread Baking
Understanding Gluten Development and its Role
Gluten is a network formed by proteins (glutenin and gliadin) in flour when mixed with water and agitated. In rustic bread, proper gluten development is essential for trapping the gases produced by yeast, leading to the airy crumb structure. While traditional methods rely on long fermentation and minimal handling, our quicker easy rustic bread recipe uses stretching and folding during bulk fermentation to build strength more rapidly.
Stretching and folding aligns the gluten strands and builds tension, creating a stronger network capable of holding the dough's shape and supporting the open crumb. Observing the dough's transformation from a shaggy mass to a smoother, more elastic structure after a few sets of folds is key to understanding gluten development in practice. A well-developed gluten network will allow the dough to hold its shape during proofing and achieve good oven spring.
Exploring Different Flour Types for Unique Flavors
While all-purpose flour works for this easy rustic bread recipe, using different flours can introduce subtle variations in flavor and texture. Bread flour, with its higher protein content (typically 12-14%), develops a stronger gluten network, which can result in a chewier crumb and better structure, especially important in high-hydration doughs. Using a mix of bread flour and all-purpose flour is also an option.
Incorporating a small percentage (e.g., 10-20%) of whole wheat flour or rye flour can add nutty or earthy undertones and increase the nutritional value. However, these flours absorb more water and can inhibit gluten development, so you might need to slightly adjust the hydration or expect a slightly denser loaf. Experimenting with different flour blends is a great way to personalize your quick rustic bread.
Beyond the Basics: Experimenting with Rustic Bread Recipes
Once you've successfully made this easy rustic bread recipe a few times, you might feel ready to explore variations or even try a slightly longer process. You could experiment with a longer, cold proofing period in the refrigerator (e.g., 8-12 hours) after shaping, which can further deepen the flavor. This adds time but offers flexibility.
Consider trying different scoring patterns on your loaf – simple slashes, a cross, or more intricate designs can affect how the bread expands and its final appearance. You could also play with baking vessels, comparing the results of a Dutch oven versus a baking stone with added steam. Each variation offers a new learning opportunity and helps you refine your rustic bread baking skills.
Frequently Asked Questions
What makes this rustic bread recipe "quick(er)" compared to traditional recipes?
This recipe reduces rising time by using a higher yeast concentration and a warmer proofing environment, allowing you to enjoy fresh bread sooner. It also simplifies the kneading process for faster preparation.
What kind of flour is best for achieving that rustic bread texture?
Bread flour is highly recommended due to its high gluten content, which provides the chewy texture and structure characteristic of rustic bread. All-purpose flour can be used, but the texture will be slightly different.
Can I use a stand mixer instead of kneading by hand?
Yes, a stand mixer can be used for kneading. Use the dough hook attachment and knead on low speed for about 6-8 minutes until the dough is smooth and elastic. Be careful not to over-knead the dough.
How do I know when the bread is properly proofed and ready to bake?
The dough should have doubled in size and feel light and airy. Gently poke the dough; if the indentation slowly springs back, it's ready. If it springs back quickly, it needs more time.
What is the best way to store leftover rustic bread to keep it fresh?
Store leftover bread in a paper bag at room temperature for up to 2 days. For longer storage, wrap it tightly in plastic wrap and freeze. Reheat in a warm oven to restore its crusty texture.
Final Reflection: The Joy of Imperfectly Perfect Bread
The pursuit of perfectly crafted bread often overshadows the simple pleasure of baking something delicious and satisfying, even if it's not picture-perfect. This article aimed to demystify rustic bread baking, proving that achieving a wonderfully textured, flavorful loaf doesn't require hours of kneading and proofing. It's about embracing the process and enjoying the results, even with a quicker method.
The enduring appeal of homemade bread lies not just in its taste, but in the connection it fosters – a connection to tradition, to the simple act of creation, and to the comforting aroma that fills a home. Bread is the staff of life,
a common saying reminds us, but it's also so much more. It's a symbol of nourishment, community, and the satisfaction of creating something beautiful from humble ingredients. This recipe, while faster, still allows for that connection, that sense of accomplishment.
Now, I invite you to roll up your sleeves, gather your ingredients, and experience the joy of baking this quicker rustic bread. Don't be afraid to experiment, to adjust the recipe to your liking, and most importantly, to savor the delicious results. Remember, the most important ingredient is your own enthusiasm and the satisfaction of creating something delicious with your own hands. Let the aroma of freshly baked bread fill your home and warm your heart.
Unleash Your Inner Baker: Craft Your Own Rustic Loaf!
Thanks for taking the time to explore the world of quicker rustic bread baking! You've now unlocked a simple method for enjoying delicious, homemade bread without the all-day commitment. Ready to put your new skills to the test?
- Bake your own rustic loaf this week! Grab those ingredients and let's get baking. Remember to share your results – we love seeing your creations!
- Experiment with different flours and additions to personalize your loaf. What creative twist will you add?
- Share your baking journey with other bread enthusiasts on our social media channels! Let's build a community of bakers.
What unique ingredient will you try in your next rustic bread adventure?