
Shaping Ciabatta for Maximum Air Pockets

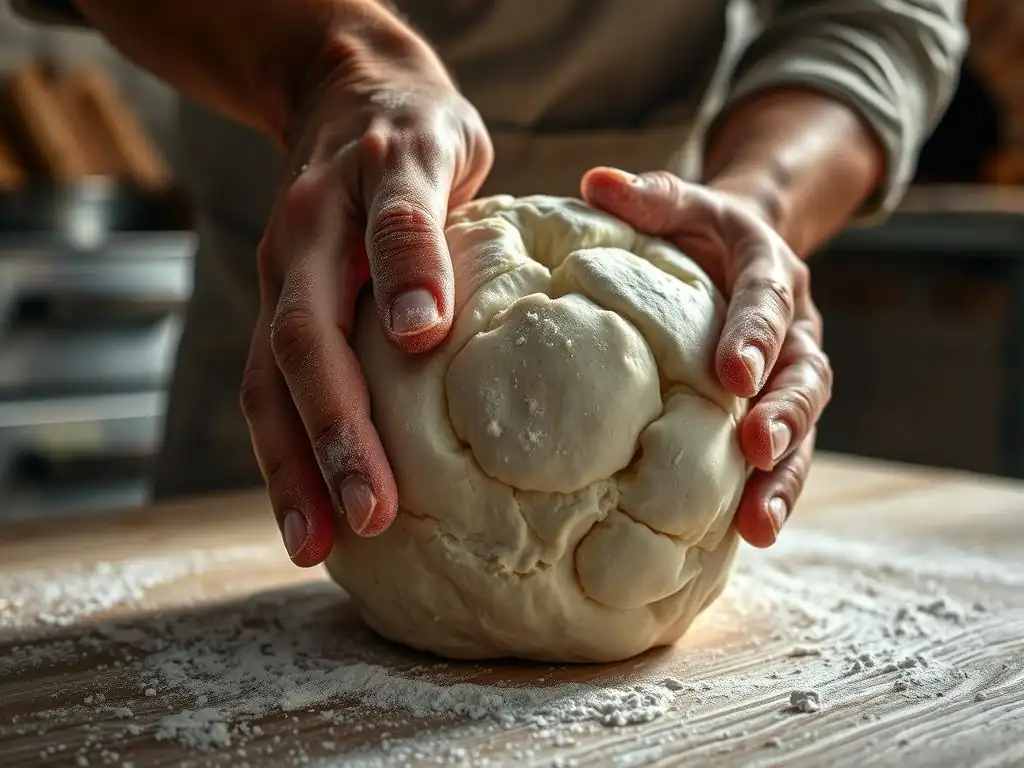
Welcome to BakeWithEase, your partner in creating baking magic! Ever wondered how to achieve those coveted, cavernous air pockets in your Ciabatta? This guide dives deep into the art of shaping Ciabatta dough, revealing the secrets to maximizing those airy, irregular holes that define this rustic Italian bread. Get ready to unlock the secrets to perfectly airy Ciabatta – the journey begins now!
- Mastering Ciabatta: Shaping Techniques for Optimal Air Pockets
- Understanding Ciabatta's Open Crumb Structure
- Hydration and Dough Handling for Ciabatta
- Shaping Techniques to Preserve Air Pockets
- Step-by-Step Ciabatta Shaping Guide
- Baking for Maximum Air Pocket Development
- Troubleshooting Shaping Issues
- Tips for Refining Your Ciabatta Shaping
- Evaluating Your Ciabatta's Crumb Structure
-
Frequently Asked Questions
- What makes shaping Ciabatta different from shaping other breads?
- Why are air pockets so important in Ciabatta bread?
- What is the best technique for creating large air pockets when shaping Ciabatta?
- What type of flour is recommended for achieving good air pockets in Ciabatta?
- How much should I handle the dough when shaping Ciabatta?
- Final Reflection: The Pursuit of the Perfect Ciabatta Air Pocket
- Unleash Your Inner Ciabatta Artisan!
Mastering Ciabatta: Shaping Techniques for Optimal Air Pockets
Understanding Ciabatta's Open Crumb Structure
The Appeal of Ciabatta's Airy Texture
Ciabatta, meaning "slipper" in Italian, is beloved for its rustic appearance and, most importantly, its incredibly open and airy crumb structure. This characteristic texture, featuring large, irregular air pockets, is what sets it apart from many other breads. It provides a delightful contrast between the crisp crust and the soft, chewy interior, making it perfect for soaking up olive oil, building sandwiches, or simply enjoying fresh. Achieving these signature large ciabatta bread air pockets is the primary goal for many home bakers tackling this dough.
The appeal isn't just aesthetic; the generous air pockets contribute significantly to the bread's light mouthfeel. Unlike dense loaves, a well-made ciabatta feels airy and almost melts in your mouth, despite its chewy crust. This unique texture is a direct result of several factors working in harmony, including high hydration, a long fermentation period, and crucially, gentle handling and specific shaping techniques designed to preserve the gas created during fermentation, leading to those desirable ciabatta bread air pockets.
The Role of Shaping in Achieving Large Air Pockets
While hydration and fermentation build the potential for air pockets within the dough, shaping is the critical step that determines whether those potential pockets survive and expand during baking. Ciabatta dough is intentionally handled minimally during shaping compared to other breads. The goal is not to create a tight, structured loaf, but rather to gently coax the dough into a rough shape while disturbing the internal gas network as little as possible.
Aggressive kneading or rough handling at the shaping stage will deflate the delicate bubbles that have formed during the long fermentation. Think of the dough like a fragile sponge filled with air; collapsing the structure means losing the very foundation for large ciabatta bread air pockets. Proper shaping involves techniques like stretching and folding, which build some tension on the surface while preserving the internal gas structure, allowing it to expand dramatically in the hot oven.
Hydration and Dough Handling for Ciabatta
The Importance of High Hydration in Ciabatta Dough
High hydration is the cornerstone of ciabatta dough, typically ranging from 75% to over 90% hydration (meaning 75-90 grams or more of water per 100 grams of flour). This generous amount of water is essential for creating the environment necessary for those signature large ciabatta bread air pockets. The high water content makes the dough very wet and loose, allowing the gluten network to stretch and expand significantly as fermentation gases are produced.
A dough with lower hydration would be stiffer and less able to accommodate the large gas bubbles needed for an open crumb. The extra water also contributes to a more active fermentation and helps keep the dough cooler during mixing, which can benefit flavor development over a long ferment. While challenging to handle initially, mastering high hydration dough is key to unlocking the potential for maximum ciabatta bread air pockets.
Techniques for Managing Sticky Dough
Working with high hydration dough can be intimidating because it is incredibly sticky. However, with the right techniques, it becomes manageable. The key is often not to add more flour, as this reduces hydration and compromises the potential for a great crumb. Instead, rely on wet hands, a well-floured or wet work surface (depending on the specific technique), and tools like a dough scraper.
Using wet hands prevents the dough from sticking to your fingers like glue. Some bakers prefer a lightly floured surface for shaping, while others find a slightly wet surface helpful for certain maneuvers. A sturdy metal or plastic dough scraper is invaluable for dividing the dough and lifting it without tearing. Over time, you'll develop a feel for the dough and learn to use its stickiness to your advantage, employing techniques like stretch-and-folds in the bowl or on a lightly oiled surface before you even get to the final shaping step for those coveted ciabatta bread air pockets.
Shaping Techniques to Preserve Air Pockets
Minimizing Degassing During Handling
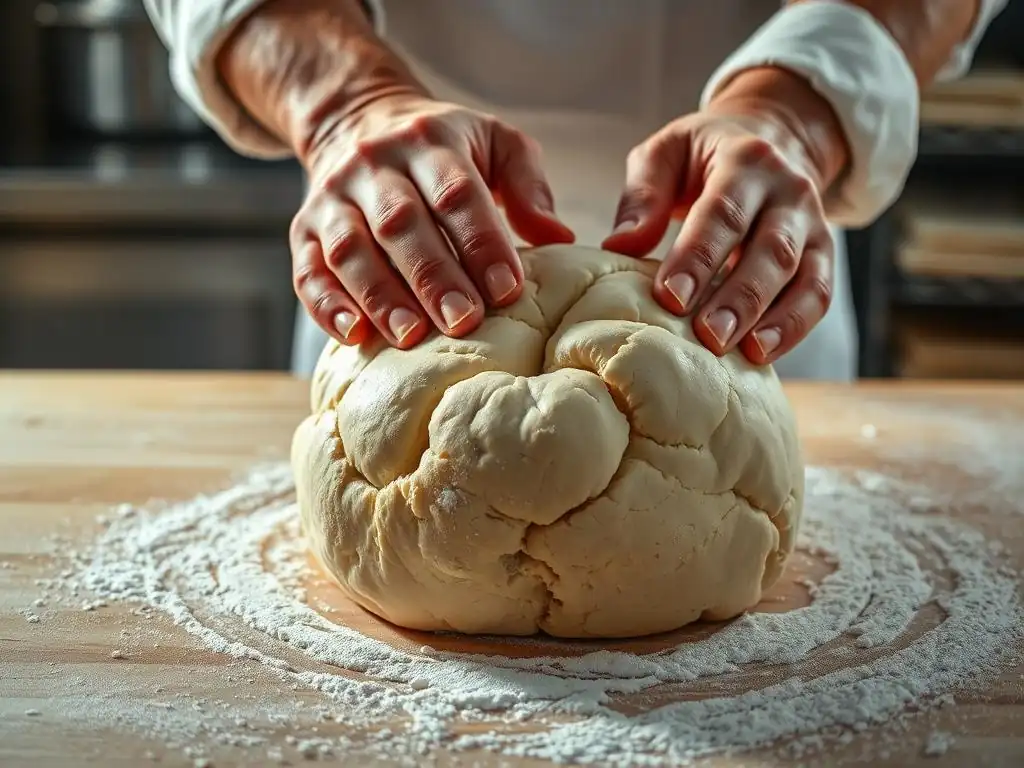
The primary objective when handling fermented ciabatta dough is to be as gentle as possible to avoid knocking out the accumulated gas. Every time you handle the dough, there's a risk of deflating the precious air bubbles that contribute to the open ciabatta bread air pockets. This means avoiding punching down the dough vigorously, excessive kneading at this stage, or squeezing the dough unnecessarily.
Instead of forceful manipulation, think of guiding the dough. When transferring it from the proofing container to the work surface, try to pour or gently scrape it out. When dividing, use a sharp scraper to make clean cuts rather than tearing. During the minimal shaping required, use light hands and smooth movements. The less you compress or stretch the dough aggressively, the better your chances of preserving the internal structure needed for large, beautiful ciabatta bread air pockets.
Gentle Shaping Methods
True ciabatta shaping is more about coaxing the dough into a rough loaf shape than performing complex folds. The most common method involves gently stretching the dough into a rectangle or square and then folding it like a letter (folding one-third over the middle, then the other third over that). This builds just enough surface tension without significantly disrupting the internal structure.
Another approach involves simply dividing the dough and gently pulling the sides to create a rough oblong shape on the parchment paper. The key is that these movements are minimal and designed to align the gluten gently while preserving the internal gas. Unlike shaping a baguette or boule where tension is paramount, ciabatta shaping prioritizes maintaining the airy network created during fermentation to ensure those signature large ciabatta bread air pockets.
Step-by-Step Ciabatta Shaping Guide
Preparing Your Work Surface
Before you even touch the dough, prepare your work surface. Since ciabatta dough is high hydration and sticky, you need a surface that prevents it from becoming a glued-on mess. A common method is to generously flour your surface, often with a mix of all-purpose flour and durum flour or semolina, which helps prevent sticking and adds a rustic touch. Ensure you have enough space to work with the large, often slack dough mass.
Alternatively, some bakers prefer a lightly oiled surface, which can also prevent sticking and give the crust a slightly different texture. Whichever method you choose, have your dough scraper, extra flour/oil, and pre-cut parchment paper ready. The goal is to make the shaping process as smooth and efficient as possible to minimize handling time and preserve those developing ciabatta bread air pockets.
Dividing the Dough
Once your bulk fermentation is complete and the dough has significantly increased in volume (often doubling or tripling), gently transfer it onto your prepared work surface. Try to pour or scrape it out rather than pulling it forcefully. The dough will likely spread out into a large, flat mass. Use a sharp dough scraper to divide the dough into the desired number of portions for your loaves.
Make clean, decisive cuts with the scraper. Avoid sawing back and forth, which can tear the dough and compress the edges. For typical ciabatta, you might divide a large batch into two, three, or four rectangular pieces. The size of the pieces will determine the size of your finished loaves, but the division should be done quickly and gently to maintain the airy structure needed for excellent ciabatta bread air pockets.
The Stretching and Folding Technique
With the dough divided, the most common shaping technique involves gently stretching and folding. Working with one piece at a time, lightly stretch the dough piece into a rough rectangle or square shape using your fingertips, being careful not to press out all the air. Aim for a thickness of perhaps 1/2 to 1 inch.
Next, perform a simple letter fold. Imagine dividing the rectangle into thirds lengthwise. Gently lift one end and fold it about two-thirds of the way down the dough. Then, lift the other end and fold it over the top, like folding a letter. This creates a rough oblong shape. Some methods suggest flipping the dough over onto the seam. The key is that these movements are gentle and quick, primarily aimed at creating a little surface tension without deflating the internal structure that holds the ciabatta bread air pockets.
Transferring the Shaped Dough
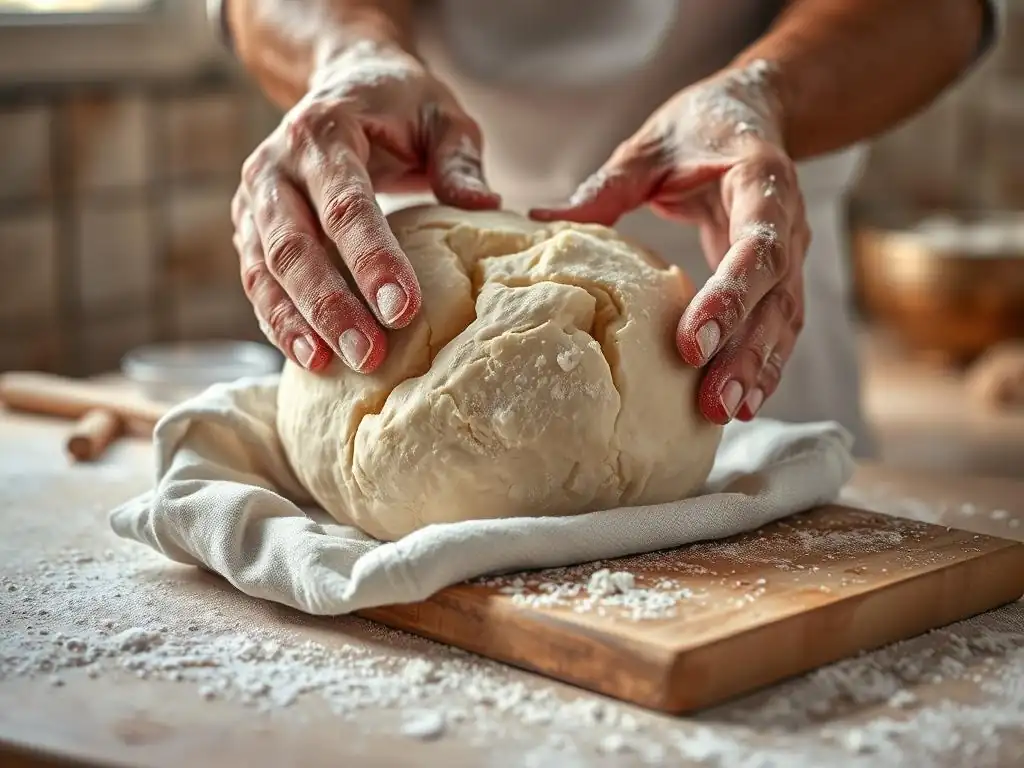
After gently shaping each piece, you need to transfer it to its final proofing spot. Since the dough is soft and often proofed on a couche or in a proofing basket lined with cloth to prevent spreading, it's crucial to transfer it carefully. Using parchment paper cut to size for each loaf is highly recommended. Gently lift the shaped dough piece onto its own piece of parchment paper.
This allows you to move the delicate, proofing dough without disturbing it later. You can then lift the parchment paper with the dough directly into your proofing vessel or onto baking trays. The parchment paper acts as a sling, making the transfer to the oven much easier and safer for the delicate structure, crucial for achieving those signature large ciabatta bread air pockets.
Proofing the Loaves
The final proofing stage for ciabatta is relatively short compared to the bulk fermentation. The gently shaped loaves are typically proofed for 30 to 60 minutes, or until they appear visibly puffy but have not spread out excessively. Over-proofing can cause the dough to collapse, while under-proofing won't allow the air pockets to fully develop.
Proofing is often done on a baker's couche (a linen cloth) dusted generously with flour or semolina, which prevents sticking and helps the loaves hold their shape somewhat. The cloth is pleated between the loaves to provide support. Alternatively, they can be proofed on parchment paper on a baking tray, though they might spread more. A successful final proof is vital for ensuring the preserved air pockets are ready to expand fully in the oven, resulting in a beautifully open ciabatta bread air pocket structure.
Baking for Maximum Air Pocket Development
Oven Temperature and Steam
Baking ciabatta at a high temperature with plenty of steam is crucial for maximizing the development of those desired ciabatta bread air pockets. A common temperature range is 450°F to 475°F (230°C to 245°C). The high heat provides a strong oven spring, causing the gases inside the dough to expand rapidly before the crust sets.
Steam in the oven is equally important, especially during the initial phase of baking (the first 10-15 minutes). Steam keeps the surface of the dough moist and pliable, allowing the loaf to expand fully without the crust hardening too early. This extended period of expansion directly contributes to larger, more dramatic ciabatta bread air pockets. Methods for generating steam include placing a tray of hot water on the bottom rack or using lava rocks/cast iron pans preheated and then adding water.
Scoring Considerations
Unlike many other bread types, ciabatta is often baked without scoring. The slack, high-hydration dough is typically given ample room to expand naturally. Scoring can sometimes cause the dough to deflate or spread out rather than springing upwards. The natural fissures and cracks that form on the surface during baking contribute to its rustic appearance.
However, some recipes might suggest a minimal slash or two if the dough has significant surface tension. If you choose to score, do so just before loading into the oven and make very shallow cuts with a sharp lame or razor blade. The goal is not deep cuts like on a boule or baguette, but just enough to guide expansion if necessary, always with the aim of preserving and enhancing the potential for large ciabatta bread air pockets.
Troubleshooting Shaping Issues
Preventing Dough from Sticking
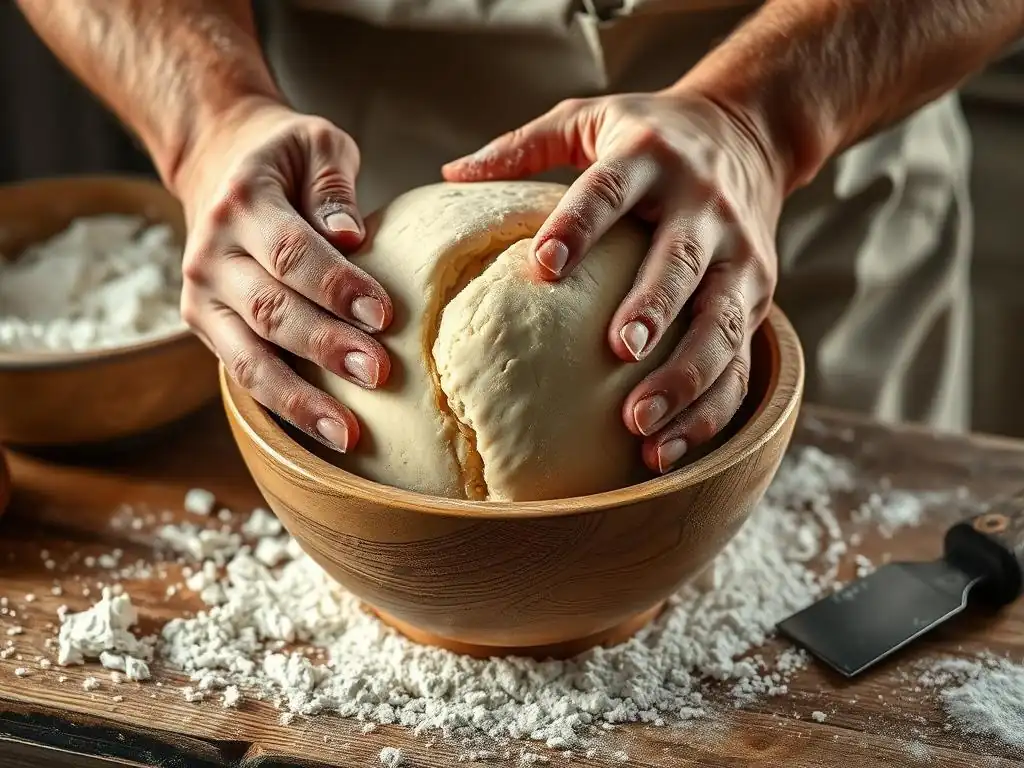
One of the most common frustrations when shaping high-hydration ciabatta dough is preventing it from sticking everywhere. The key is generous use of a non-stick medium on your work surface and hands. If using flour, don't be shy – dust your surface liberally with all-purpose flour, semolina, or a mix. Ensure your hands are well-floured too.
Alternatively, if you prefer working with oil, lightly oil your hands and the work surface. A bench scraper is your best friend here; use it to help lift and manipulate the dough without tearing it or getting it stuck to your fingers. Practice helps immensely; the more you work with sticky dough, the better you'll become at handling it efficiently to preserve those essential ciabatta bread air pockets.
Addressing Flat Ciabatta
Flat ciabatta loaves can be disheartening. Several factors can contribute to this, including insufficient gluten development, inadequate bulk fermentation, over-proofing, or rough handling during shaping. If your dough feels weak and doesn't hold any shape at all after bulk ferment, it might need more initial mixing or a longer bulk ferment to build strength.
Over-proofing is a common culprit; if the dough looks extremely airy and fragile and spreads out rapidly when touched, it's likely over-proofed and has lost its structural integrity. Gentle shaping is paramount – if you handle the dough too roughly, you'll deflate the air pockets, resulting in a flat, dense loaf instead of one with glorious ciabatta bread air pockets. Ensure your oven is properly preheated and steamy for maximum oven spring.
Achieving Even Air Pocket Distribution
Uneven air pockets, with some dense areas and some large holes, can result from inconsistent gluten development or uneven handling. During bulk fermentation, performing a few sets of stretch and folds can help develop gluten evenly throughout the dough. Aim for 2-3 sets in the first hour or two of bulk ferment.
During shaping, try to distribute the dough's thickness relatively evenly before folding. Avoid compressing one area more than another. While ciabatta is inherently rustic with irregular holes, consistent gentle handling throughout fermentation and shaping helps ensure that the potential for large ciabatta bread air pockets exists throughout the entire loaf, not just in specific spots.
Tips for Refining Your Ciabatta Shaping
The Value of Practice
Baking ciabatta, especially mastering the handling of high-hydration dough and achieving those elusive large ciabatta bread air pockets, is a skill that improves with practice. Don't be discouraged if your first few loaves aren't perfect. Each attempt teaches you more about the dough's feel, its response to fermentation, and how gently you need to handle it.
Pay attention to how the dough behaves at different stages – how it feels after mixing, how much it expands during bulk ferment, and how it responds to your touch during shaping. Keeping a baking journal can help you track variables like hydration percentage, fermentation times, and shaping methods used, allowing you to identify what works best for achieving excellent ciabatta bread air pockets in your environment.
Flour Selection and Its Impact
The type of flour you use significantly impacts the dough's hydration capacity and gluten development, which in turn affects the final crumb structure and the potential for large ciabatta bread air pockets. High-protein bread flour (around 12-14% protein) is often recommended for ciabatta because it can absorb more water and form a strong gluten network capable of trapping large gas bubbles.
Using a blend of flours can also be beneficial. Adding a percentage of finely ground durum flour or Italian Tipo 00 flour can contribute to the texture and flavor. Experimenting with different flours or blends can help you find the combination that gives you the best dough handling characteristics and the desired open crumb structure with prominent ciabatta bread air pockets.
Effective Use of a Dough Scraper
A simple dough scraper (also called a bench scraper) is an indispensable tool when working with sticky ciabatta dough. It allows you to divide the dough cleanly without tearing and to lift and manipulate the dough on your work surface without it sticking to your hands or the counter. Use the straight edge to scrape dough off surfaces and the flat surface to lift and move portions.
When shaping, the scraper can help you nudge and fold the dough gently. It's particularly useful for the letter fold method, assisting in lifting the edge of the dough without sticking. Mastering the use of your dough scraper will make handling the wet dough much easier and more efficient, reducing the risk of degassing and helping you preserve the delicate structure needed for those wonderful ciabatta bread air pockets.
Evaluating Your Ciabatta's Crumb Structure
Visual Indicators of a Well-Shaped and Proofed Loaf
A well-shaped and proofed ciabatta loaf, destined for a great crumb, will show several visual cues before baking. It should appear puffy and airy, having increased significantly in volume during the final proof. The surface might show some small bubbles. When gently poked, it should slowly spring back, leaving a slight indentation – this is often called the "poke test." If it springs back immediately, it needs more proofing; if the indentation remains, it's likely over-proofed.
After baking, the exterior should be golden brown with a crisp crust, often showing natural fissures or cracks, especially if not scored. The shape should be relatively flat and elongated, like a slipper. These external characteristics, combined with the dough's behavior during proofing, are strong indicators that you've successfully handled and proofed your dough in a way that will yield a beautiful open ciabatta bread air pocket structure inside.
Serving and Enjoying Your Ciabatta
The true test of your shaping and baking technique comes when you slice into the cooled loaf. A successful ciabatta will reveal a highly open crumb with irregular, large air pockets distributed throughout the interior. The walls of the air pockets should be thin and glossy. There should be no dense, gummy layers at the bottom, which can indicate under-proofing or insufficient oven spring.
Enjoy your homemade ciabatta bread! It's best served fresh, perhaps with olive oil and balsamic vinegar, or used for delicious sandwiches. Taking the time to evaluate the crumb – its openness, the size and distribution of the ciabatta bread air pockets, and the texture – provides valuable feedback for your next baking session. Celebrate your successes and learn from loaves that didn't quite achieve the desired open crumb; each bake is a step towards mastering this rewarding bread.
Frequently Asked Questions
What makes shaping Ciabatta different from shaping other breads?
Ciabatta shaping focuses on maintaining the dough's high hydration and preventing deflation. Unlike other breads, it's about gently stretching and folding, not tightly forming a ball, to preserve the air pockets.
Why are air pockets so important in Ciabatta bread?
Air pockets are a defining characteristic of Ciabatta, contributing to its light and airy texture. They also enhance the bread's ability to absorb flavors, making it ideal for sandwiches.
What is the best technique for creating large air pockets when shaping Ciabatta?
Gentle handling is key. Avoid kneading or pressing the dough excessively. Focus on stretching and folding the dough carefully to maintain the gas bubbles that form during fermentation.
What type of flour is recommended for achieving good air pockets in Ciabatta?
Using a high-protein flour, such as bread flour, is crucial. This allows the gluten to develop properly, creating a strong network that can trap the gases and form those desirable air pockets.
How much should I handle the dough when shaping Ciabatta?
As little as possible! Over-handling will deflate the dough and reduce the size and quantity of air pockets. Aim for minimal manipulation during shaping to retain the airy structure.
Final Reflection: The Pursuit of the Perfect Ciabatta Air Pocket
The quest for the ideal ciabatta, with its signature airy interior, is more than just a baking challenge; it's a reflection of our desire for perfection in the face of seemingly chaotic processes. The techniques explored in this article – from hydration levels to fermentation times – highlight the delicate balance required to achieve those coveted large, irregular air pockets that define a truly exceptional loaf. Mastering this balance isn't just about technical skill; it's about understanding the fundamental principles of dough development and embracing the inherent unpredictability of the process.
The journey of crafting ciabatta, with its emphasis on patience and precise technique, mirrors the larger human experience of striving for excellence. It's a testament to the power of observation and adaptation, reminding us that even seemingly simple acts can hold profound meaning. The reward of a perfectly baked loaf is not just in the taste, but in the journey itself.
This sentiment, though not directly about ciabatta, encapsulates the satisfaction derived from mastering a challenging skill and appreciating the nuances of the process. The pursuit of the perfect air pocket becomes a metaphor for our own personal quests for growth and mastery.
Now, consider your own baking journey. What challenges have you faced in achieving your desired results? What adjustments did you make, and what lessons did you learn? Don't be afraid to experiment, to push boundaries, and to embrace the imperfections along the way. The pursuit of the perfect ciabatta air pocket, much like any worthwhile endeavor, is a journey of continuous learning and refinement. Embrace the process, celebrate the successes, and learn from the setbacks – for it is in this continuous striving that we truly find satisfaction and growth.
Unleash Your Inner Ciabatta Artisan!
Thanks for taking the time to explore the art of ciabatta baking! We hope you gained valuable insights into achieving those coveted air pockets. Ready to put your new knowledge to the test?
- Bake your perfect ciabatta: Use the techniques outlined in the article to create your own masterpiece. Don't forget to share your baking journey with us!
- Experiment with different flours: See how different types of flour impact the final texture and air pocket formation. What will you discover?
- Challenge a friend to a ciabatta bake-off: Share this article and the joy of baking with someone you know. Let the ciabatta games begin!
What unique twist will you add to your next ciabatta creation? Let us know in the comments below!