
Easy Tips for Leveling Cake Layers Like a Pro

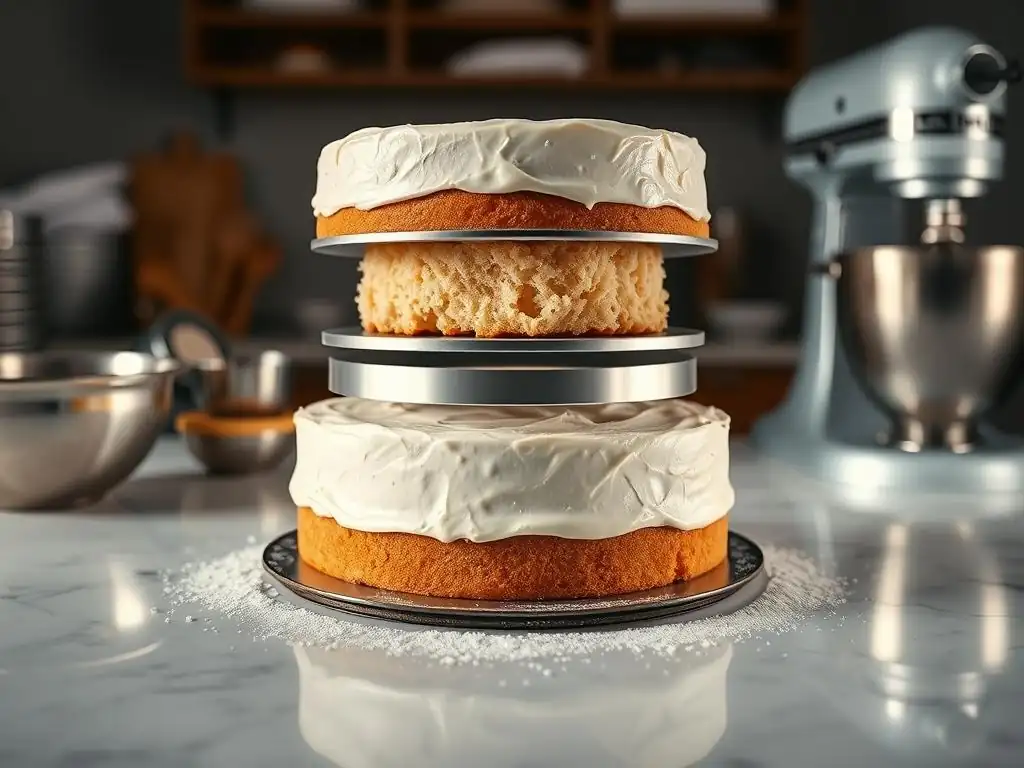
Welcome to BakeWithEase, your guide to unlocking baking brilliance! Are you tired of wobbly, uneven cakes? This is where your journey to baking perfection begins. Discover our easy, expert tips for perfecting cake layer stability, ensuring your creations stand tall and impress. Ready to say goodbye to leaning layers and hello to structurally sound masterpieces? Read on and let's get baking!
- Introduction to Perfecting Cake Layer Stability for Birthday Cakes
- Essential Tools for Leveling Cake Layers Like a Pro
- Preparing Cake Layers for Stability: Key Techniques
- Step-by-Step Guide to Leveling Cake Layers Perfectly
- Advanced Tips to Enhance Cake Layer Stability
- Troubleshooting Common Problems When Leveling Cake Layers
- Storing and Transporting Leveled Cake Layers Safely
- Conclusion: Mastering Cake Layer Stability for Professional-Looking Birthday Cakes
- Frequently Asked Questions
- Final Reflection: The Enduring Allure of a Perfectly Level Cake
- Ready to Bake Perfectly Level Cakes?
Introduction to Perfecting Cake Layer Stability for Birthday Cakes
Creating a show-stopping birthday cake is a rewarding experience, and at the heart of a professional-looking cake lies its foundation: the layers. Achieving cake layer stability is paramount, especially when aiming for towering, multi-tiered creations or simply a single layer that sits perfectly flat. Uneven layers can lead to leaning towers, unstable fillings, and a less-than-perfect final appearance. Mastering the art of leveling your cake layers is a fundamental skill that transforms your bakes from rustic to refined, ensuring your celebratory cakes stand tall and proud.
This guide will walk you through easy, practical tips and techniques for perfecting cake layer stability, making your baking process smoother and your results consistently impressive. We'll cover everything from the right tools to use, how to prepare your baked cakes, a step-by-step leveling process, and even how to troubleshoot common issues. Whether you're baking a classic vanilla sponge or a rich chocolate fudge cake, these methods will help you achieve flawlessly flat layers, setting the stage for beautiful frosting, filling, and decoration.
Why Leveling Cake Layers Matters in Baking for Occasions
Leveling cake layers is far more than just an aesthetic step; it's crucial for the structural integrity and overall success of cakes baked for occasions like birthdays, anniversaries, or weddings. When layers are uneven or significantly domed, stacking them creates gaps and instability.
A classic example is a three-layer birthday cake: if the bottom and middle layers aren't flat, the weight of the top layer and frosting will cause the cake to settle unevenly, potentially leading to cracks in the frosting or even a noticeable tilt. This is particularly true for cakes using softer fillings like whipped cream or mousse, which offer less inherent support than firmer buttercreams.
Furthermore, perfectly level layers provide a smooth, consistent surface for applying frosting, ganache, or fondant. Imagine trying to ice a cake with a prominent dome – you'd end up with varying thicknesses of frosting, or worse, struggle to get fondant to lay flat without wrinkles or bulges. For tiered cakes, achieving cake layer stability is non-negotiable.
Each tier needs a flat base to rest securely on the layer below, preventing shifting and ensuring the entire structure is stable enough to transport and display. A level surface also ensures your fillings are evenly distributed, providing a balanced flavor in every slice.
Common Challenges in Achieving Stable Cake Layers
Even experienced bakers face challenges when striving for perfect cake layer stability. One of the most frequent issues is the dreaded "dome" – where the center of the cake rises higher than the edges. This often happens because the edges of the cake cook and set faster in the hot oven, while the center continues to rise. Richer batters or those baked at too high a temperature are particularly prone to doming. An excessive dome requires significant trimming, potentially wasting a good portion of the cake and reducing the overall height.
Another common challenge is uneven baking, which can result in one side of the cake being higher or denser than the other. This might be caused by hot spots in your oven, placing the cake pan too close to an oven wall, or uneven distribution of batter. These inconsistencies make achieving cake layer stability difficult, as you're starting with a lopsided foundation.
Crumbly cakes also pose a problem; if the cake is too dry or handled roughly before cooling, it can fall apart when you attempt to level it, making clean cuts impossible. Addressing these underlying baking issues can significantly improve your ability to level layers successfully.
Essential Tools for Leveling Cake Layers Like a Pro
Having the right tools can make the task of leveling cake layers much simpler and more precise. While professional bakers might invest in specialized equipment, many effective tools are likely already in your kitchen. The key is to use tools that allow for a steady, even cut across the entire width of the cake layer. Using the correct tools significantly contributes to perfecting cake layer stability by ensuring a flat, reliable base for stacking.
Choosing the best tool often depends on the size and type of cake you're working with, as well as your personal comfort level. For larger or denser cakes, a dedicated cake leveler or a long, sturdy knife might be preferable. For smaller or more delicate layers, a different approach might be needed to minimize crumbling. Let's explore some of the most effective options available for achieving consistent, level cake layers every time.
Best Cake Levelers and Saws for Even Layers
Dedicated cake levelers are designed specifically for this task and are often considered the most reliable tool for achieving perfect cake layer stability. These typically consist of a wire or blade stretched across a frame with adjustable feet or markers. You can set the wire to the desired height (often with measurements indicated on the frame, perhaps in 0.5-inch increments), place the leveler on the cake layer, and simply saw back and forth.
The frame rests on the counter or cake stand, ensuring the cut is parallel to the surface. Adjustable wire levelers are popular because they can accommodate cakes of different heights and allow you to cut multiple layers from a single cake.
Another effective tool is a long serrated knife, often called a bread knife or a cake saw. For this method, you need a knife with a blade longer than the diameter of your cake. A serrated edge works best as it 'saws' through the cake gently, reducing tearing and crumbling compared to a straight blade.
To use a serrated knife effectively for perfecting cake layer stability, you'll typically need to mark the desired cutting line around the cake's perimeter using toothpicks or a ruler as a guide. Then, holding the knife parallel to the counter, use a smooth sawing motion, rotating the cake as you cut, to ensure an even slice.
Alternative Kitchen Tools to Use for Cake Layer Stability
If you don't have a dedicated cake leveler or a long serrated knife, you can still achieve good results using common kitchen tools. A long piece of plain, unwaxed dental floss or kitchen twine can be surprisingly effective, especially for delicate or crumbly cakes. To use this method, you'll first need to mark your desired cutting line around the cake's edge, perhaps using toothpicks inserted at intervals at the correct height.
Then, wrap the floss or twine around the cake at the marked line, cross the ends, and pull them gently but firmly in opposite directions. The string will slice through the cake relatively cleanly, resulting in a level cut that contributes to cake layer stability.
Another simple method involves using guides alongside a sharp knife. You can place two objects of equal height (like thick books, stacks of magazines, or even small cutting boards) on either side of the cake, set slightly further apart than the cake's diameter. Rest a long, sharp knife (serrated or straight, depending on the cake texture) on these guides as you slice through the cake.
This helps keep the knife parallel to the counter and ensures an even cut. While perhaps not as precise as a dedicated leveler, these alternative methods are accessible ways to start perfecting cake layer stability in your own kitchen.
Preparing Cake Layers for Stability: Key Techniques
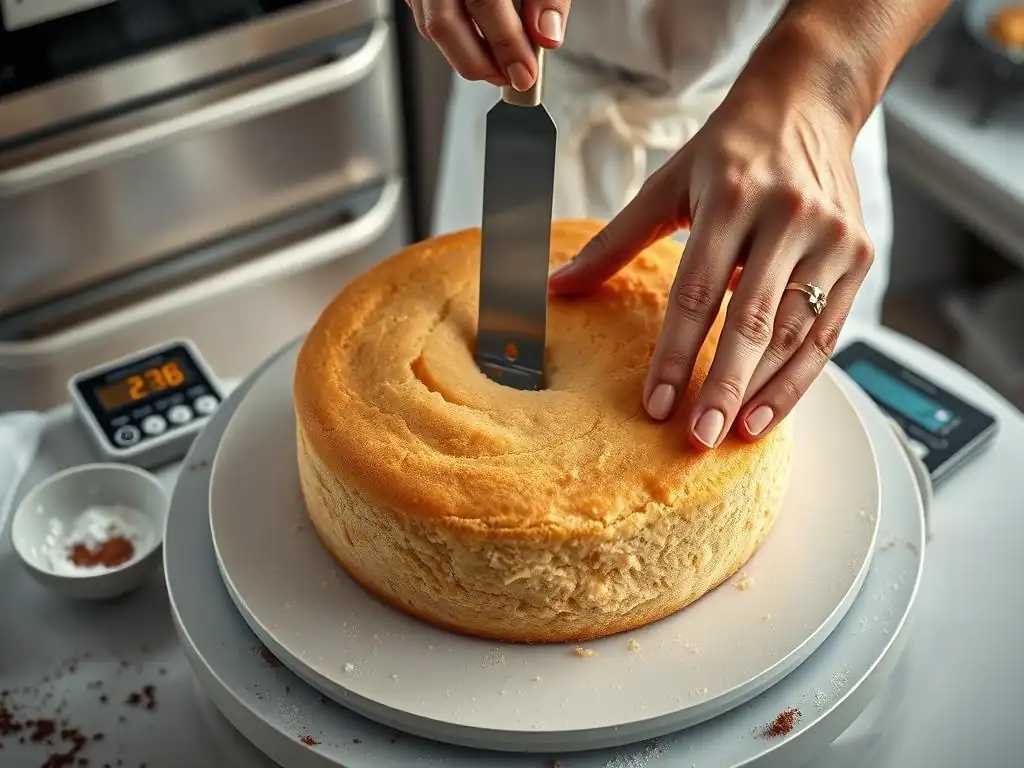
Proper preparation of your baked cake layers before attempting to level them is just as crucial as the leveling process itself for achieving cake layer stability. Rushing this stage can lead to frustrating outcomes, such as crumbling, tearing, or uneven cuts. Taking the time to prepare your cakes correctly ensures they are in the best possible condition for successful leveling and subsequent stacking.
This preparation involves allowing the cakes to cool properly and knowing how to assess their surface before making any cuts. These steps not only make the leveling process easier but also contribute to the overall strength and structure of your finished cake, ensuring it maintains its form and stability throughout assembly and display.
Cooling and Handling Cakes Before Leveling
Allowing your cake layers to cool completely before leveling is perhaps the most critical step for achieving cake layer stability and preventing crumbling. Hot or even warm cakes are structurally weak and prone to tearing and falling apart when you try to slice them. As cakes cool, their structure sets and becomes firmer, making them much easier to handle and cut cleanly. The general rule of thumb is to let cakes cool in their pans for about 10-15 minutes after coming out of the oven, allowing them to firm up slightly before transferring them to a wire rack.
Once on the wire rack, the cakes must cool completely to room temperature. This can take anywhere from 1 to 3 hours, depending on the size and density of the cake. Resist the urge to speed up this process. You can also wrap completely cooled cake layers tightly in plastic wrap and chill them in the refrigerator for 30-60 minutes, or even freeze them for a similar duration. Slightly chilled cakes are often firmer and less crumbly, which makes perfecting cake layer stability through cutting much easier and cleaner, resulting in minimal crumbs.
How to Identify Uneven or Domed Cake Surfaces
Before you begin leveling, take a moment to carefully examine each cake layer to identify any unevenness or significant doming. Place the cake layer on a flat surface, ideally a cake stand or a large plate. Step back and look at the cake from eye level. Does the top surface look flat, or does it curve upwards in the center, forming a dome? Is one side noticeably higher than the other? Run your hand gently across the surface (once it's completely cool, of course) to feel for high or low spots.
Identifying these imperfections is the first step in perfecting cake layer stability through leveling. For a standard dome, you'll be aiming to slice off the curved top section to create a flat plane. If the cake is uneven side-to-side, you might need to adjust your cutting angle slightly or use guide markers to compensate.
Sometimes, cakes might have minor dips or cracks; while leveling primarily addresses the height, noting these imperfections helps you plan for filling or frosting techniques later. This visual and tactile inspection helps you determine how much needs to be removed and where to make your cut for optimal cake layer stability.
Step-by-Step Guide to Leveling Cake Layers Perfectly
Now that your cake layers are properly cooled and you've assessed their surfaces, it's time to get down to the actual leveling process. This stage requires a steady hand and a clear plan to ensure you achieve perfectly flat layers without damaging the cake. Following a structured approach will help you make clean cuts and contribute significantly to perfecting cake layer stability for your final creation.
We will break down the process into simple, manageable steps, focusing on precision and technique. Whether you're using a dedicated leveler or a knife, the principles remain the same: aim for a cut that is parallel to the cake's base, removing just enough of the uneven top to create a flat surface.
Measuring and Marking Cake Layers for Precise Cuts
Precision is key when perfecting cake layer stability through leveling. Before you cut, decide exactly where you want your cut to be. If you're cutting off a dome, determine the height of the dome's base – where the curve starts to flatten out towards the edges. If you're cutting a single thick cake into multiple thinner layers, decide how many layers you want and calculate the approximate height of each. A ruler is your best friend here. Measure the total height of the cake and divide by the number of layers you desire.
Once you've determined the cutting line, mark it around the perimeter of the cake. The easiest way to do this is by inserting toothpicks or small skewers horizontally into the cake at even intervals around the circumference, ensuring they are all at the same height from the base. You can use a ruler to guide the placement of the toothpicks.
For example, if your cake is 3 inches tall and you want two 1.5-inch layers, insert toothpicks 1.5 inches from the base. These markers serve as a visual guide for your knife or leveler, helping you maintain a consistent cutting height and achieve excellent cake layer stability.
Techniques for Cutting Cake Layers Evenly and Safely
With your cutting line marked, you can now proceed to slice the cake. If using a dedicated cake leveler, adjust the wire or blade to the desired height indicated by your markings. Place the leveler on a flat surface next to the cake, ensuring the feet rest firmly. Position the wire against the cake at your marked line.
Using a gentle back-and-forth sawing motion, guide the leveler through the cake, keeping the frame flat against the counter. Move steadily until you've cut all the way through. This method is designed for perfecting cake layer stability with minimal effort and maximum precision.
If using a long serrated knife, position the knife blade against your toothpick guides. Start sawing gently into the side of the cake, using a back-and-forth motion across the entire blade length. As you cut, slowly rotate the cake, keeping the knife blade level and aligned with the toothpicks.
Do not press down; let the serrations do the work. The goal is a smooth, continuous cut around the entire cake. For very large cakes (e.g., 12 inches or more), using a leveler or having someone help hold the cake steady while you cut can make achieving cake layer stability easier.
Tips to Avoid Crumbling and Maintain Cake Integrity
Crumbling is a common frustration when leveling cakes. To minimize this and help maintain the cake's integrity for better cake layer stability, ensure your cake is thoroughly cooled, and ideally, slightly chilled. A cold cake is less likely to crumble. Use a sharp serrated knife or a wire leveler, as these tools slice through the cake more cleanly than a dull, straight blade. Use a gentle sawing motion rather than pressing down, which can compress and break the cake structure.
Work steadily and avoid rushing the cut. If you encounter resistance, don't force the knife; gently saw back and forth. For very delicate cakes, the dental floss method can be the least disruptive option.
As you cut, support the cake layer you are cutting off to prevent it from breaking under its own weight. Once the cut is complete, carefully slide the top layer off using a cake lifter or a large, flat spatula. Any loose crumbs on the cut surface can be gently brushed away with a clean pastry brush before you proceed with stacking and frosting, further contributing to perfecting cake layer stability.
Advanced Tips to Enhance Cake Layer Stability

Once you've mastered the basic leveling techniques, there are additional steps you can take to further enhance cake layer stability, especially when building taller or more complex cakes. These techniques focus on reinforcing the cake structure and ensuring that the layers and fillings work together to create a sturdy foundation that won't shift or collapse.
These methods go beyond just leveling and involve optimizing the interaction between the cake layers and the components you place between them. Implementing these advanced tips can make a significant difference in the final presentation and stability of your finished birthday cake, elevating your skills in perfecting cake layer stability.
Using Syrups and Fillings to Support Layer Structure
Brushing cake layers with a simple syrup or other liquid can add moisture and flavor, but it can also subtly contribute to cake layer stability. A light brushing of syrup can make the cake layers slightly more pliable and less likely to crack during handling, while also providing a bit of 'grip' for the filling.
Simple syrup (equal parts sugar and water, boiled and cooled) is a common choice, but you can infuse it with flavorings like vanilla, citrus zest, or even a touch of liqueur (if appropriate for the occasion). Apply the syrup evenly using a pastry brush, allowing it to soak in for a few minutes before adding your filling.
The type and consistency of your filling also play a significant role in supporting the layers and achieving cake layer stability. Firmer fillings like buttercream, ganache, or cream cheese frosting provide more structural support than softer options like whipped cream, fruit curd, or pastry cream. If using a soft filling, consider creating a "dam" of firmer frosting around the perimeter of the layer before adding the softer filling in the center. This dam acts as a barrier, preventing the soft filling from squeezing out under the weight of the upper layers and helping to maintain a level surface.
How to Stack and Support Multiple Cake Layers Without Slipping
Proper stacking is essential for perfecting cake layer stability in multi-layered cakes. Always start with your sturdiest layer on the bottom. Often, the bottom layer baked in the pan is the flattest and most suitable for the base. Place a thin, even layer of frosting or filling on the first layer, spreading it almost to the edge. This layer of frosting acts like glue, helping the next cake layer adhere securely. Carefully lift and place the second layer on top, aligning it precisely with the bottom layer.
For cakes taller than two or three layers (e.g., 4 inches or more in height), or for tiered cakes, internal support is necessary to ensure cake layer stability and prevent the upper layers from crushing the lower ones. This is typically done using cake dowels or plastic support rods. After placing the filling on a layer, insert dowels vertically into the cake, cutting them flush with the top surface of that layer.
For a 6-inch cake, you might use 3-4 dowels; for an 8-inch cake, 4-5 dowels. The next cake layer then rests on these dowels, distributing the weight evenly and creating space for the filling without compressing the cake below. This method is crucial for building tall, stable structures.
Troubleshooting Common Problems When Leveling Cake Layers
Even with the best tools and techniques, you might encounter issues when leveling cake layers. Don't despair! Many common problems can be fixed or minimized with a little know-how. Learning how to troubleshoot these issues is part of perfecting cake layer stability and will save you from having to discard imperfect layers.
Addressing problems like cracks, uneven cuts, or layers that seem too unstable is key to salvaging your hard work and still achieving a beautiful result. Here are some ways to tackle those bumps in the road that can occur during the leveling process.
Fixing Cracks, Uneven Surfaces, and Layer Slippage
If a cake layer cracks slightly during leveling or handling, don't panic. Small cracks can often be patched up using leftover cake crumbs mixed with a little frosting to form a paste (sometimes called "cake spackle"). Gently press this mixture into the crack and smooth the surface. For larger breaks, especially if a layer splits completely, you might need to use frosting as the "glue" to hold the pieces together, treating it as one layer during stacking. Chill the repaired layer thoroughly before proceeding.
If your leveled layer still has a slight unevenness or dip, you can often compensate for this during the frosting stage. Use slightly more frosting in the low spots to build up the surface and create a level top for the next layer. For layer slippage during stacking, ensure you are using enough frosting or filling between layers to create adhesion, and that the filling isn't too soft or thick in one area. Chilling the cake after stacking each layer can help the frosting set and provide additional cake layer stability before you add the next one.
How to Rescue and Reinforce Unstable Cake Layers
Sometimes, despite your best efforts, a cake layer might feel too delicate or unstable, perhaps due to being slightly underbaked (though this is less common if cooled properly) or overly crumbly. If a layer seems too fragile to support the weight of the layers and filling above it, you can reinforce it. One method is to place the fragile layer on a thin cake board or cardboard round cut to the exact size of the cake.
Stack the layer with the board onto the cake below. This provides a solid, flat surface that distributes weight evenly and prevents the layer from collapsing.
Another approach, especially if the issue is excessive crumbliness, is to embrace it! You can crumble the layer entirely and use it to make cake pops or a trifle instead, and bake a new layer for your cake. If the layer is only slightly unstable, ensure you use a firm filling (like a dense buttercream) and stack it carefully, chilling frequently between steps. For very tall cakes, the use of internal dowel supports, as mentioned earlier, becomes even more critical for perfecting cake layer stability when dealing with potentially weaker layers.
Storing and Transporting Leveled Cake Layers Safely
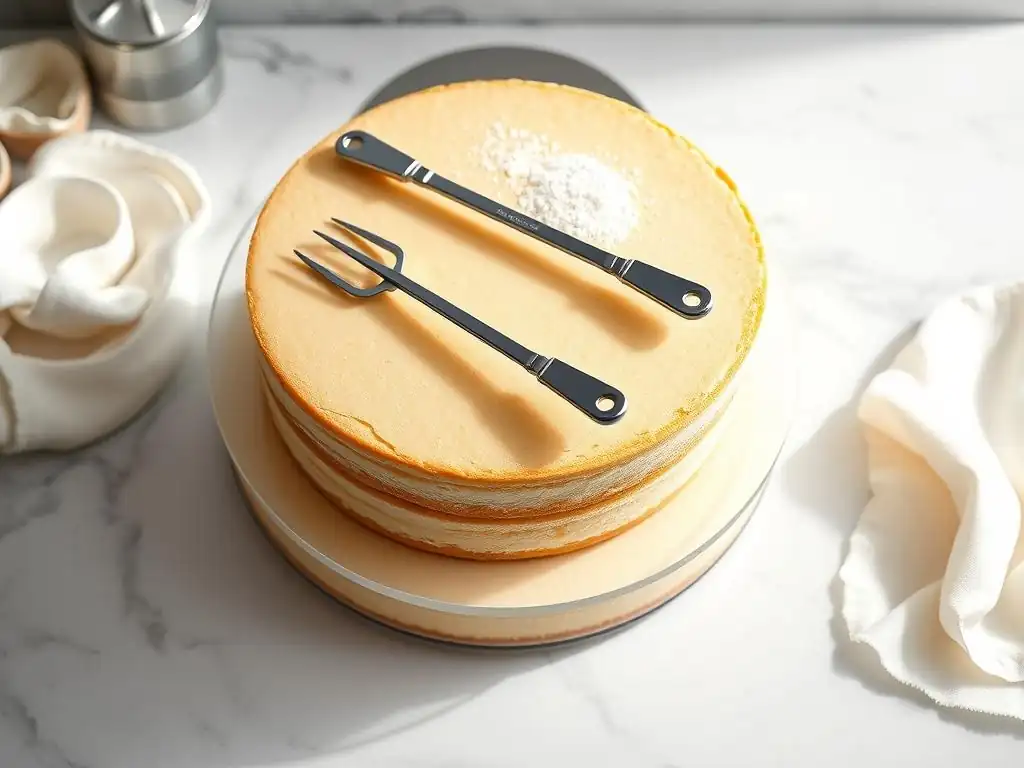
Once you've successfully leveled your cake layers, proper storage is key to maintaining their integrity and cake layer stability until you're ready to assemble the cake. Simply leaving them exposed can lead to drying out or damage. Taking a few simple precautions ensures your perfectly prepared layers are ready for stacking when the time comes.
Transporting cake layers before assembly also requires care to prevent shifting, breaking, or other damage that would compromise the cake layer stability you've worked to achieve. Whether you're moving them from your kitchen counter to the refrigerator or transporting them to another location for assembly, these tips will help keep them safe.
Best Practices for Maintaining Layer Stability Before Assembly
After leveling and trimming your cake layers, allow them to sit at room temperature for a few minutes if they were chilled, just to take the extreme cold off. Then, wrap each layer individually and tightly in plastic wrap. Ensure the entire surface is covered to prevent moisture loss and drying. If you've cut a single cake into multiple layers, stack them gently with a piece of parchment paper or plastic wrap between each layer before wrapping the whole stack together.
Wrapped layers can be stored at room temperature for 1-2 days if your kitchen is cool. For longer storage or if using delicate flavors, they can be refrigerated for up to a week. For even longer storage, leveled layers freeze beautifully. Wrap the plastic-wrapped layers again in aluminum foil or place them in a freezer-safe bag. Frozen layers can be stored for 1-2 months. Thaw them overnight in the refrigerator before unwrapping and assembling. Proper storage is a simple but effective step in preserving the results of perfecting cake layer stability.
Transportation Tips to Prevent Layer Shifts and Damage
Transporting leveled cake layers requires careful handling to ensure they arrive at their destination in perfect condition, ready for assembly. The most important rule is to keep them flat and supported. Place the wrapped layers on a sturdy, flat surface like a baking sheet, a cutting board, or inside a cake carrier or box. Avoid stacking unwrapped layers directly on top of each other for transport, as they can shift and rub against each other, damaging the cut surfaces.
If transporting by car, place the supported layers on a flat surface in the vehicle where they won't slide, such as the floorboard or the trunk, ensuring they are level. Avoid placing them on a seat unless you can wedge them securely to prevent movement. Drive carefully, avoiding sudden stops or sharp turns. For extra security, you can place a non-slip mat (like those used in drawers or car dashboards) under the baking sheet or box. Taking these precautions minimizes the risk of damage during transit, preserving the cake layer stability you worked hard to achieve.
Conclusion: Mastering Cake Layer Stability for Professional-Looking Birthday Cakes
Mastering the art of perfecting cake layer stability is a fundamental skill that elevates your baking from home-style to professional-quality, particularly for special occasions like birthday parties. Perfectly leveled layers provide a stable, even foundation for stacking, filling, and decorating, ensuring your finished cake looks polished and stands tall. It prevents leaning, uneven frosting application, and structural issues that can lead to disappointment.
While the process might seem intimidating at first, it's a skill that improves with practice. By understanding why leveling is important, using the right tools (whether dedicated levelers or clever kitchen alternatives), properly preparing your cakes, and following a careful cutting technique, you can consistently achieve flat, stable layers.
Recap of Easy Tips to Level Cake Layers Like a Pro
Let's quickly recap the key easy tips for perfecting cake layer stability:
- Cool Cakes Completely: Ensure your cake layers are fully cooled to room temperature (or even slightly chilled) before attempting to cut them. Warm cakes crumble.
- Choose the Right Tool: Use a long serrated knife, a dedicated cake leveler, or even dental floss, selecting the tool that feels most comfortable and appropriate for your cake.
- Mark Your Cut: Use toothpicks or a ruler to mark a precise, even line around the cake's perimeter as a guide.
- Use a Gentle Sawing Motion: Whether using a knife or leveler, use a back-and-forth sawing motion rather than pressing down to achieve a clean cut with minimal crumbs.
- Support While Cutting: Gently support the top section of the cake as you cut through to prevent it from breaking off unevenly.
- Patch Imperfections: Use cake crumbs mixed with frosting to fill small cracks or holes if they occur.
- Chill for Firmness: Chilling leveled layers briefly before stacking can make them easier to handle and more stable.
- Store and Transport Safely: Wrap layers tightly and keep them flat and supported during storage and transport.
Encouragement to Practice and Experiment with Cake Layer Techniques
Don't be discouraged if your first attempt at perfecting cake layer stability isn't absolutely perfect. Baking is a journey of learning and experimentation. Each cake you bake and level will offer valuable experience. Pay attention to how different cake recipes behave when cut, and try different tools to see which you prefer.
Practice leveling even simple test cakes. The more you practice the technique, the more confident and skilled you will become. Soon, leveling cake layers will feel like a natural and effortless part of your baking routine, allowing you to focus on the fun parts like decorating your magnificent, stable birthday cakes. Keep baking, keep experimenting, and enjoy the process of creating beautiful, delicious cakes that stand tall!
Frequently Asked Questions
How important is leveling cake layers for overall cake stability?
Leveling cake layers is crucial for cake stability. Uneven layers can cause the cake to tilt or collapse, especially with multiple tiers or heavy fillings.
What tools are most effective for leveling cake layers?
A serrated knife is the most commonly used and effective tool. Cake levelers are also available, offering a more precise and consistent cut.
What's the best technique to ensure a perfectly level cut?
Use a gentle sawing motion with the serrated knife, rotating the cake slowly. Ensure your knife is parallel to the countertop or using guides for a level cut.
Can I level cake layers after they've been frosted?
It's not recommended to level after frosting. Frosting makes the process messy and can compromise the cake's integrity. Leveling should always be done before any frosting is applied.
How do I prevent my cake layers from crumbling while leveling?
Make sure the cake is completely cooled before leveling. A slightly chilled cake is often easier to handle and less prone to crumbling during the leveling process.
Final Reflection: The Enduring Allure of a Perfectly Level Cake
The quest for the flawlessly level cake layer transcends mere aesthetics; it's a testament to precision, patience, and the enduring power of a perfectly executed bake. A seemingly simple task, leveling cake layers impacts not only the visual appeal of your final creation but also its structural integrity and overall deliciousness. A wobbly layer can lead to uneven frosting, compromised stability, and a less-than-perfect eating experience. Mastering this technique elevates your baking game to a new level, transforming a simple cake into a masterpiece.
The pursuit of the perfect cake layer reflects a broader cultural appreciation for detail and craftsmanship. We live in a world saturated with instant gratification, yet the act of carefully leveling a cake, taking the time to achieve perfection, offers a satisfying counterpoint. It's a mindful process that connects us to a tradition of baking passed down through generations. Baking is at once child's play and adult joy. And love, of course.
- Alma Flor Ada. This quote perfectly encapsulates the joy and dedication involved in perfecting this seemingly simple skill.
Now, consider your own baking journey. What small details, like leveling your cake layers, have you overlooked that could significantly improve your results? I encourage you to embrace the challenge, to practice the techniques outlined in this article, and to experience the profound satisfaction of achieving that perfectly level layer. The next time you bake a cake, remember the power of precision, and let the journey of creating something beautiful and delicious be its own reward. The perfectly level cake awaits!
Ready to Bake Perfectly Level Cakes?
Thanks for taking the time to learn how to level your cake layers like a pro! We hope you found these tips helpful and are ready to create flawlessly smooth cakes. Now, let's put those skills into action:
- Practice your newfound leveling technique on your next cake. Try a simple recipe first, and celebrate your success with a perfectly leveled creation!
- Share your leveled cake masterpieces on social media! Use #BakeWithEaseLeveling to inspire others and show off your skills.
- Consider experimenting with different cake recipes and frosting techniques to see how your new skills enhance the overall presentation.
Ready to transform your baking game? What's your favorite cake recipe that you'll level first?