
Pipe Like a Pro: Shaping Perfect Eclairs with Ease

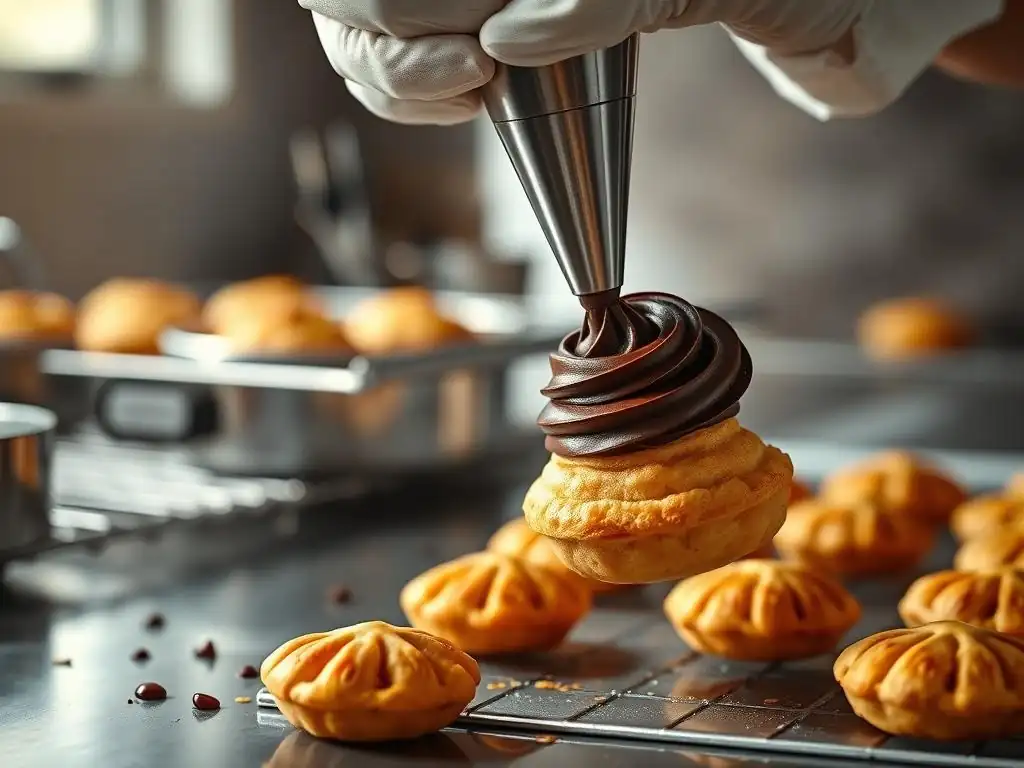
Welcome to BakeWithEase, where baking becomes a joy, not a chore! Ever wondered how professional bakers achieve those flawlessly shaped eclairs? This week, we're unlocking the secrets with our Perfect Eclair Piping Tutorial. Discover the techniques, tools, and tips you need to elevate your pastry game and create stunning eclairs that are as beautiful as they are delicious. Ready to pipe like a pro? Let's get started!
- Pipe Like a Pro: Shaping Perfect Eclairs with Ease - BakeWithEase.com
- Introduction: Mastering Eclair Piping Techniques for BakeWithEase Bakers
- Understanding Choux Pastry for Eclair Piping Success
- Tools and Equipment for Eclair Piping Perfection
-
Step-by-Step: The Perfect Eclair Piping Tutorial
- Step 1: Preparing Your Piping Bag and Tip for Eclair Shaping
- Step 2: Loading the Choux Pastry into the Piping Bag Without Air Pockets
- Step 3: Mastering the Eclair Piping Technique: Consistent Pressure and Movement
- Step 4: Achieving Uniform Eclair Sizes and Shapes
- Step 5: Preparing Eclairs for Baking: Egg Wash and Scoring
- Troubleshooting Common Eclair Piping Problems
- Baking Your Perfectly Piped Eclairs
- Cooling and Filling Your Eclairs
- Decorating Your Eclairs Like a Pro
- Tips and Tricks for Eclair Piping Success from BakeWithEase
- Conclusion: Enjoy Your Beautiful and Delicious Eclairs
-
Frequently Asked Questions
- What is the most important factor in achieving consistently sized eclairs when piping?
- What type of piping tip is best for piping eclairs?
- How can I prevent my eclair dough from being too sticky to pipe?
- What is the ideal consistency of eclair dough for perfect piping?
- How far apart should I pipe my eclairs on the baking sheet?
- Final Reflection: Mastering the Art of the Perfect Éclair
- Unleash Your Inner Pâtissier: Master the Art of the Eclair!
Pipe Like a Pro: Shaping Perfect Eclairs with Ease - BakeWithEase.com
Introduction: Mastering Eclair Piping Techniques for BakeWithEase Bakers
Welcome to the World of Perfect Eclairs: A BakeWithEase Guide
Embarking on the journey to bake perfect eclairs is a rewarding experience, and mastering the piping technique is arguably the most crucial step. At BakeWithEase, we believe that with the right guidance, anyone can achieve bakery-quality results in their own kitchen. This article is designed to be your comprehensive guide, a true perfect eclair piping tutorial, breaking down the process into simple, manageable steps. We'll cover everything from preparing your choux pastry to the final flourish, ensuring your eclairs rise beautifully and maintain their elegant shape.
Shaping perfect eclairs isn't just about aesthetics; it significantly impacts the final bake. A uniformly piped eclair will rise evenly in the oven, resulting in a hollow interior ideal for filling and a consistent texture throughout. Uneven shapes can lead to some parts being underbaked or burnt, compromising the overall quality of your delicious pastry. Follow along, and you'll soon be piping choux like a seasoned professional, ready to impress friends and family with your creations.
Why Proper Eclair Piping Matters: Achieving Professional Results at Home
The shape and size of your eclair before it hits the oven directly influence how it bakes and, ultimately, its final appearance and texture. Achieving consistent eclair shapes through proper piping ensures that each pastry bakes uniformly. For example, if one eclair is significantly thicker than another on the same tray, the thicker one may require longer to fully cook through, potentially leading to the thinner one becoming overbaked and brittle. A common goal for many home bakers is replicating the polished look of patisserie eclairs, and this starts with impeccable piping technique.
Beyond uniform baking, the shape dictates how well the eclair holds its filling and icing. A straight, evenly-sized eclair provides a stable base for generous amounts of pastry cream and a smooth, unblemished surface for chocolate ganache. Imagine a wobbly, uneven eclair trying to support a rich vanilla filling – it's less likely to hold its structure. By focusing on a precise perfect eclair piping tutorial, you're setting yourself up for success from the very beginning, transforming simple choux dough into elegant, professional-looking pastries ready for their delicious fillings and decorations.
Understanding Choux Pastry for Eclair Piping Success
The Importance of Choux Consistency for Perfect Eclair Shapes
The consistency of your choux pastry is paramount when it comes to piping perfect eclairs. It needs to be just right – neither too stiff nor too runny. A choux paste that is too stiff will be difficult to pipe smoothly, resulting in jagged edges or requiring excessive pressure that can lead to inconsistent sizes.
Conversely, a paste that is too runny will spread out on the baking sheet, losing its defined shape and potentially collapsing in the oven. Think of the ideal choux as having a thick, pudding-like consistency that falls slowly from a spoon in a v-shape or ribbon.
Achieving this perfect consistency often depends on the hydration level. Typically, a standard choux recipe uses a ratio of approximately 1 part flour to 2 parts liquid (water or milk) by weight, and then eggs are added one by one until the desired consistency is reached. For a batch using 100g of flour and 200g of liquid, you might add 3-4 large eggs (roughly 150-200g).
The key is adding the eggs gradually, mixing thoroughly after each addition, and stopping as soon as the dough reaches that perfect pipeable state. Overmixing or adding too many eggs will result in a runny dough unsuitable for shaping perfect eclairs.
Essential Ingredients for a Pipeable Eclair Choux Paste
Creating a pipeable choux paste relies on a few fundamental ingredients working in harmony: liquid (water, milk, or a mix), fat (butter), flour, and eggs. The liquid and fat are heated together, the flour is added to create a panade, and then the eggs are incorporated to emulsify the mixture and provide structure and lift. For a smooth, pipeable consistency crucial for a perfect eclair piping tutorial, using bread flour or all-purpose flour with a moderate protein content (around 10-12%) is often recommended. This provides enough structure without making the dough overly tough.
The quality and temperature of your ingredients also play a role. Using cold eggs straight from the refrigerator can stiffen the dough too much, making it harder to achieve the right consistency. Allowing eggs to come to room temperature for about 30 minutes before adding them helps them incorporate more smoothly into the warm panade. Additionally, ensuring your butter is fully melted and incorporated into the liquid before adding the flour is vital for developing the correct texture and structure needed for piping perfect eclairs that hold their shape.
Tools and Equipment for Eclair Piping Perfection
Choosing the Right Piping Bag for Eclair Excellence
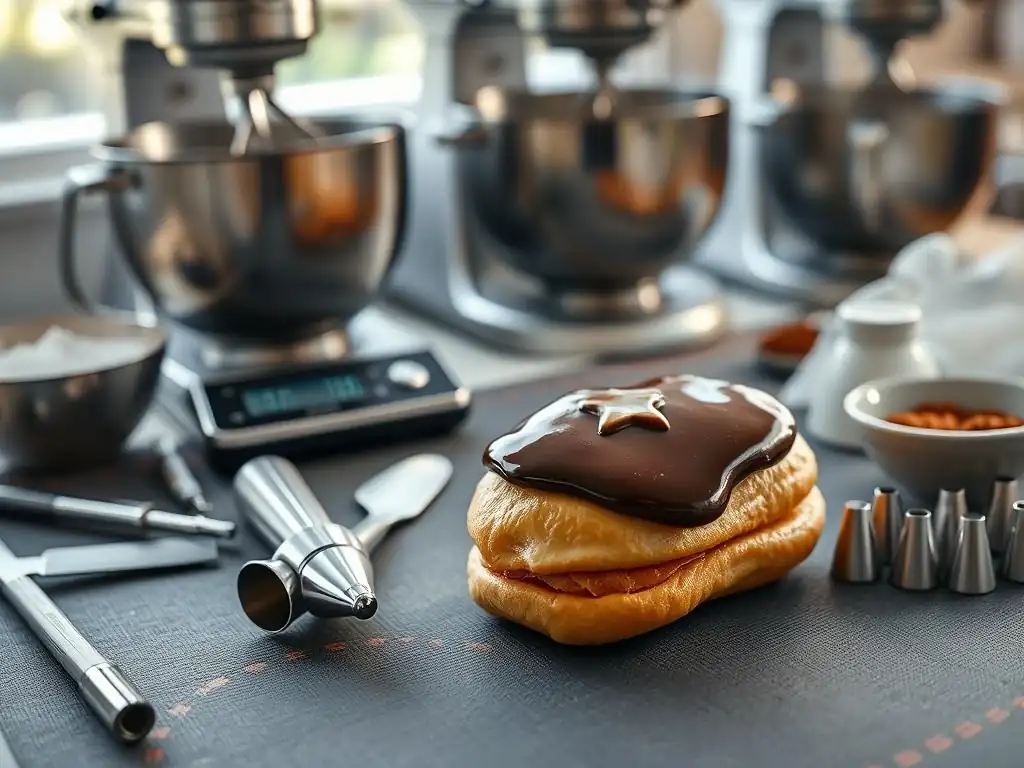
Selecting the appropriate piping bag is a crucial step in achieving professional-looking eclairs. For piping choux pastry, which is relatively stiff compared to buttercream, a durable bag is essential. Reusable pastry bags made from sturdy nylon or silicone are excellent choices as they can withstand the pressure required to pipe the dough. Disposable plastic piping bags are also suitable, but opt for thicker, high-quality versions (often 4-mil or greater thickness) to prevent them from bursting under pressure, which can be incredibly frustrating mid-task.
The size of the piping bag also matters. For piping standard eclairs, a medium to large bag (12 to 18 inches) is generally best. This allows you to hold a significant amount of choux pastry, reducing the need to refill frequently. A larger bag also provides more surface area to grip, giving you better control and leverage when applying consistent pressure – a key element in this perfect eclair piping tutorial. Ensure the bag is clean and dry before filling to prevent any issues with the dough sticking.
Selecting the Ideal Piping Tip for Uniform Eclair Shapes (French Star Tip vs. Round Tip)
The choice of piping tip significantly influences the final shape and texture of your eclairs. The two most common tips used for eclairs are the round tip and the French star tip. A large round tip (like an Ateco #806, #807, or #808, or Wilton #1A) produces smooth, cylindrical eclairs with a clean, even surface. This is often preferred for a classic, sleek look and provides a smooth canvas for icing.
Alternatively, a large French star tip (such as Ateco #867 or #869) creates eclairs with ridged surfaces. These ridges offer more surface area, which some believe contributes to a slightly crispier texture upon baking. The ridges also provide visual interest. Both tips can create beautiful eclairs; the choice often comes down to personal preference and the desired aesthetic. For a beginner attempting this perfect eclair piping tutorial, starting with a large round tip might be slightly easier as it requires less precision in angle compared to maintaining the orientation of a star tip.
Other Useful Tools: Parchment Paper, Baking Sheets, and Measuring Spoons
Beyond piping bags and tips, a few other simple tools are indispensable for piping perfect eclairs. High-quality parchment paper is essential for lining your baking sheets. Choux pastry is sticky, and parchment paper prevents it from sticking, ensuring easy removal after baking. Silicone baking mats are also an excellent reusable alternative. Standard sturdy baking sheets are needed to provide a flat, stable surface for piping and baking.
Measuring spoons and cups are, of course, necessary for accurately measuring ingredients for your choux paste and fillings. A ruler or a piping template (which you can easily draw on your parchment paper before placing it on the baking sheet) is incredibly helpful for piping eclairs of uniform length. Aiming for lengths between 4 to 5 inches (approximately 10-12 cm) is standard for individual eclairs. Using a template ensures consistency across your batch, which is vital for uniform baking and achieving that professional look emphasized in this perfect eclair piping tutorial.
Step-by-Step: The Perfect Eclair Piping Tutorial
Step 1: Preparing Your Piping Bag and Tip for Eclair Shaping
Preparation is key to a smooth piping process. First, select your desired piping tip (a large round tip like a #808 or a large French star tip like an #869 are good choices). If using a coupler, screw the base onto the piping bag, drop the tip into the coupler, and secure with the ring. If not using a coupler, simply drop the tip into the bag and push it down firmly. For bags without a pre-cut hole, snip the end just enough so the tip protrudes but fits snugly.
Next, stand the piping bag tip-down in a tall glass or container and fold the top edge of the bag down over the rim. This creates a wide opening, making it much easier to fill the bag cleanly with your choux pastry. This simple folding technique prevents the dough from getting all over the outside of the bag, ensuring cleaner handling and a more focused perfect eclair piping tutorial experience.
Step 2: Loading the Choux Pastry into the Piping Bag Without Air Pockets
Properly loading the choux pastry into the piping bag is crucial to avoid frustrating air pockets, which can cause breaks in your piped eclairs. Using a spatula or bench scraper, scoop your prepared choux pastry into the folded-down bag. Fill the bag about two-thirds full; overfilling makes it difficult to control the pressure.
Once the dough is in the bag, unfold the top edge. Hold the bag upright and gently twist the top closed just above the level of the dough. This seals the top and forces the dough downwards towards the tip. Before you start piping, give the bag a gentle squeeze over a bowl or piece of scrap parchment to expel any large air bubbles that might be trapped near the tip. This ensures a continuous flow of dough when you begin your perfect eclair piping tutorial.
Step 3: Mastering the Eclair Piping Technique: Consistent Pressure and Movement
Achieving consistent pressure and movement is the heart of piping perfect eclairs. Hold the twisted top of the bag firmly with your dominant hand, using it to apply steady, even pressure. Your other hand should guide the tip, keeping it slightly above the baking sheet and controlling the speed and direction. The goal is a continuous, smooth stream of dough.
Maintain consistent pressure throughout the length of each eclair. Starting pressure should be gentle, increasing slightly as you move, and easing off just before you finish. Practice this motion without dough first to get a feel for it. The movement should be fluid and steady, allowing the dough to build upon itself evenly as it exits the tip, creating a uniform shape essential for this perfect eclair piping tutorial.
Piping Straight Eclairs: A Detailed Guide
To pipe straight eclairs, begin by positioning the tip about 1/4 inch above the parchment paper. Start applying steady, even pressure to the bag. As the dough begins to emerge, move the tip slowly and steadily in a straight line towards you (or away from you, whichever is more comfortable). Keep the tip slightly elevated; do not drag it along the paper. This allows the dough to fall naturally into its shape.
Maintain the same pressure and speed throughout the desired length of the eclair (e.g., 4-5 inches). As you reach the end, quickly ease off the pressure and flick the bag upwards or to the side to cleanly break the stream of dough. Avoid stopping abruptly, as this can create a messy end. With practice, you'll develop the muscle memory for consistent lengths and thicknesses, key to mastering this perfect eclair piping tutorial. Using a ruler or template underneath the parchment paper can help guide your piping and ensure uniform lengths.
Piping Round Eclairs (Religieuses): A Detailed Guide
While eclairs are typically elongated, the same choux pastry and piping skills are used for round shapes like the base of a Religieuse. To pipe a round shape, position the tip vertically, about 1/4 inch above the paper. Begin applying steady pressure, allowing the dough to form a mound.
As the mound grows, slowly move the tip in a tight spiral or concentric circles, working outwards from the center until the desired diameter is reached (e.g., 2-3 inches). Keep the tip slightly elevated to allow the dough to build height. Once the desired size and height are achieved, quickly ease off the pressure and flick the bag away to break the dough stream cleanly. This technique requires controlling both pressure and circular motion simultaneously, adding another dimension to your perfect eclair piping tutorial skills.
Step 4: Achieving Uniform Eclair Sizes and Shapes
Consistency in size and shape is a hallmark of professional eclairs and a key outcome of a perfect eclair piping tutorial. As mentioned, using a template drawn on your parchment paper is one of the most effective ways to ensure uniform lengths for straight eclairs. You can draw simple lines or rectangles spaced about 2 inches apart to allow room for expansion during baking.
For uniform thickness, the key is maintaining constant pressure on the piping bag and a consistent speed of movement. If your speed varies, the thickness will vary along the length of the eclair. Practice piping on a piece of scrap paper first until you can consistently produce shapes of the same size and thickness. Don't worry if your first few aren't perfect; choux dough can be scooped back into the bag and re-piped if it hasn't been egg washed yet.
Step 5: Preparing Eclairs for Baking: Egg Wash and Scoring
Once your eclairs are piped onto the baking sheet, preparing them for the oven is the next crucial step. Gently brush the tops of the piped choux shapes with an egg wash (usually one egg whisked with a tablespoon of water or milk). This gives the eclairs a beautiful golden-brown color and a slight sheen when baked. Apply the egg wash thinly and evenly, avoiding drips onto the parchment paper, as this can hinder the eclair's rise by sticking it to the paper.
Some bakers also choose to score the tops of their eclairs lightly with a fork or the tip of a knife. This can help guide the expansion of the choux and sometimes results in a more even rise and a slightly crisper top crust. If scoring, be very gentle; you only want to score the surface, not cut deeply into the dough. This final preparation ensures your perfectly piped eclairs are ready to transform in the heat of the oven.
Troubleshooting Common Eclair Piping Problems
Problem: Eclairs are Too Wide or Uneven
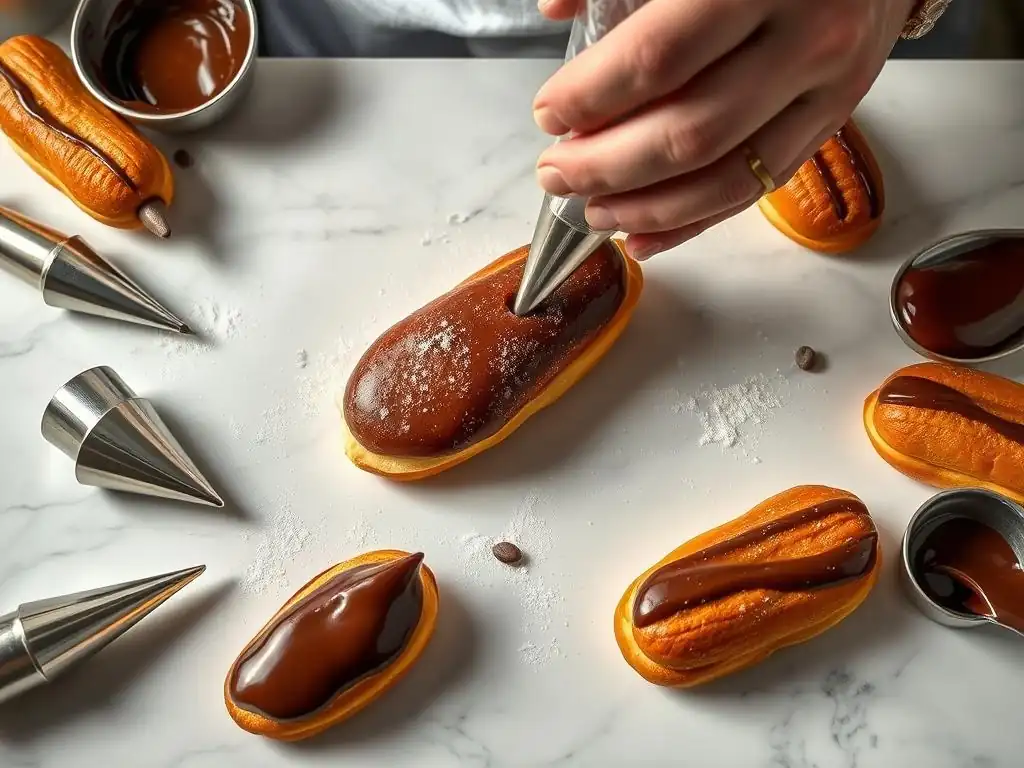
If your piped eclairs are coming out too wide, too flat, or with uneven edges, the most common culprit is likely the consistency of your choux pastry. A dough that is too wet or runny will spread rather than holding its shape when piped. This can happen if too many eggs were added, or if the initial panade wasn't cooked long enough to evaporate sufficient moisture.
Another potential cause is inconsistent pressure while piping. If you start with high pressure and then decrease it, the beginning of the eclair will be wider than the end. Ensure you are applying steady, even pressure from start to finish of each shape. Additionally, holding the piping tip too high above the baking sheet can cause the dough to spread more as it falls. Keep the tip relatively close to the surface (about 1/4 inch) as you pipe.
Problem: Eclairs are Too Short or Have Pointed Ends
Eclairs that are too short might simply be a matter of not piping for long enough. Refer back to using a template if you are aiming for a specific length like 4-5 inches. Pointed ends often occur when you stop piping pressure too abruptly without the clean flicking motion to break the dough stream.
To avoid pointed ends, as you approach the desired length, ease off the pressure slightly just before you make the final break. Then, with a swift, clean motion, flick the piping bag upwards or sideways away from the eclair. This technique severs the dough cleanly, leaving a smooth, rounded end rather than a peak. Practice this motion repeatedly on scrap paper until it feels natural; it's a small detail that makes a big difference in your perfect eclair piping tutorial.
Problem: Choux Pastry is Too Stiff or Too Runny for Piping
Dealing with choux pastry that isn't the right consistency is a common challenge. If your choux is too stiff, it will be difficult to pipe smoothly and might tear or break. This usually means it's too dry, potentially needing a little more egg.
While ideally, you adjust consistency during the egg-adding phase, if it's already too stiff, you might try beating one more egg in a separate bowl and gradually adding a tiny amount (like a teaspoon at a time) to the dough while mixing vigorously until it reaches the desired consistency. Be very cautious not to add too much.
If the choux is too runny, it will spread on the baking sheet. This happens when too many eggs are added or the panade wasn't cooked enough. Unfortunately, fixing overly runny choux is much harder. You can try cooking it gently in the saucepan for another minute or two while stirring constantly to dry it out slightly, but this often doesn't fully salvage the texture. The best approach is prevention: cook the panade thoroughly until a film forms on the bottom of the pan and add eggs gradually, checking consistency after each addition.
Problem: Air Pockets in Piped Eclairs
Air pockets within your piped eclairs can cause them to burst or collapse unevenly during baking. These voids are typically introduced when loading the choux pastry into the piping bag or if air gets trapped during piping. To minimize air pockets when filling the bag, use the method described earlier: stand the bag in a glass and fold the top down, then fill it carefully using a spatula, pressing the dough down gently as you go.
Once the bag is filled, twist the top tightly to seal it and gently squeeze the bag over a bowl to expel any initial air bubbles near the tip. While piping, maintain steady pressure and a continuous flow of dough. Avoid stopping and starting mid-eclair. If you notice an air pocket forming or a break in the stream, stop, smooth the area if possible, and resume piping with continuous pressure. Ensuring your perfect eclair piping tutorial technique is smooth and uninterrupted is key.
Baking Your Perfectly Piped Eclairs
Optimal Oven Temperature and Baking Time for Eclairs
Baking choux pastry successfully requires specific temperature management to ensure they rise fully, cook through, and dry out properly. A common technique is to start with a high oven temperature (around 400°F or 200°C) for the first 10-15 minutes. This initial burst of high heat generates steam within the choux (from the liquid ingredients), causing the pastries to puff up rapidly and create that essential hollow interior.
After this initial high-heat phase, the temperature is typically reduced to a lower setting (around 375°F or 190°C) for the remaining baking time, which can be another 20-30 minutes or even longer, depending on the size of your eclairs and your oven. This lower temperature allows the choux to cook through, dry out, and crisp up without burning the exterior. Baking times can vary significantly, often ranging from a total of 30 to 45 minutes. Never open the oven door during the first 15-20 minutes, as this can cause the eclairs to collapse.
How to Tell When Your Eclairs are Perfectly Baked
Knowing when your perfectly piped eclairs are done is critical; underbaked choux will collapse upon cooling. Eclairs are ready when they are deeply golden brown all over, feel light and hollow when lifted, and sound hollow when tapped on the bottom. The color is a key indicator – they should be a rich, even brown, not pale yellow.
A reliable test is to remove one eclair from the oven and let it sit for a minute. If it starts to deflate, it needs more baking time. Return it to the oven immediately.
Some bakers also like to pierce the side of each eclair with a small knife or skewer for the last 5-10 minutes of baking; this allows steam to escape, helping the interiors dry out further and preventing sogginess. Once baked, turn off the oven, prop the door open slightly, and leave the eclairs inside for another 5-10 minutes to cool gradually, which also helps prevent collapse.
Cooling and Filling Your Eclairs
Proper Cooling Techniques to Prevent Soggy Eclairs
Cooling your perfectly baked eclairs correctly is just as important as baking them properly. The main enemy at this stage is trapped steam, which can make the interior soggy. After removing the eclairs from the oven (or from the propped-open oven after the resting period), immediately transfer them to a wire cooling rack. This allows air to circulate all around the pastries, facilitating the escape of remaining steam.
Do not let the eclairs cool on the hot baking sheet, as this will trap moisture underneath. Allow them to cool completely to room temperature before filling. This usually takes at least 30-60 minutes. If you are concerned about steam, you can pierce the bottom or side of each eclair with a small skewer or knife tip immediately after taking them out of the oven; this provides an exit point for steam and helps ensure a crisp shell ready for your delicious fillings.
Classic Vanilla Cream Filling Recipe
No perfect eclair piping tutorial is complete without a suggestion for a classic filling. A smooth, rich vanilla pastry cream (crème pâtissière) is the traditional choice. Here's a simple recipe outline:
- Ingredients:
- 2 cups whole milk
- 1/2 cup granulated sugar
- 1/4 cup cornstarch
- 4 large egg yolks
- 2 tablespoons unsalted butter
- 1 teaspoon vanilla extract
- Instructions:
- Heat the milk in a saucepan until simmering.
- In a bowl, whisk together the sugar, cornstarch, and egg yolks until pale and thick.
- Gradually whisk about half of the hot milk into the egg mixture to temper it.
- Pour the tempered egg mixture back into the saucepan with the remaining milk.
- Cook over medium heat, whisking constantly, until the mixture thickens significantly and bubbles once or twice (about 5-8 minutes).
- Remove from heat, whisk in the butter and vanilla extract until smooth.
- Press plastic wrap directly onto the surface of the cream to prevent a skin from forming.
- Chill completely in the refrigerator for at least 2-3 hours before using.
This chilled, thickened cream is then piped into the cooled eclairs using a piping bag fitted with a small round tip, typically inserted into the bottom or side of the eclair shell.
Decorating Your Eclairs Like a Pro
Chocolate Ganache Icing Techniques
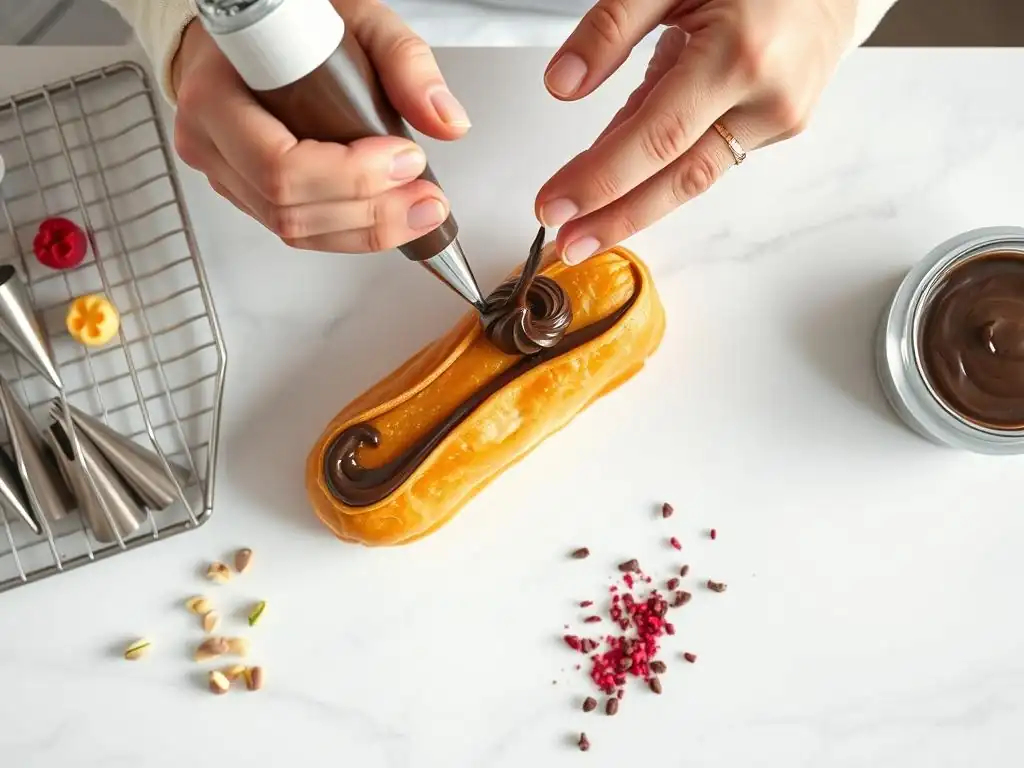
A glossy chocolate ganache is the quintessential topping for eclairs. A basic ganache is made by combining hot cream with chopped chocolate. A common ratio for a pourable, yet setting, ganache is 1:1 heavy cream to chocolate by weight. For example, combine 100g chopped dark chocolate with 100g hot heavy cream. Let it sit for a few minutes, then whisk until smooth and shiny.
To ice your perfectly piped eclairs, hold an eclair horizontally and dip the top surface into the slightly cooled ganache, allowing the excess to drip off. Alternatively, you can place the eclairs on a wire rack set over a tray and pour or spoon the ganache over the tops. For a professional finish, ensure the ganache is smooth and covers the top evenly. You can warm the ganache slightly if it becomes too thick, but avoid overheating, which can make it greasy.
Creative Eclair Decoration Ideas: Chocolate Shavings, Sprinkles, and Fruit
Once your ganache is applied, you can elevate your perfectly piped eclairs with creative decorations. While the ganache is still slightly wet, you can sprinkle on chocolate shavings, cocoa nibs, or decorative sprinkles for added texture and visual appeal. To create chocolate shavings, simply run a vegetable peeler along the edge of a block of chocolate.
For a fresh touch, consider adding fresh berries or sliced fruit just before serving. A single raspberry or a slice of strawberry can add a pop of color and contrast. Candied nuts, edible flowers, or a light dusting of powdered sugar can also be used. Don't be afraid to experiment and let your creativity shine after completing this perfect eclair piping tutorial!
Tips and Tricks for Eclair Piping Success from BakeWithEase
Practice Makes Perfect: Dedicate Time to Hone Your Piping Skills
Like any baking skill, mastering eclair piping takes practice. Your first attempts might not be perfectly straight or uniform, and that's completely normal! Don't get discouraged. Dedicate some time specifically to practicing your piping technique. You can practice with the actual choux dough (scooping it back into the bag if unbaked) or even use something like mashed potatoes or thick pudding to simulate the consistency.
The more you practice holding the bag, applying pressure, and moving steadily, the more comfortable and controlled you will become. Aim to pipe straight lines and consistent shapes repeatedly. This deliberate practice is the most effective way to improve your muscle memory and achieve the precision needed for a perfect eclair piping tutorial mastery.
Maintain Consistent Pressure for Uniform Eclair Shapes
Consistency in pressure is arguably the single most important factor in piping uniform eclairs. Varying the pressure will result in sections of the eclair being thicker or thinner, leading to uneven baking and a less professional appearance. Focus on squeezing the bag with steady, even pressure throughout the entire length of each eclair.
Imagine you are squeezing toothpaste out of a tube at a constant rate. This steady pressure allows the dough to exit the tip uniformly, building a consistent shape. Use your non-dominant hand to guide the tip and maintain the correct distance from the baking sheet, but let your dominant hand control the pressure. This deliberate focus on consistent pressure will greatly improve the outcome of your perfect eclair piping tutorial efforts.
Use a Template for Perfectly Sized Eclairs
For achieving perfectly sized eclairs, especially when aiming for a specific length like 4-5 inches, using a template is invaluable. Before placing your parchment paper on the baking sheet, draw lines or rectangles onto the paper using a ruler and pencil. Space them out adequately (at least 2 inches apart) to allow for expansion.
Once drawn, flip the parchment paper over so the pencil marks are underneath (this prevents pencil lead from transferring to your pastries). The marks will be visible through the paper and will serve as a guide for your piping. This simple step ensures that all your eclairs are the same length, contributing significantly to a professional-looking batch and making your perfect eclair piping tutorial much more precise.
Experiment with Different Piping Tips and Techniques
While this perfect eclair piping tutorial focuses on classic shapes, don't hesitate to experiment once you feel comfortable with the basic techniques. Try using different sizes of round or star tips to create eclairs of varying thicknesses or textures. A smaller tip might be used for mini eclairs, while a larger tip creates substantial pastries.
You can also experiment with the angle at which you hold the tip or the speed of your movement to see how it affects the final shape. Piping choux into rings for Paris-Brest, or small mounds for profiteroles, uses the same fundamental dough and piping skills. Exploring these variations will broaden your choux pastry repertoire and deepen your understanding gained from this perfect eclair piping tutorial.
Conclusion: Enjoy Your Beautiful and Delicious Eclairs
Celebrate Your Eclair Piping Mastery with BakeWithEase!
You've navigated the steps, understood the techniques, and hopefully, piped a batch of beautiful choux pastries! Mastering the perfect eclair piping tutorial is a significant achievement in your baking journey. It requires patience, practice, and attention to detail, but the reward is a tray of elegant, perfectly shaped eclairs ready to be filled and enjoyed. Take a moment to appreciate the uniform shapes and golden color you've achieved.
Remember that every batch is a learning opportunity. Even experienced bakers sometimes encounter challenges with choux. The key is to understand the principles behind consistency, pressure, and technique. With the insights from this guide, you are well-equipped to continue refining your skills and piping perfect eclairs every time.
We love seeing what our BakeWithEase bakers create! Your perfectly piped eclairs are a testament to your hard work and dedication. Don't keep them to yourself – share photos of your finished eclairs, whether classic chocolate-glazed or creatively decorated.
Connecting with other bakers is a great way to find inspiration, share tips, and celebrate successes. Use your social media platform to showcase your beautiful pastries and tag BakeWithEase. Let the community admire your piping mastery and perhaps inspire others to try this perfect eclair piping tutorial for themselves. Happy baking!
Frequently Asked Questions
What is the most important factor in achieving consistently sized eclairs when piping?
Maintaining consistent pressure on the piping bag is key. This will ensure each eclair is the same length and thickness, leading to even baking and a professional look.
What type of piping tip is best for piping eclairs?
A round piping tip is generally recommended. A size #8 or #10 is a good starting point, creating a smooth, classic eclair shape and allowing for uniform dough extrusion.
How can I prevent my eclair dough from being too sticky to pipe?
Ensure the dough is properly cooked during the pâte à choux process. Cooking long enough until a thin film forms on the bottom of the pan is crucial to remove excess moisture.
What is the ideal consistency of eclair dough for perfect piping?
The dough should be smooth, glossy, and hold its shape, but still be easily piped. It should form a soft peak when piped, indicating the right balance of moisture and structure.
How far apart should I pipe my eclairs on the baking sheet?
Leave at least 2 inches between each eclair. This allows for adequate air circulation during baking, ensuring they rise properly and don't stick together.
Final Reflection: Mastering the Art of the Perfect Éclair
The pursuit of the perfect éclair, a seemingly simple pastry, reveals a profound truth about the intersection of precision and artistry. This seemingly small act of piping cream into choux pastry speaks volumes about dedication to craft, the importance of practice, and the undeniable satisfaction of creating something beautiful from humble ingredients. The techniques detailed in this tutorial, from preparing the pâte à choux to achieving that signature elegant swirl, are not merely steps in a recipe; they are building blocks for culinary confidence.
The journey of mastering the éclair, for me, has been a testament to the power of patience and perseverance. It's a process that mirrors life itself – requiring careful attention to detail, a willingness to learn from mistakes, and the understanding that true mastery comes not from instant success, but from consistent effort. As the renowned chef Julia Child once said, If you're afraid of butter, use cream.
This sentiment, while humorous, speaks to a larger truth: embracing the process, even the messy parts, is key to achieving culinary excellence. The imperfections along the way are not failures, but valuable lessons in the art of baking.
Now, it's your turn. Don't be intimidated by the seemingly complex nature of piping perfect éclairs. Pick up your piping bag, gather your ingredients, and embark on your own culinary adventure. Remember the techniques outlined in this tutorial, but more importantly, remember the joy of creation. Let the process of shaping these delicate pastries be a meditation on precision, a celebration of artistry, and a testament to your own growing skill. The perfect éclair awaits – and so does the immense satisfaction of creating it.
Unleash Your Inner Pâtissier: Master the Art of the Eclair!
Thanks for taking the time to explore the world of perfect eclairs with us! We hope you've gained the confidence to tackle this classic pastry with ease. Now it's time to put your newfound skills to the test.
- Bake your dream eclair: Grab those ingredients and give it a go! We're confident you'll create stunning, delicious results. Don't be afraid to experiment with fillings and toppings.
- Share your creation: Show off your piping prowess! Tag us on social media with your eclair masterpiece – we'd love to see it!
- Challenge a friend: Dare a fellow baking enthusiast to try their hand at making eclairs, too. See who creates the most impressive masterpiece!
Ready to transform your kitchen into a professional patisserie? What unique filling will you create for your next eclair adventure?